ESTES Model #1260
Description
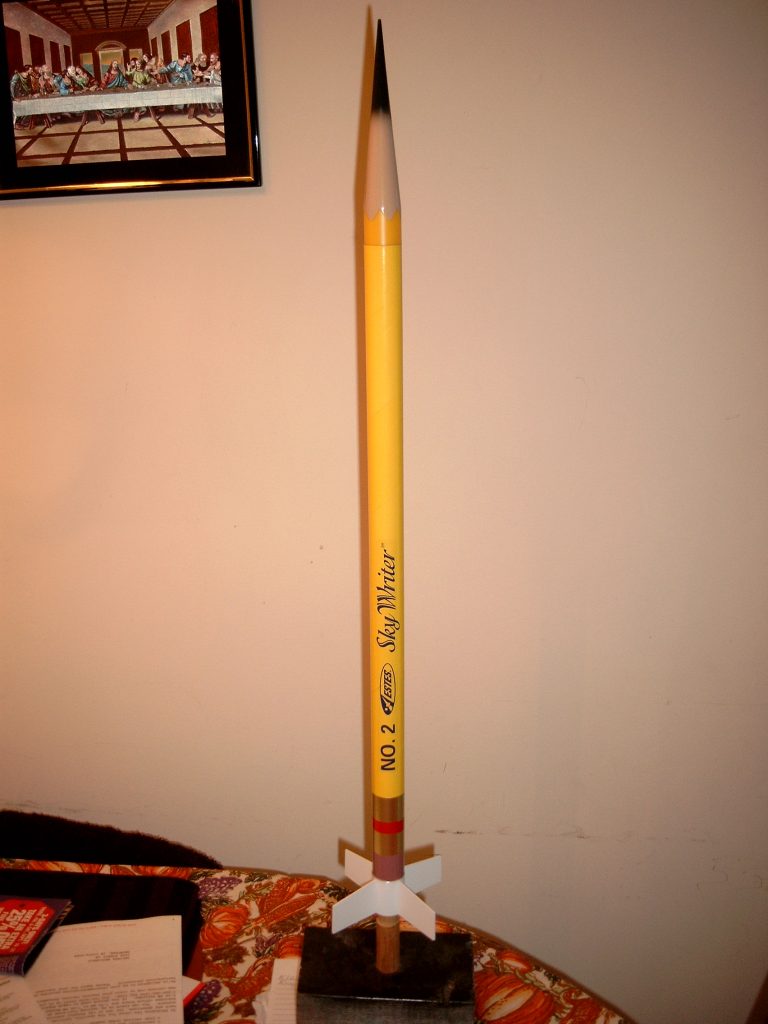
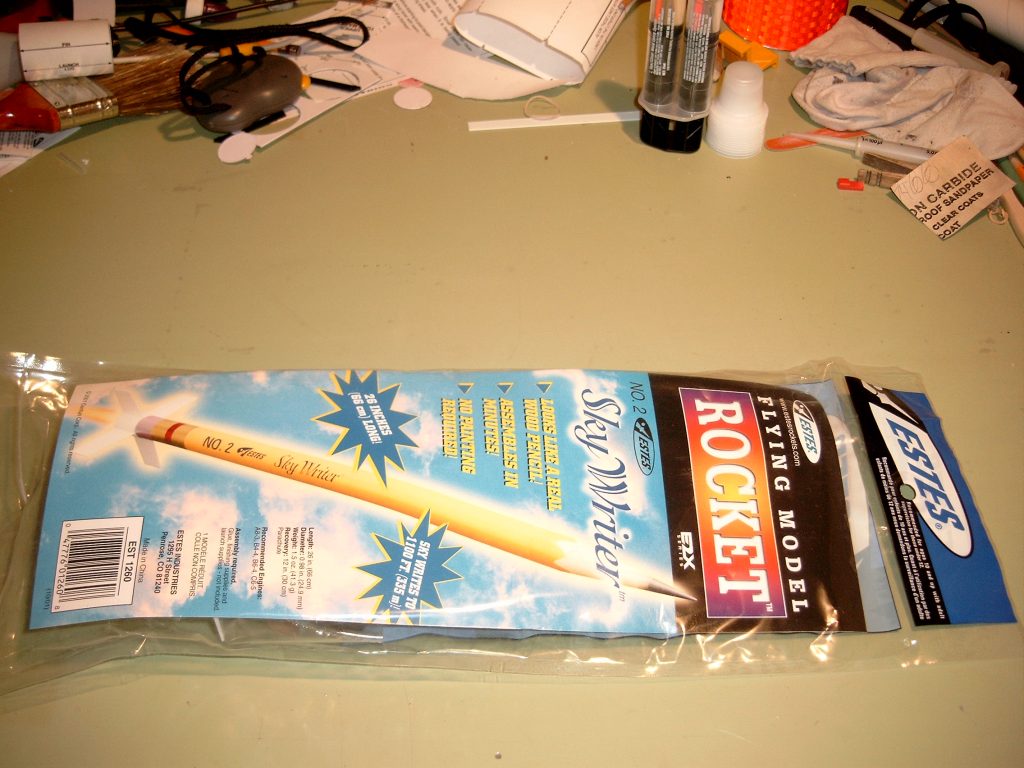
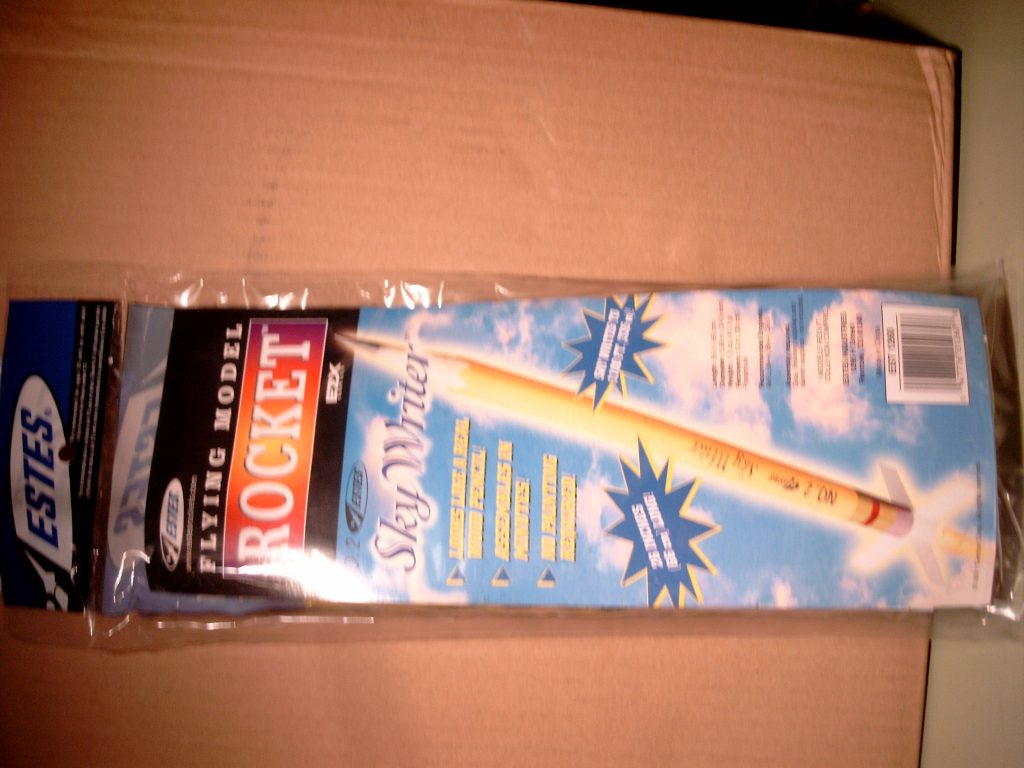
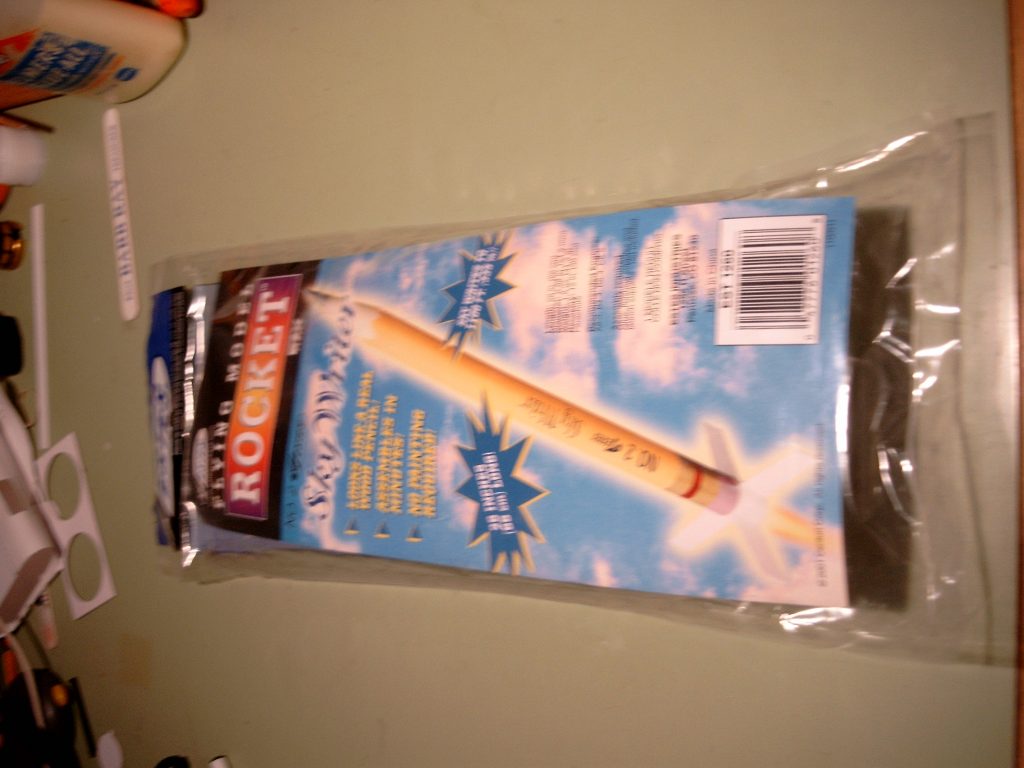
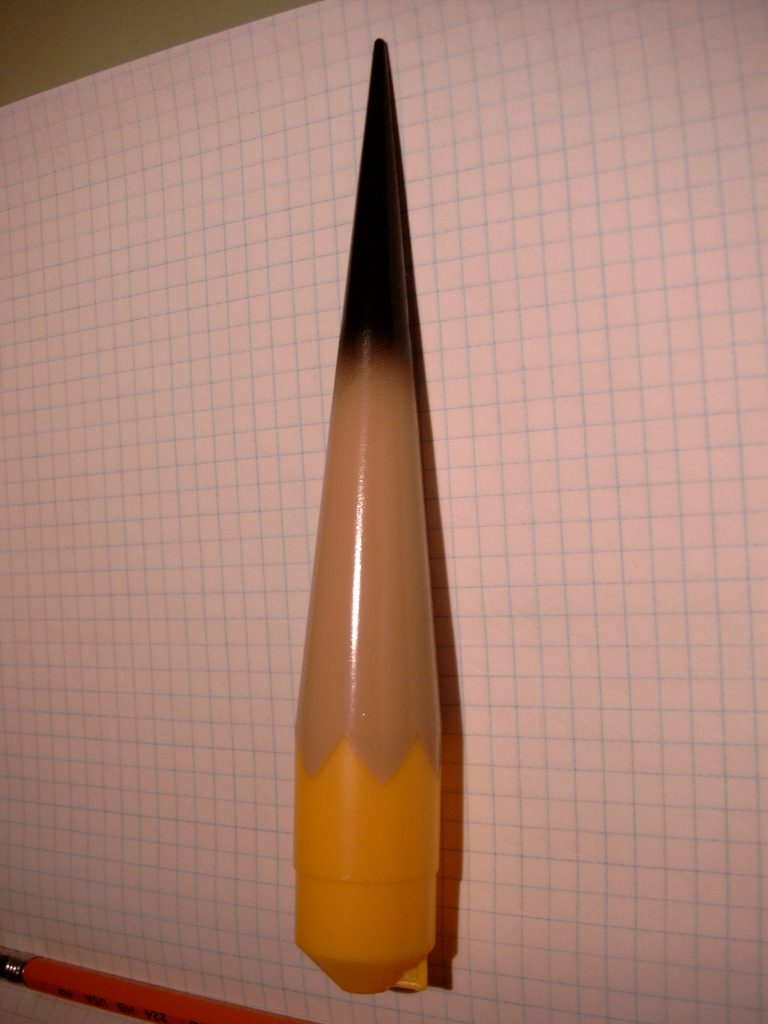
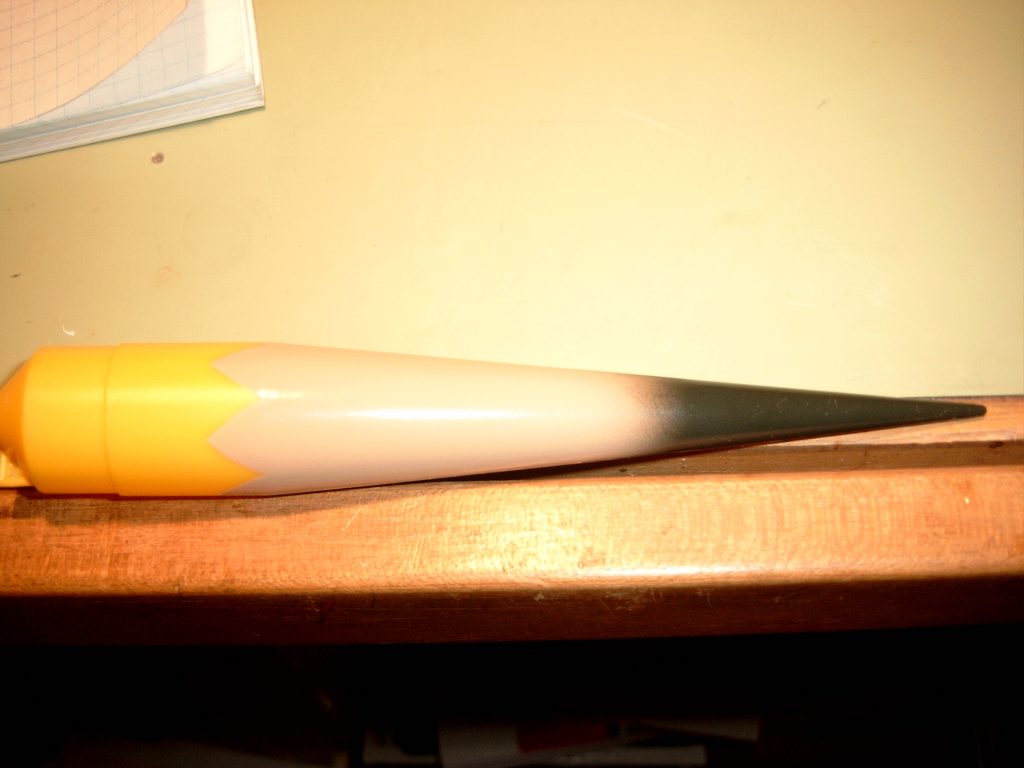
The No. 2 Sky Writer rocket is a one-of-a-kind design from the creative guys at the Estes rocket shop. It’s the very first model rocket to replicate the good ole’ No. 2 wooden pencil. A rocket shaped like a pencil? Yep…we’re just that good!
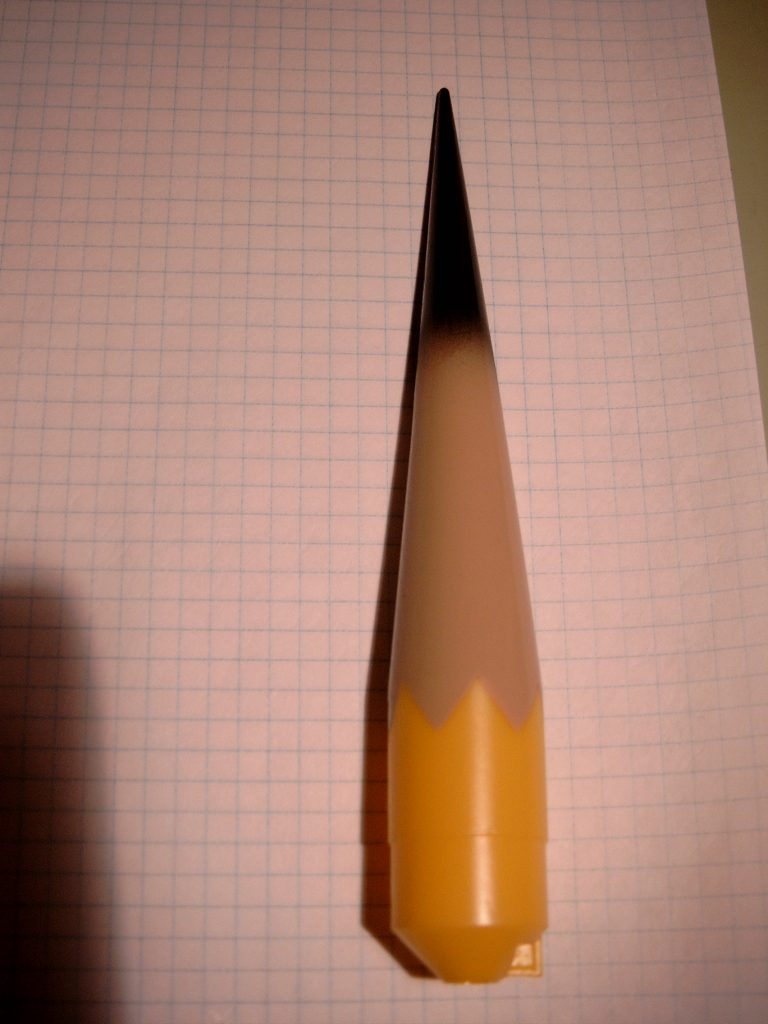
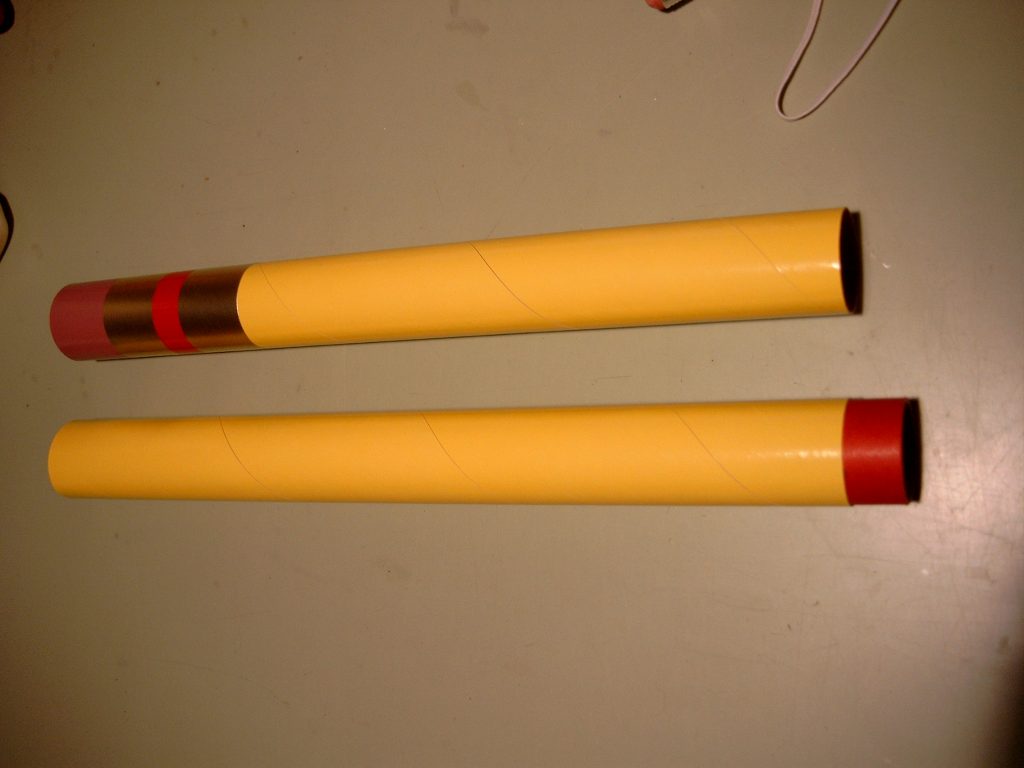
This high performance rocket was designed to erase the law of gravity while it races up to 1,100 feet and returns safely on its colorful 12 inch parachute. This giant replica of an iconic writing tool stands over 2 feet tall and comes with a conveniently pre-colored body tube that looks like the real thing – eraser and all! It really looks just like a pencil streaking toward the clouds! If you’ve never seen a school supply fly, here’s your chance!
The No. 2 Sky Writer is a beginner level kit, which means quick and easy assembly that usually takes about an hour or less. After the basic rocket is assembled, complete the pencil look with the self-stick decal.
Additional Information
- Length: 26″
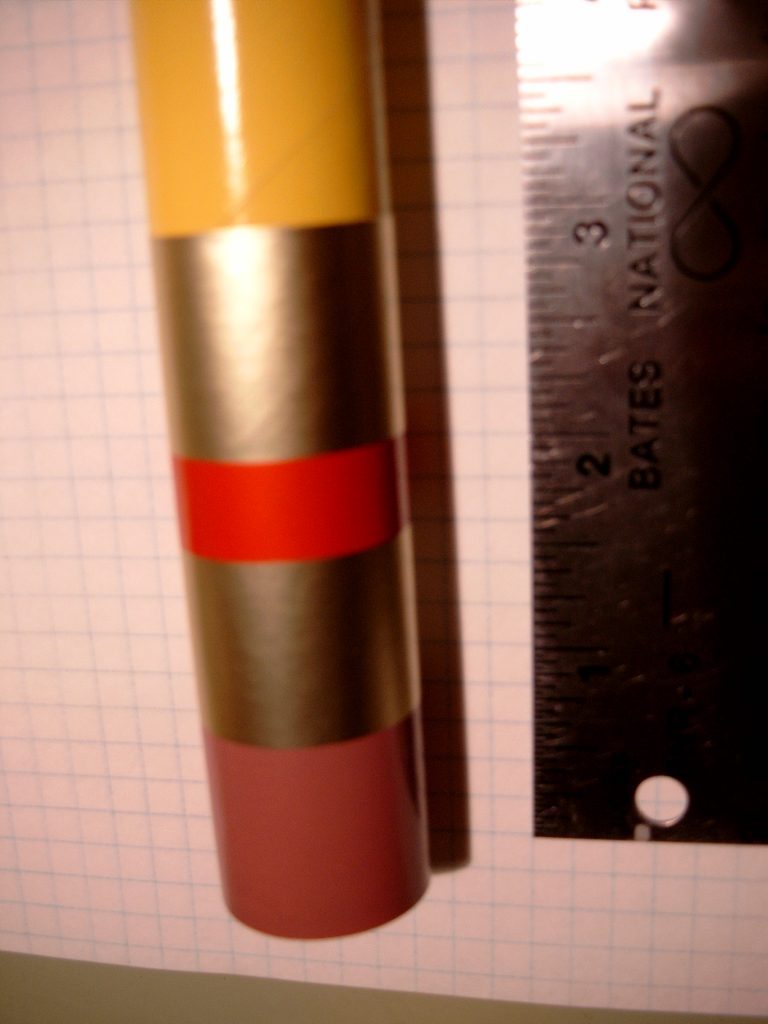
- Diameter: 0.98″
- Weight: 1.5 oz.
- Fins: Plastic
- Altitude: 1100′
- Recovery: 12″ Parachute
- Recommended Motors:
- A8-3, B4-4, B6-4, C6-5
Instructions
Photo Gallery


Build History
- 08/24/2002 – Purchased Estes Sky Writer from Walmart in Seymour, IN for $4.69 (Retail $6.99).
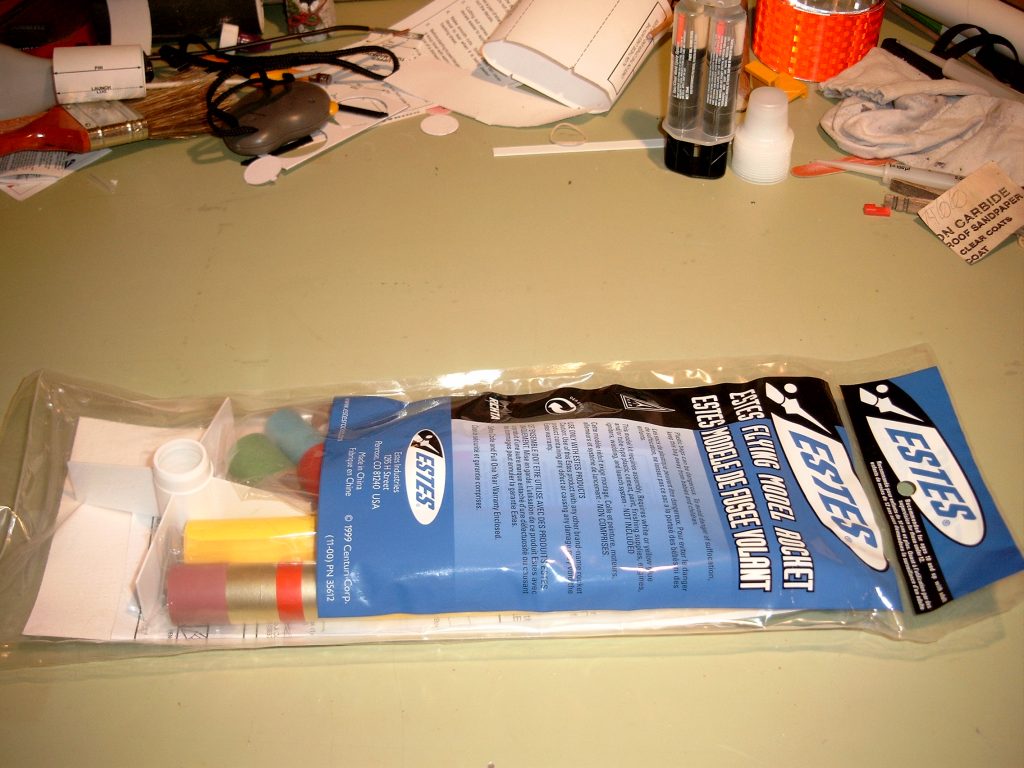
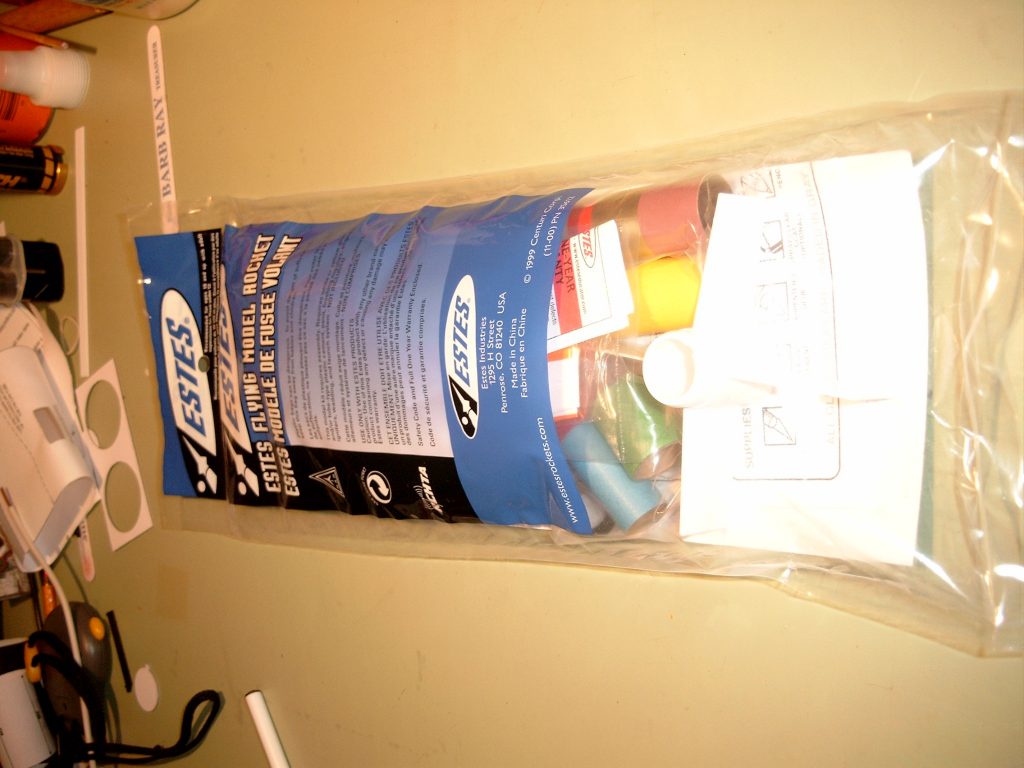
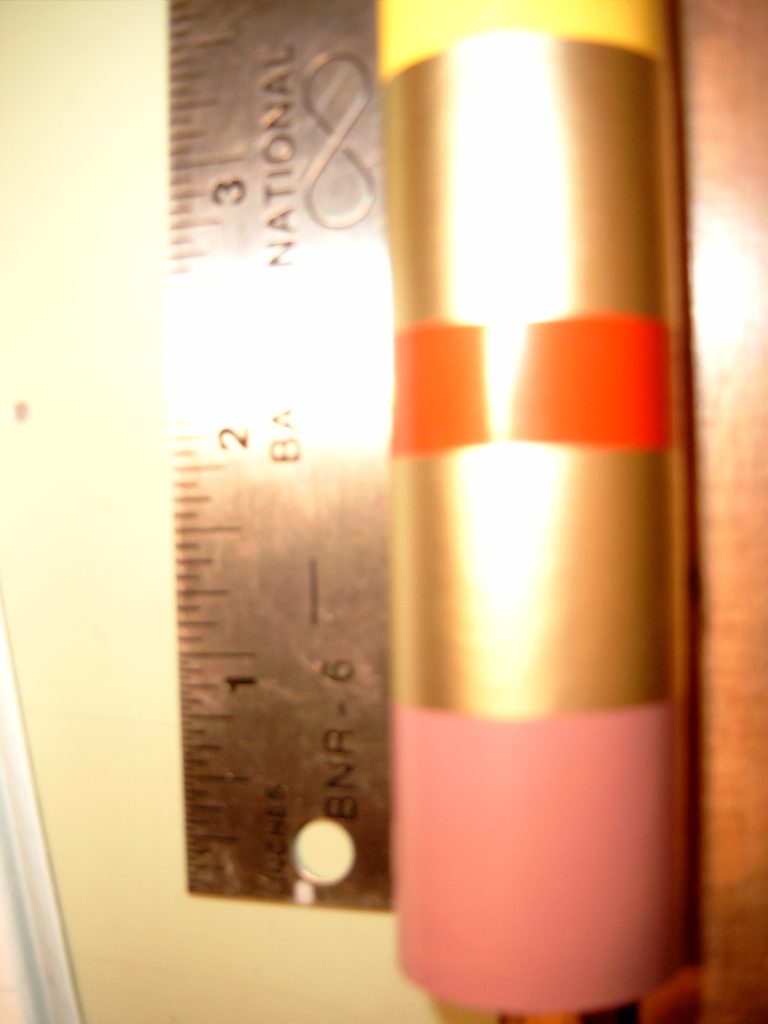
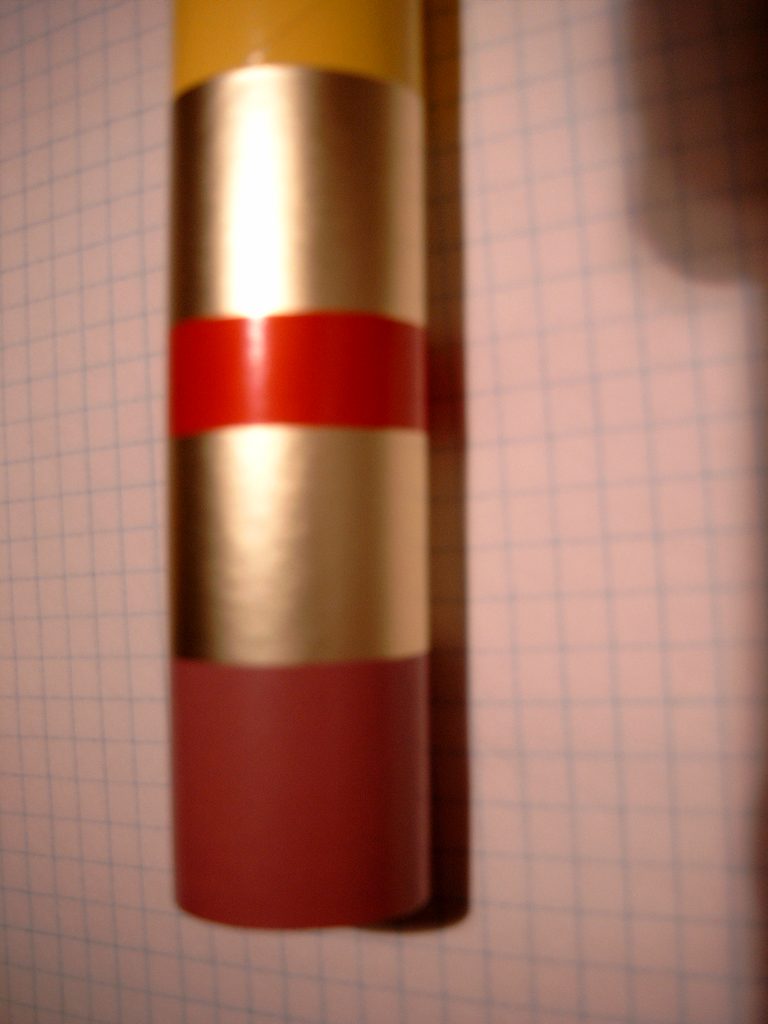
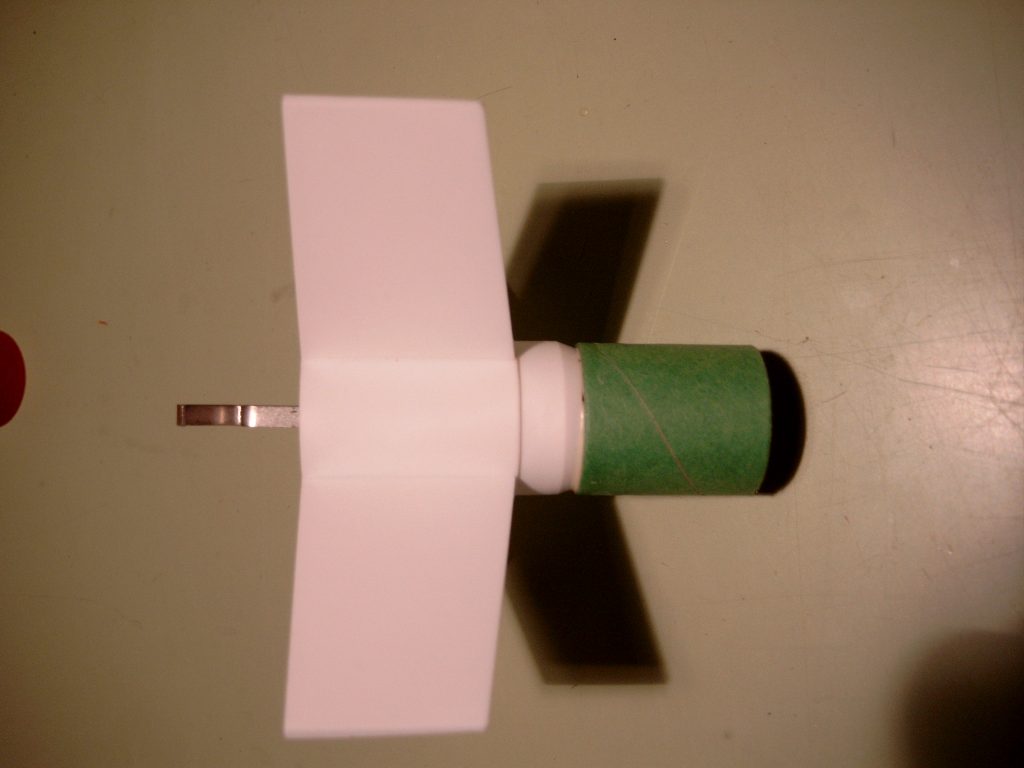
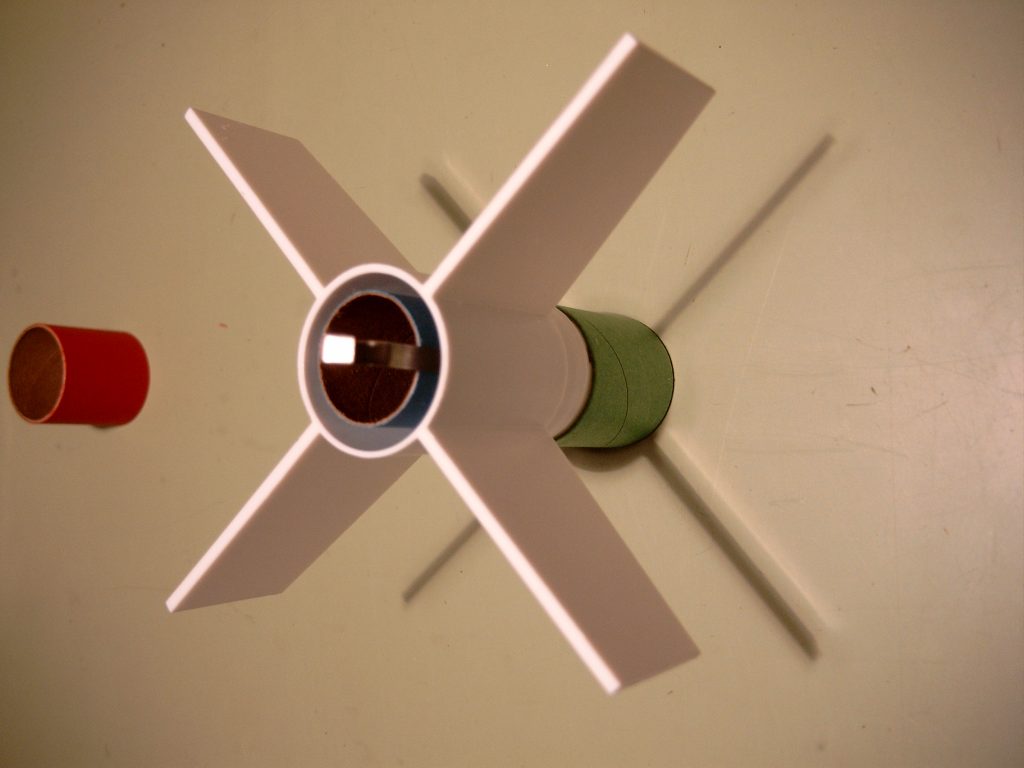
- 09/20/2002 – Took pictures and measurements. Opened kit and found all parts were included. Scanned decal and plans. Measured blue engine mount tube 1″ and 2-1/2″ from aft end. Cut a 1/8″ slot at the 2-1/2″ mark and inserted engine holder into slot. Placed a bead of glue just in front of the 1″ mark and slid black engine holder retainer through the glue and up to the 1″ mark. Glued green engine block in place. Aligned the slot in the white fin unit with engine holder. Slid the fin unit down the engine mount assembly. Applied glue to uper portion of engine mount assembly. While holding the blue engine mount assembly tube even with the rear of the fin unit, slide the green adapter ring until it touches the fin unit. Checked the ends to assure they are even. They did not require adjustment. Put glue inside the upper yellow boby tube and inserted the red tube coupler midway into it. Cement was put around the upper tube section of the plastic part on the fin unit. Glue was spread about 1/2″ inside the lower body tube of the eraser end. the body tube was then pushed into the tube on the eraser end. The body tube was then gupshed onto the fin unit. The crease was aligned with a fin and the unit was set aside. Glued the inside of the upper body tube to the red tube coupler already attached to the lower body tube. Glued the shock cord to the mount and then inside the forward end of the upper body tube by at least 1″. Marked lower body tube with a line in-line with the engine holder 5-1/2″ from the aft end.
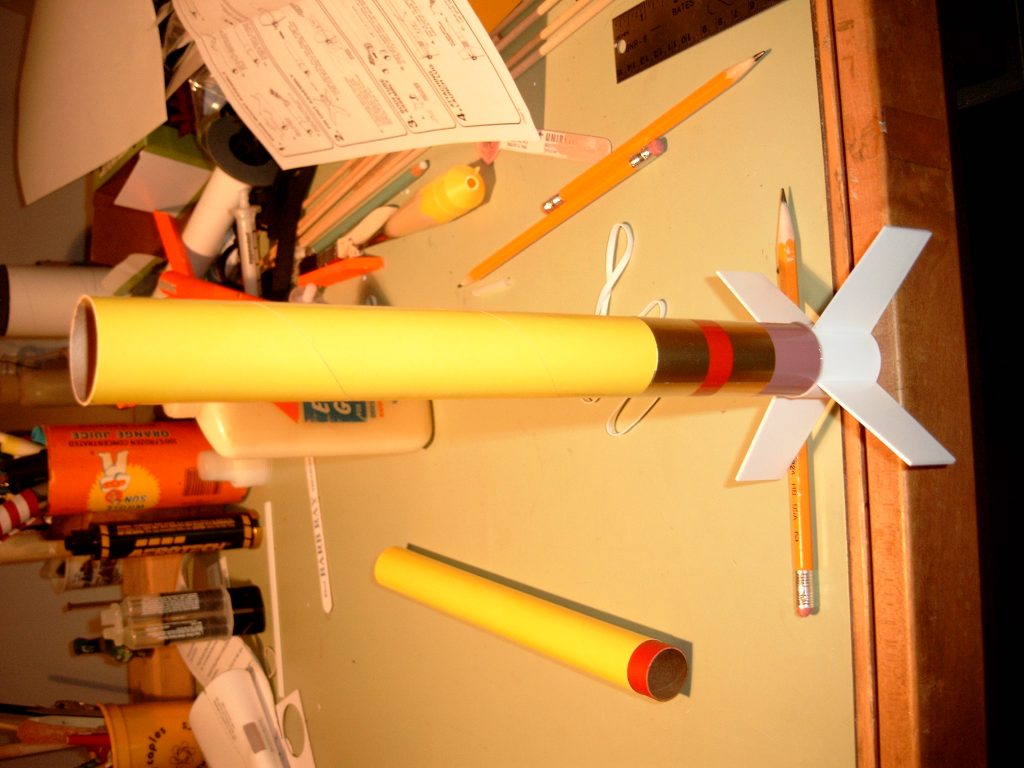
- 09/21/2002 – Glued the launch lug at the 5-1/2″ mark. Tied the other end of the shock cord to the nose cone eyelette after removing excess flash. Filleted the launch lug joints. Placed self adhesive decal on the model. This completes construction of Estes Sky Writer model rocket #1260.
Flights
| Date | Location | # | Motor | Comments |