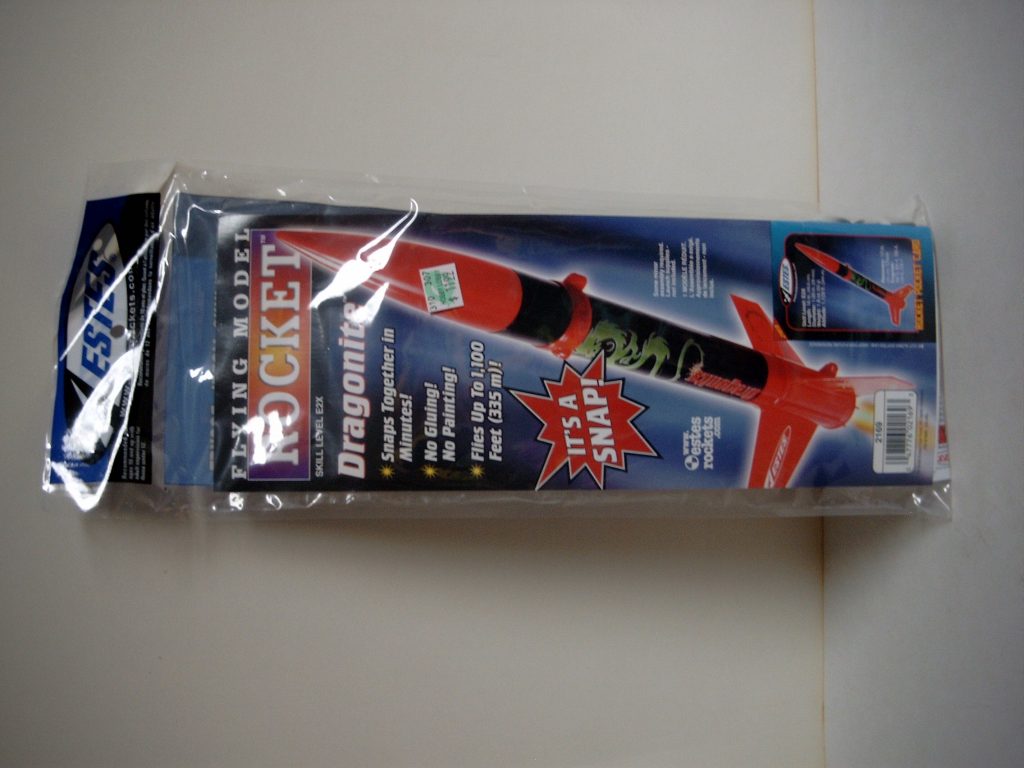
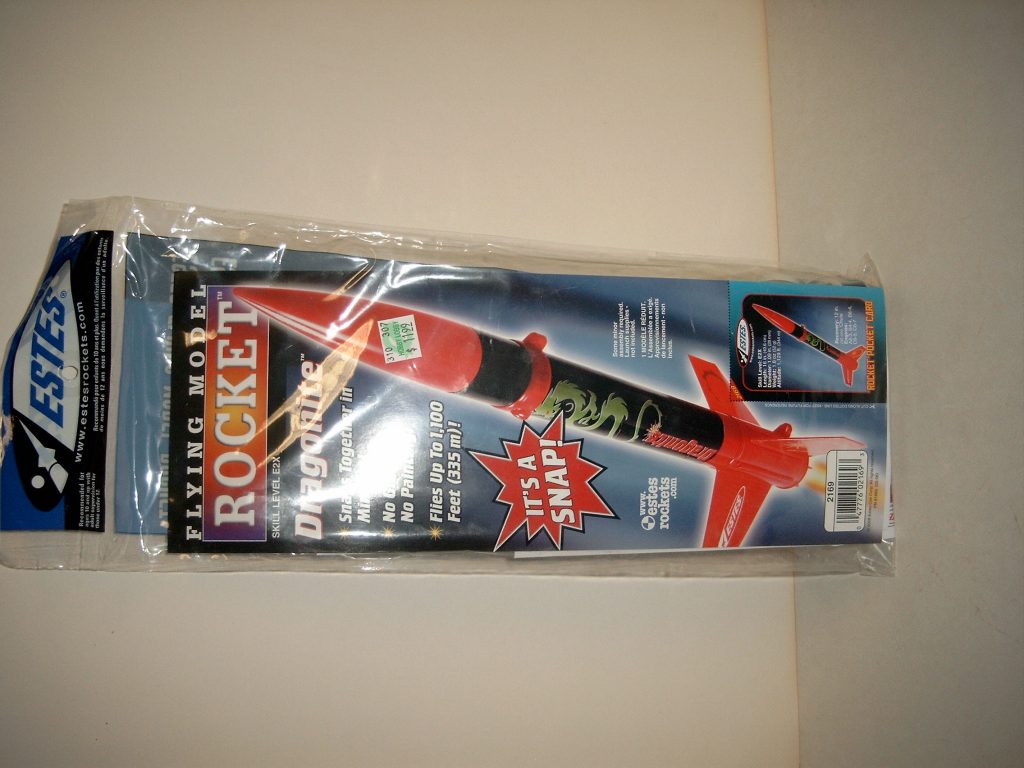
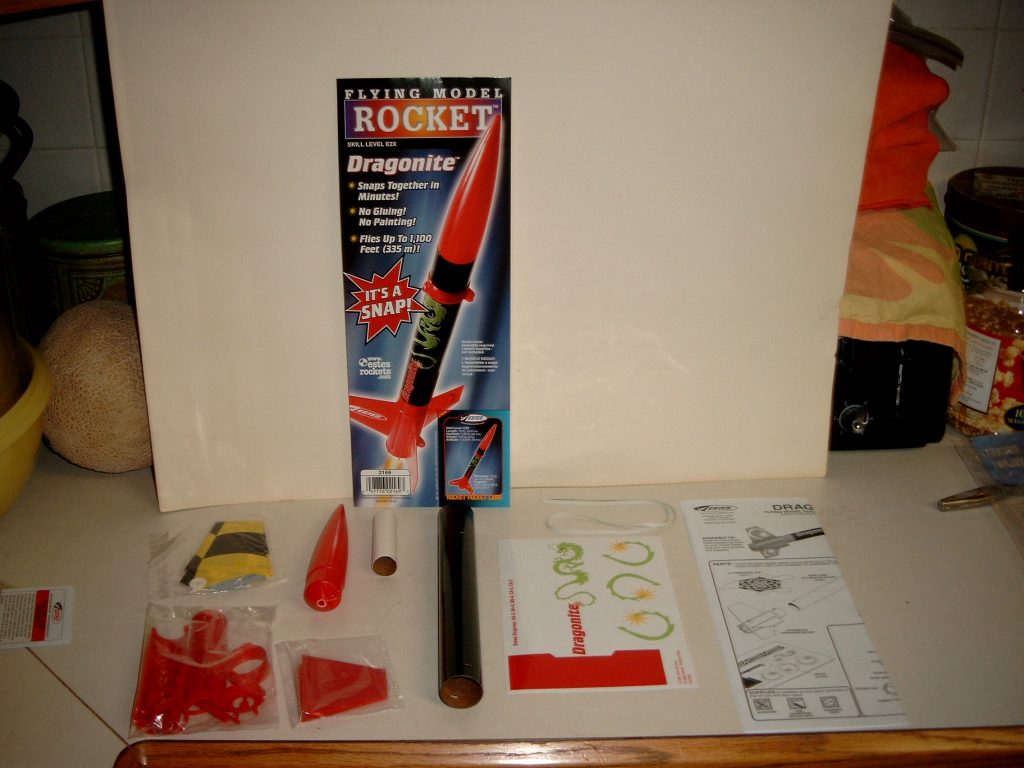
ESTES Model #2169

Description
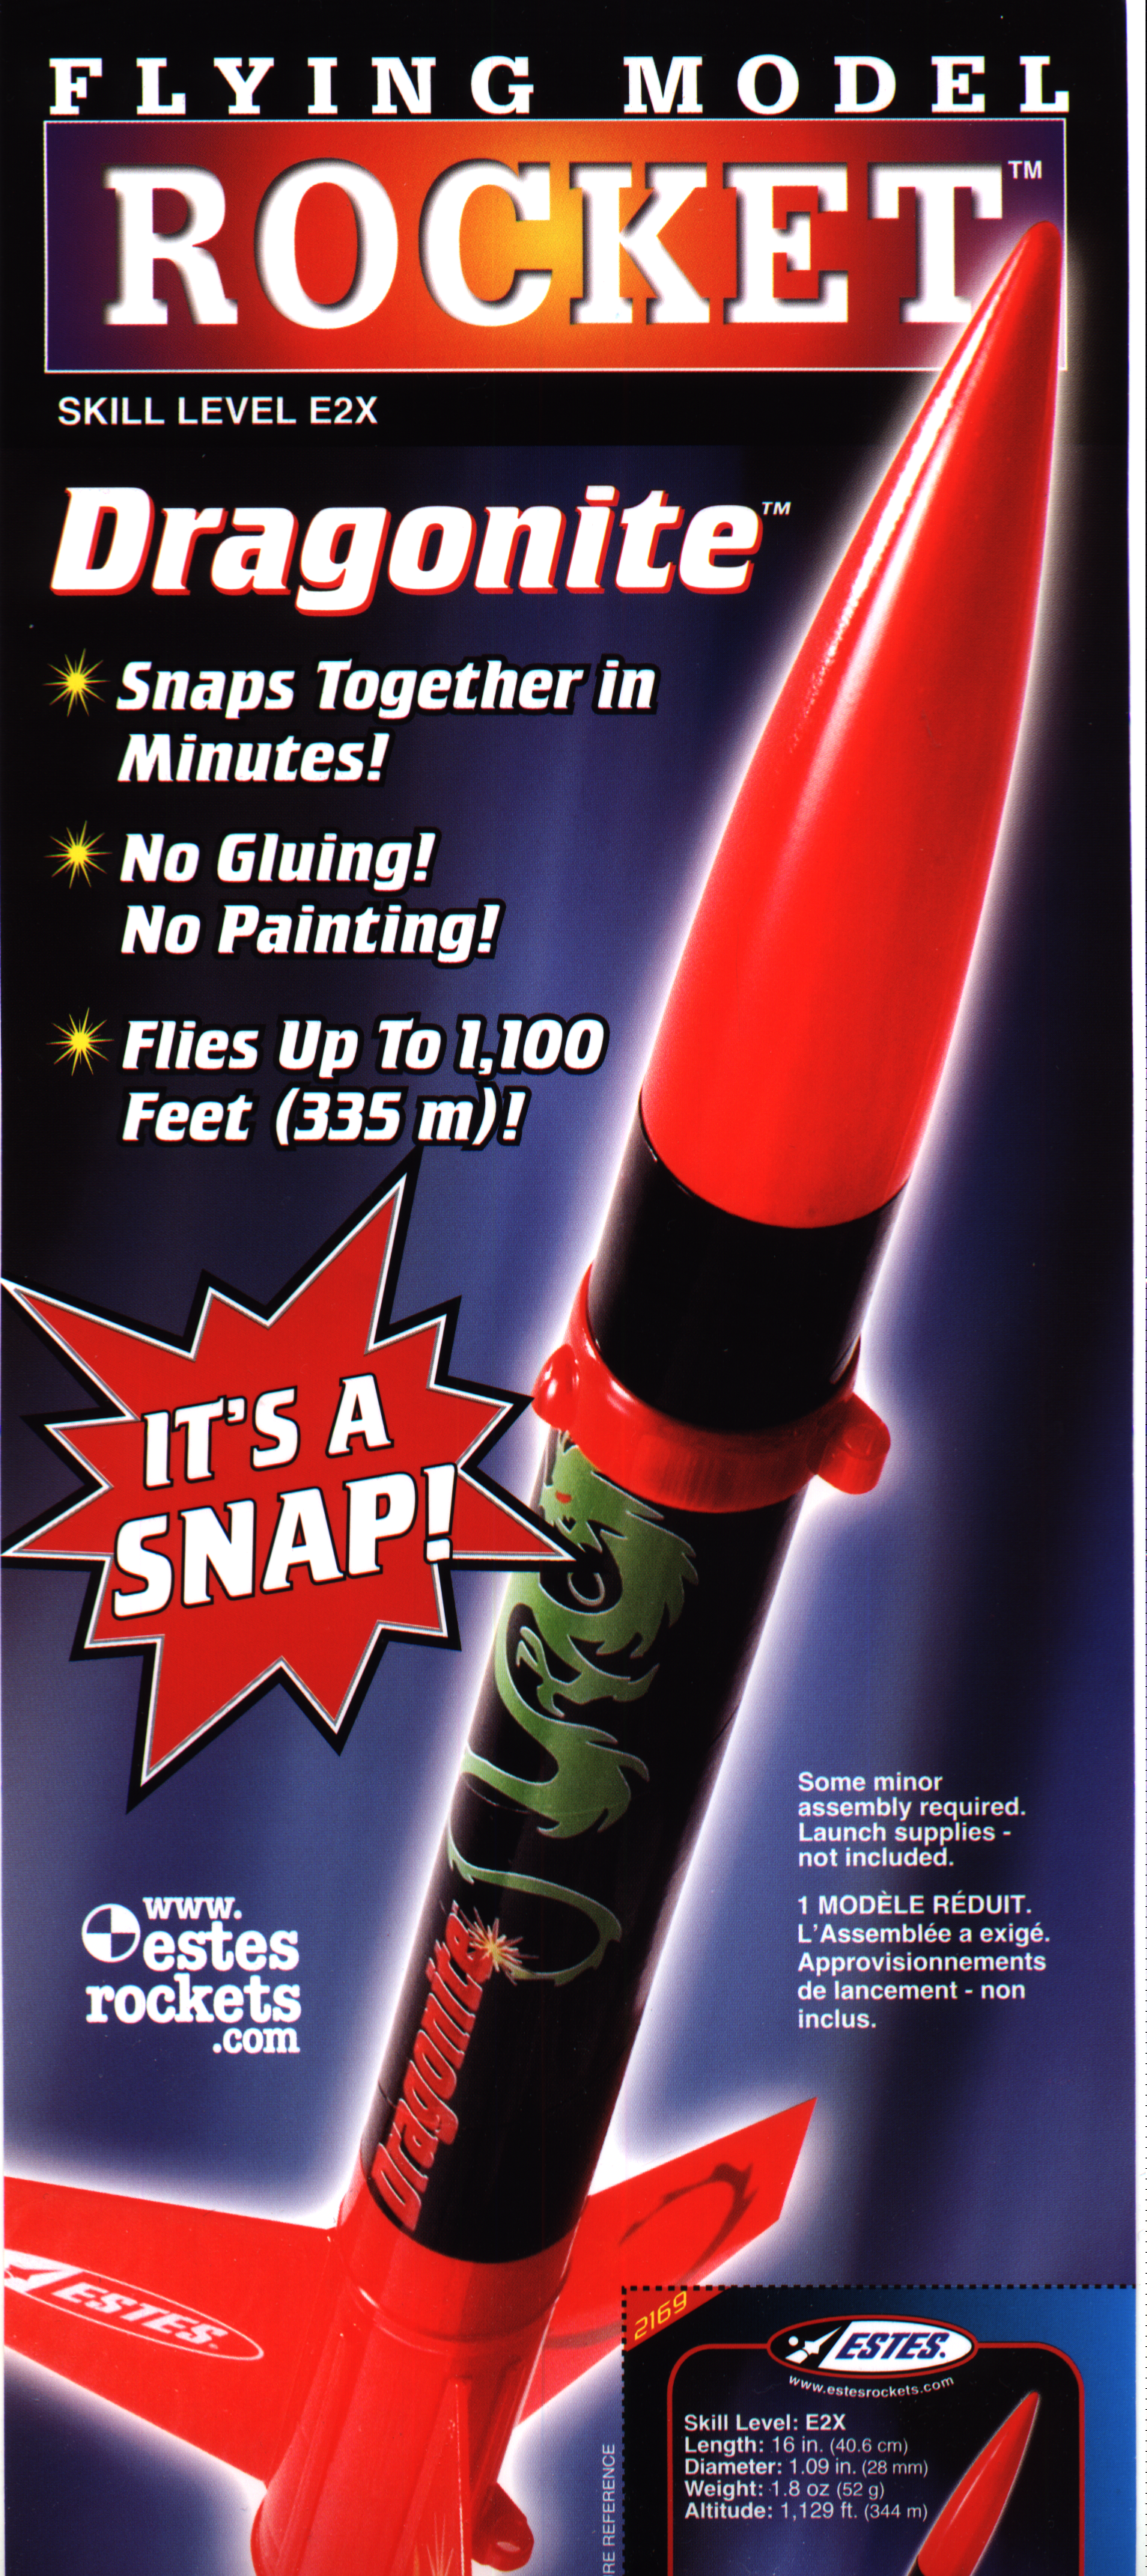
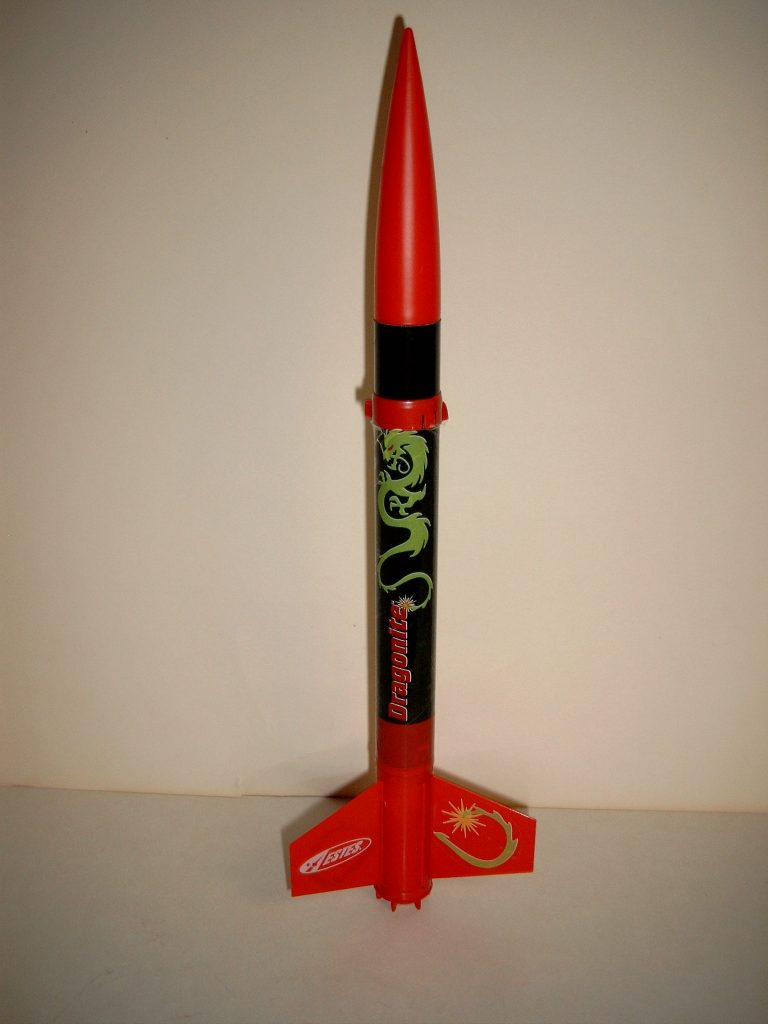
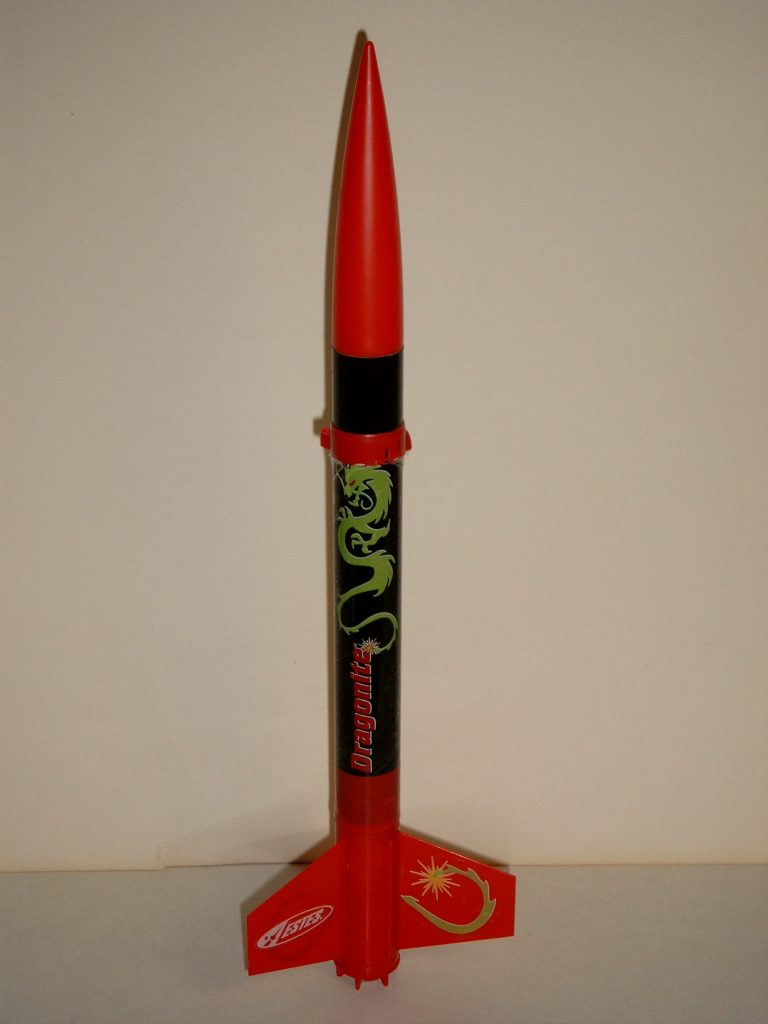
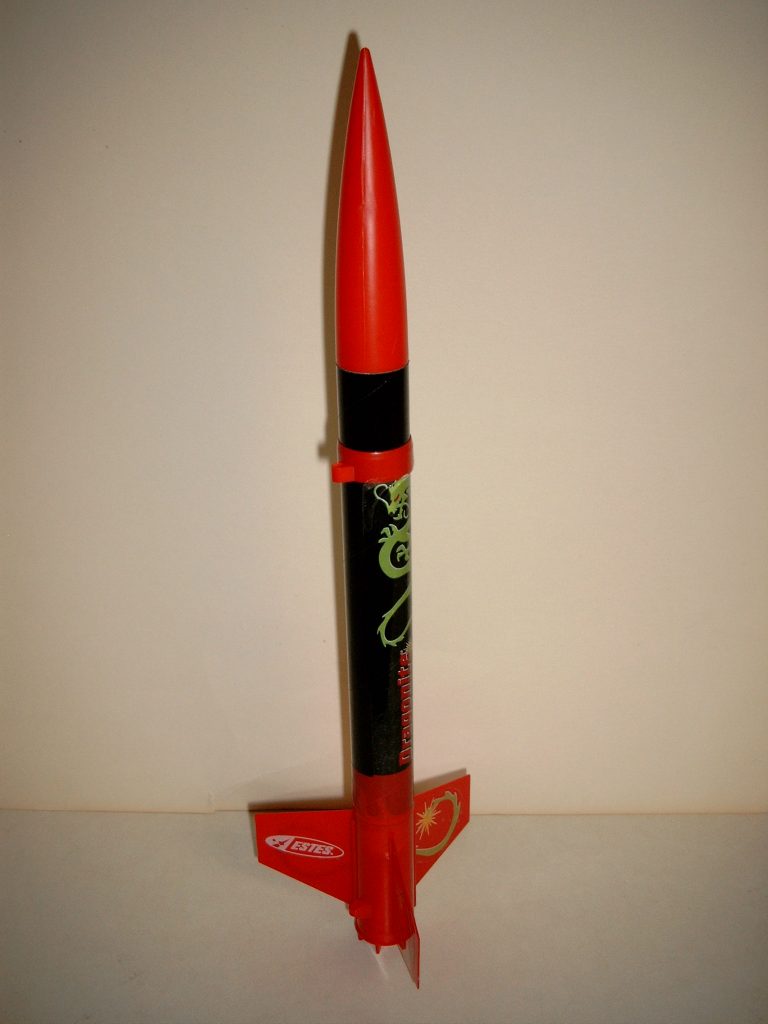
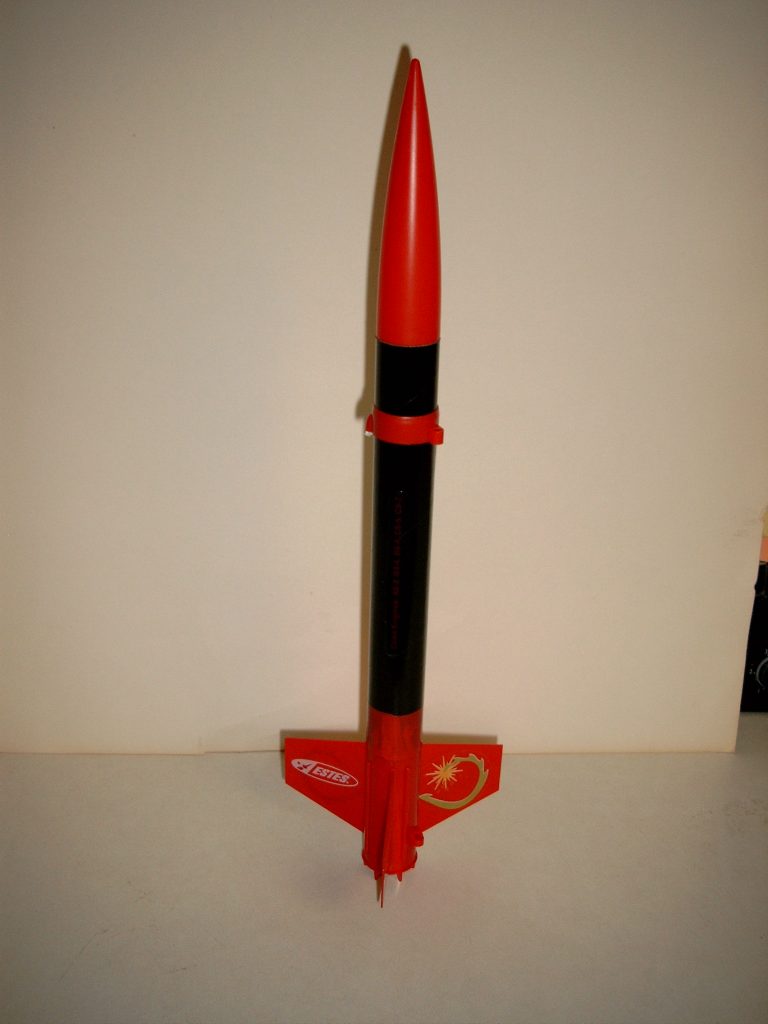
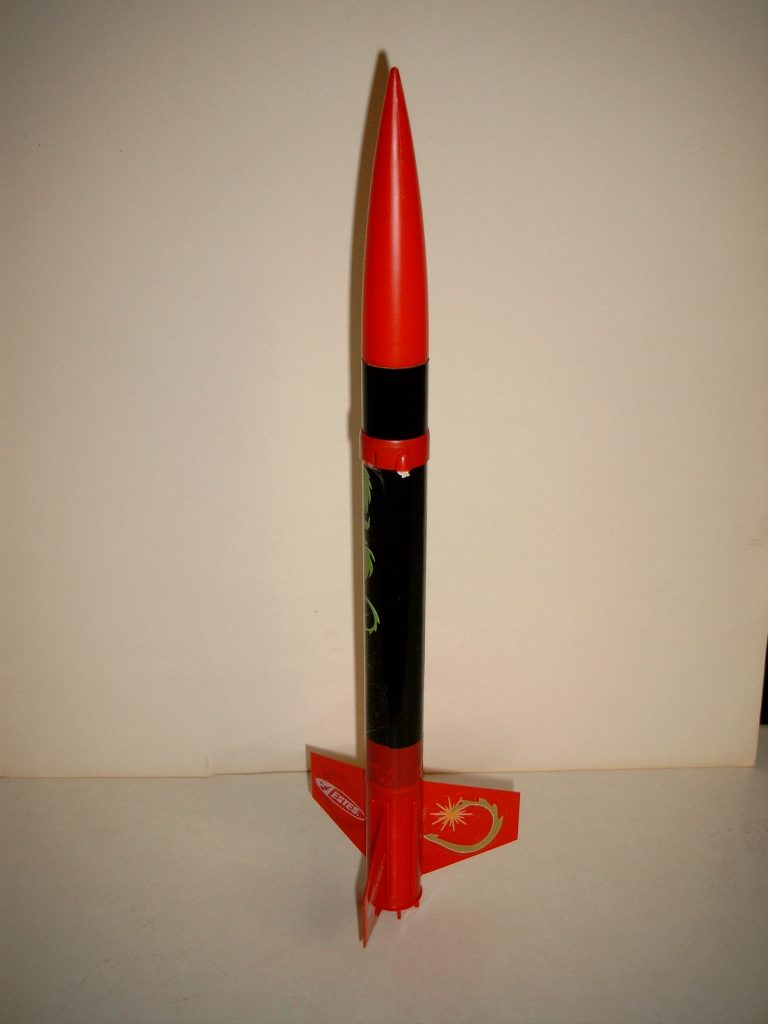
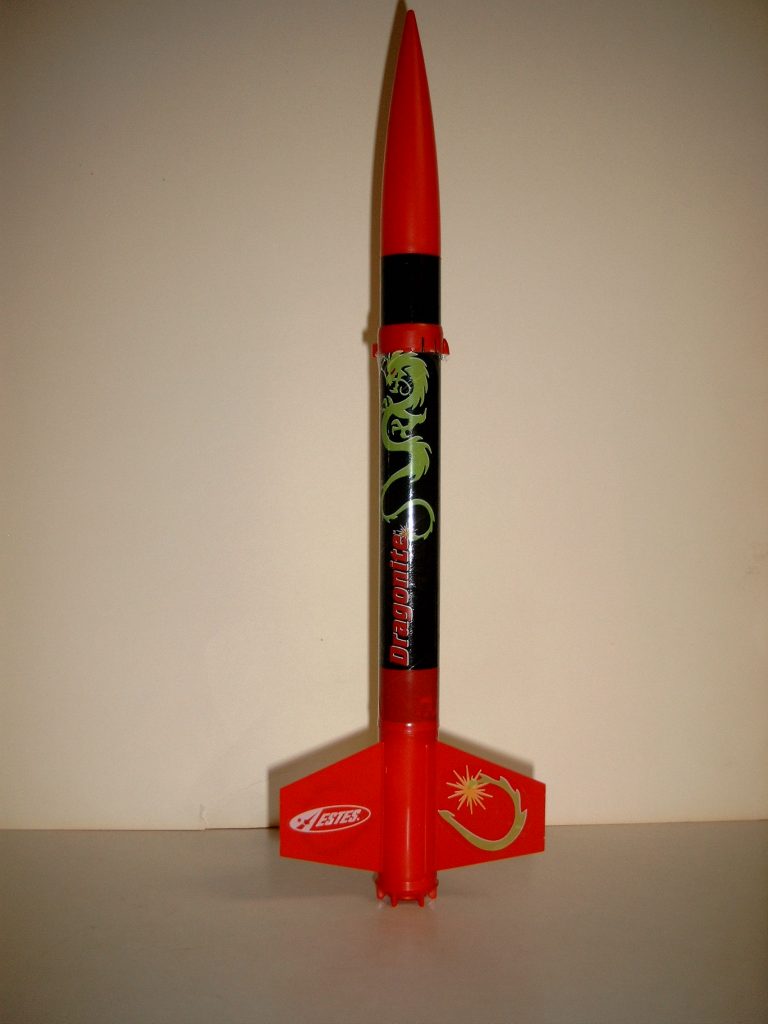
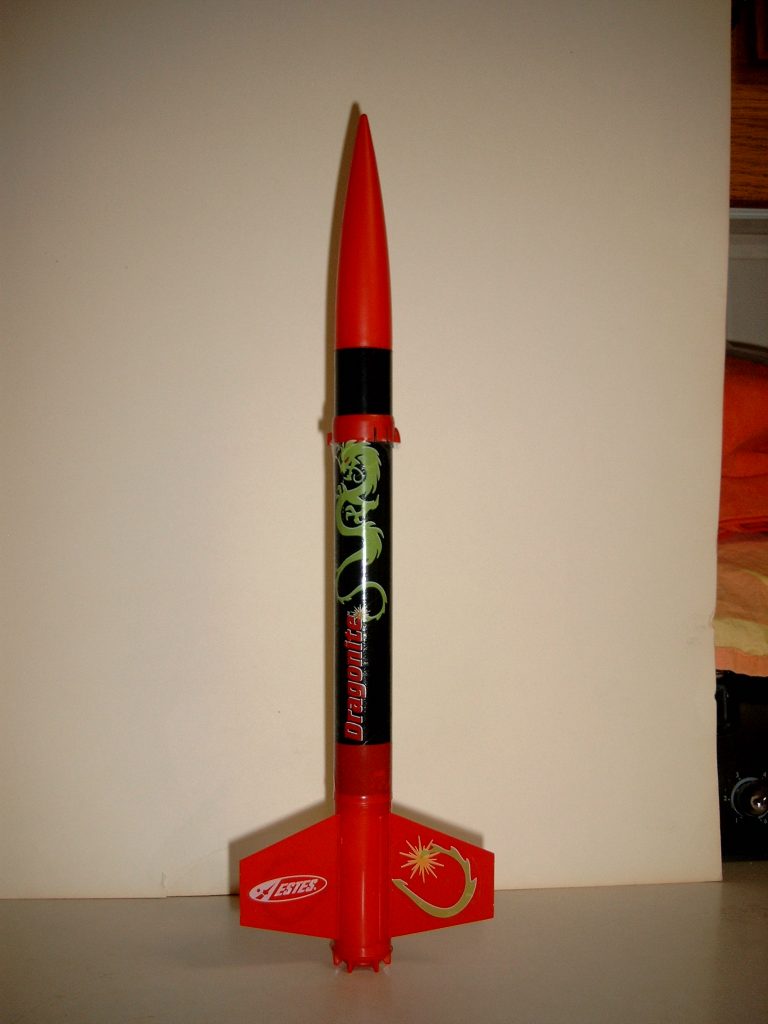
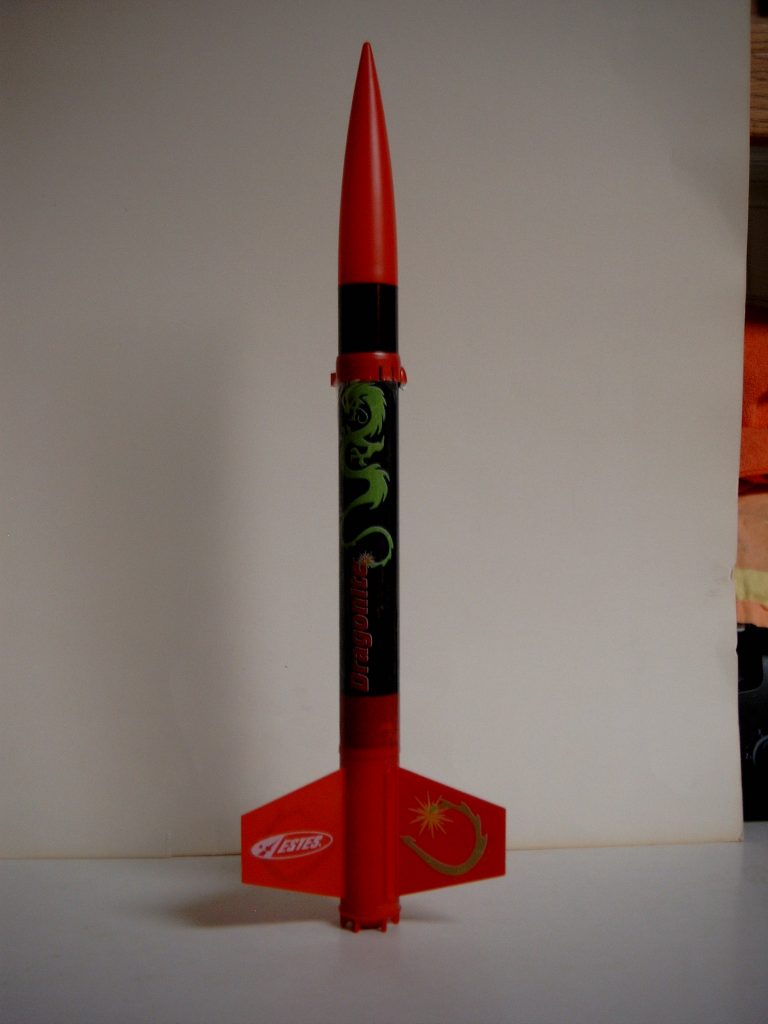
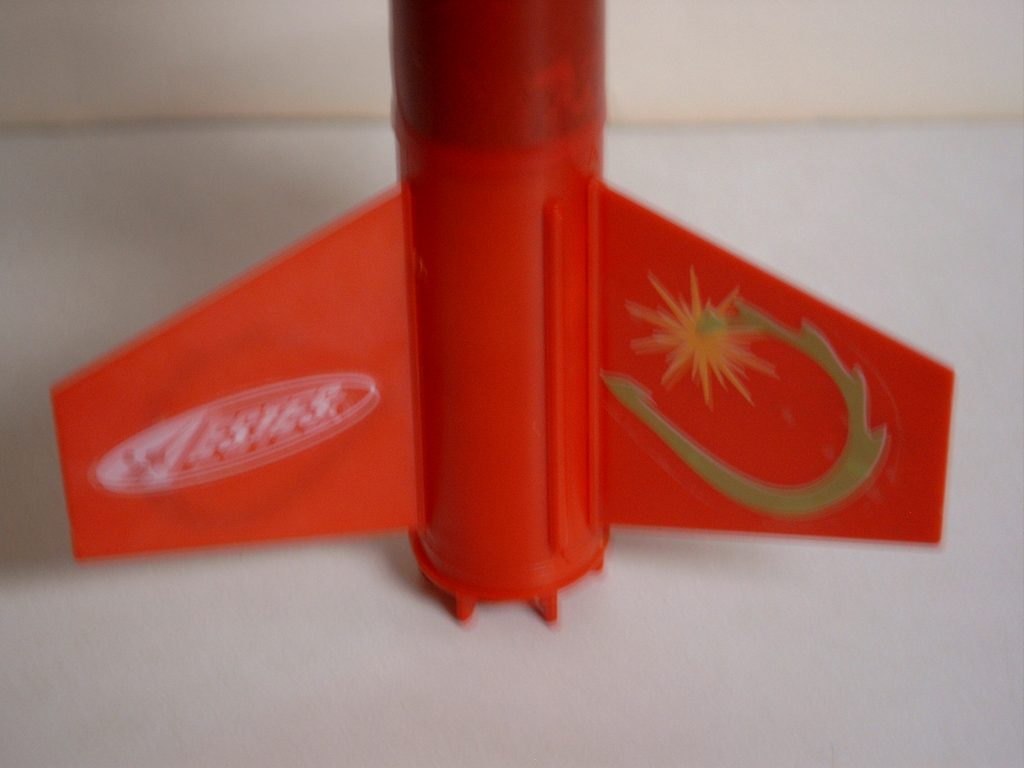
High performance model rocketry that’s a SNAP! The 16 inch Dragonite is the newest addition to the Estes Snaps line of model rockets.
When you don’t have lots of time for building and painting a rocket, this is your best bet. Snap together rockets are perfect for young, new rocketeers.
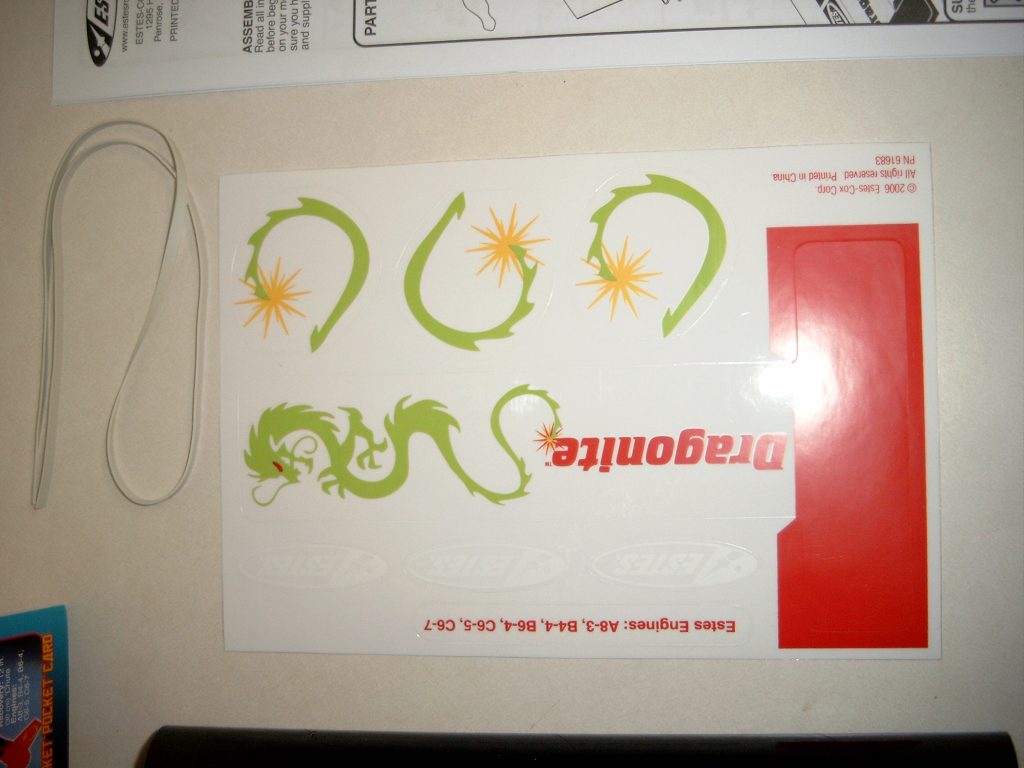
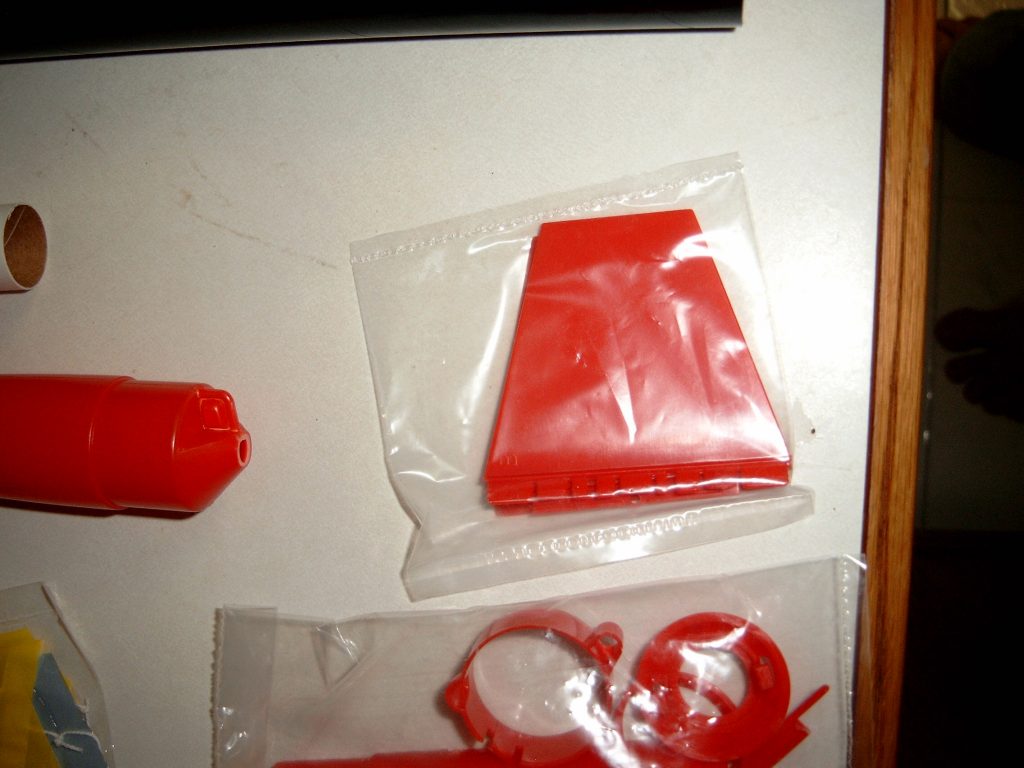
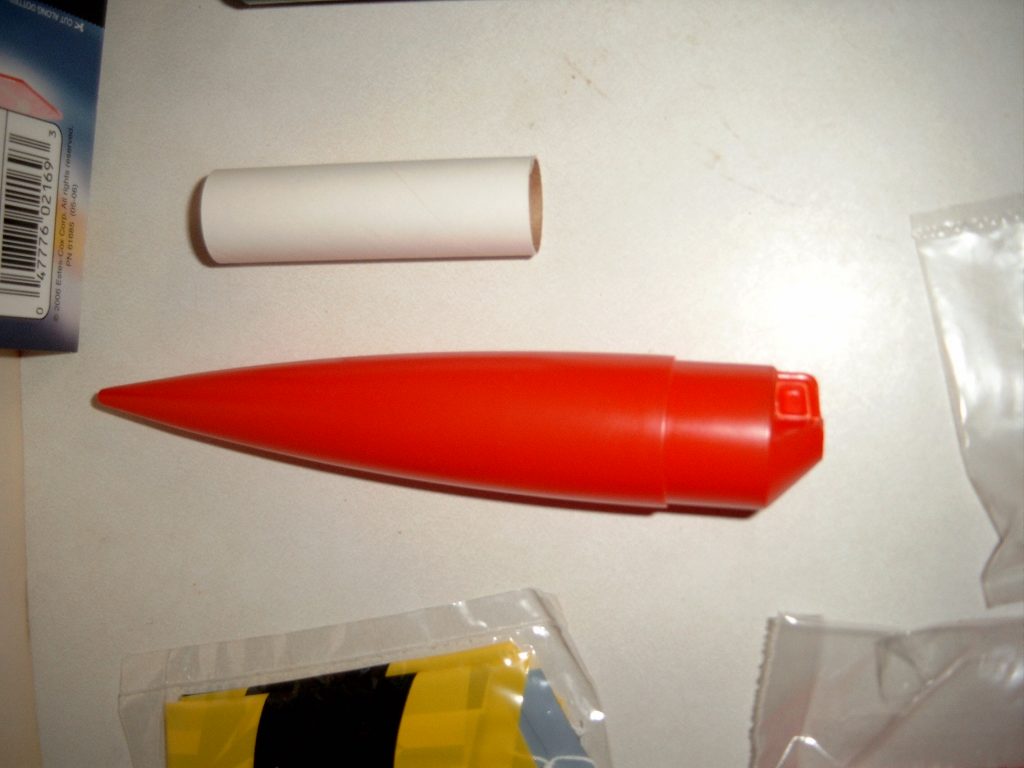
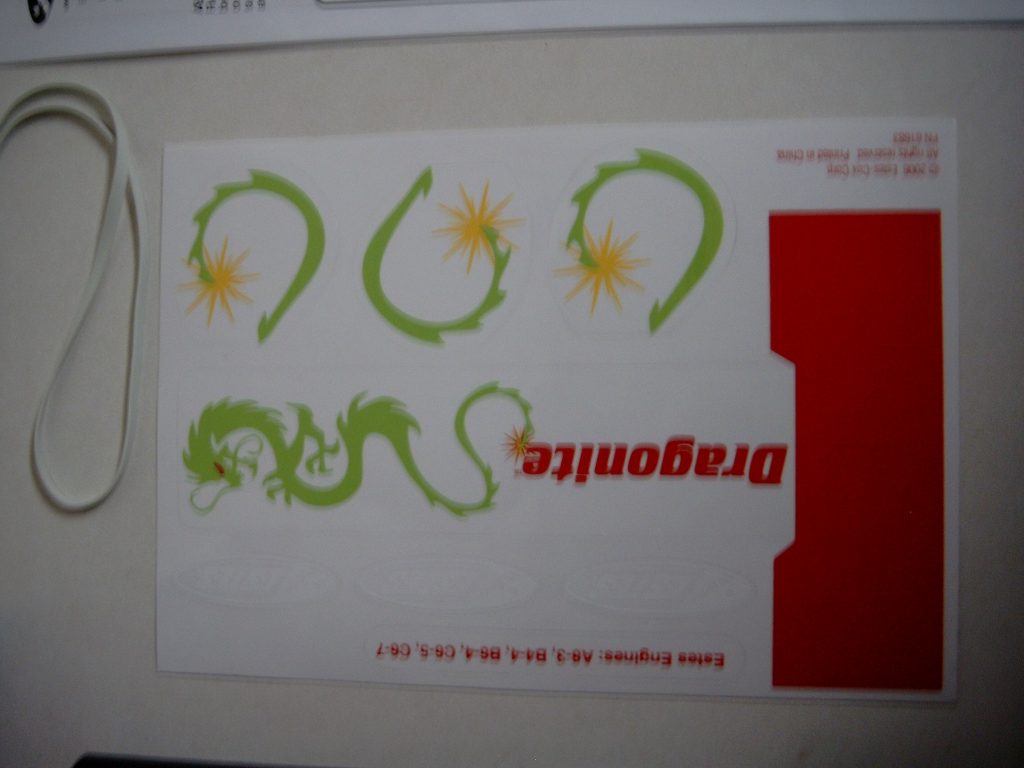
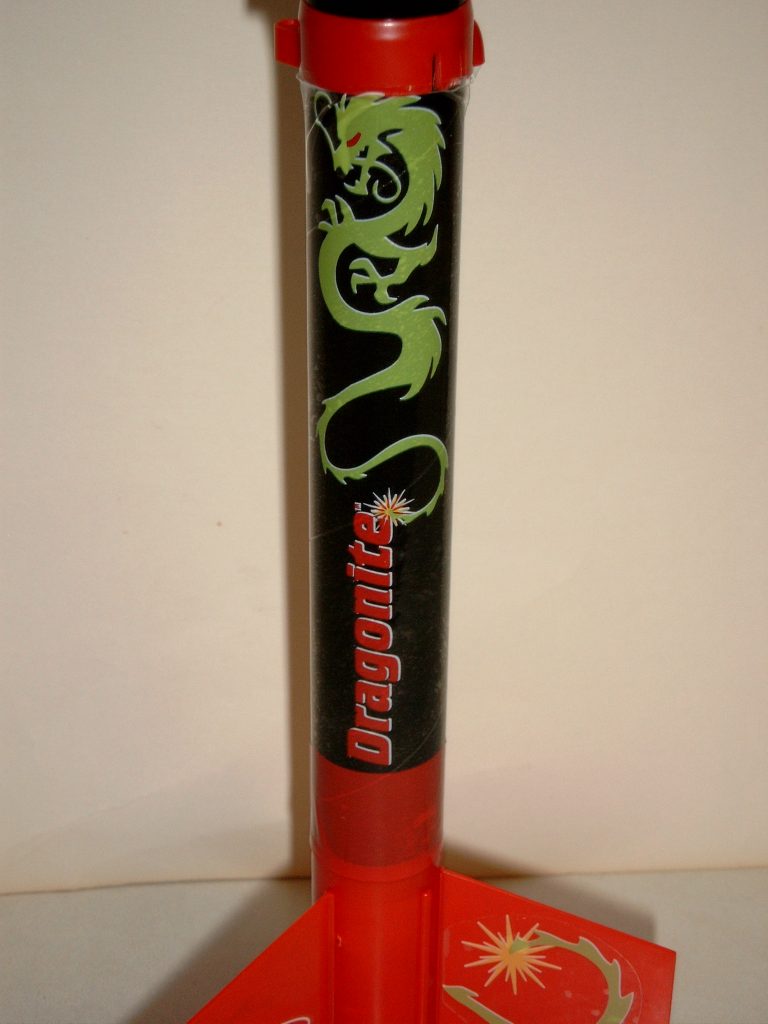
The Dragonite rocket kit literally “snaps” together in minutes with the uniquely molded plastic fin set. The precolored body tube attaches easily and the die cut decals are a breeze to apply. In just minutes you will have built your first model rocket that looks like it was made by a pro!
As easy as the Dragonite is to assemble, the main feature is the high performance flight profile which can easily reach altitudes over 1,100 feet on Estes standard model rocket engines. Recovery of your rocket after each cloud-topping flight is provided by a colorful, 12 inch parachute.
Additional Information
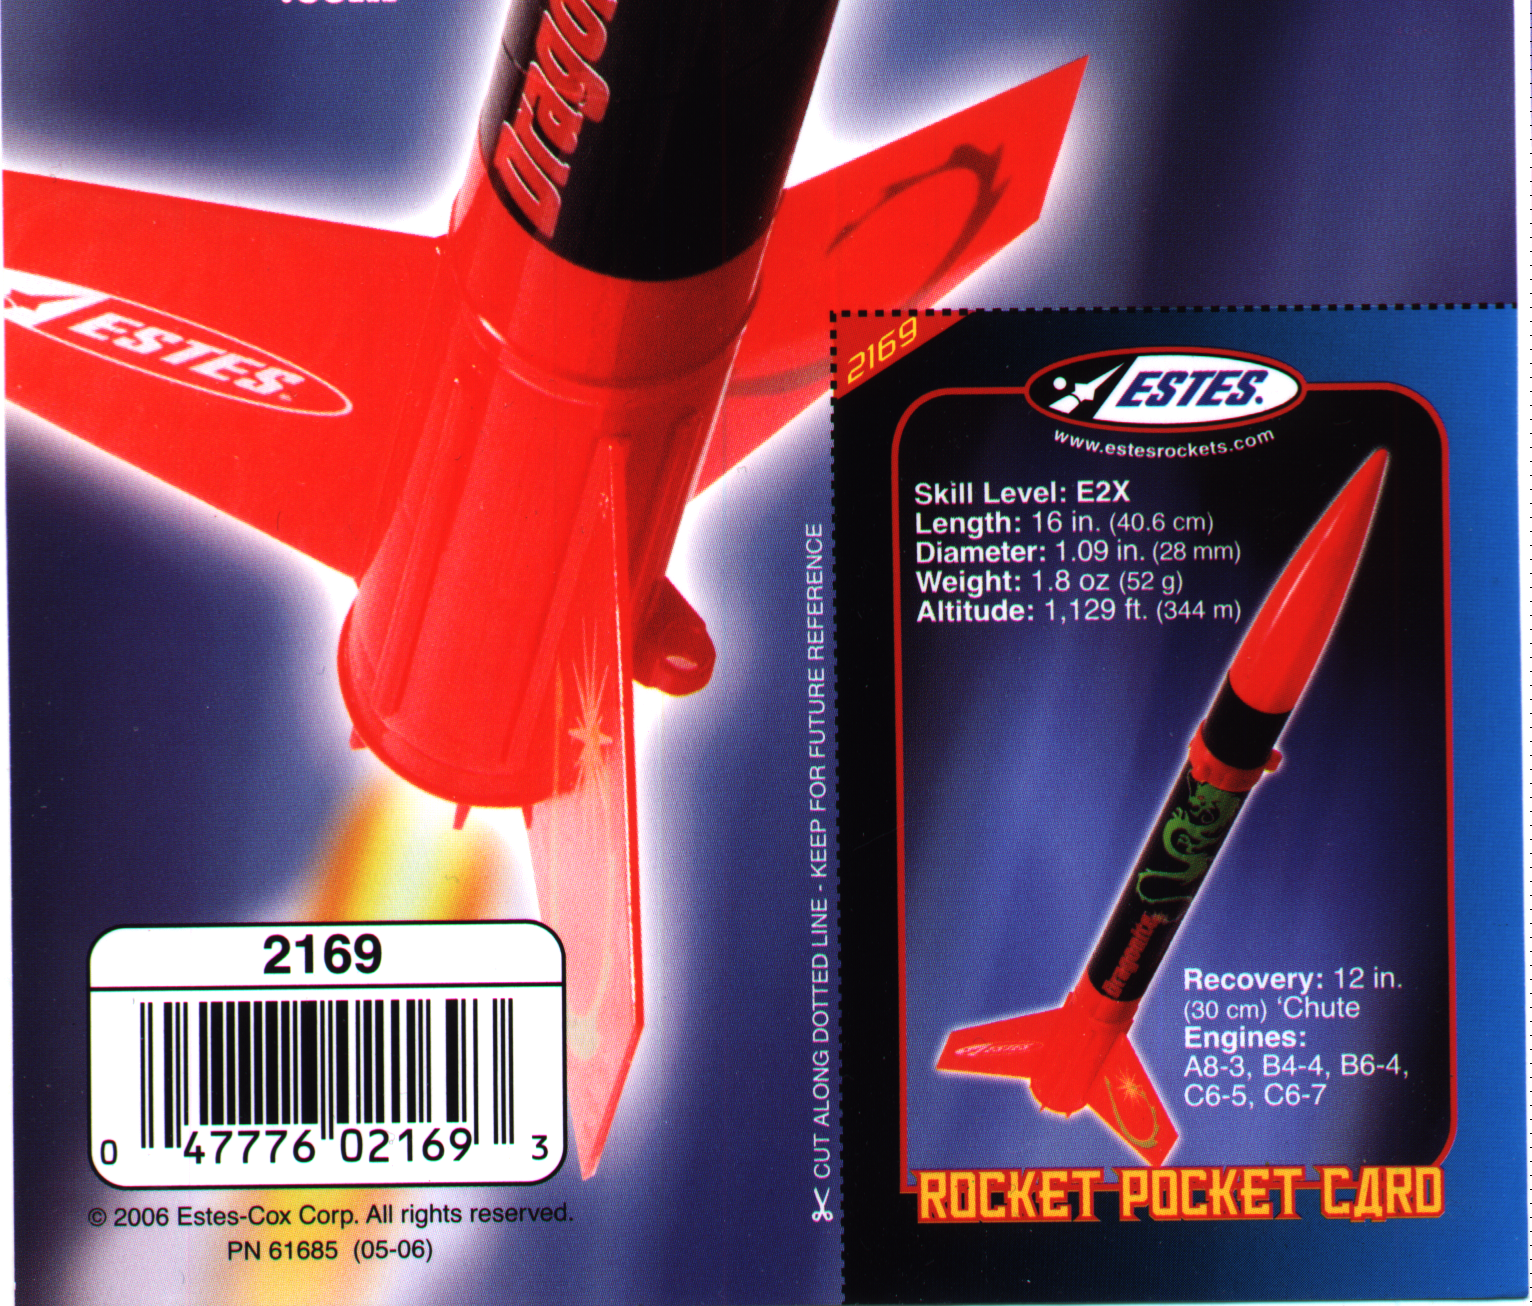
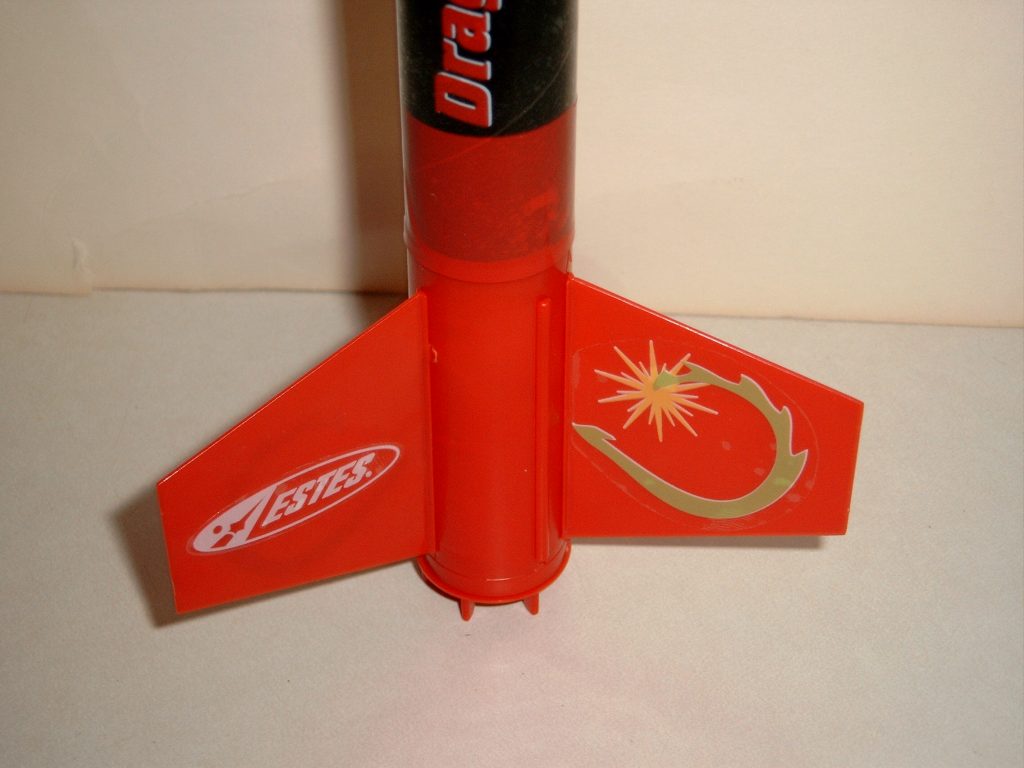
- Length: 16″
- Diameter: 1.1″
- Weight: 1.8 oz.
- Recovery: 12″ Parachute
- Fin: Plastic
- Altitude: 1125′
- Recommended Motors:
- A8-3, B4-4, B6-4, C6-5, C6-7
Instructions
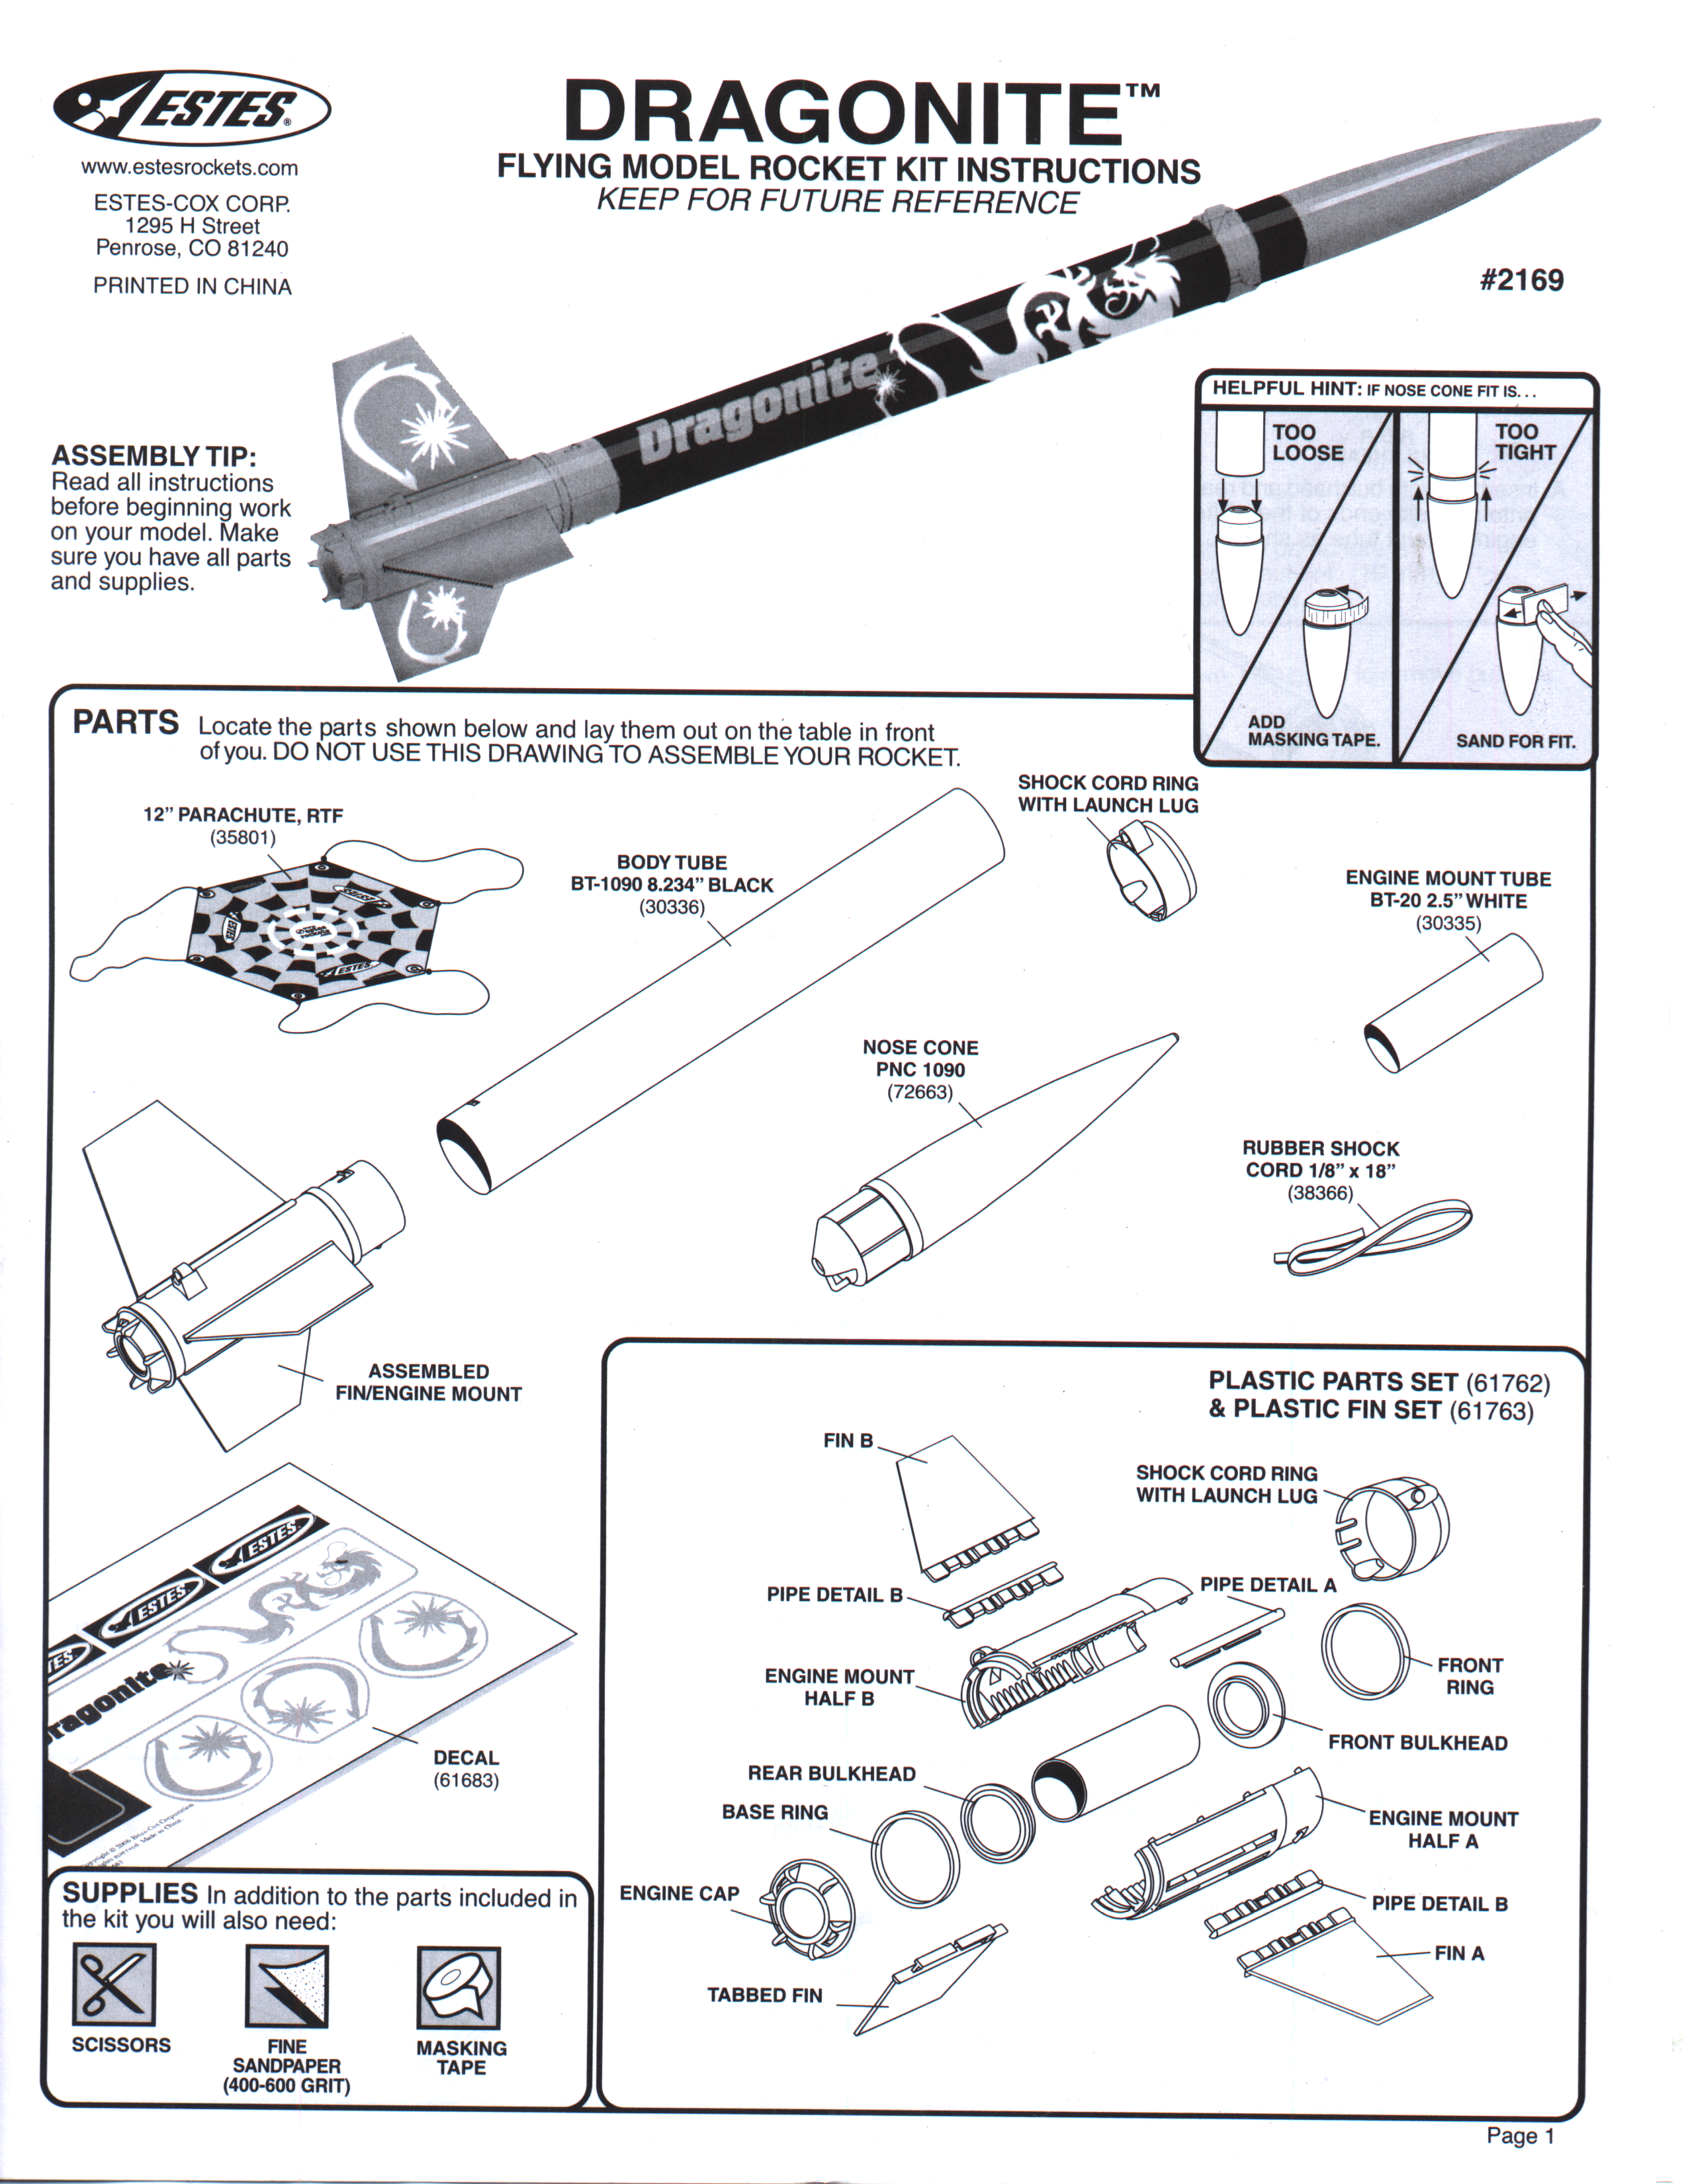
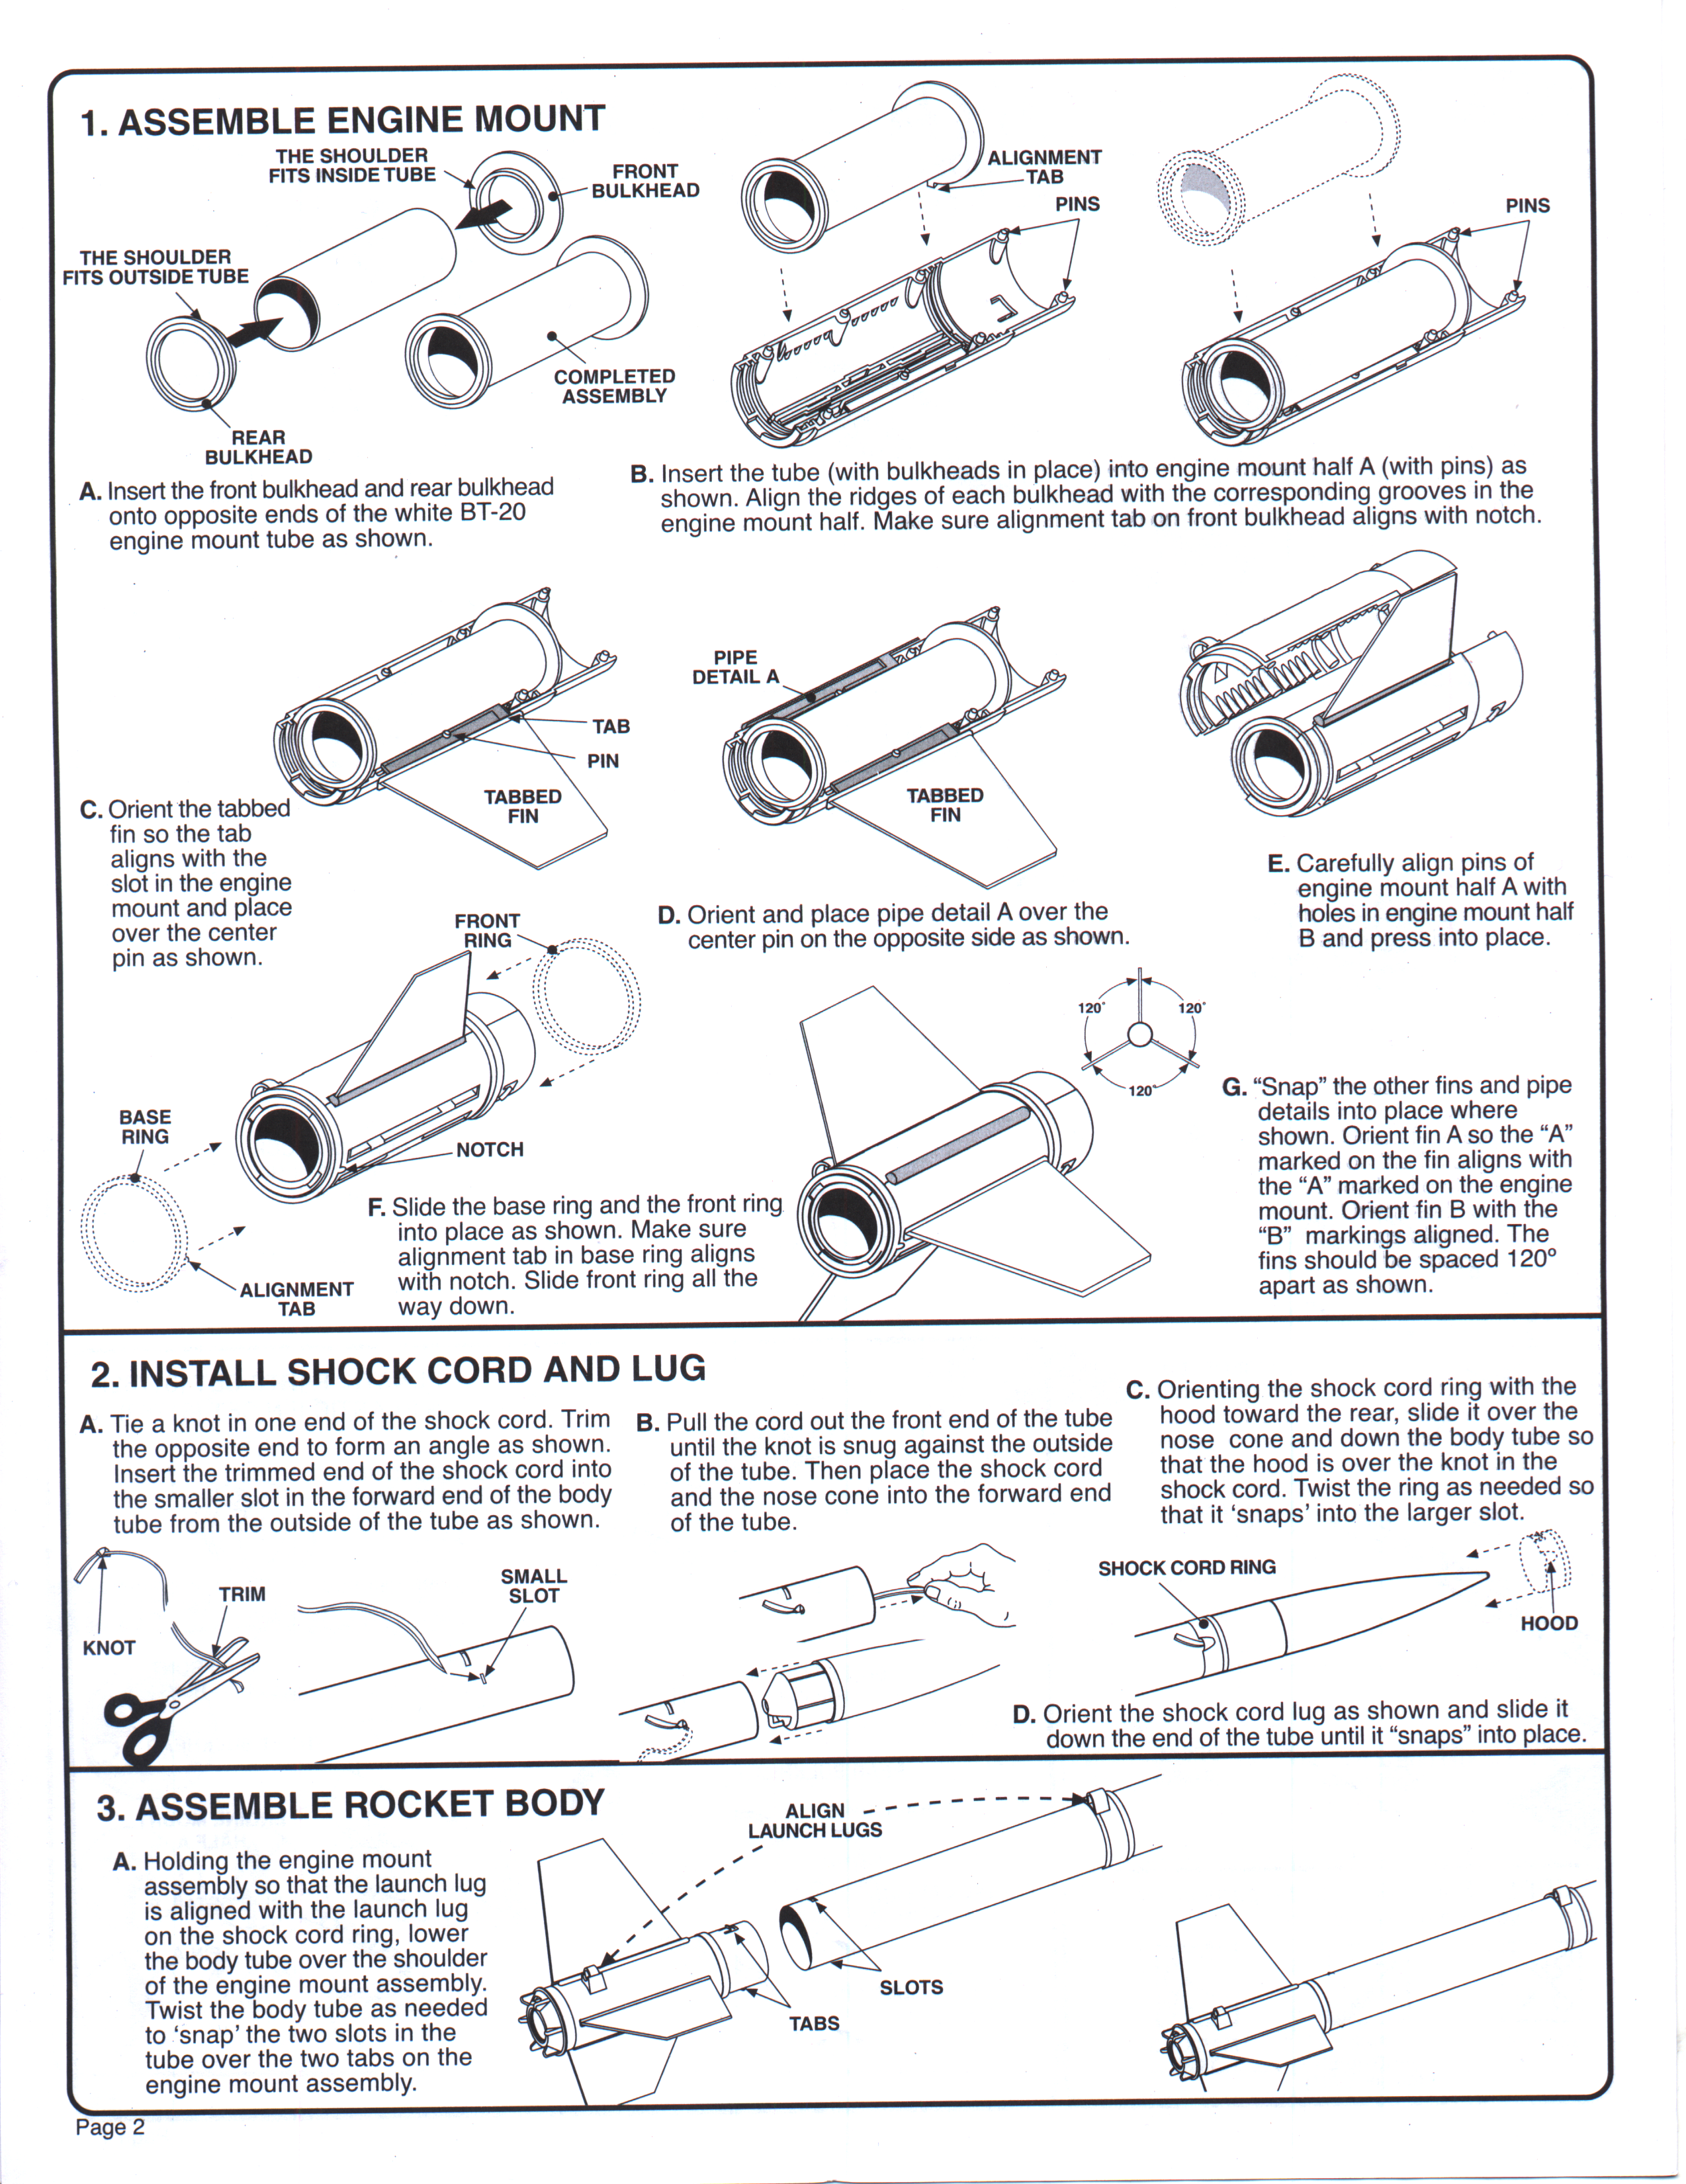
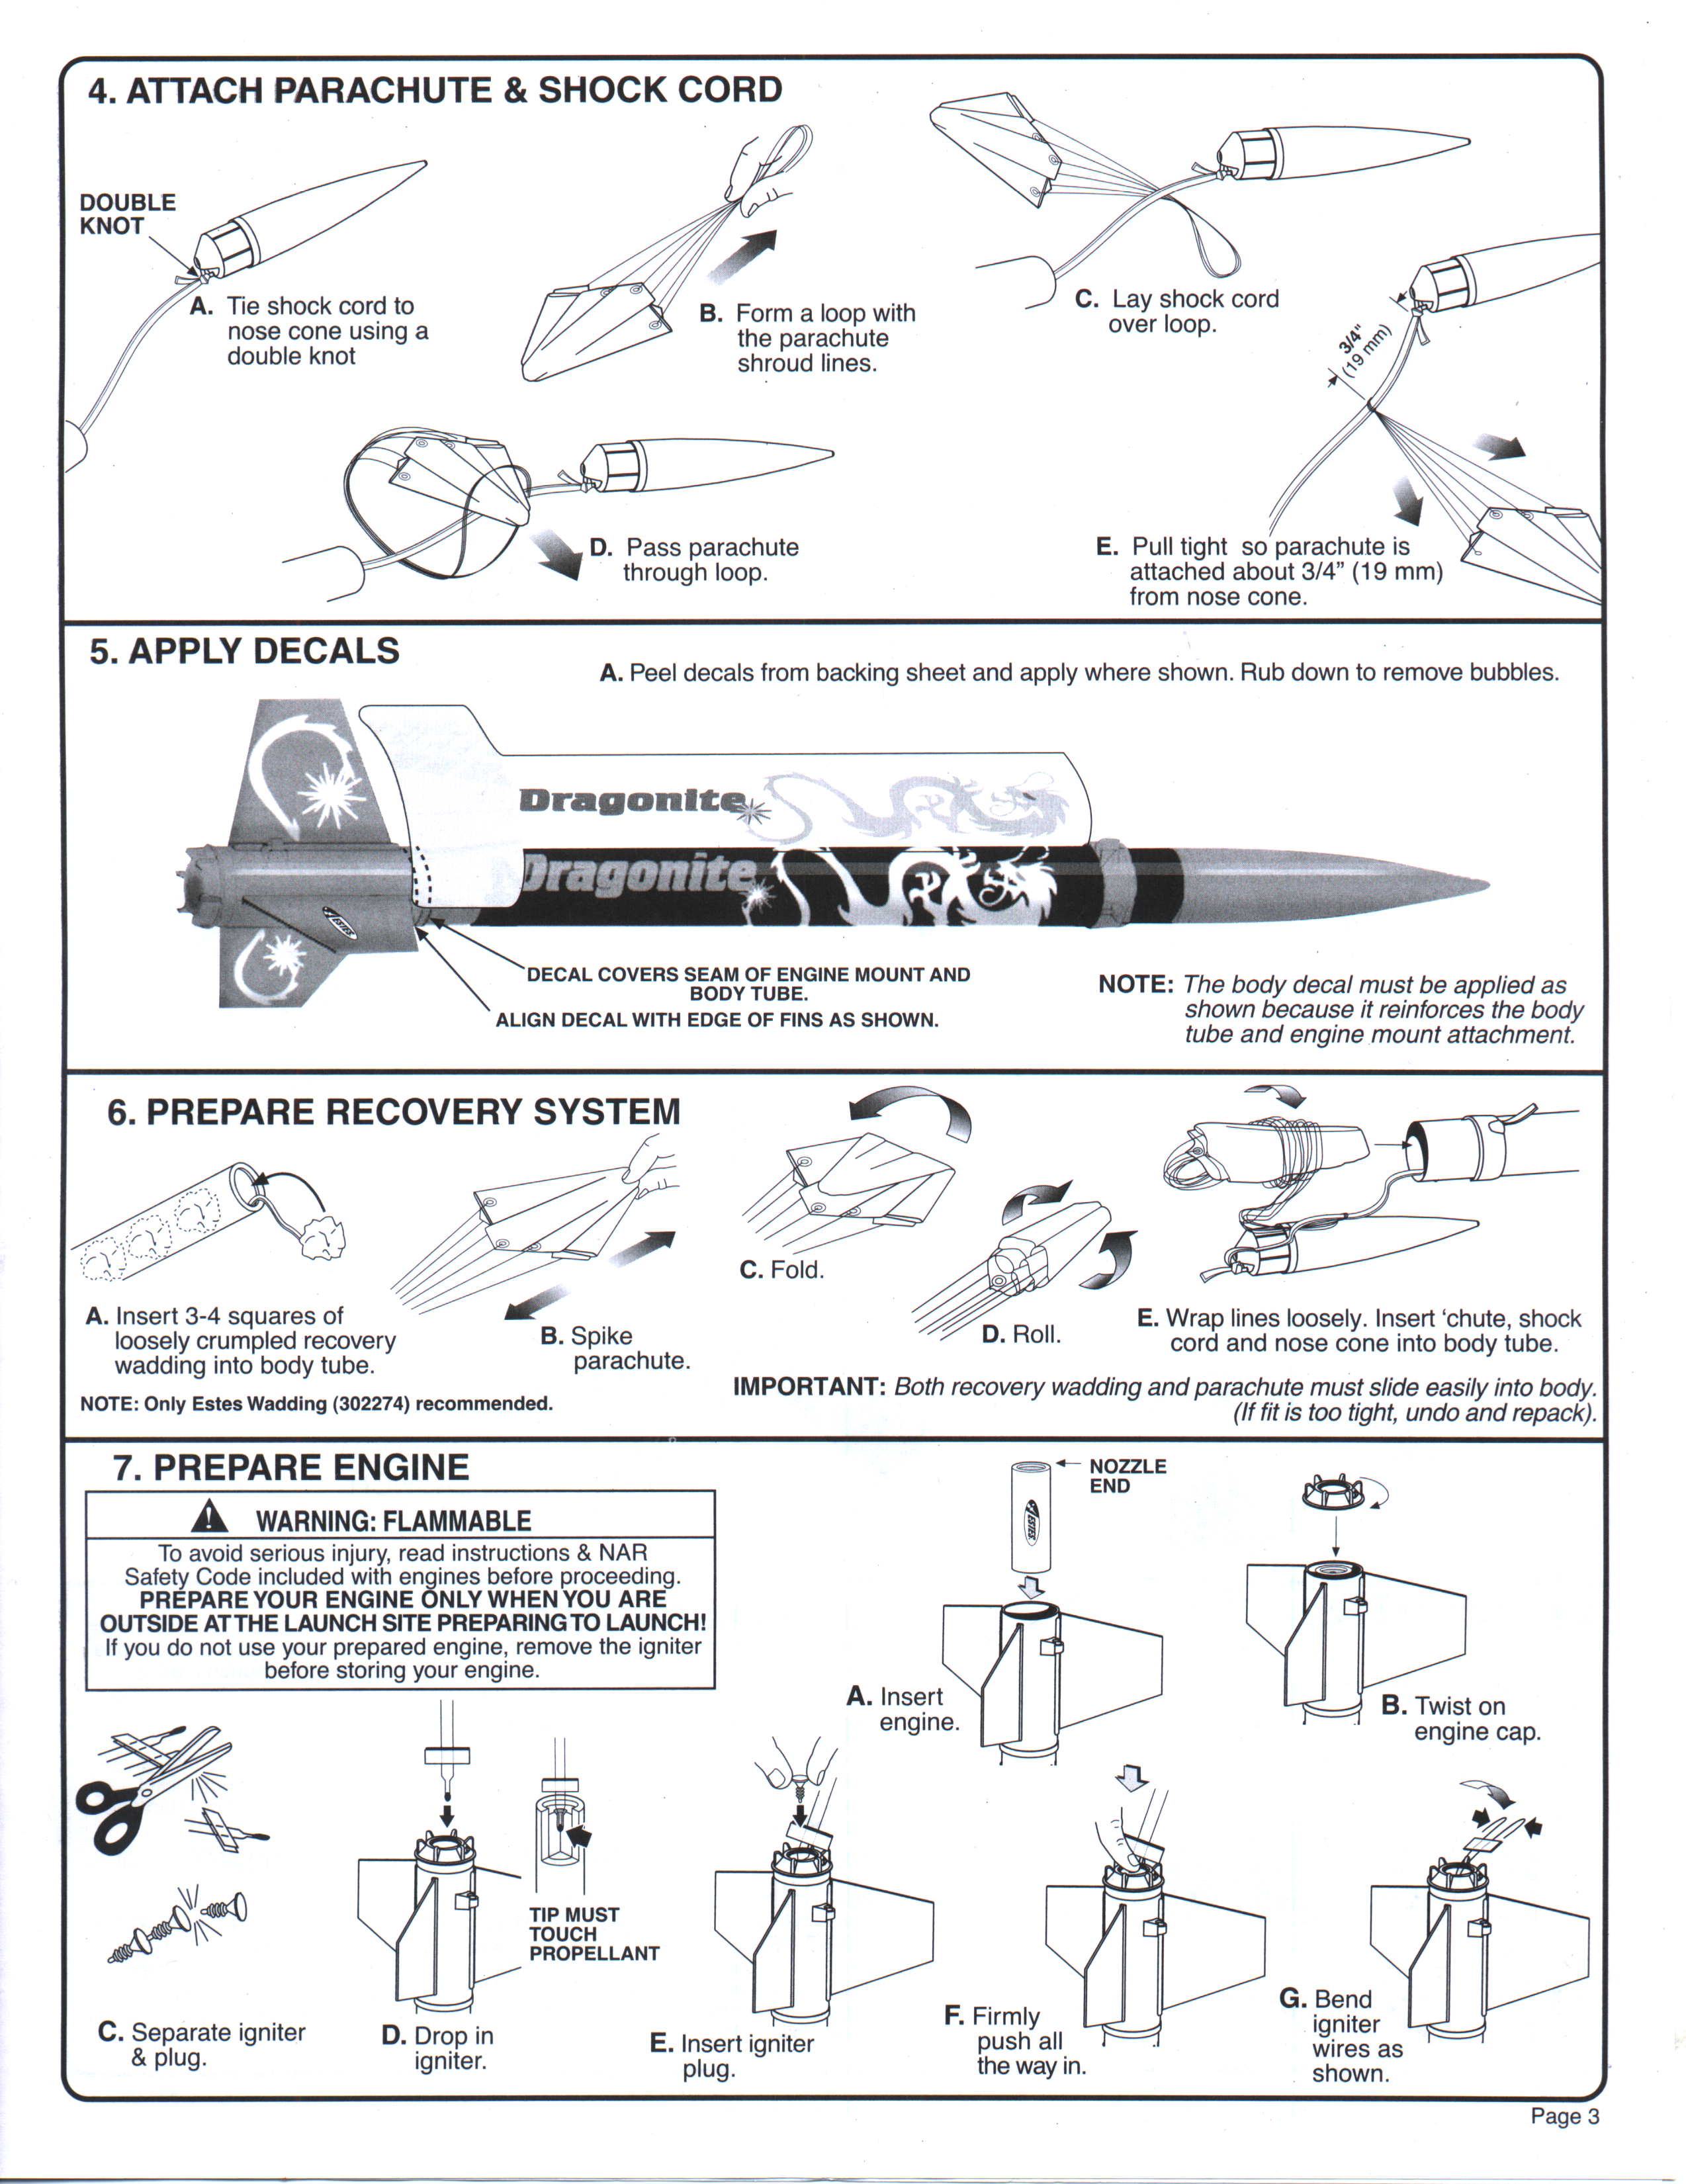
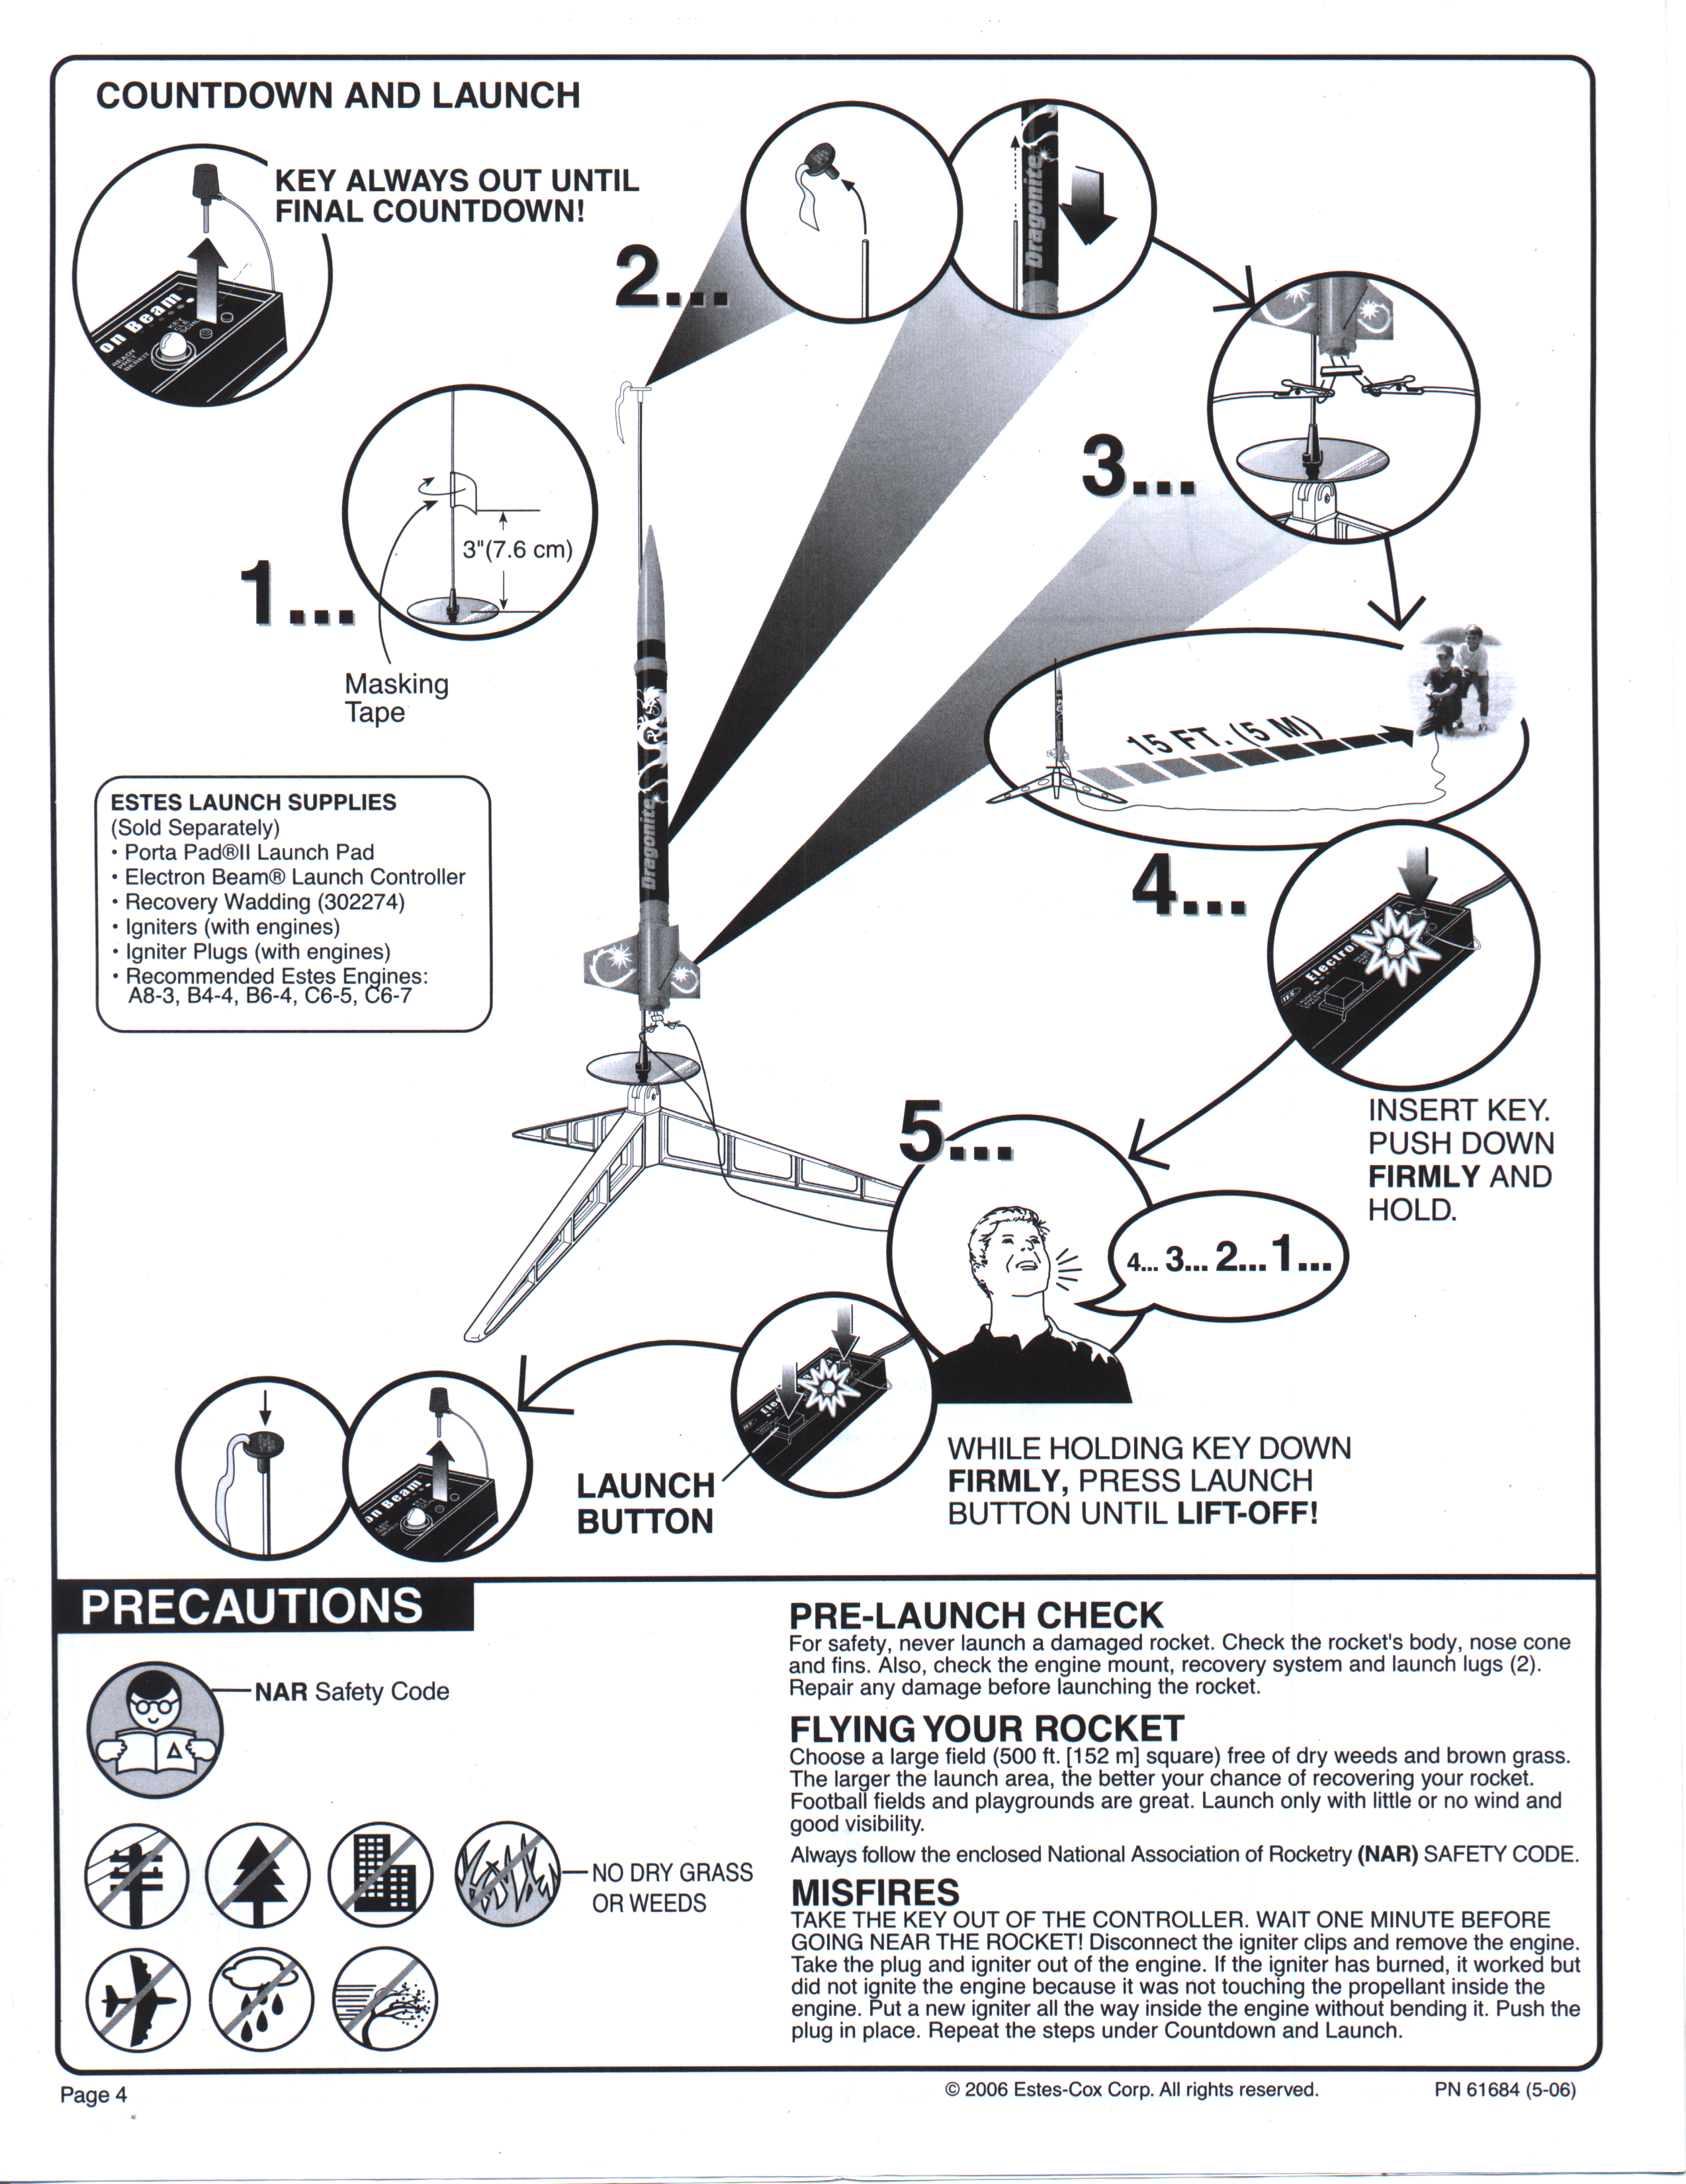
Photo Gallery


Build History
- 04/17/2007 – Purchased Estes Dragonite form Hobby Lobby in Columbus, IN for $7.19 (Retail $11.99).
- 04/20/2007 – Took pictures of package and contents.
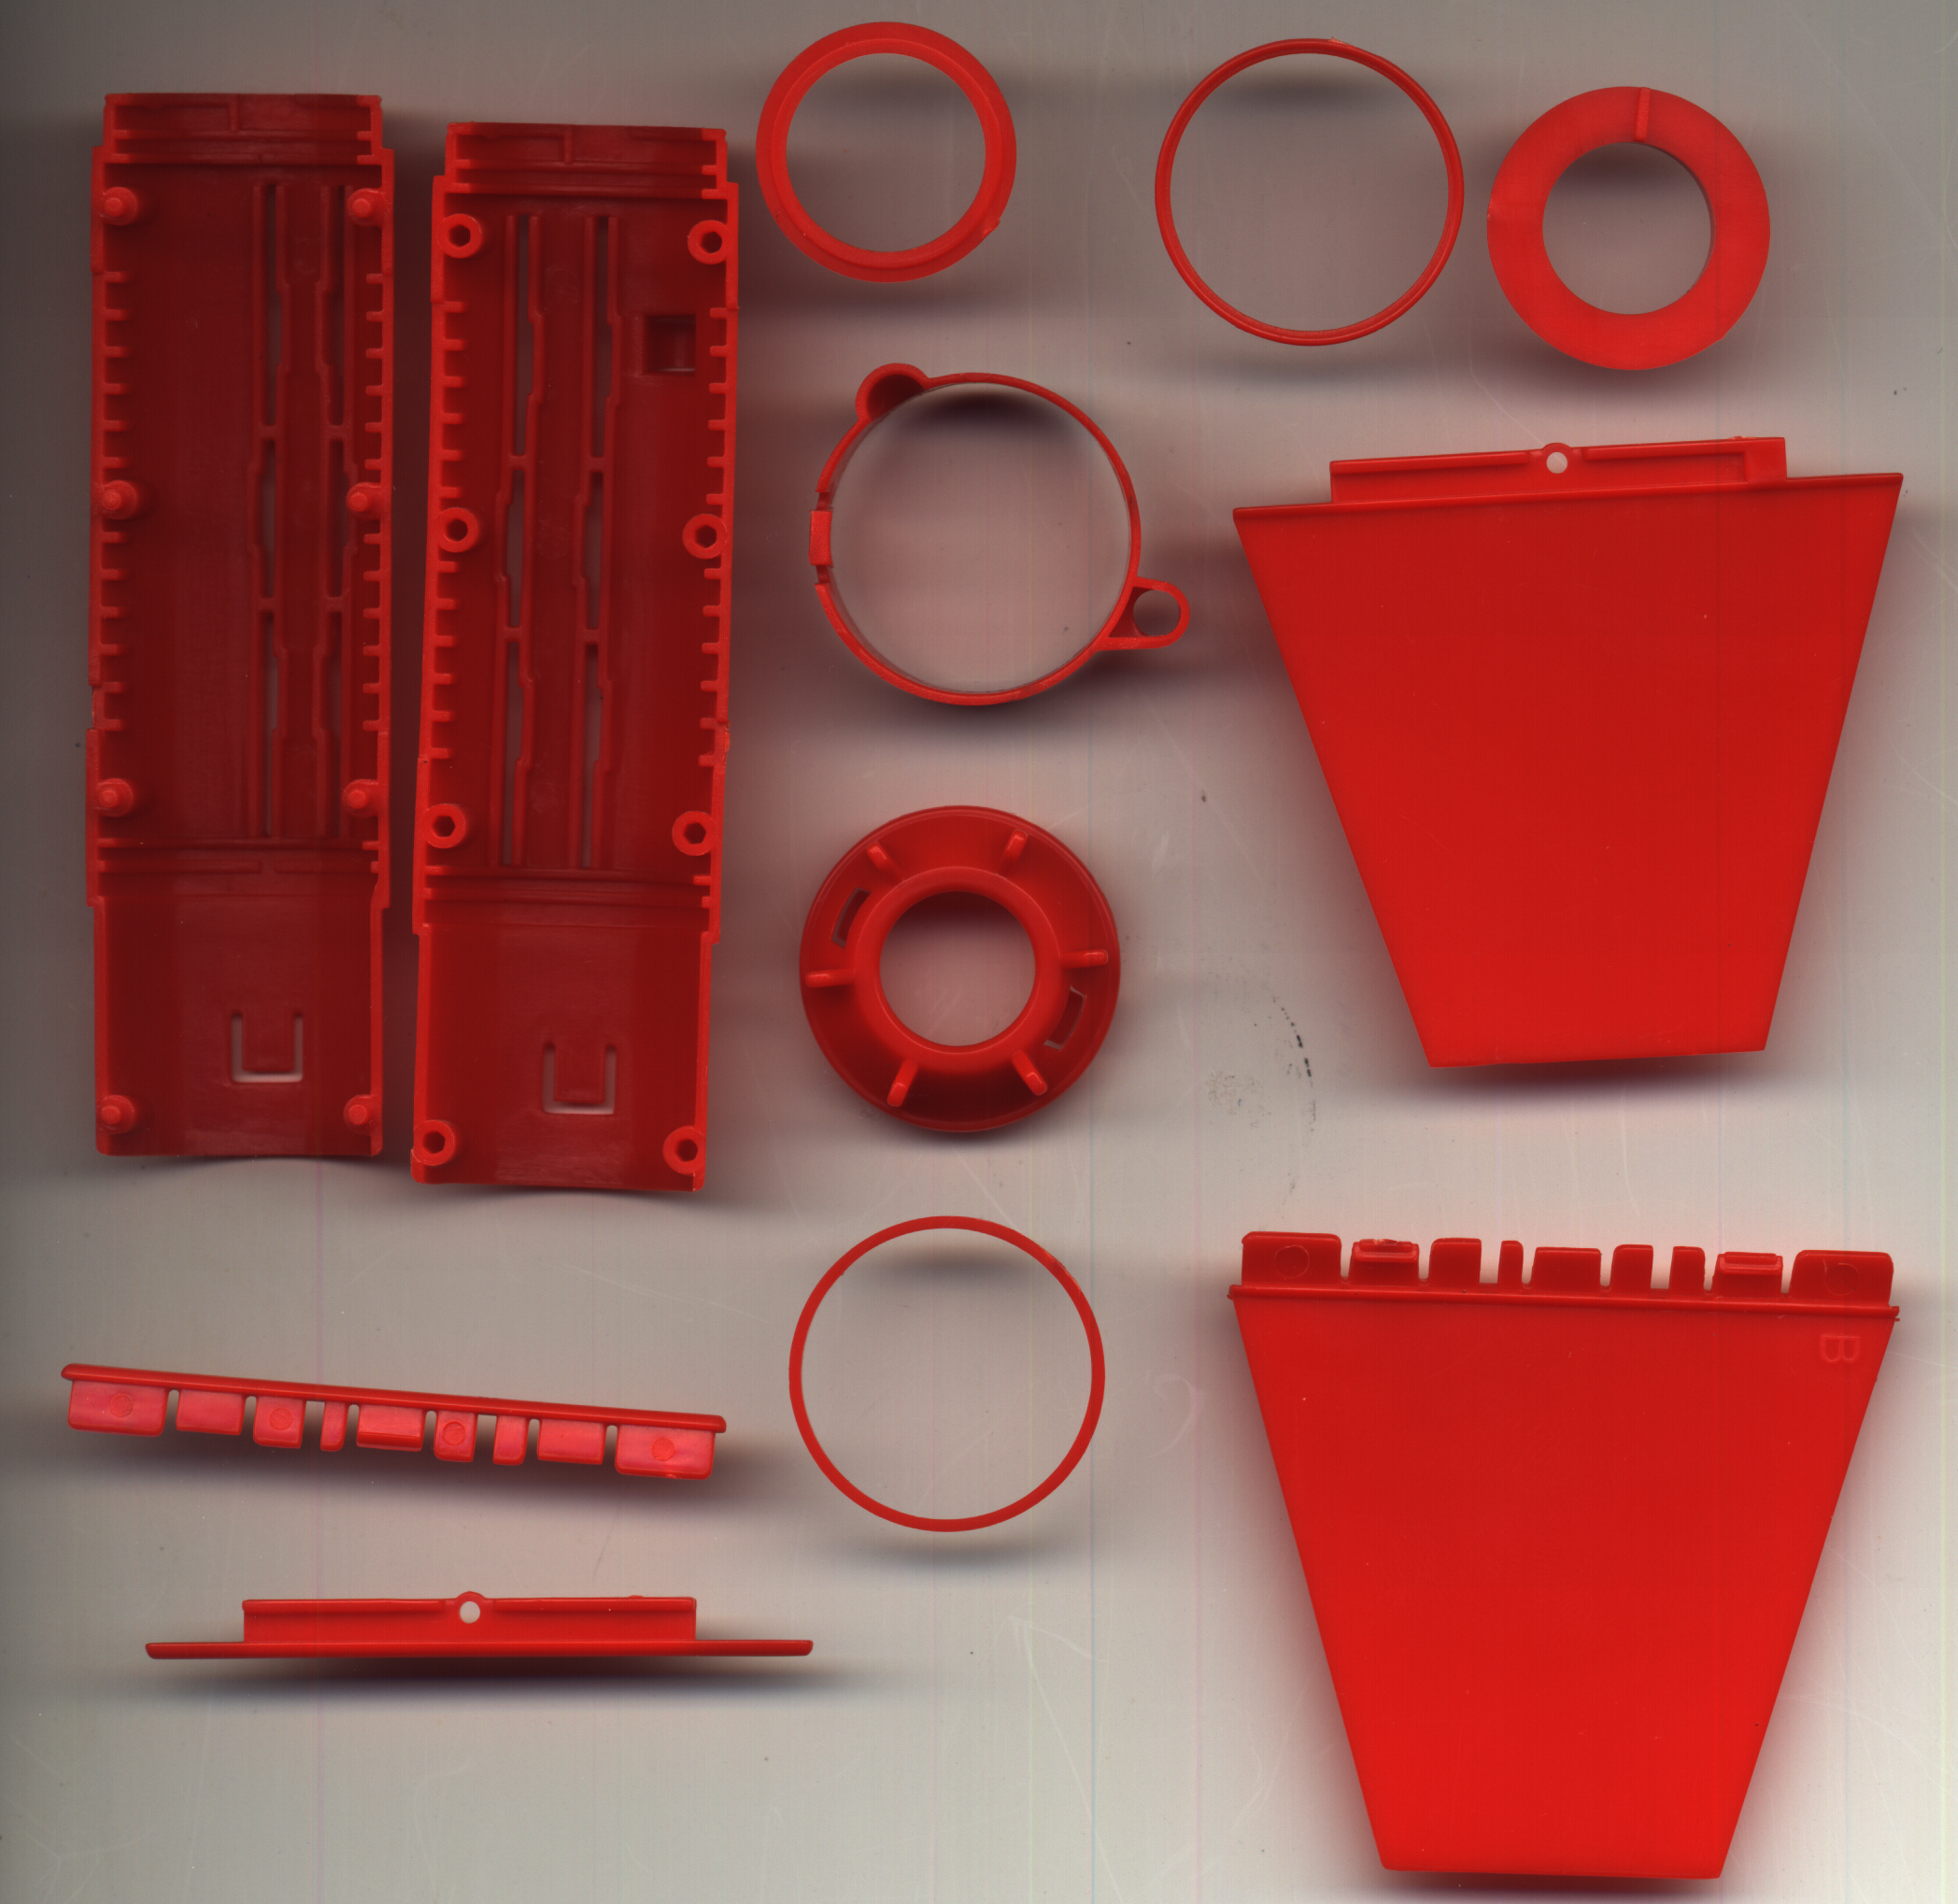
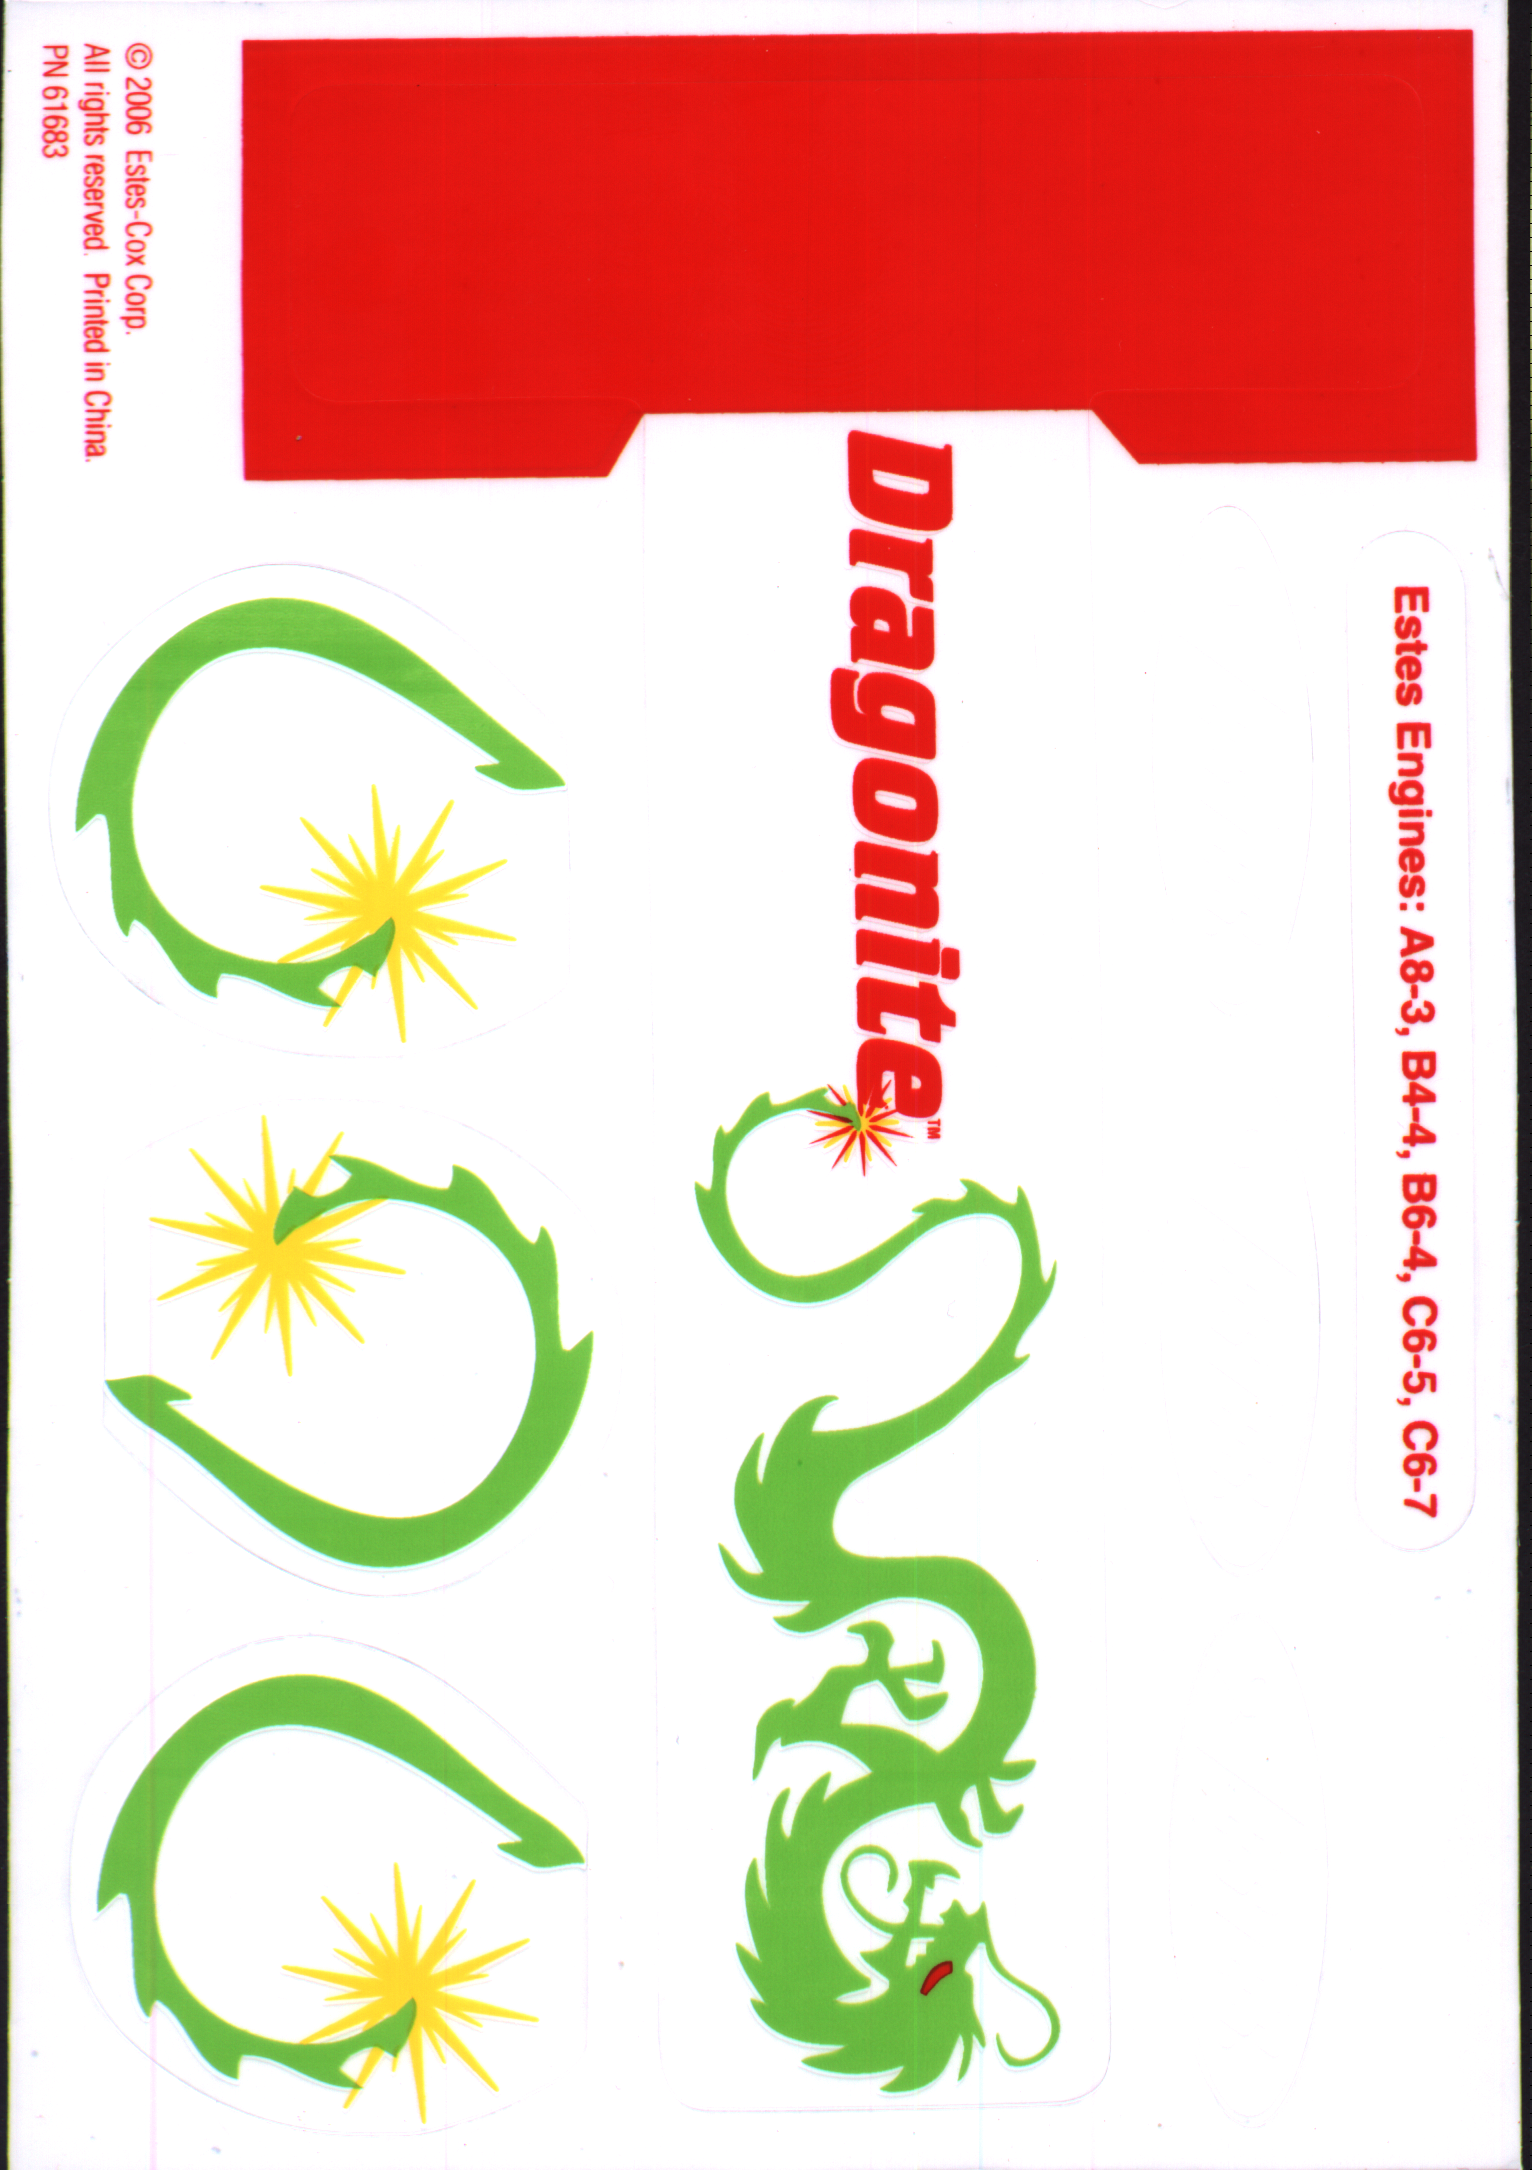
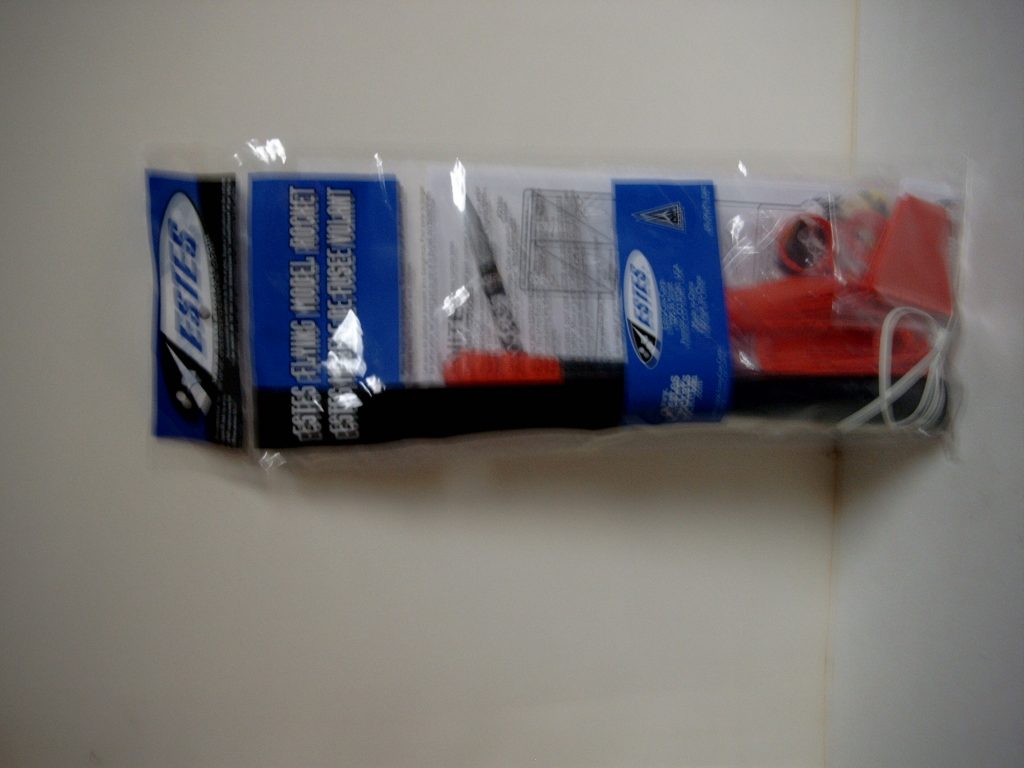
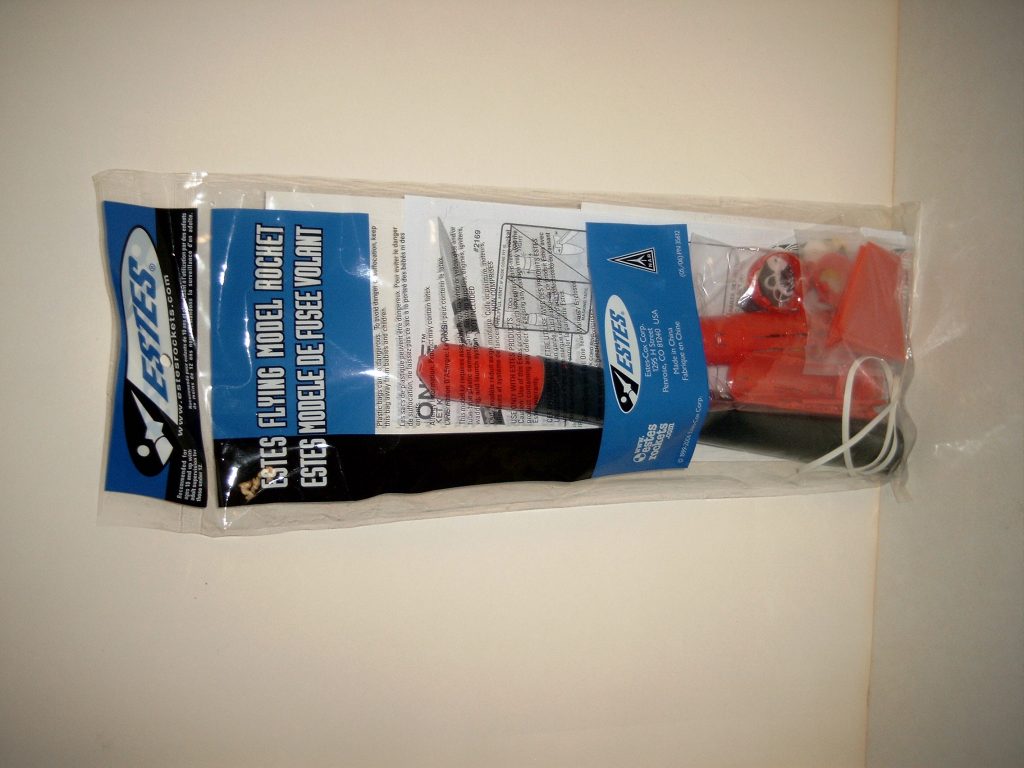
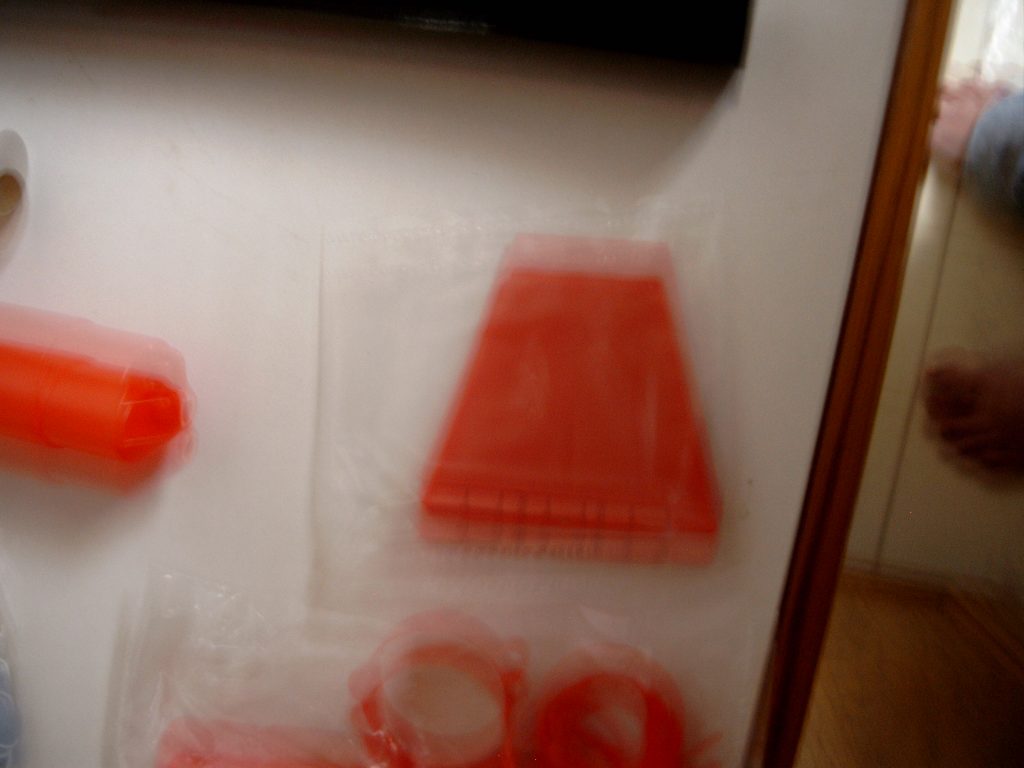
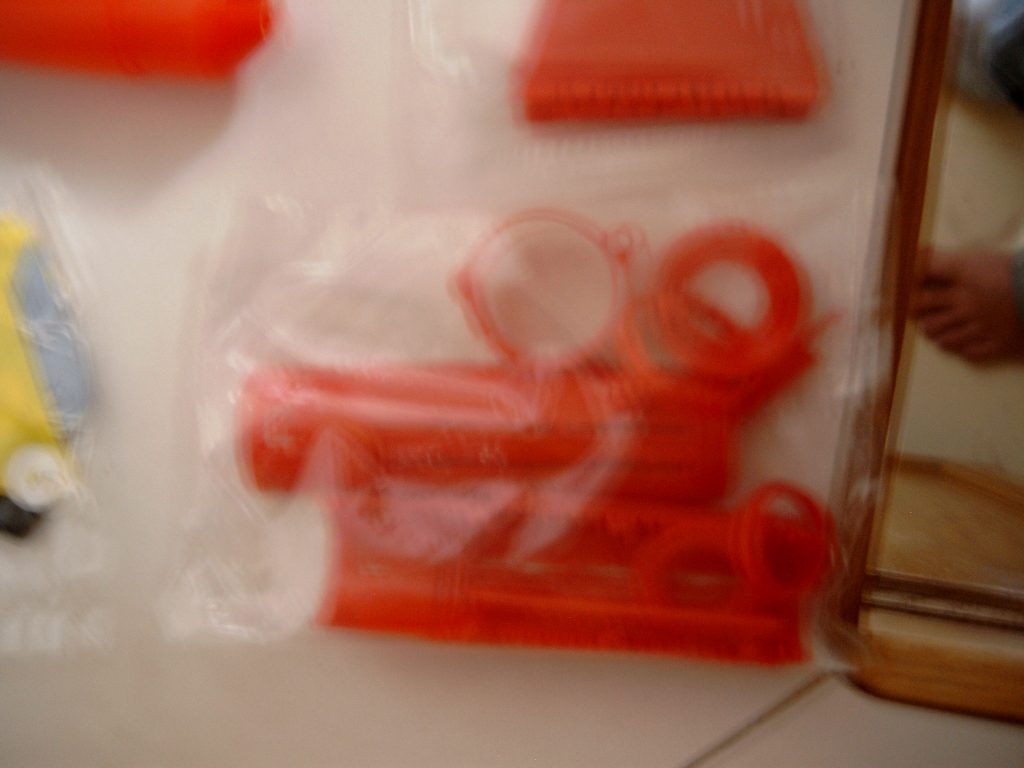
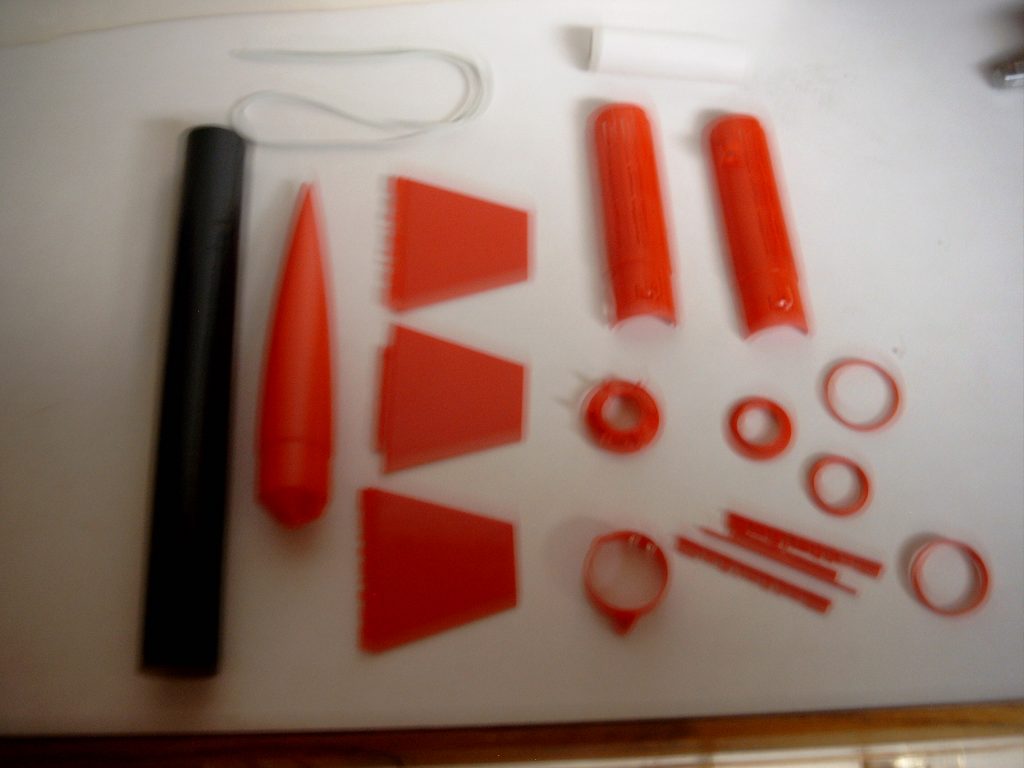
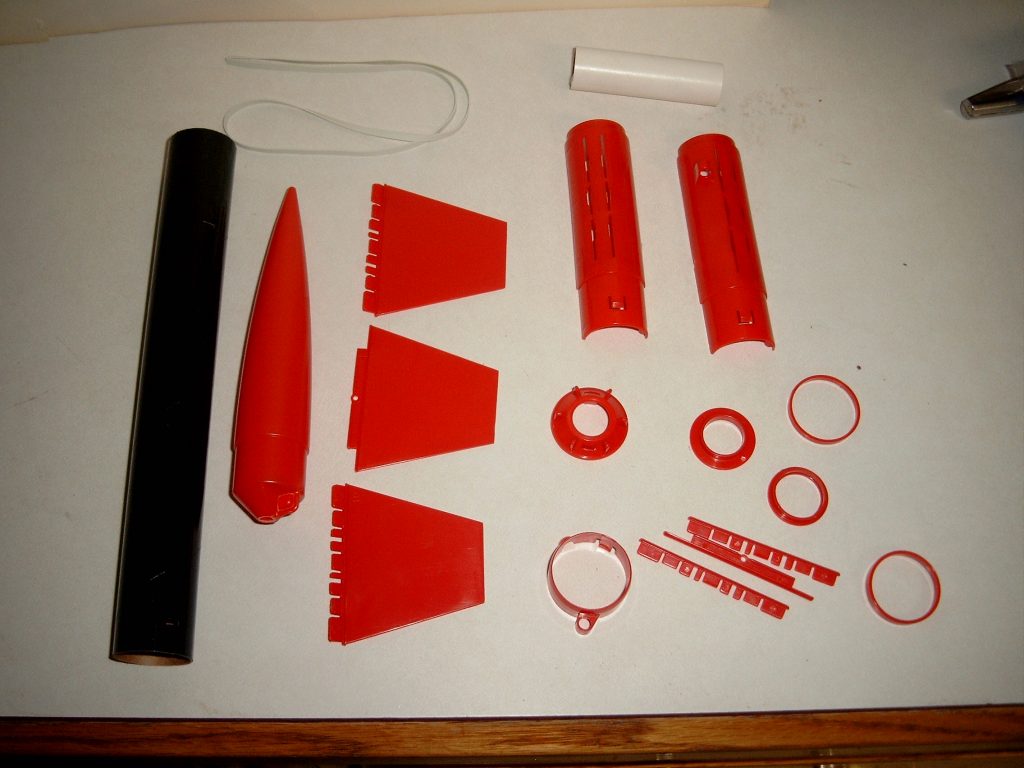
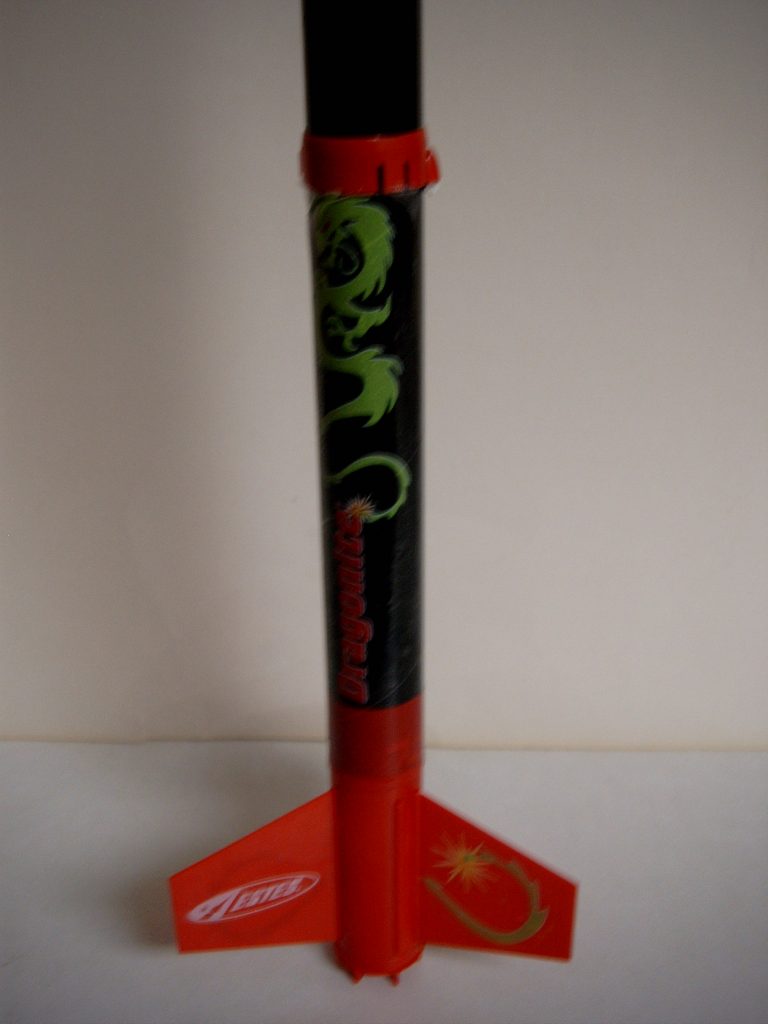
- 04/21/2007 – Scanned components. Assembled engine mount. Inserted the front bulkhead and rear bulkhead into opposite ends of the white engine mount. Inserted the engine mount assembly into the A half aligning he tab on front bulkhead with notch and ridges of bulkhead into the groves. Oriented the tabbed fin with the engine mount slot and over the engine mount piece with the engine mount slot and ove the engine mount piece. Oriented and placed pipe detail A over the center pin. Aligned engine mount pins with engine mount holes in B half and pressed into place. Slid the base ring and front ring in place assuring alignment tab aligns with notch. Snapped the other fins and pipe into place so the fins are 120 degrees apart. Shock cord/launch lug assembly – tied a knot in one end of shock cord. Trimmed the opposite end to form an angle so it would slip easier into the main body tube slot. Pulled the shock cord through the slot until the knot was snug with the body tube. Slit the shock cord ring over the forward end of the black main body tube so it aligned with the body tube slot and the knot aligned with the shock cord ring hood. Body tube assembly – slid the aft end of the main body tube over the fin can tabs so they were aligned. Tied the other end of the shock cord to the nose cone. Applied self adhesive decals so the main decal covered the engine mount joint seam. Applied smaller decals to the fins. The 12″ parachute was not constructed and stored for later use. This completes construction of the Estes Dragonite model rocket #2169.
Flights
| Date | Location | # | Motor | Comments |
| 02/27/2010 | Hardin Landfill | BS16 | A6-4 | |
| 05/15/2010 | ADC Park | BS41 | C6-3 | Nice Flight |
| 07/17/2010 | ADC Park | BS42 | B6-4 | Great flight. Model was launched by Josh who was watching us before his game started and helped Joe, another spectator recovered the model which was on a 12″ red parachute on the east side of the office building and just missing the roof. |
| 11/12/2011 | ADC Park | BS54 | B6-4 | Good Flight. |
| 12/14/2014 | Sim’s Farm | BS88 | C6-5 | Good Flight. |
| 04/26/2015 | Sim’s Farm | BS92 | C6-5 | |
| 02/27/2016 | Sim’s Farm | BS103 | C6-3 | Nose separated but was recovered. |
| 04/02/2017 | Sim’s Farm | BS108 | B6-4 | Nice and Straight |
| 07/15/2017 | Sim’s Farm | BS110 | B6-4 | Nice and Straight |