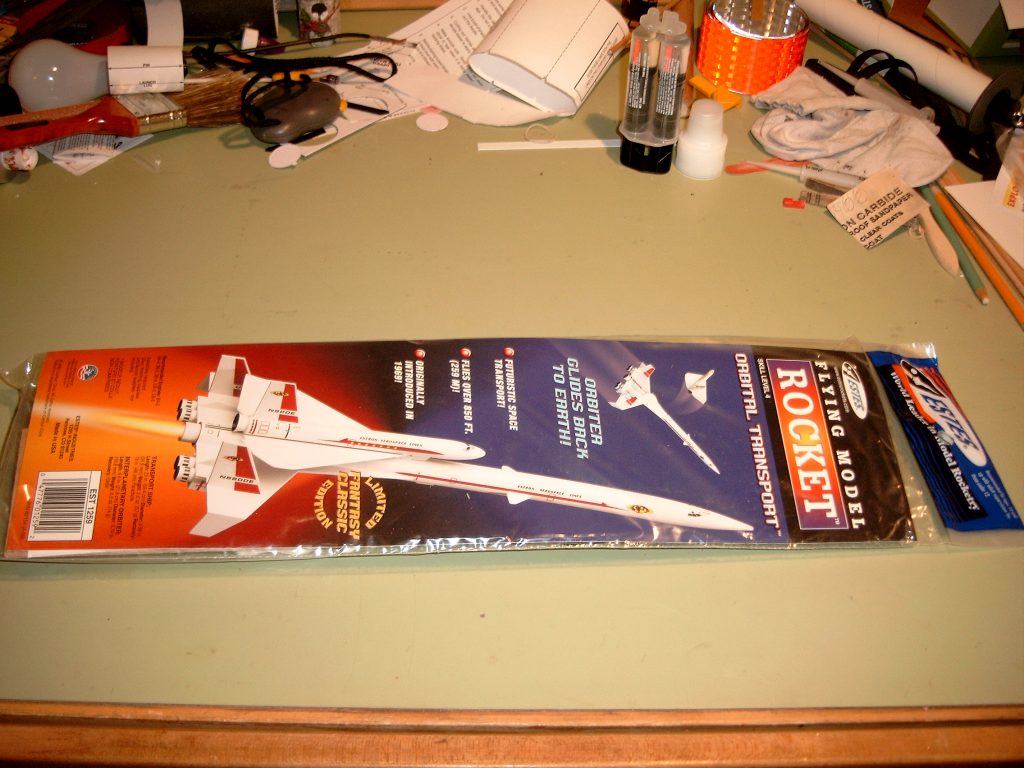
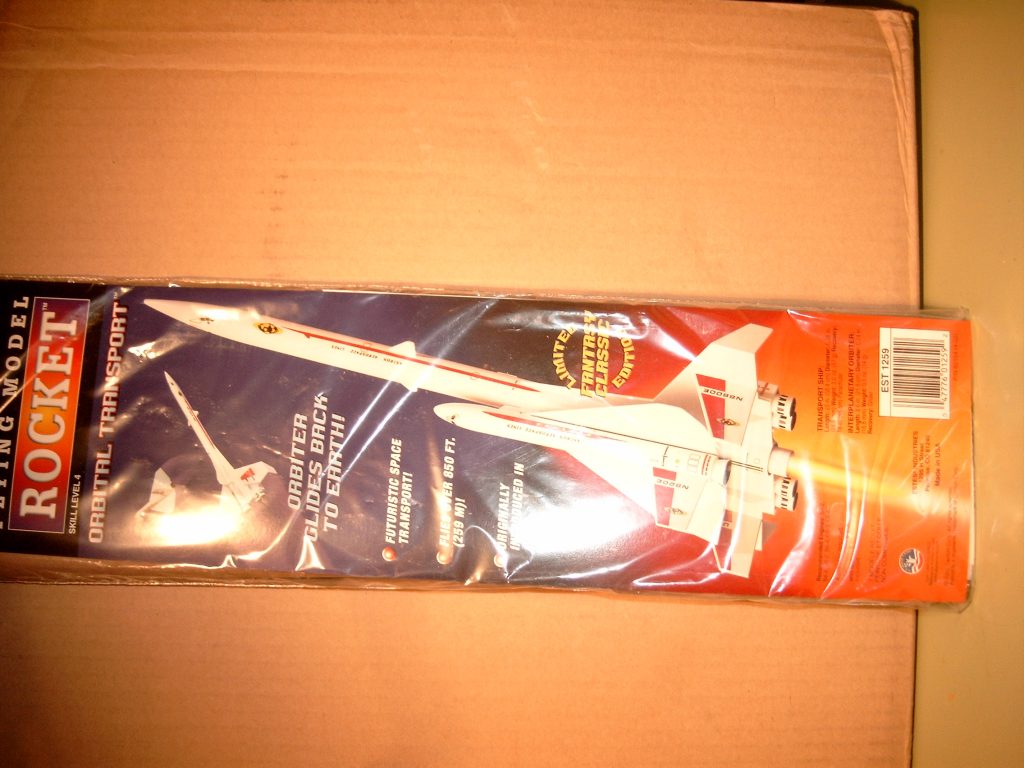
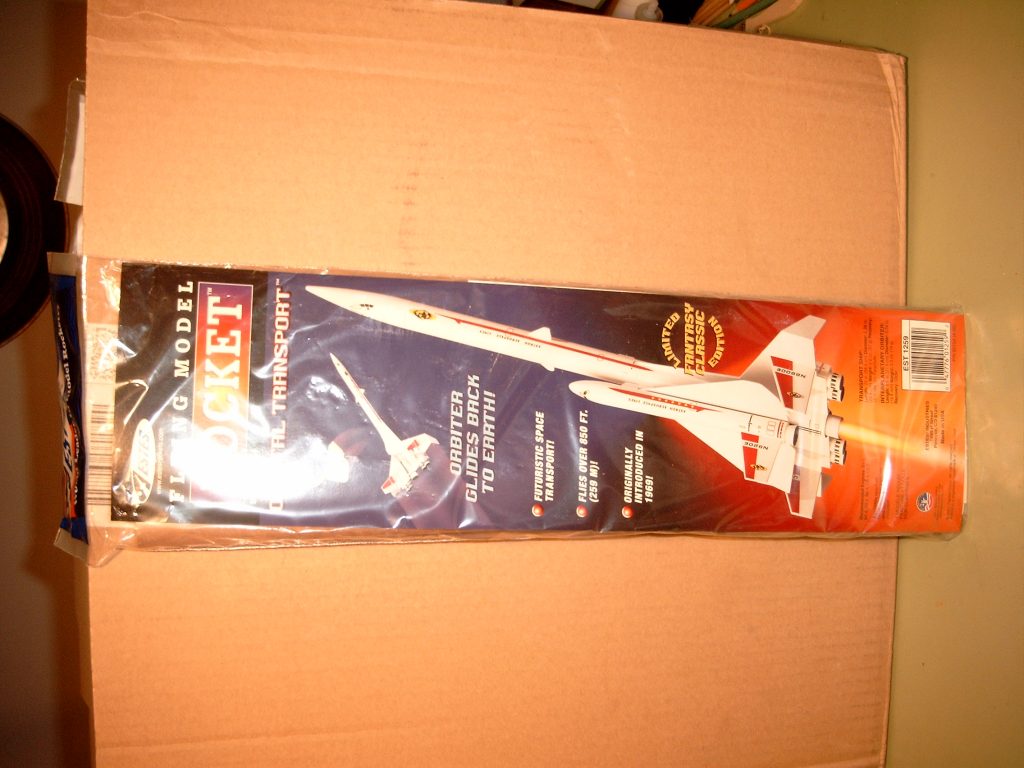
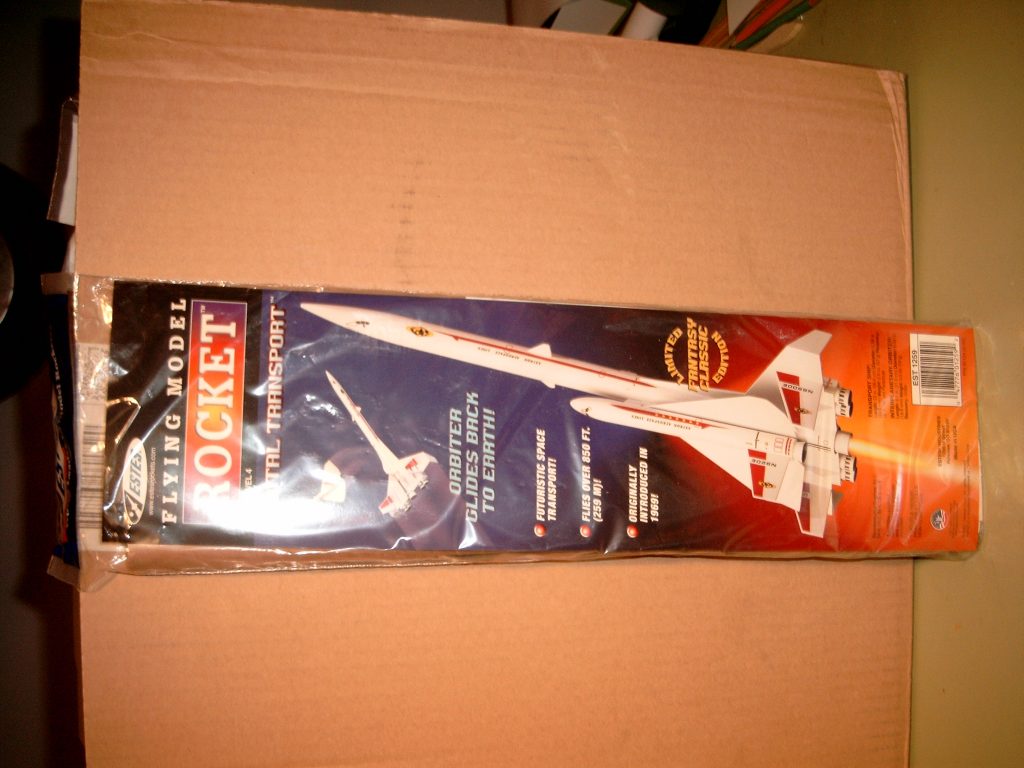
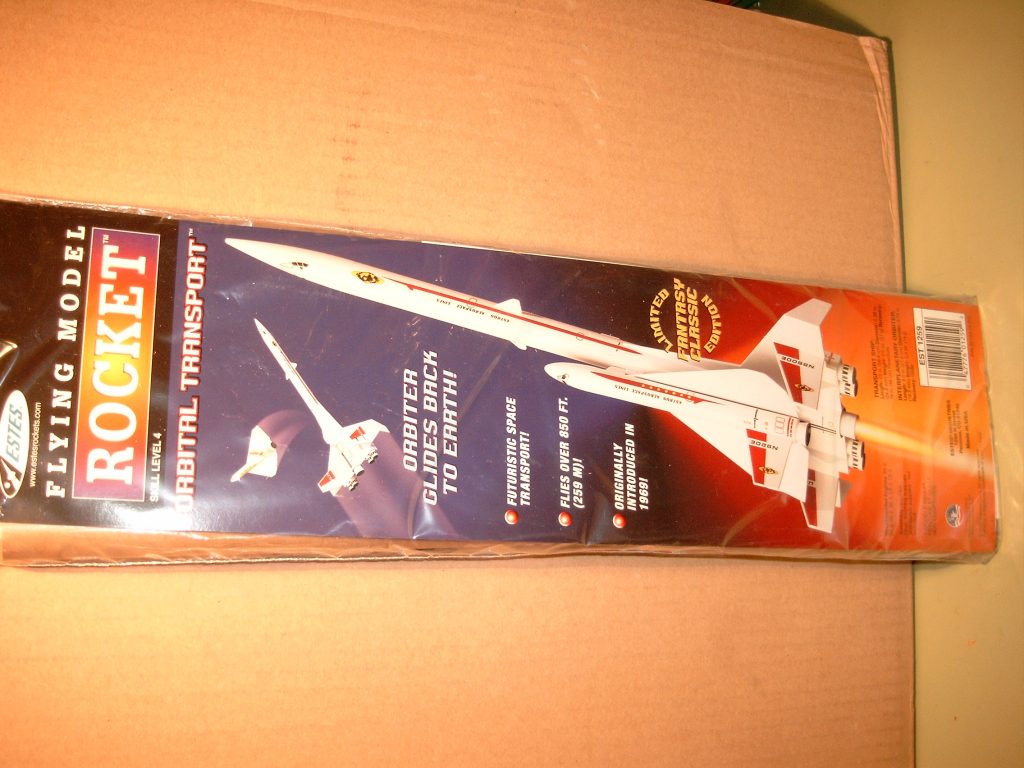
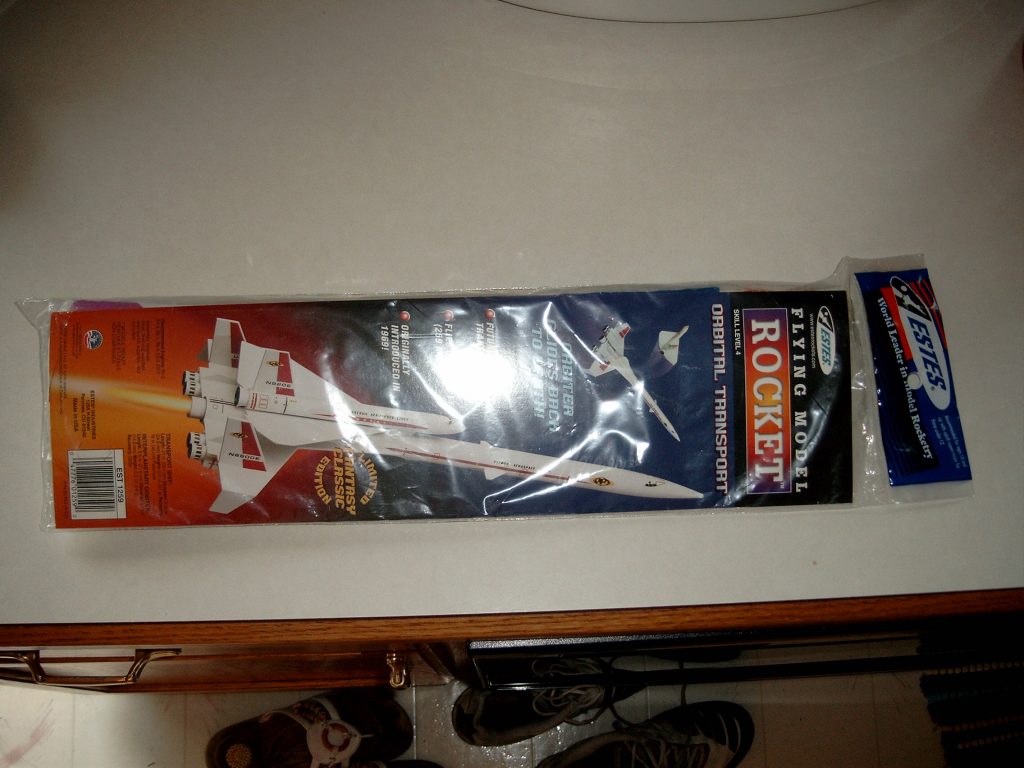
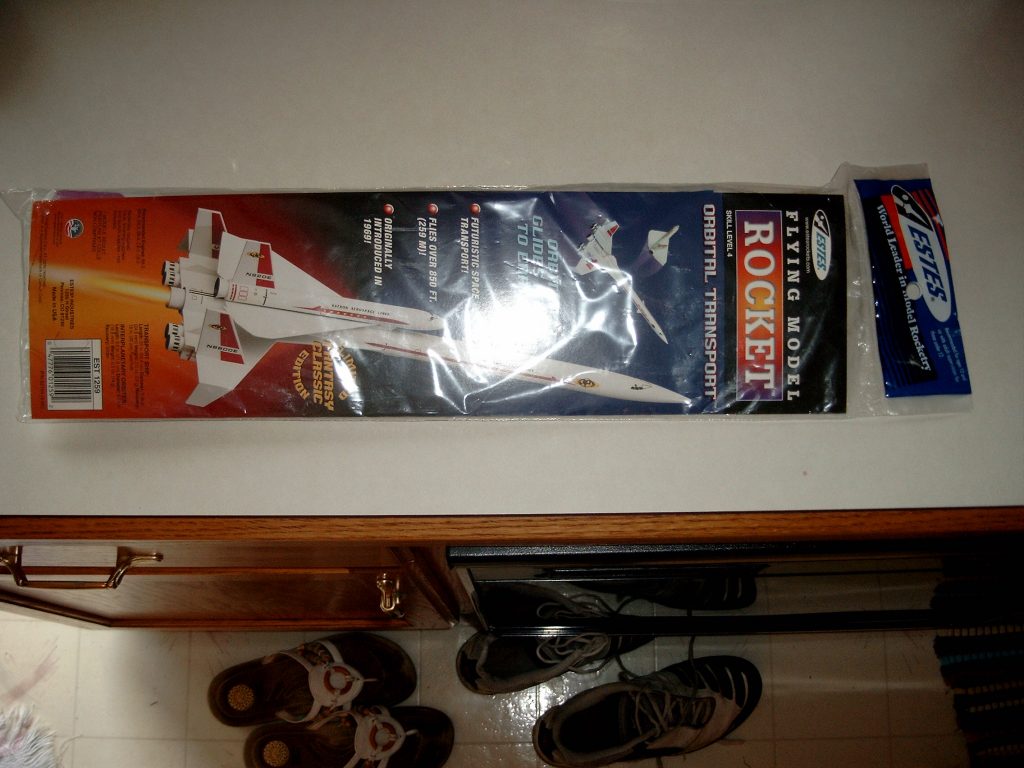
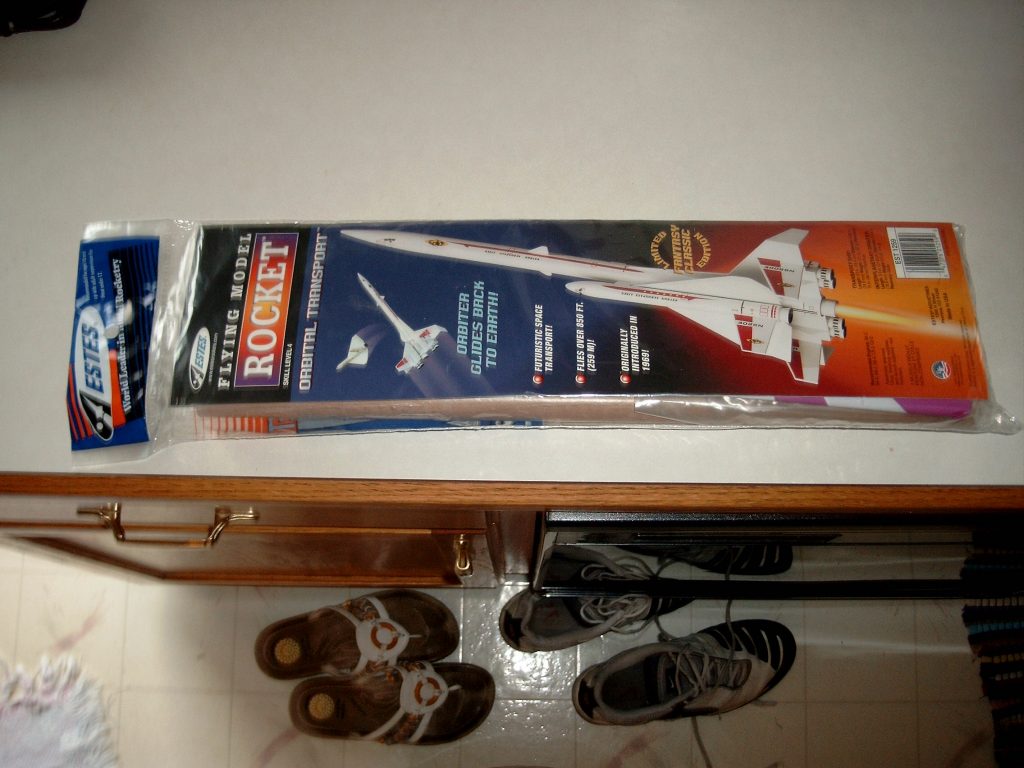
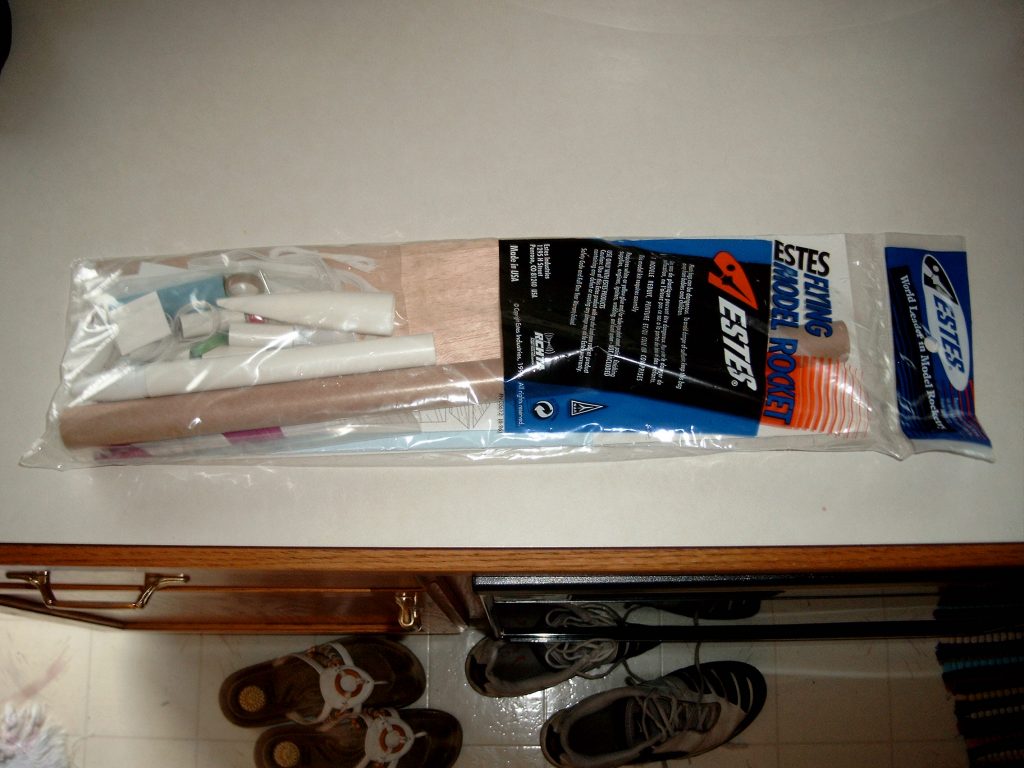
ESTES Model #1259

Description
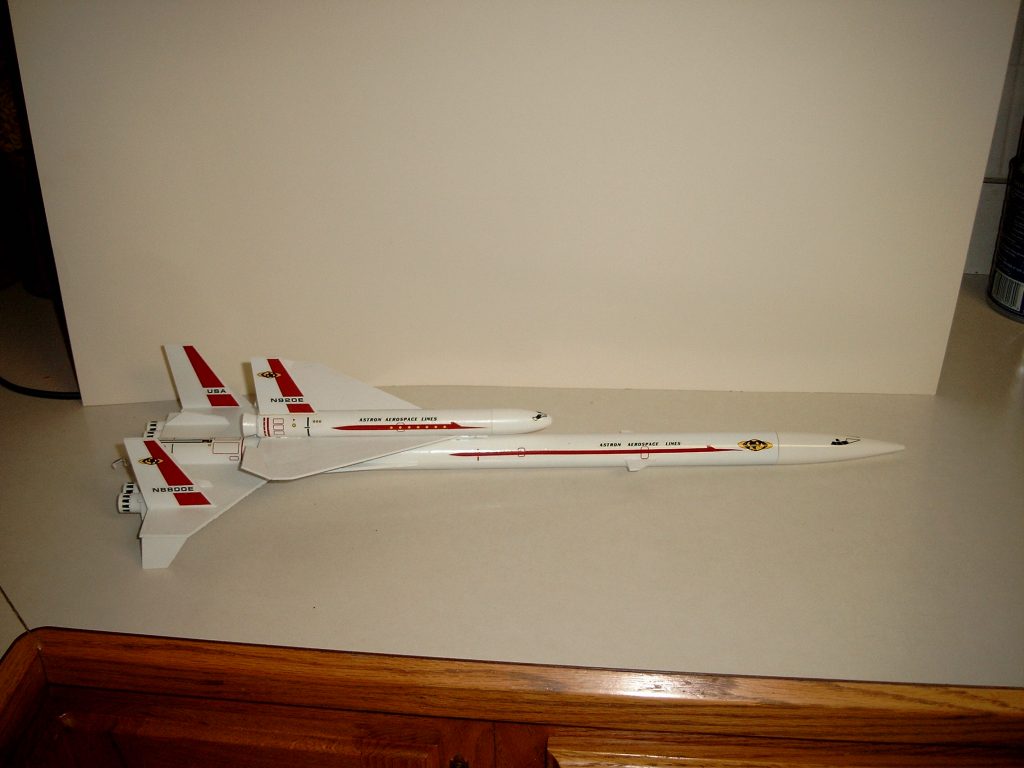
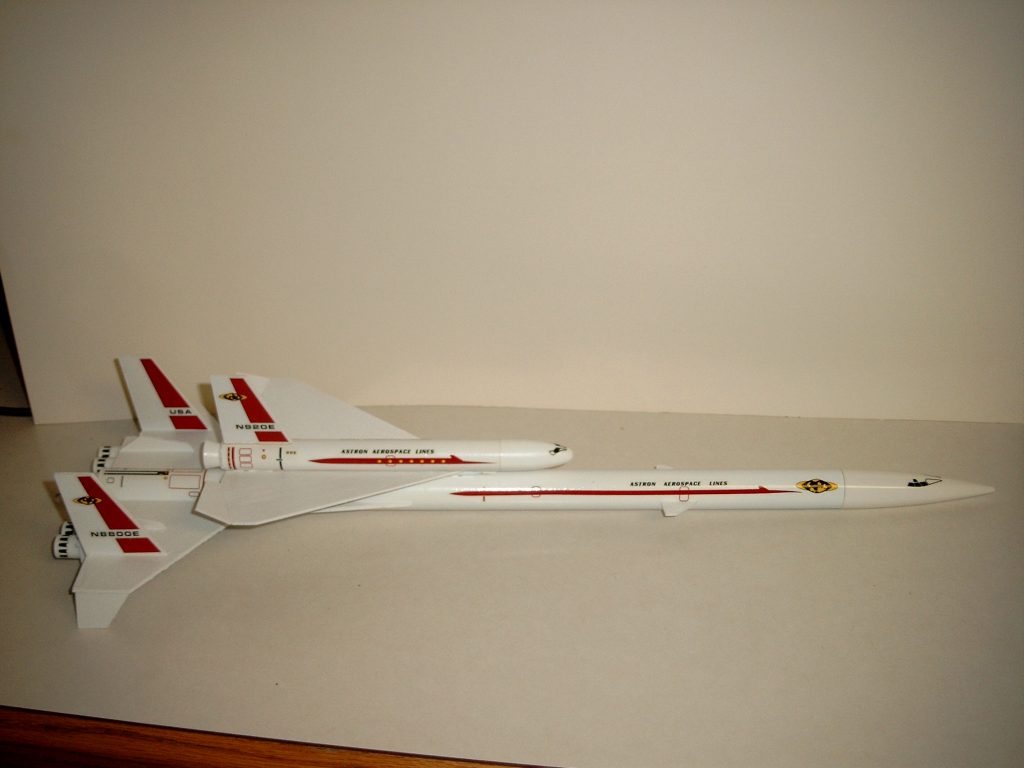
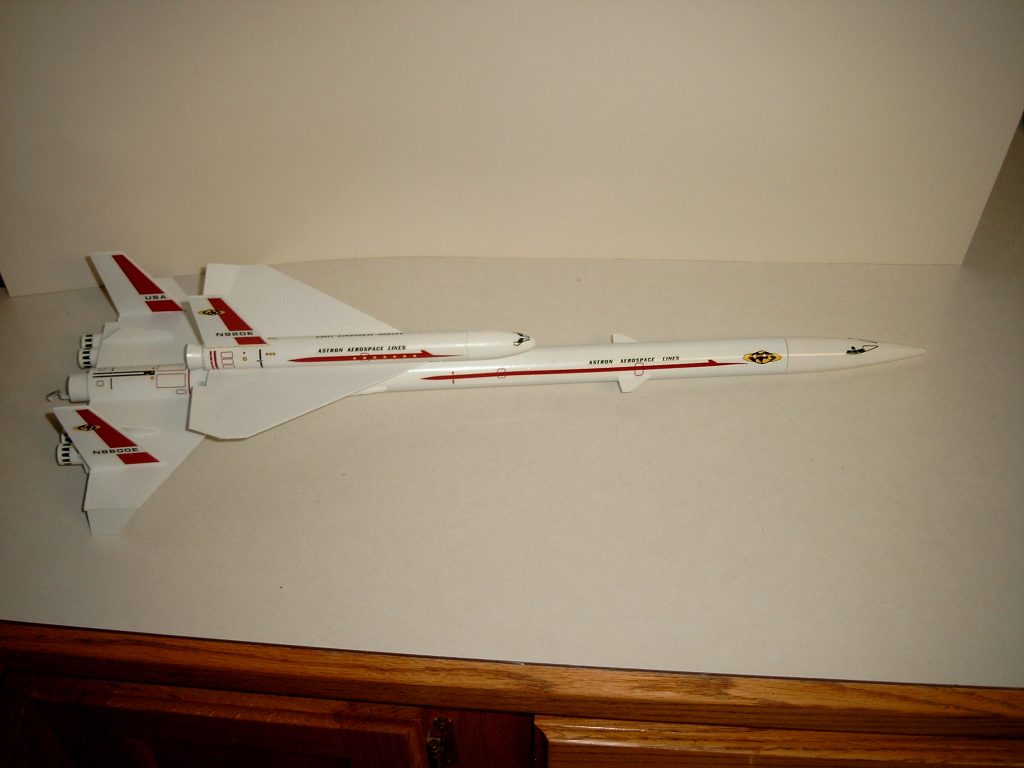
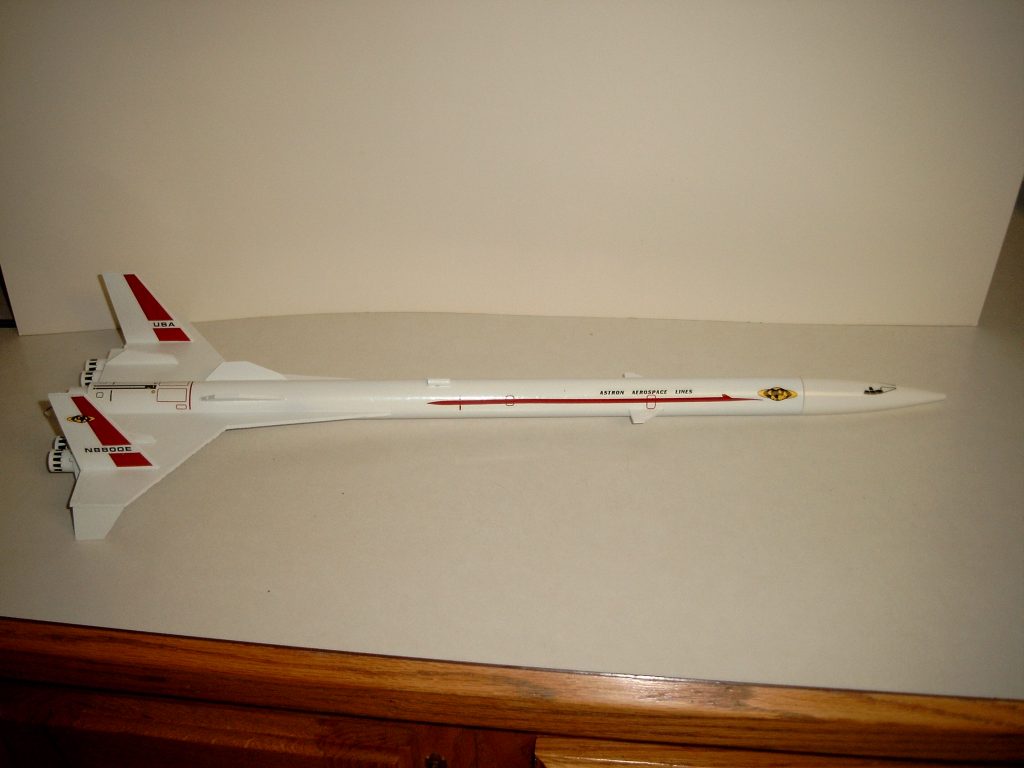
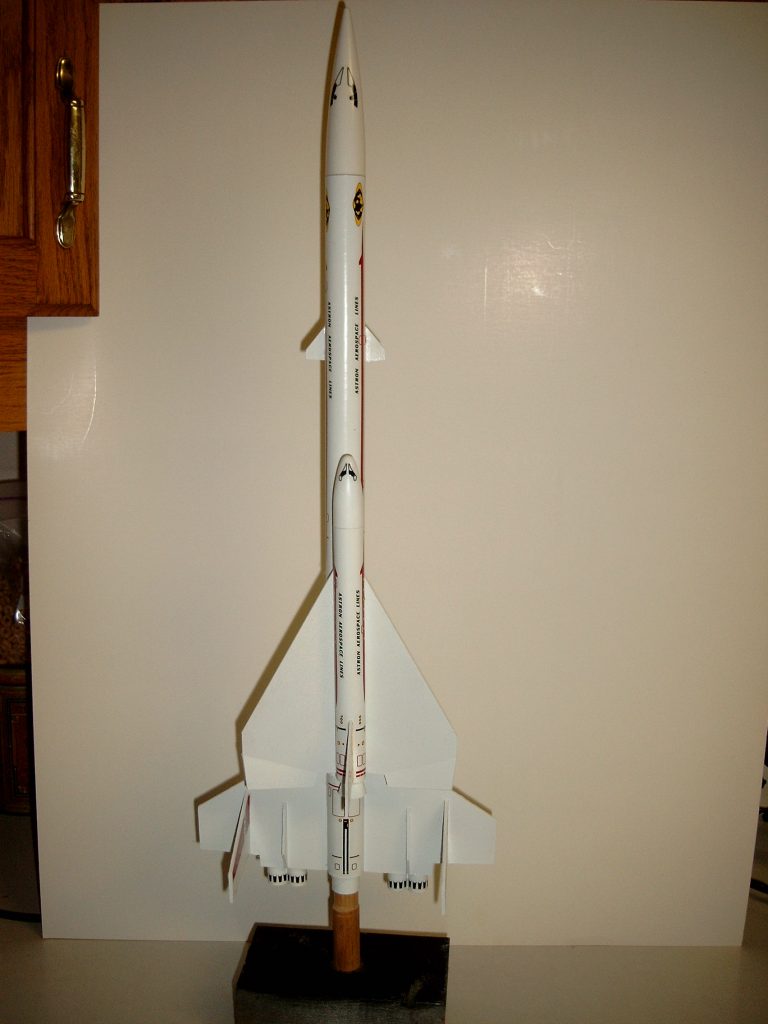
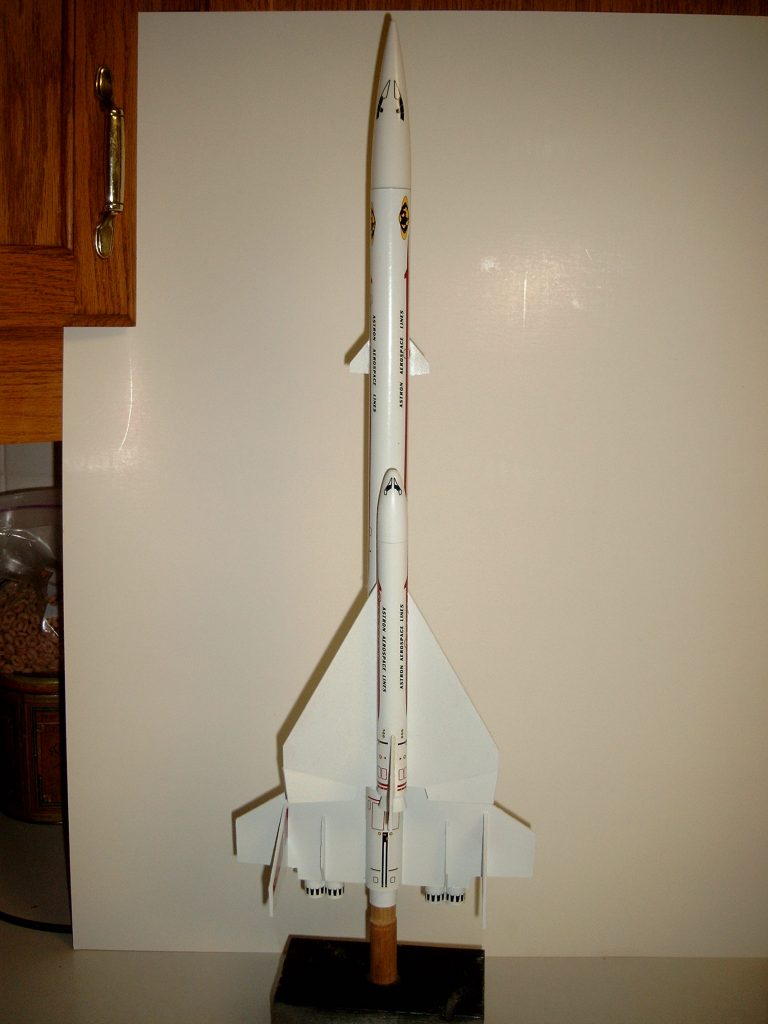
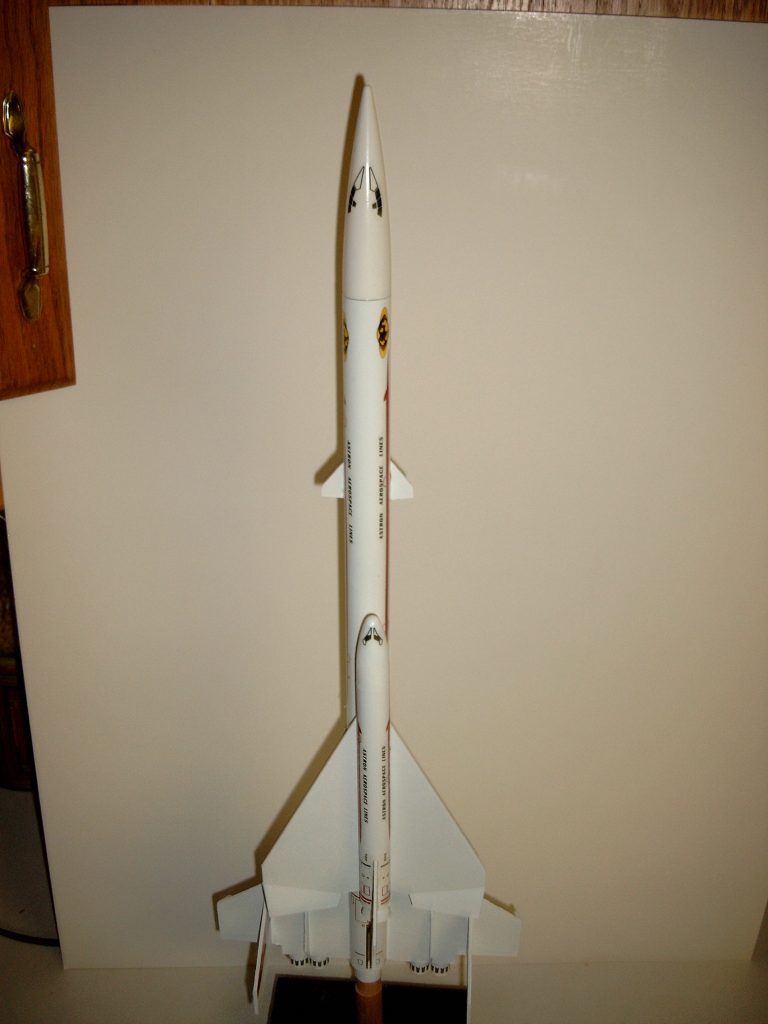
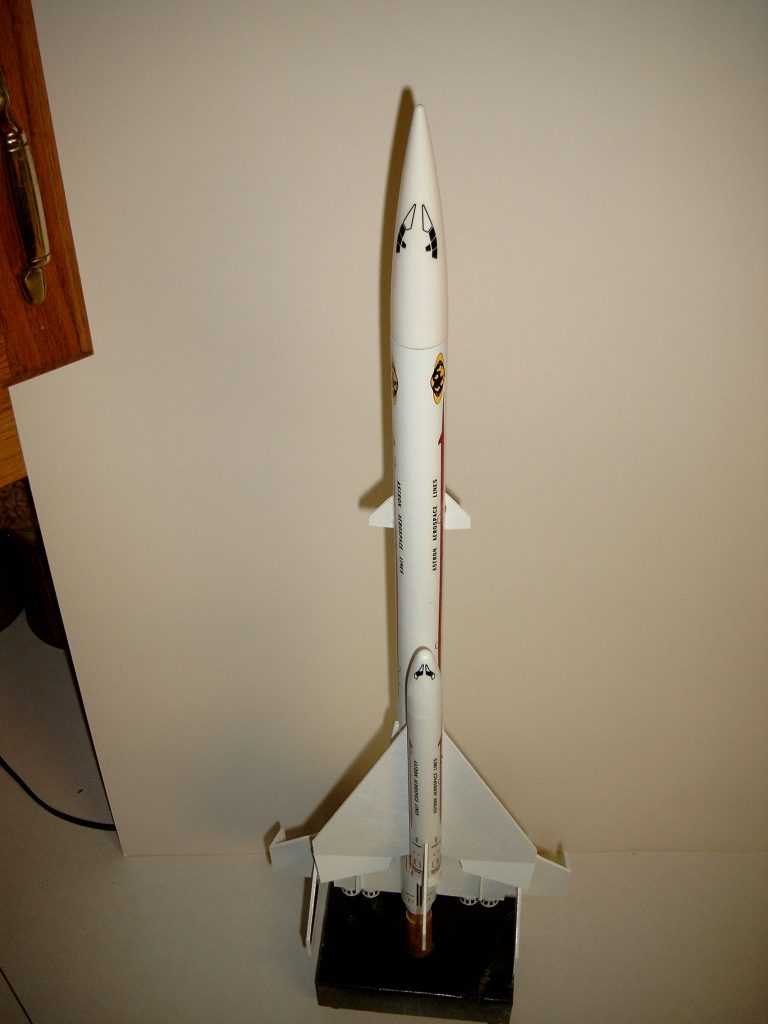
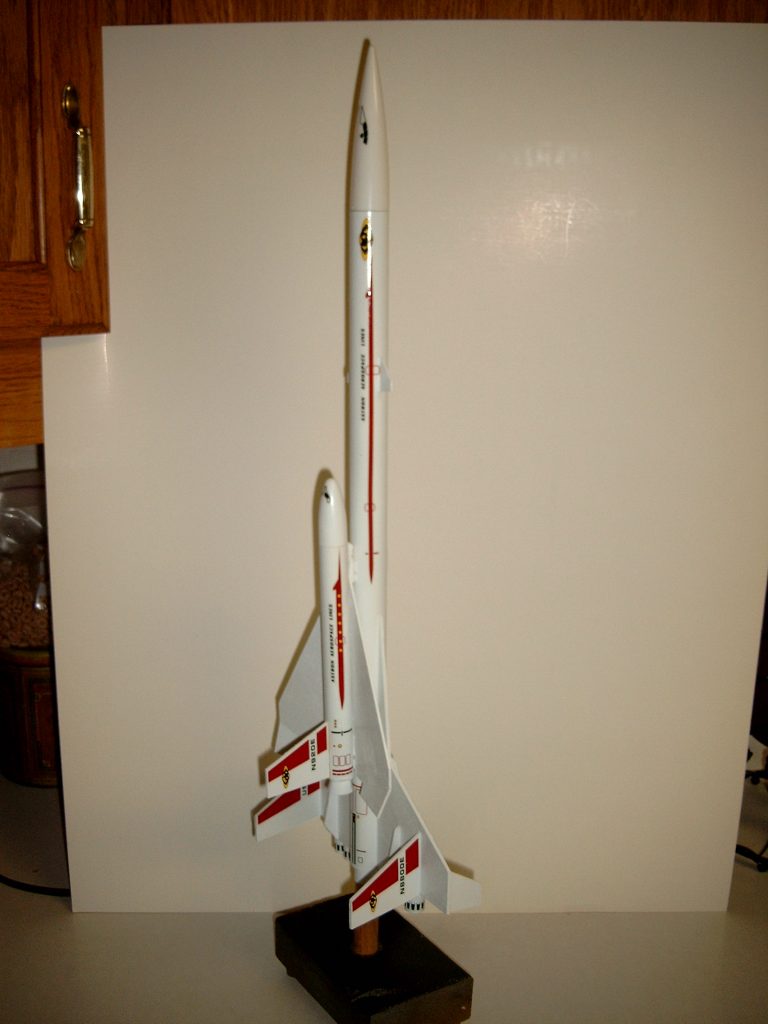
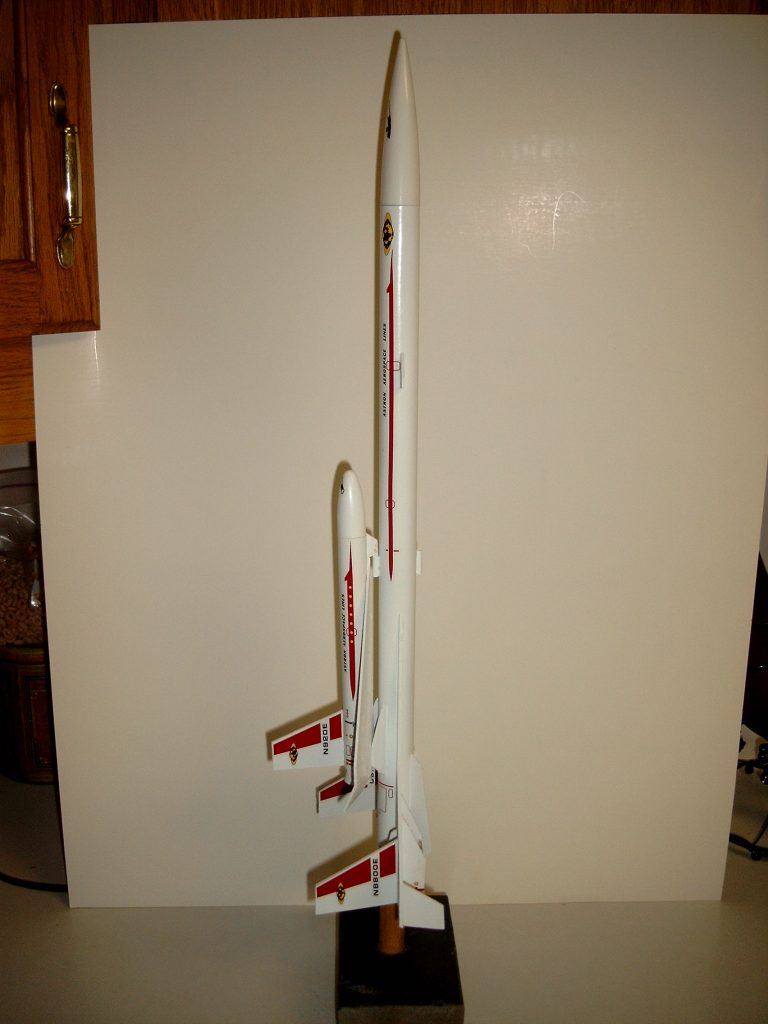
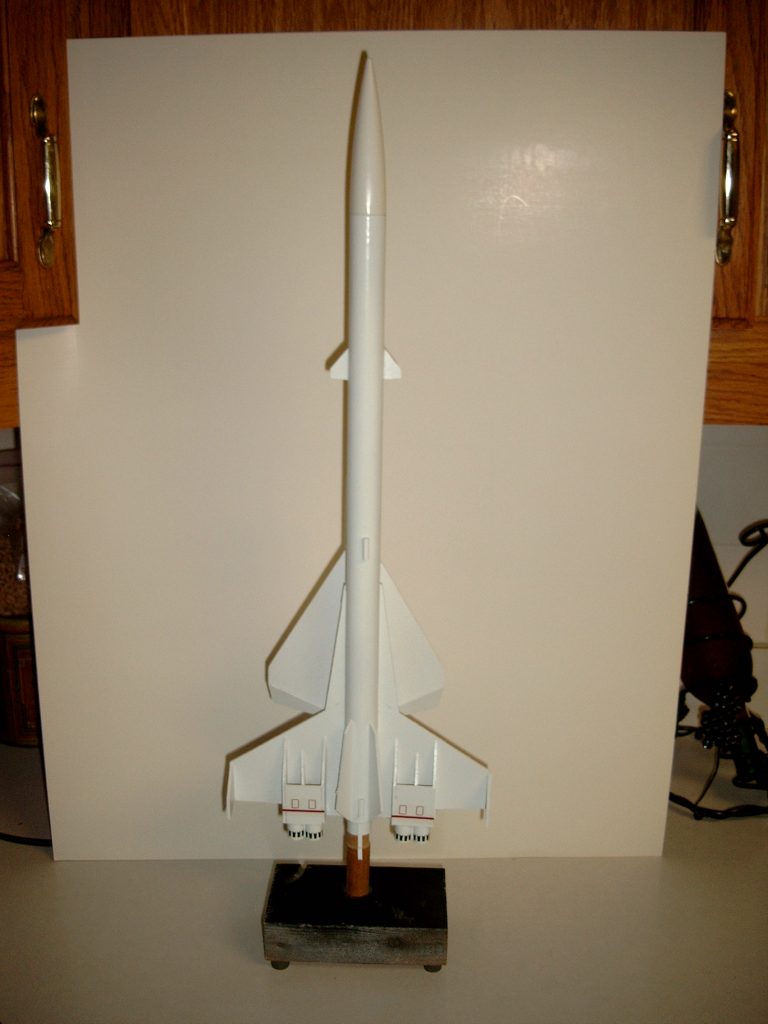
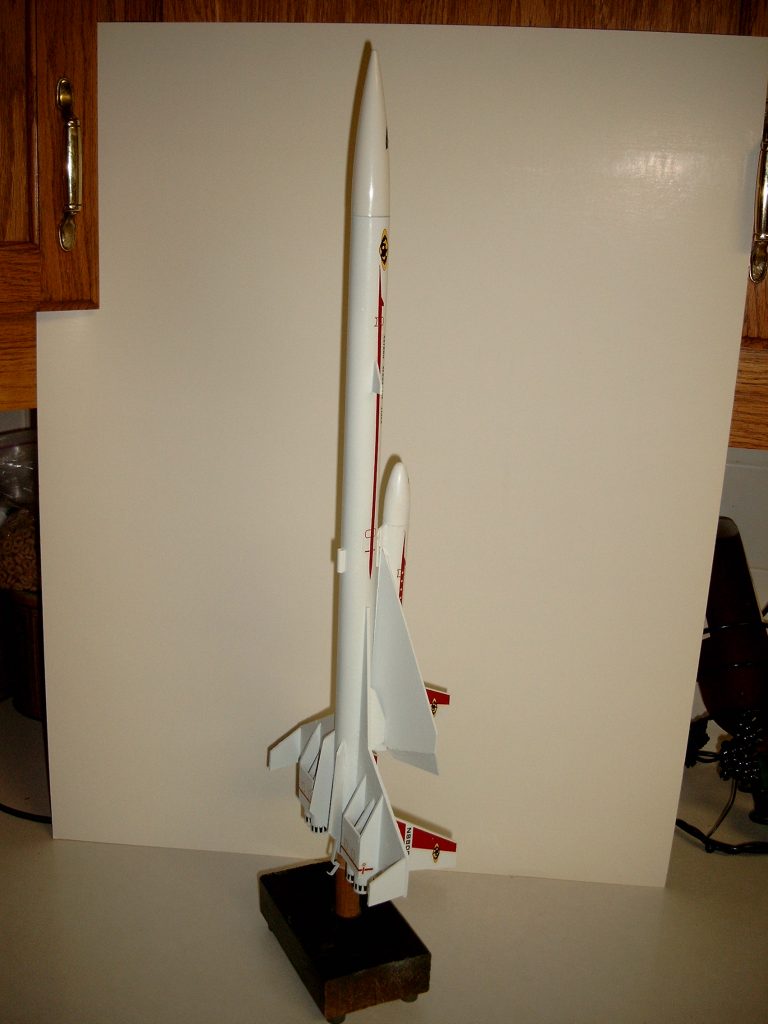
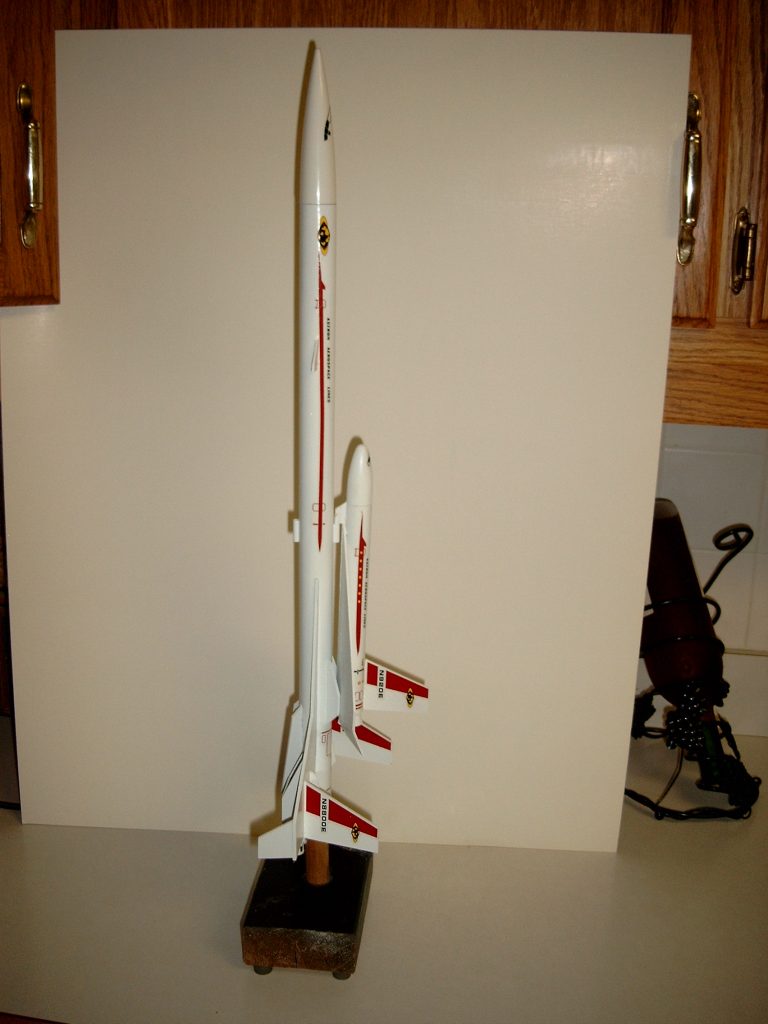
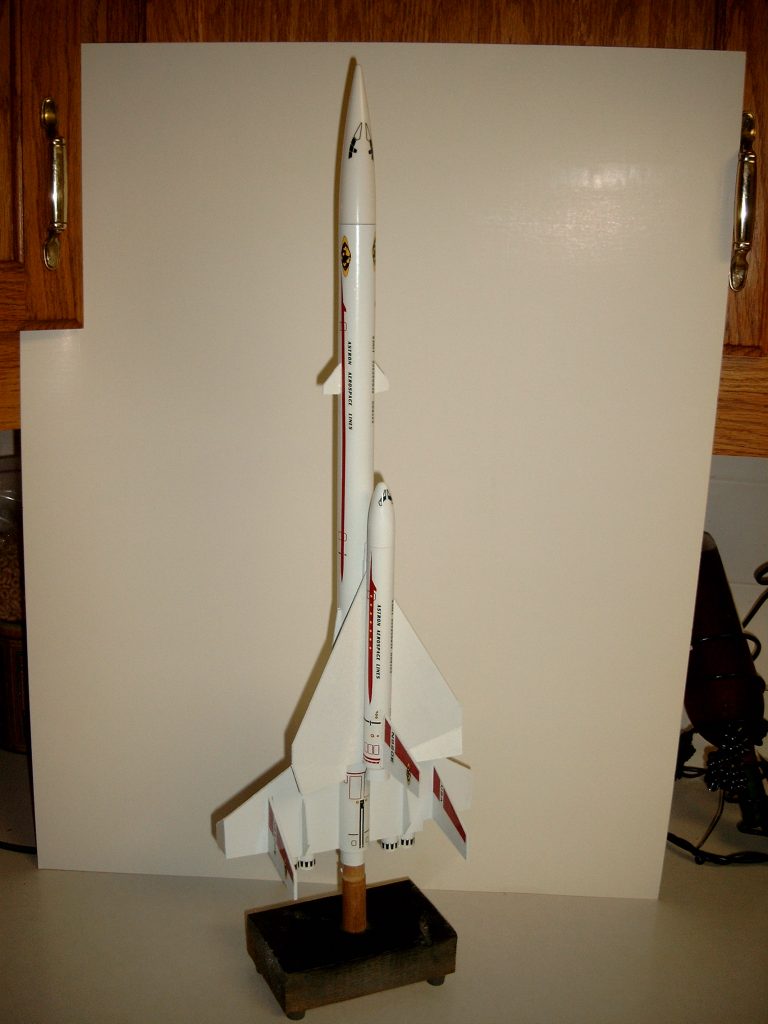
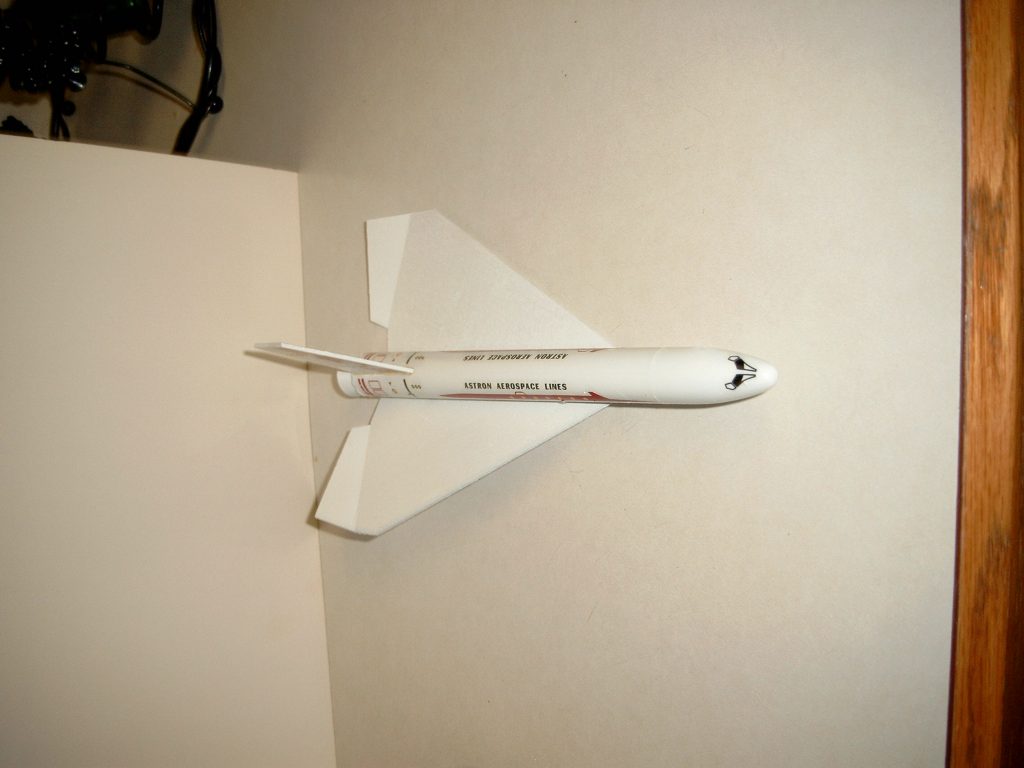
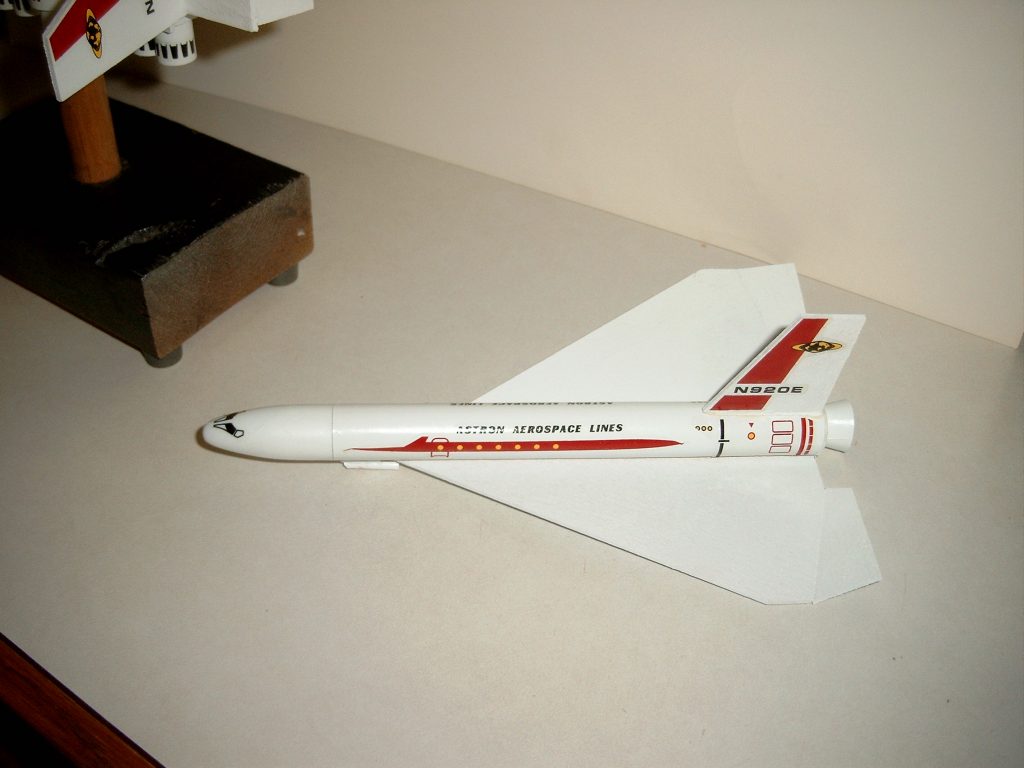
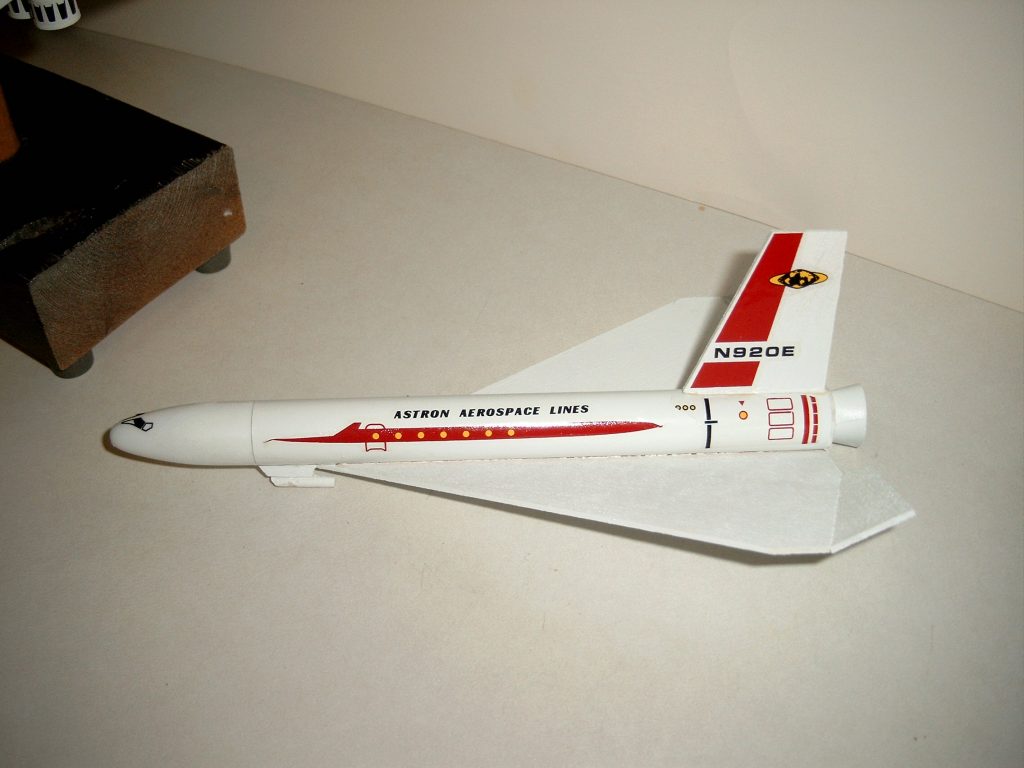
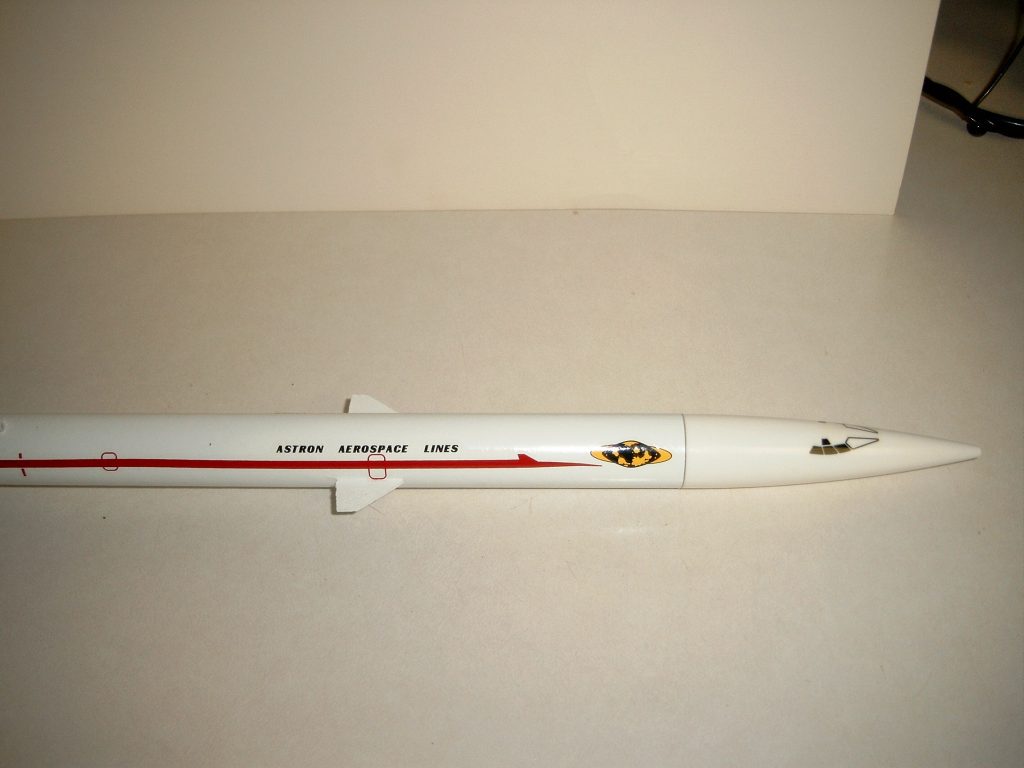
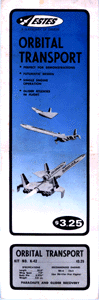
The Orbital Transport was based on an early NASA scramjet design for the Space Shuttle. It featured a parasite glider that deployed at ejection and parachute recovery for the booster.
Additional Information
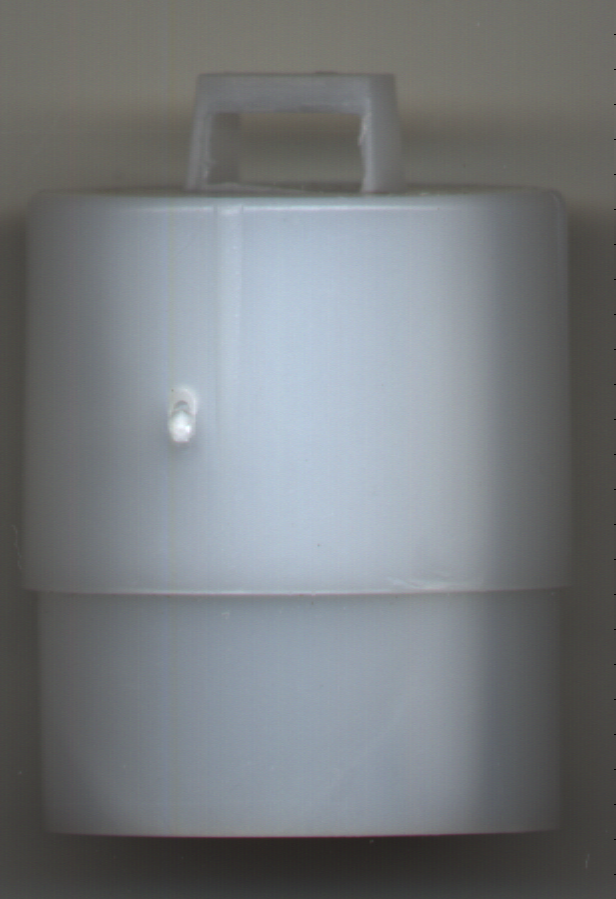
- Transporter
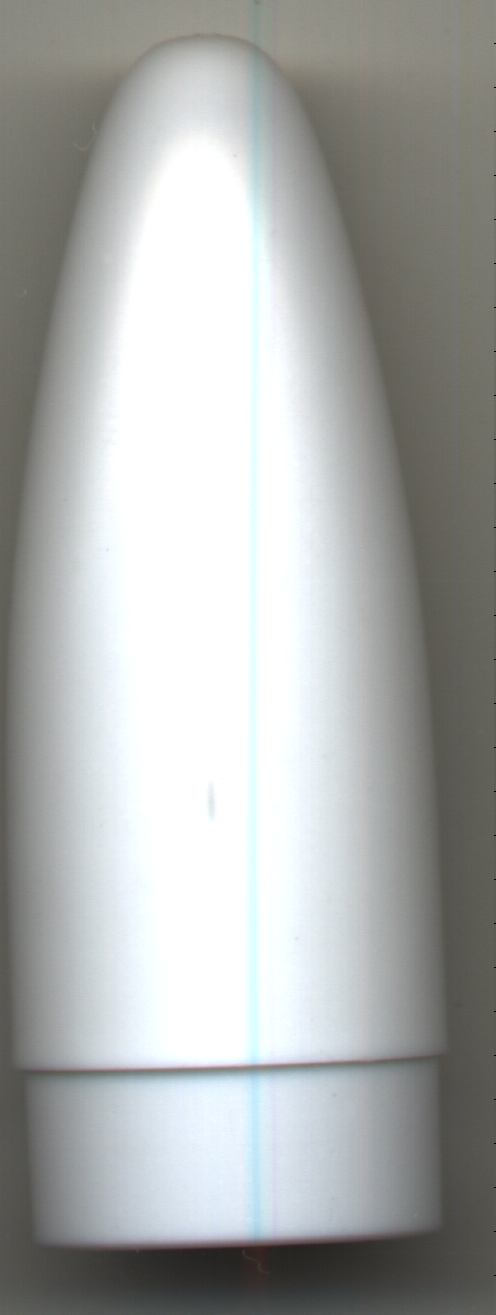
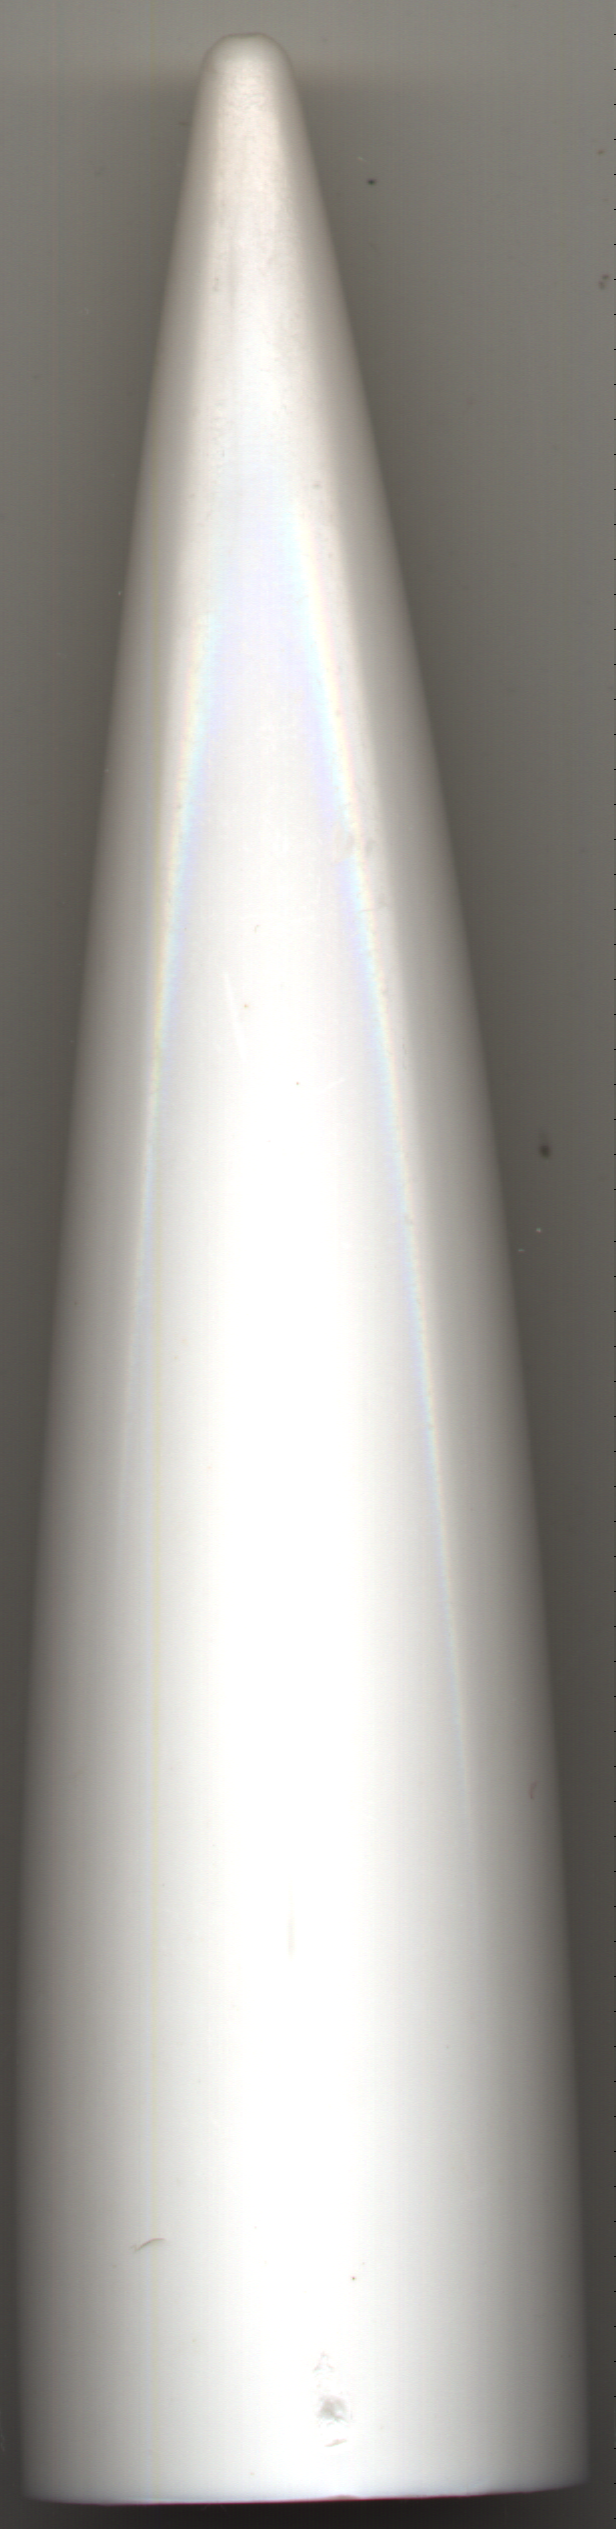
- Length: 23.0″
- Diameter: 0.976″
- Weight: 2.00 oz.
- Wing Span: 7.9″
- Recovery: 18″ Parachute
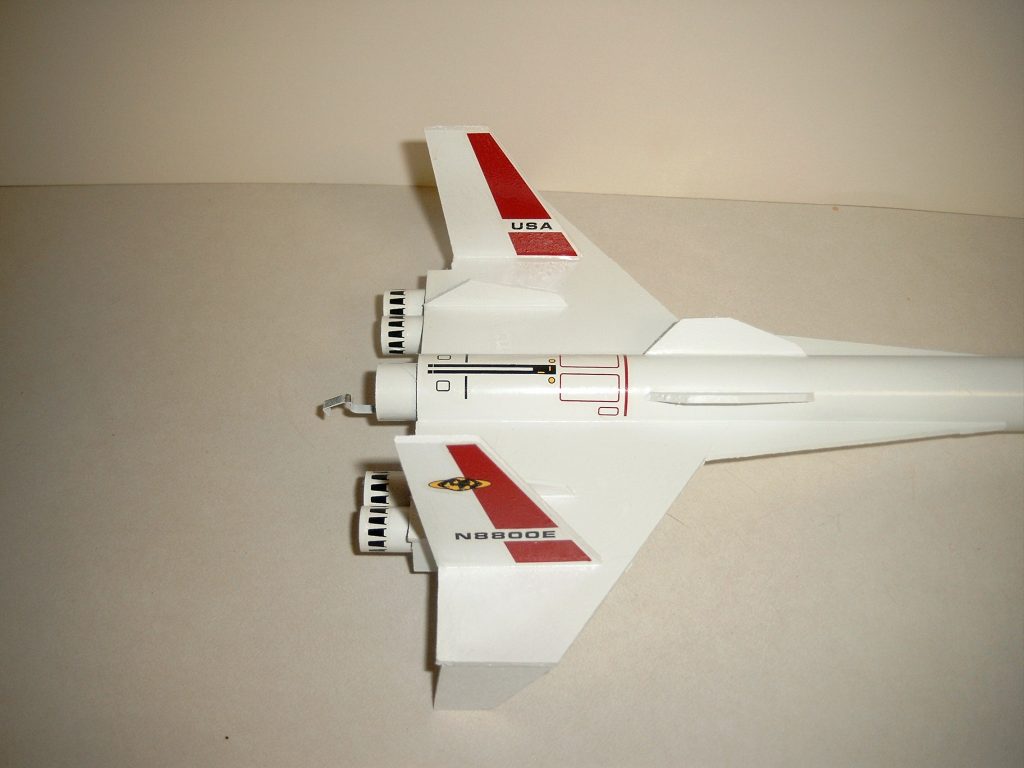
- Shuttle
- Length: 8.6″
- Diameter: 0.736″
- Weight: 0.5 oz.
- Wing Span: 5.0″
- Recovery: Glide
- Recommended Motors:
- B6-4, C6-5
Instructions
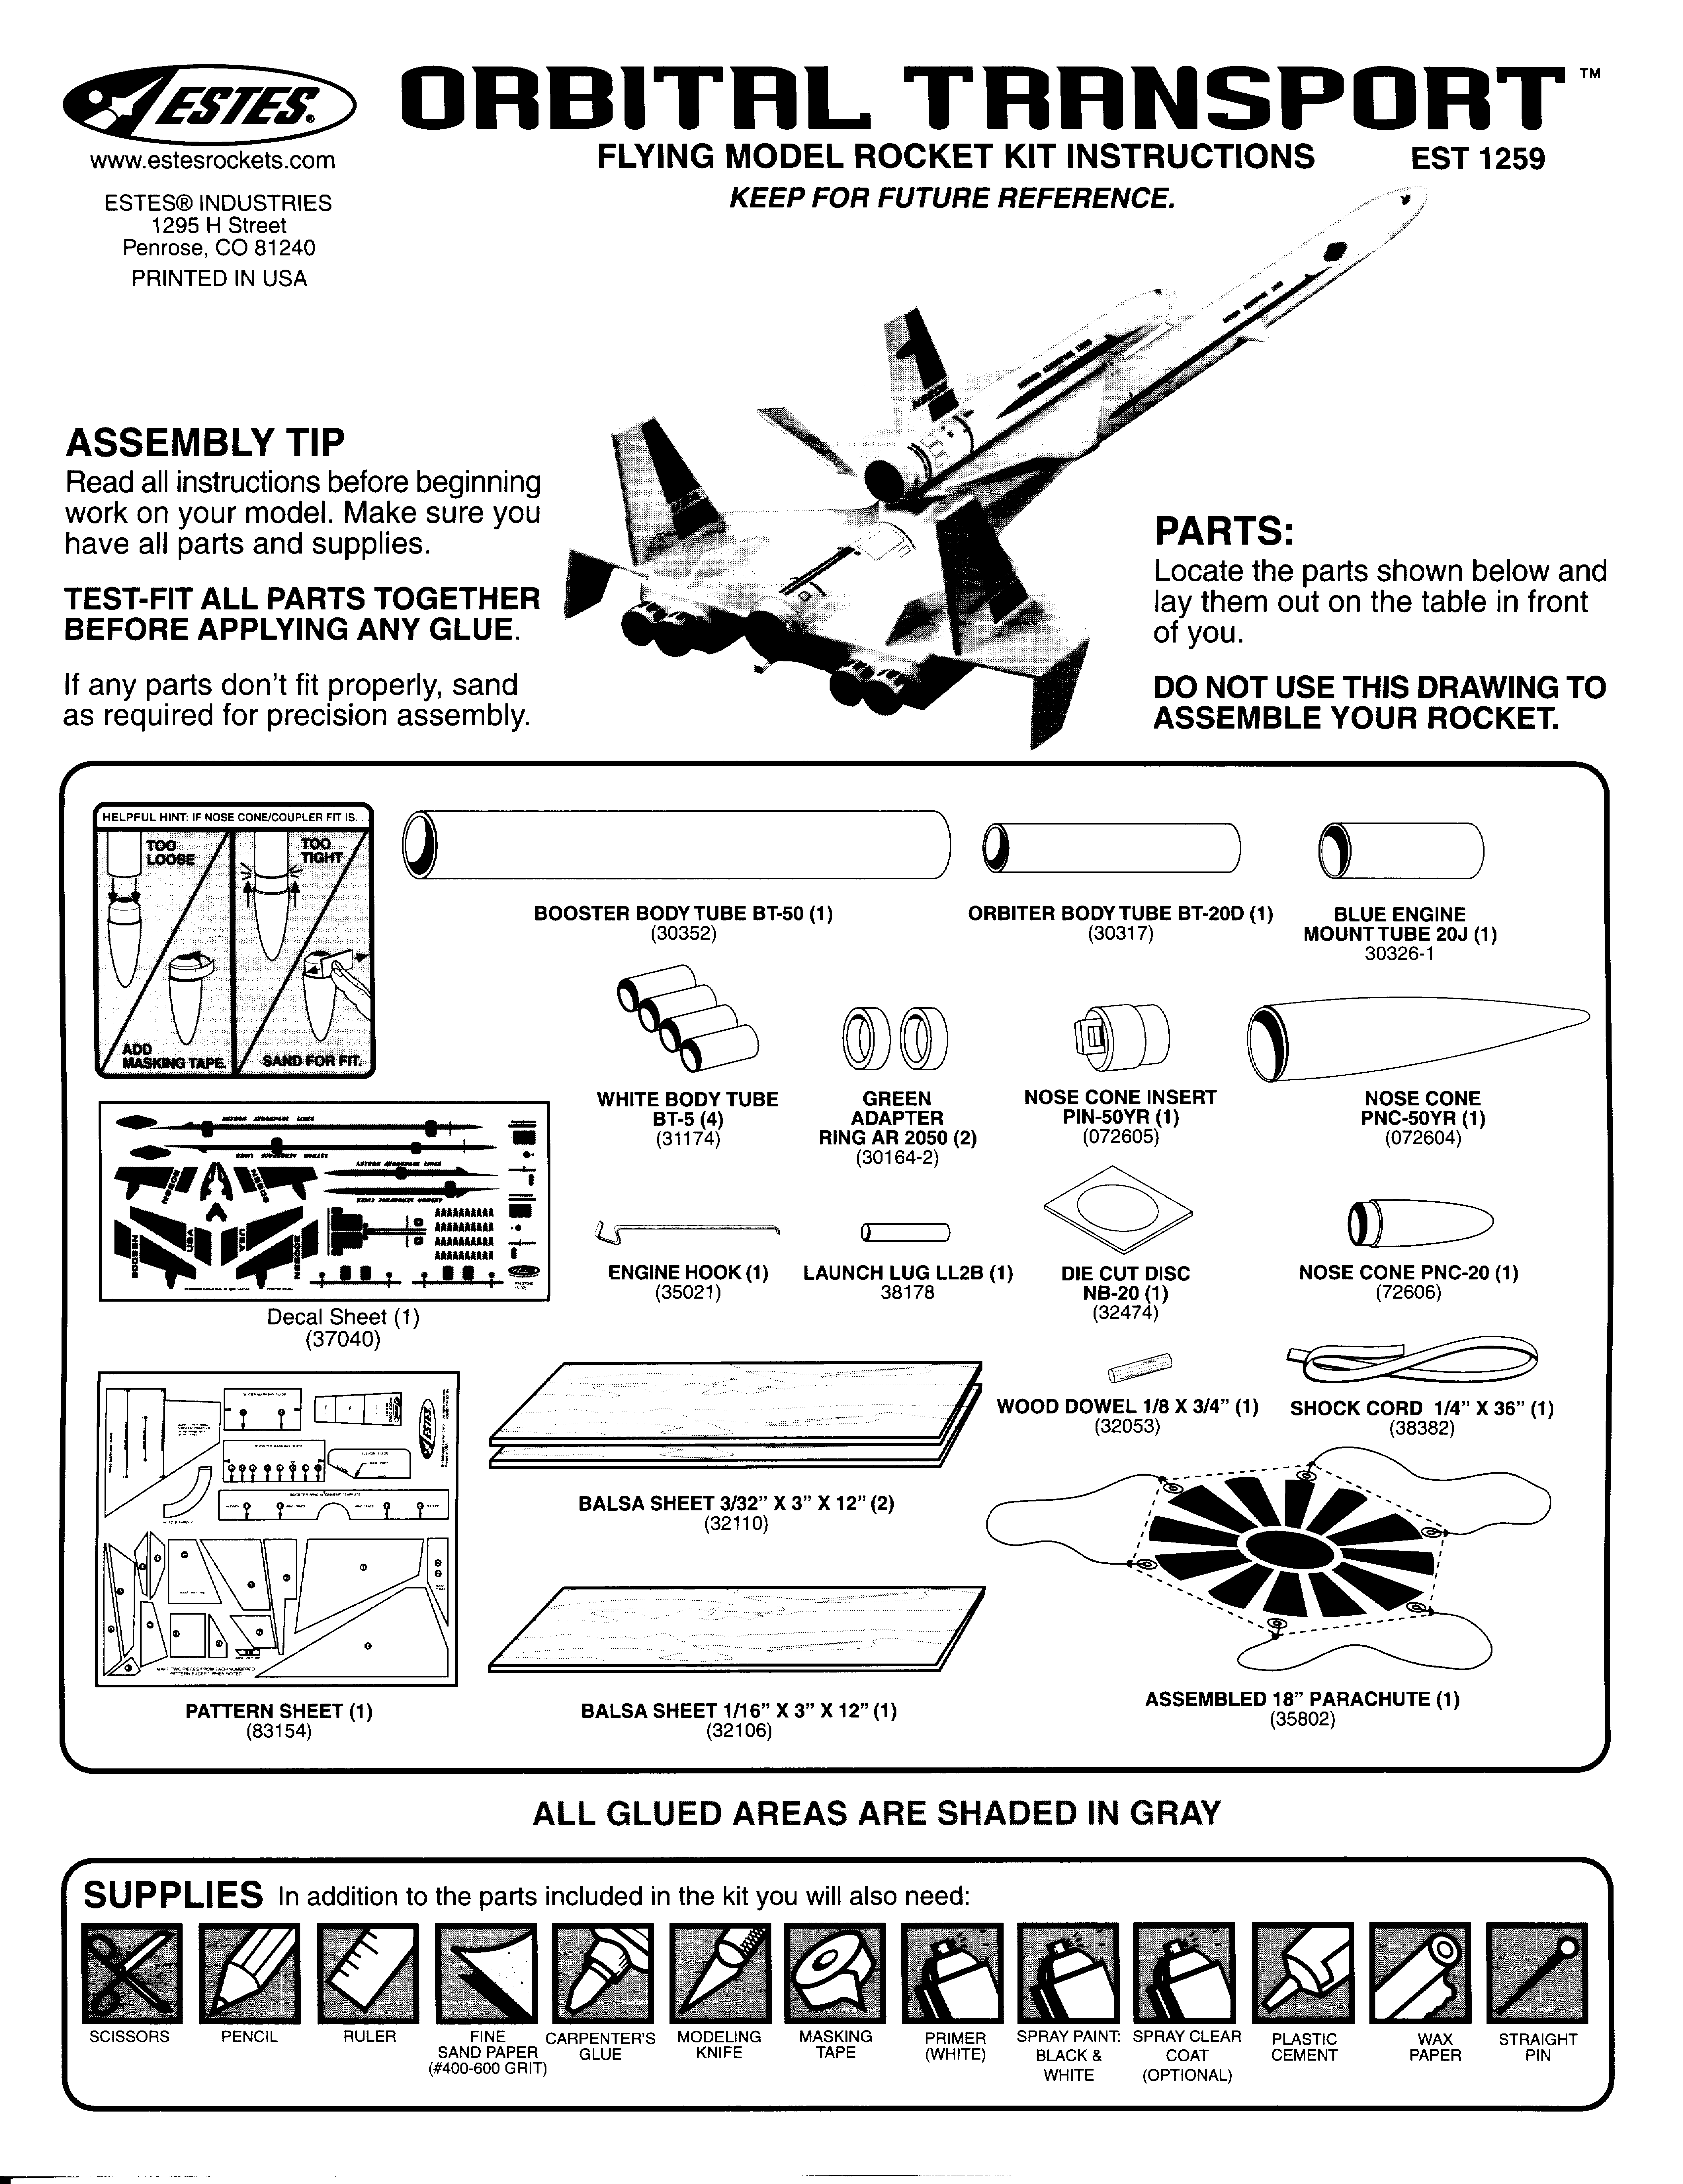
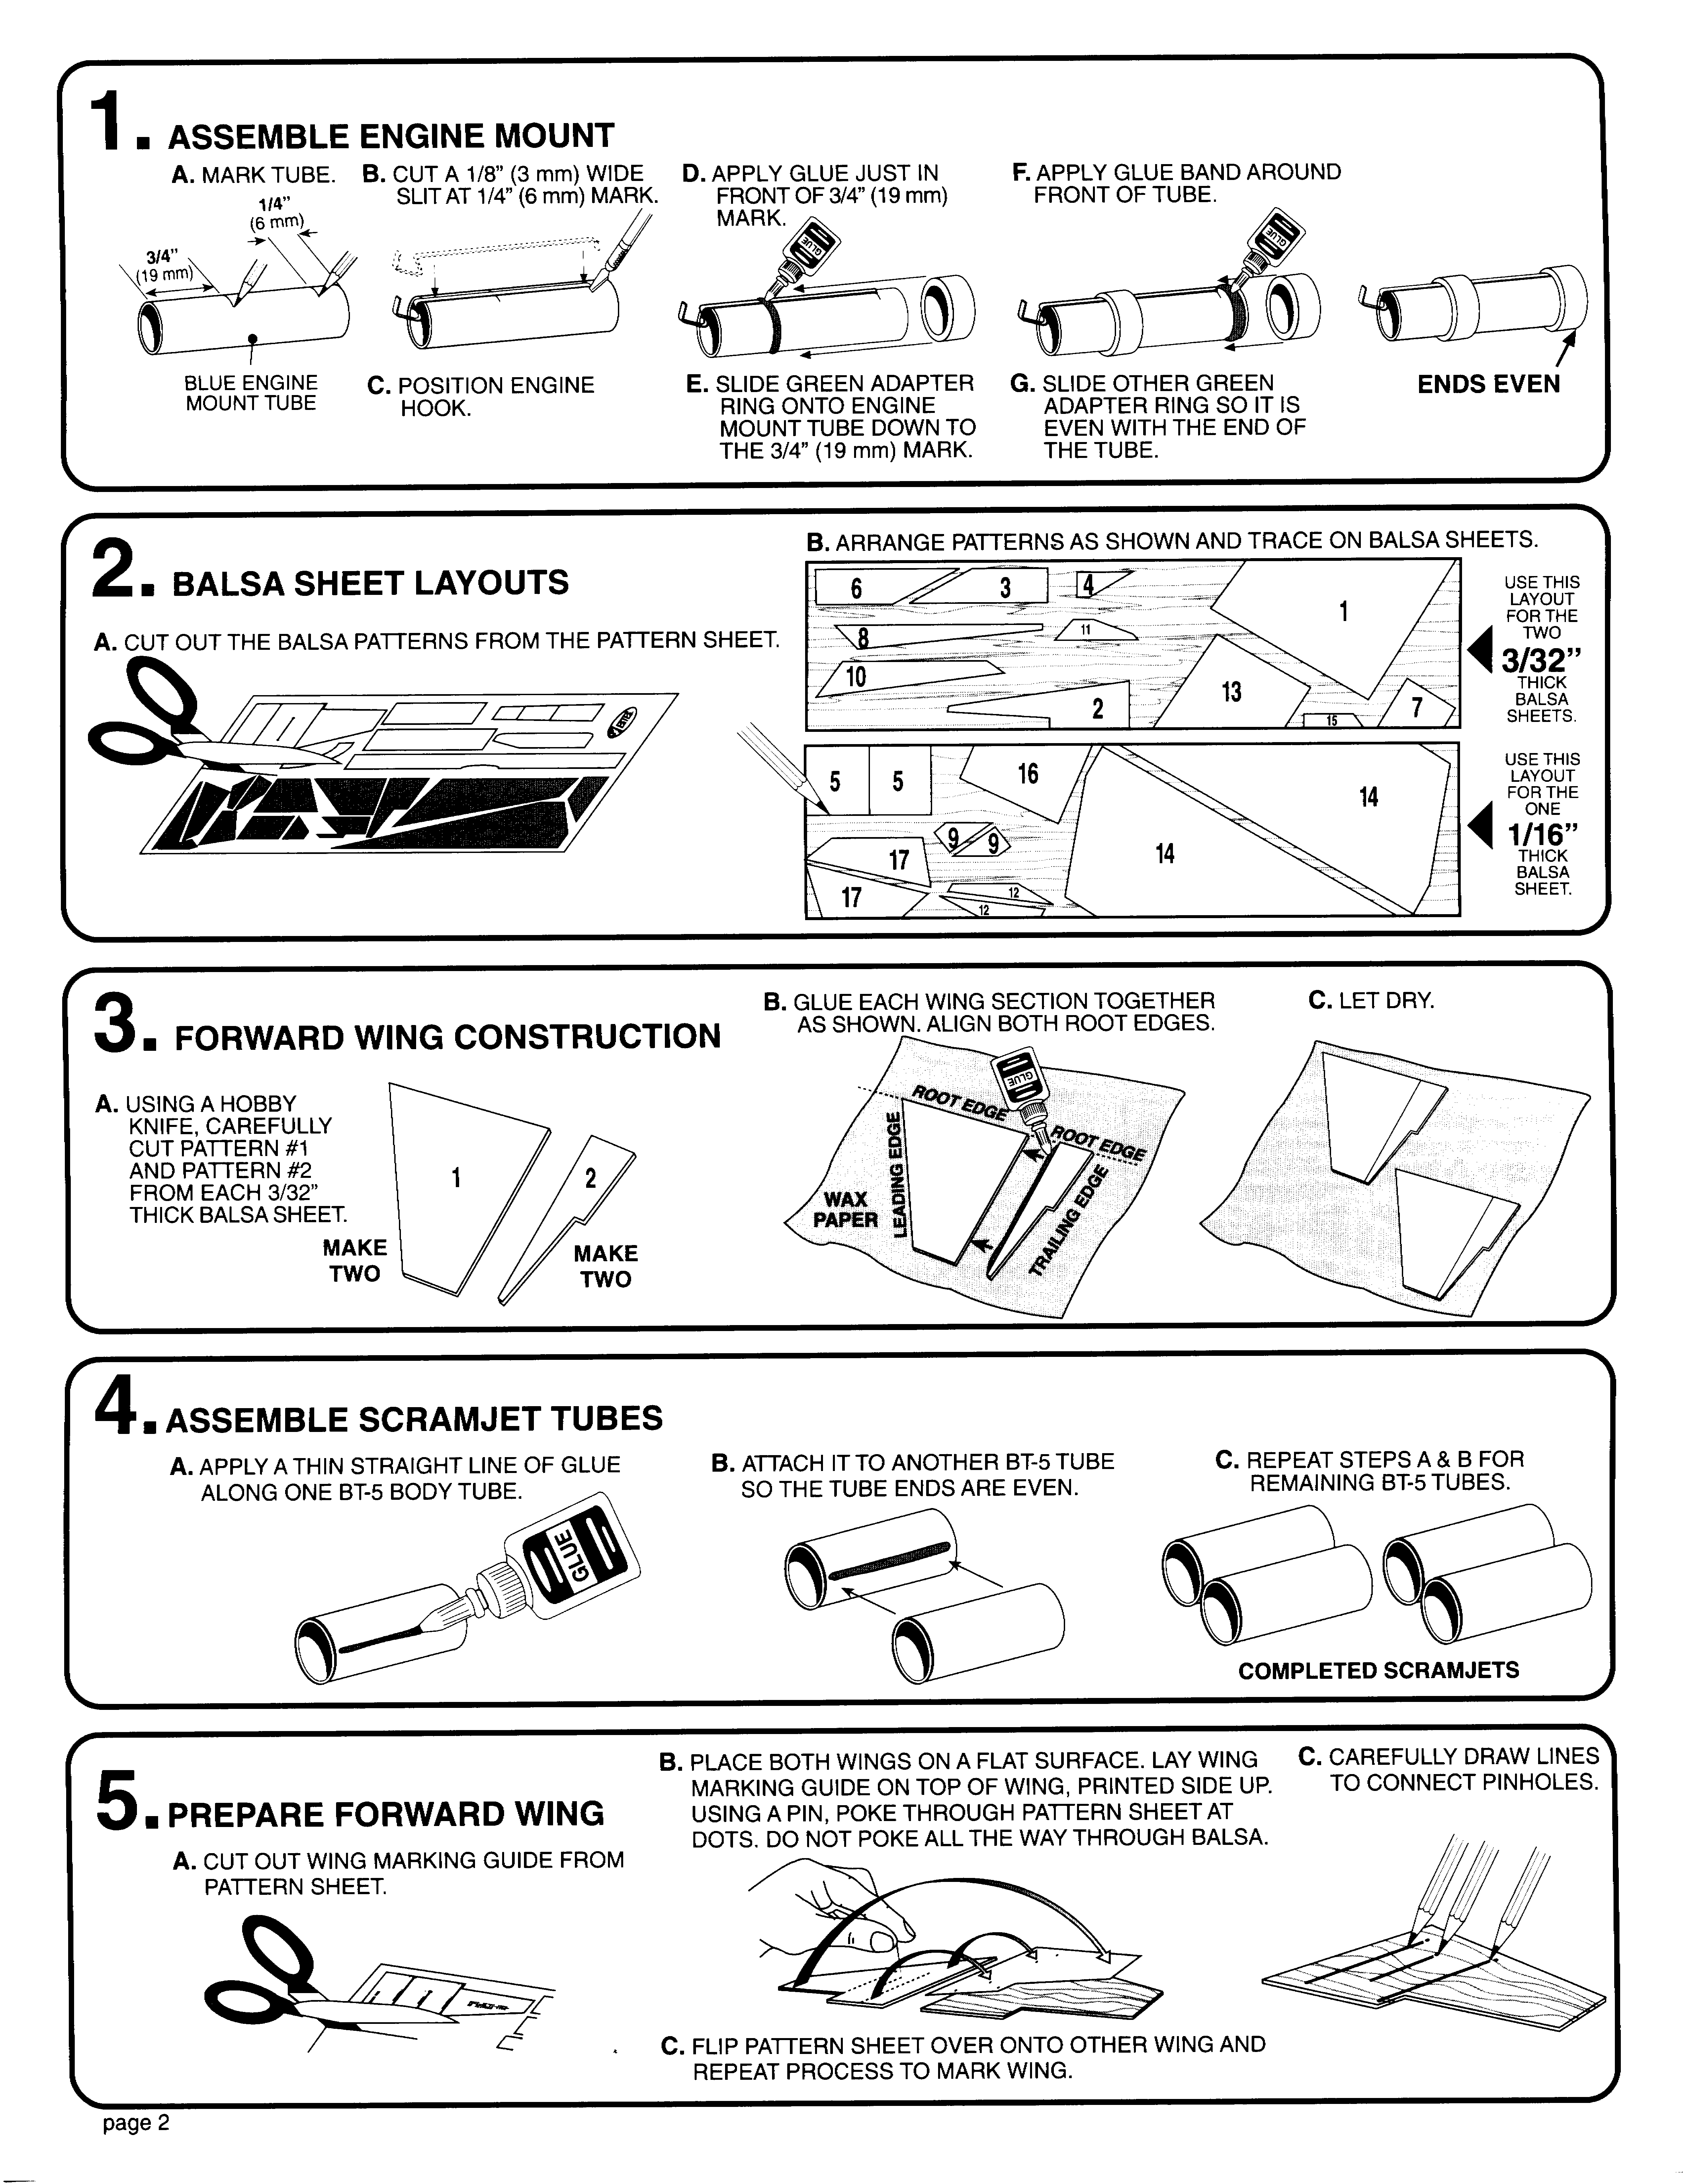
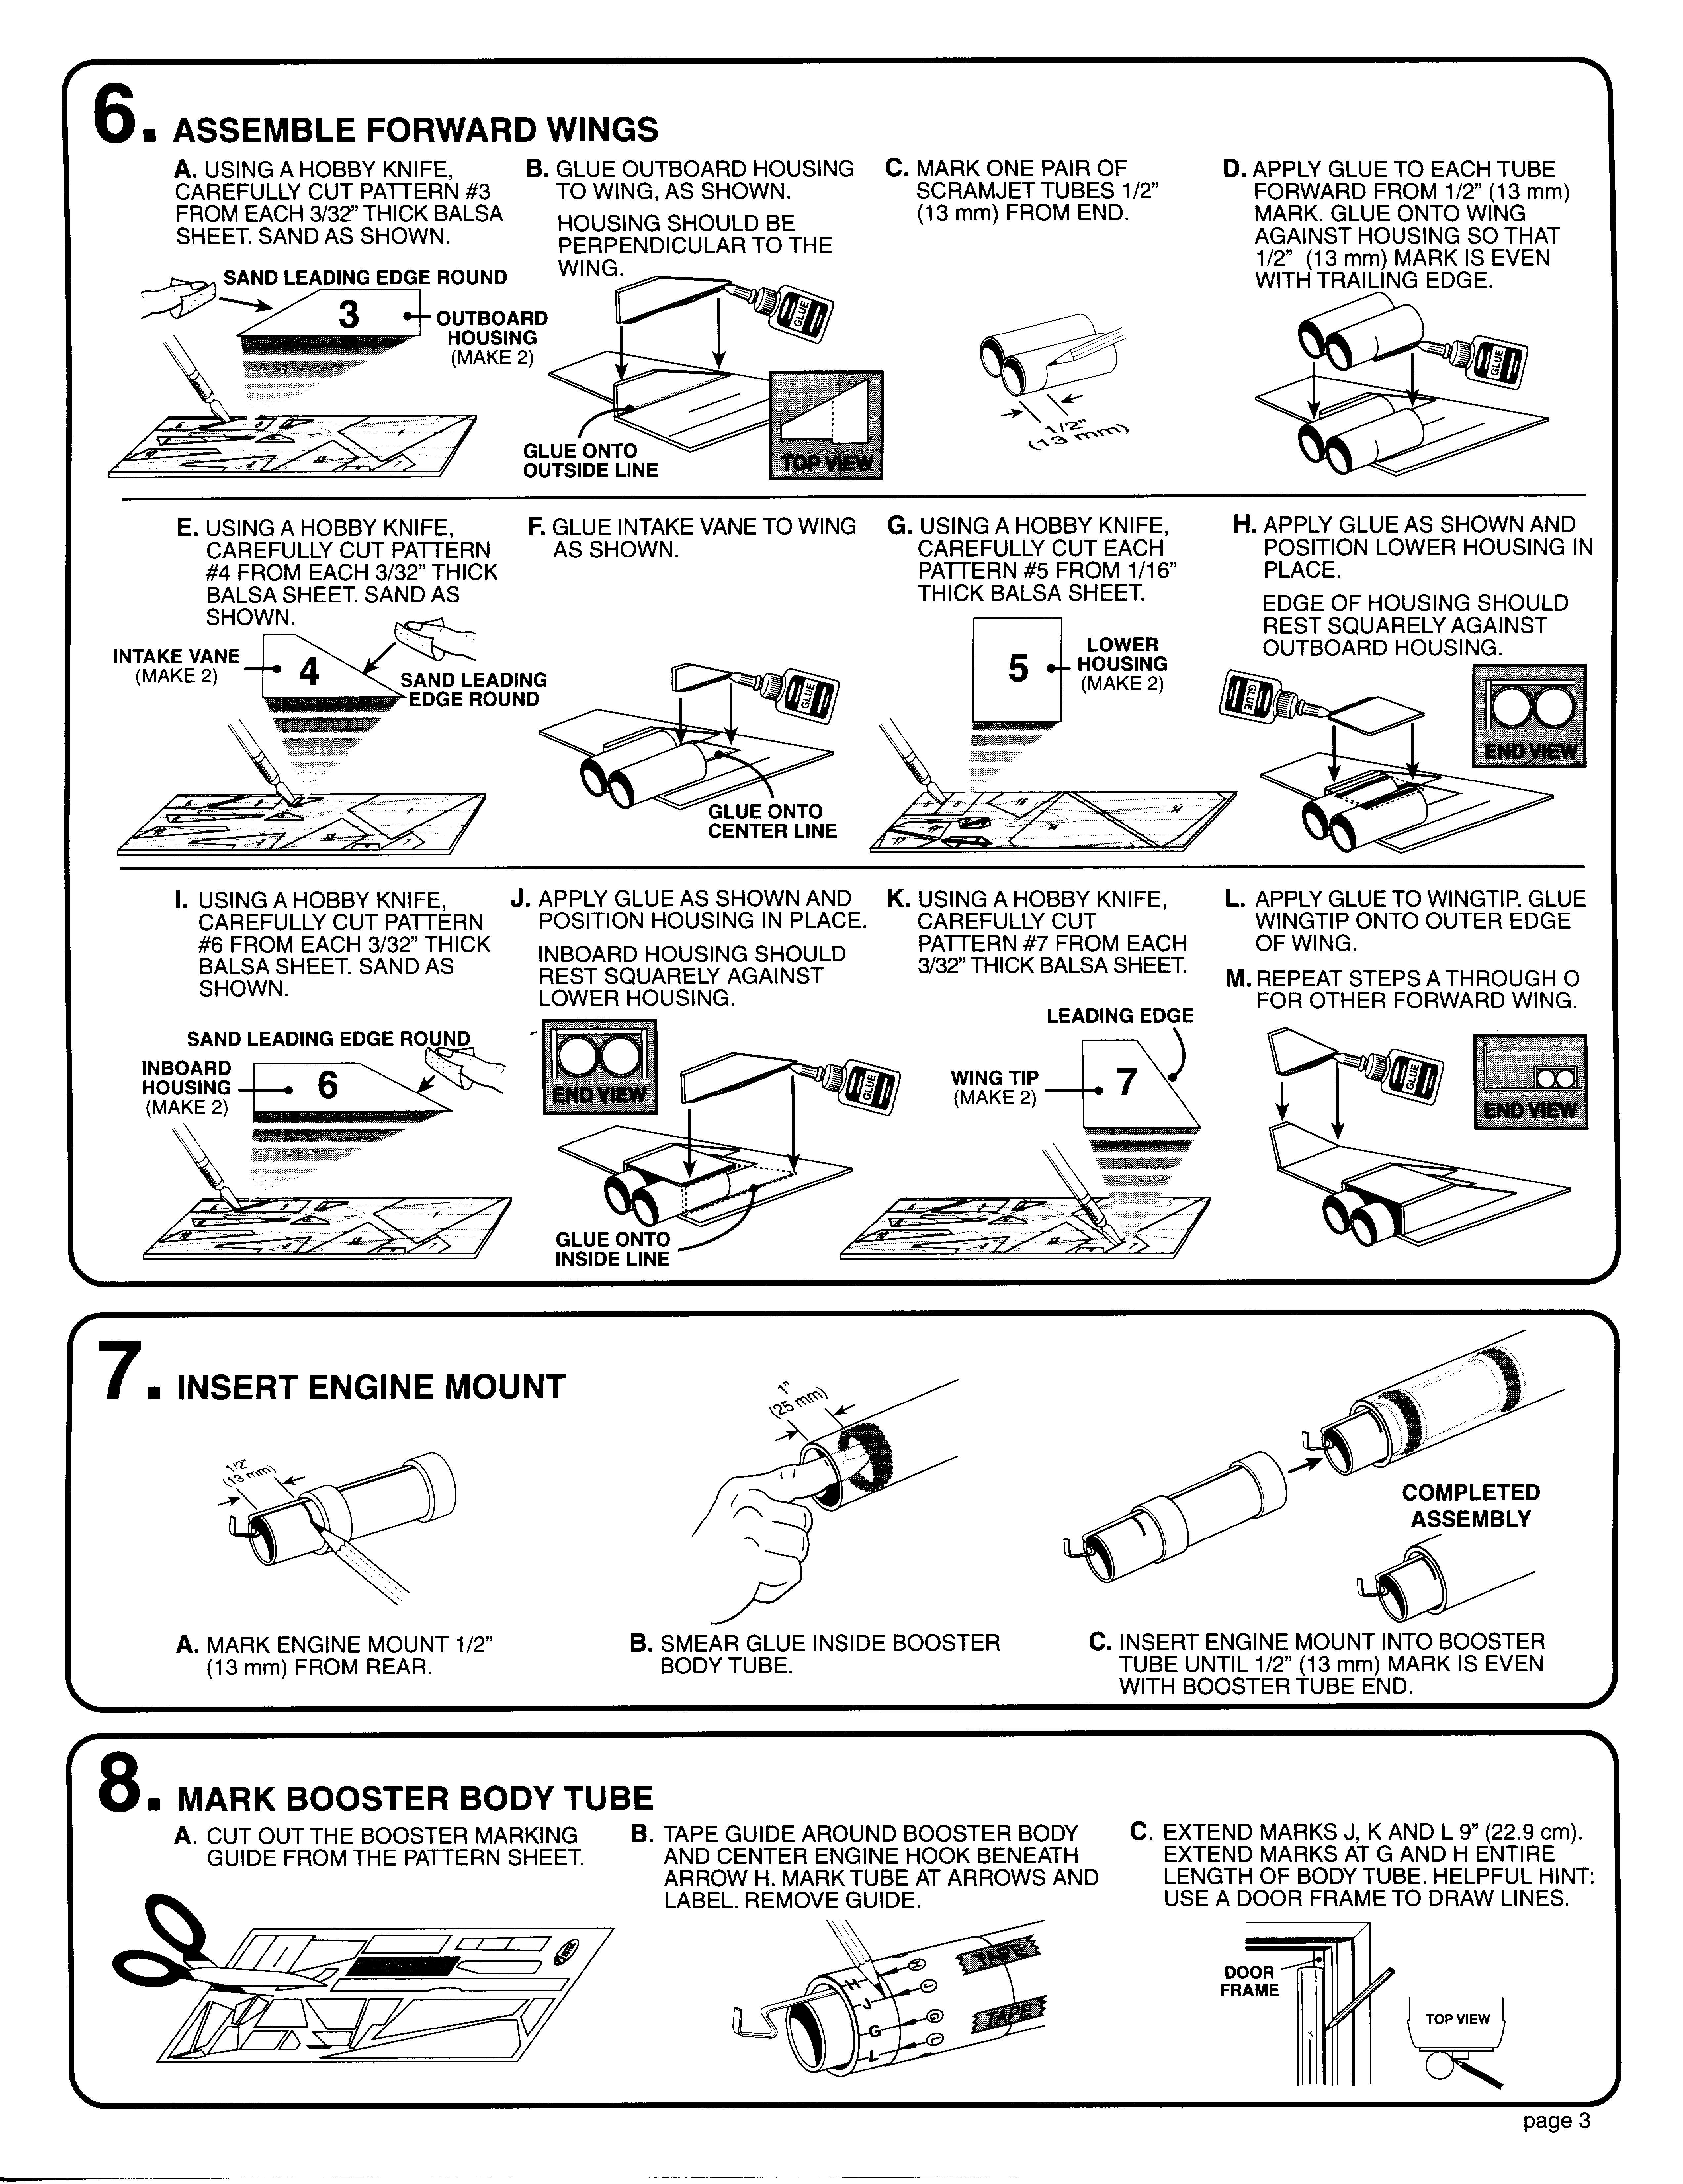

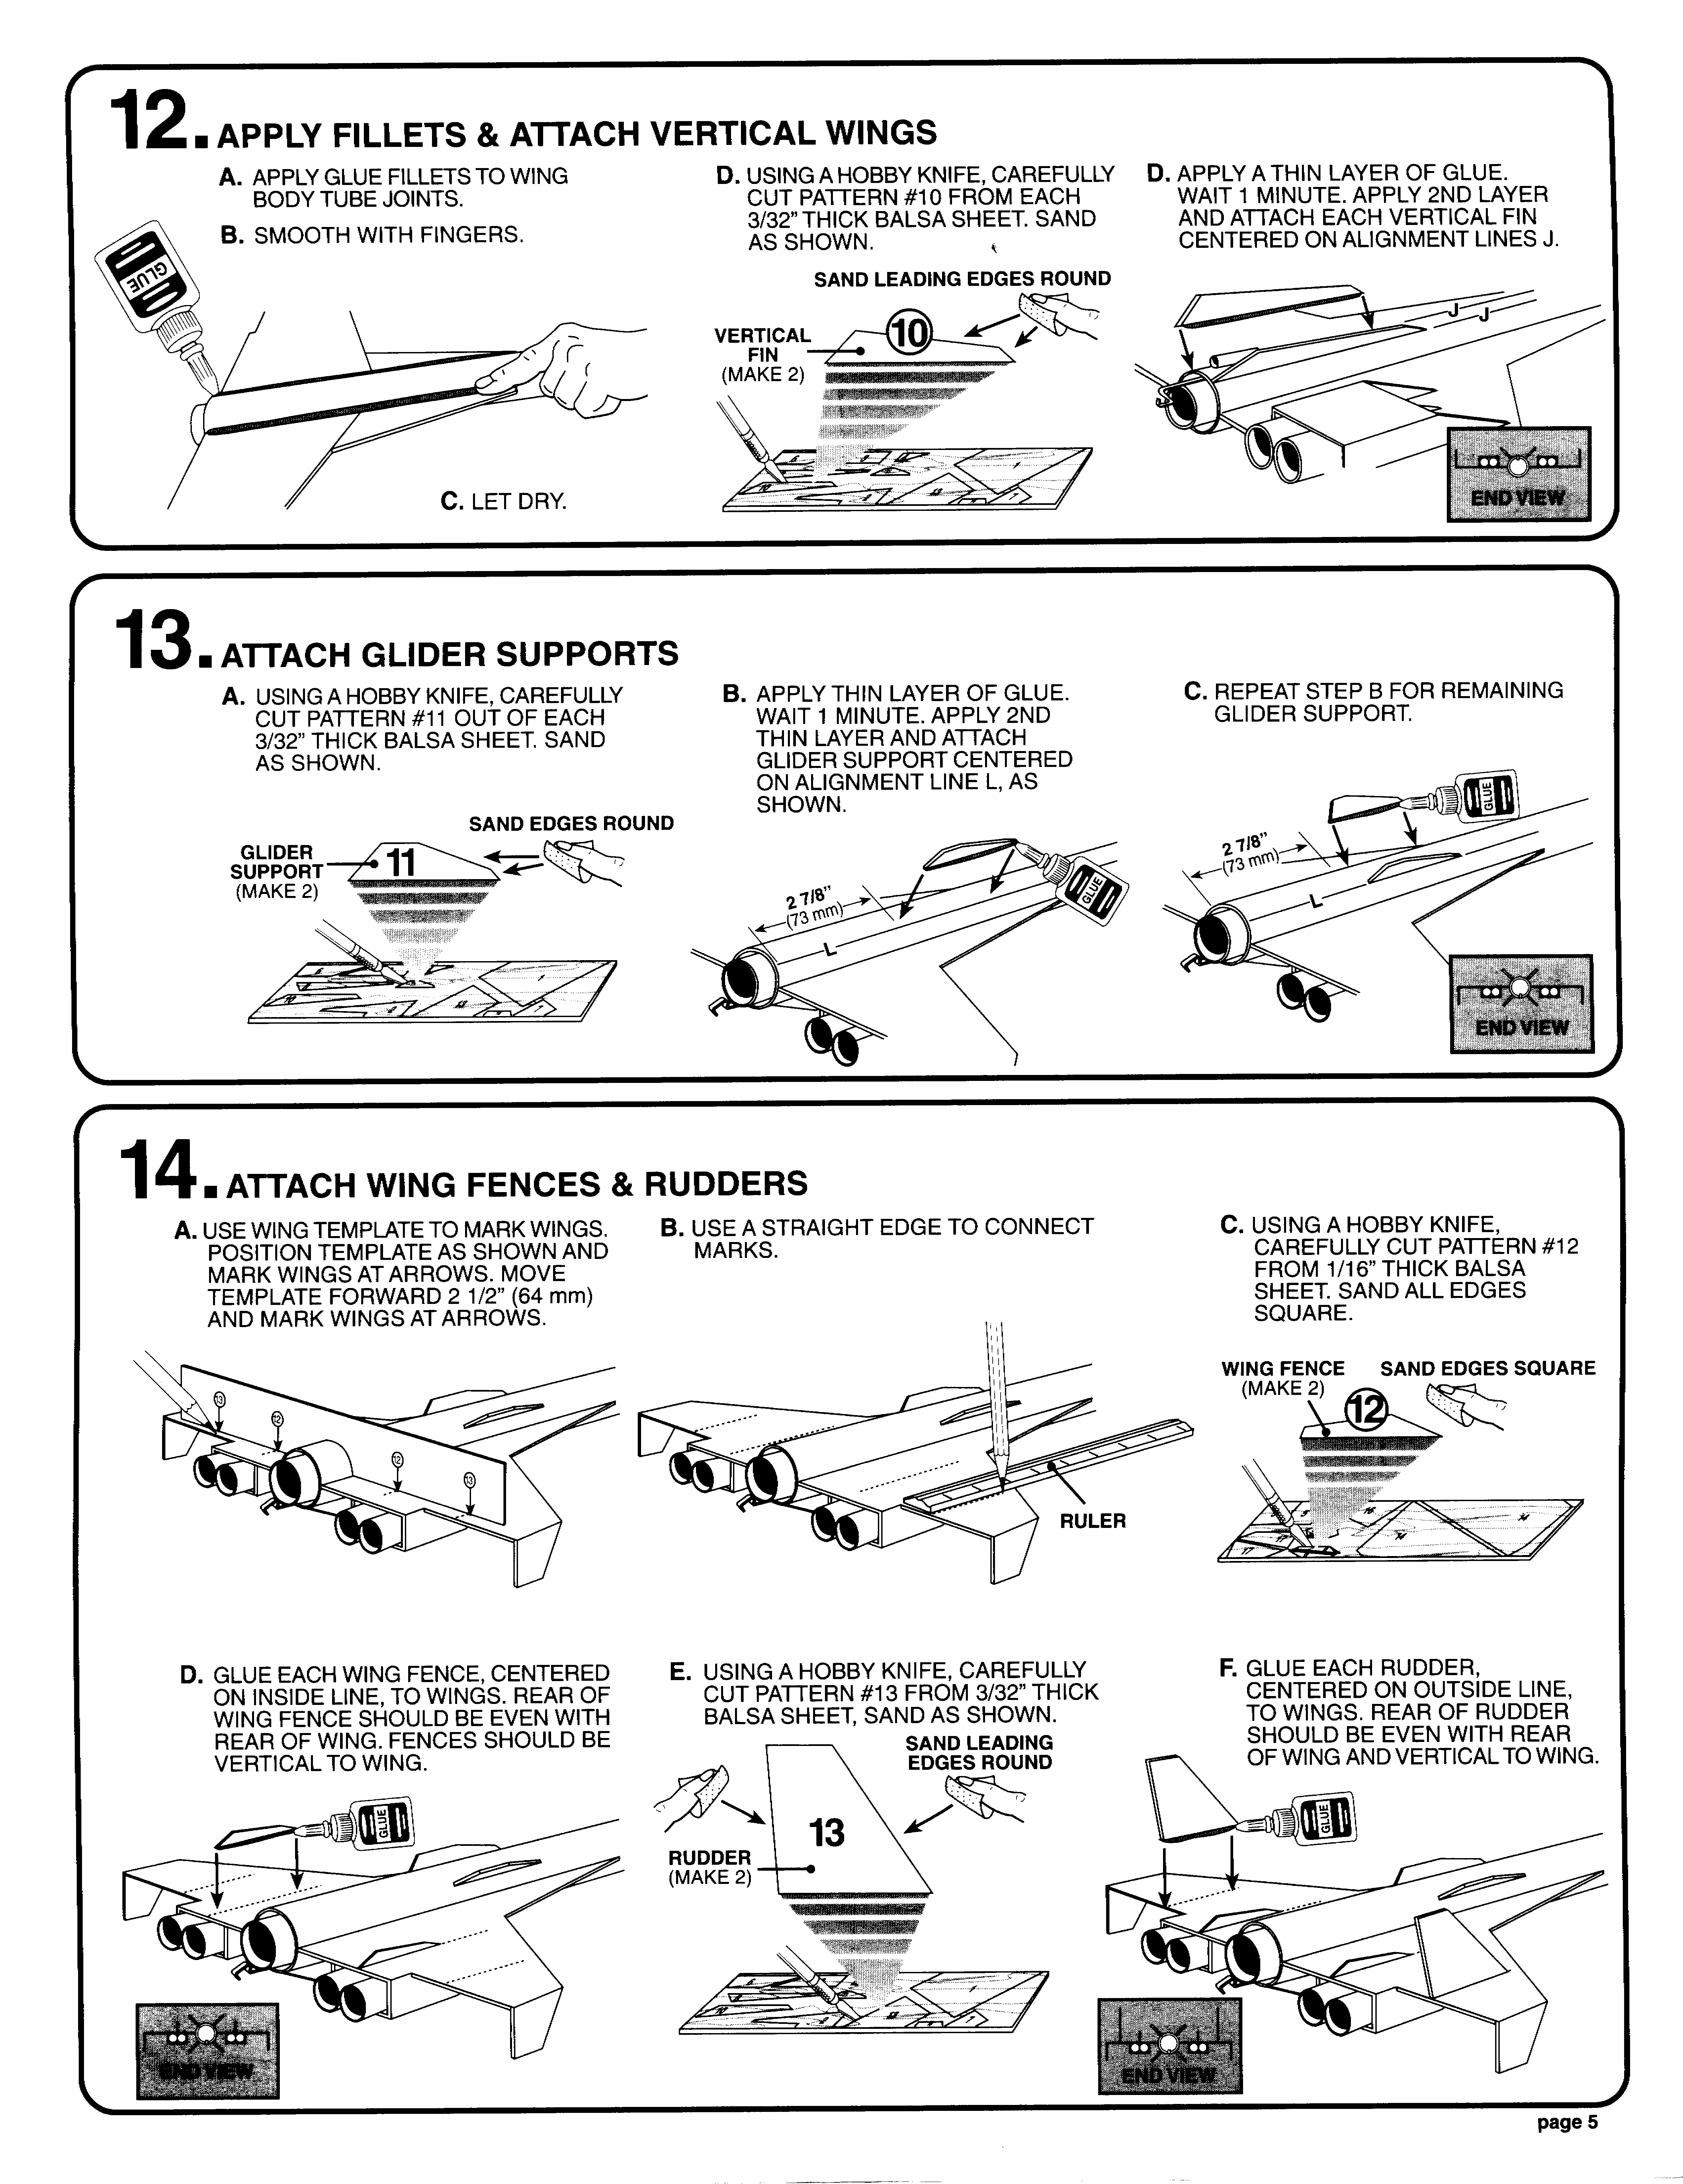
Photo Gallery


Build History
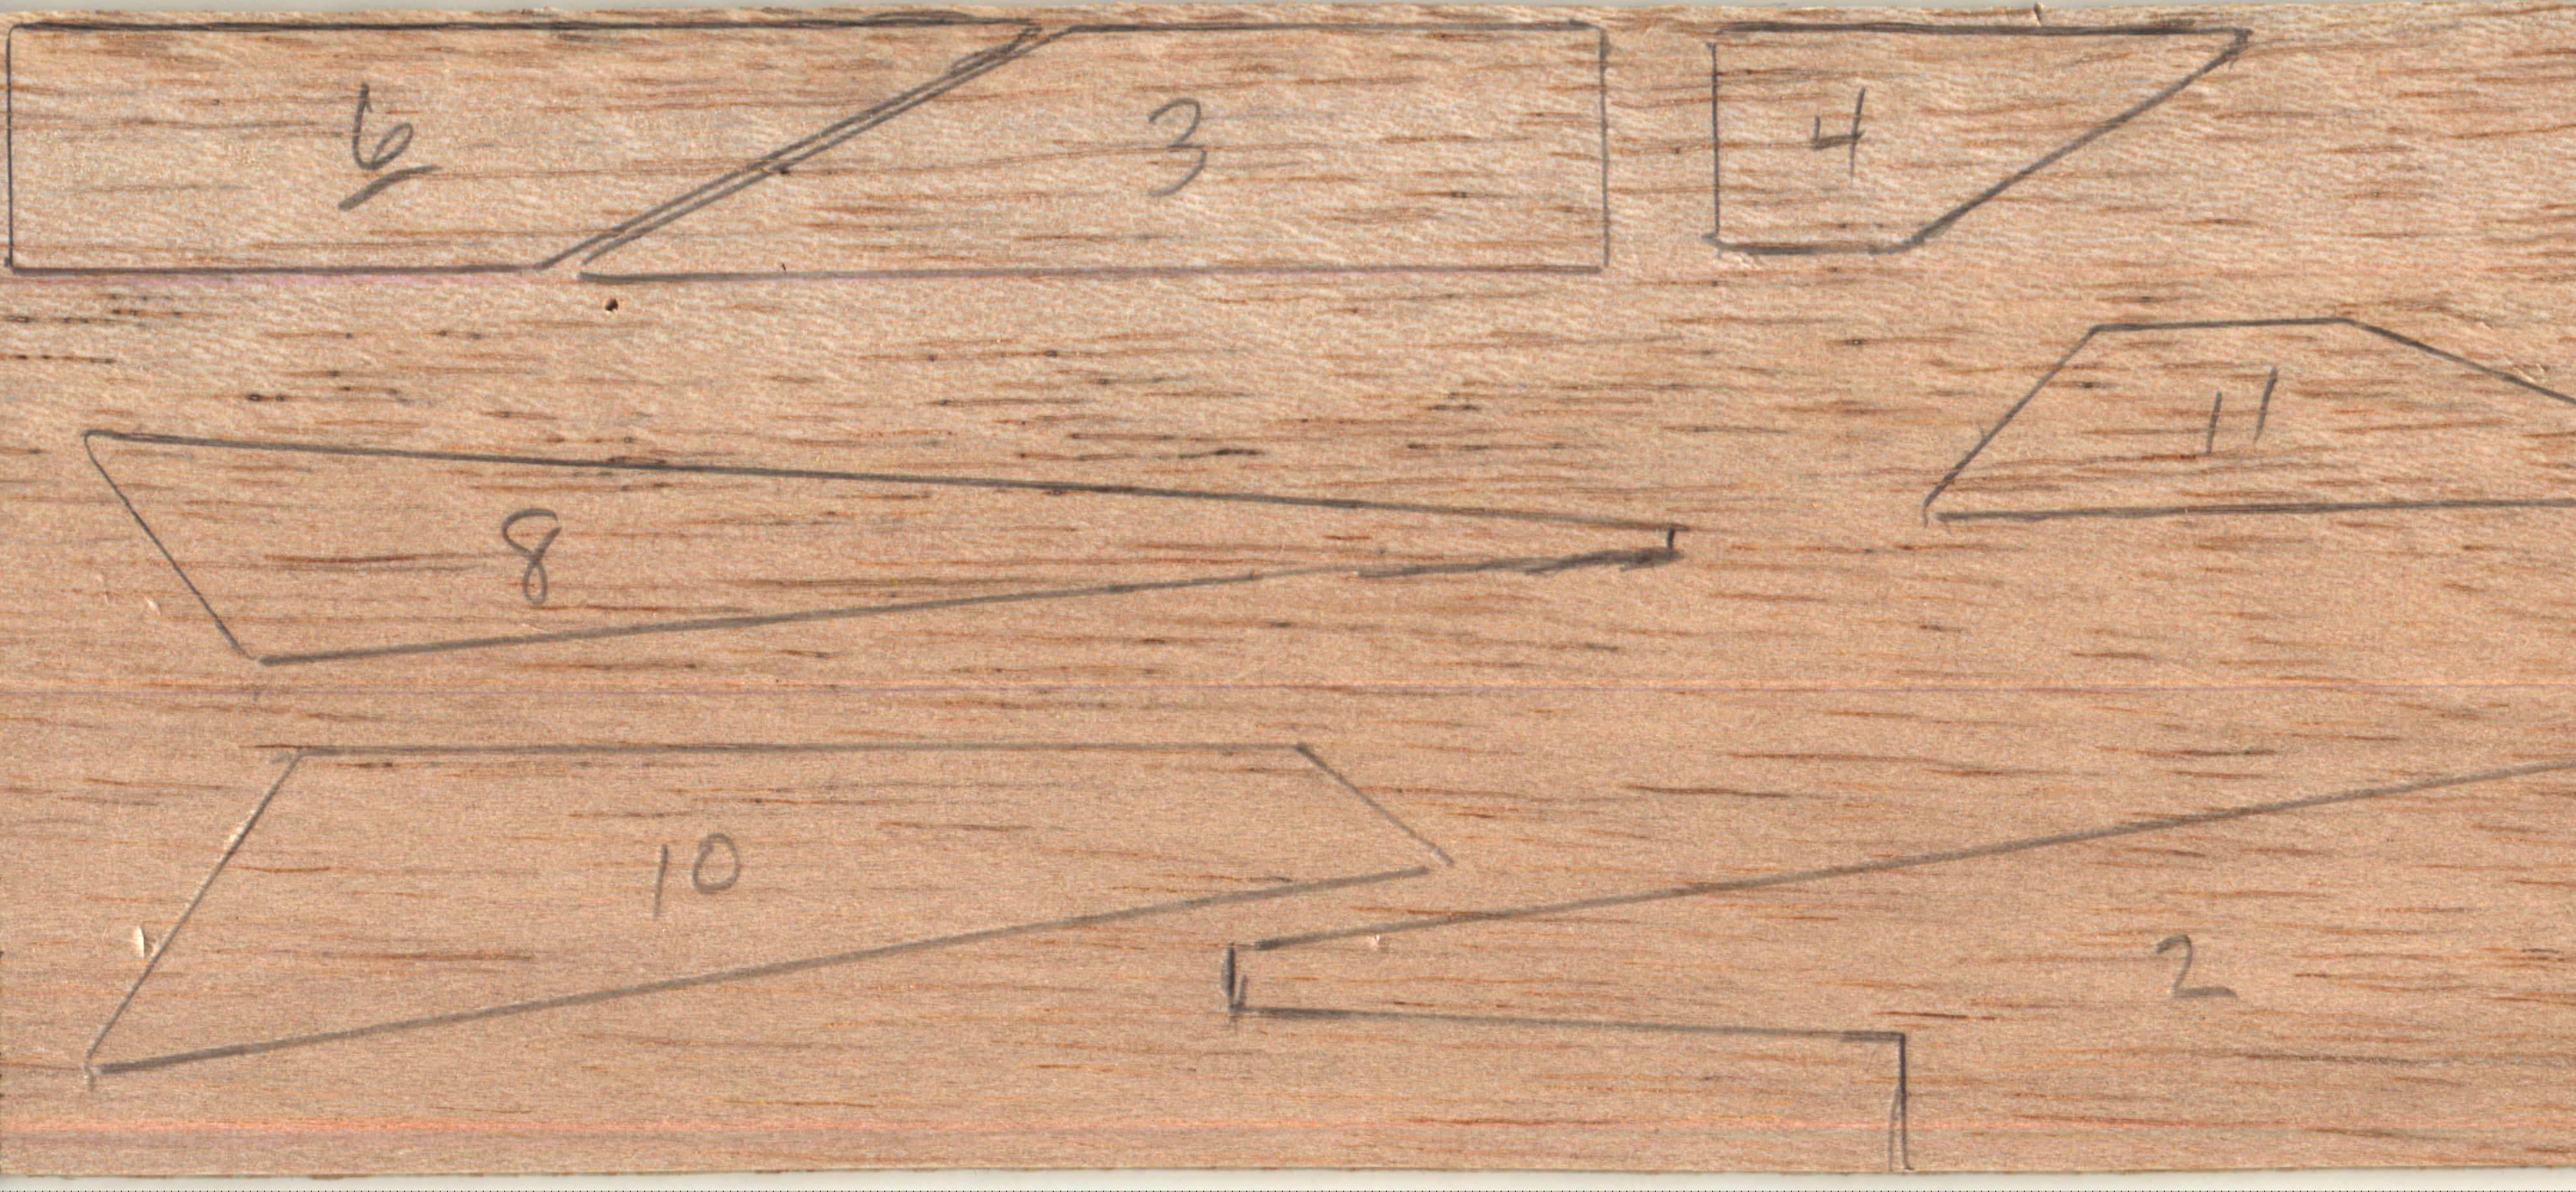
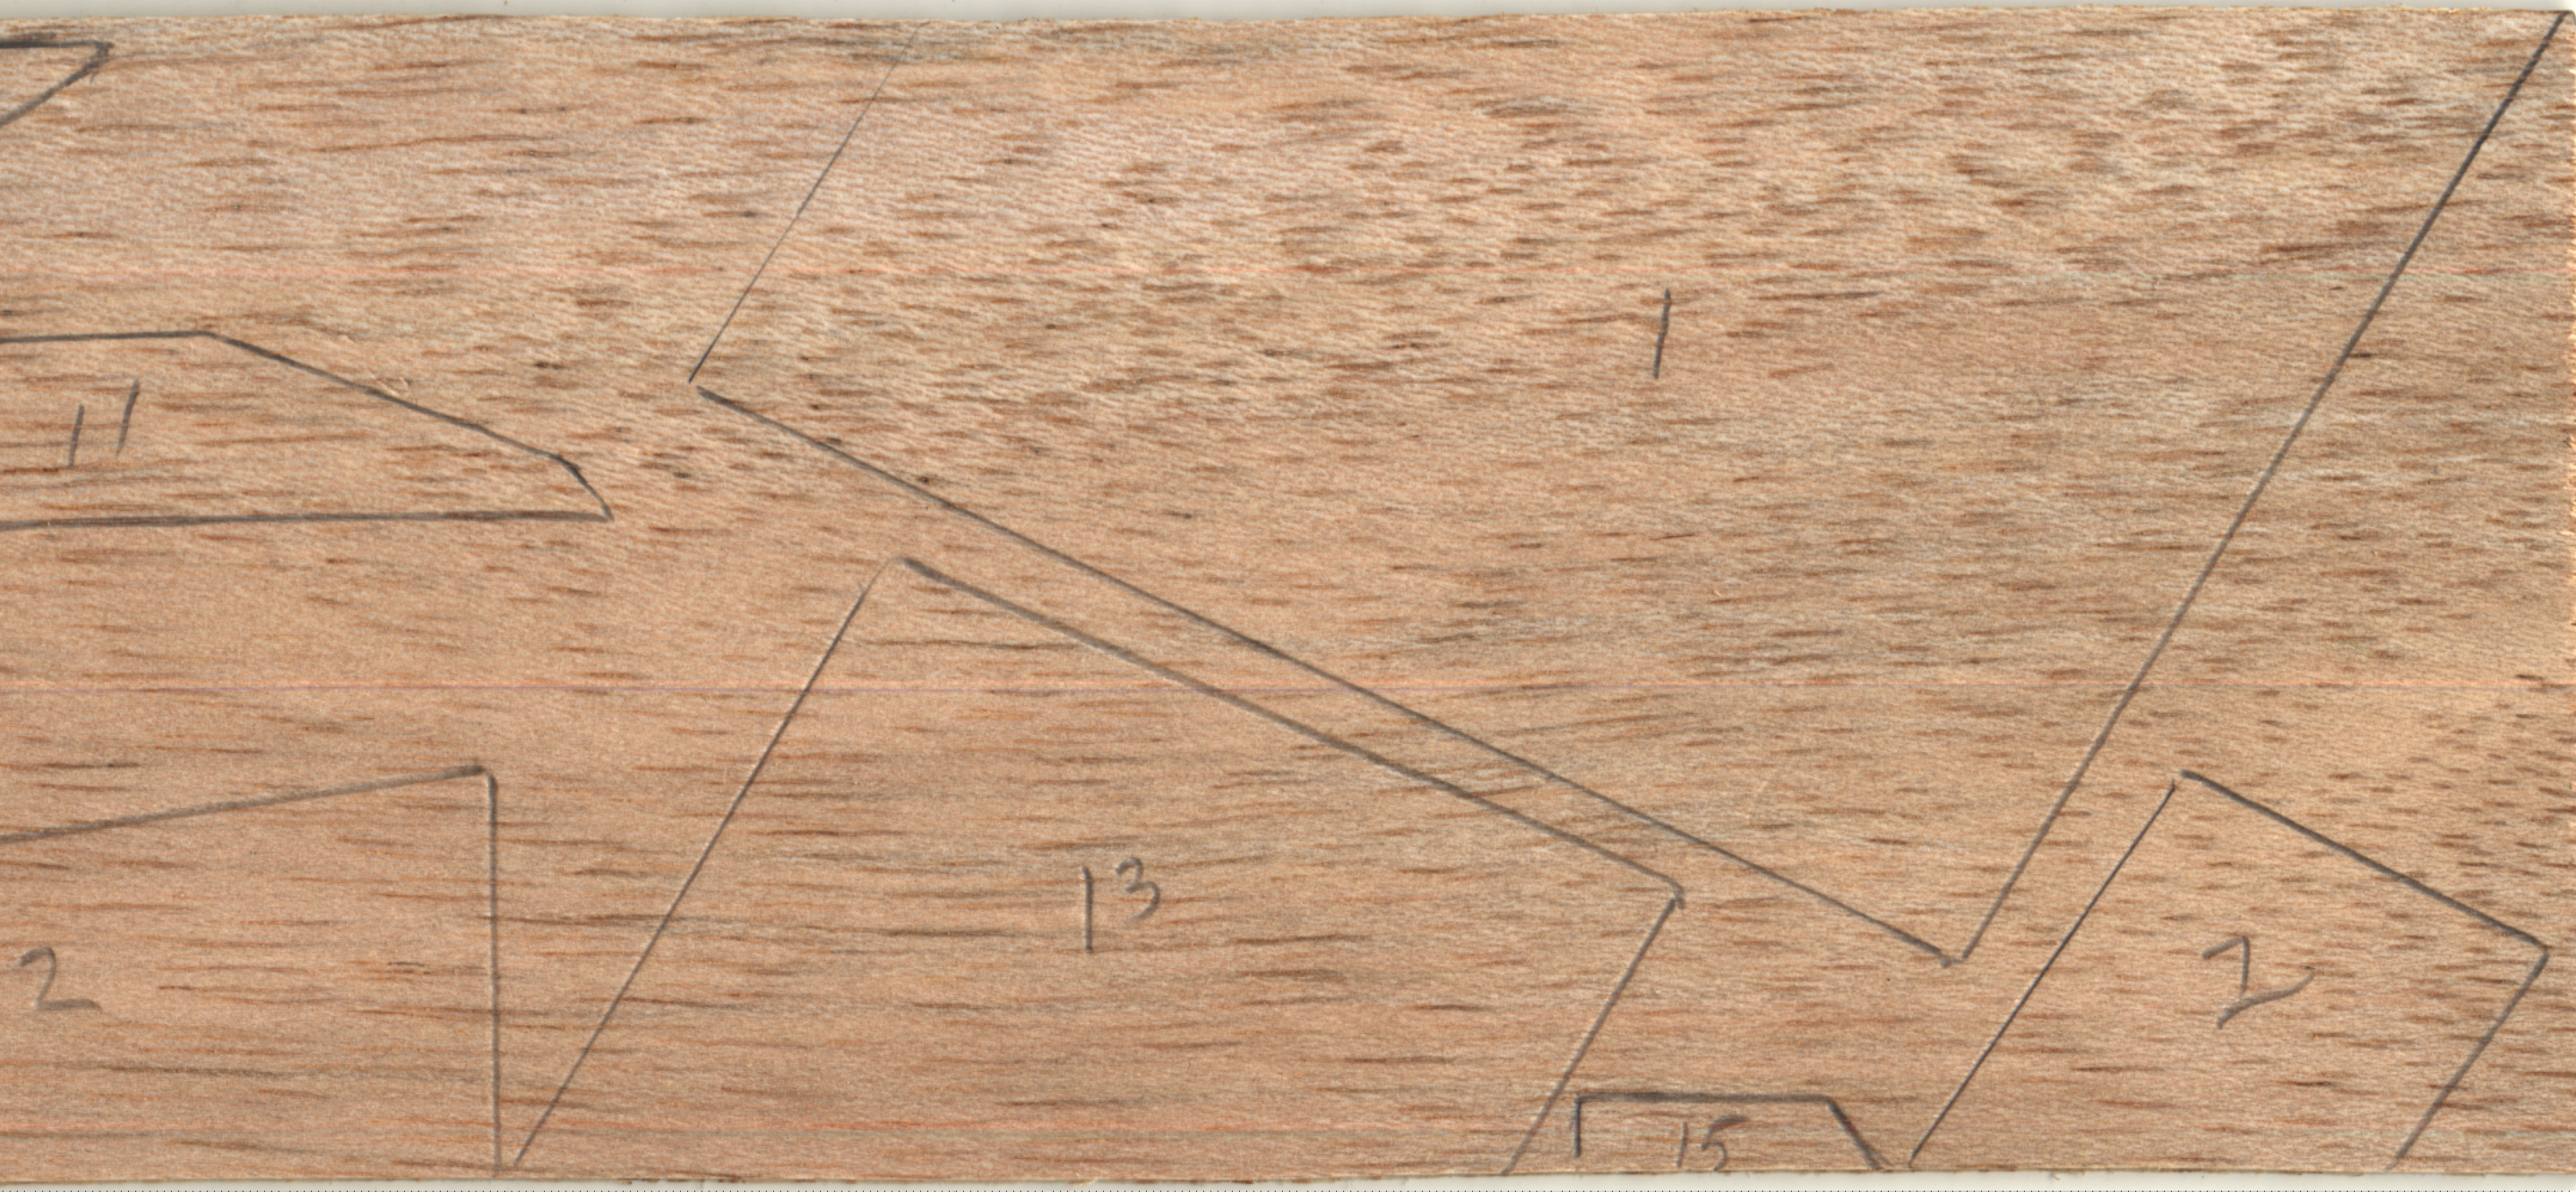
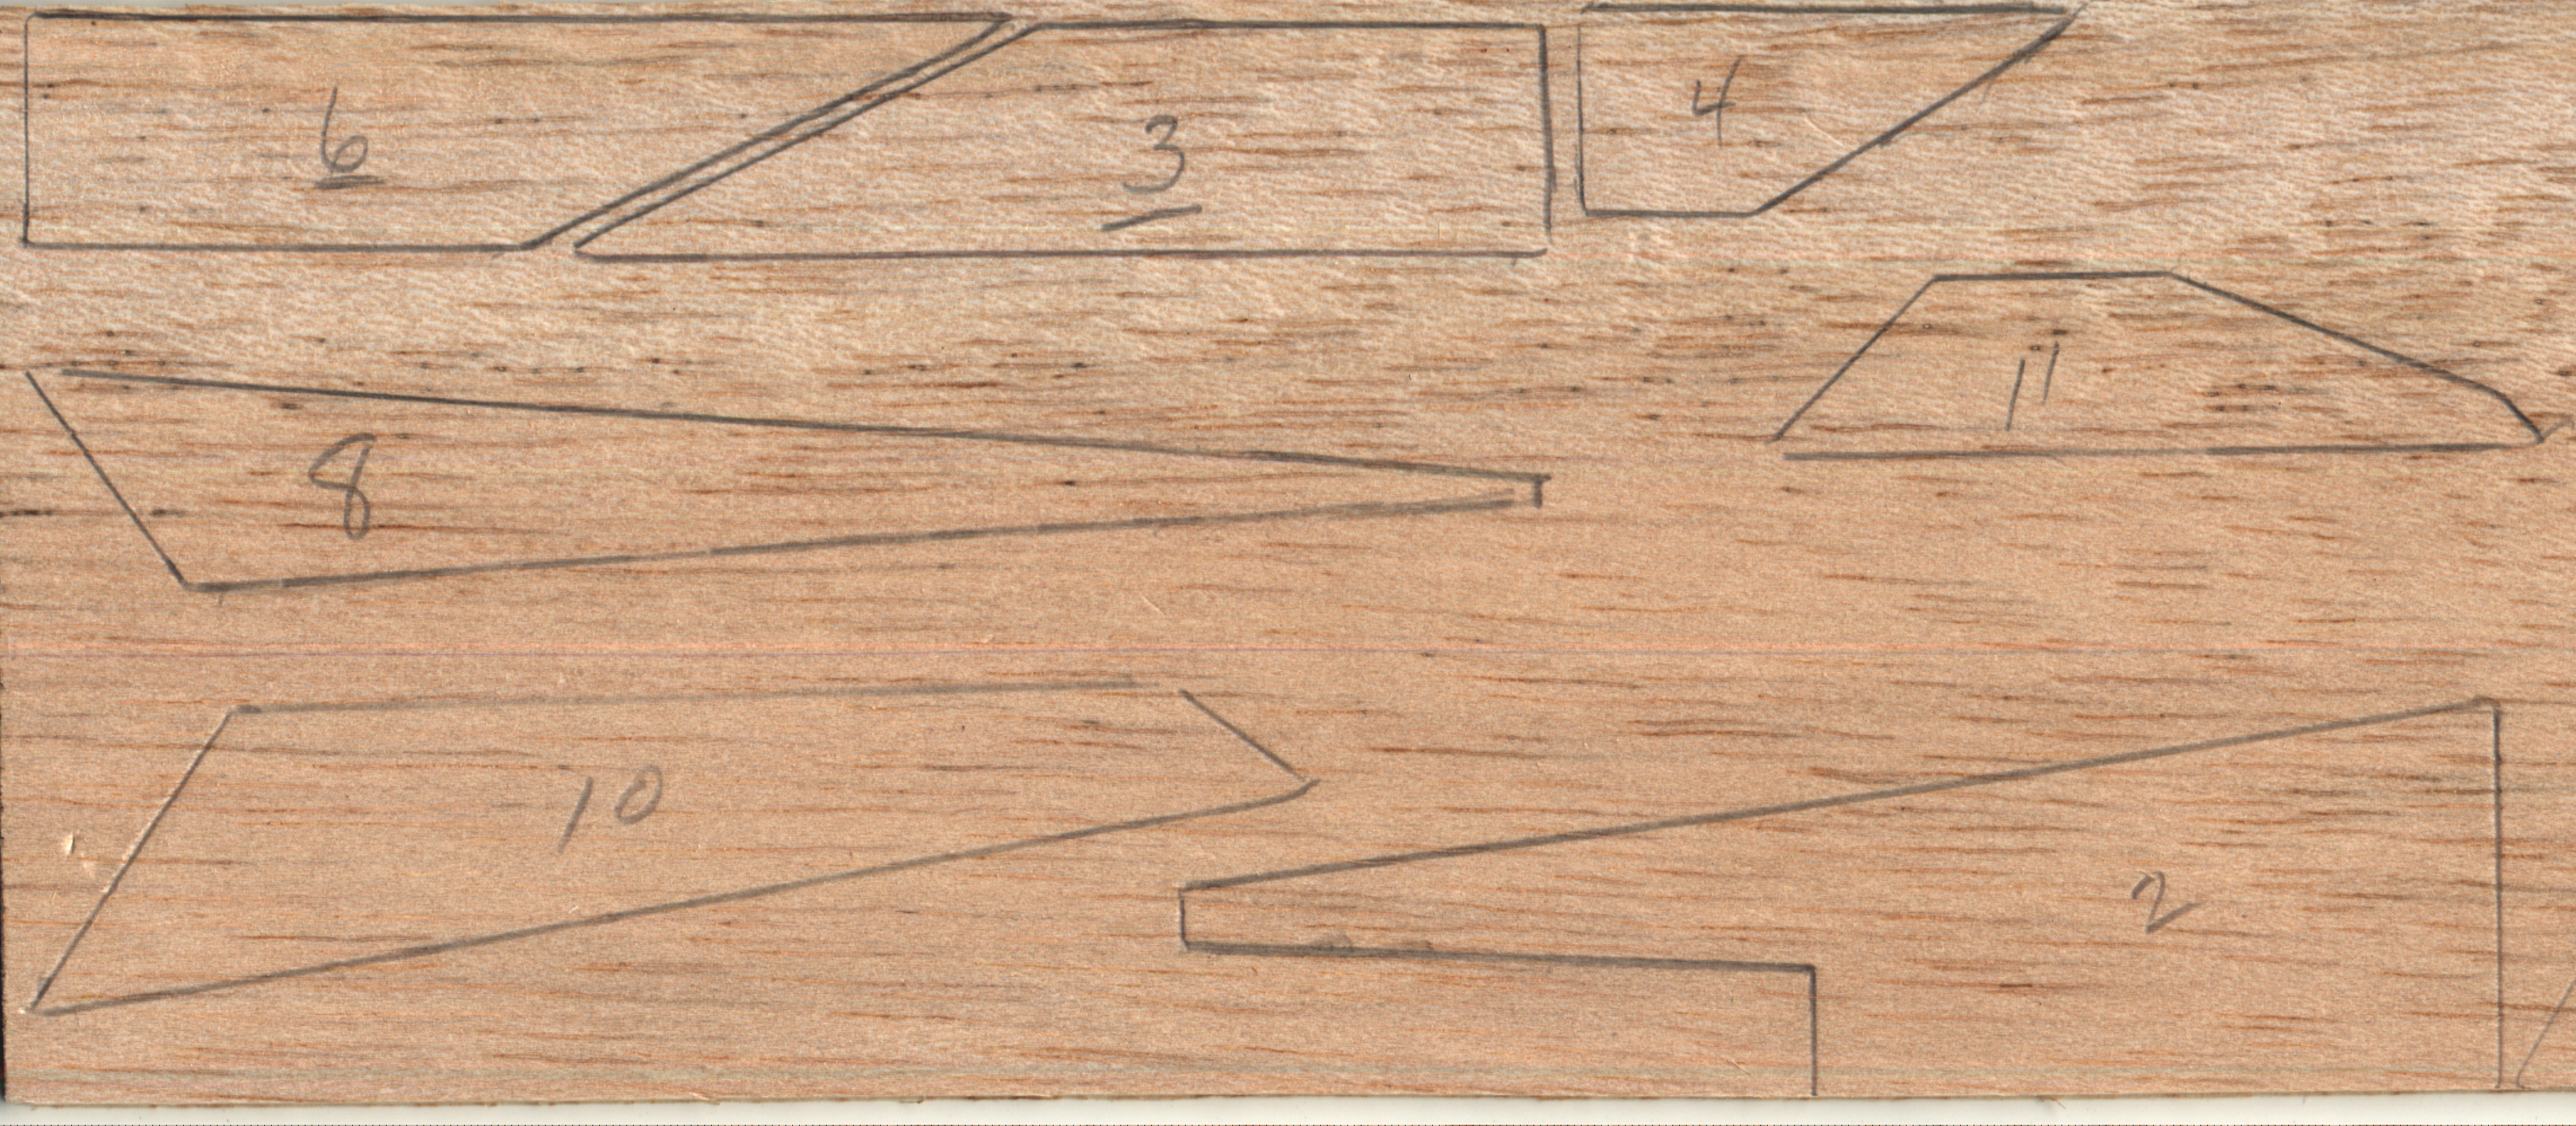
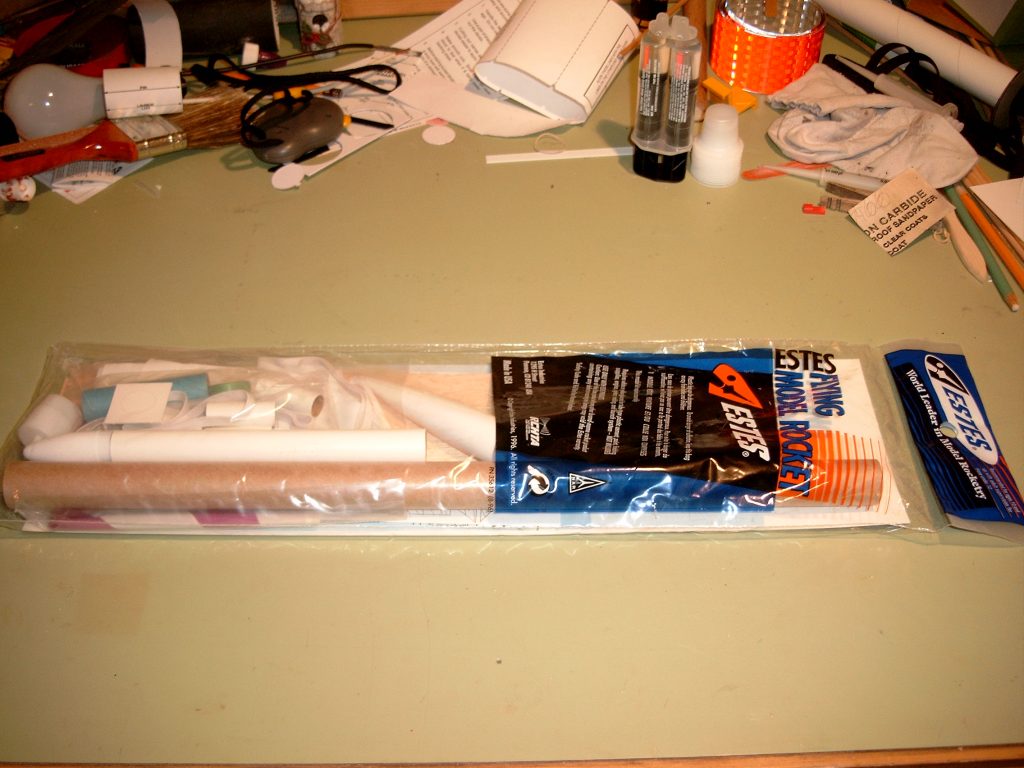
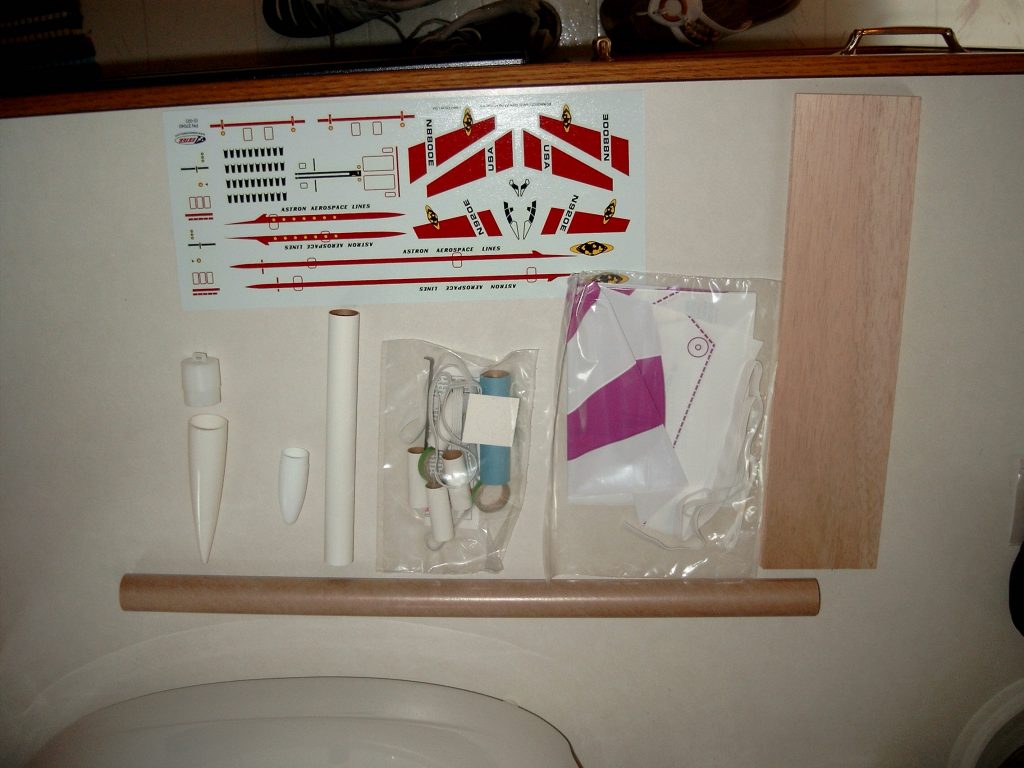
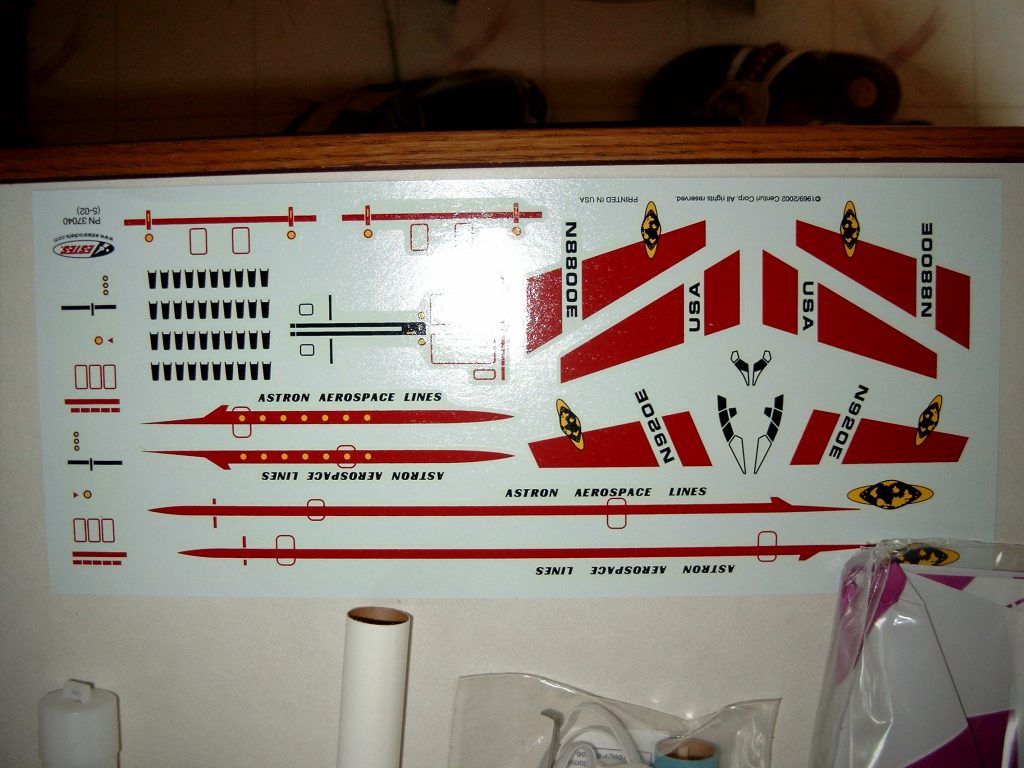
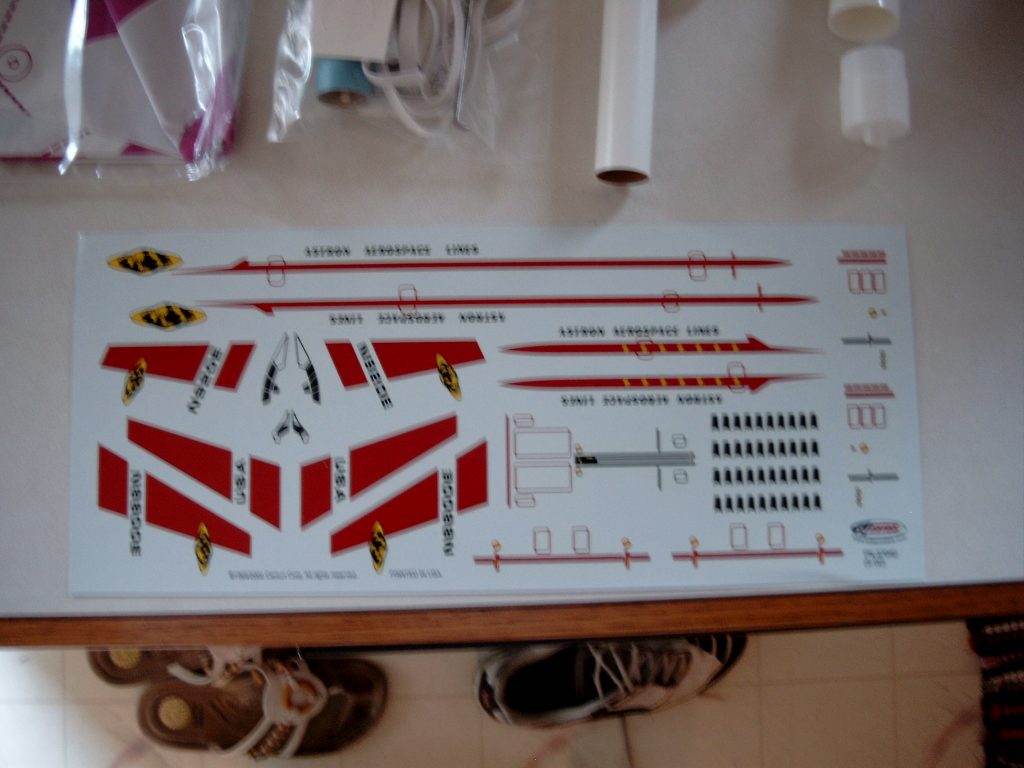
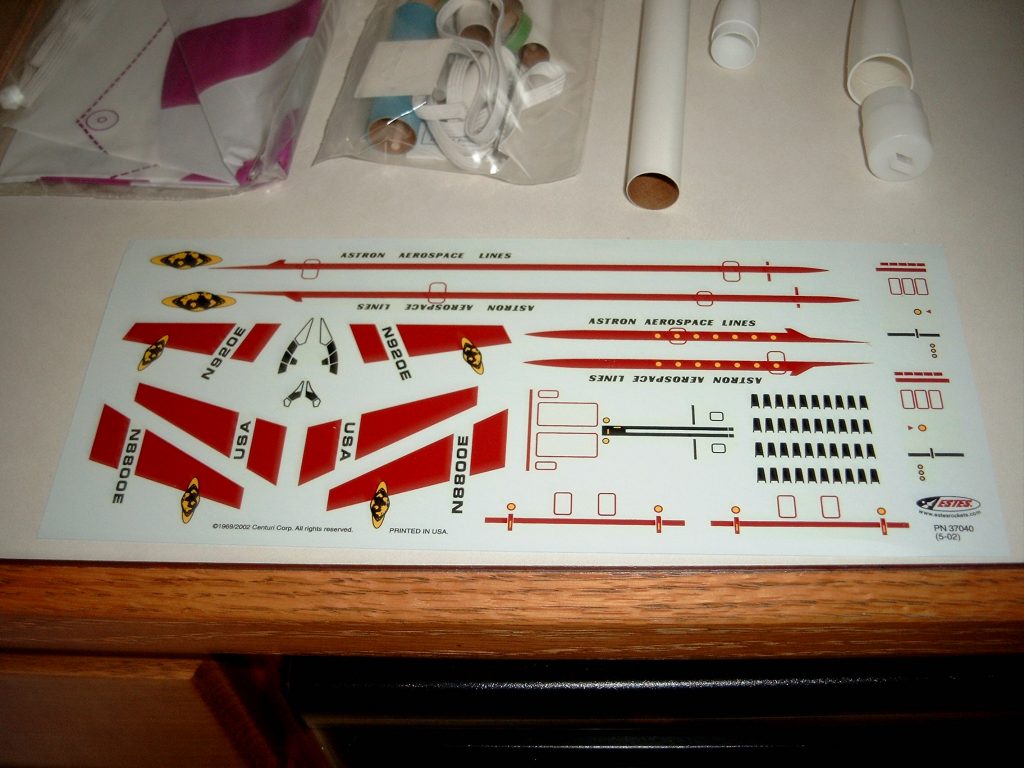
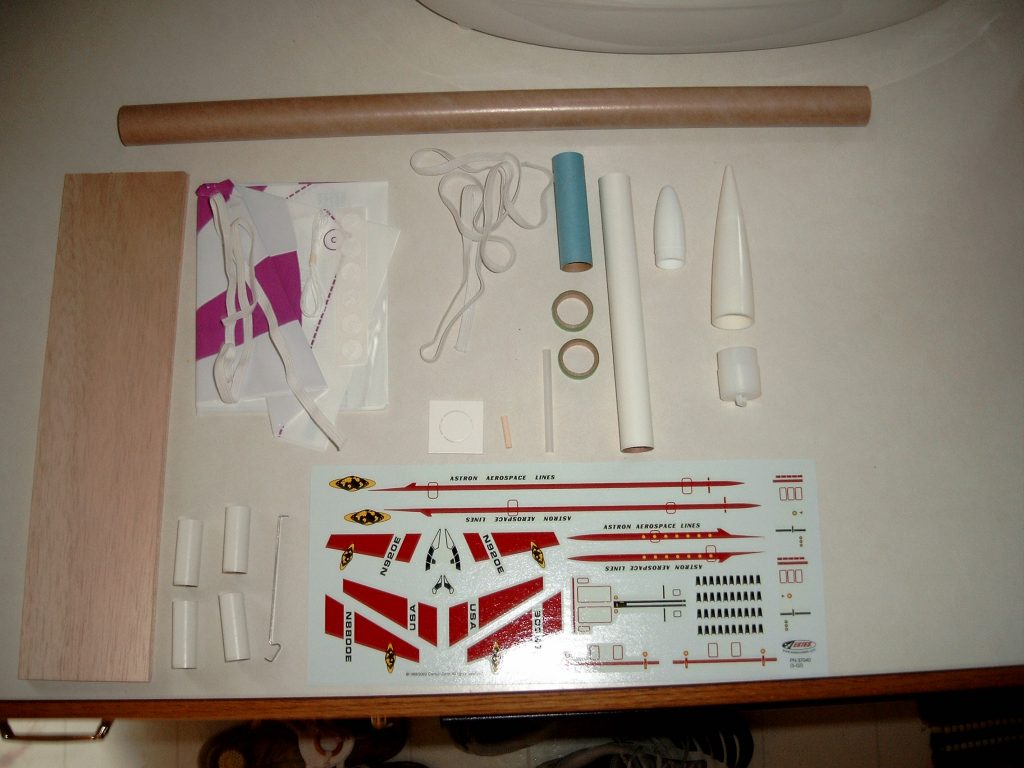
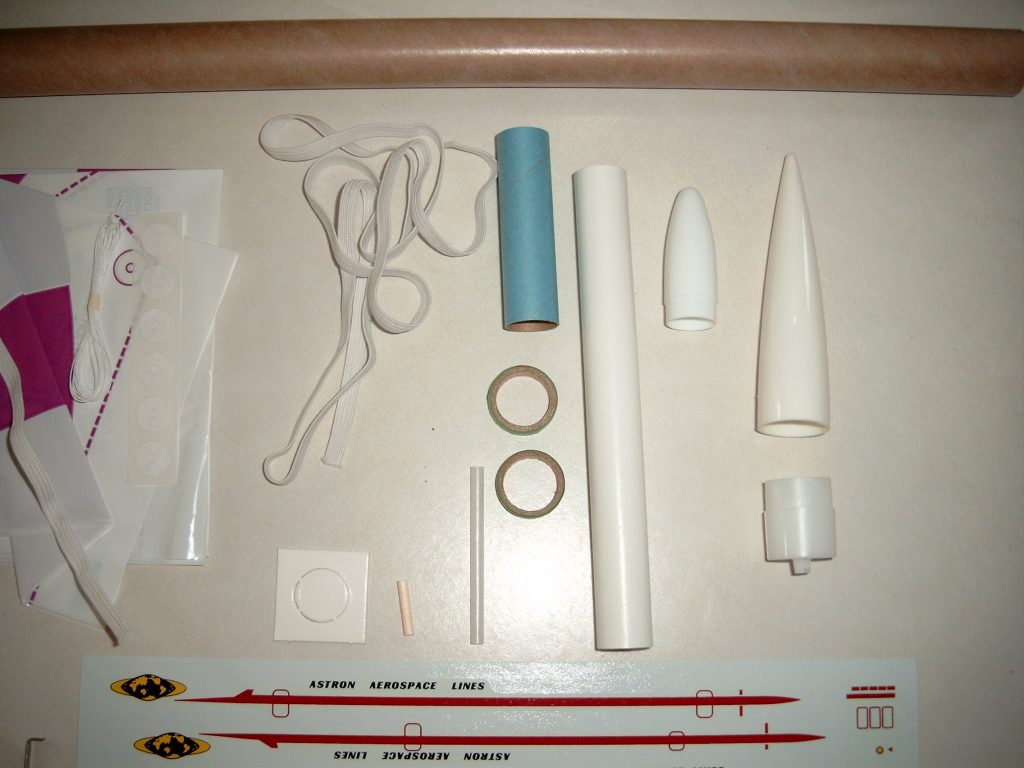
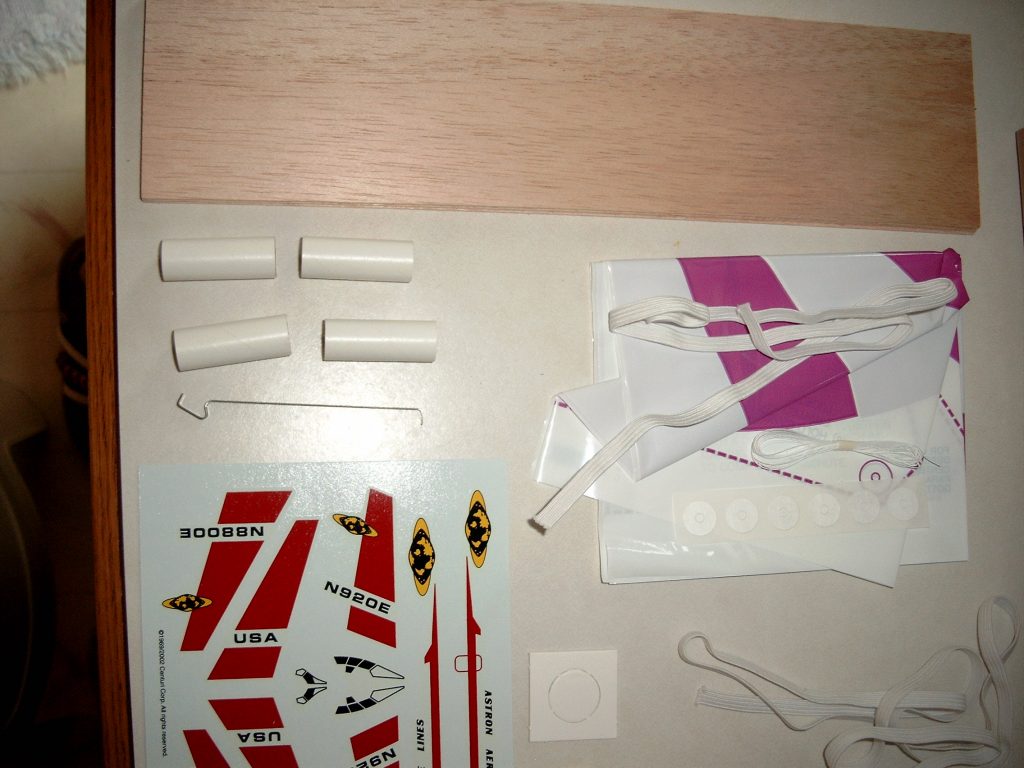
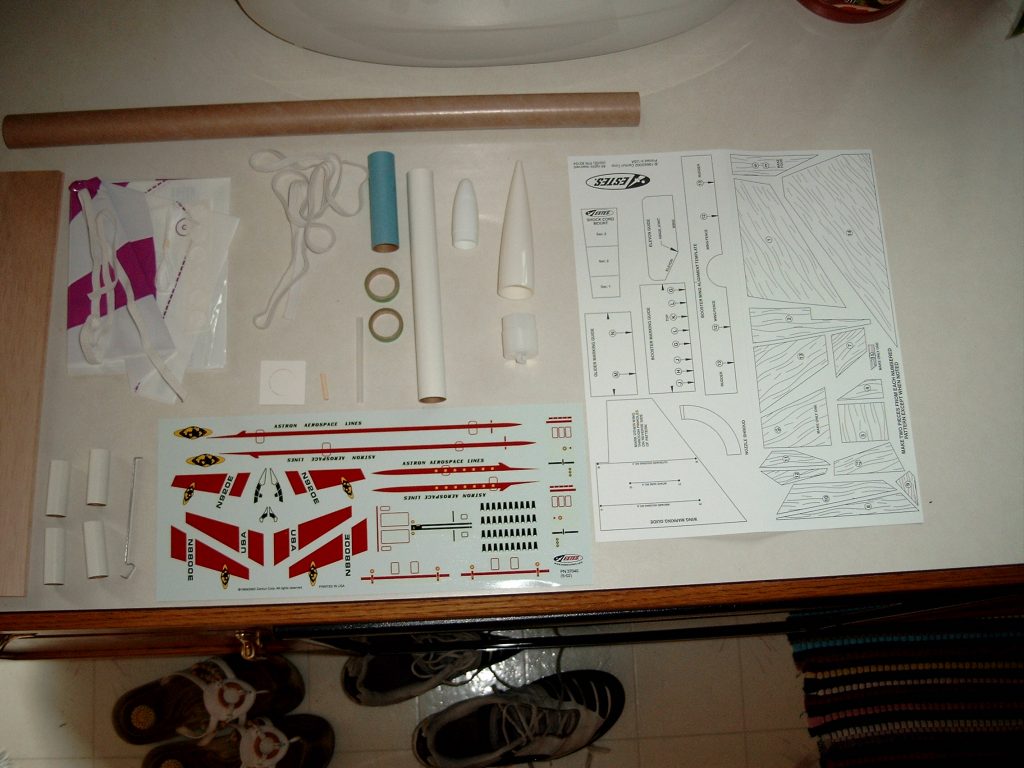
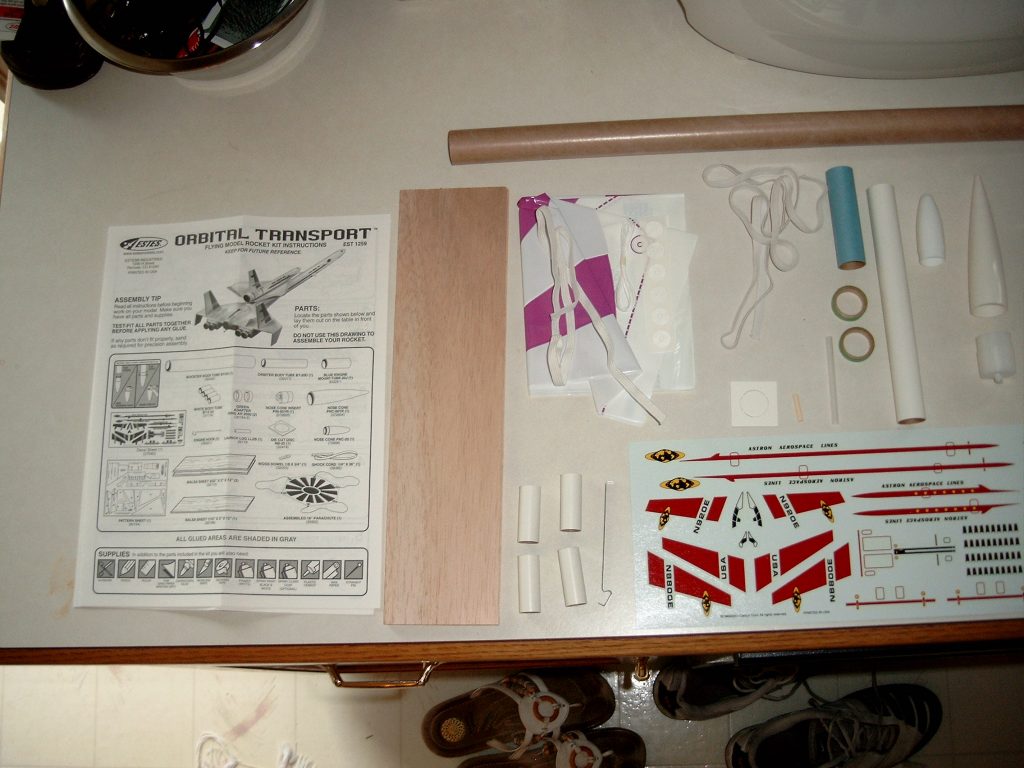
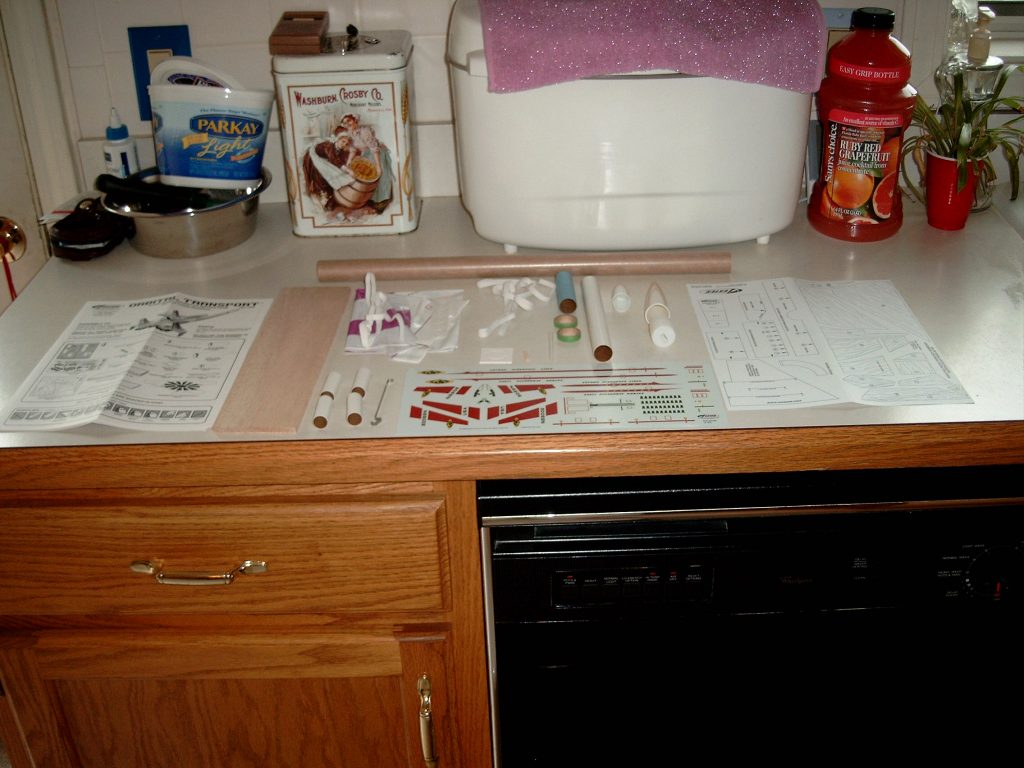
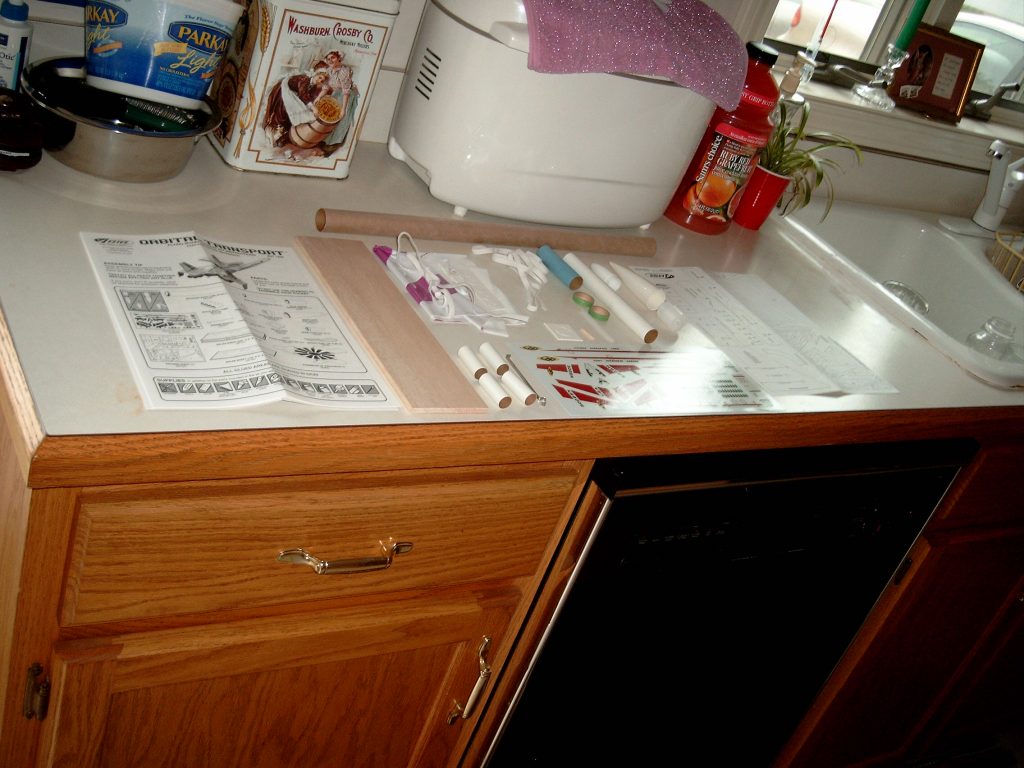
- 07/01/2003 – Took picture of bag and parts. Scanned decal, disc, nose cone, fin pattern sheet and plans. Measured components and recorded them on page 78 of Book #2. Marked motor mount tube 3/4″ from afte end and 1/4″ from forward end. Cut a 1/8″ slit at the 1/4″ mark and inserted the engine retainer hook. Slid the rear centering ring over the engine retainer, and applied glue to the 3/4″ mark. Applied glue to the forward end of the motor tube and slid the second centering ring so it was even with the forward end of the engine mount tube. Filleted the ring joints. Cut the fin patterns from a copy of card stock.
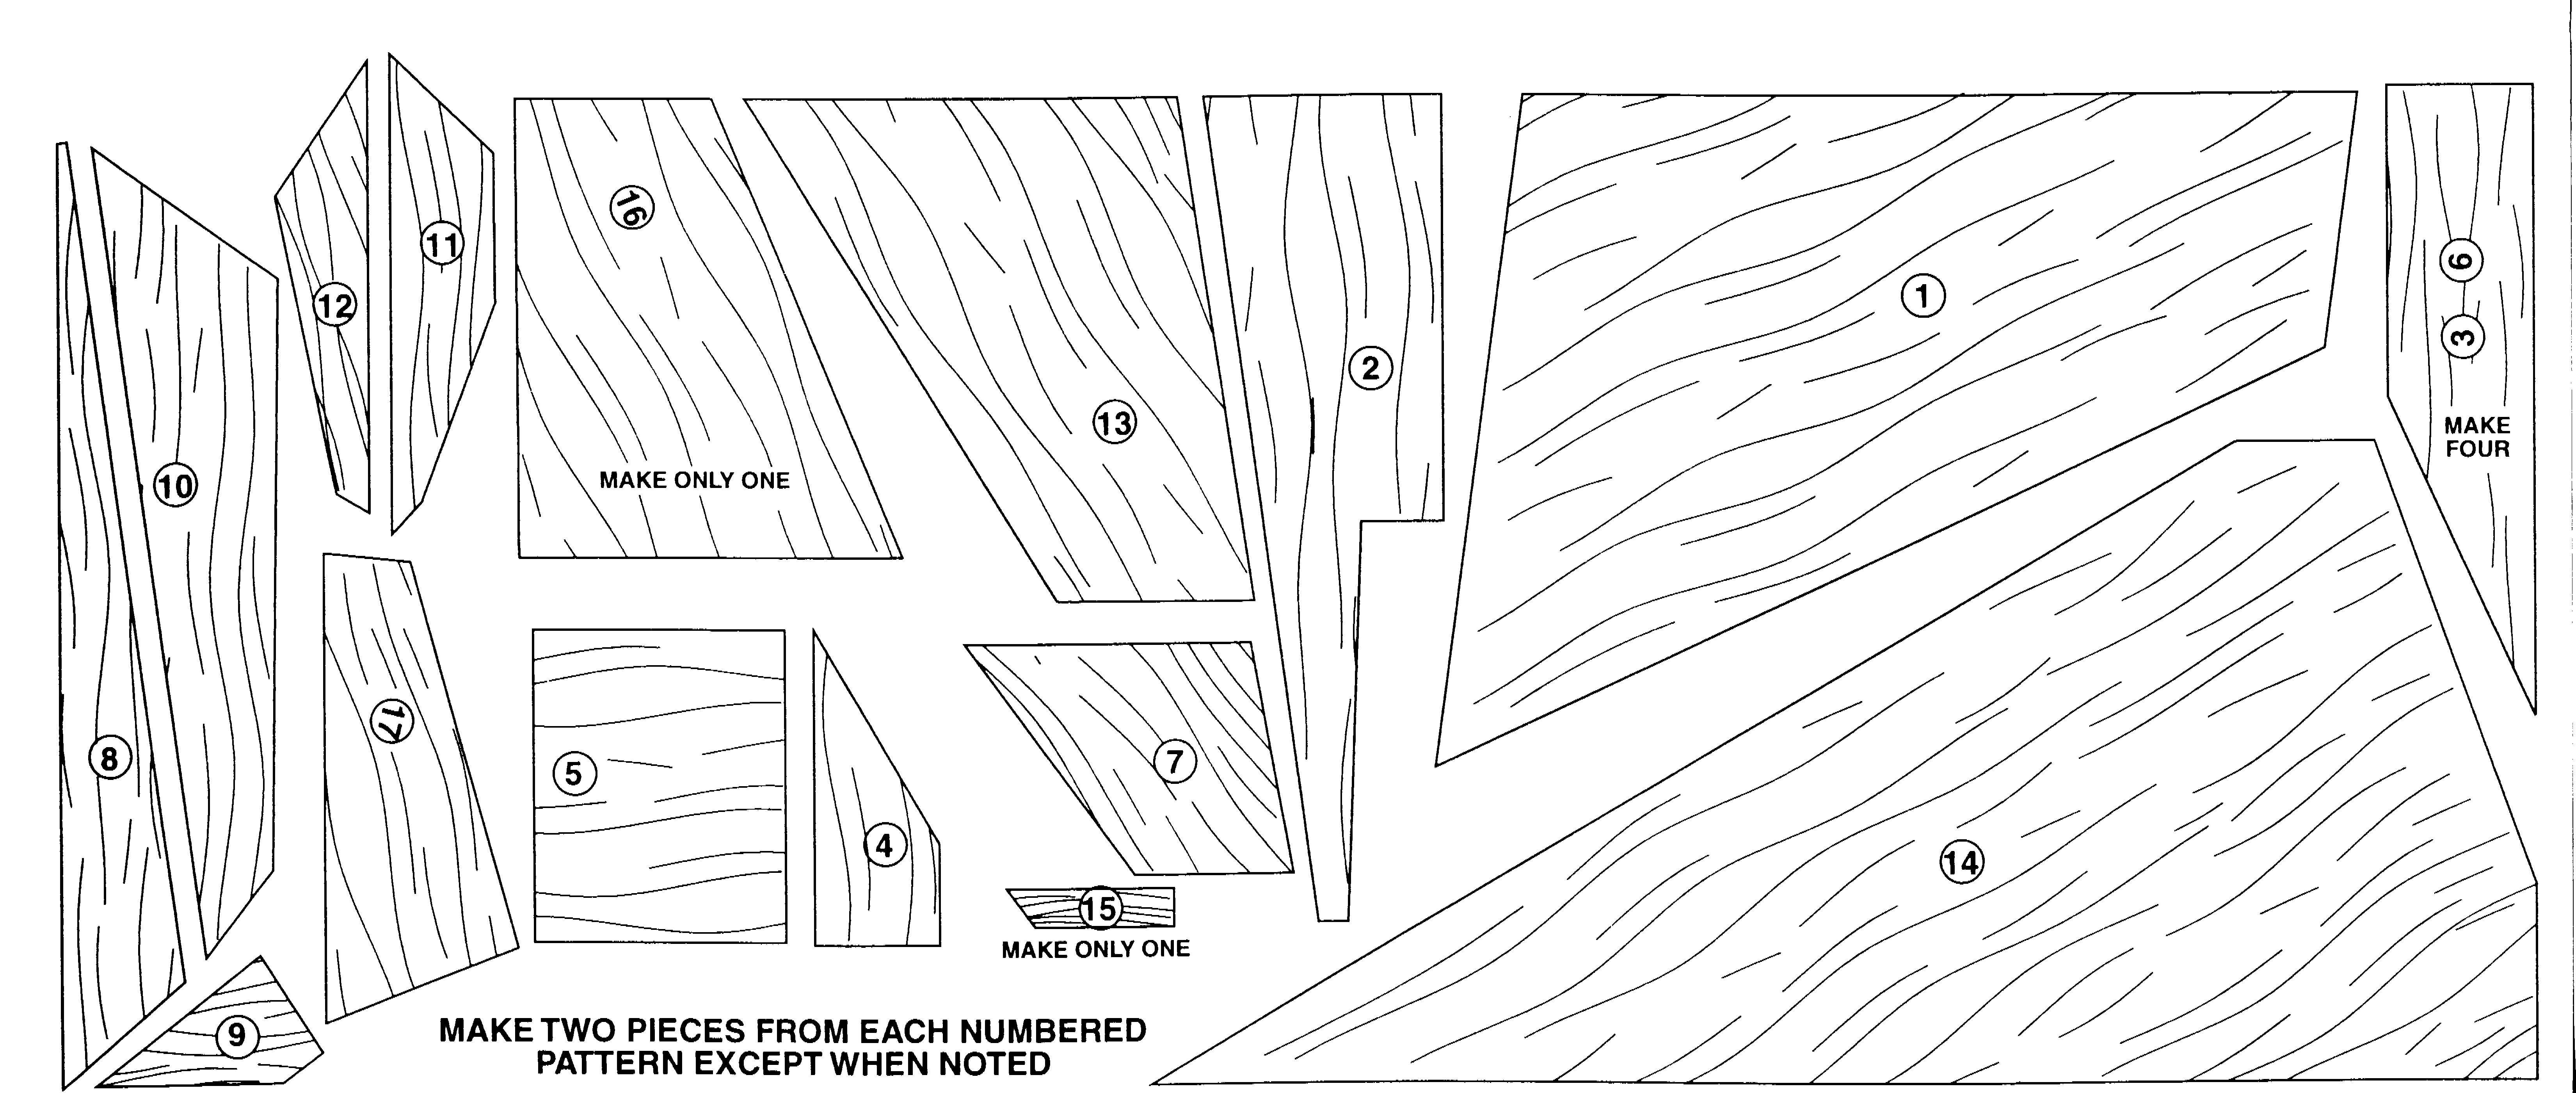
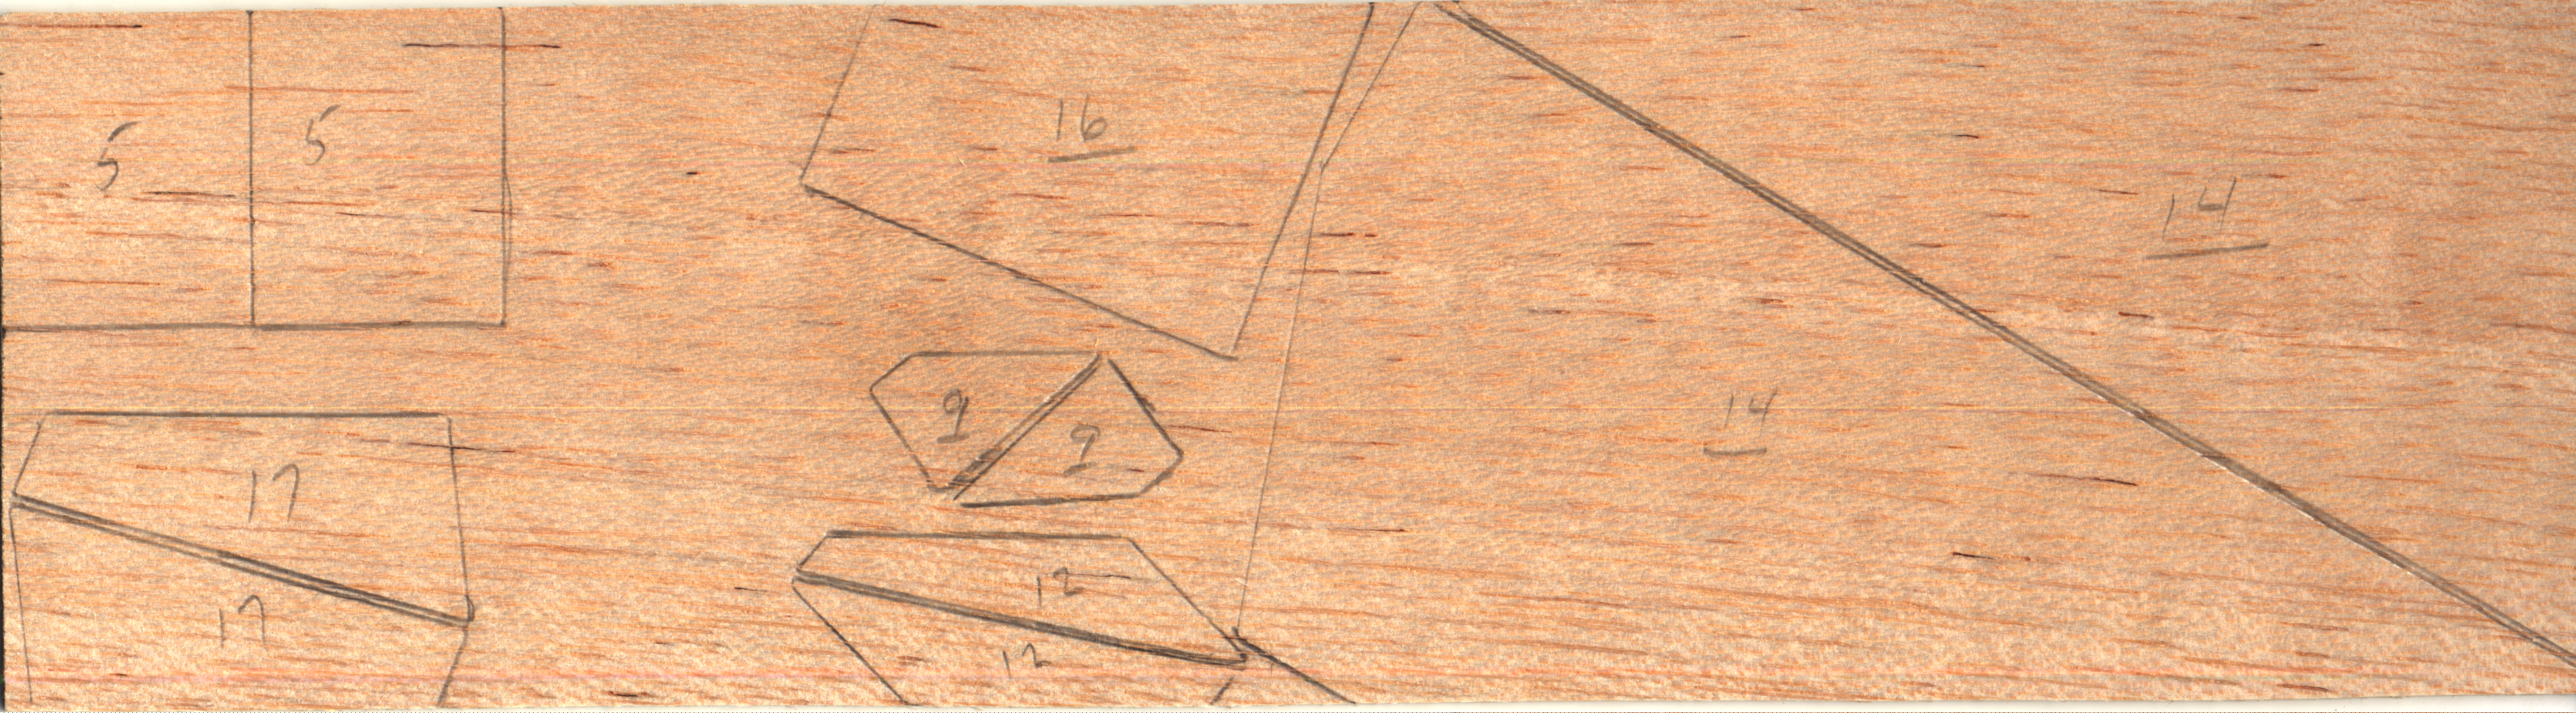
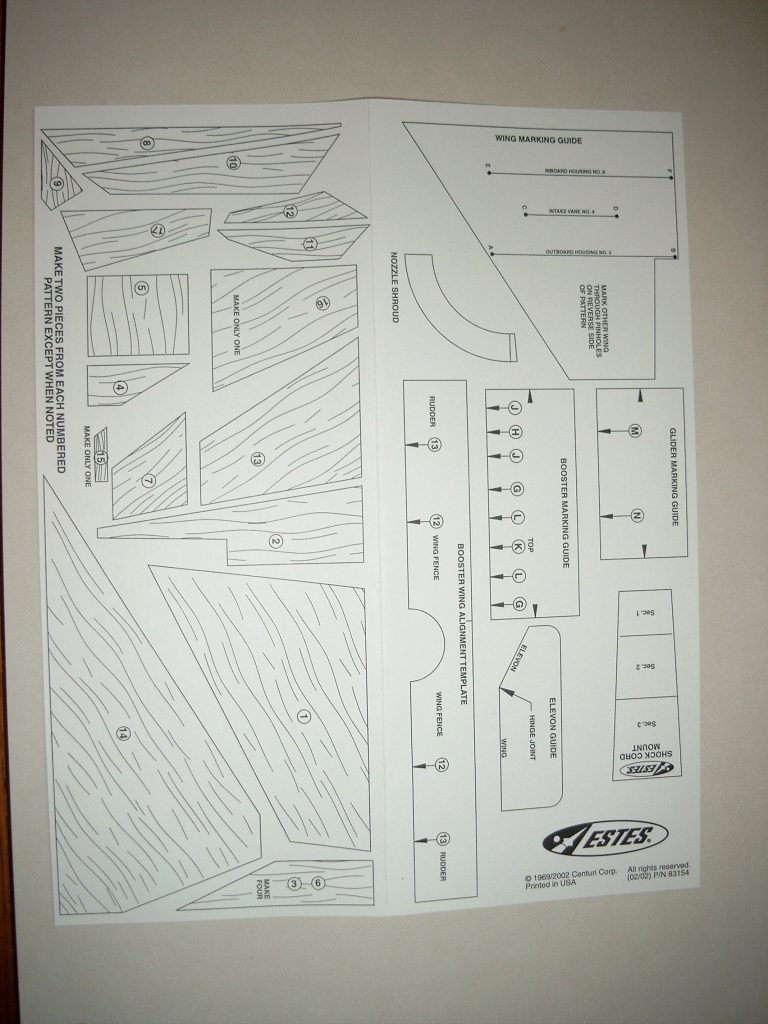
- 07/02/2003 – Cut the fin guide and shroud mount from stock. Traced the fin patterns to the balsa sheet.
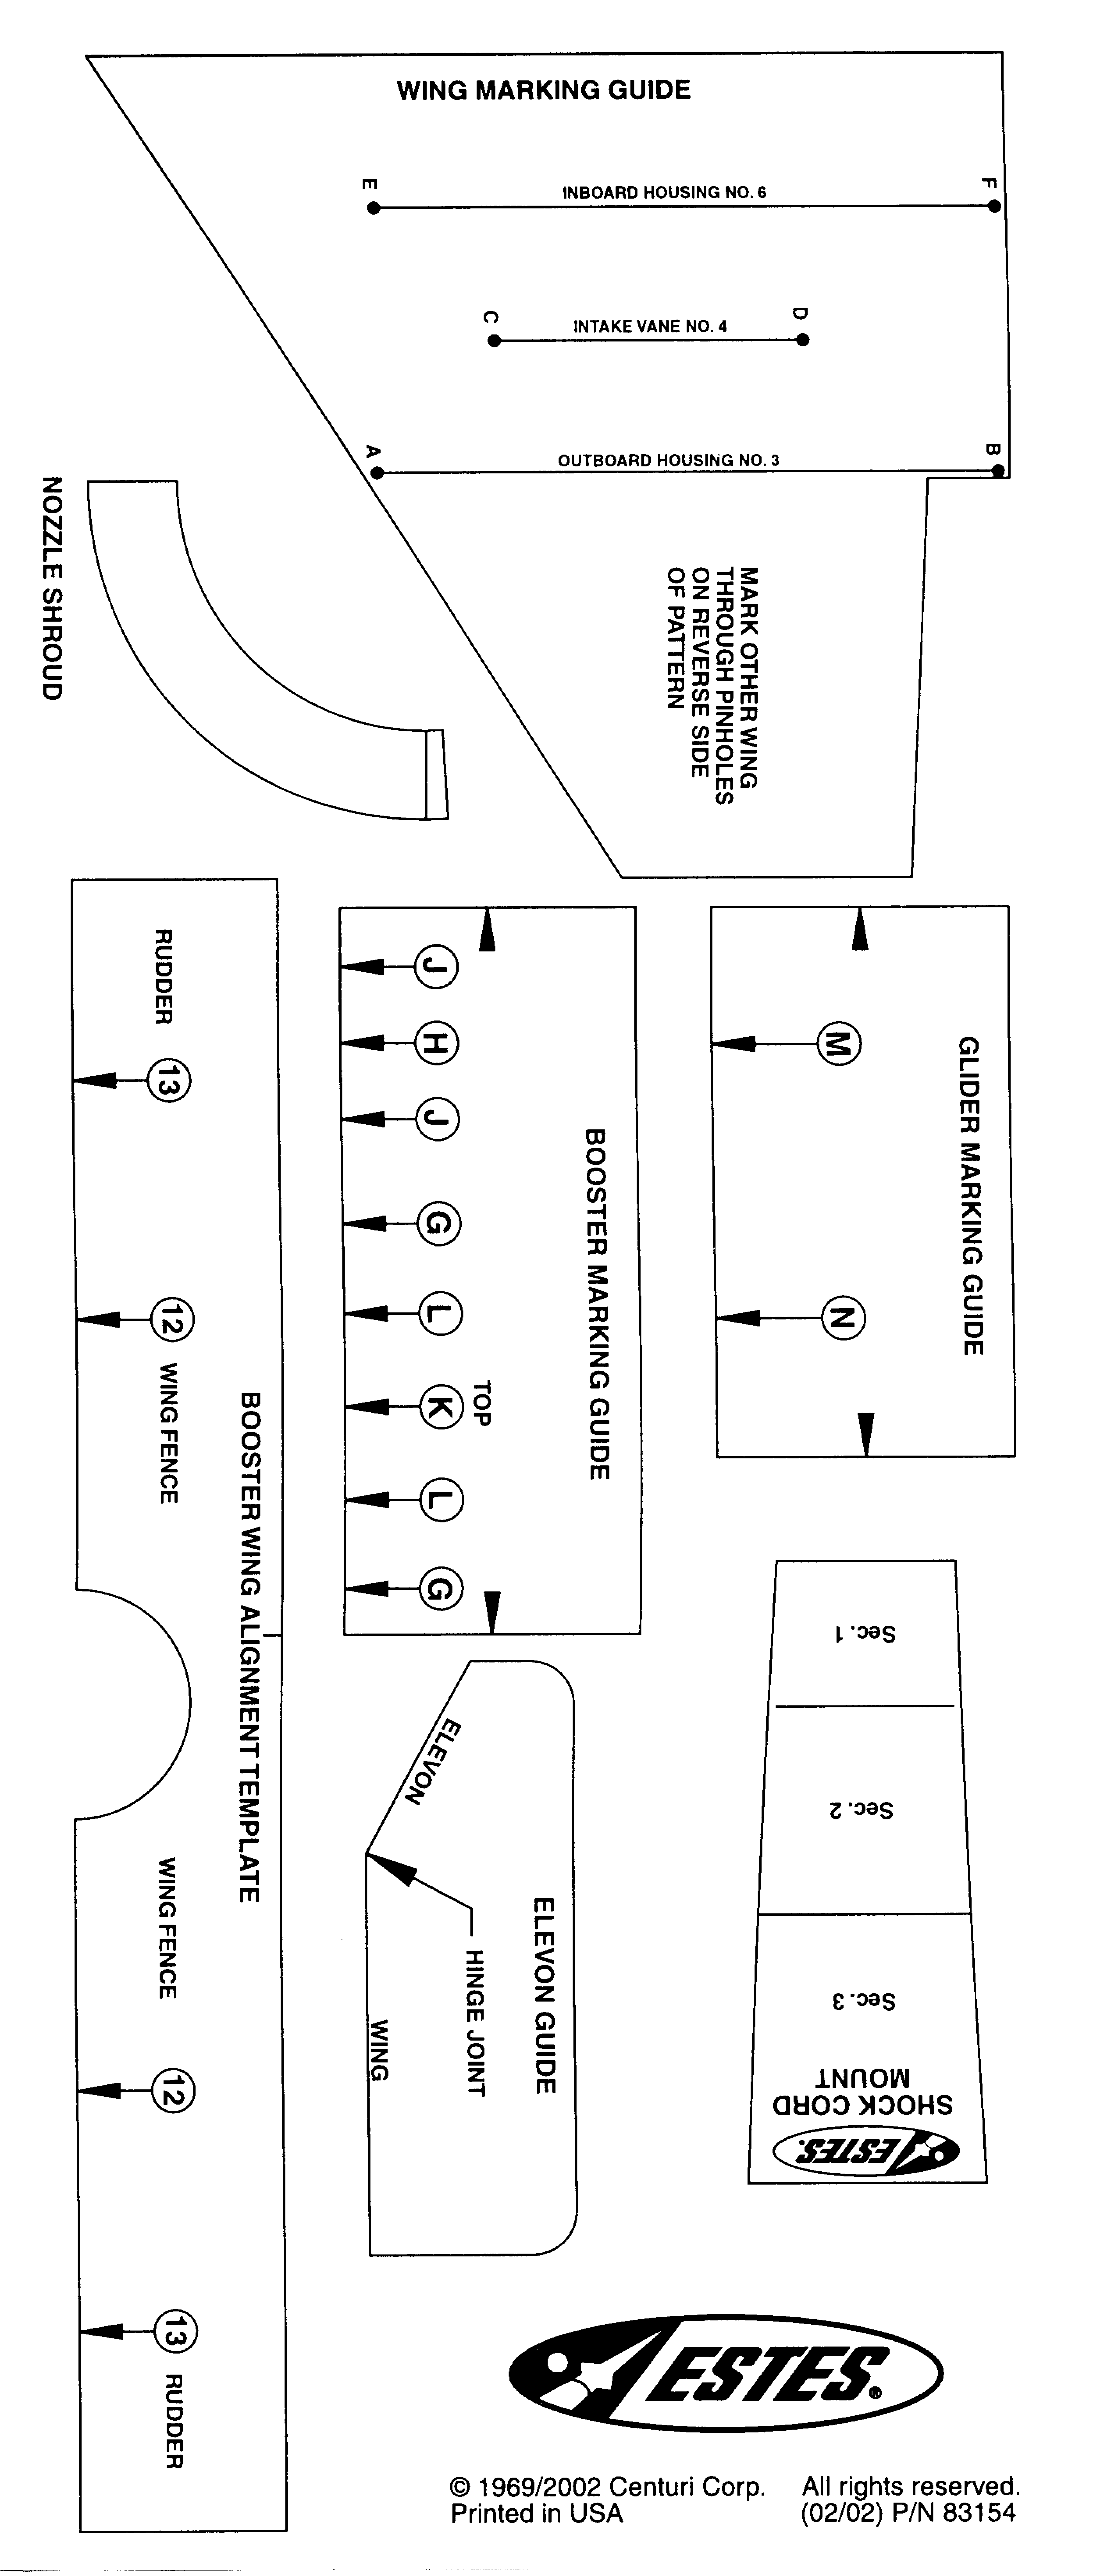
- 07/03/2003 – Cut pieces 1 & 2 from 3/32″ stock. Glued them together to make the main wing and sanded the extra stuff off. Used wax paper to keep the glue from sticking to the surface. Did the same for the other two BT-5 tubes. Set the forward wing marking guide on top of one wing with the probed side up. Using a push pin, poked holes through the marking guide and into the wing. Flipped the guide over and aligned it to the other forward fin. pushed the push pin through the same hole and into the balsa. Made lines between the dots as a guide for balsa pieces. Cut out both #3 pieces and sanded edges smooth then glued them to the outer line. Cut out pieces #4, sanded smooth and glued it to the fin along the middle line. Glued the BT-5 tube assembly to the piece. Cut out parts #3 & #4. Cut out wing tip balsa part #7 and glued it to the farthest edge of the wing tip. Used 90 degree paper to hold it in place. Marked engine mount assembly 1/2″ from aft end. Using a swab stick applied glue inside main tube where centering ring will set. Puched engine mount assembly int tube to the 1/2″ mark and allowed to dry.
- 07/04/2003 – Cut marking guide from pattern and wrapped around BT-50. Marked body tube and placed marking guide lines along body tube. Cut remainder of launch lug into a 1/2″ piece and glued it 9″ from the forward edge along line K.
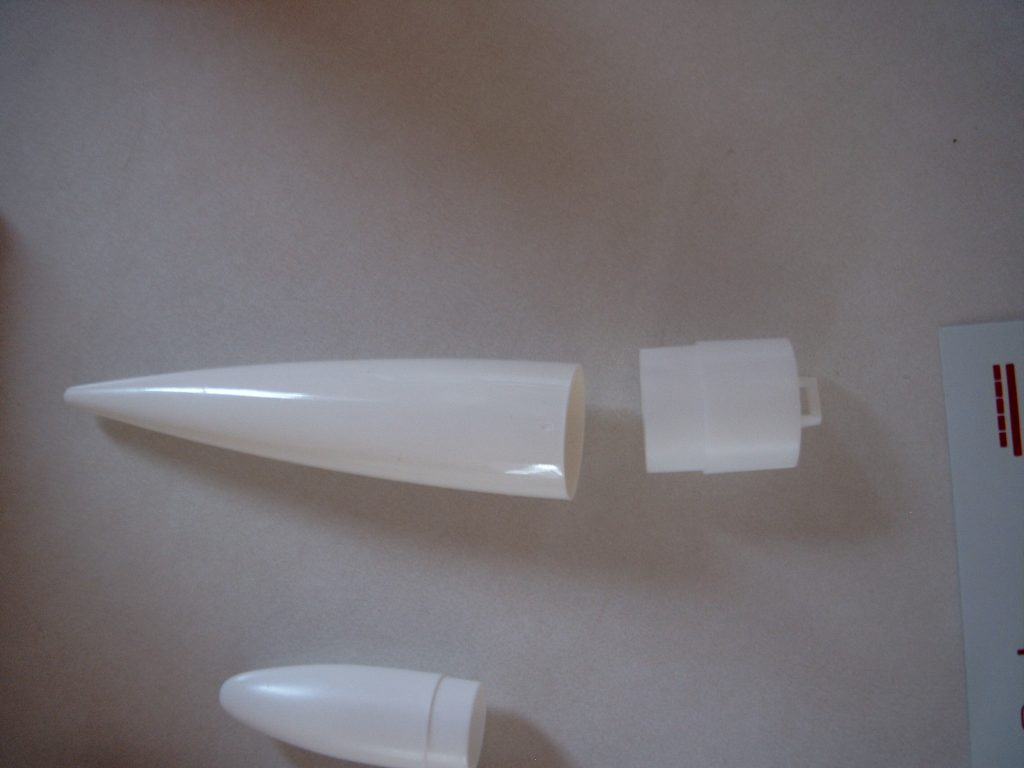
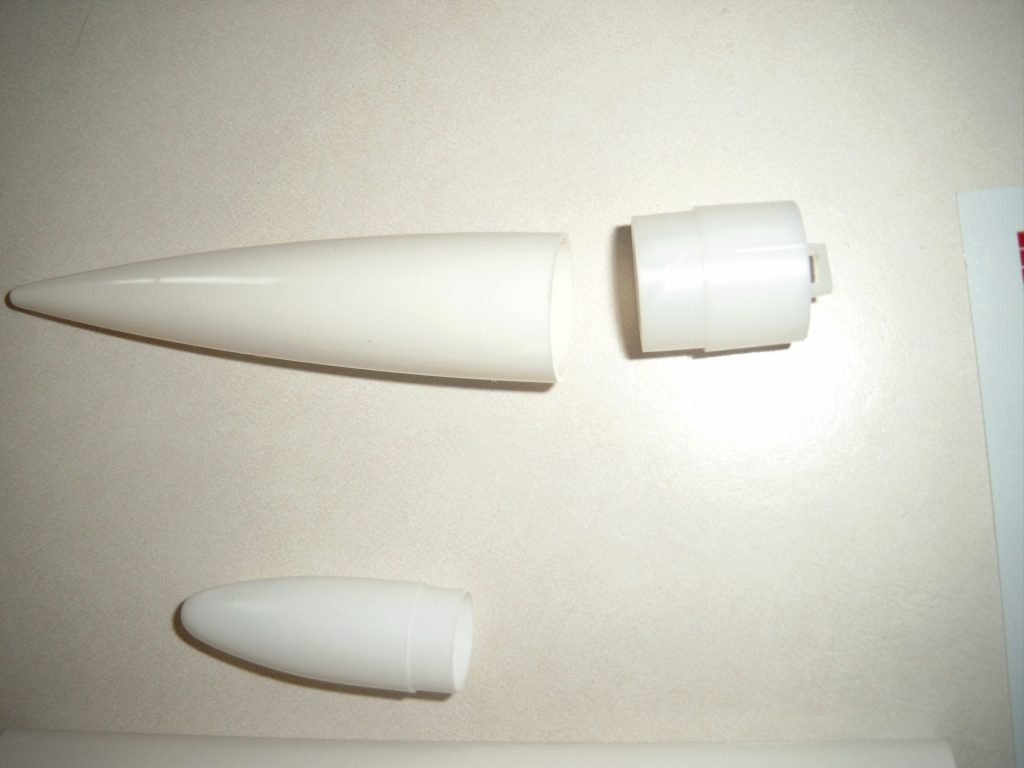
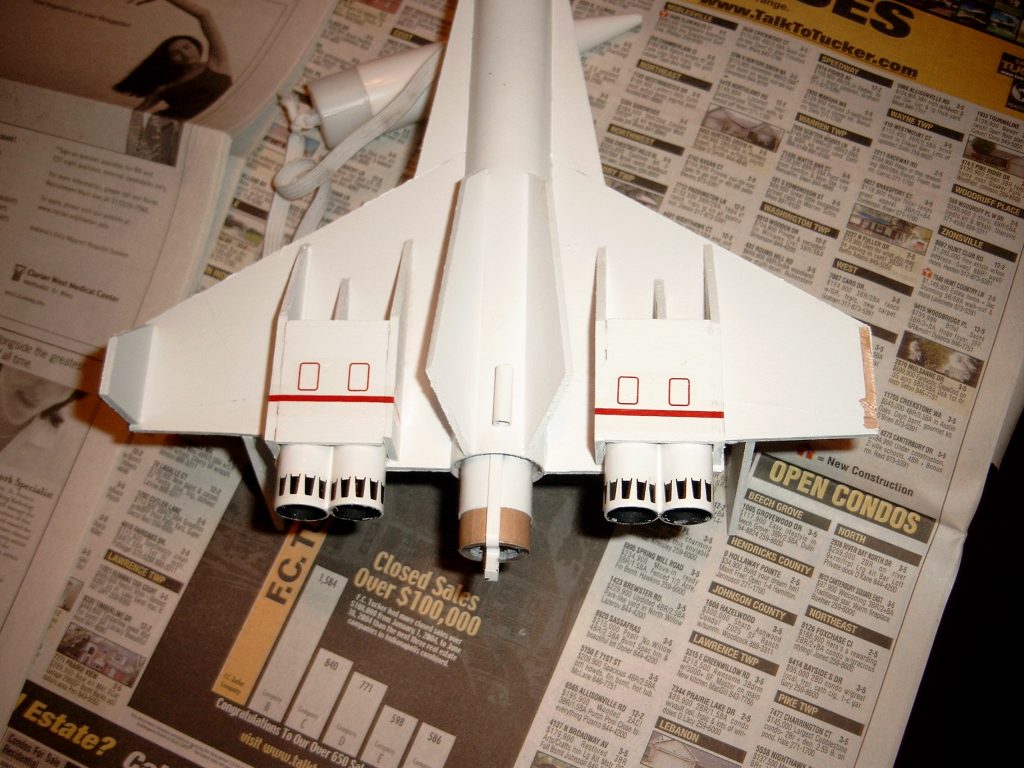
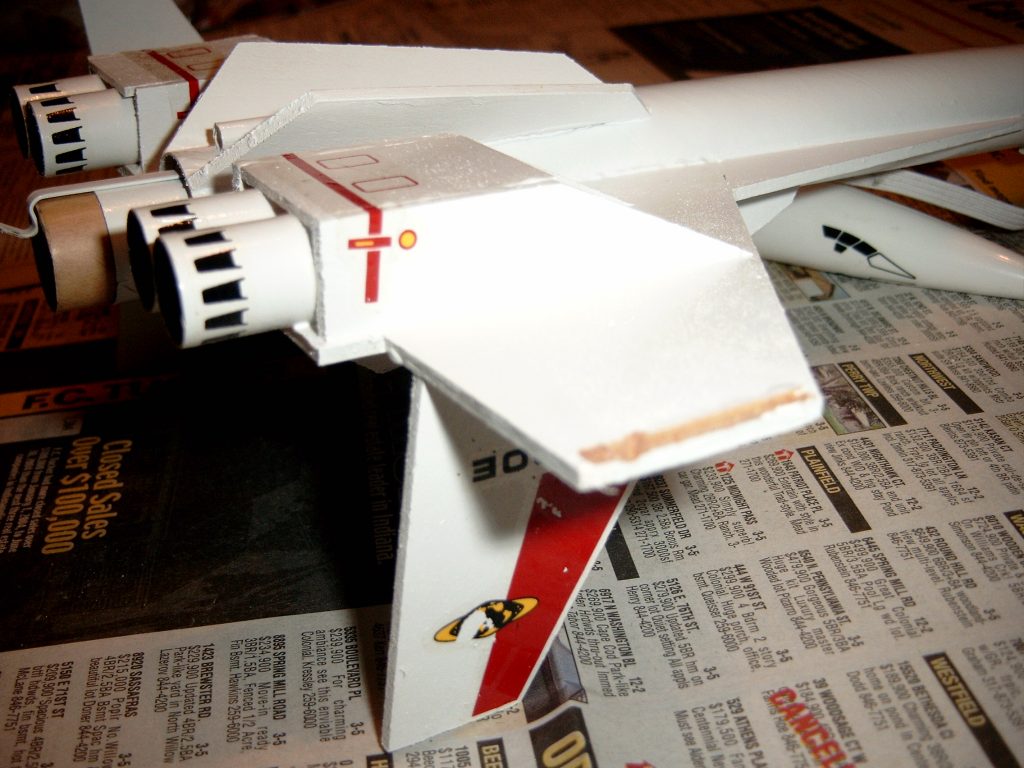
- 07/06/2003 – Filleted wing joints. Cut out parts #10 & 11 from 3/32″ stock. Glued par #10 to rim of body tube along J guide line. Cut out and sanded balsa parts #12 & #13. Glued #12 to guide line and rudder to #13 guide line. Glued shock cord to mount and mounted inside of body tube at least 1″. Cemented nose cone base to nose cone. Cut out shuttle fins from 1/16″ balsa (#14) sanded the edges and glued them together forming a “V” around the body tube. Allowed the glue to dry. Marked the shuttle tube with marking guide and drew lines M & N the length of body tube. Cemented nose cone to body tube. Applied glue along wing joint and glued body tube at line M so rear of fin lines up rear of body tube Cut out and sanded balsa part #15 from 3/32″ stock. Glued dowel rod to top of support.
- 07/07/2003 – Glued stuff to shuttle wing. Glued dowel assembly to body tube in front of wing. Filleted seam joints.
- 07/08/2003 – Glued nozzle t5o shuttle. Filled various joints.
- 07/09/2003 – Filleted joints to upper section of booster.
- 07/10/2003 – Applied first balsa filler to balsa parts.
- 11/22/2003 – Spray painted entire model with Krylon Gloss White #1501.
- 12/14/2003 – Painted inside of orbital nozzle, transport nozzle and scram jets Flat Black Testors Acrylic #1146. Used a long swab applicator for inside tubes of transport and a brush on orbiter.
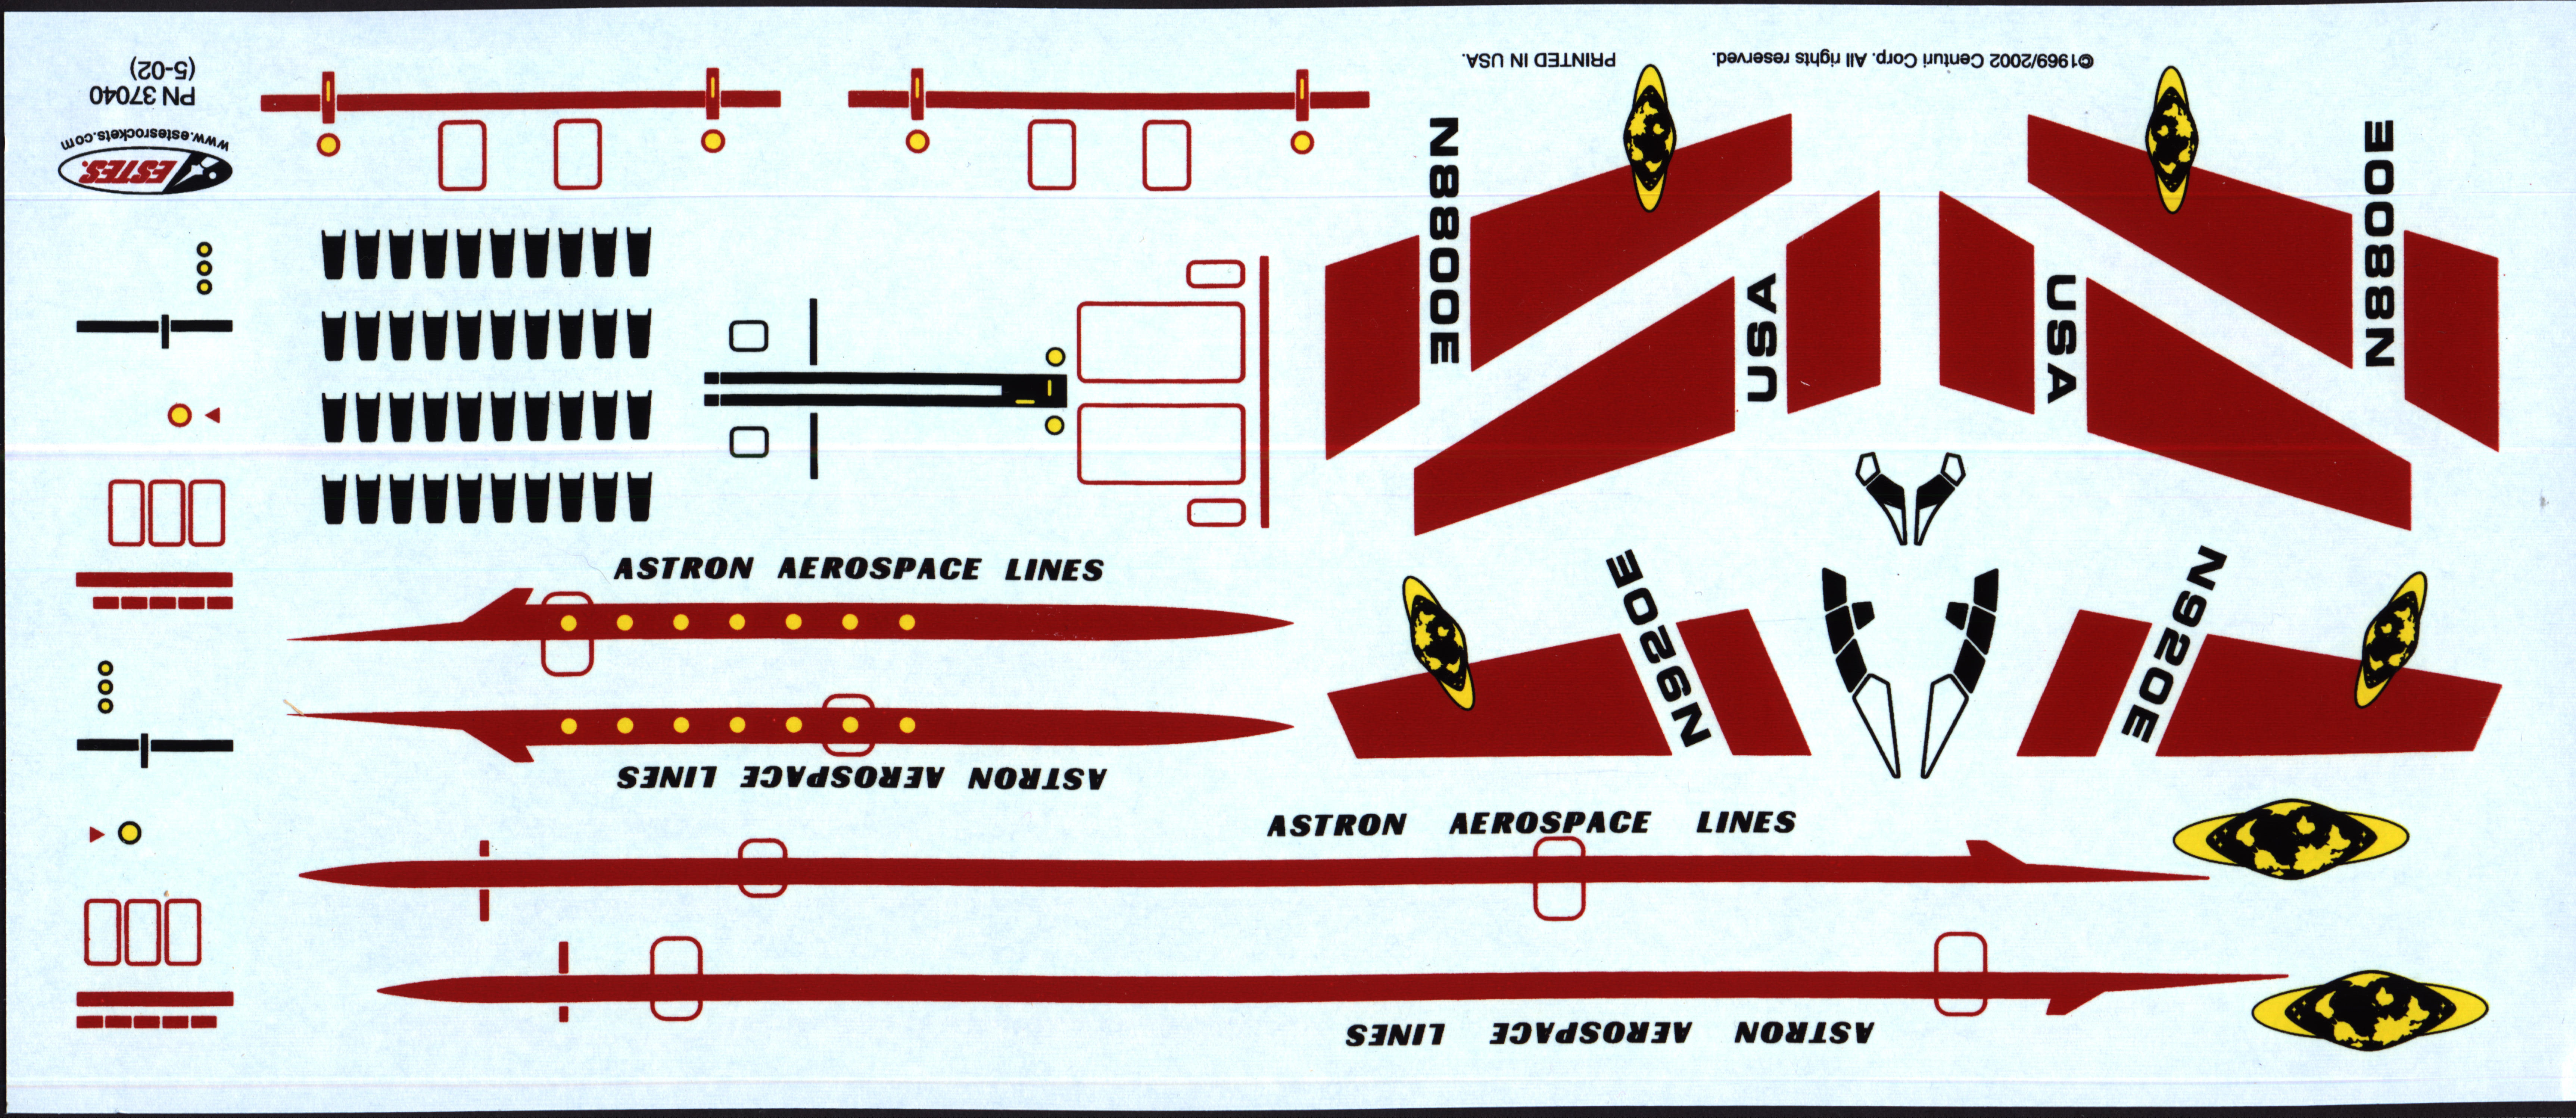
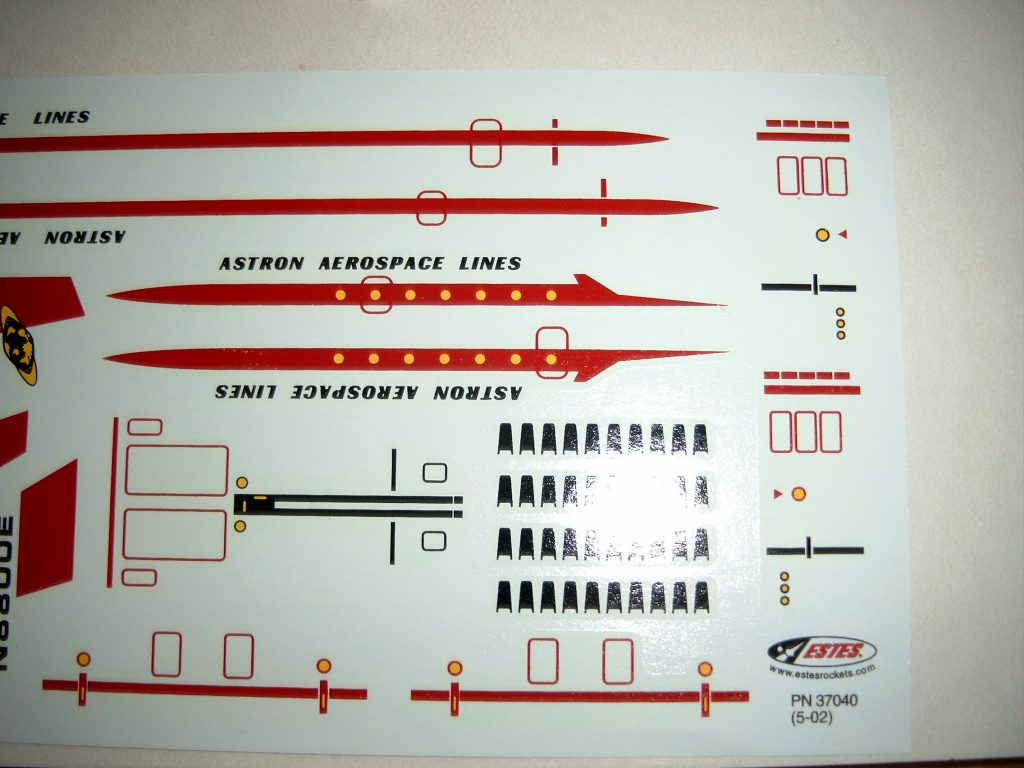
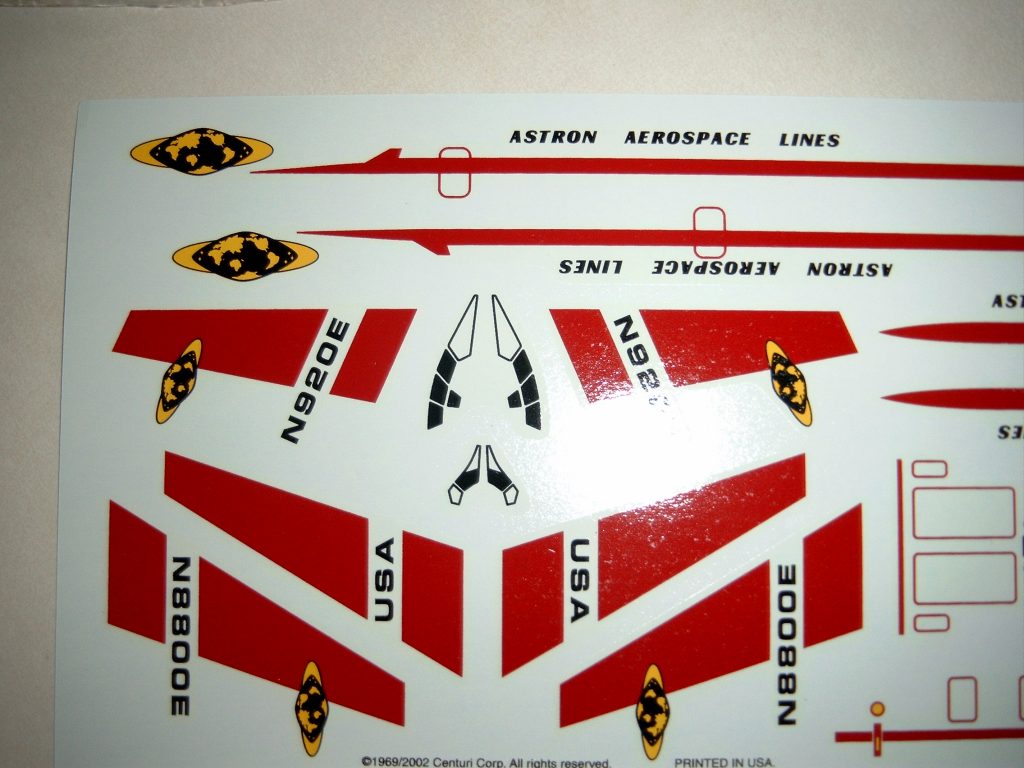
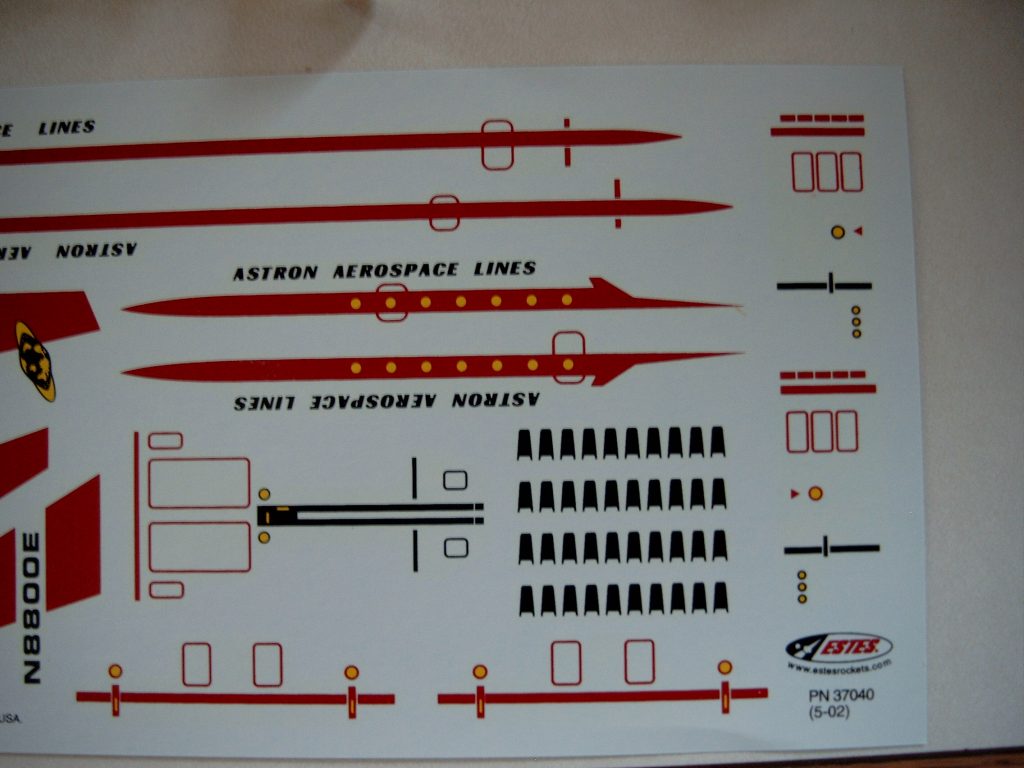
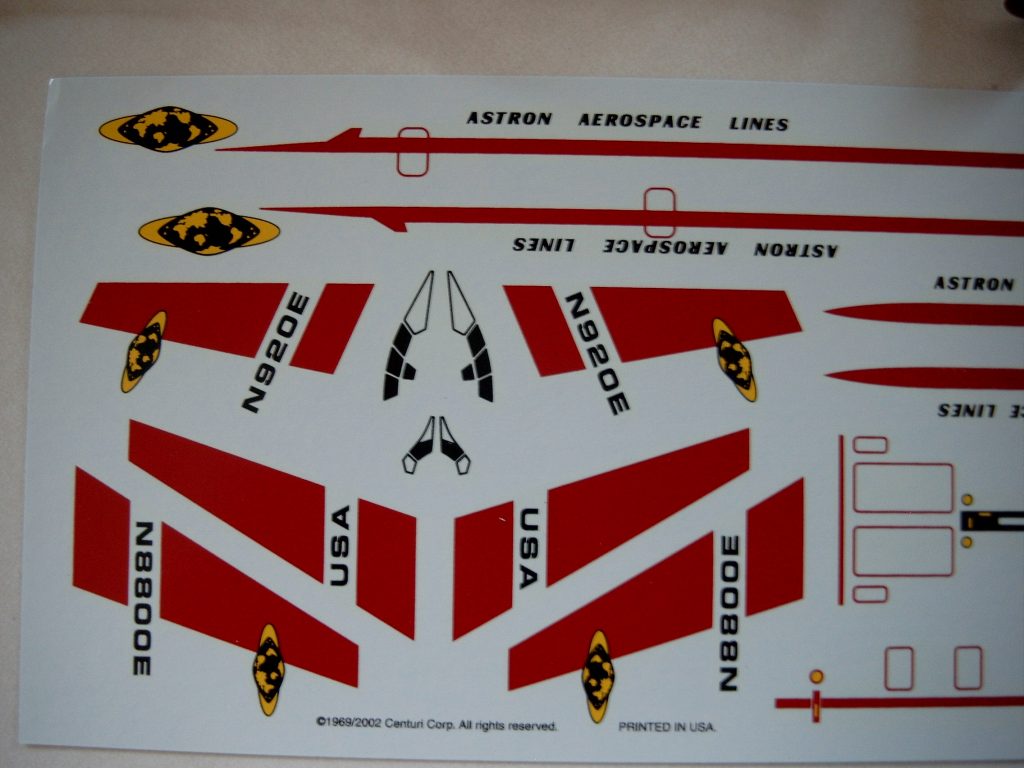
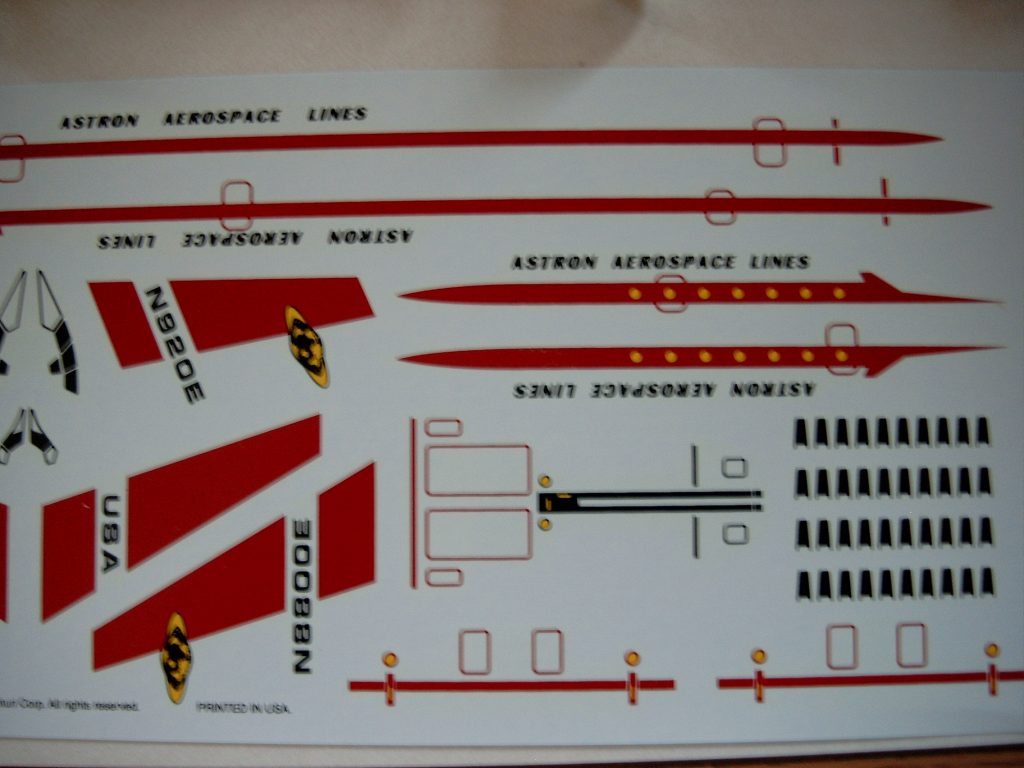
- 12/19/2003 – Cut out water slide decals in preparation for attachment at a later date.
- 01/31/2004 – Applied water slide decals to shuttle. Applied decals to transporter. While putting on the last decal, broke the tail off the shuttle. After allowing the decals to dry, glued the tail back on the shuttle. Had trouble with the first long decal on the transport. Could not get it to set correctly so left it alone. It doesn’t look too bad. This completes construction of Estes Orbital Transport model rocket #1259.
Flights
| Date | Location | # | Motor | Comments |
Leave a Reply
You must be logged in to post a comment.