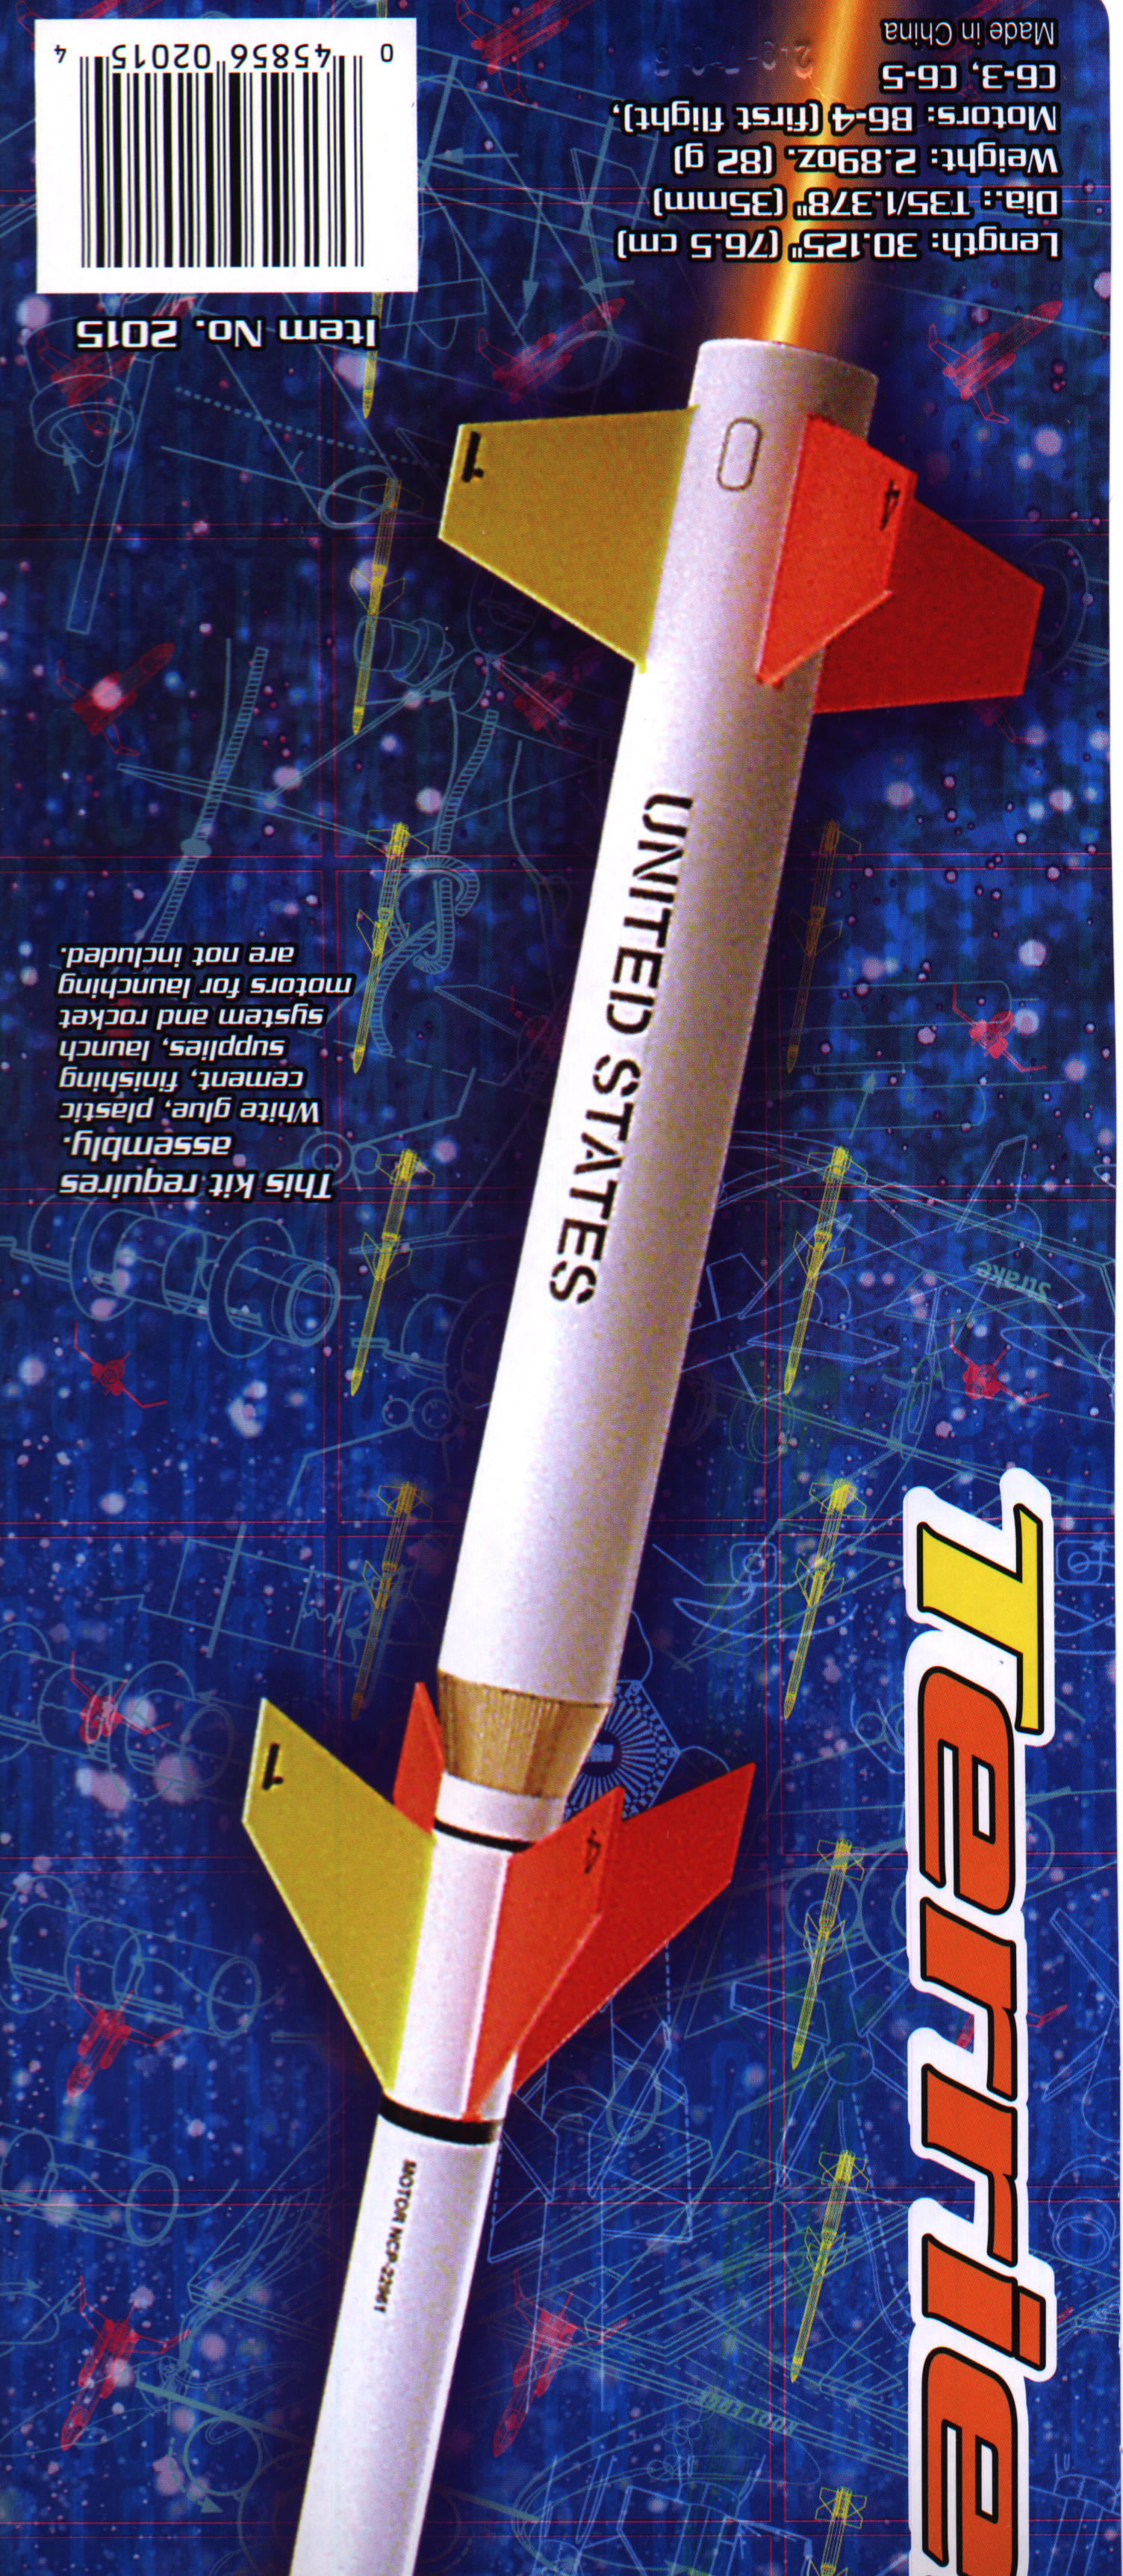
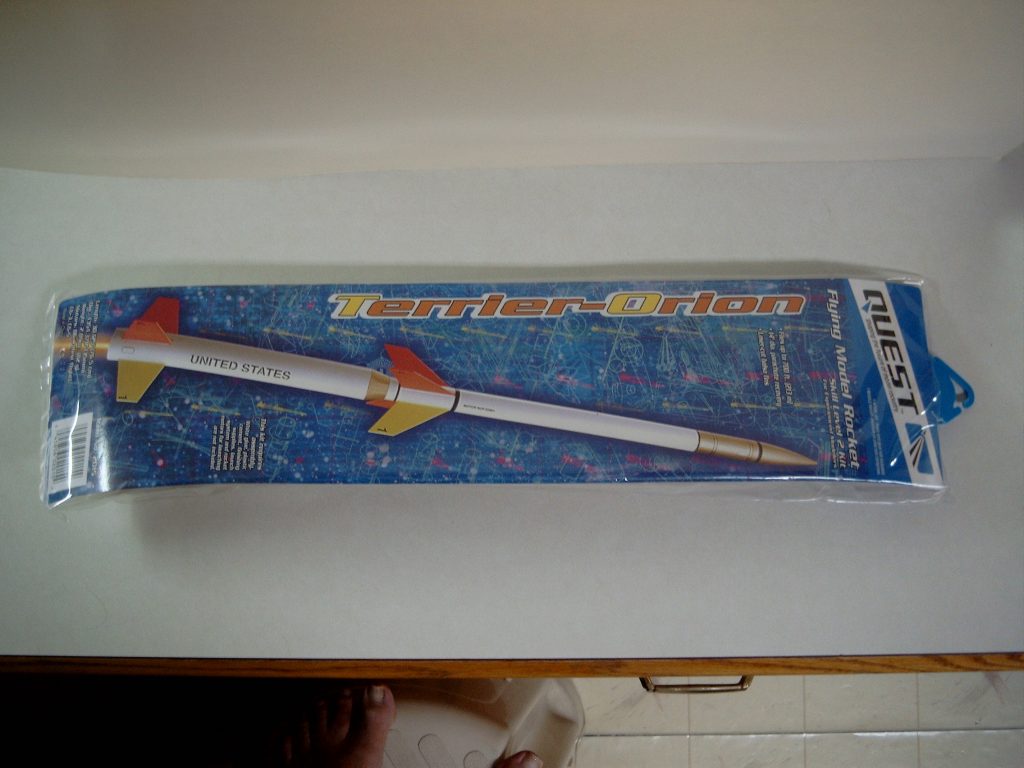
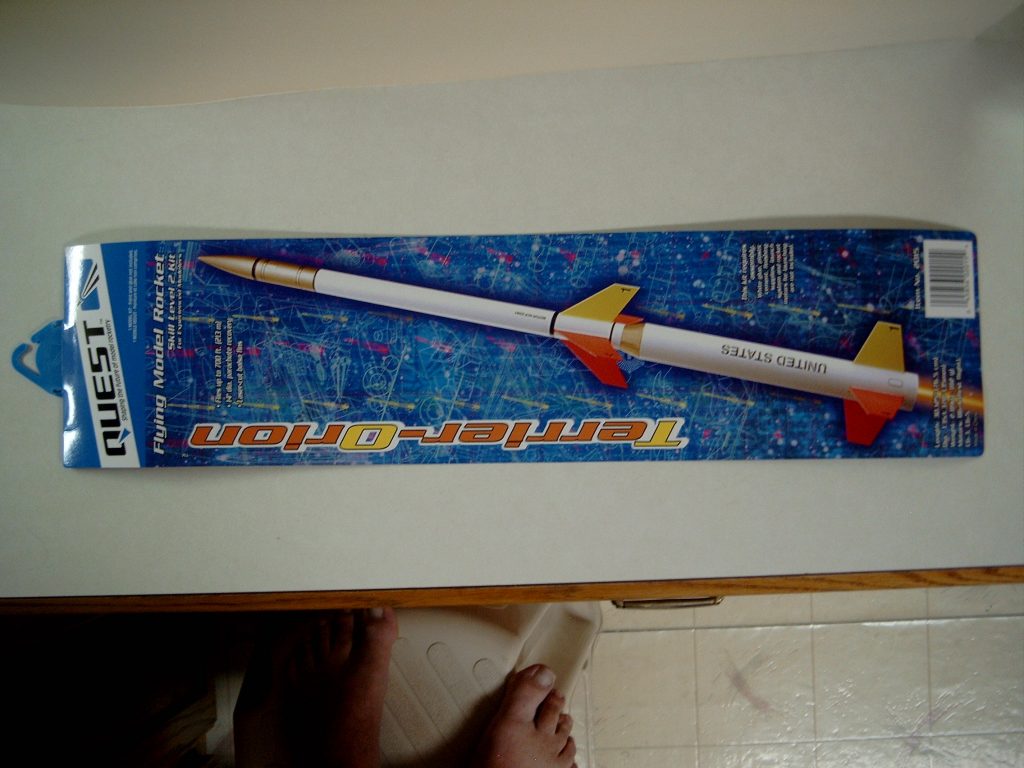
Quest Model #2015

Description
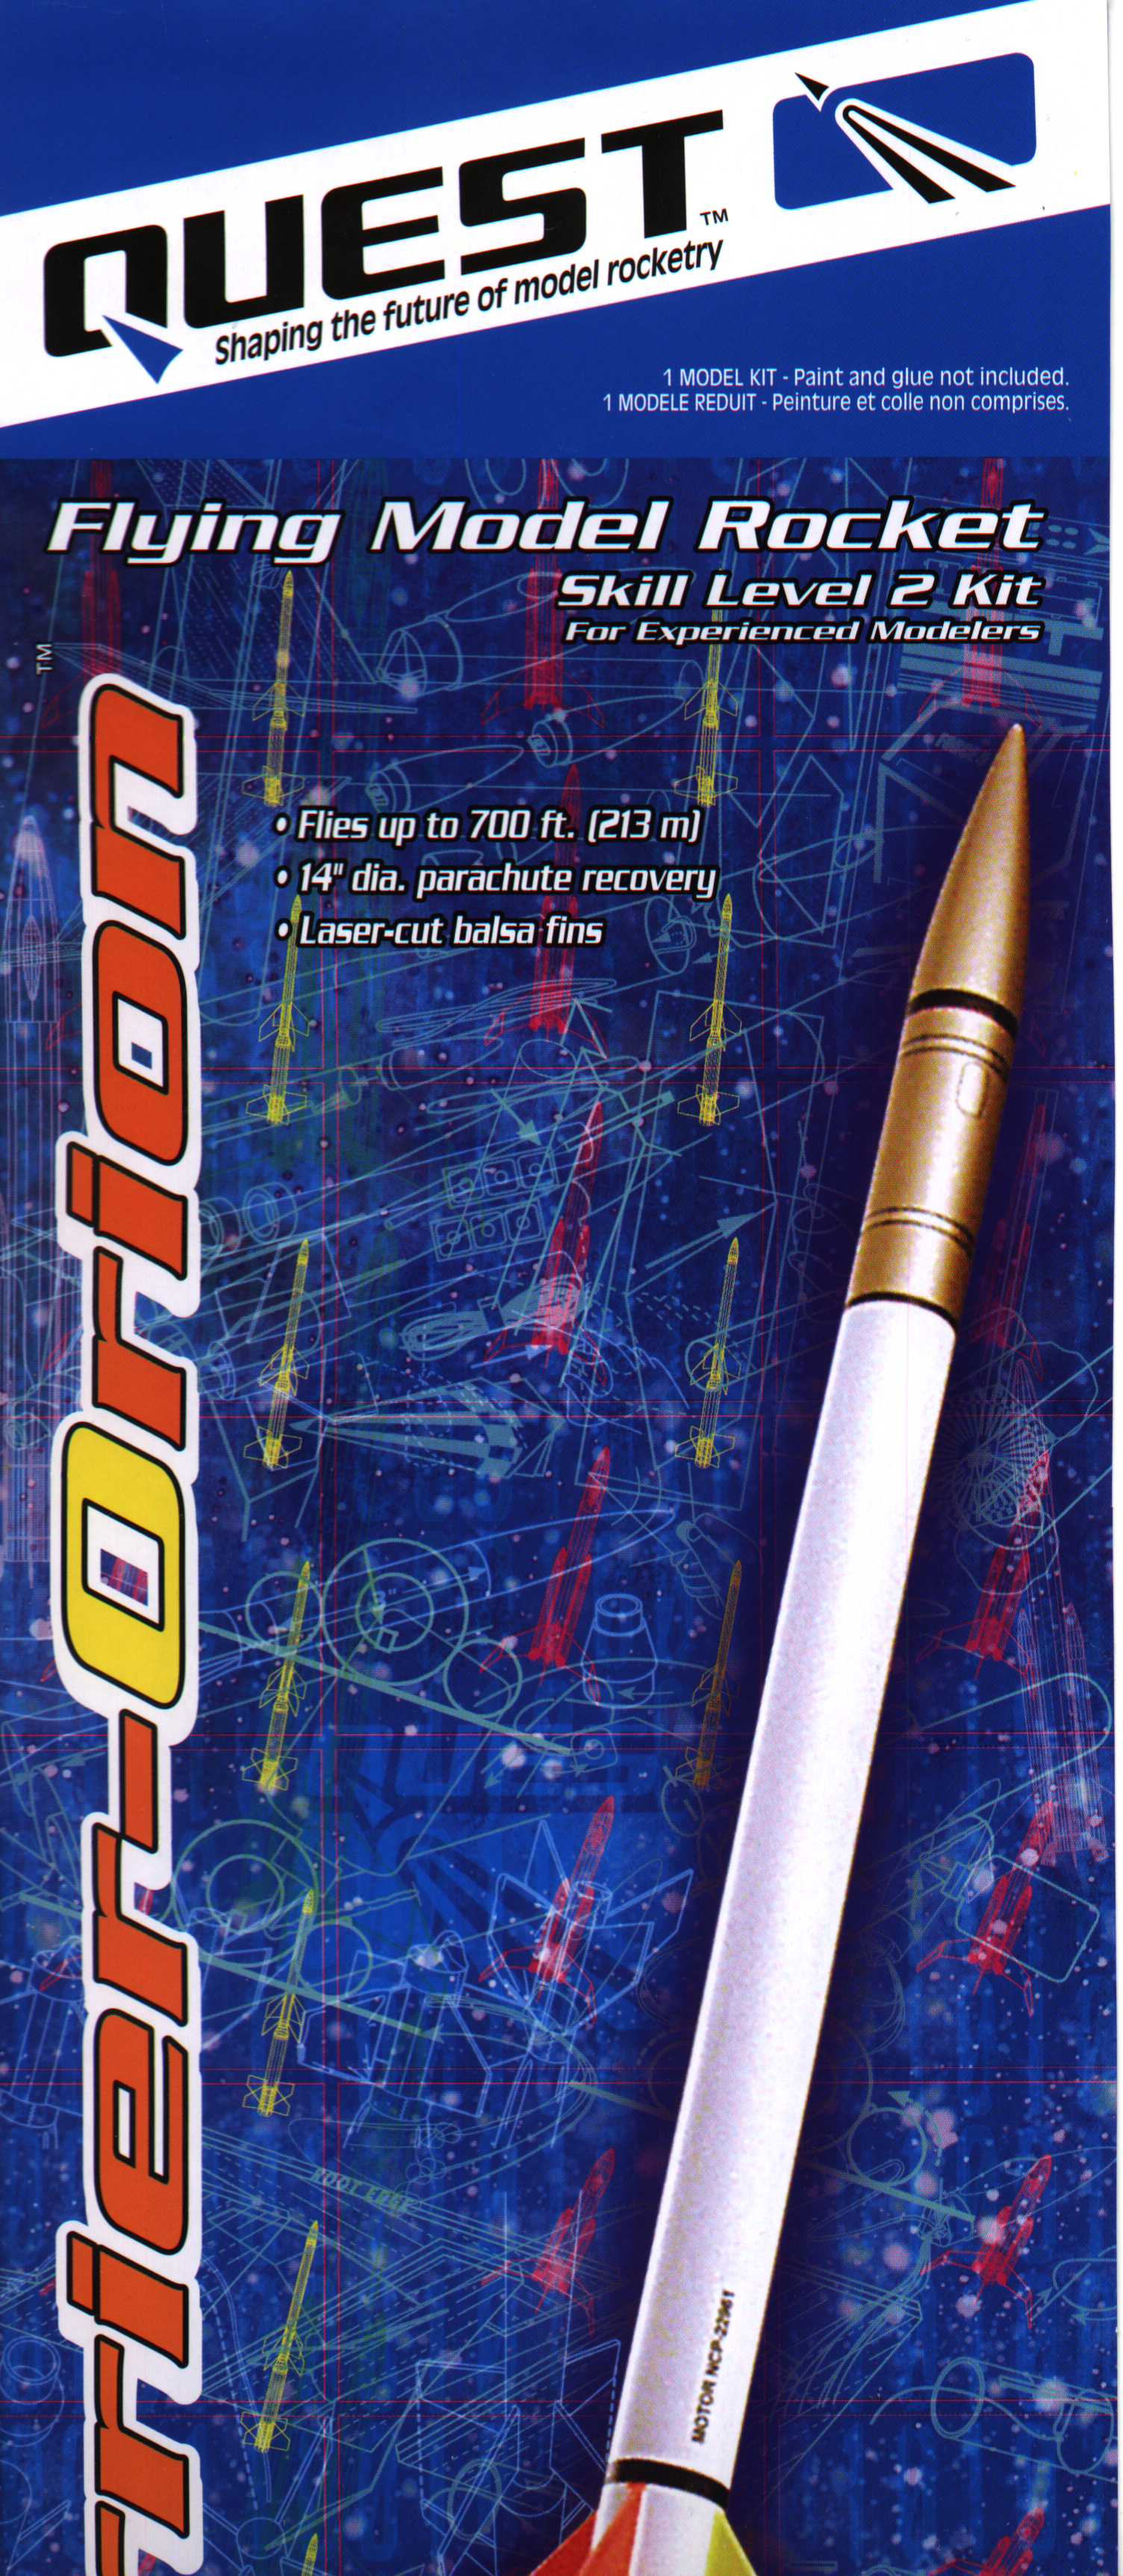
The Quest Terrier Orion model rocket is based on the US Navy surface-to-air missile that was converted to send payloads to near-space high altitudes. The Terrier Orion model rocket is single stage and would be a sleek addition to any model rocket fleet. Flights can exceed 1000 feet.
Additional Information
- Length: 30.1″
- Diameter: 1.38
- Weight: 12.00 oz.
- Recovery: Parachute
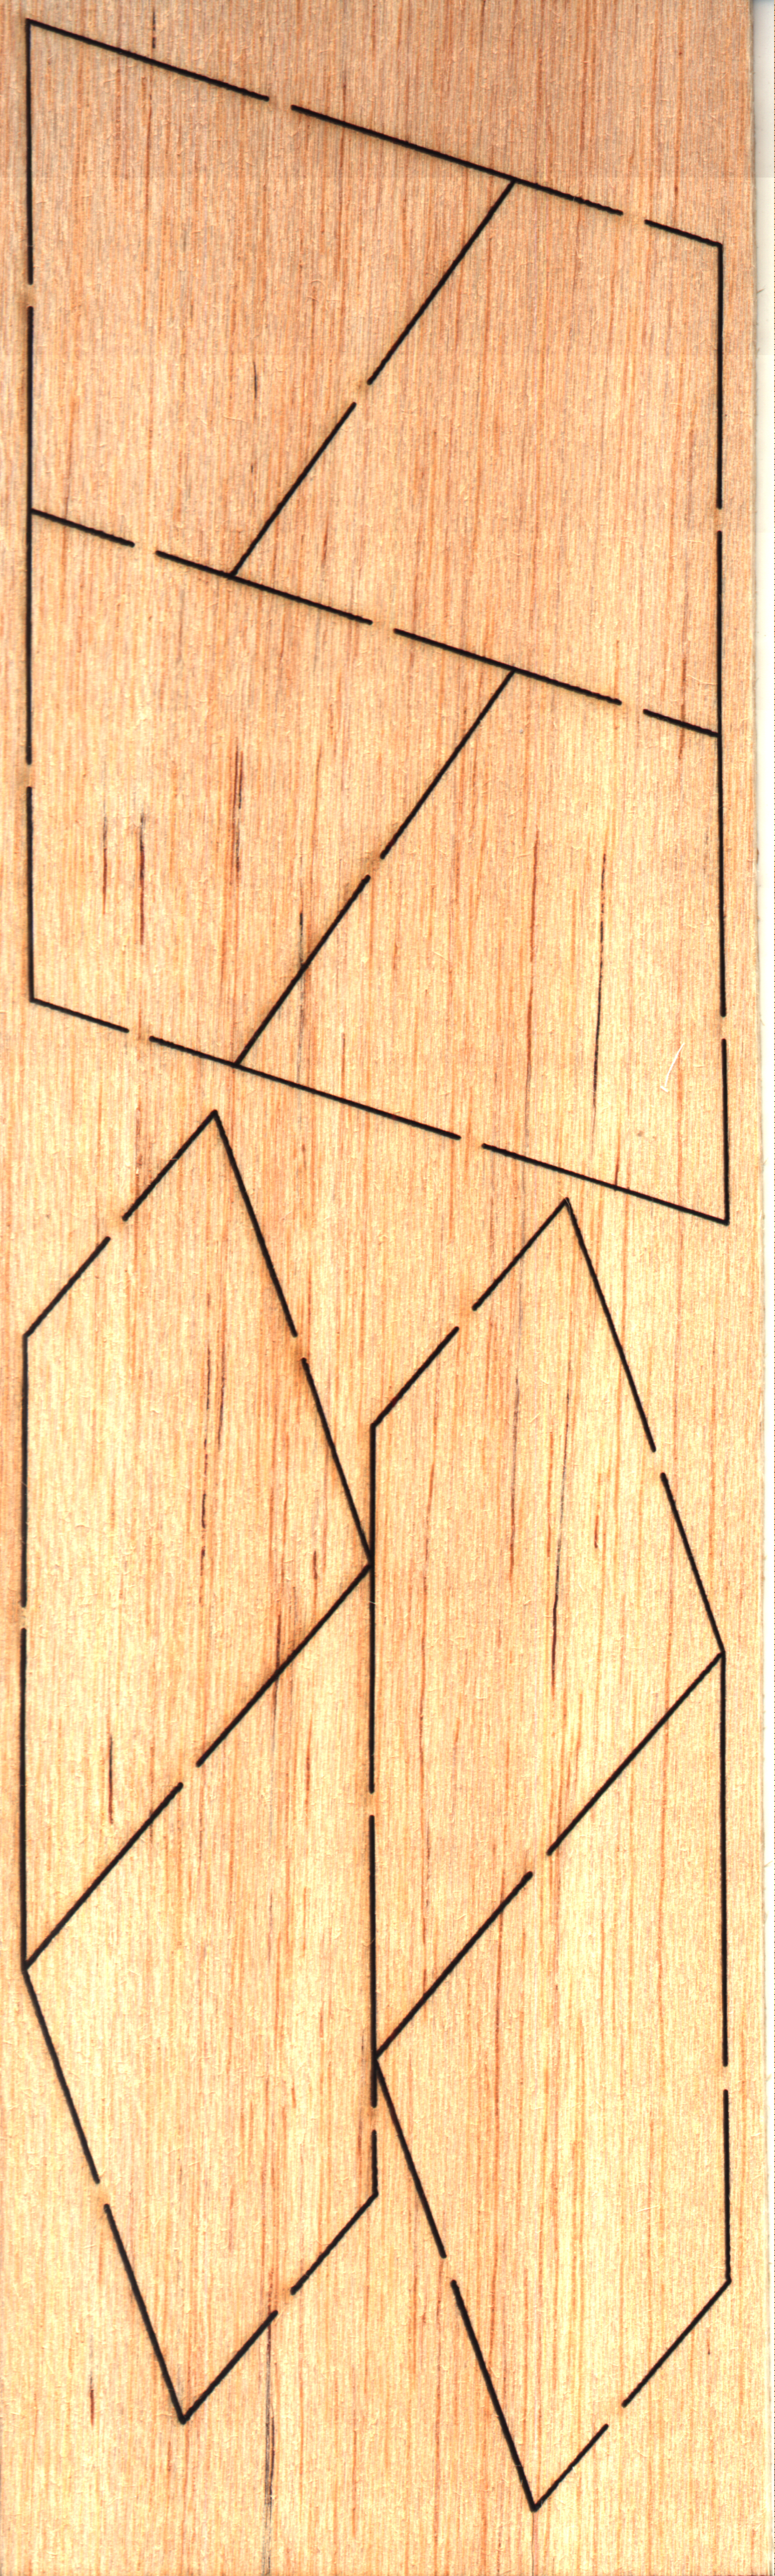
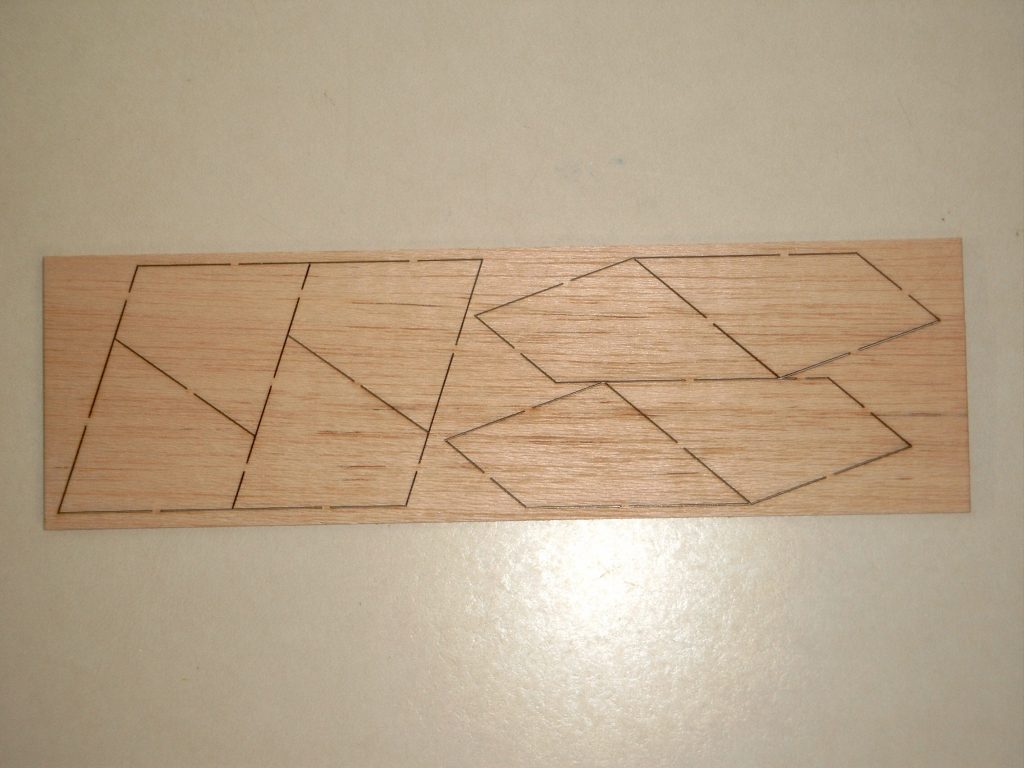
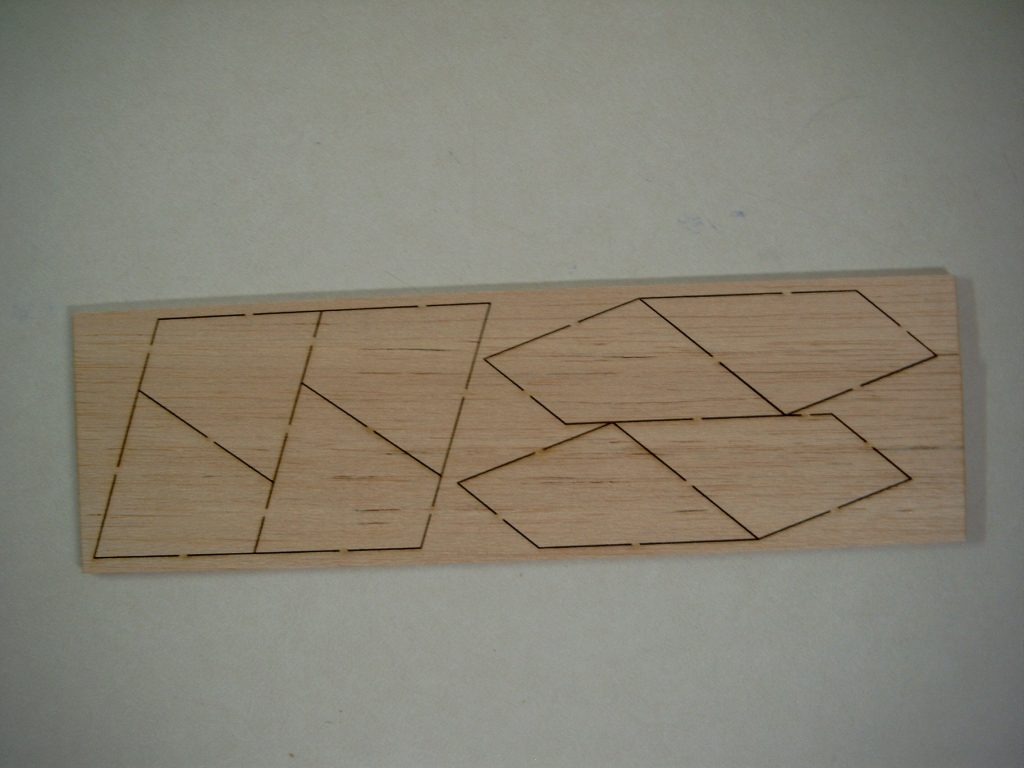
- Fin Type: Balsa
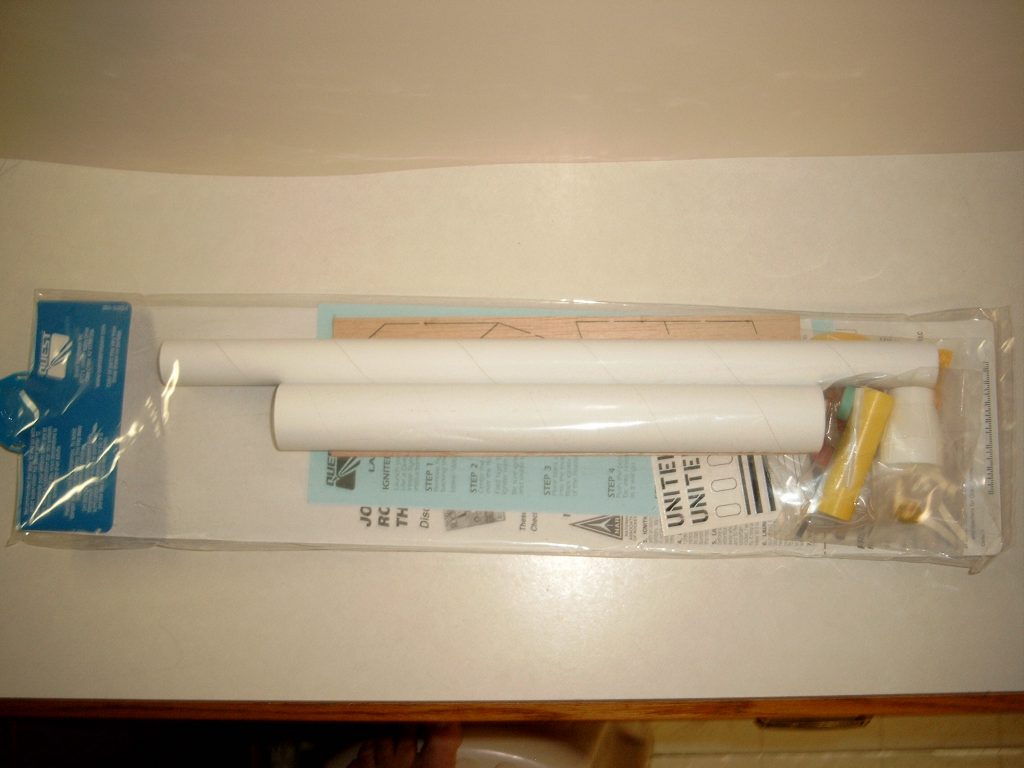
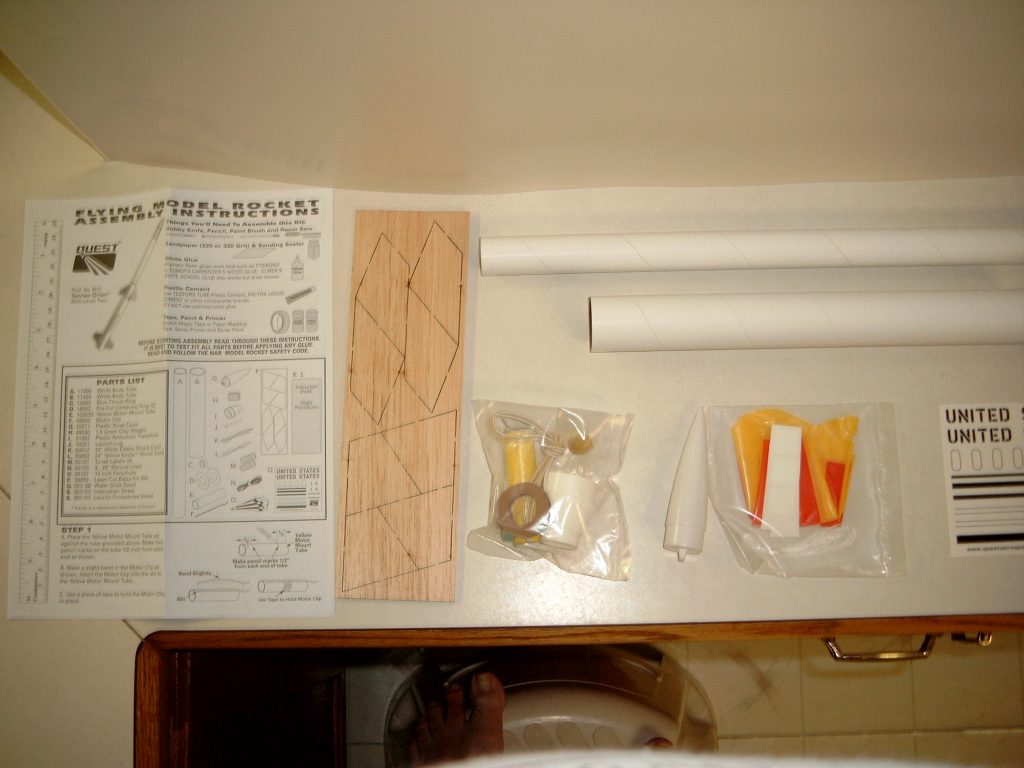
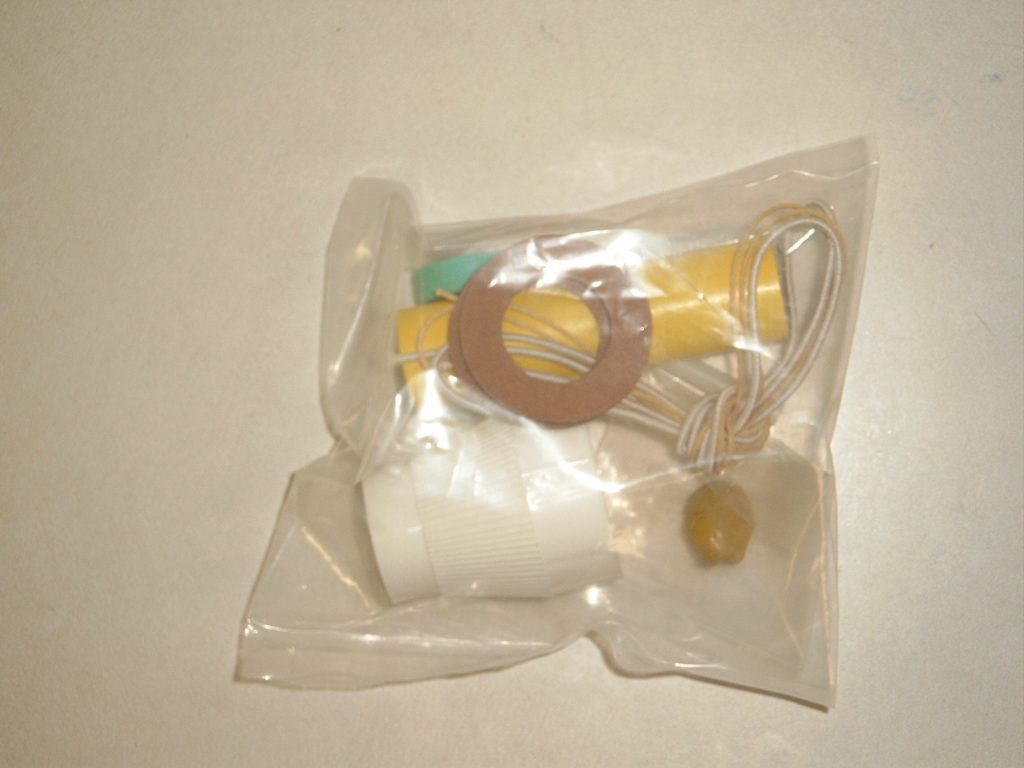
- Parts List
- White Body Tube – 11306
- White Body Tube – 11420
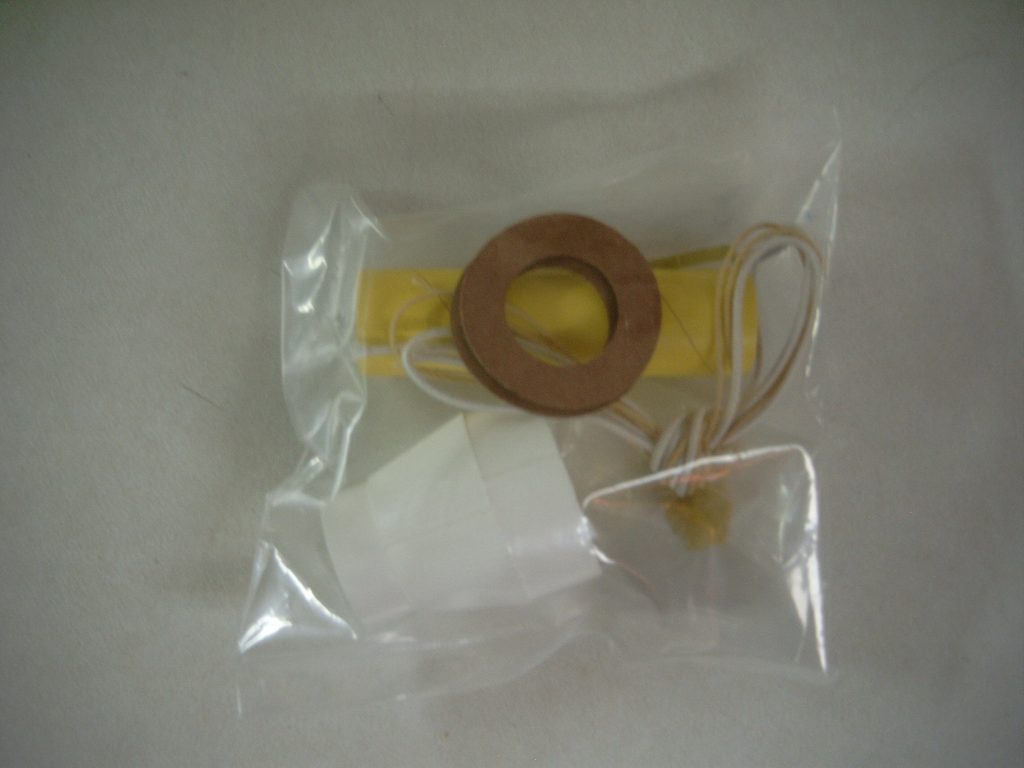
- Blue Thrust Ring – 14000
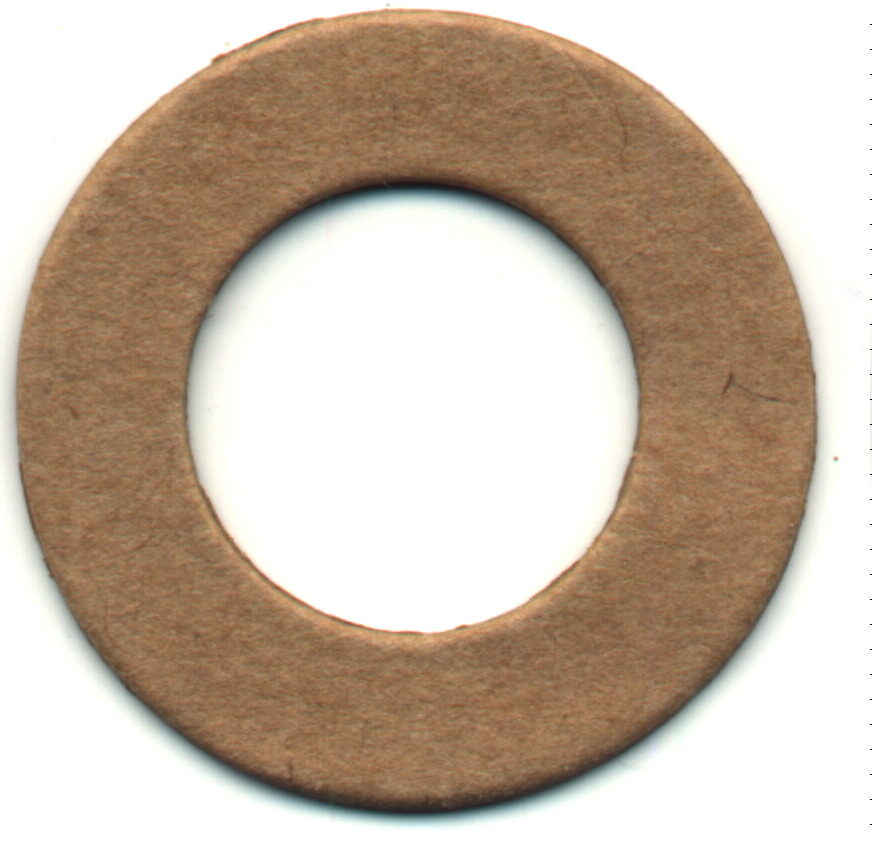
- Die Cut Centering Rings (2) – 16002
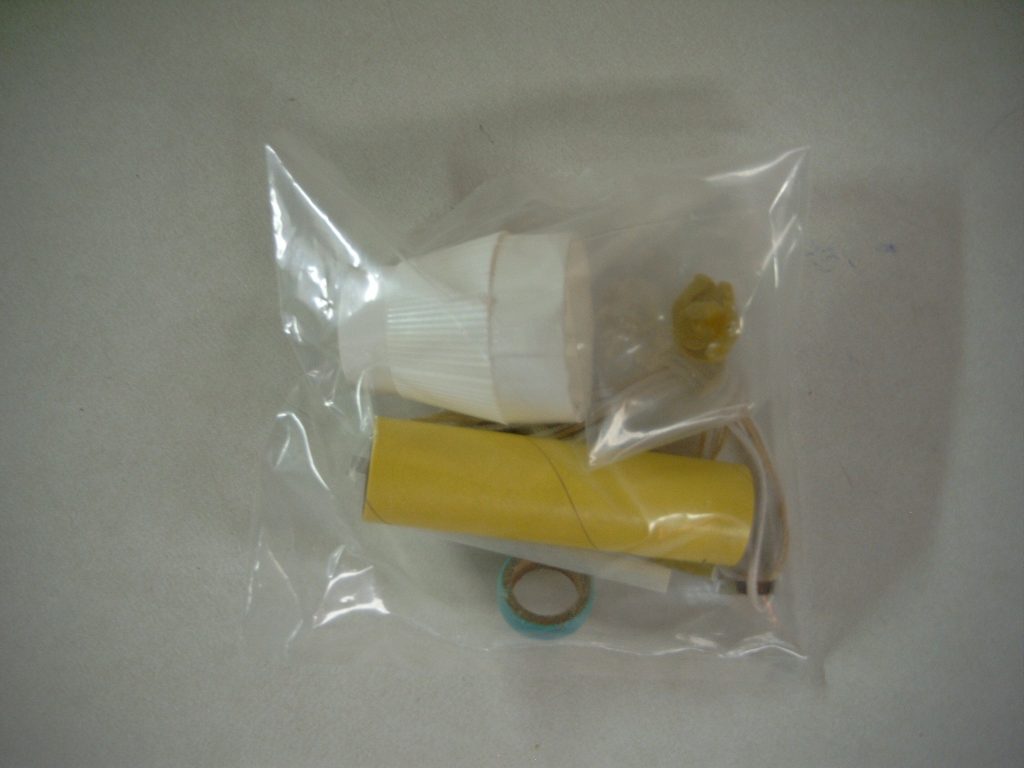
- Yellow Motor Mount Tube – 10303S
- Motor Clip – 49000
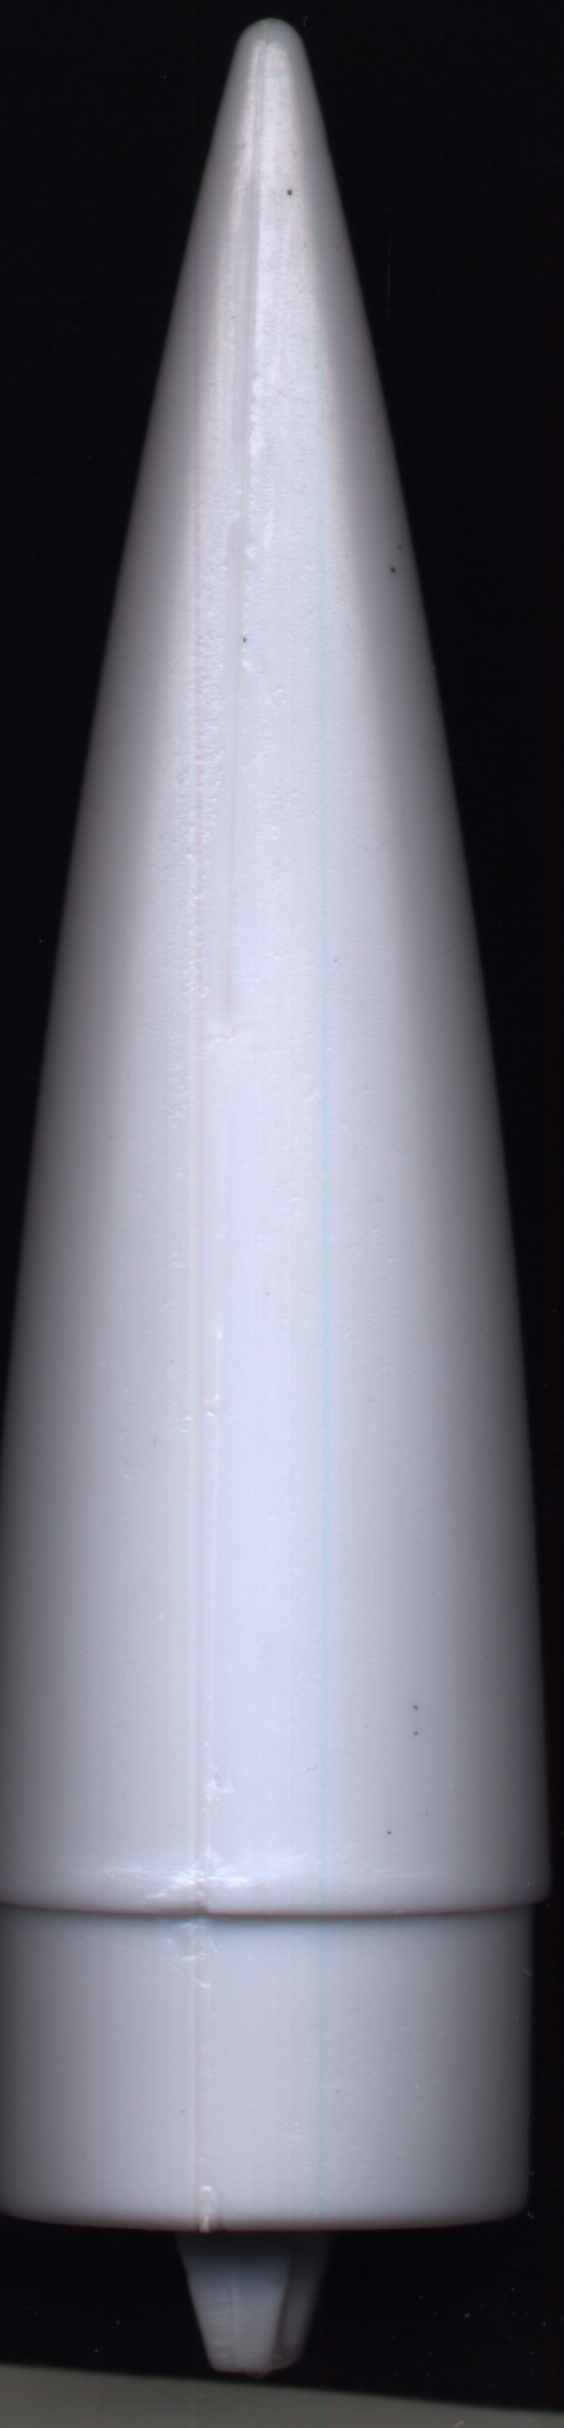
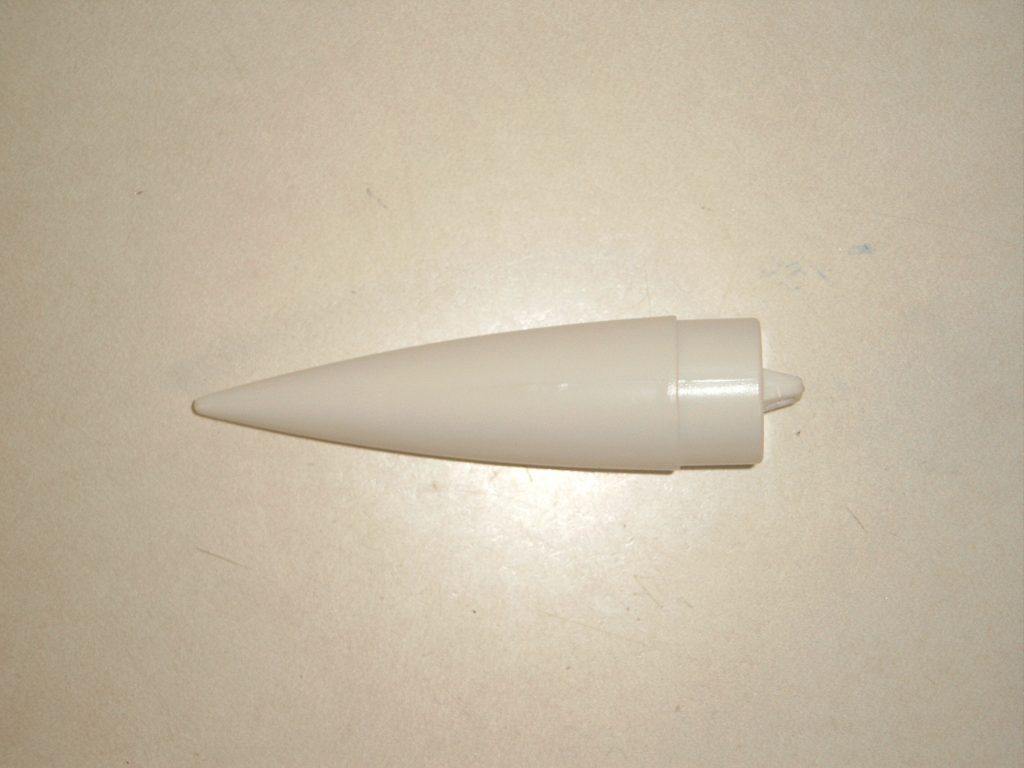
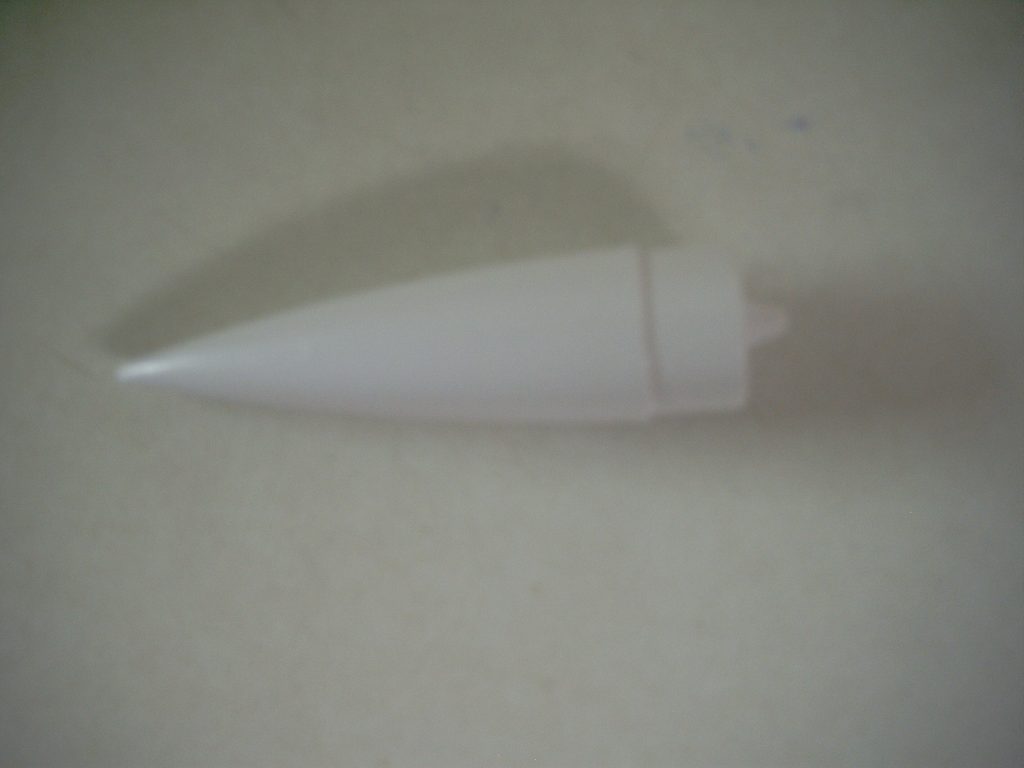
- Plastic Nose Cone – 20071
- 1.5 Gram Clay Weight – 49030
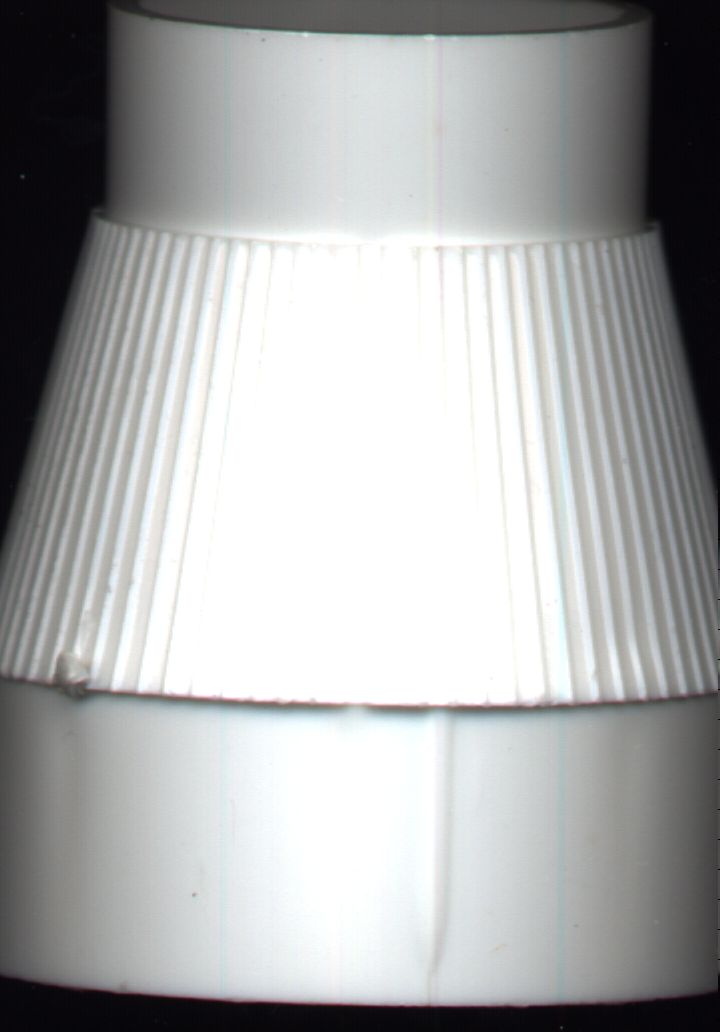
- Plastic Reduction Transition – 21052
- Launch Lug – 10001
- White Elastic Shock Cord (24″) – 50012
- Yellow Kevlar Cord (24″) – 50053
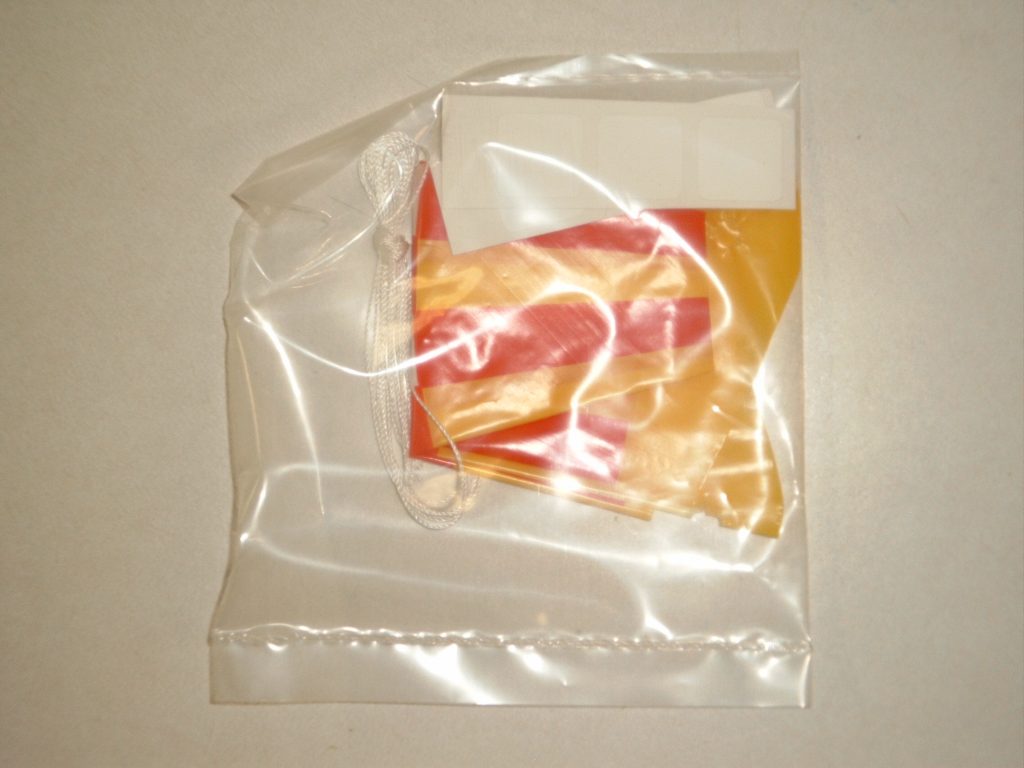
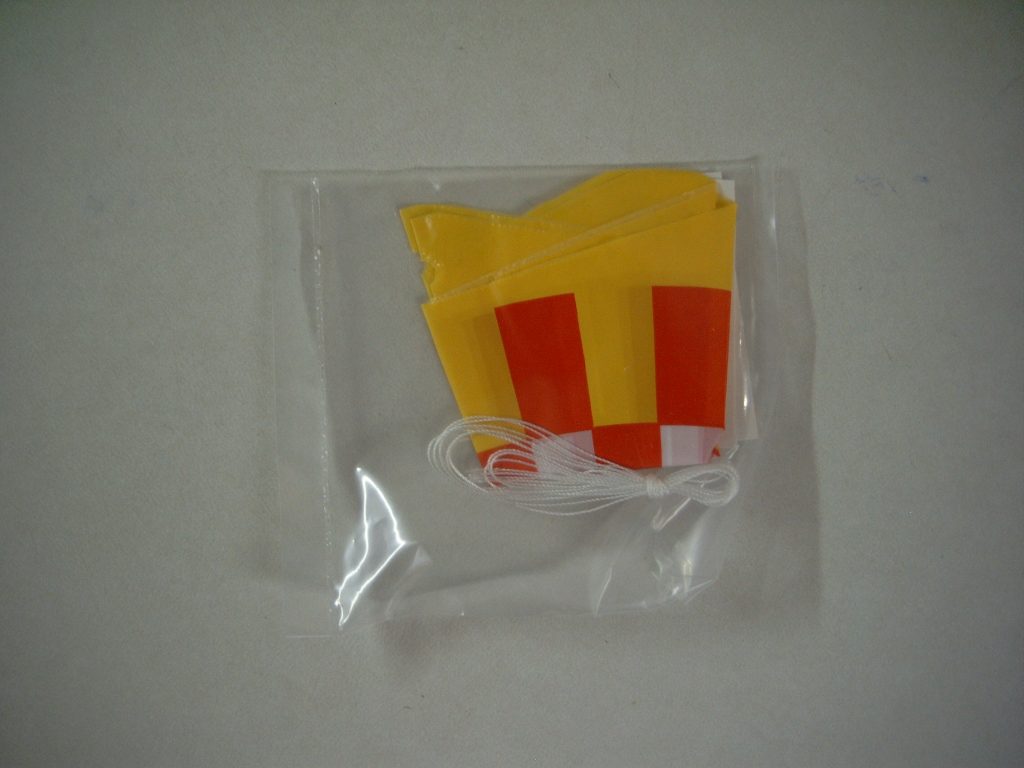
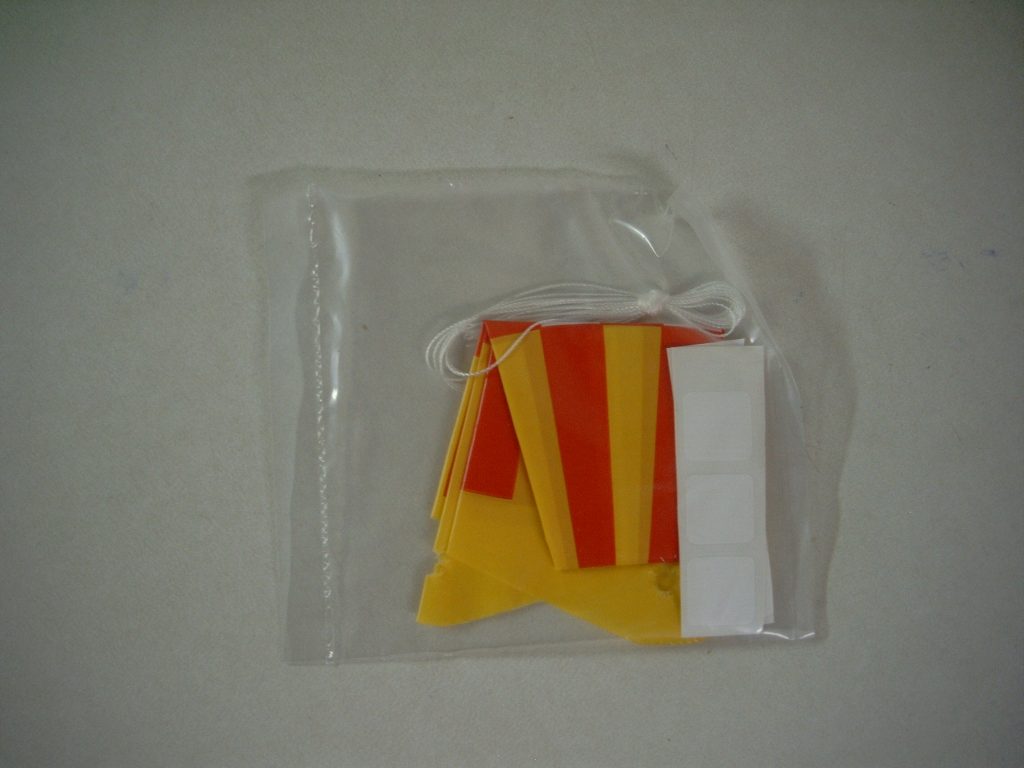
- Tyvek Labels (6) – 50101
- Shroud Lines (3) (24″) – 50100
- Parachute (14″) – 28107
- Balsa Fin Set Laser Cut – 33059
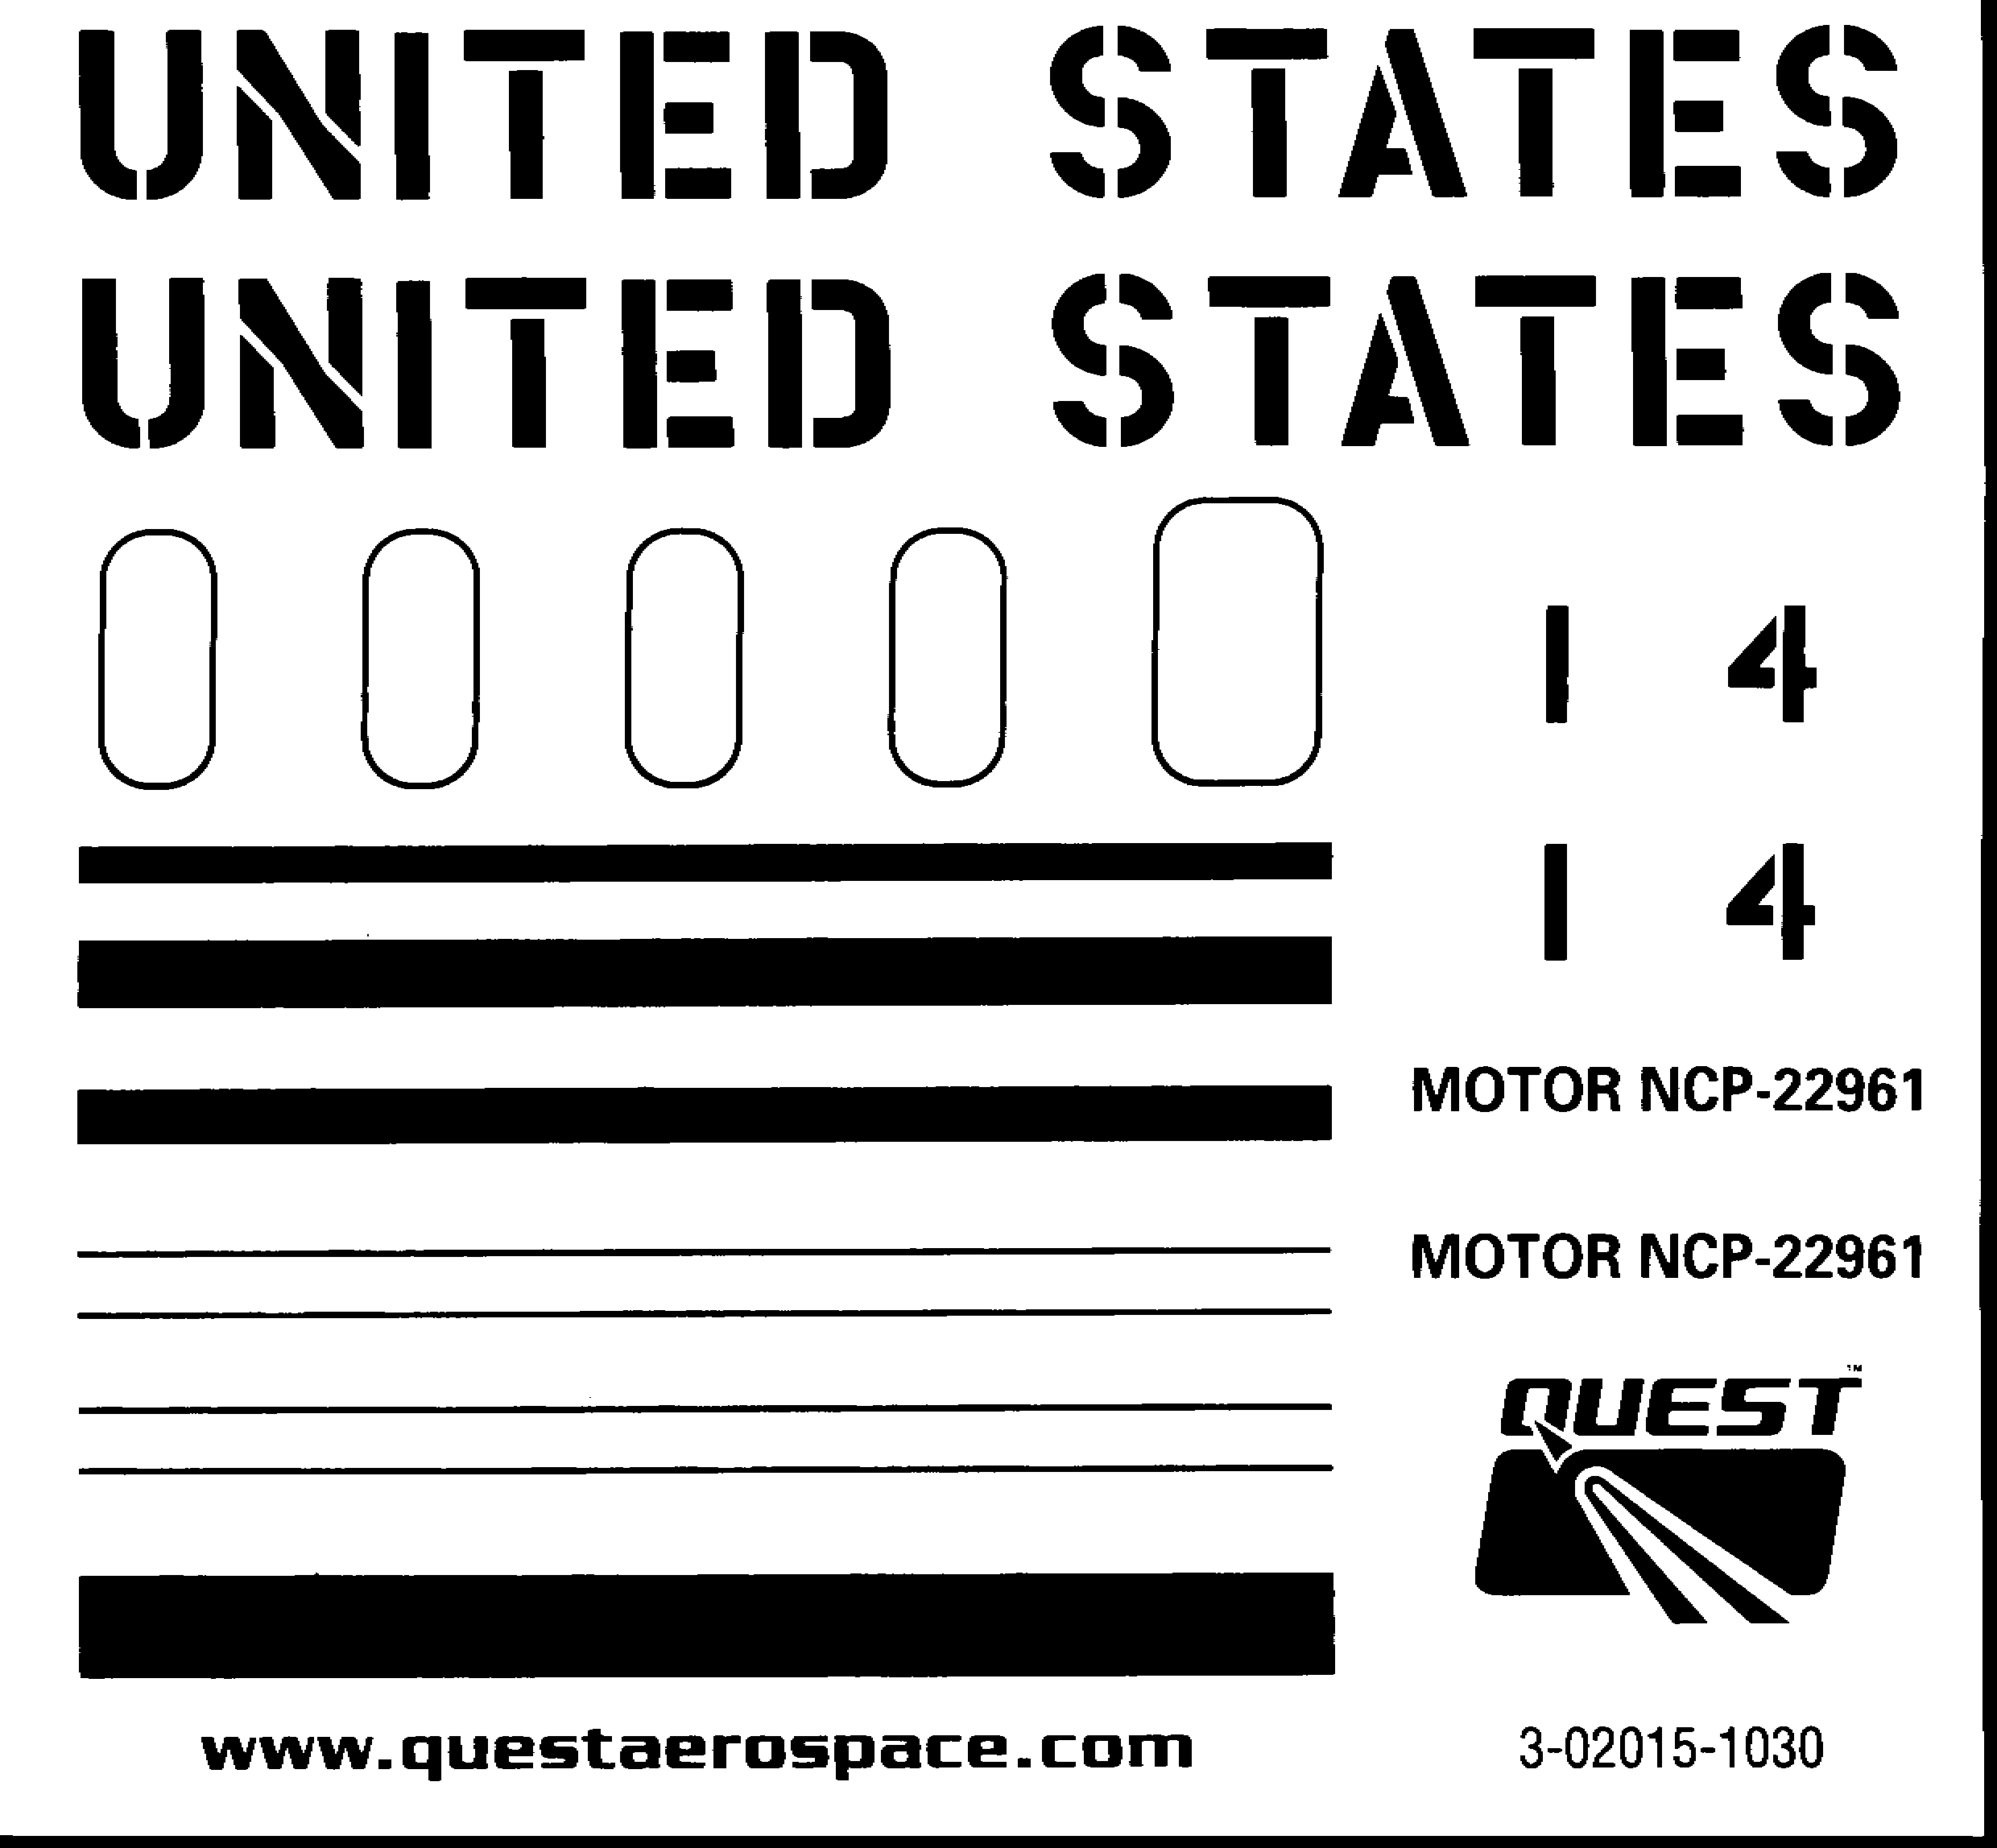
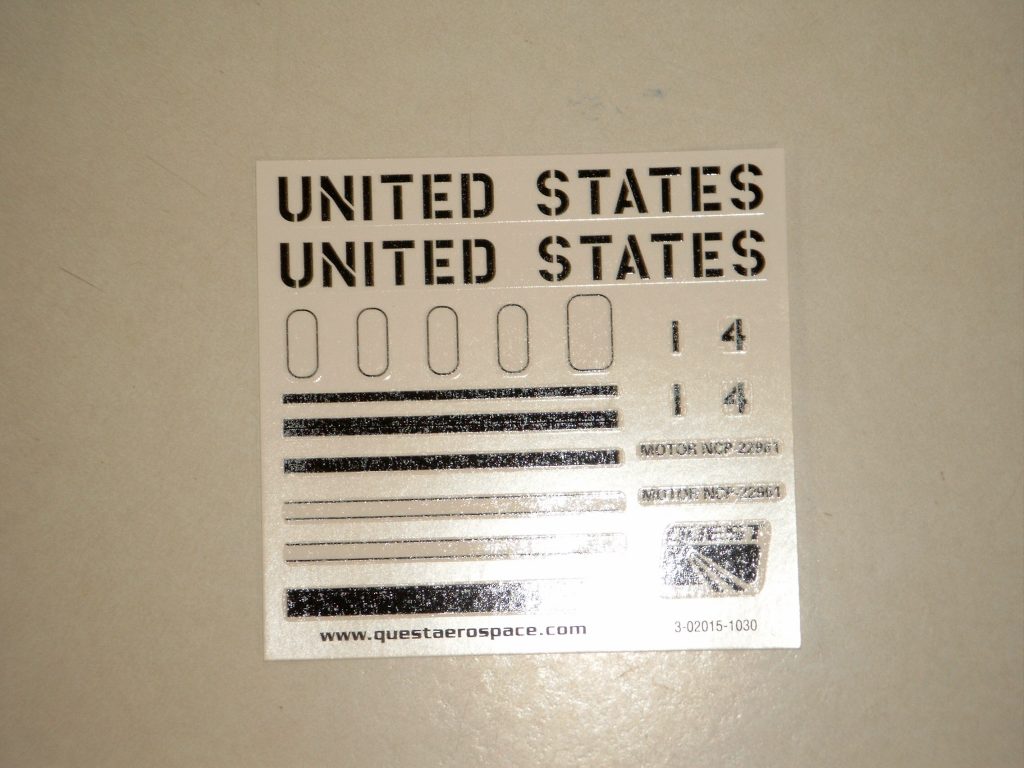
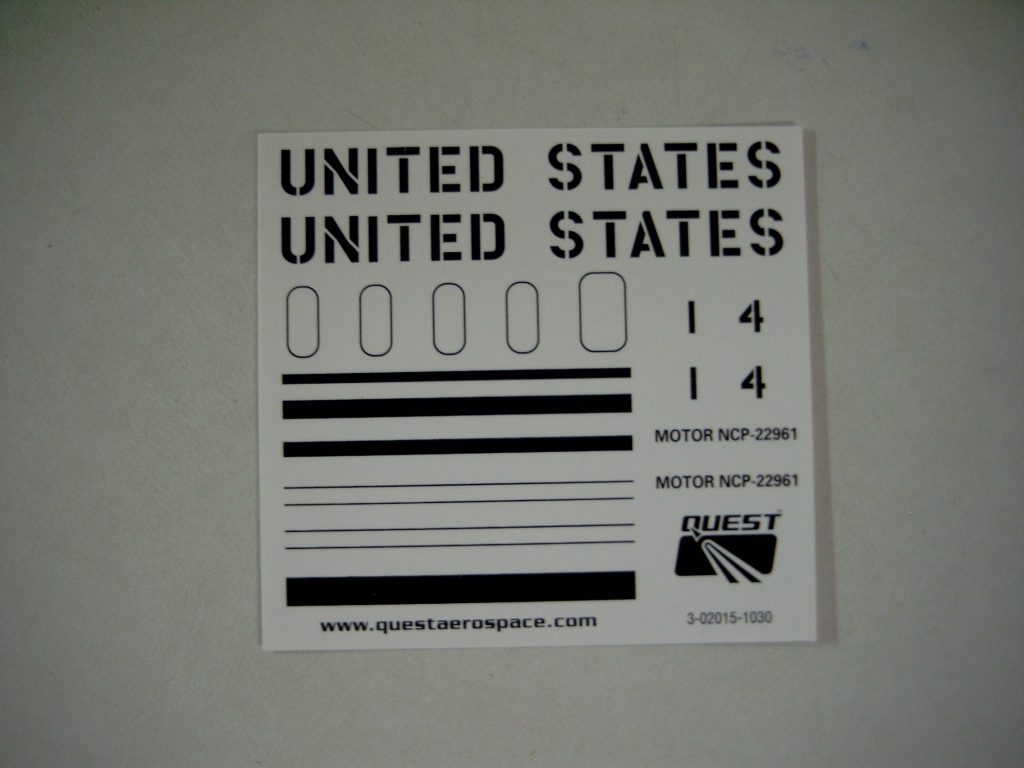
- Water Slide Decal – 02015-1010
- Launch Procedures Sheet – 02015-1015
- Recommended Motors:
- B6-4 C6-3 C6-5
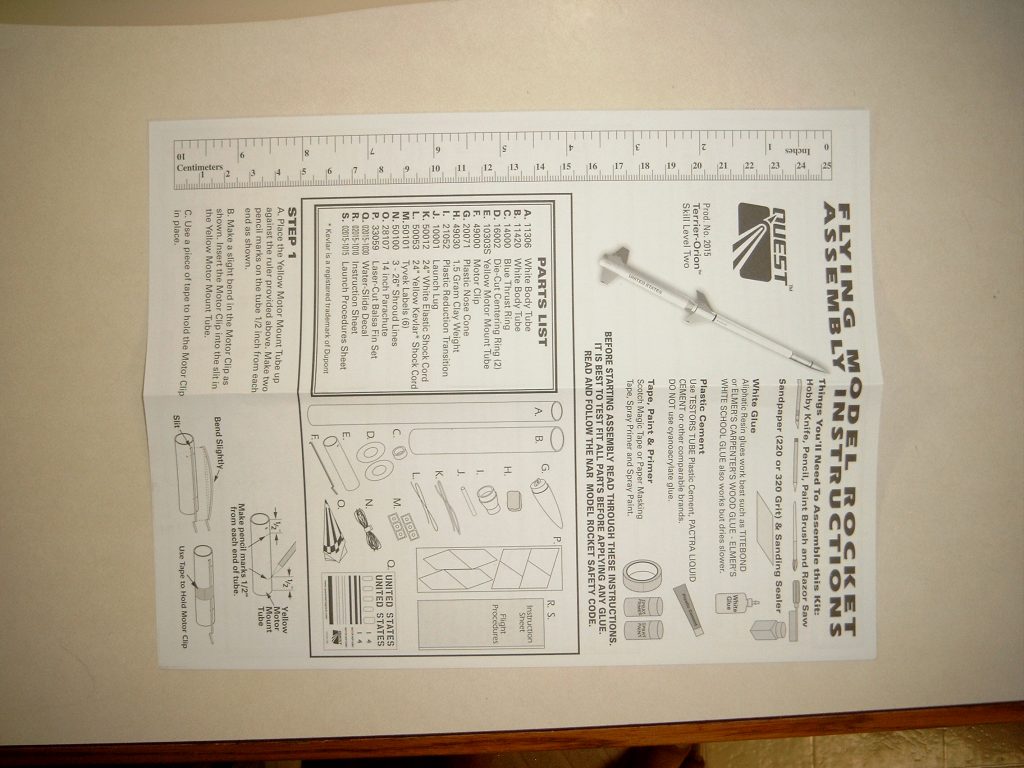
Instructons
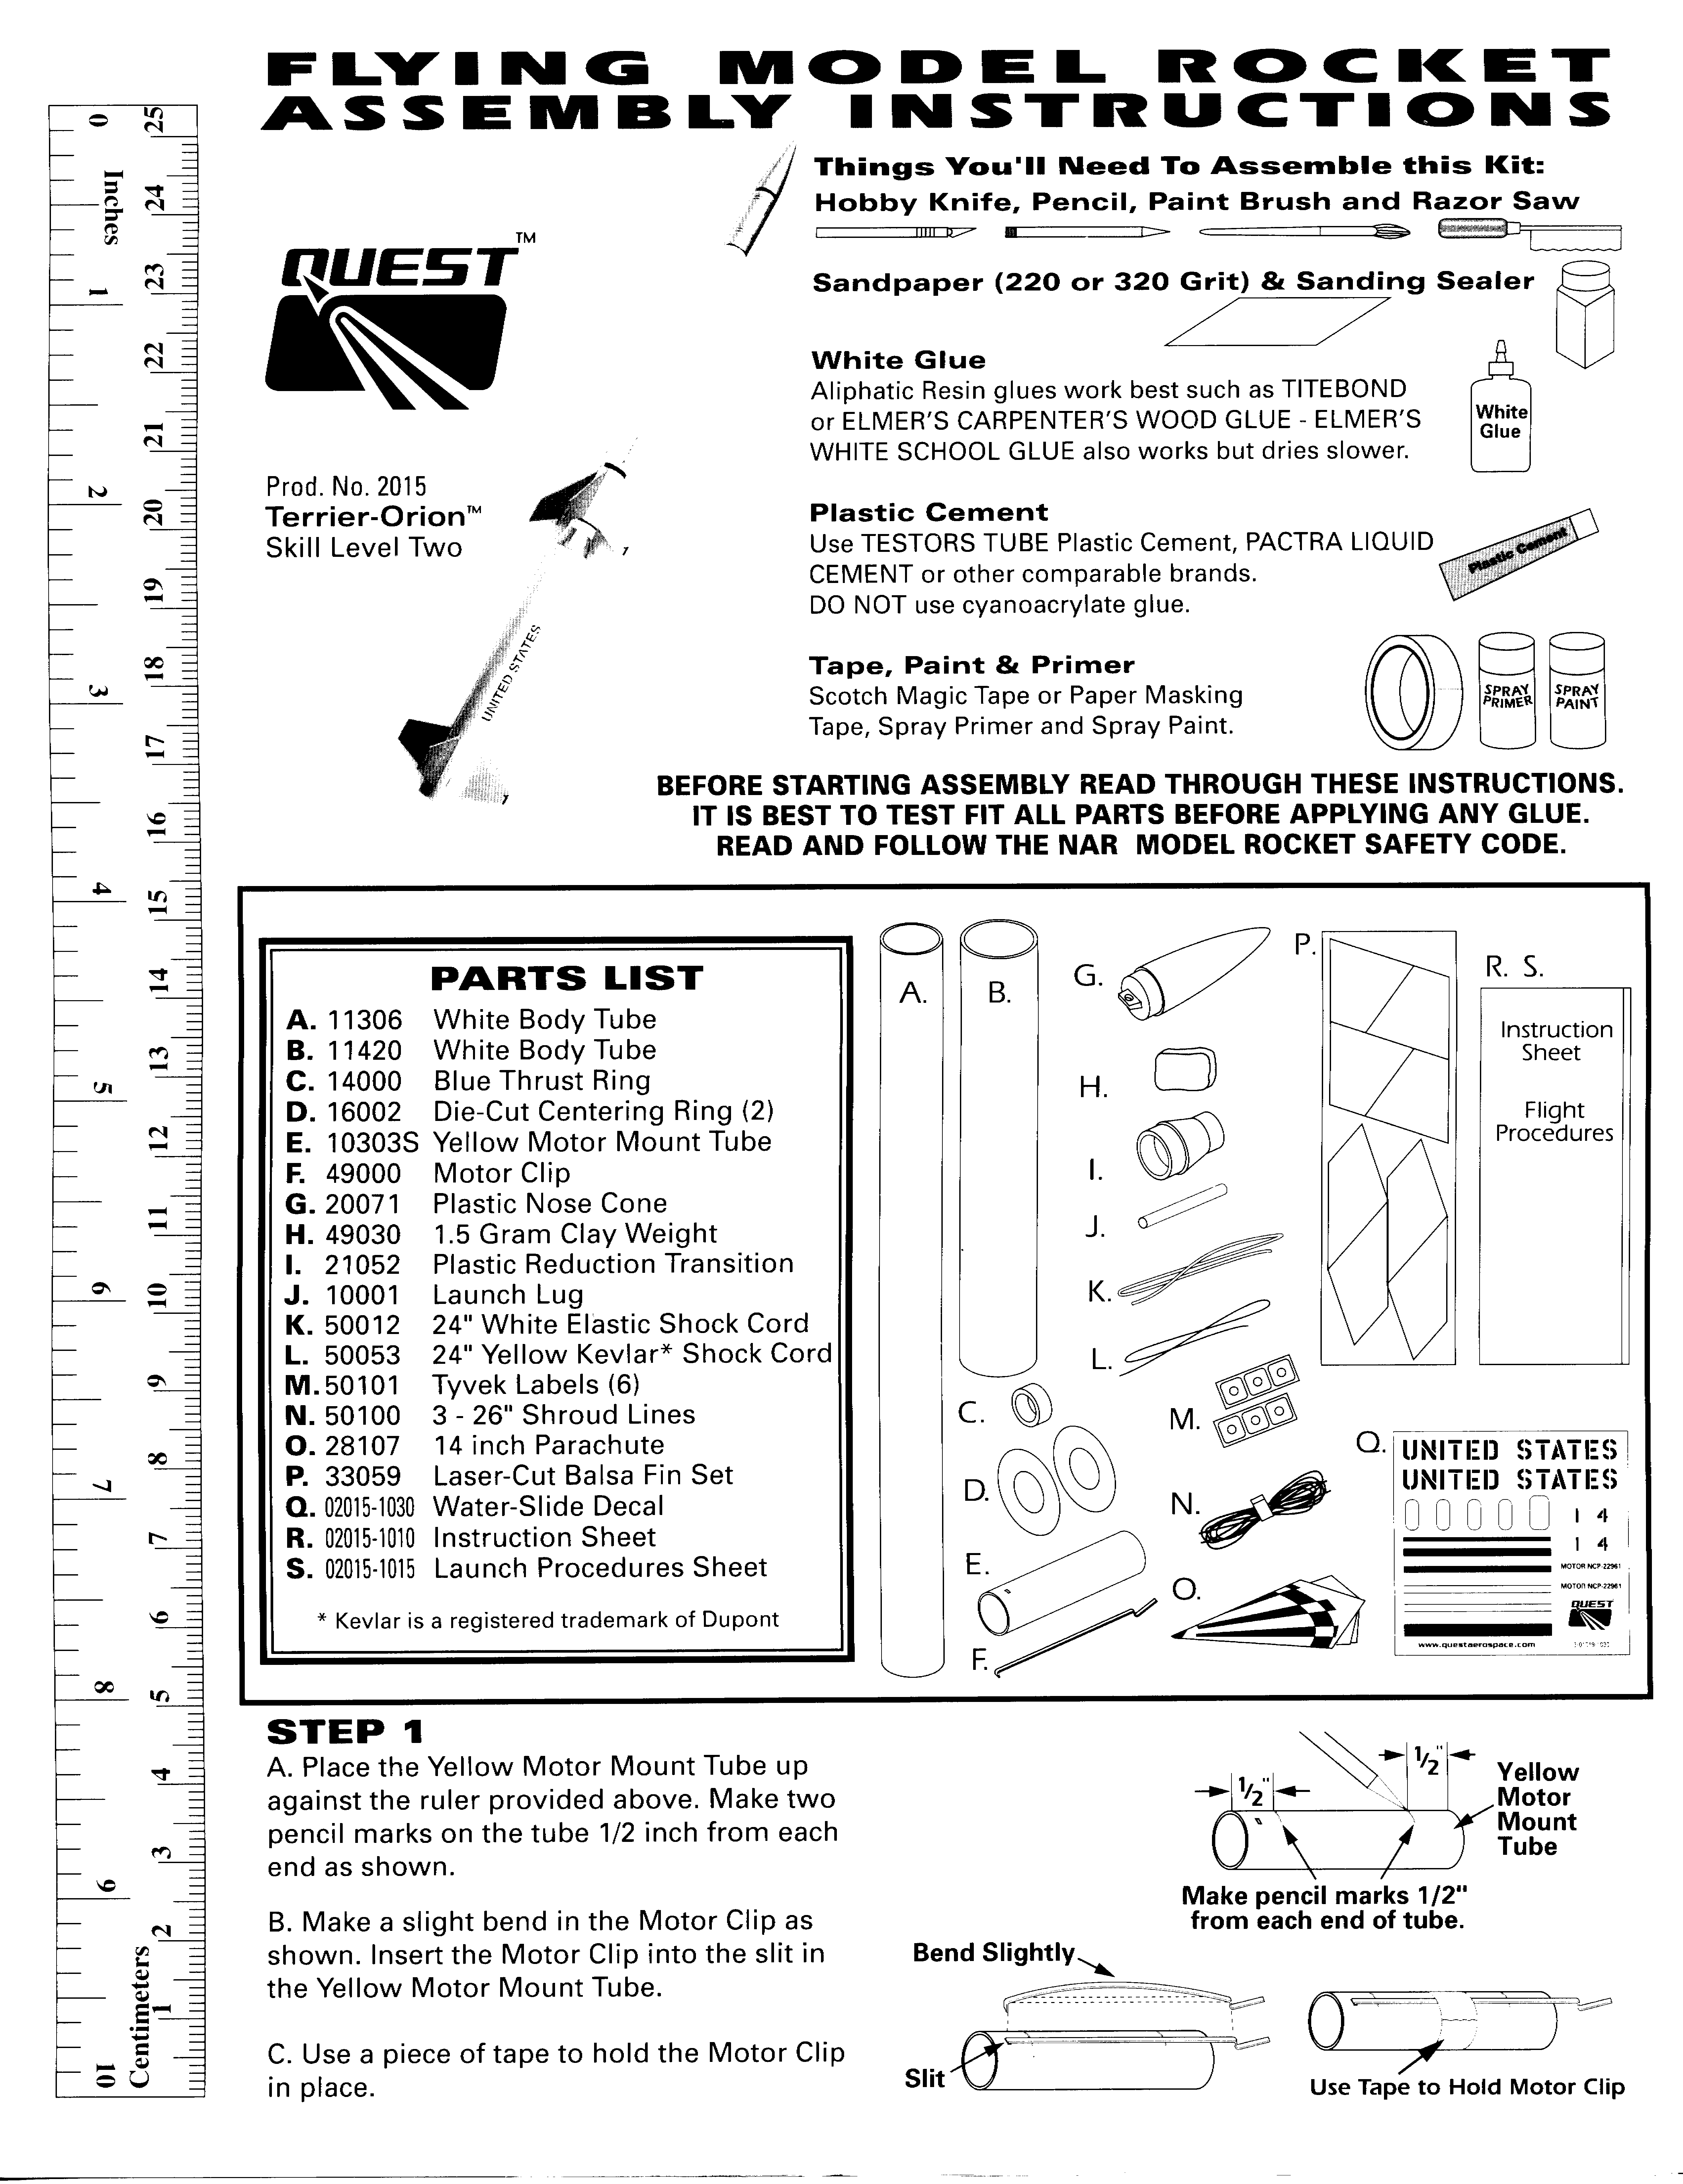
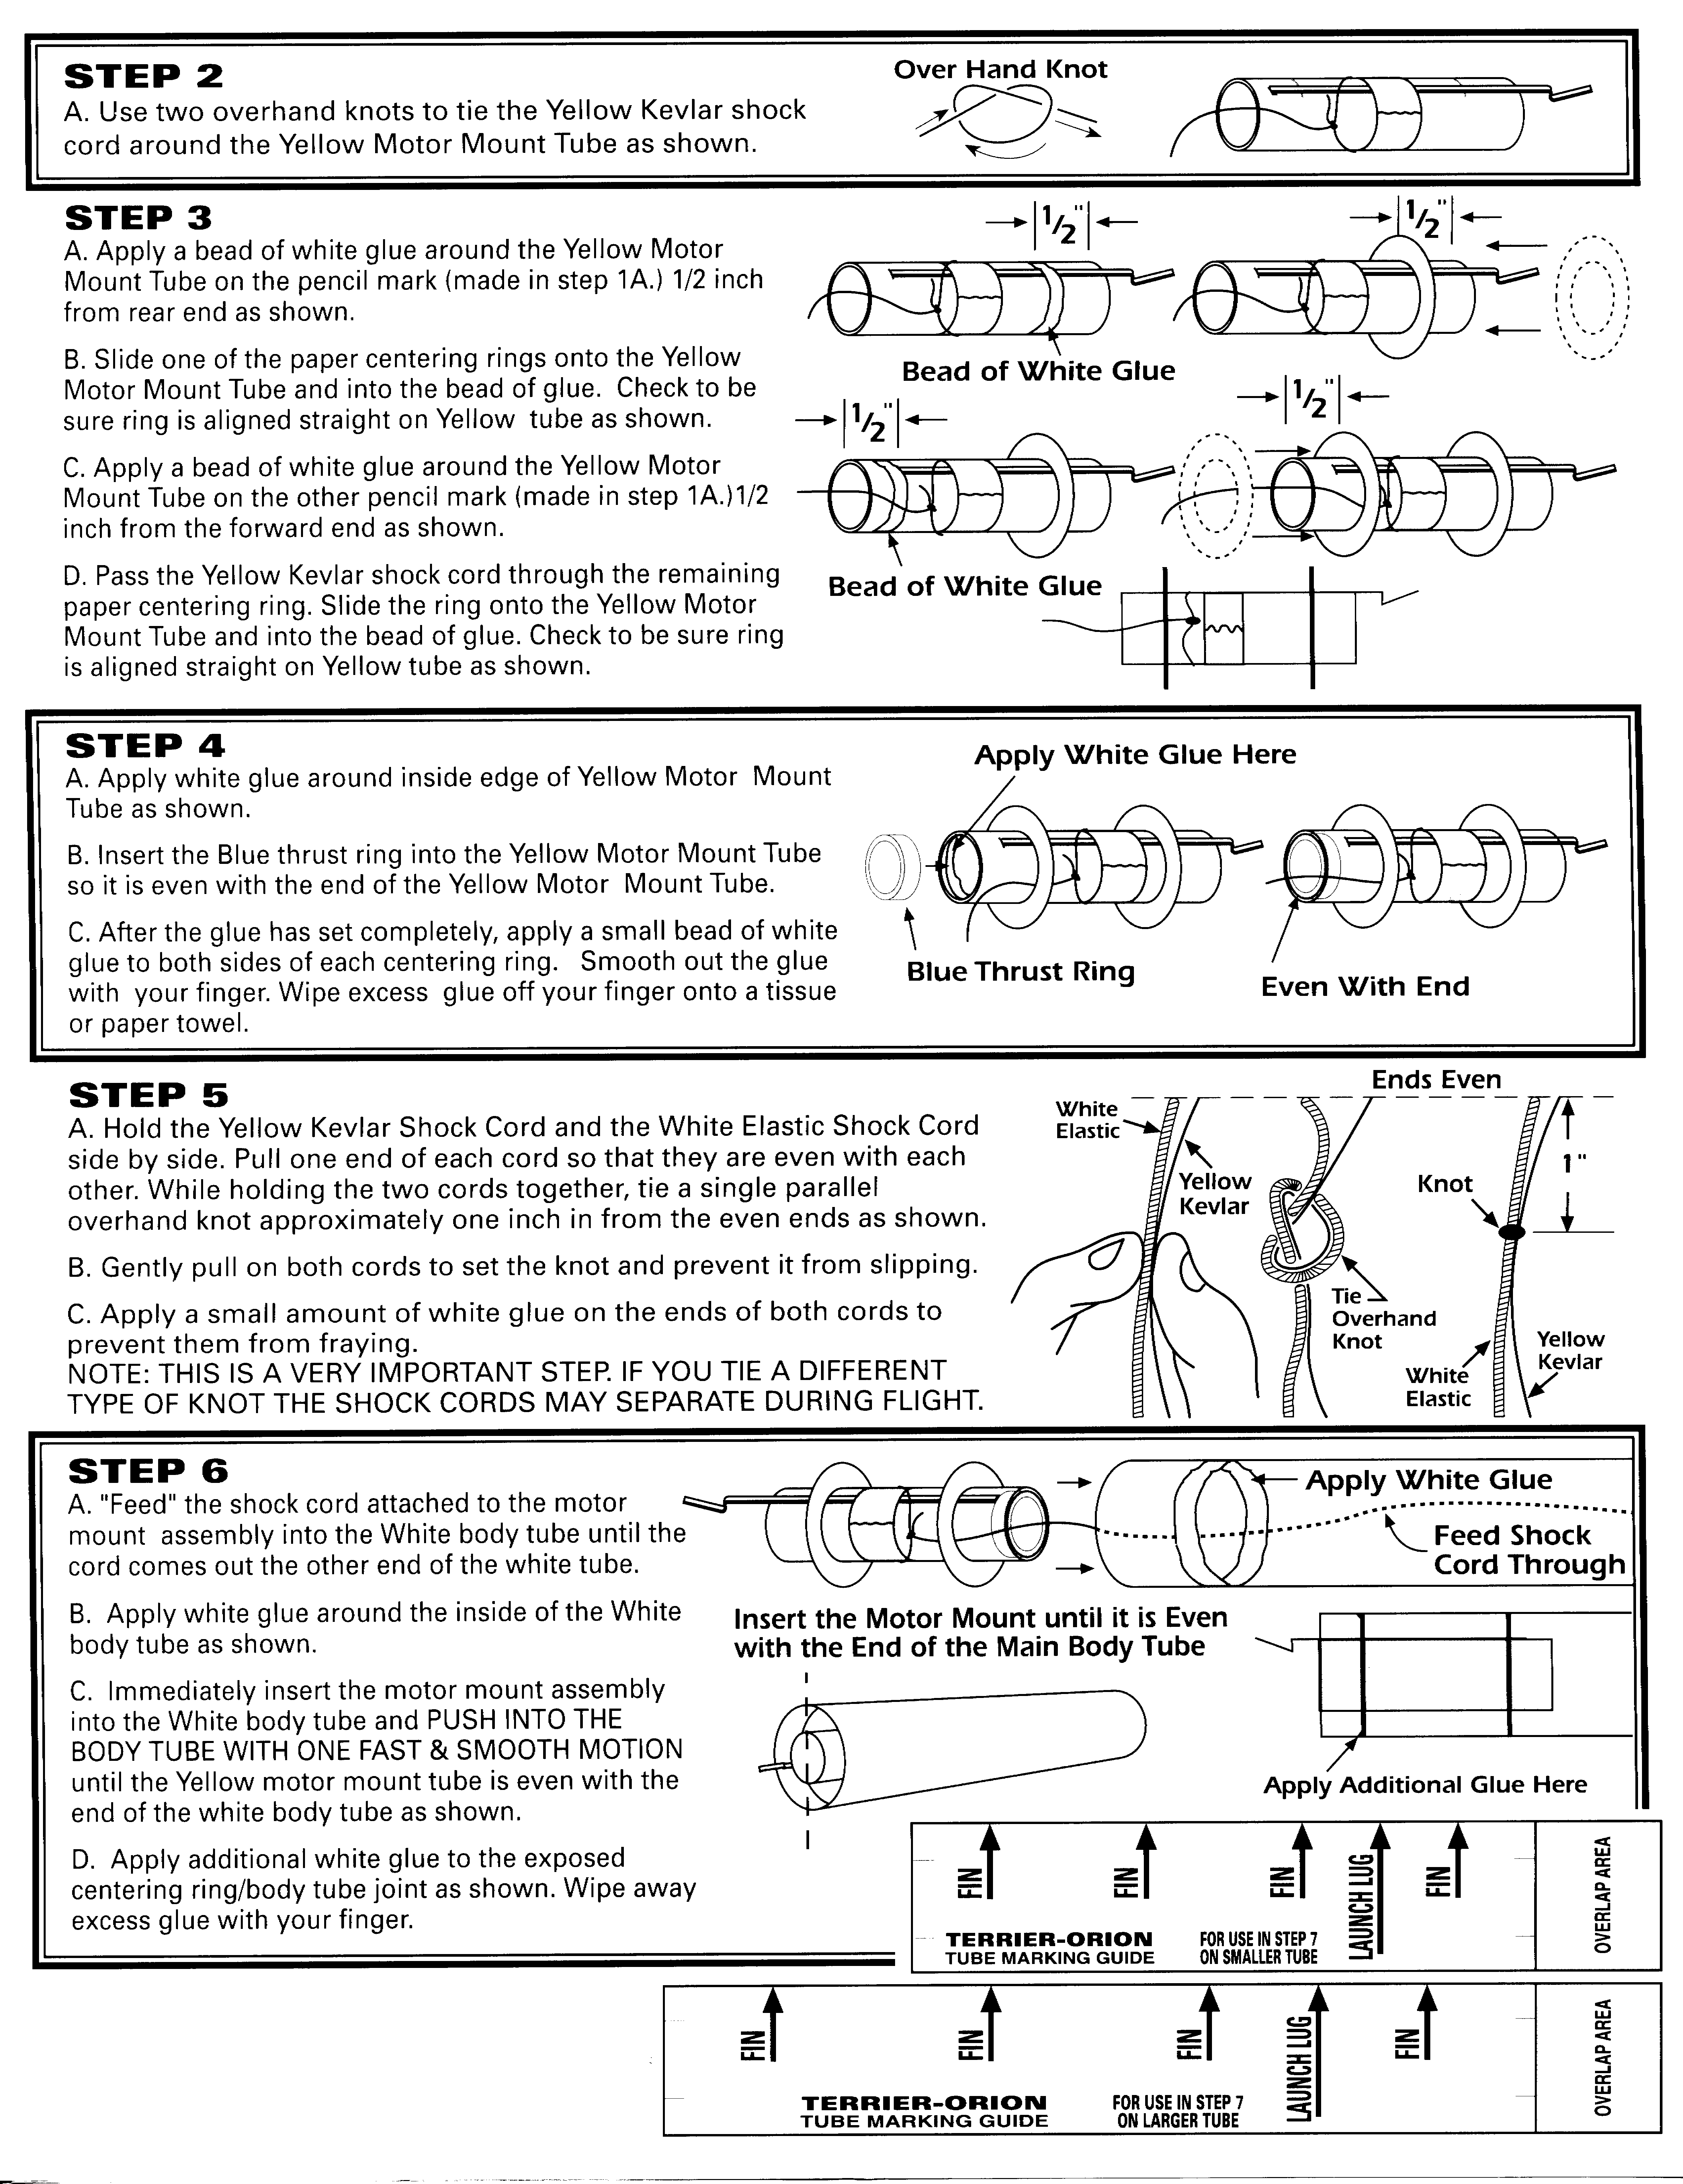
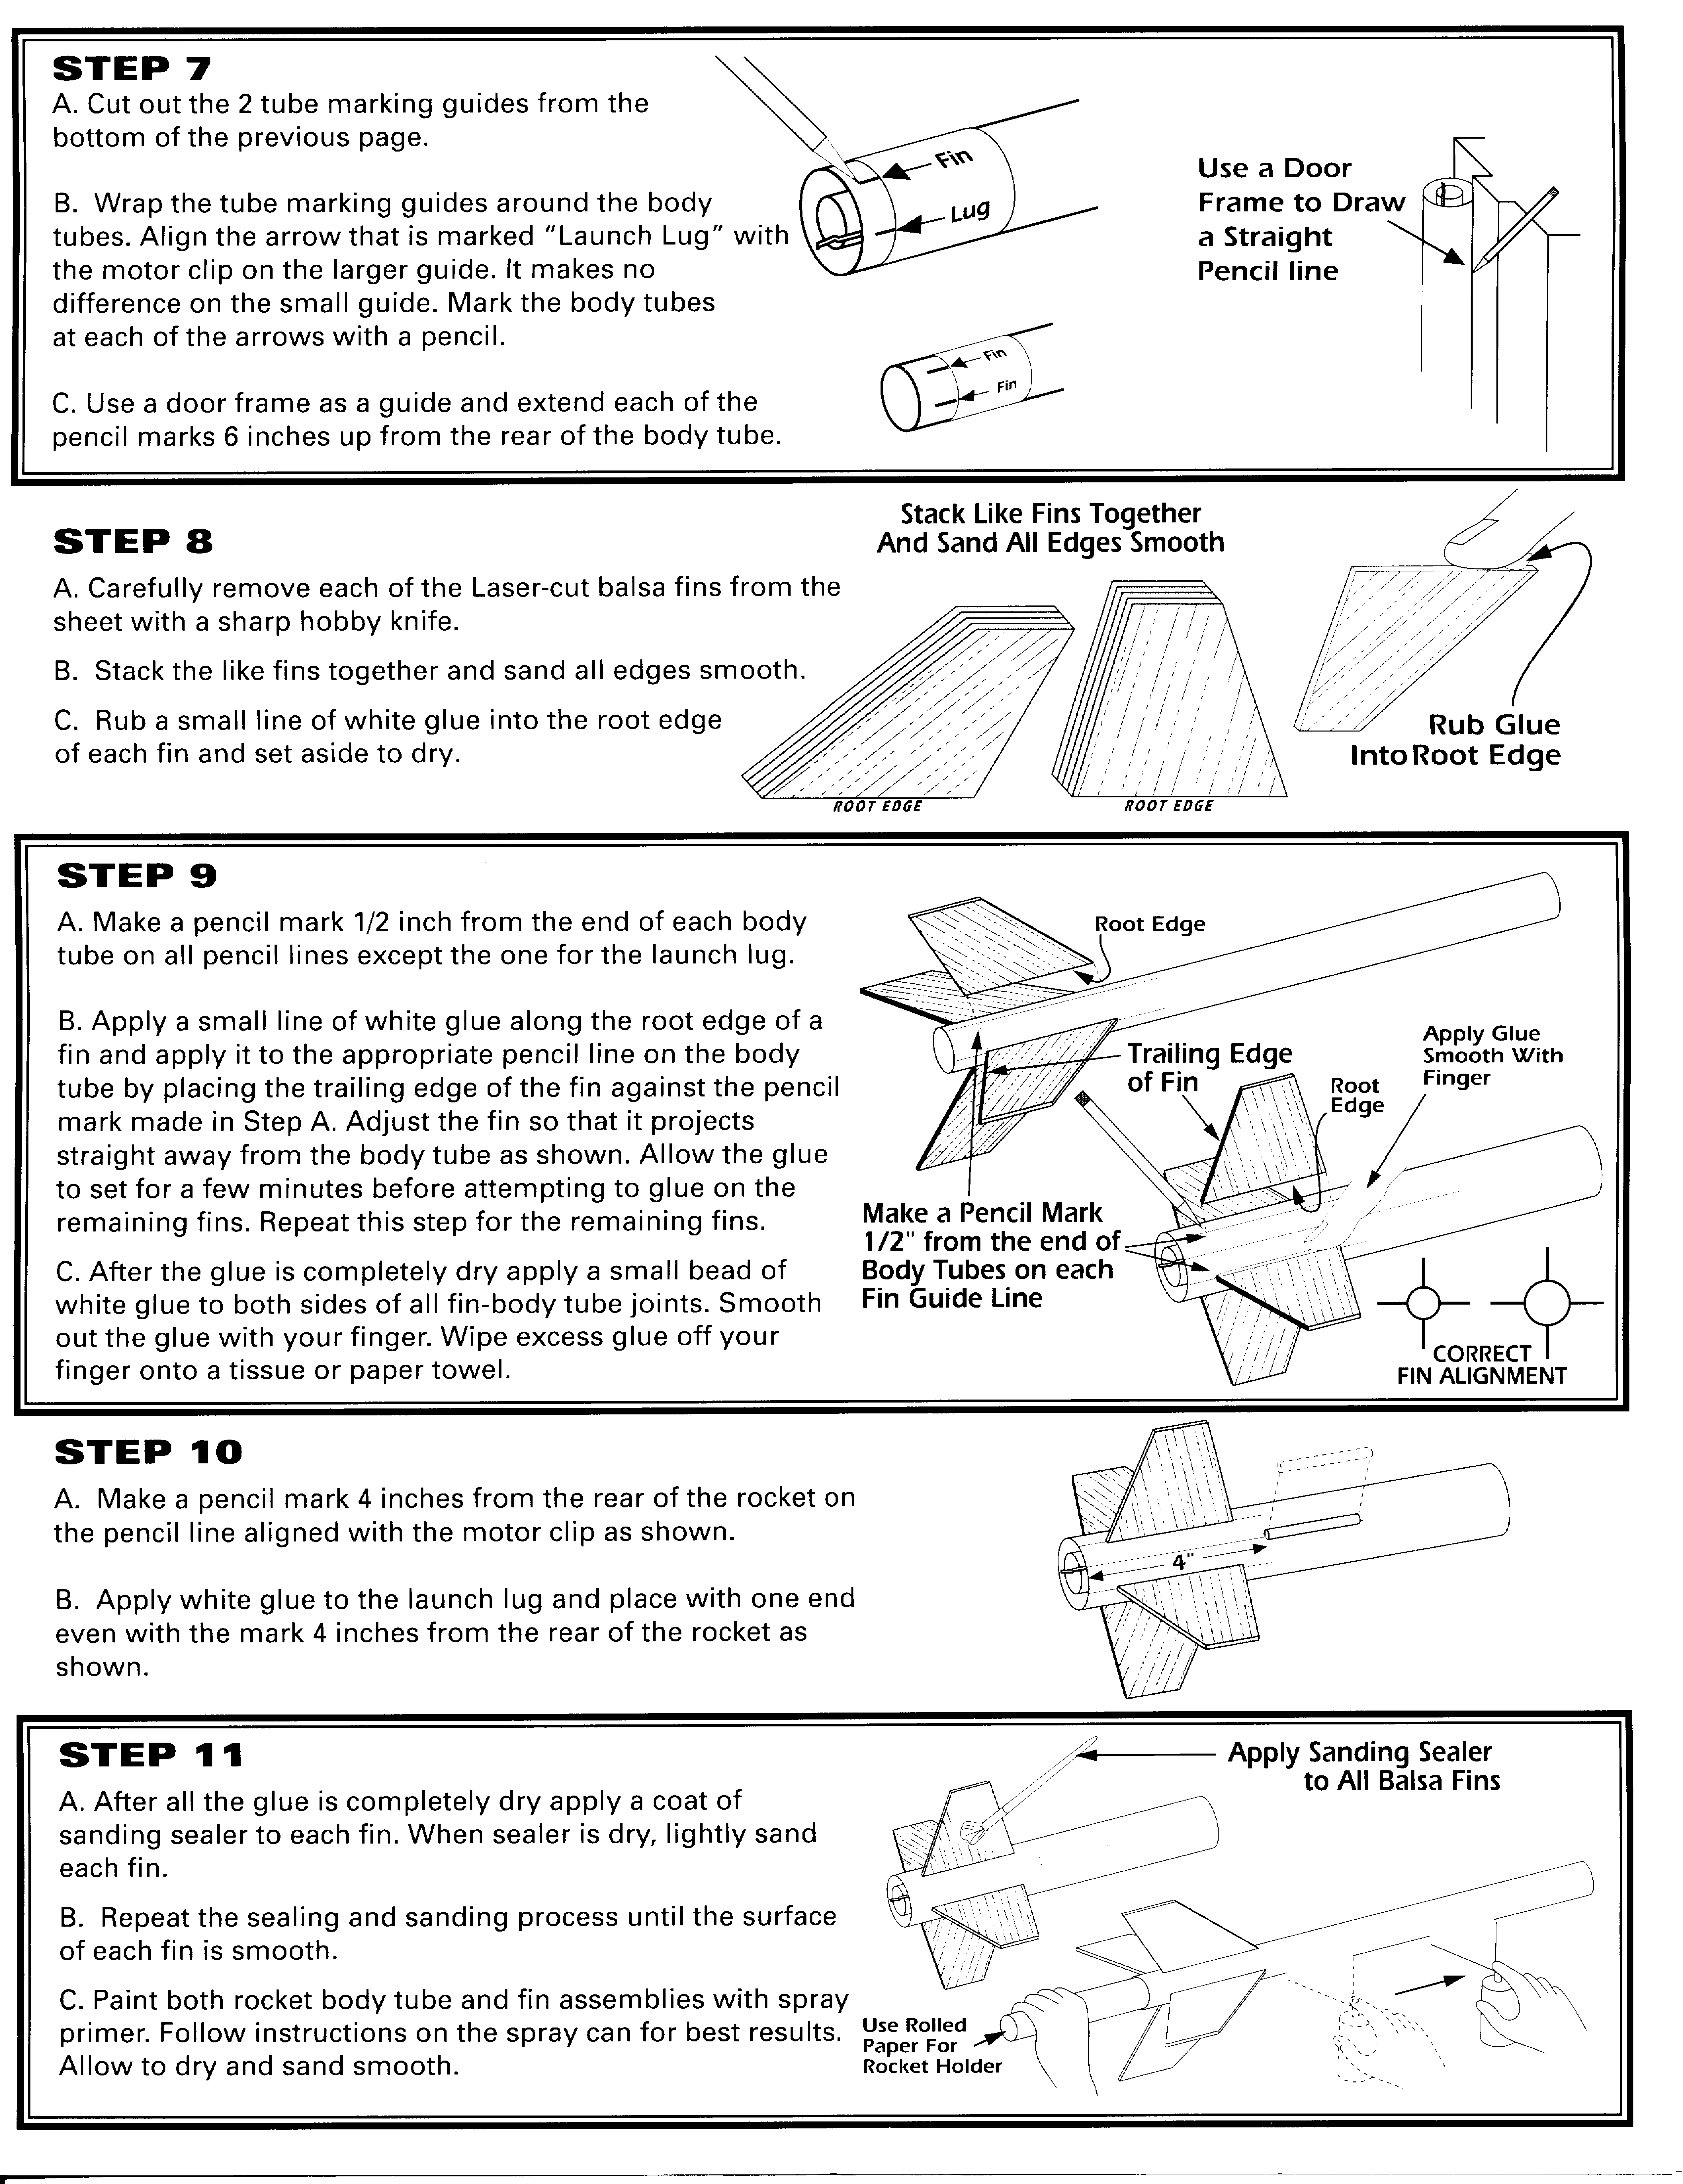
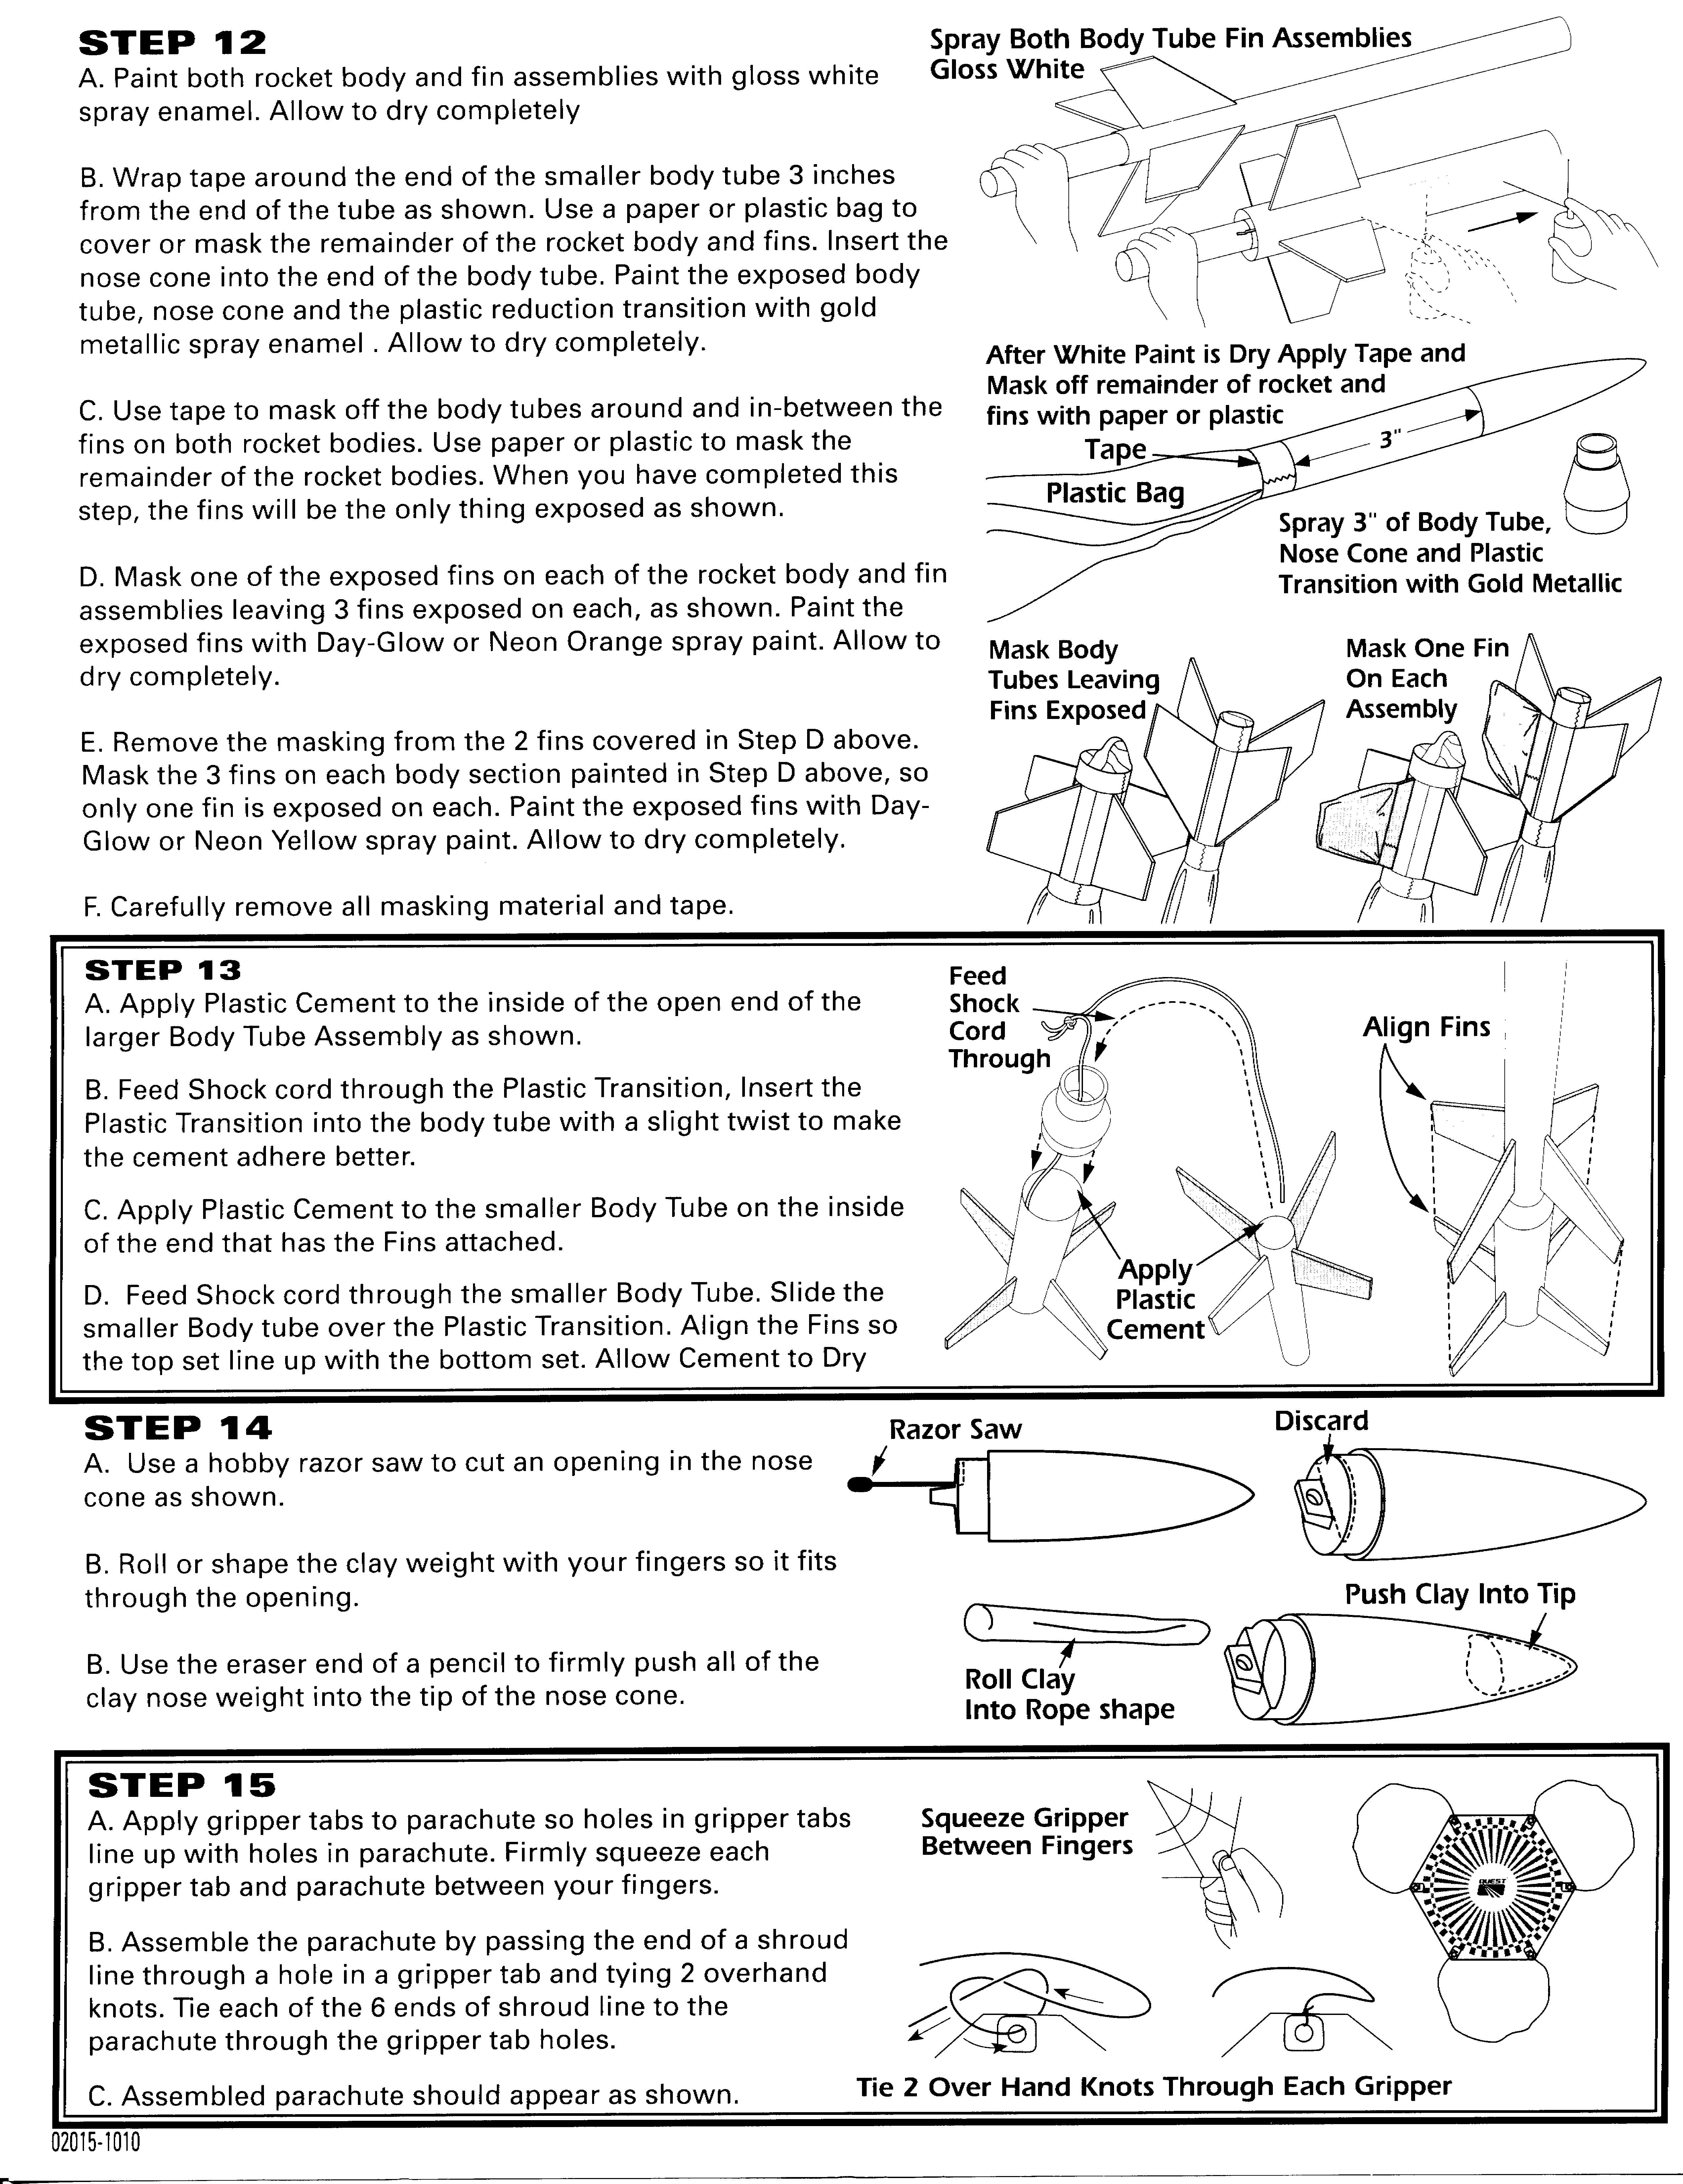

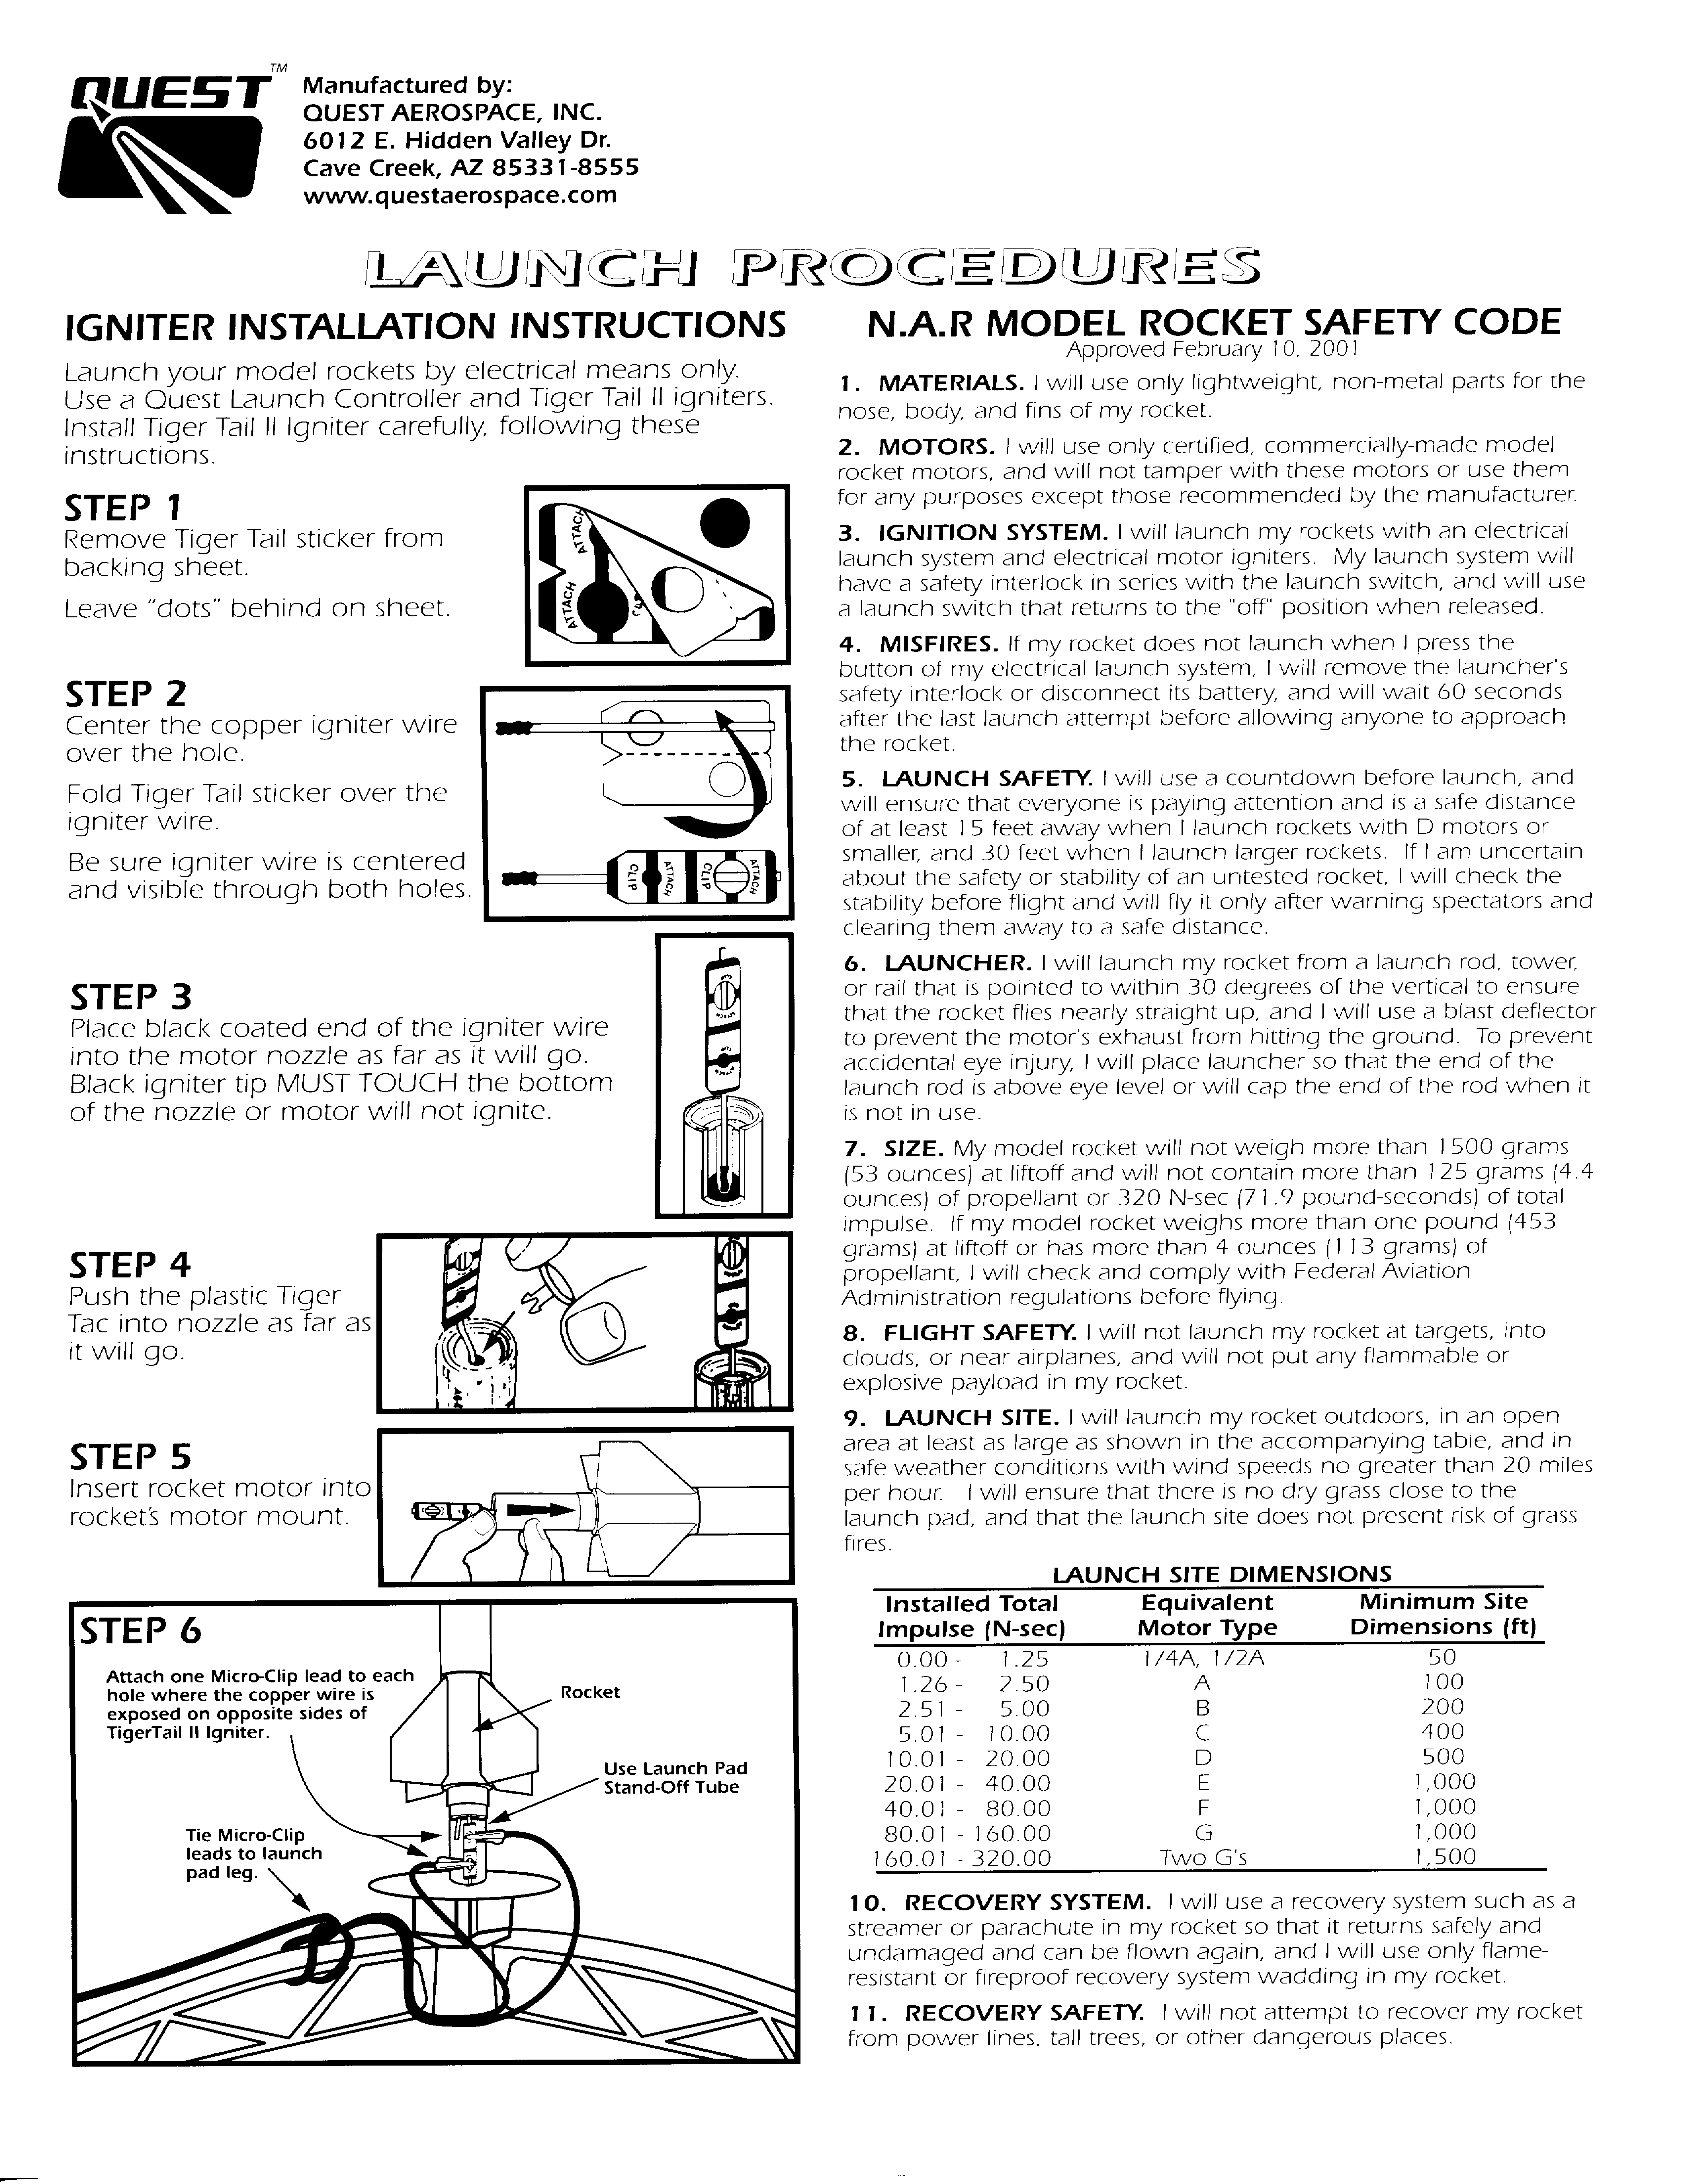
Photo Gallery


Build History
- 04/21/2006 – Purchased Quest Terrier-Orion from Hobbylinc for $10.39. (Retail $12.99)
- 07/30/2006 – Made a copy of fin marking guide, cut it out and marked the upper and lower body tubes for fin and launch lug placement guidelines. The guide marks were extended to 6″. A 1/2″ mark was placed on the guide from the read of the body tube so the fins would be 1/2″ forward of the rear edge on the body tube. Each of the four fins were removed from the fin stock using a hobby knife. The root edge of each fin was sanded smooth to remove the tabs. The leading edge was sanded round and the trailing edge was tapered. The fins were glued along the guide lines on the lower and upper body tubes. The engine clip was inserted into the slit in the engine tube. and held in place with masking tape. Both end of the engine mount tube were marked 1/2″ from the ends for placement of the centering rings. The centering rings were glued and filleted in place. The Kevlar was placed along side the engine clip and under the centering ring prior to placement of the centering ring. The Kevlar ran the length of the clip to the inside edge.
- 08/03/2006 – Cemented reducer into the lower body tube and CA’s the upper tube to the reducer. Glued 2″ launch lug 4″ from the rear of body tube edge.
- 08/04/2006 – Filleted launch lug joints.
- 06/30/2007 – Sanded mice bites in fins smooth.
- 04/27/2020 – Cut a replacement fin.
- 04/28/2020 – Removed remaining upper fins and glued to new BT-50. Glued one of lower fins back on.
- 04/29/2020 – Filleted upper fin joints. Glued one of the top rudders at 10 degree angle.
- 04/30/2020 – Glued other top rudder at 10 degree angle to wing.
- 05/04/2020 – Painted model Gloss White.
- 09/26/2023 – Masked model 7-1/2″ from the tip of the nose cone and below. Spray painted the area from 7-1/2″ to tip of nose cone with Krylon #5588 Metallic Gold. Masked all of model except for 3 upper and 3 lower fins.
- 09/27/2023 – Spray painted 3 lower and 3 upper fins with Krylon #3421 Gloss Pumpkin Orange. Removed masking.
- 10/30/2023 – Re-glued broken fin on upper fin set with yellow glue.
- 11/05/2023 – Hand painted adapter with Testors #2629 Gold Paint Marker several times. Hand painted white upper and lower fin with Testors #2514 Yellow Paint Marker.
- 12/17/2023 – Applied water soluble decals to model using photo card as guide. This completes construction of Quest #Q2015 Terrior Orion model rocket. Took picture of finished model rocket.
- 04/17/2024 – Repaired one Orange upper fin with yellow glue.
Flights
| Date | Location | # | Motor | Comments |
Leave a Reply
You must be logged in to post a comment.