ROCKET VISION Model #0006

Description
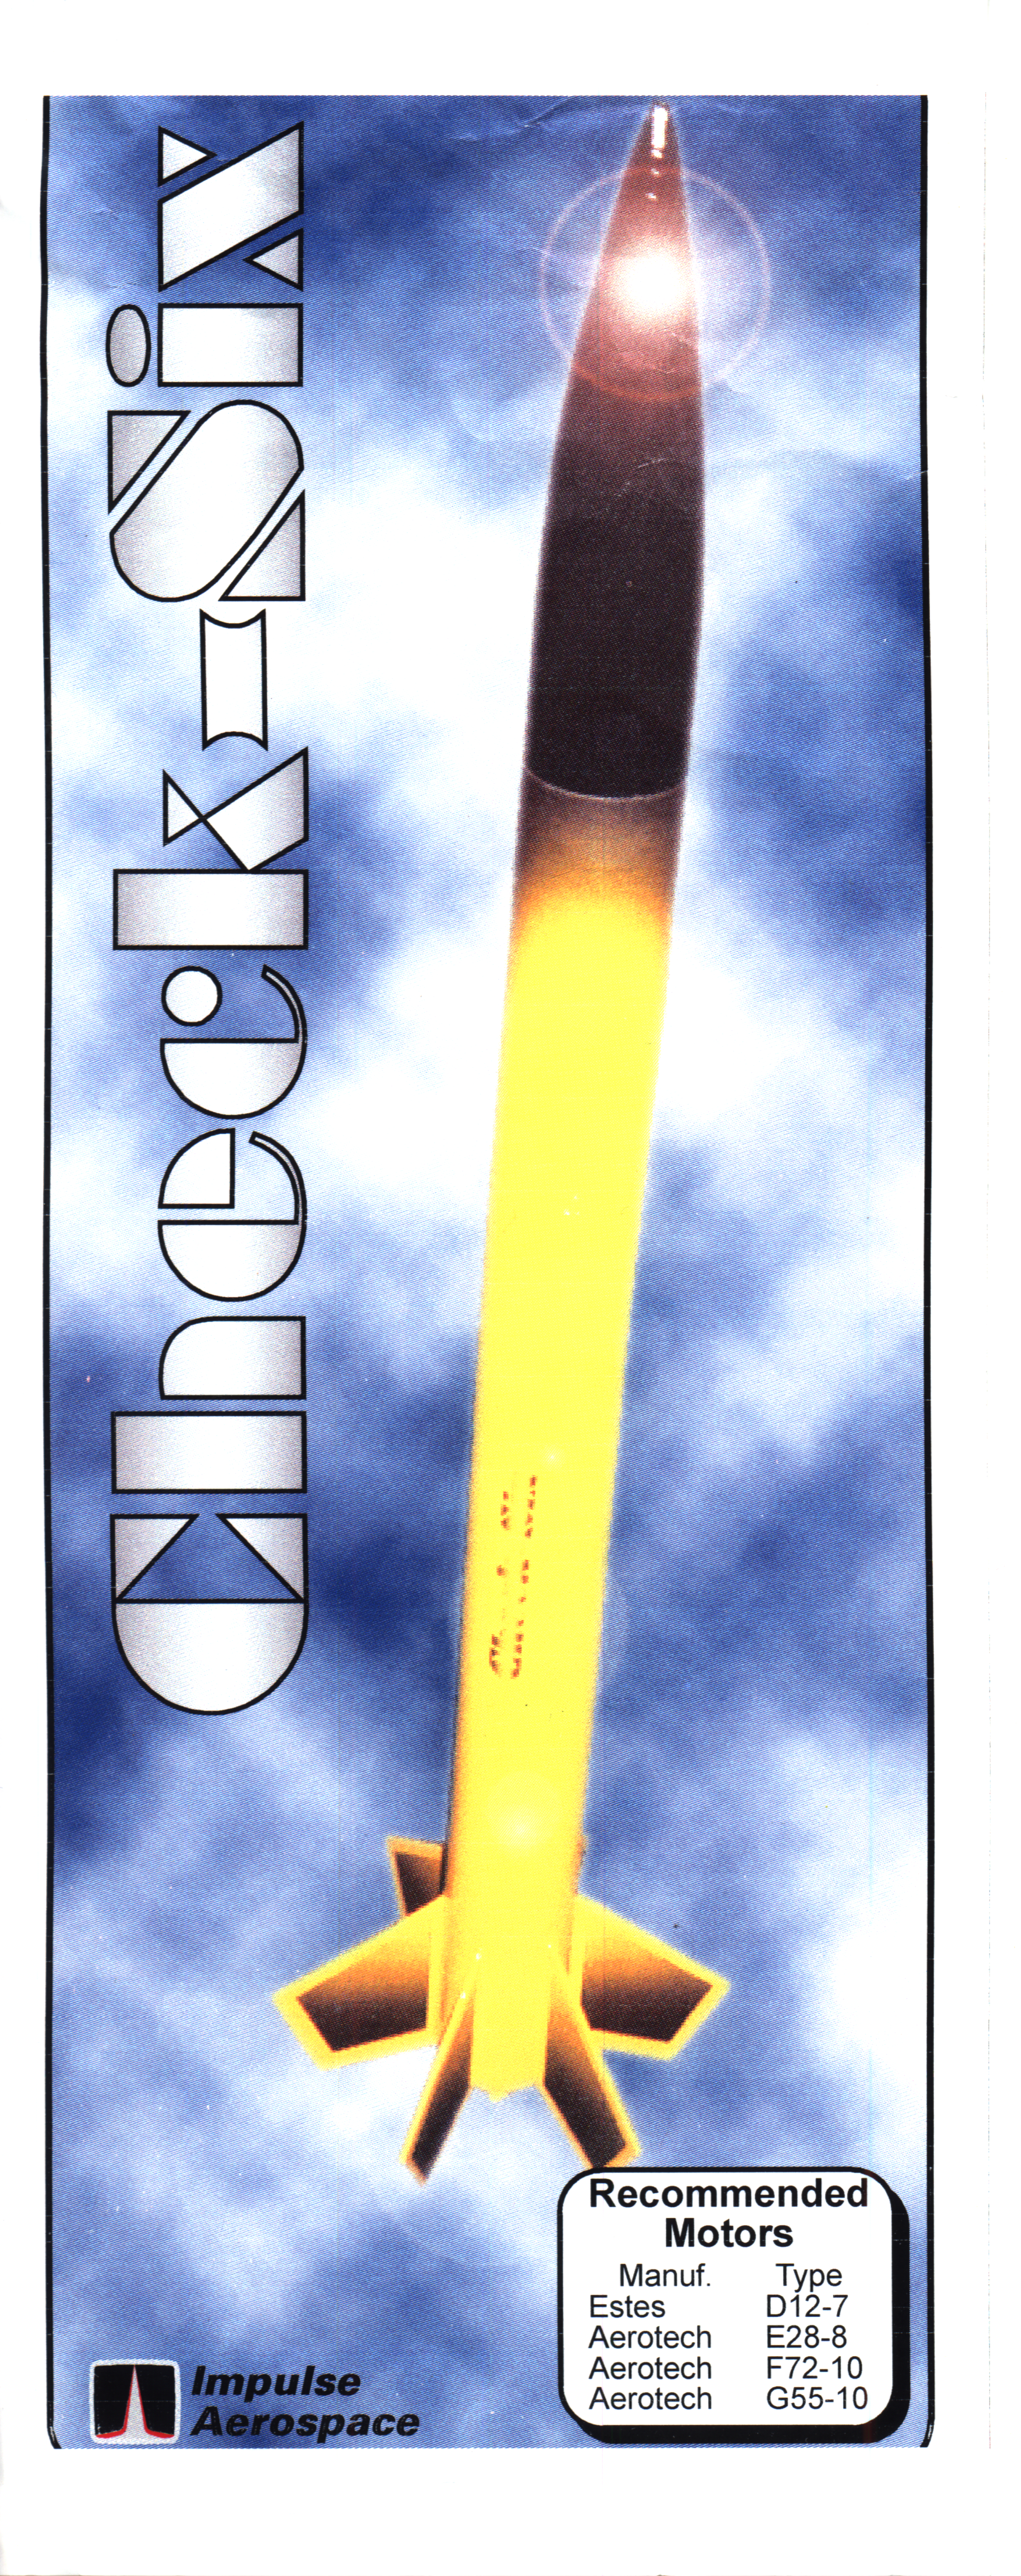
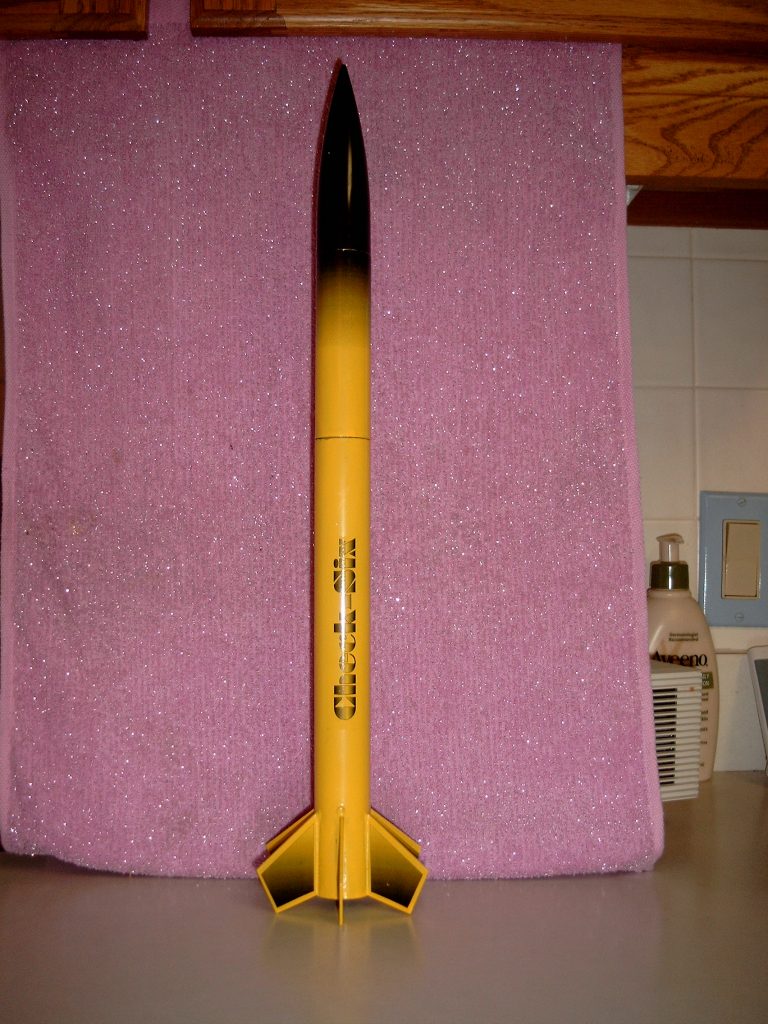
Ruggedly constructed five fiberglass finned phenolic body tube 24mm model rocket that will withstand extreme abuse.
Additional Information
- Length: 19″
- Diameter: 1.2″
- Weight: 3.75 oz.
- Recovery: 10″ Nylon Parachute
- Recommended Motors:
- D12-7, E28-8, F72-10, G55-10
Instructions

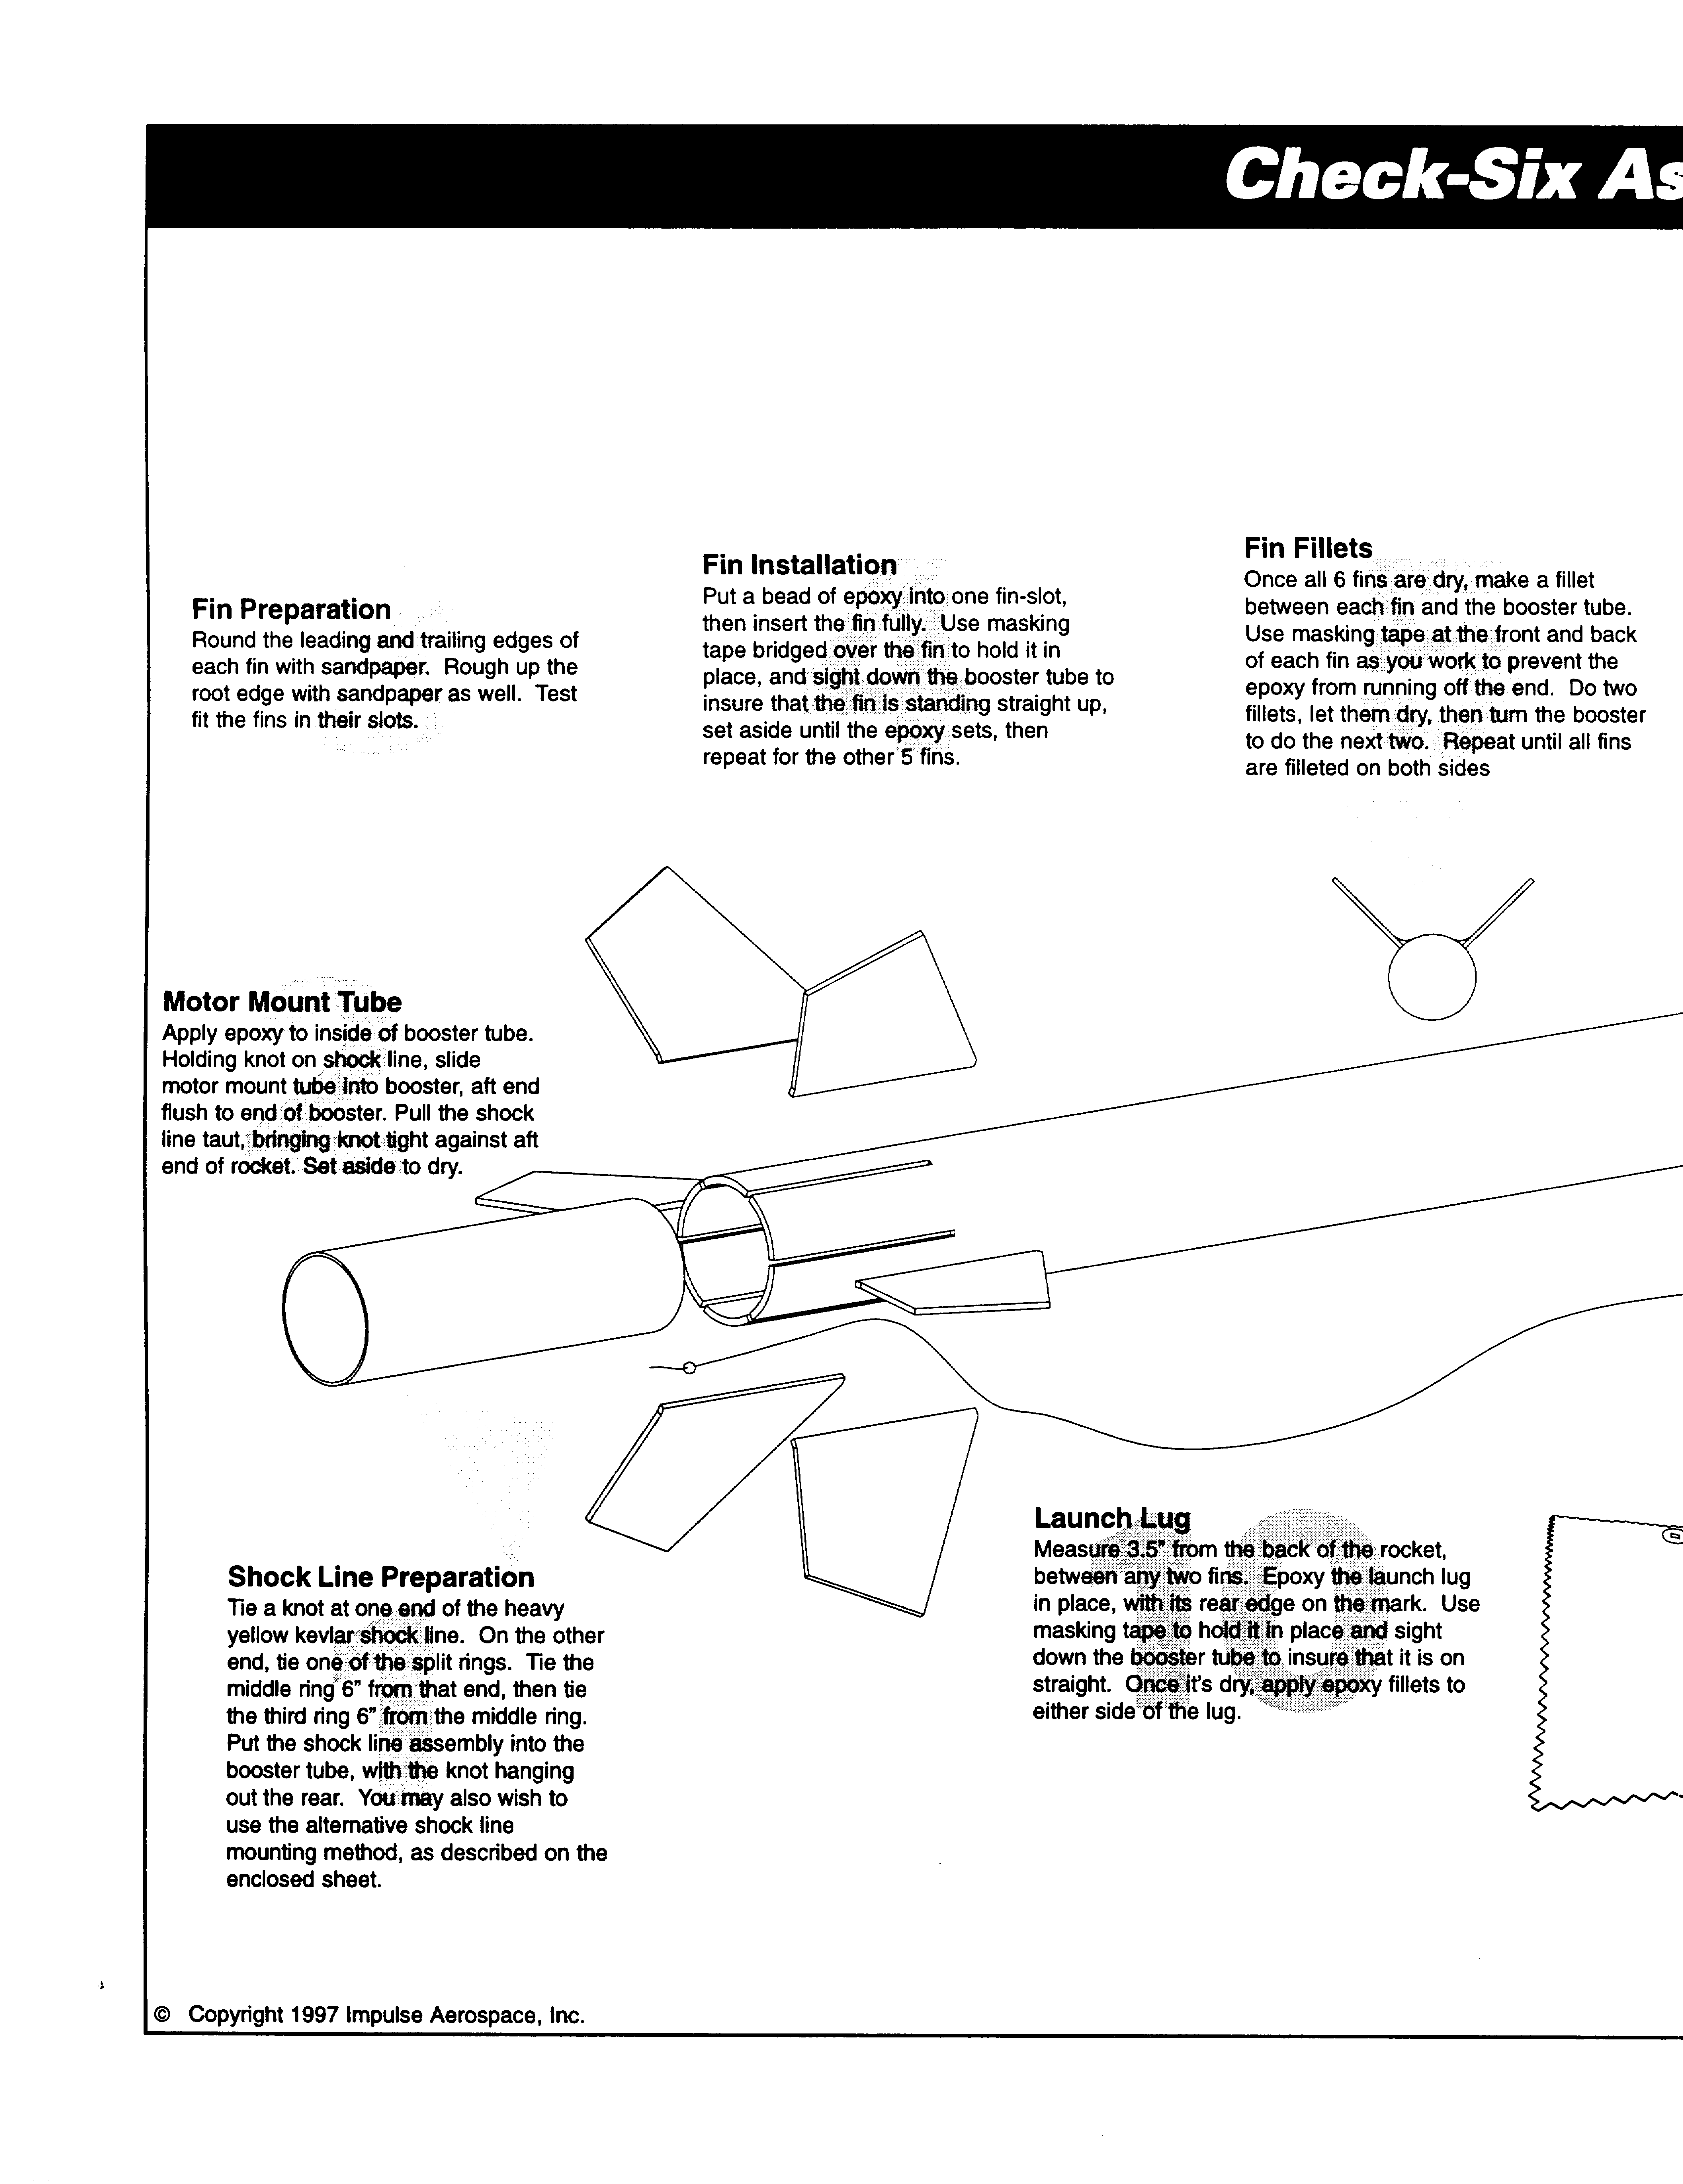
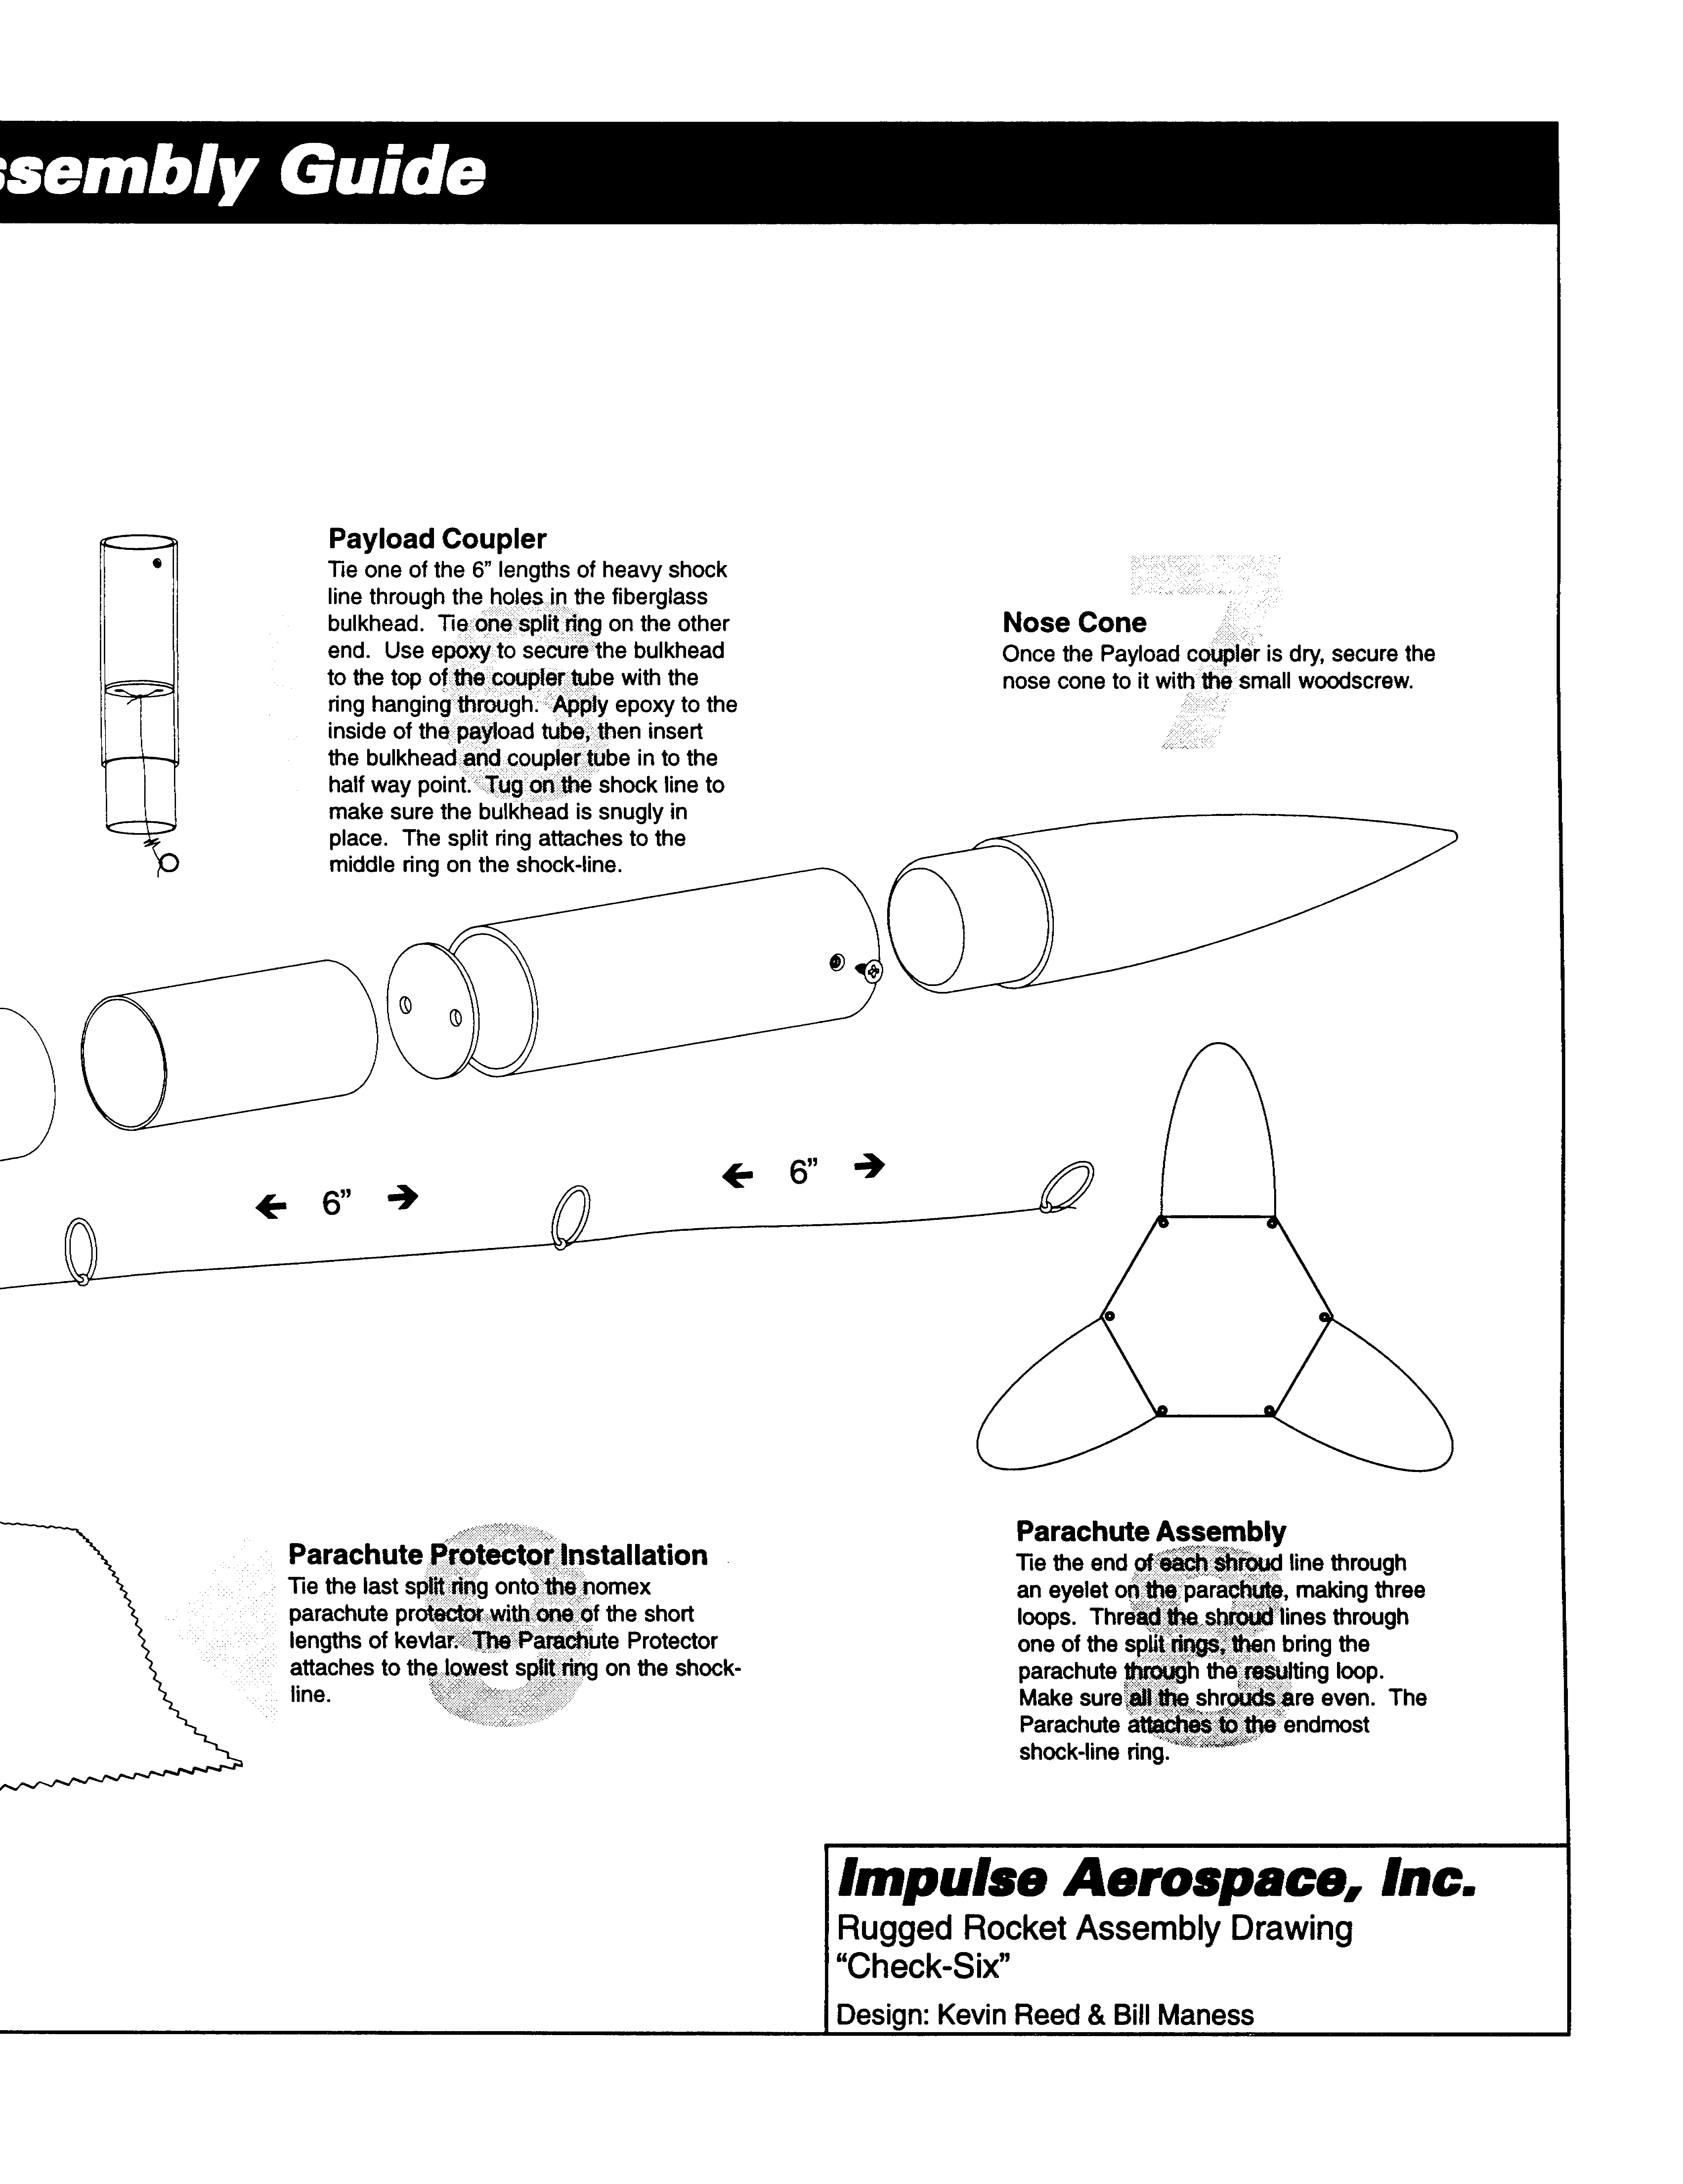
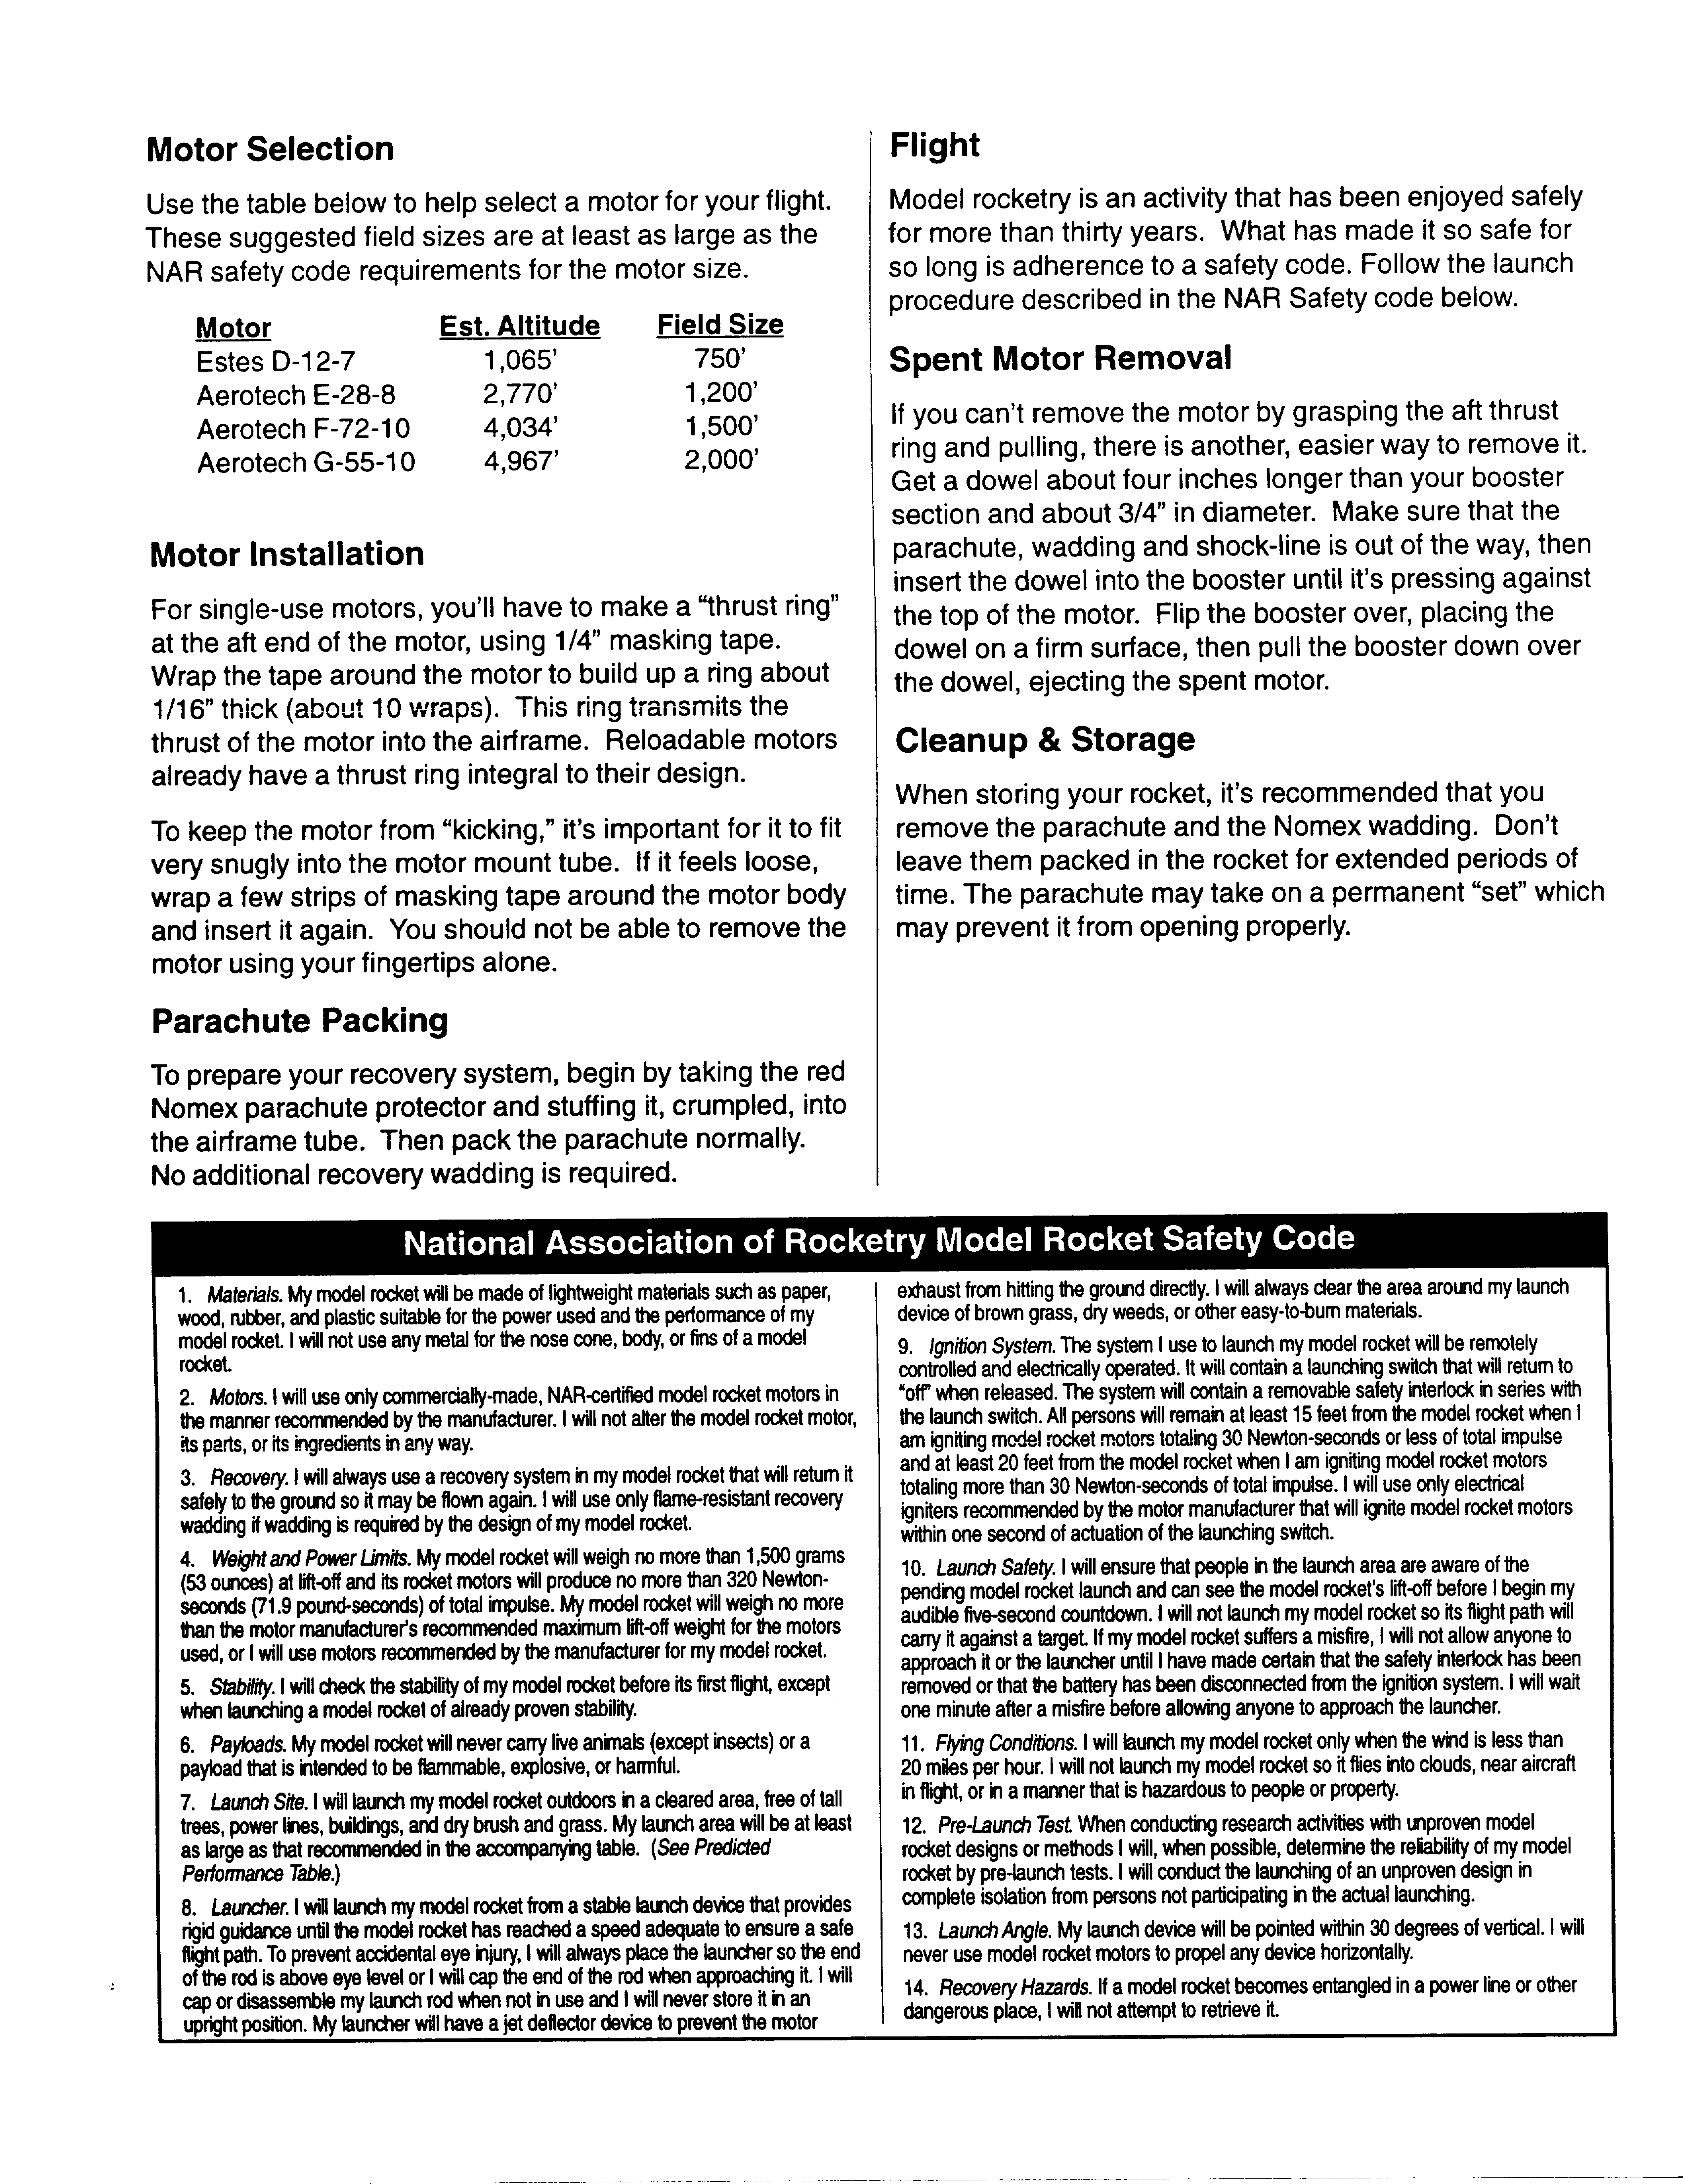
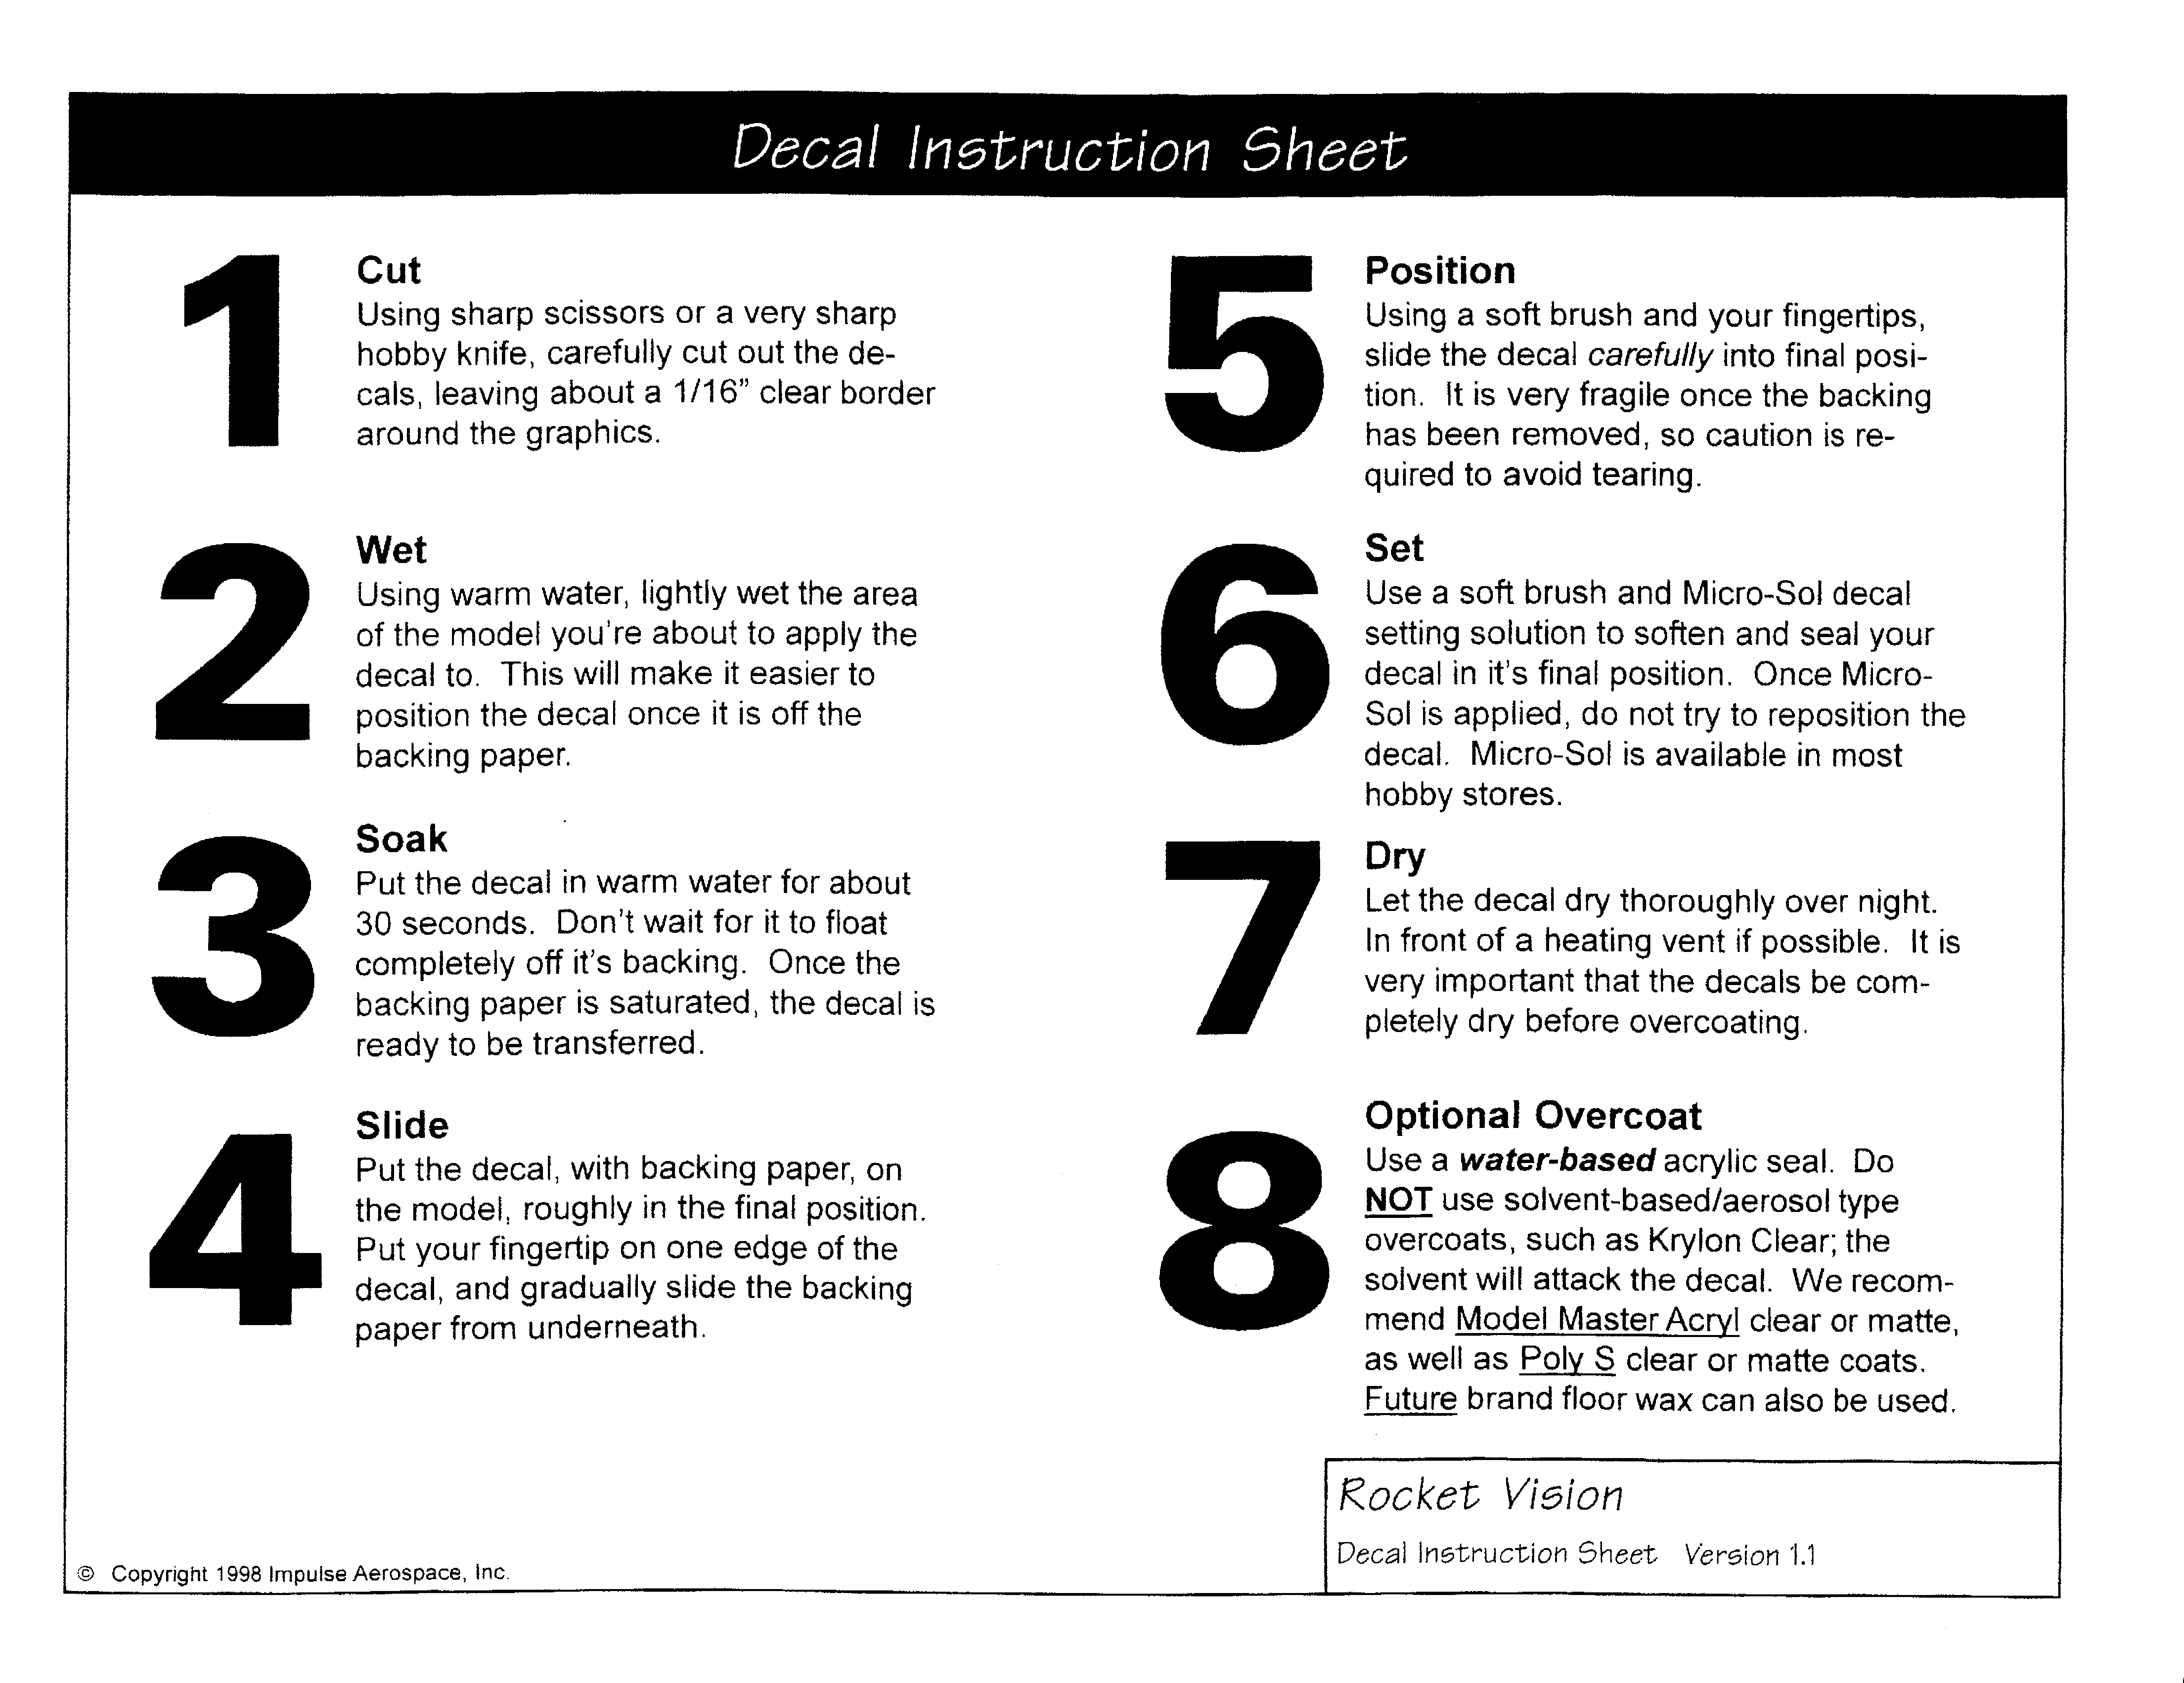
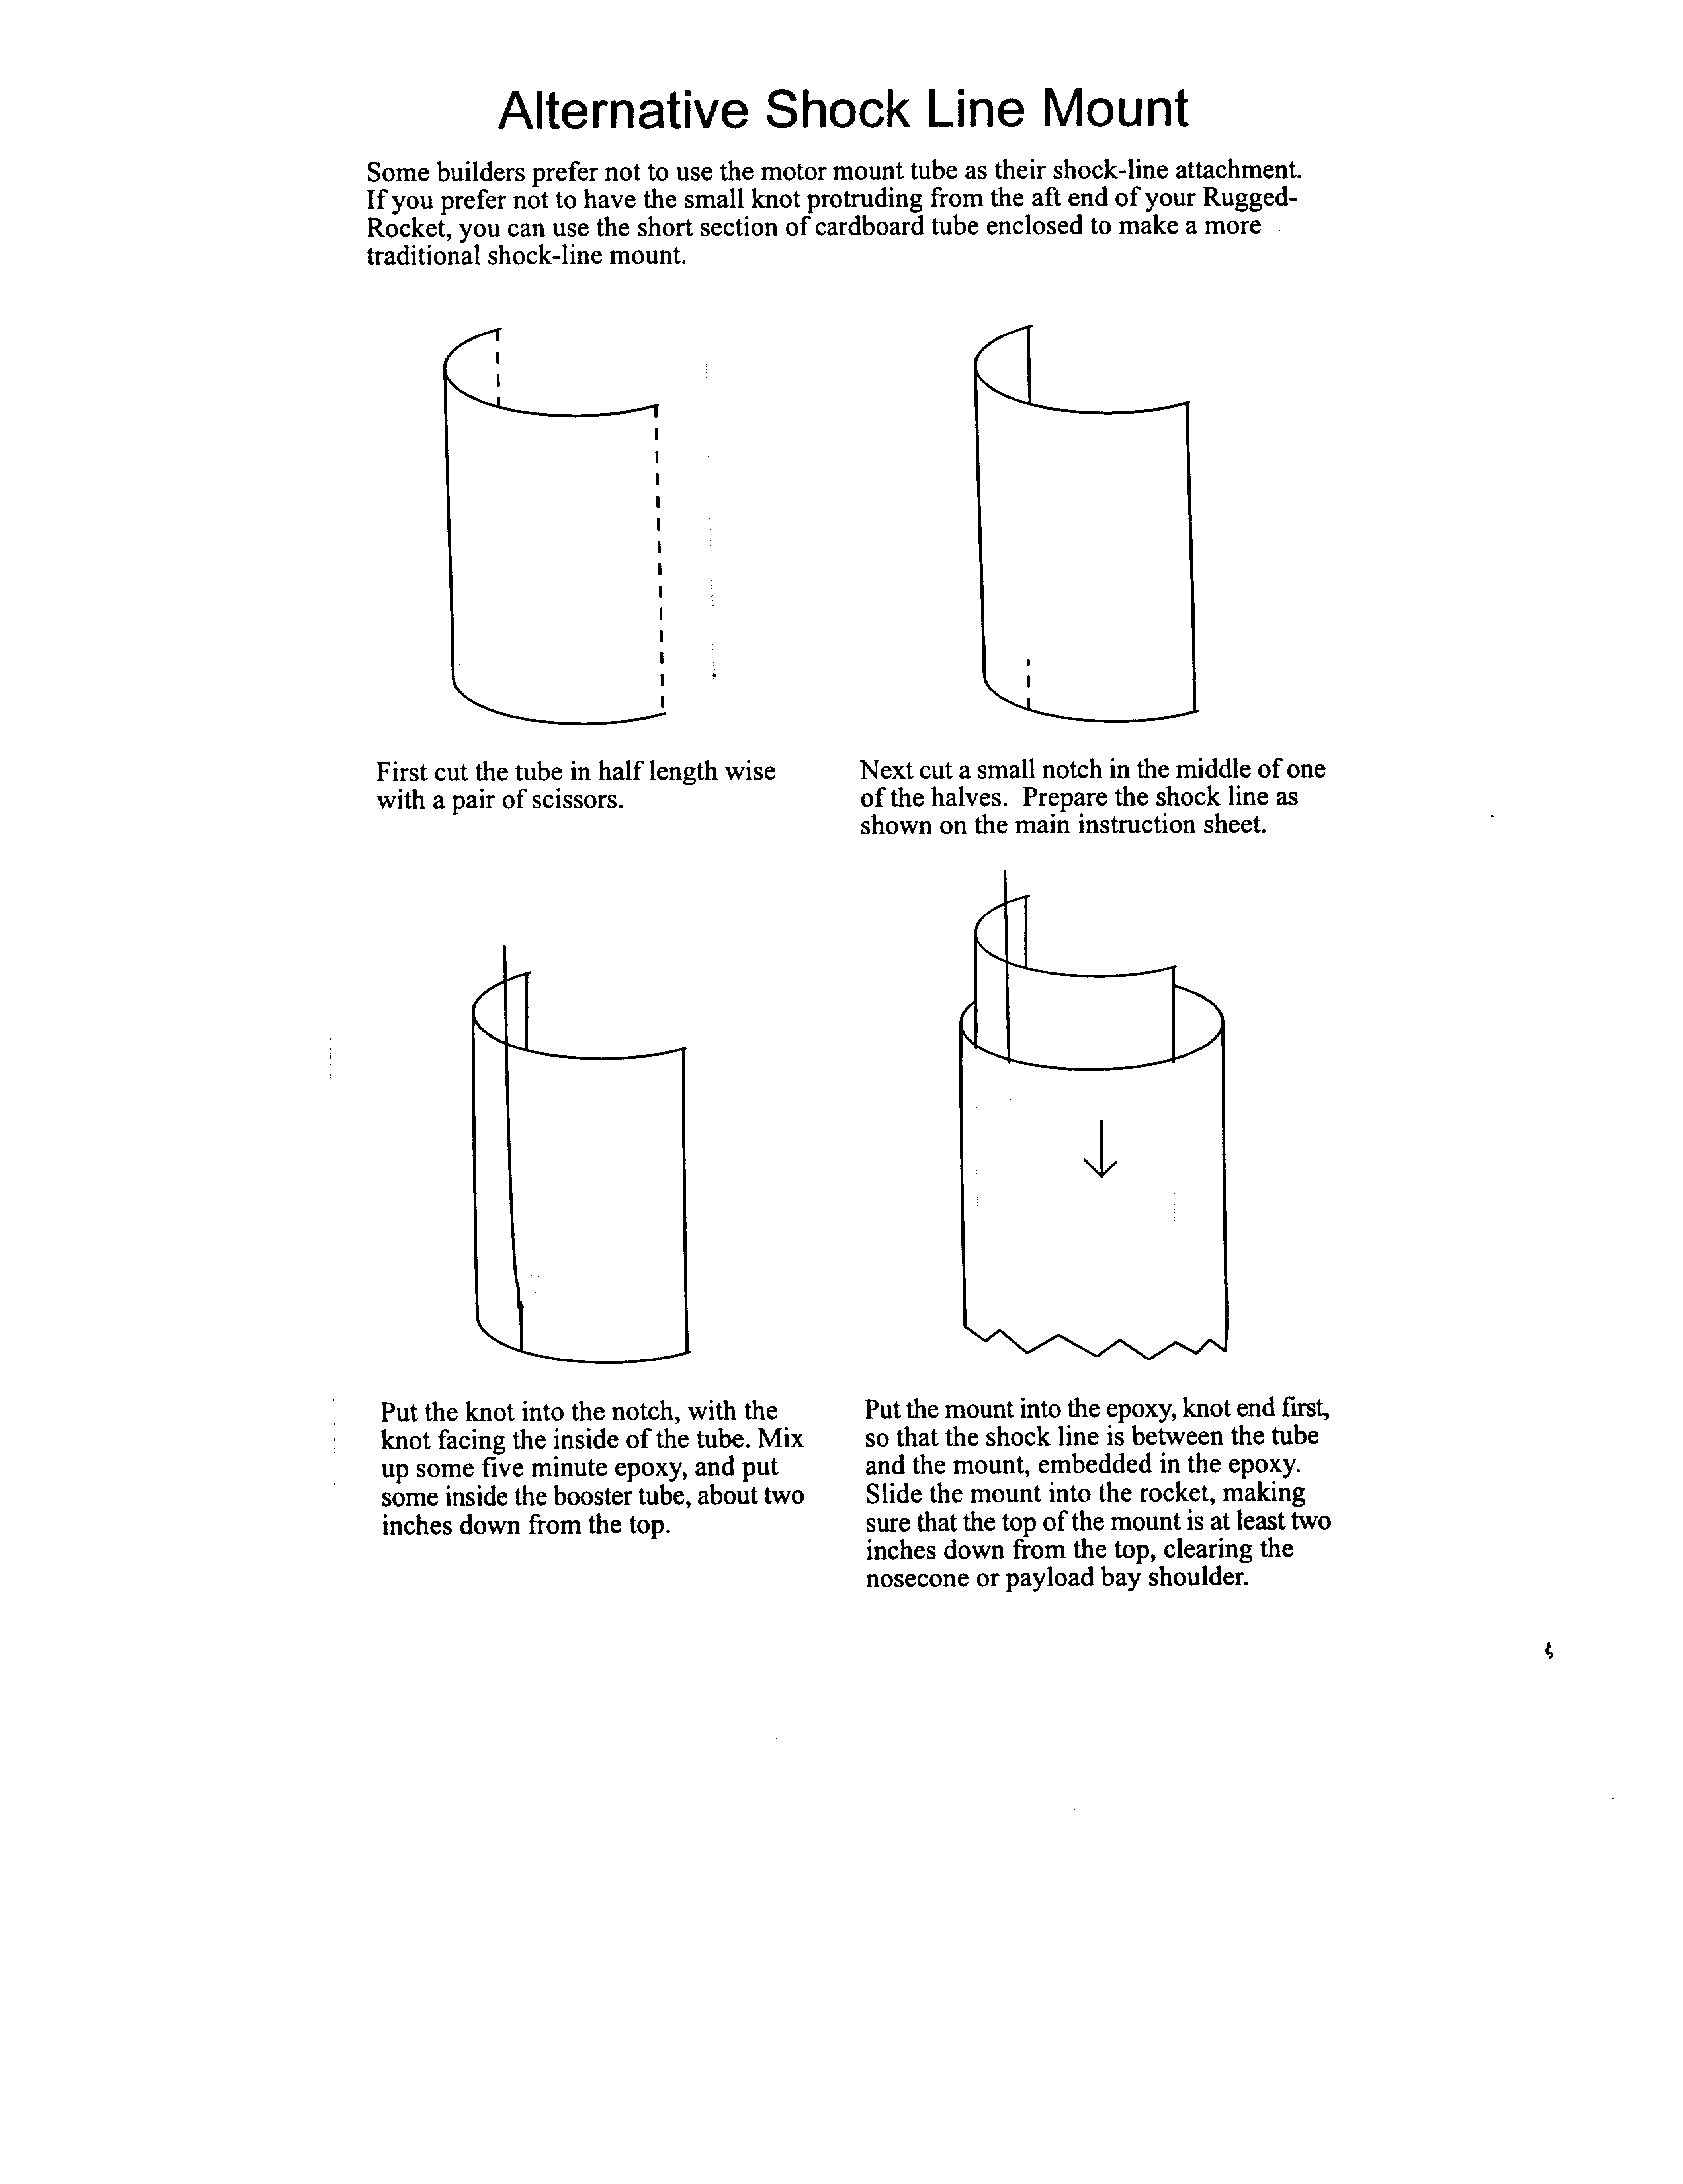
Photo Gallery


Build History
- 07/05/1999 – Purchased Rocket Vision Check-Six from Rocket Vision for $17.50 (Retail $17.50)
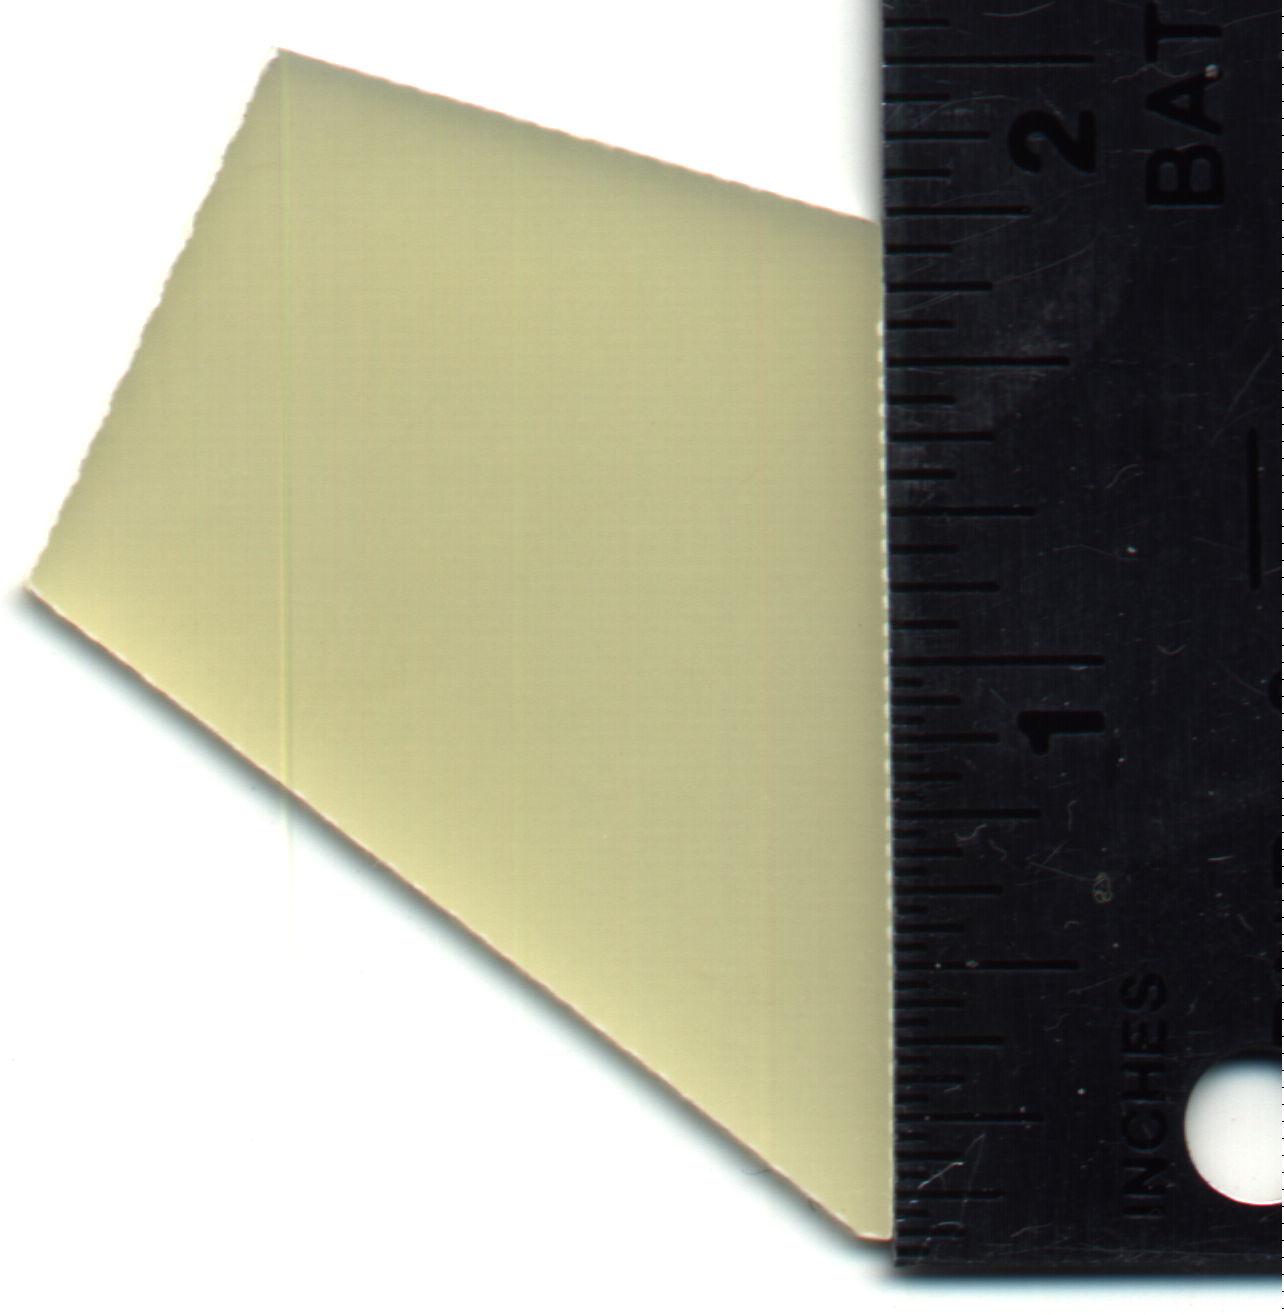
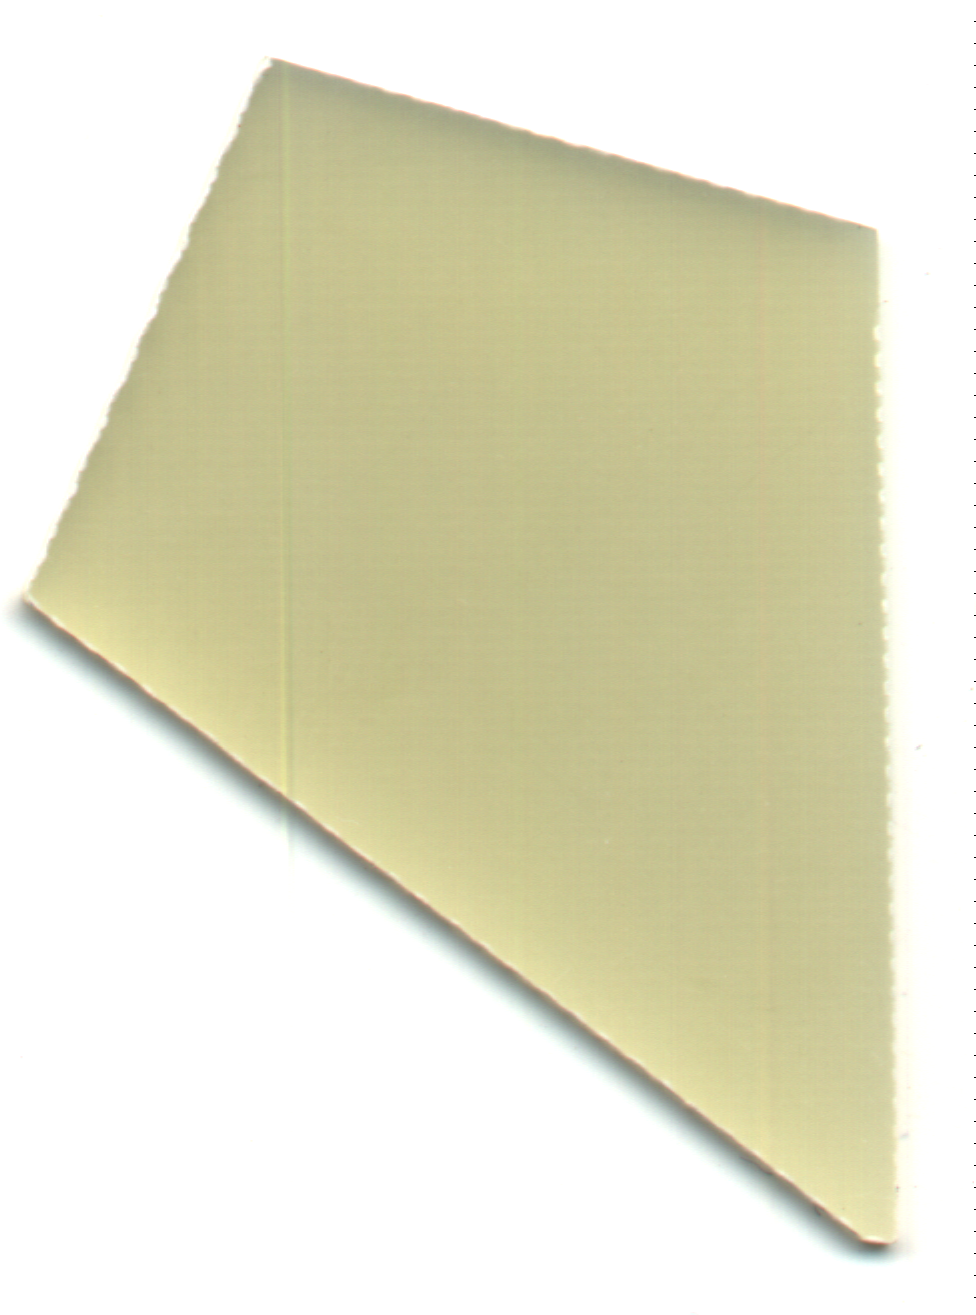
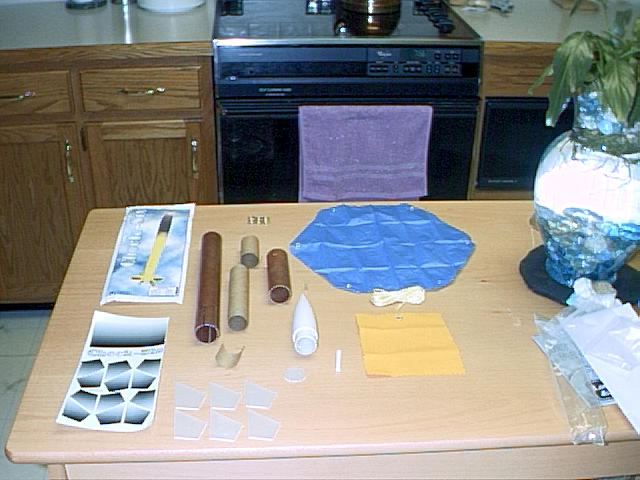
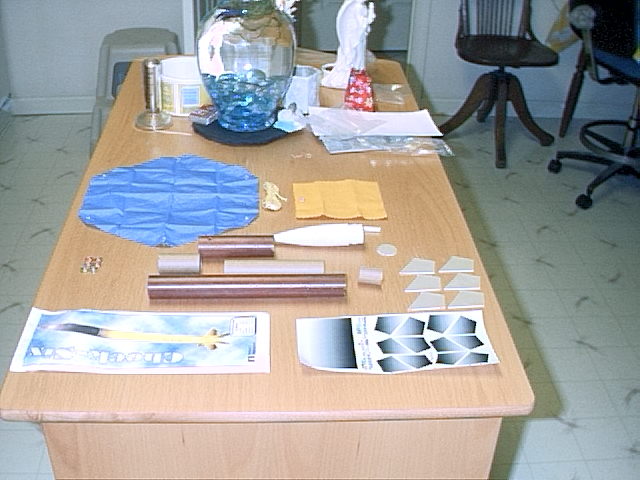
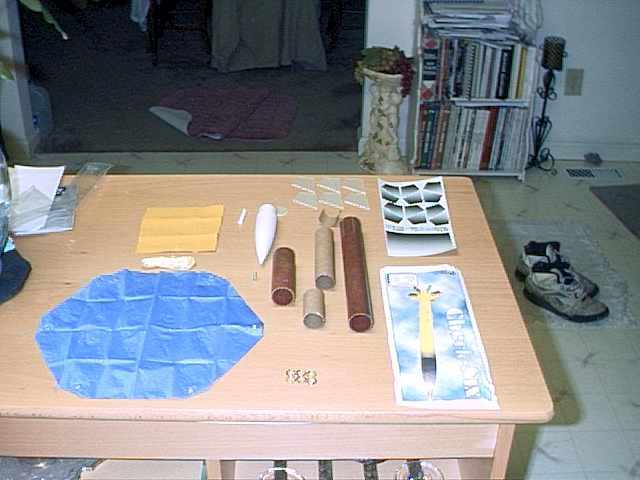
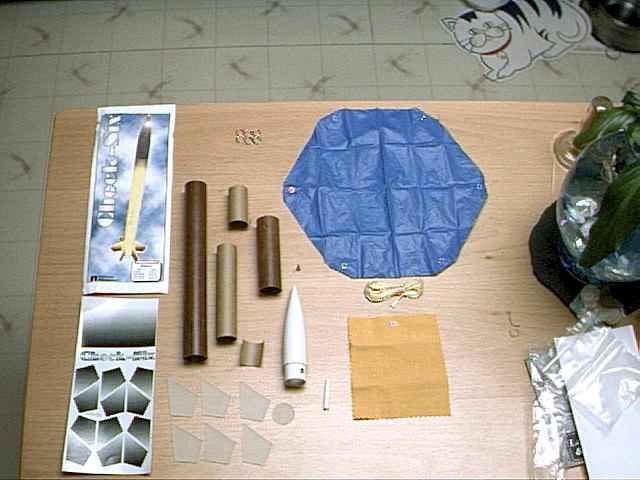
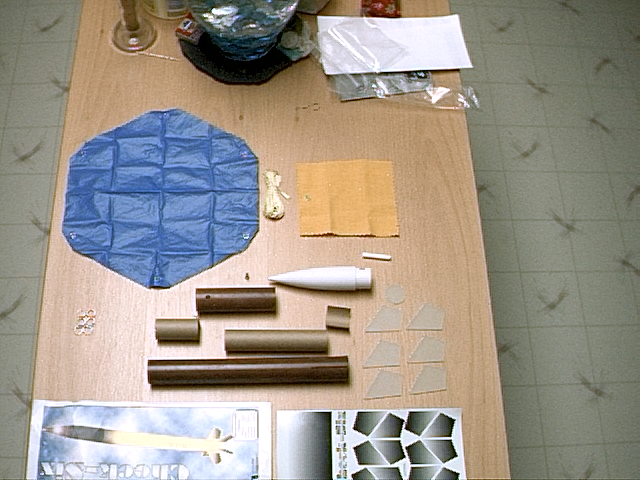
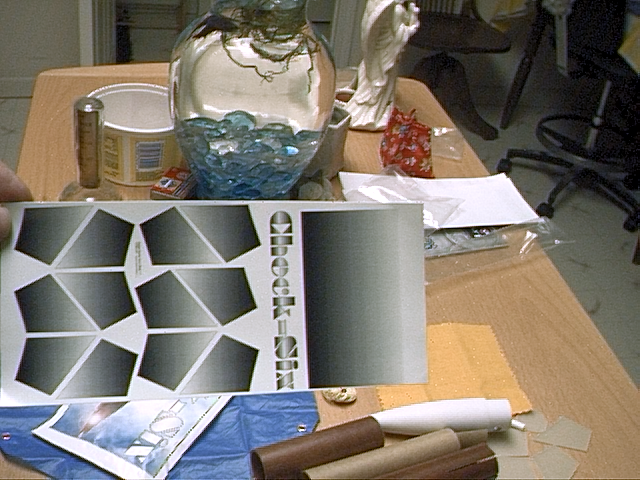
- 01/29/2002 – Opened kit and found all parts included in kit. Took pictures of kit parts.
- 01/31/2002 – Epoxied fins to motor mount joints with 2 ton epoxy.
- 02/03/2002 – Had trouble assembling payload section. Could not find extra Kevlar for payload section. Finally found it in another bag. Had the bag for the solar venture recovery device instead of the one supplied for the rocket. Sanded the disk until it almost fit into the payload section. This took quite a while but got it close. Epoxied the disk to the coupler with 2 ton Devcon epoxy. Drilled out the holes in the G10 disk using a 1/16″ drill bit and a 3/32″ drill bit. Turned the bits by hand since they had square ends for the drill bit attachment. Inserted the Kevlar into the disk. Tied a knot inside the coupler so it would not pull through the hole. On the other end which extended out the bottom of the coupler without the disk, a split ring was tied . The coupler was moved in the middle and epoxy was applied. Epoxy was also spread on top of the G10 disk so the Kevlar would not pull out after the coupler was slide inside the payload section opposite the end with the screw hole. Epoxy was placed on the knot around the split ring to affix it to the Kevlar. Drawings of fin and disk found on page 116 Book #1.
- 02/05/2002 – Epoxied shock lines into the model.
- 02/11/2002 – Tied one end of the thicker Kevlar to the cross bar in the nose cone.
- 02/16/2002 – Epoxied launch lug 3-1/2″ from rear of body tube. Awaiting paint.
- 10/20/2002 – Covered nose cone with tape and plastic bag to protect it from the yellow paint. Sprayed entire area exposed with Yellow spray paint. Sprayed three times.
- 10/21/2002 – Painted again.
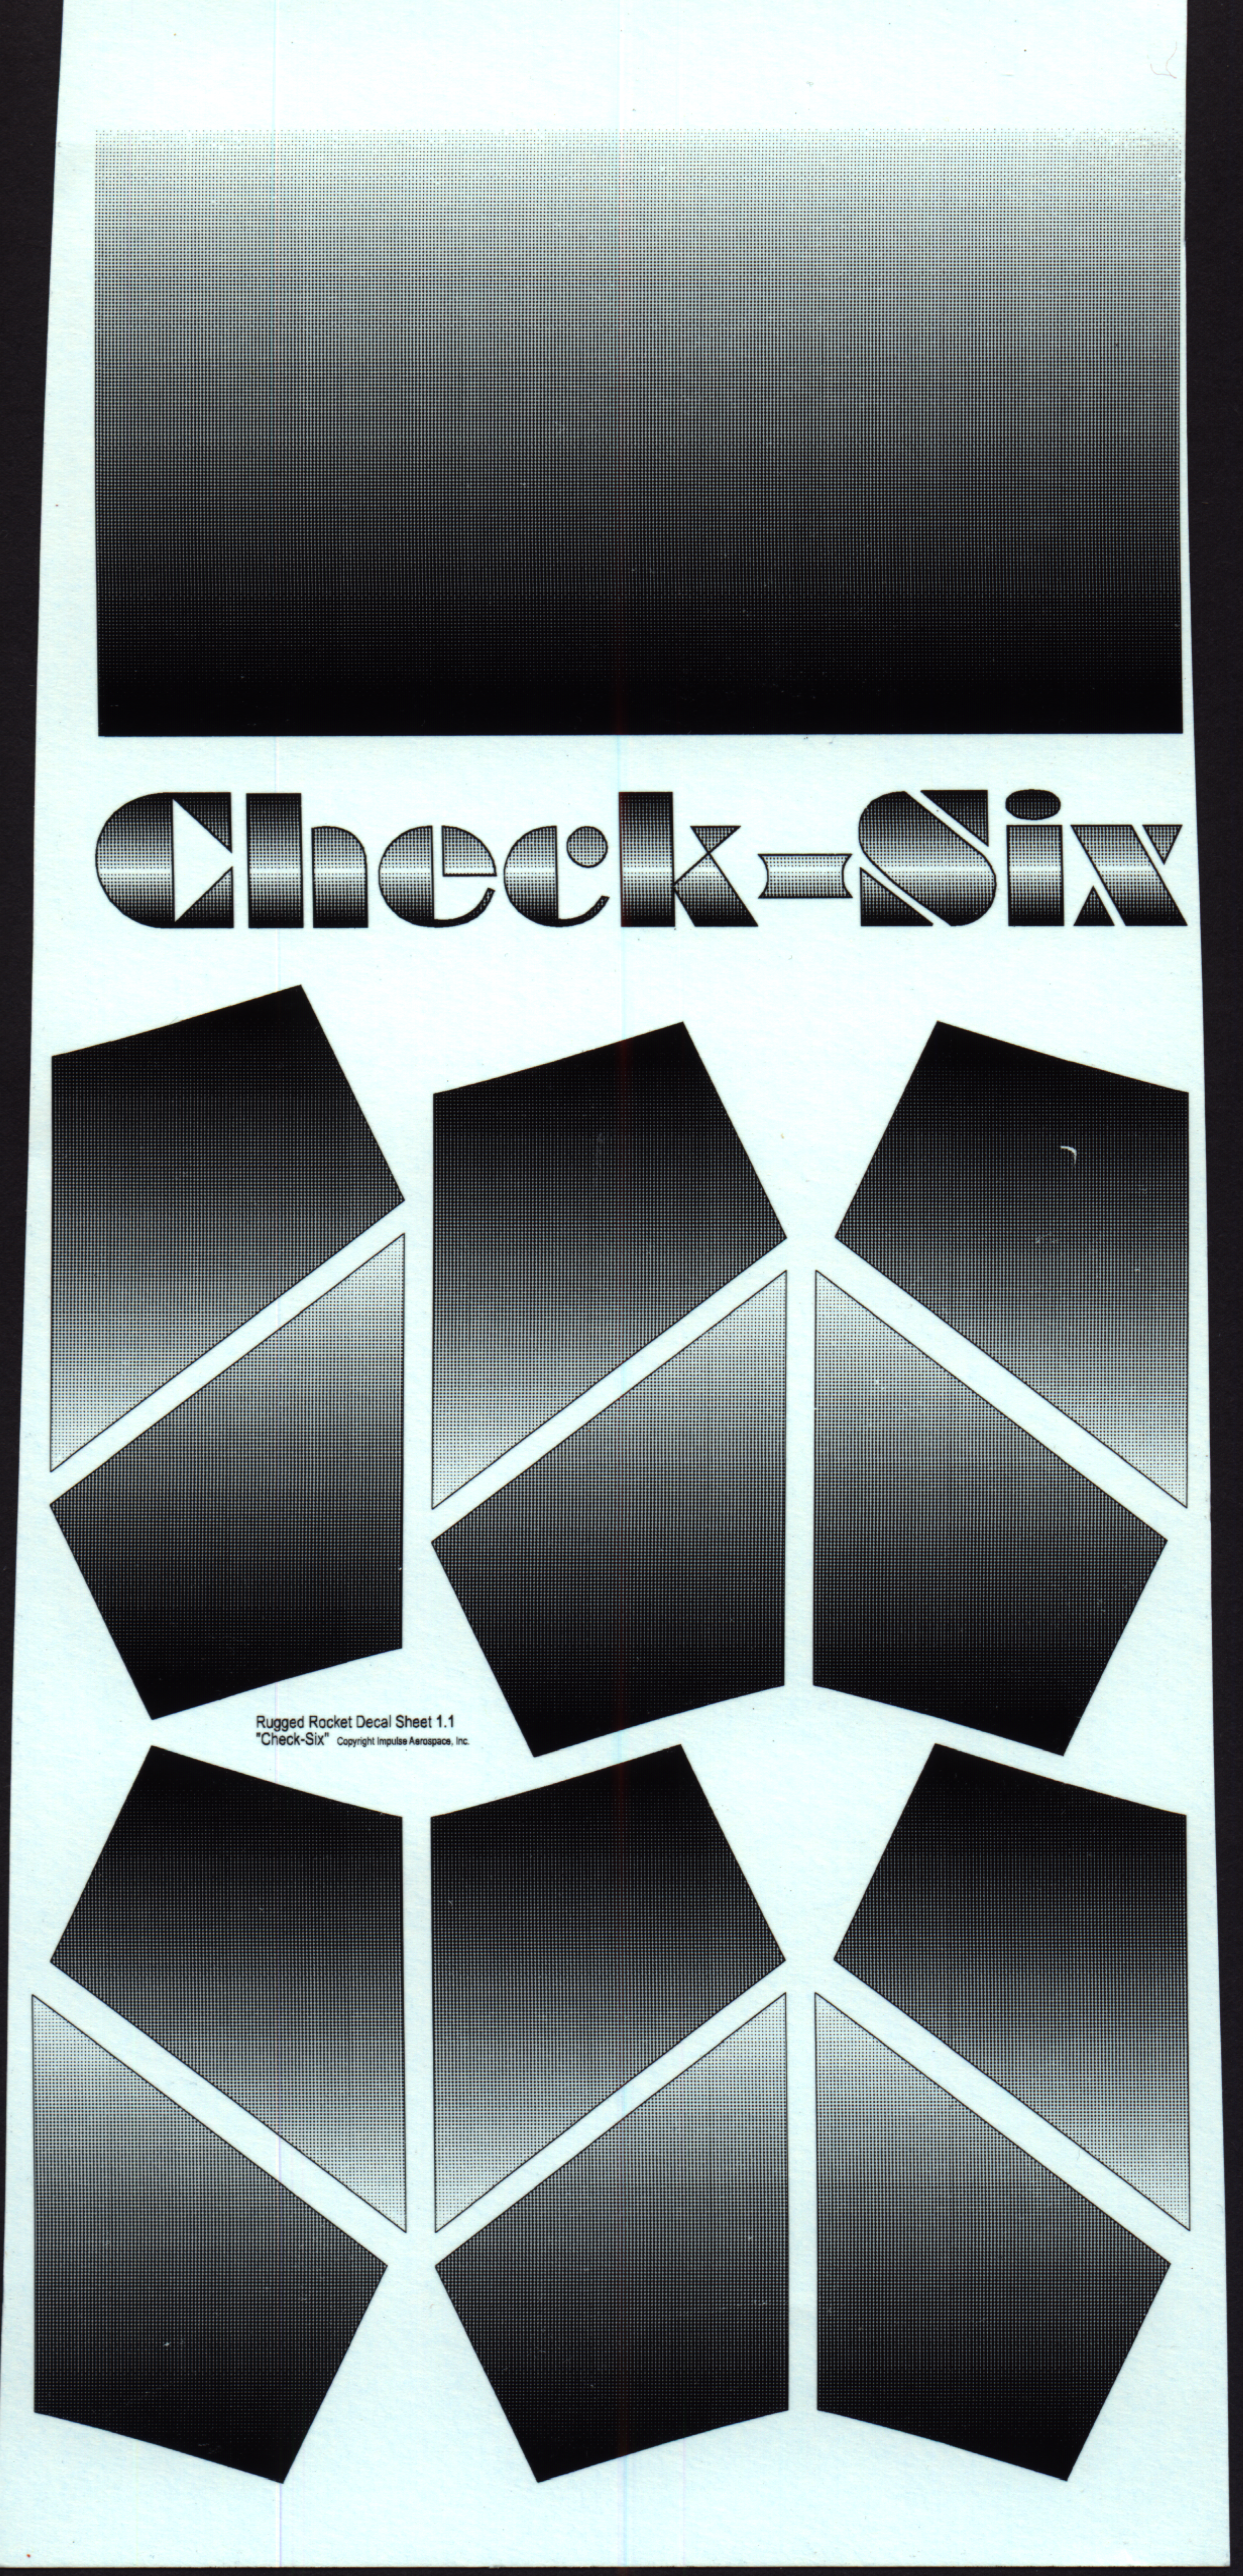
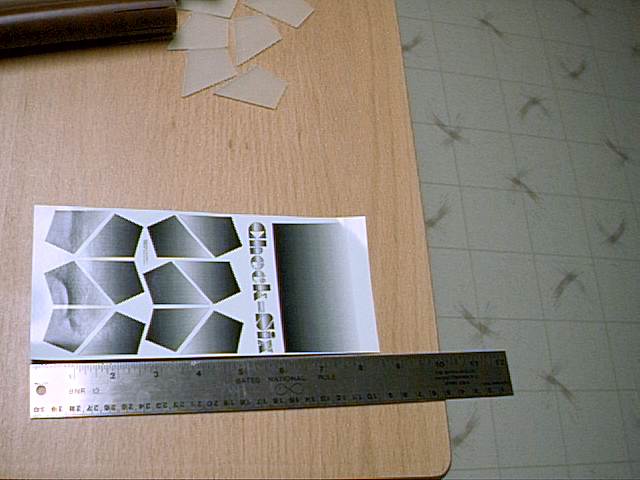
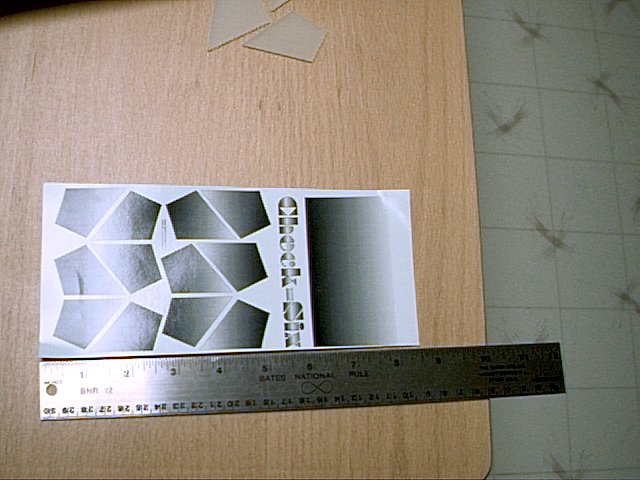
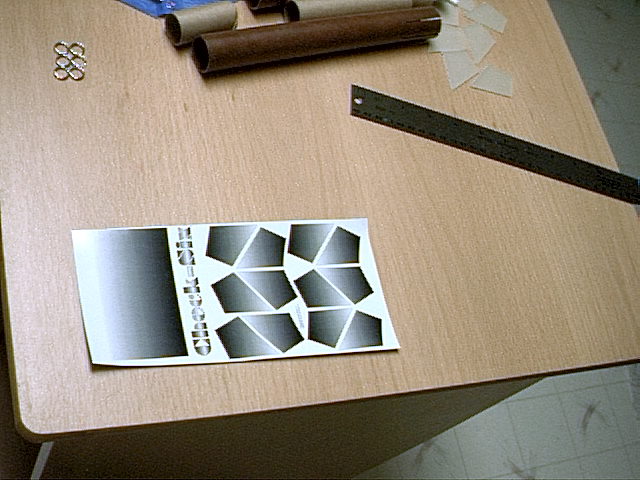
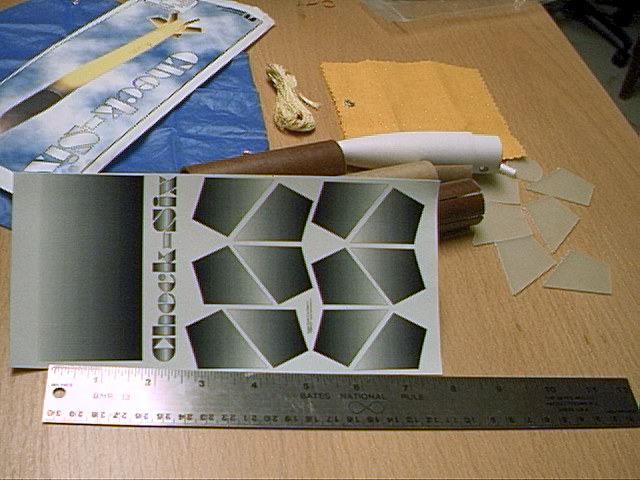
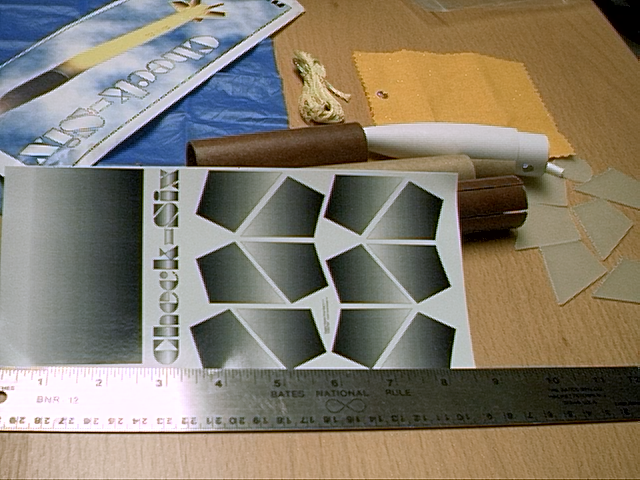
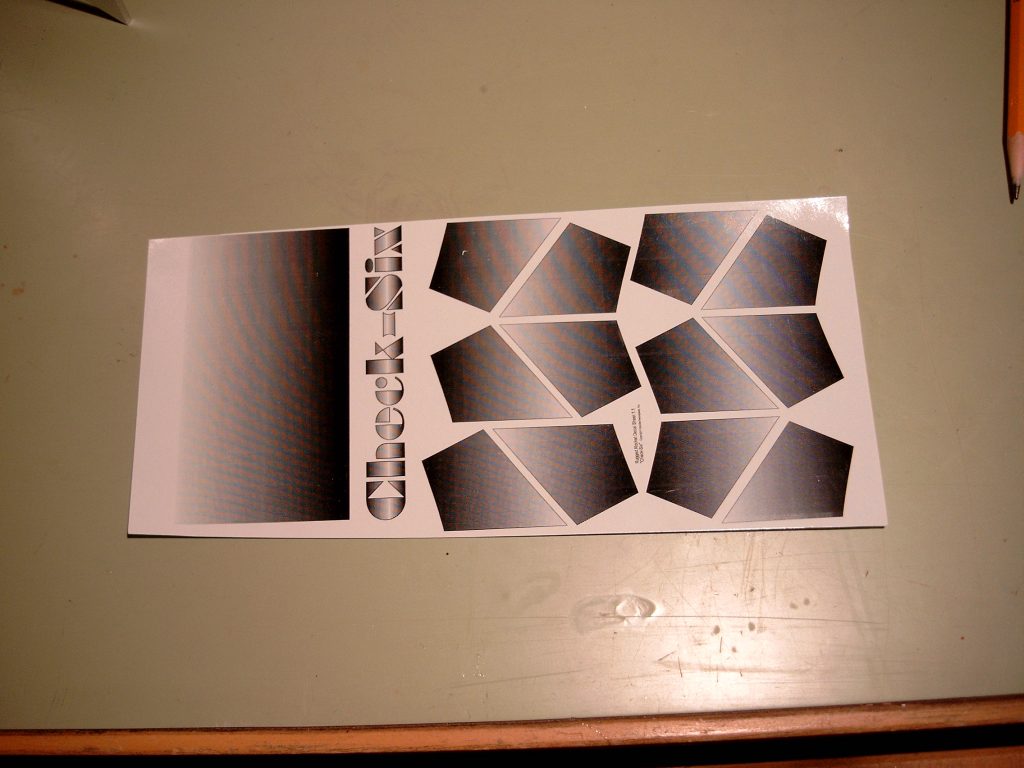
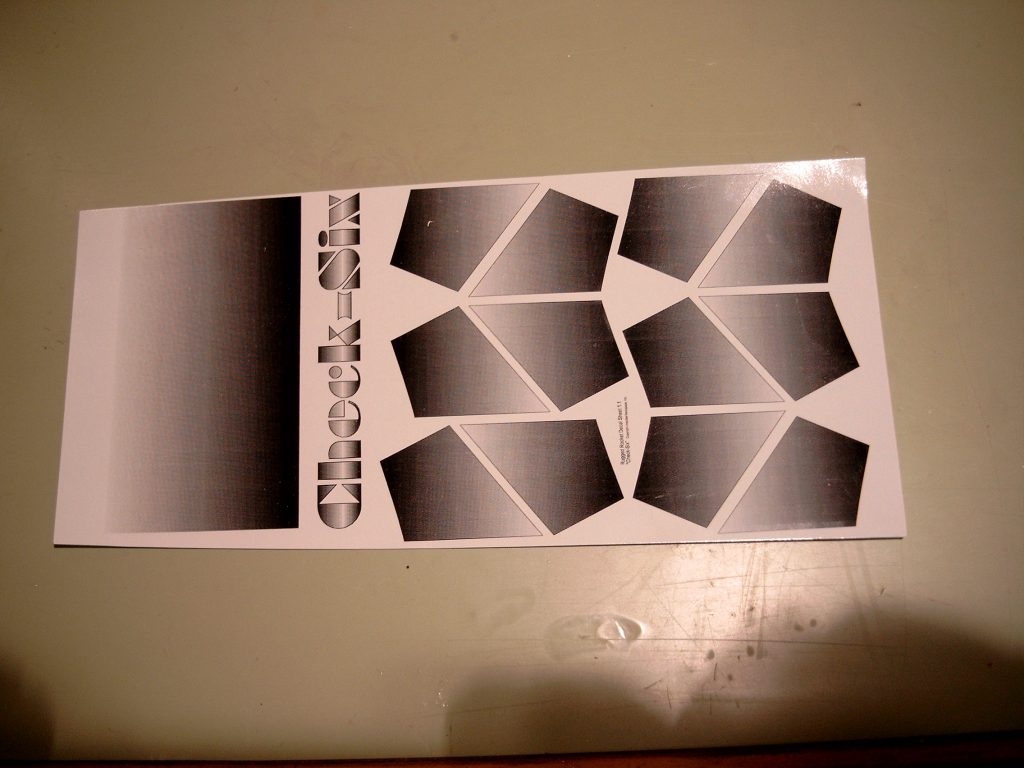
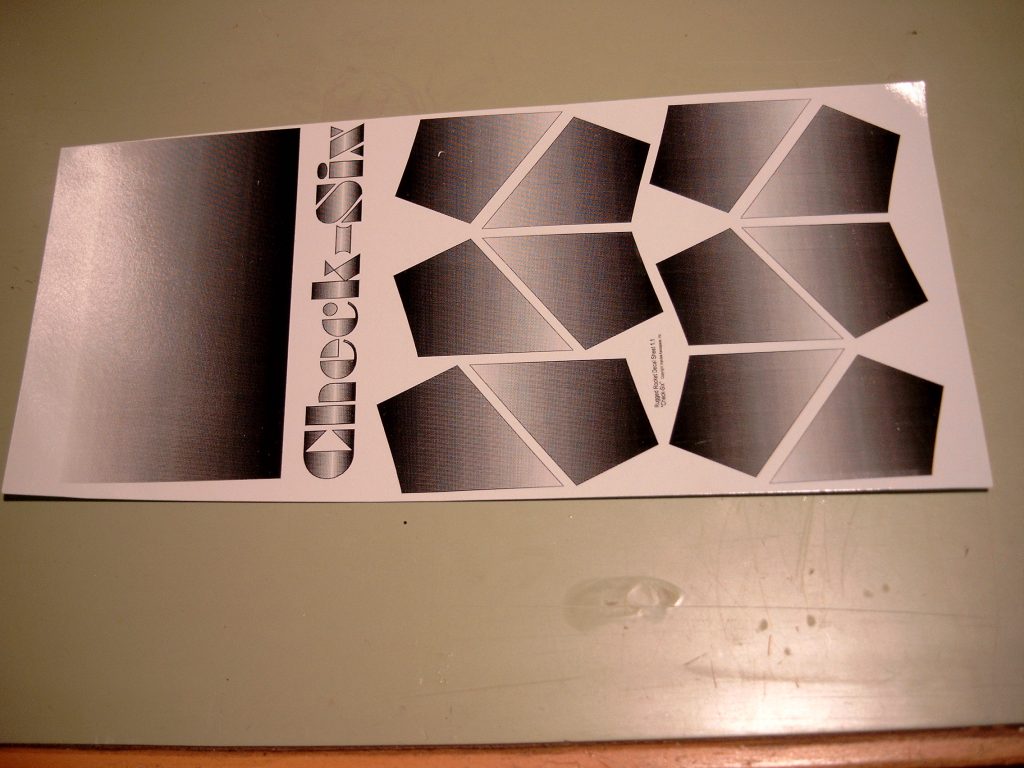
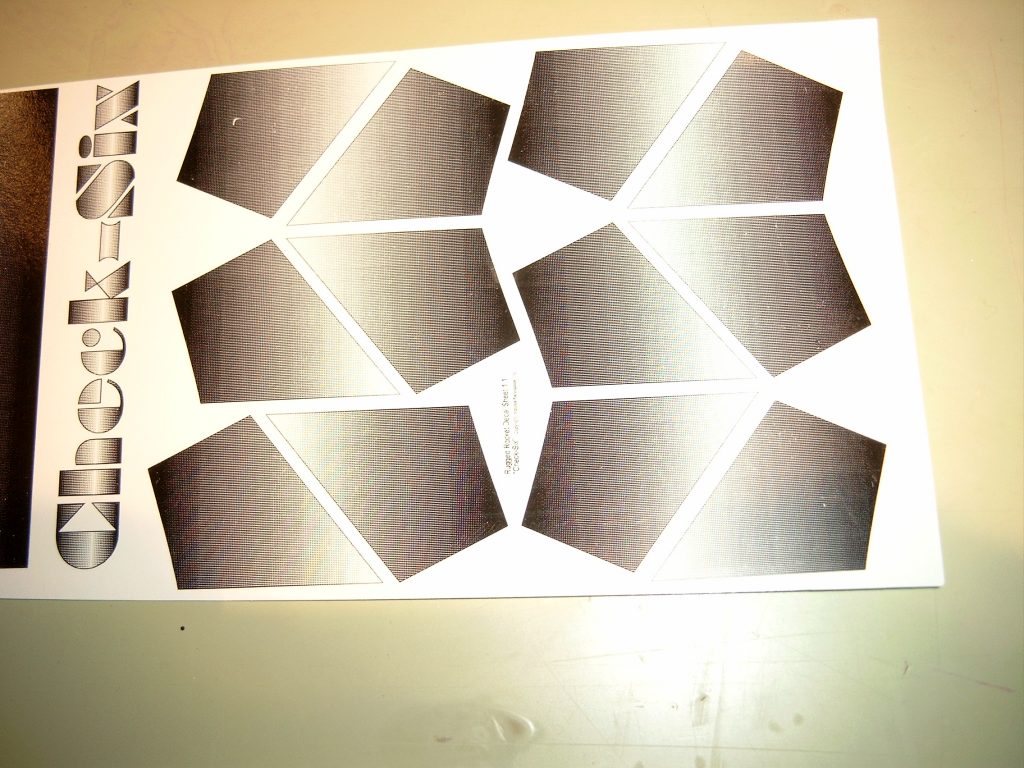
- 11/15/2002 – Scanned and photographed decals.
- 11/16/2002 – Cut out decals and applied to model. This completes construction of the model.
Flights
| Date | Location | # | Motor | Comments |
Leave a Reply
You must be logged in to post a comment.