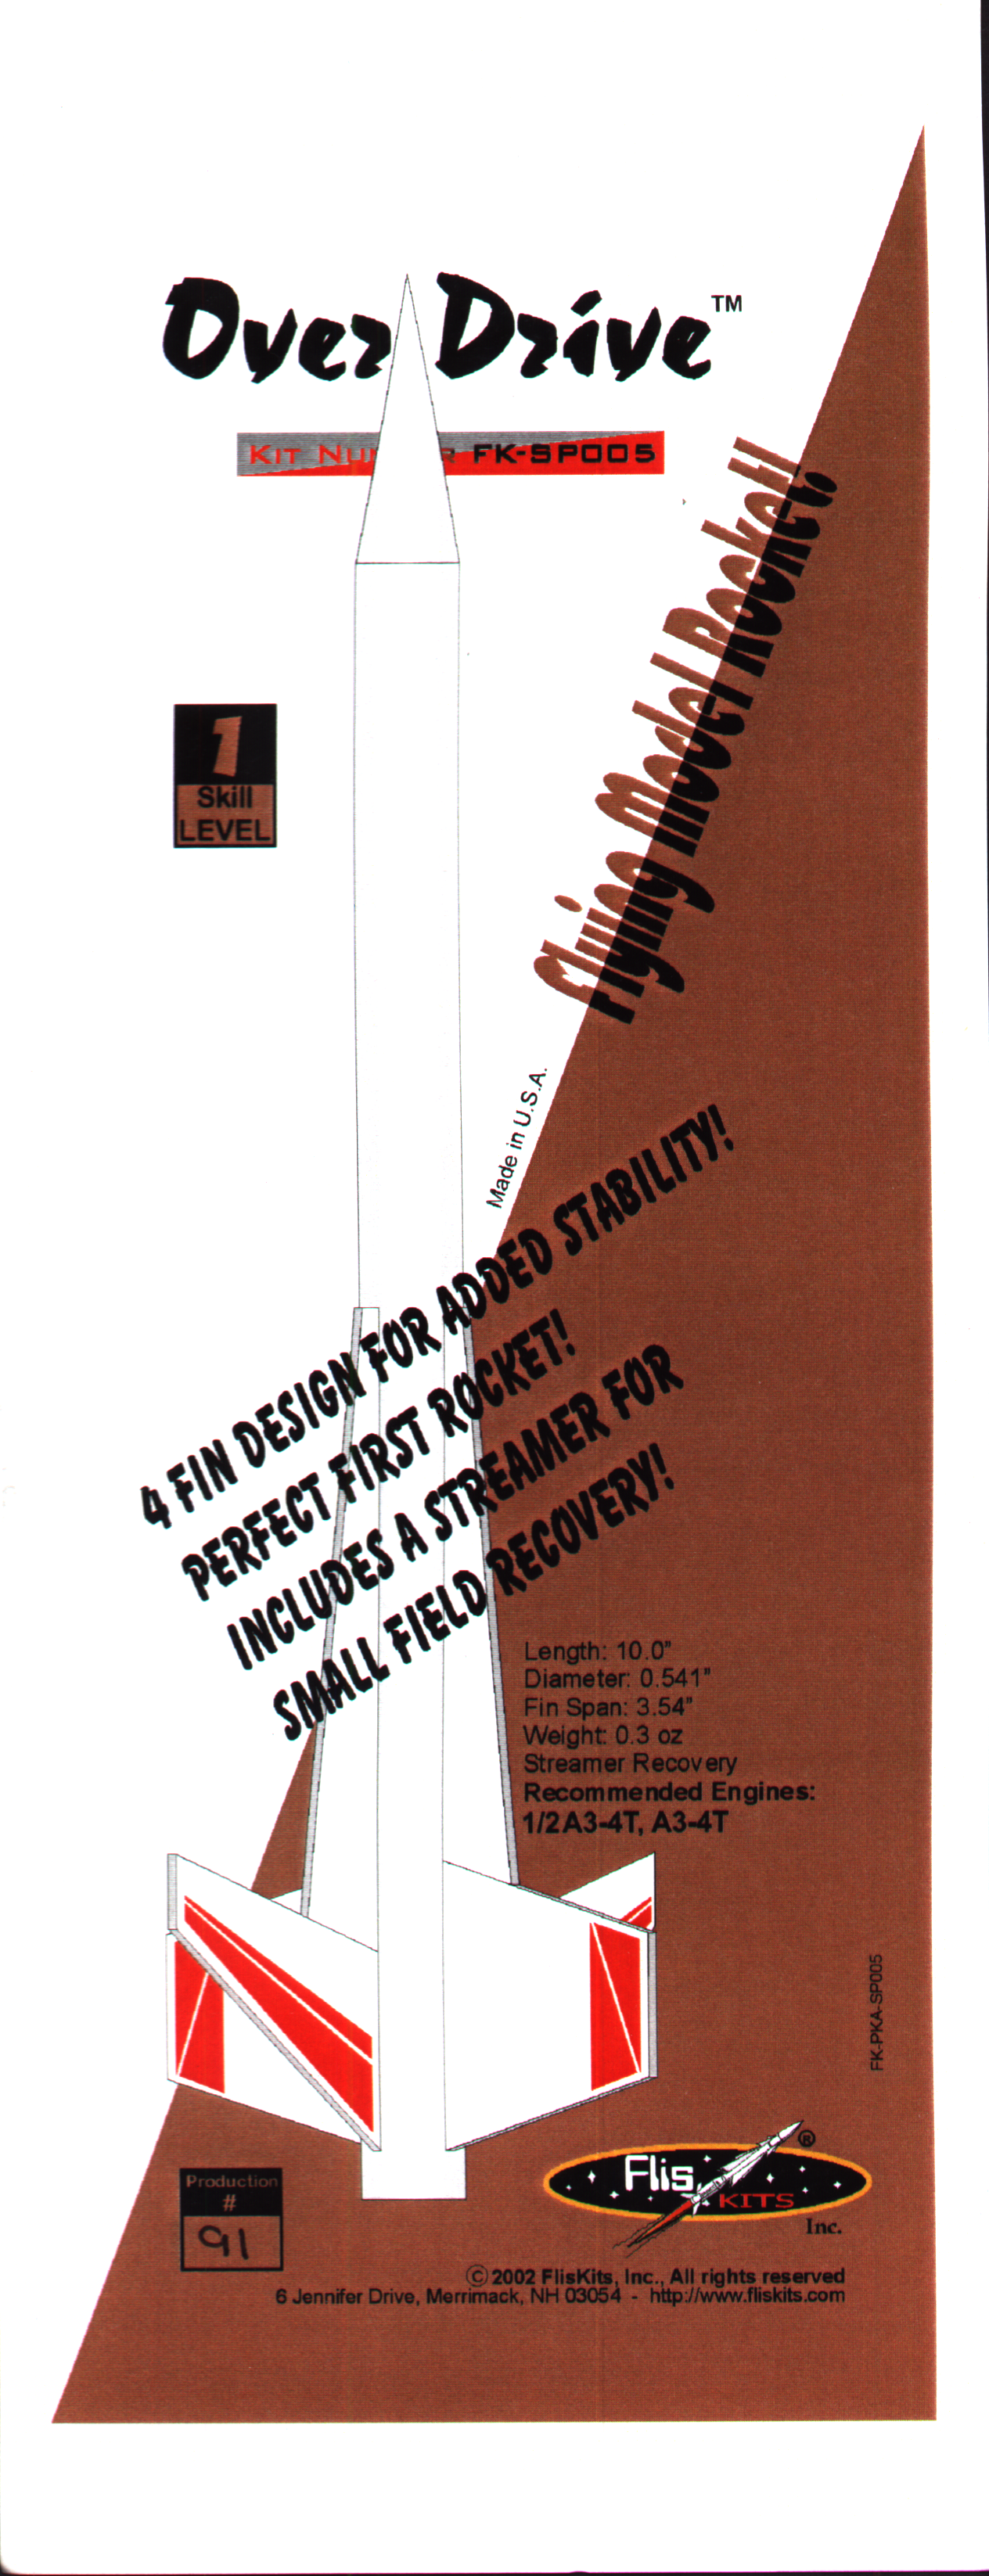
FLIS KITS Model #SP005
Description
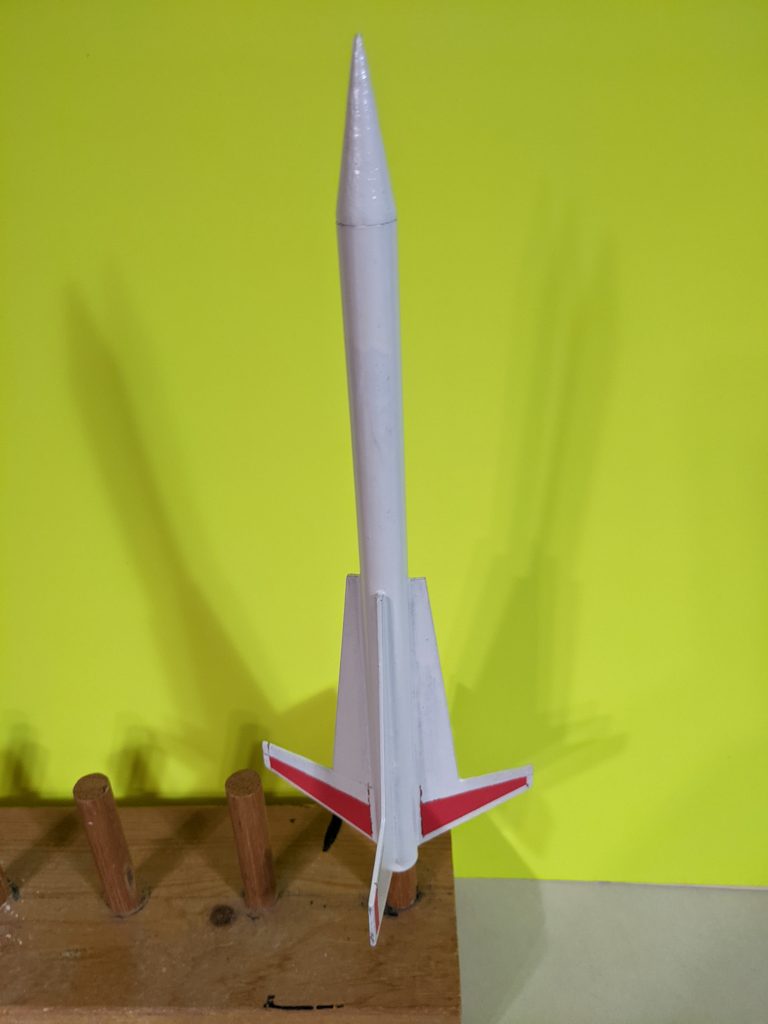
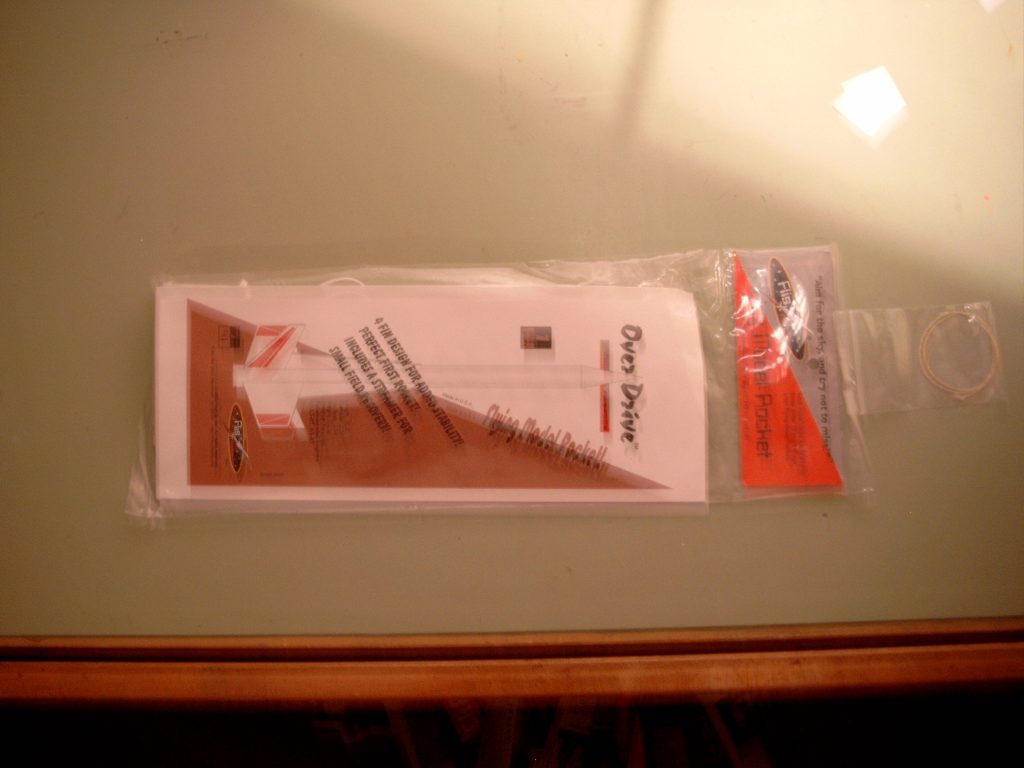
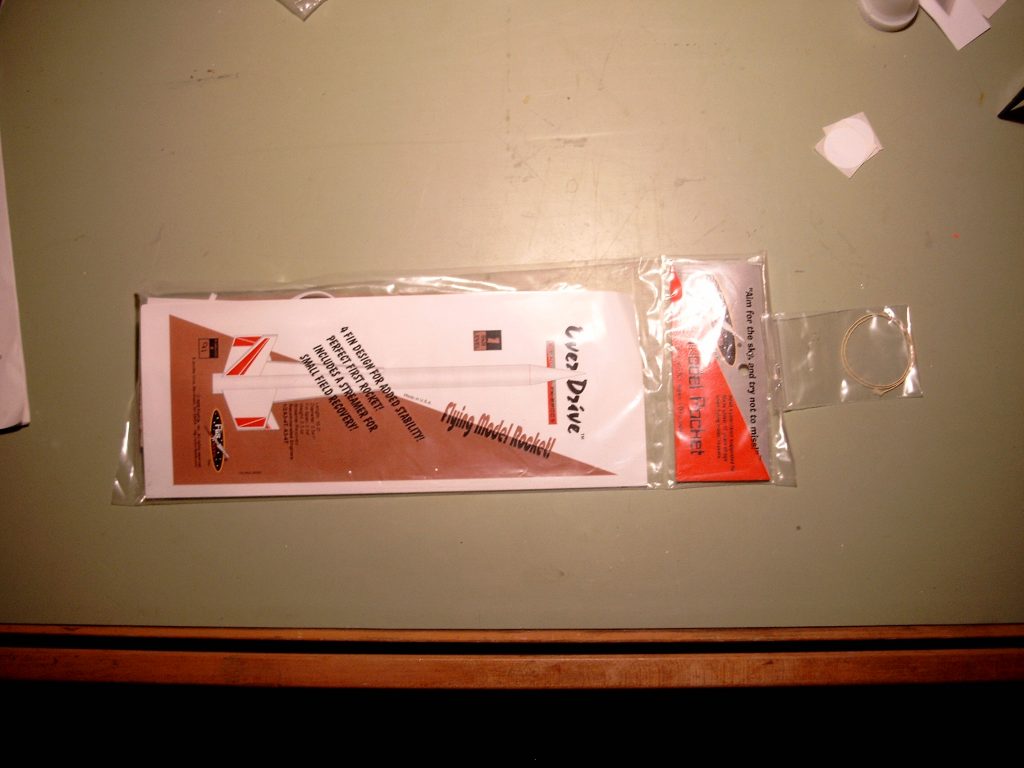
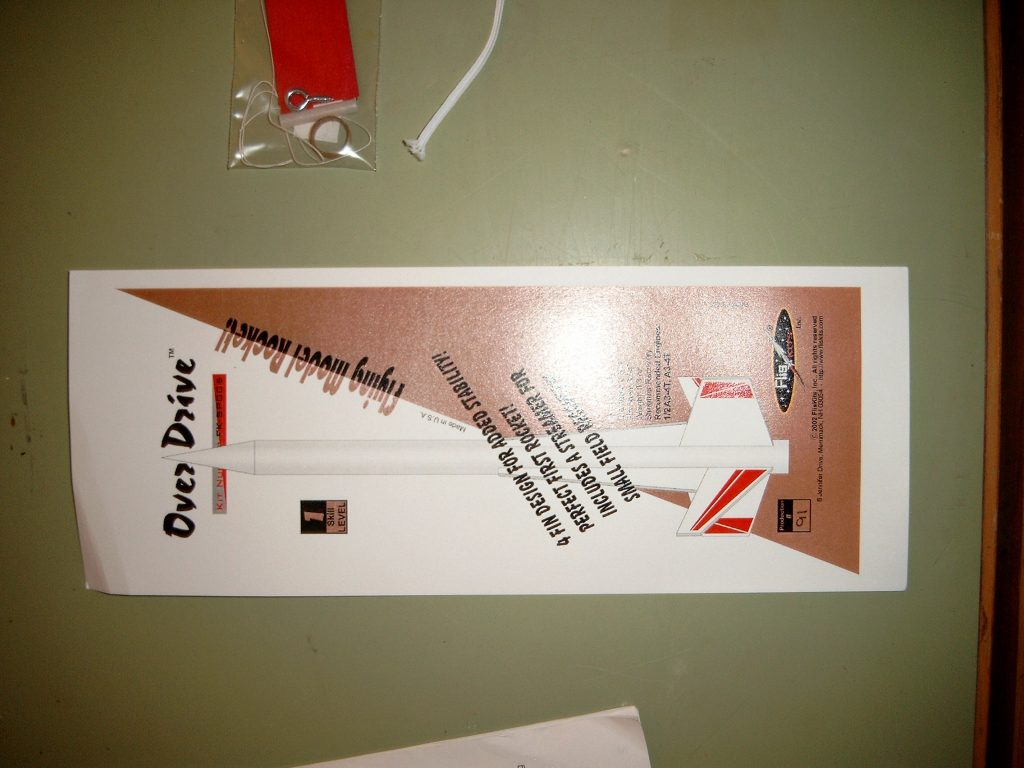
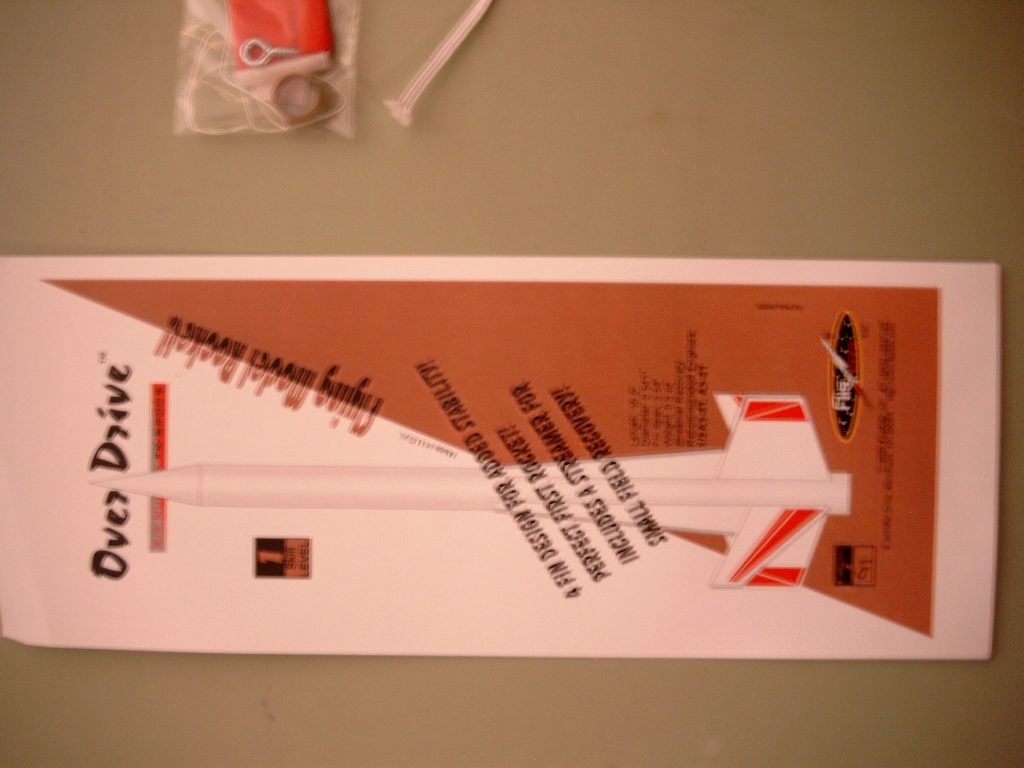
This skill level 1 kit featuring laser cut fins and flying on 13mm motors will help build skills for more complex models. With two different fin shapes, the Over Drive presents different profiles from different angles. Ideal for small fields but capable of higher flights on A10 motors.
Additional Information
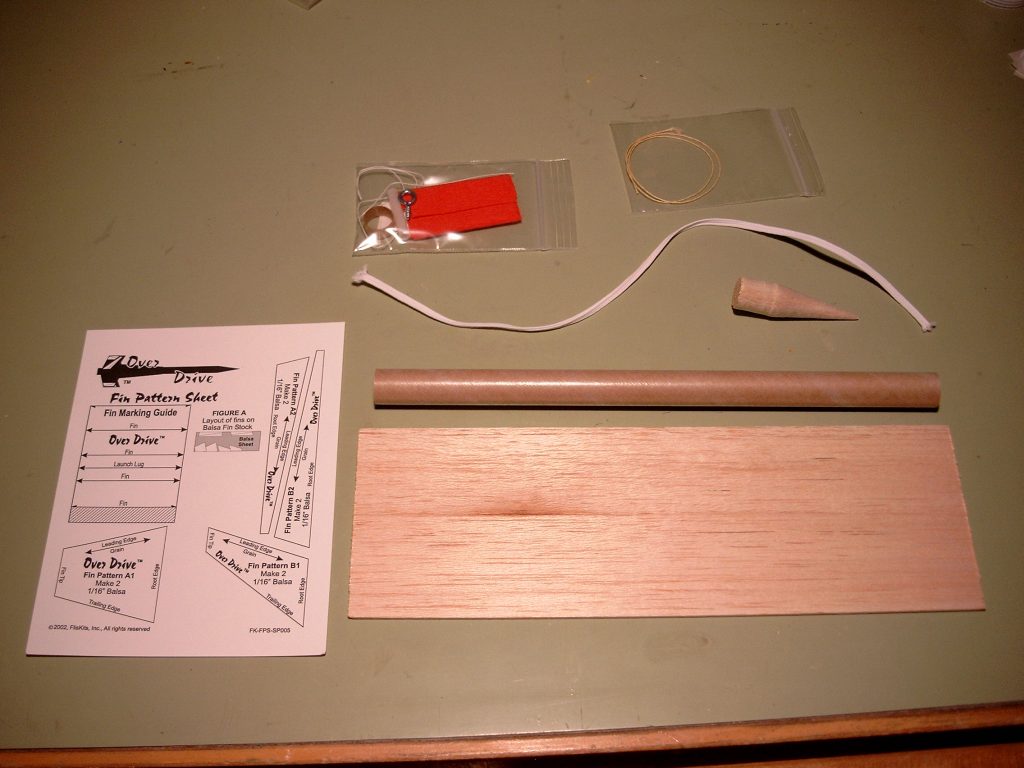
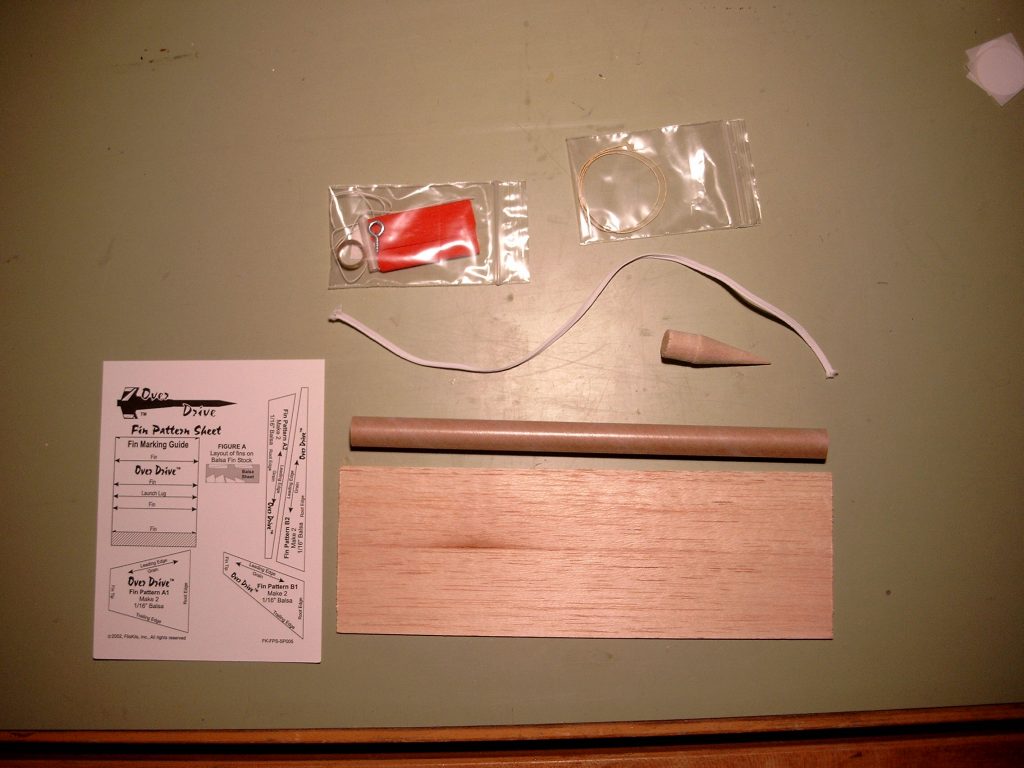
Length: 9.5"
Diameter: 0.541"
Fin Span: 3.54"
Weight: 0.3 oz
Recovery: Streamer
Recommended Engines:
1/4A3-3T, 1/2A3-4T, A3-4T, A10-3T
Instructions
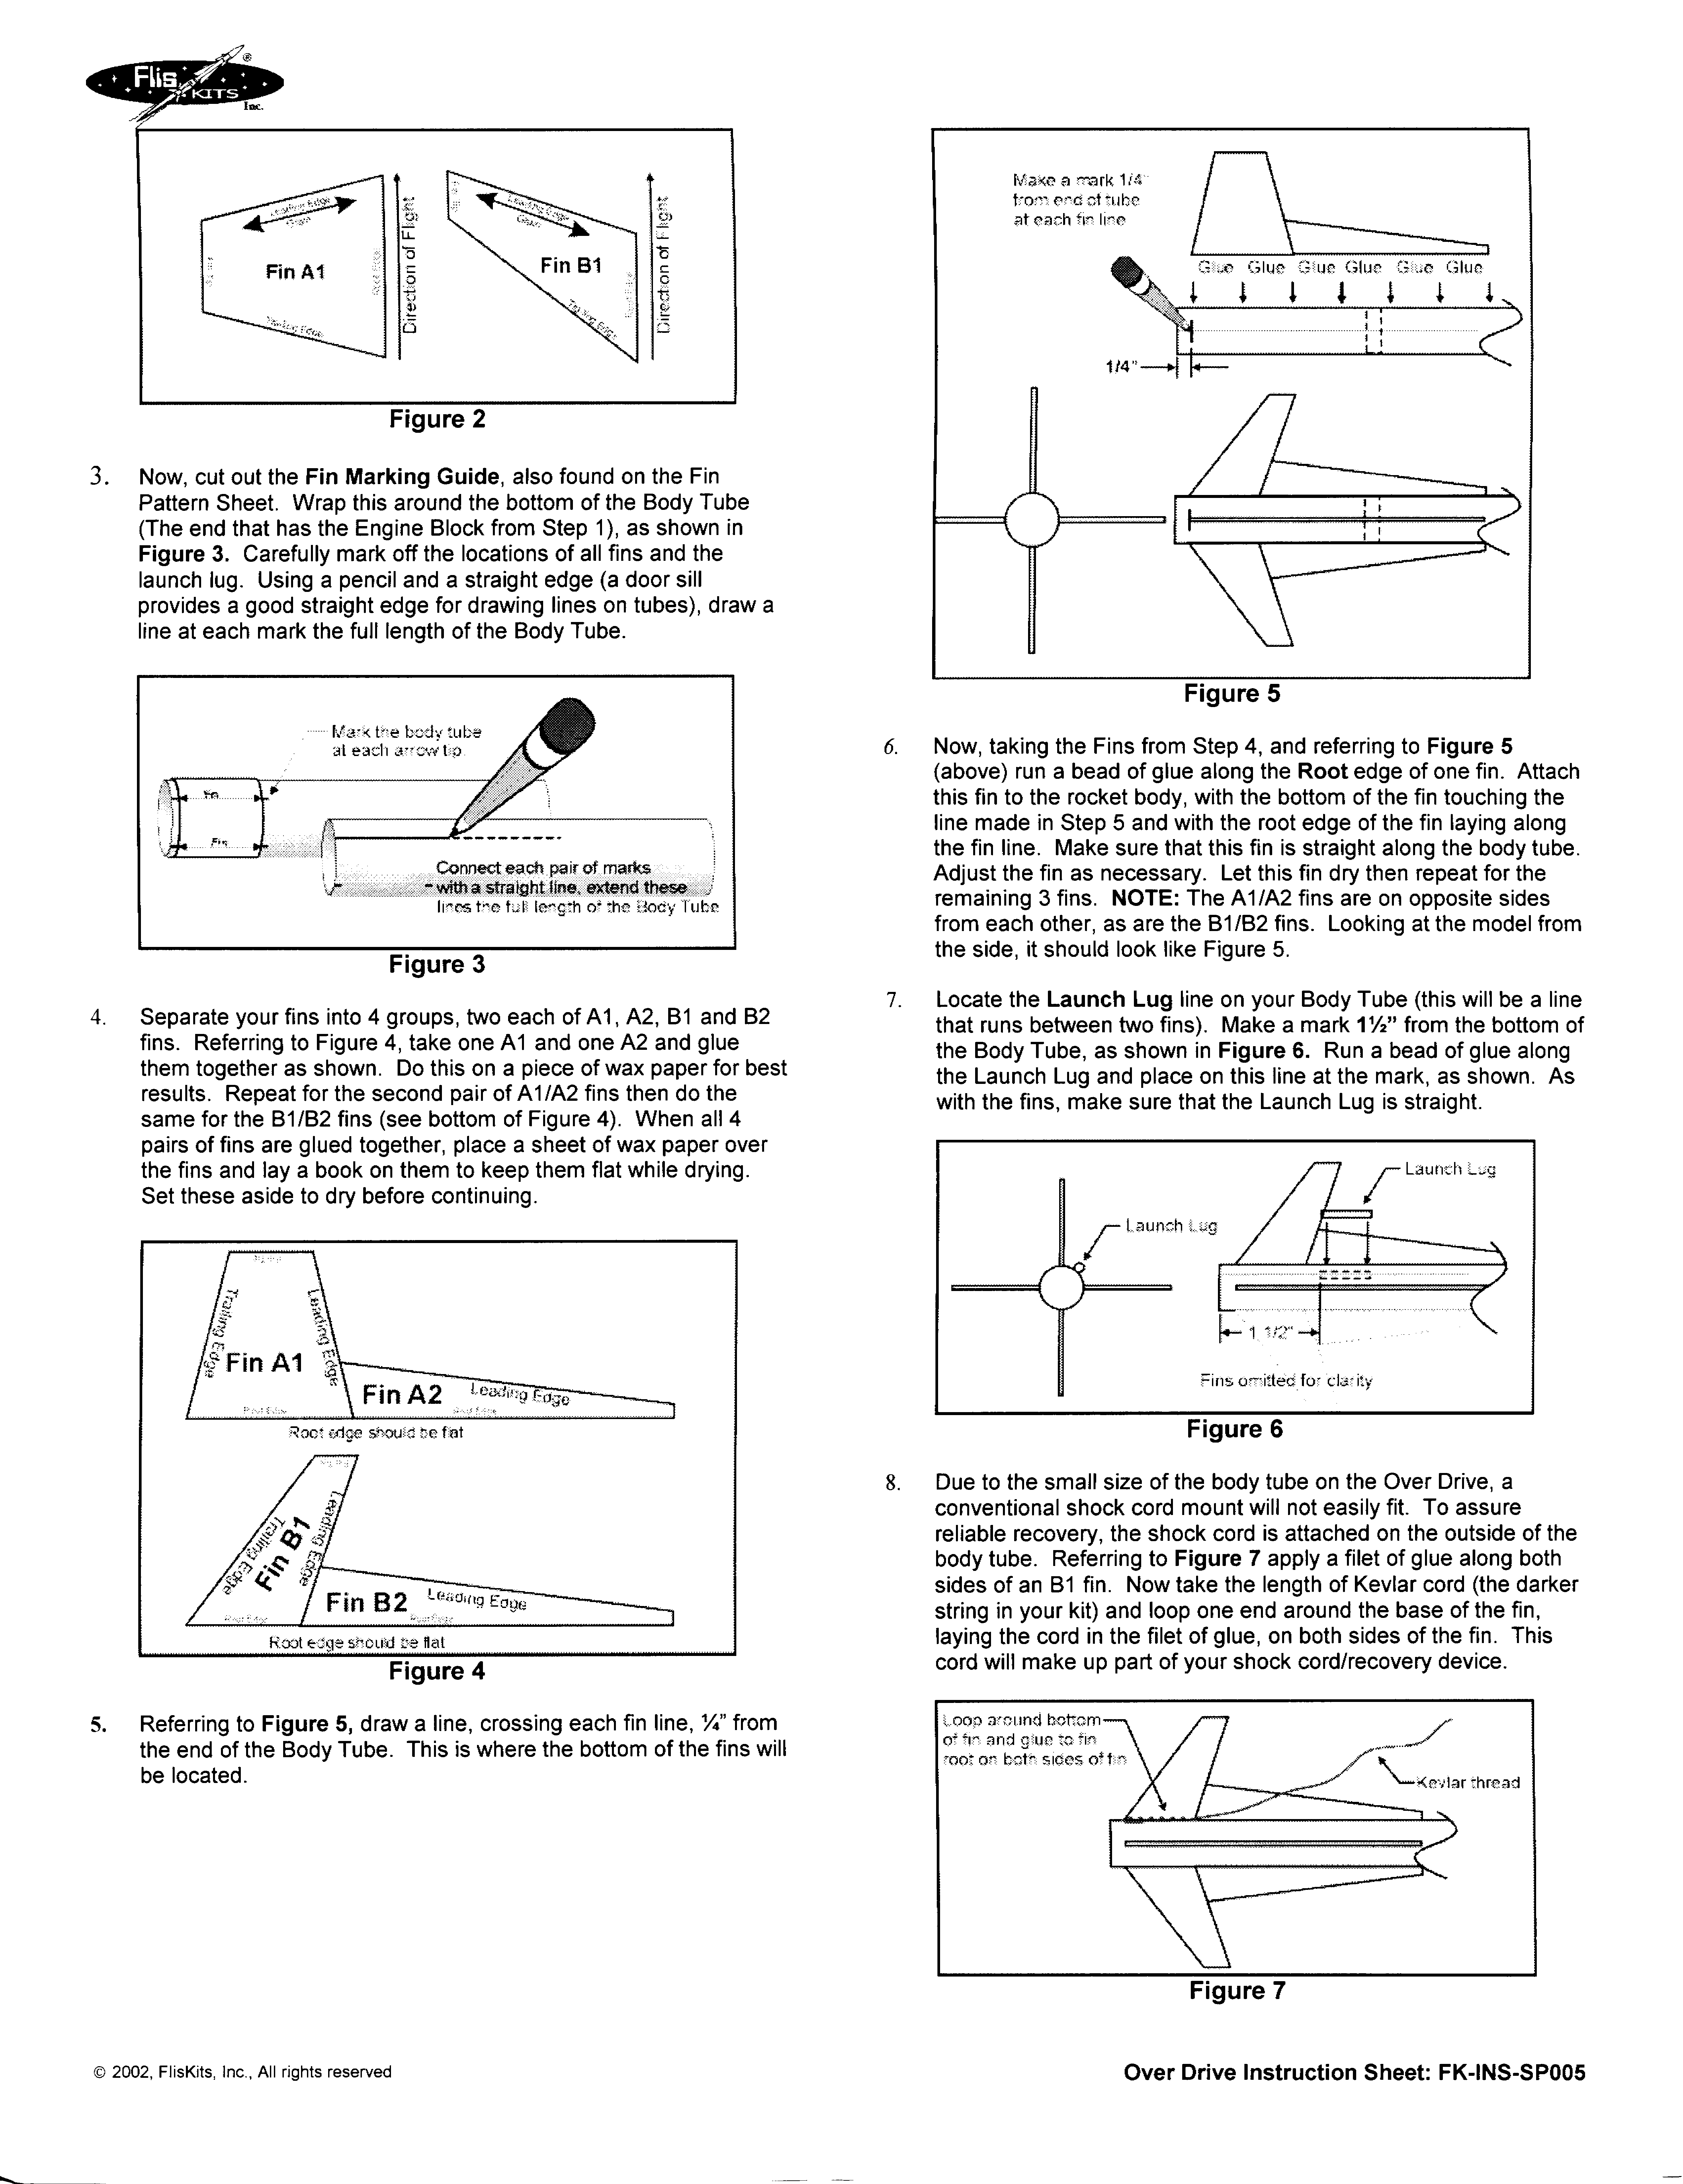
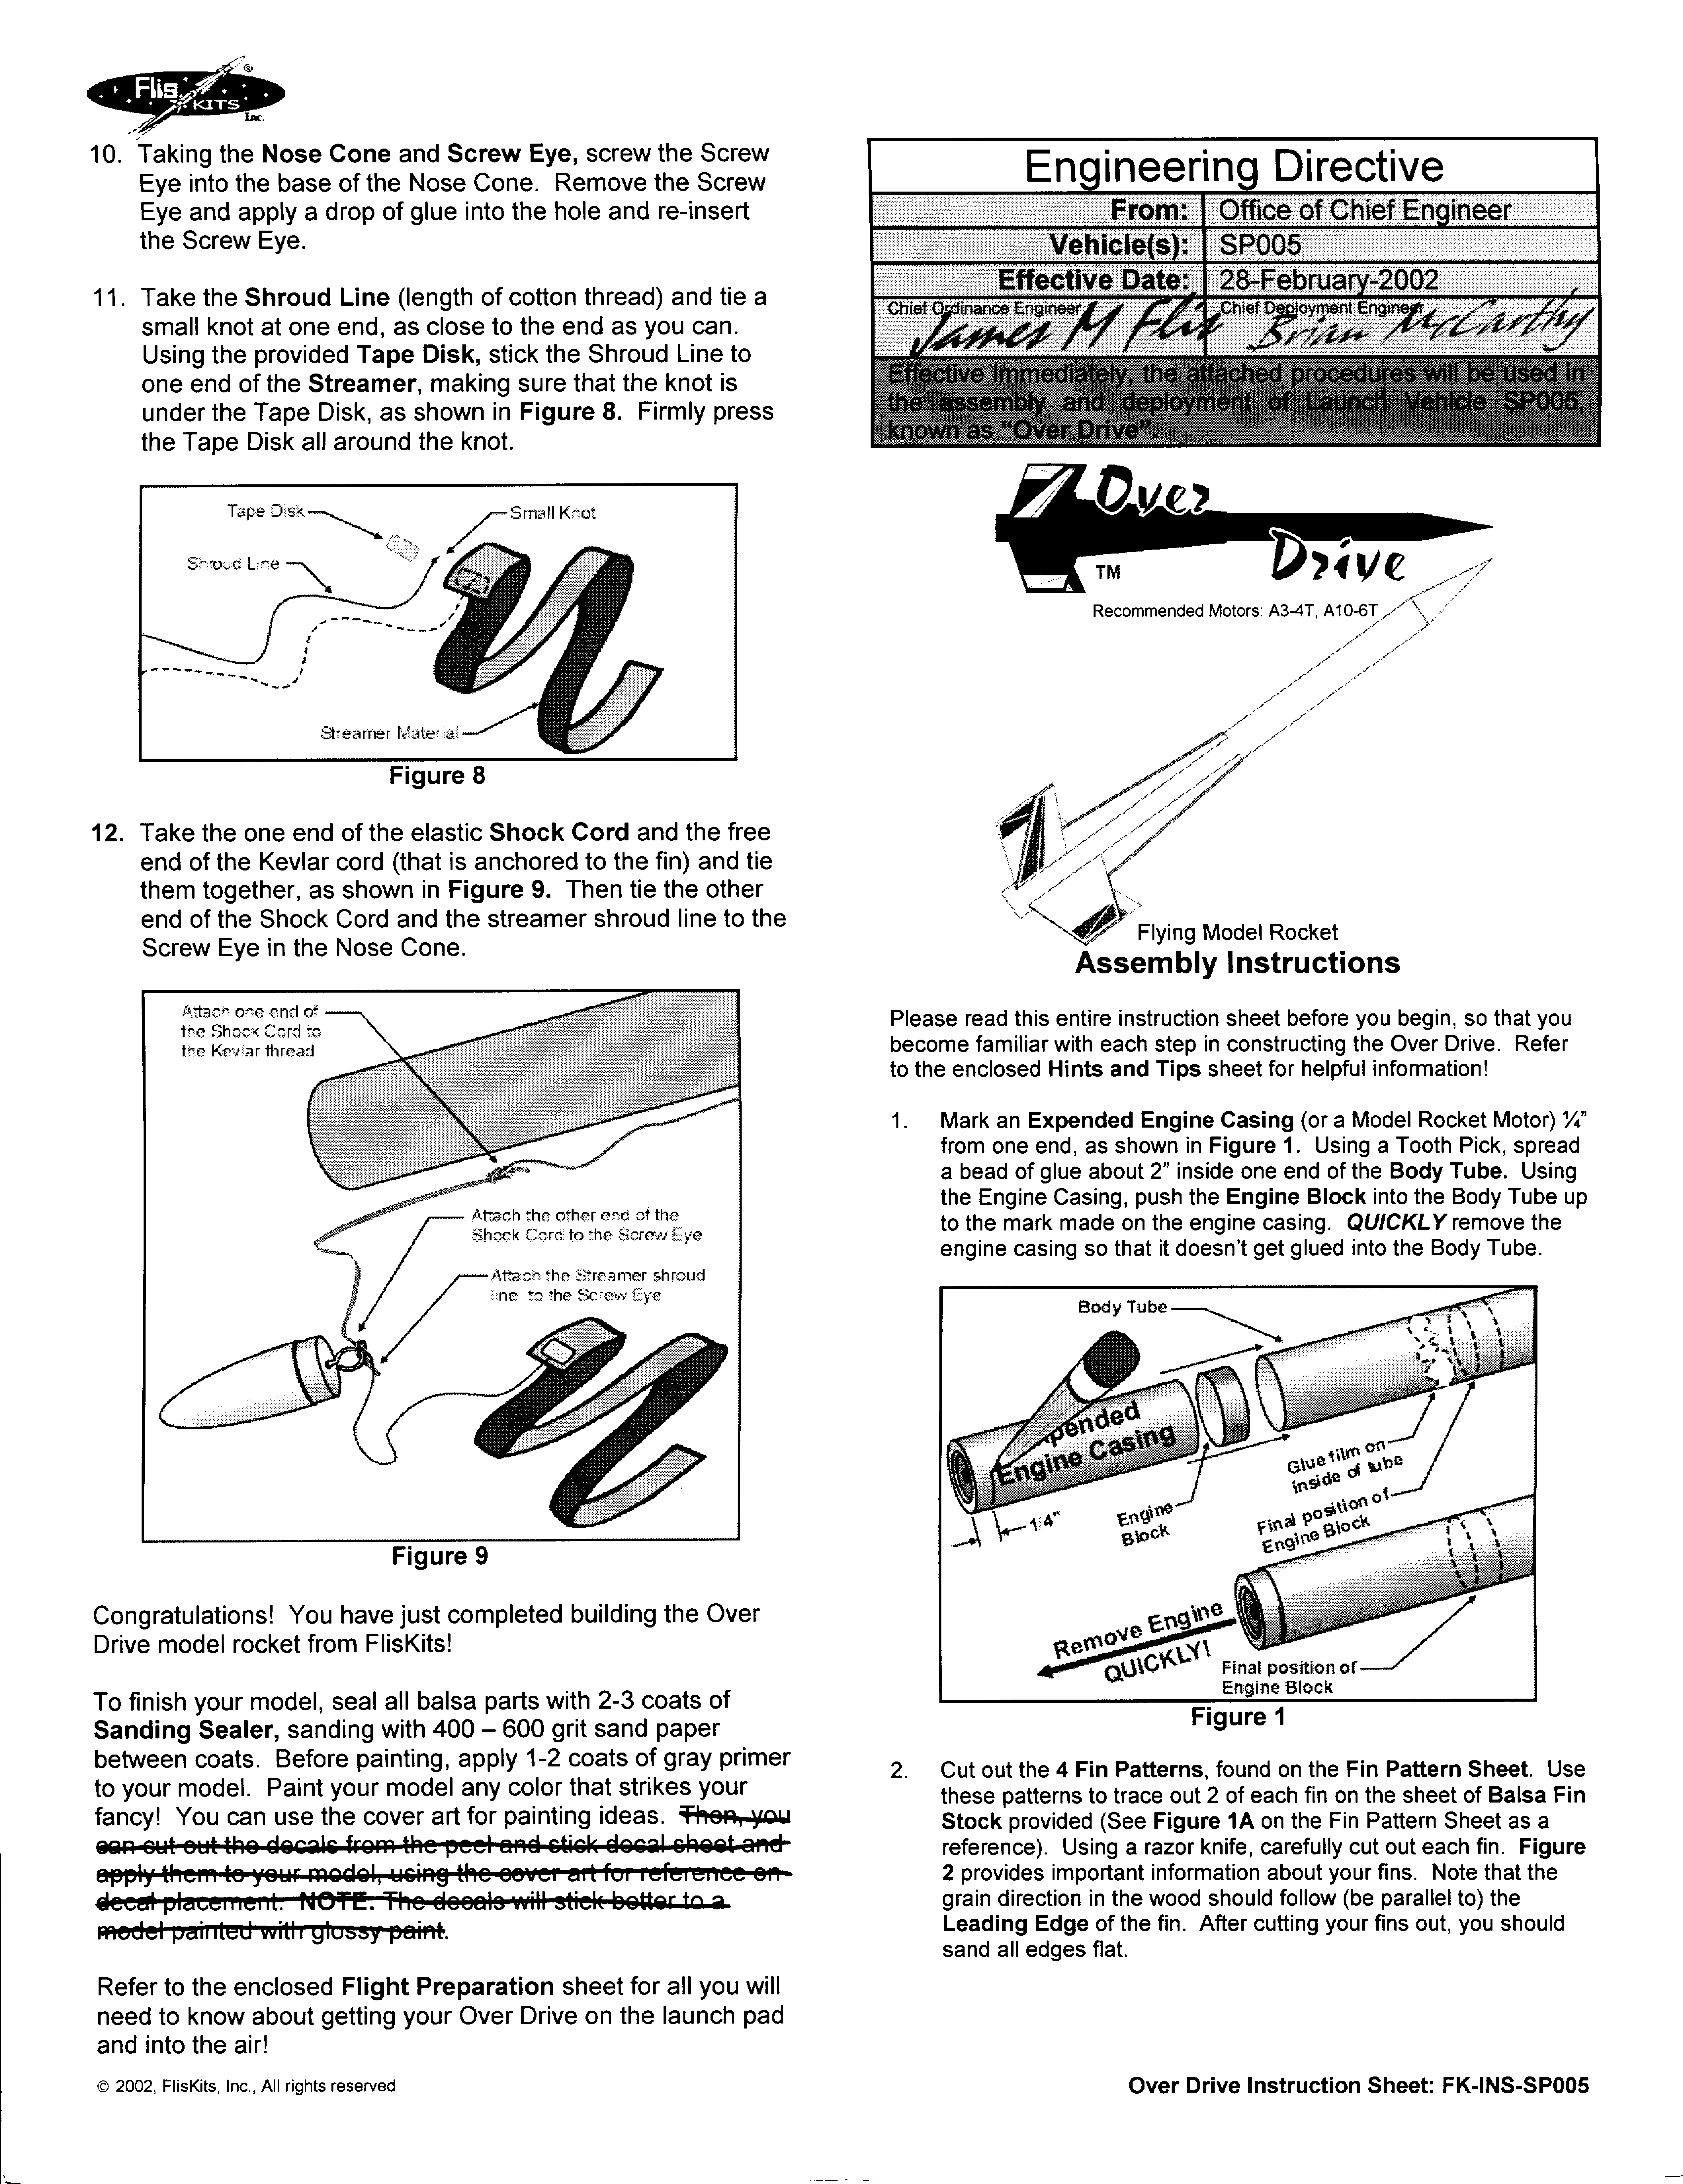
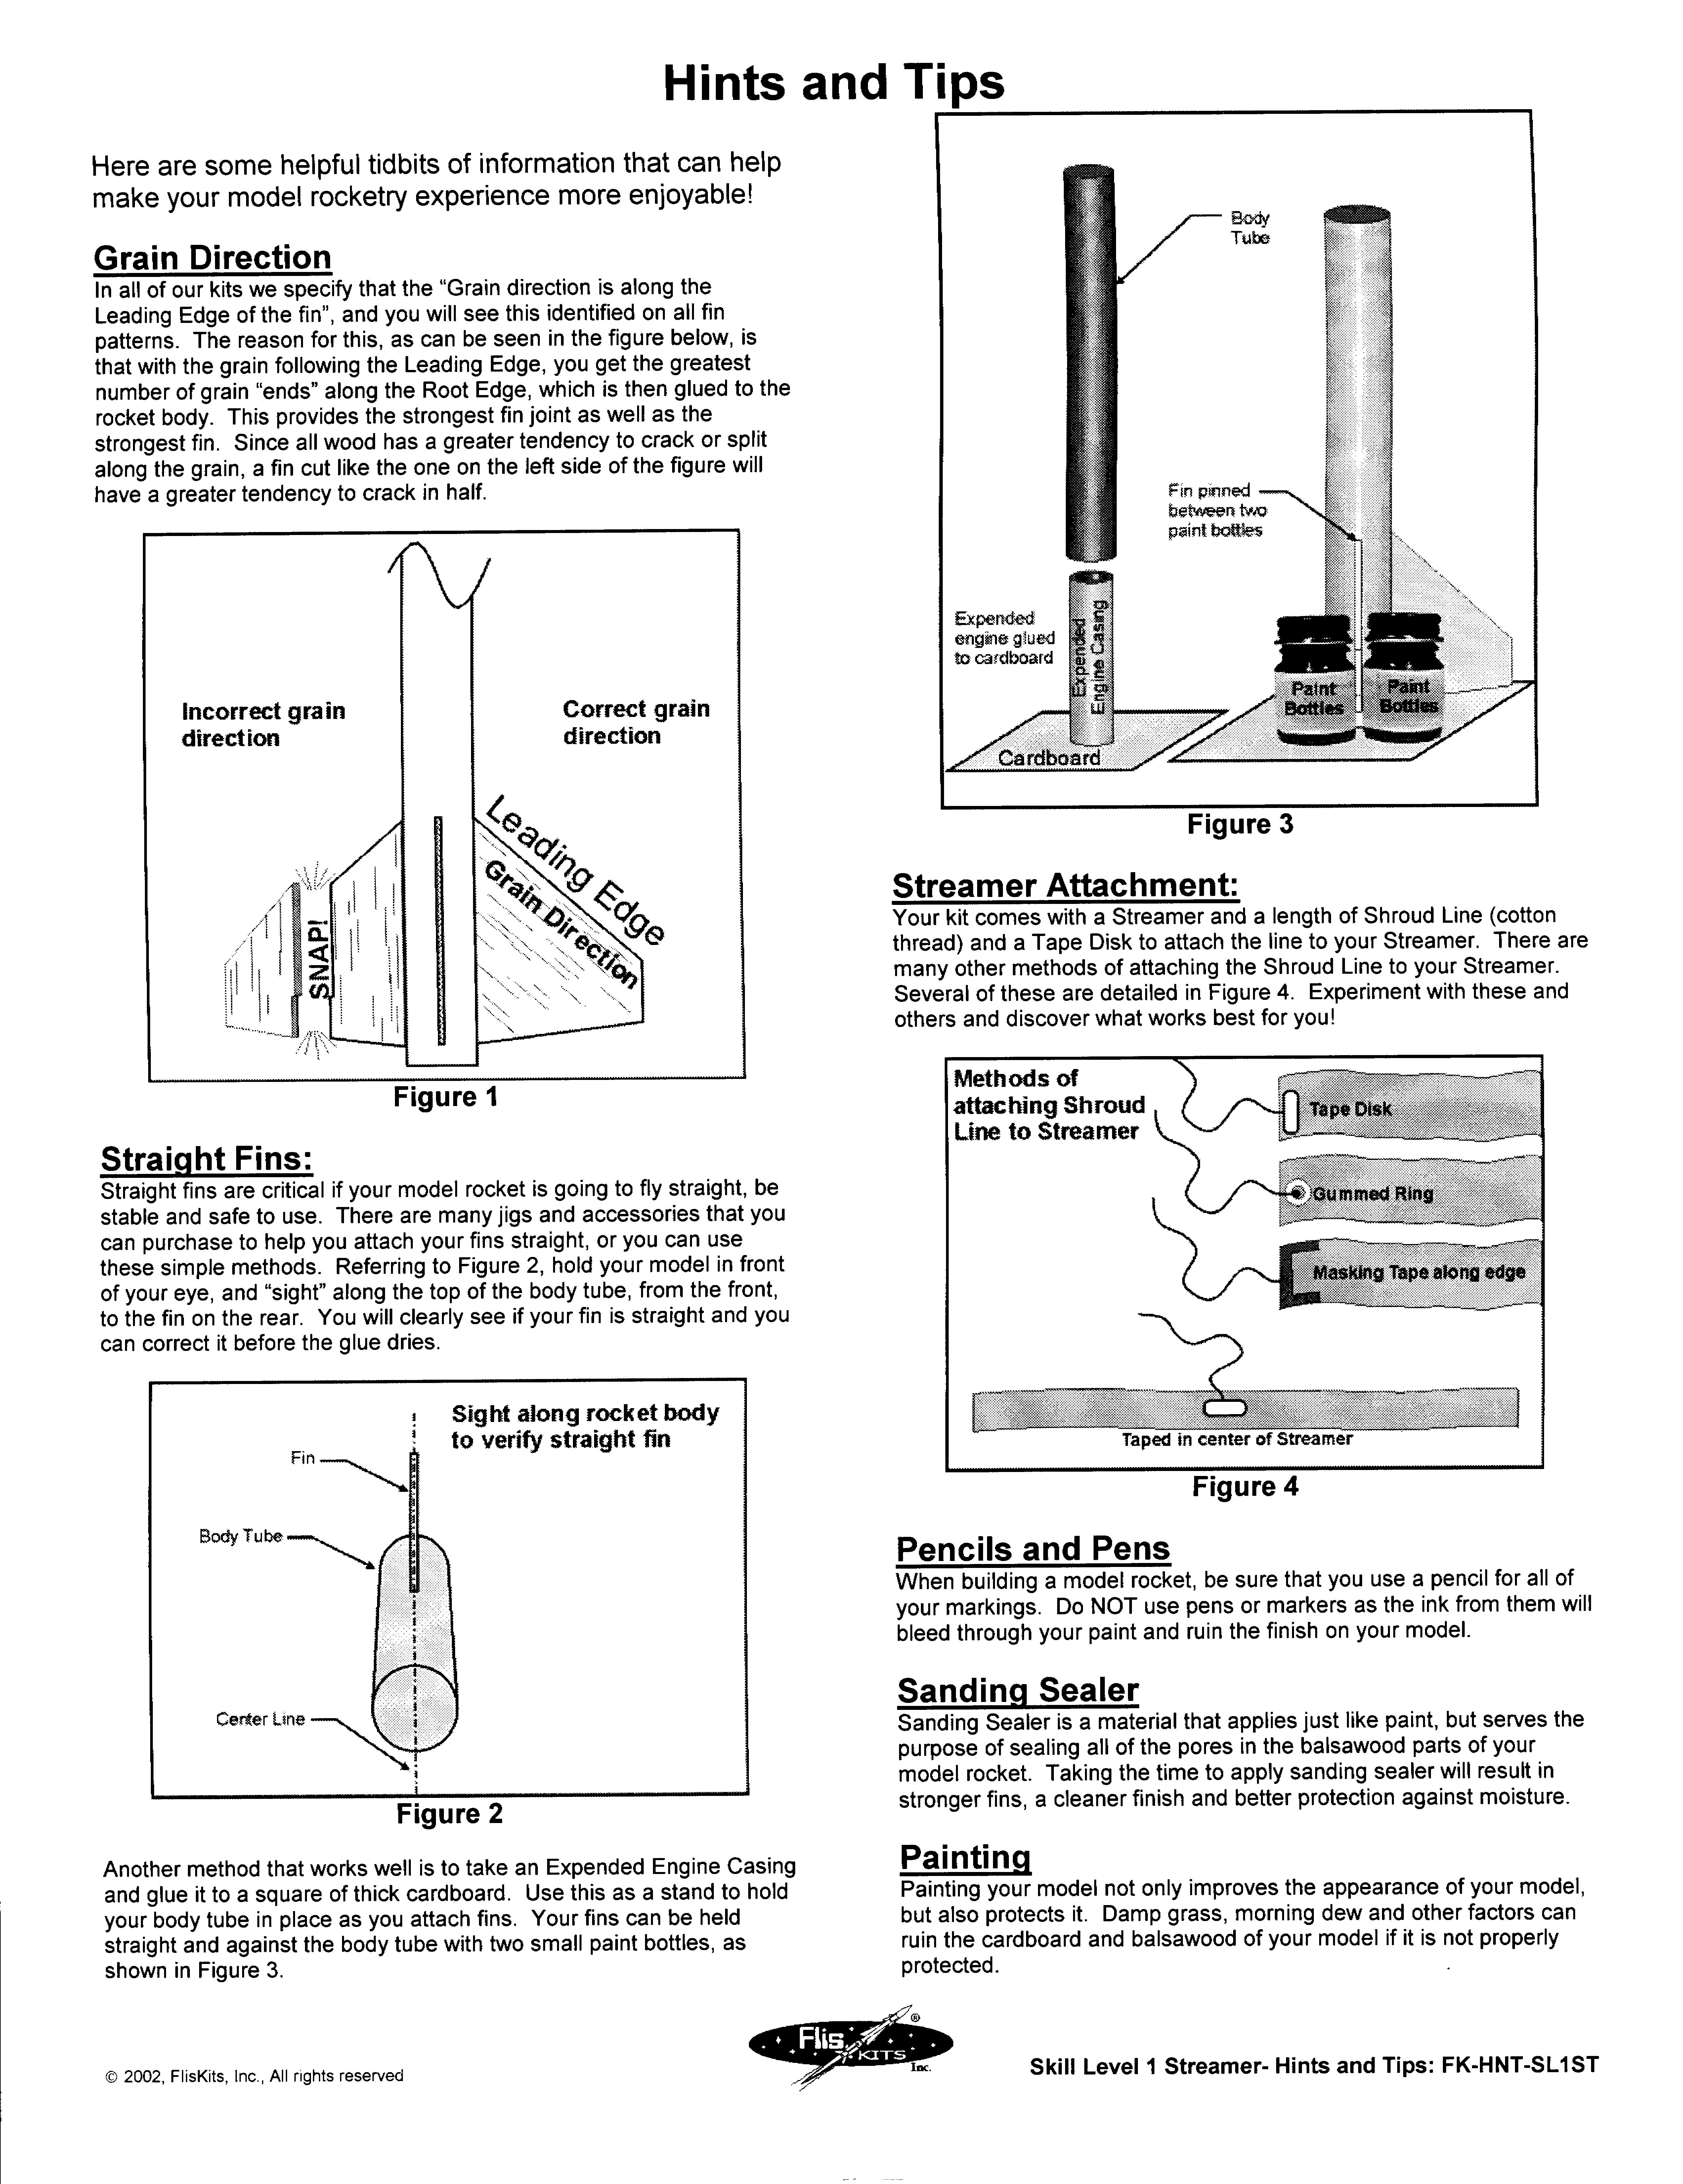


Photo Gallery
Build History
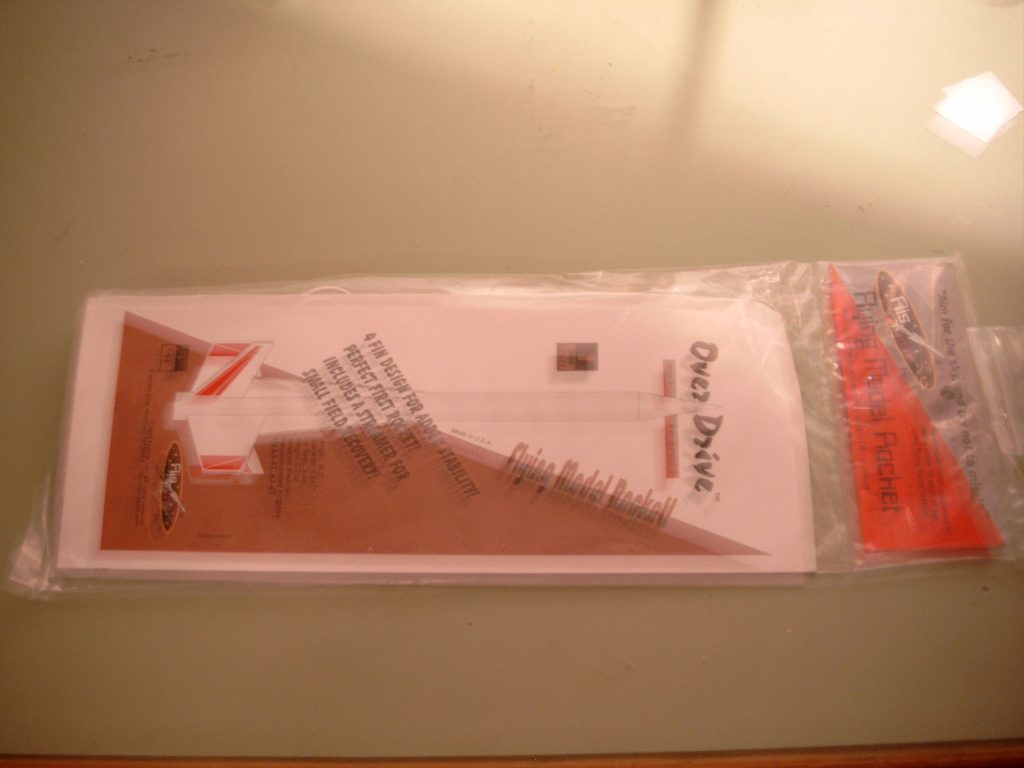
- 12/29/2003 – Purchased FlisKits #SP005 Overdrive from FlisKits for $7.15 (Retail $7.95).
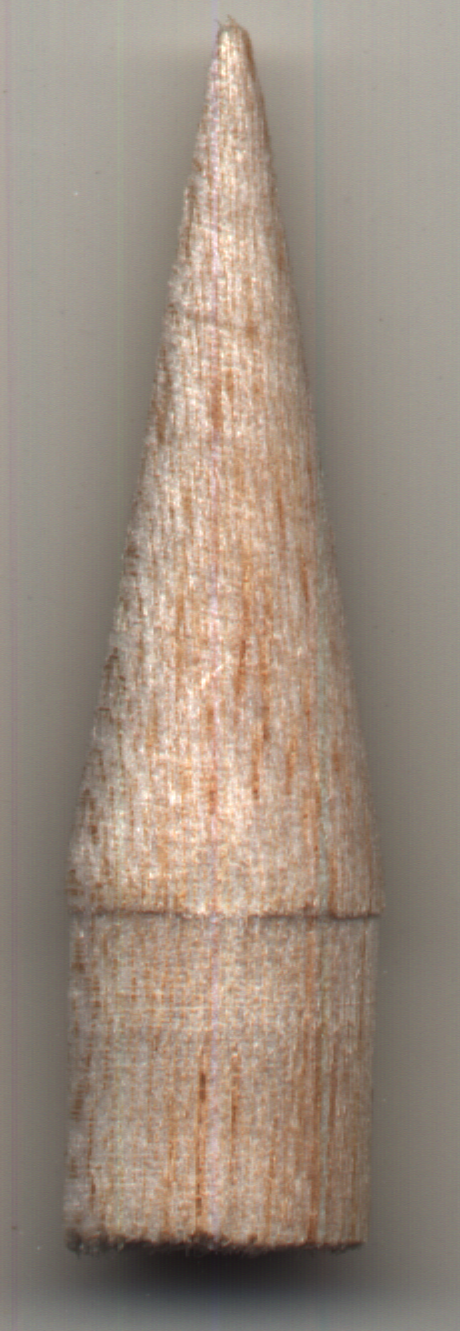
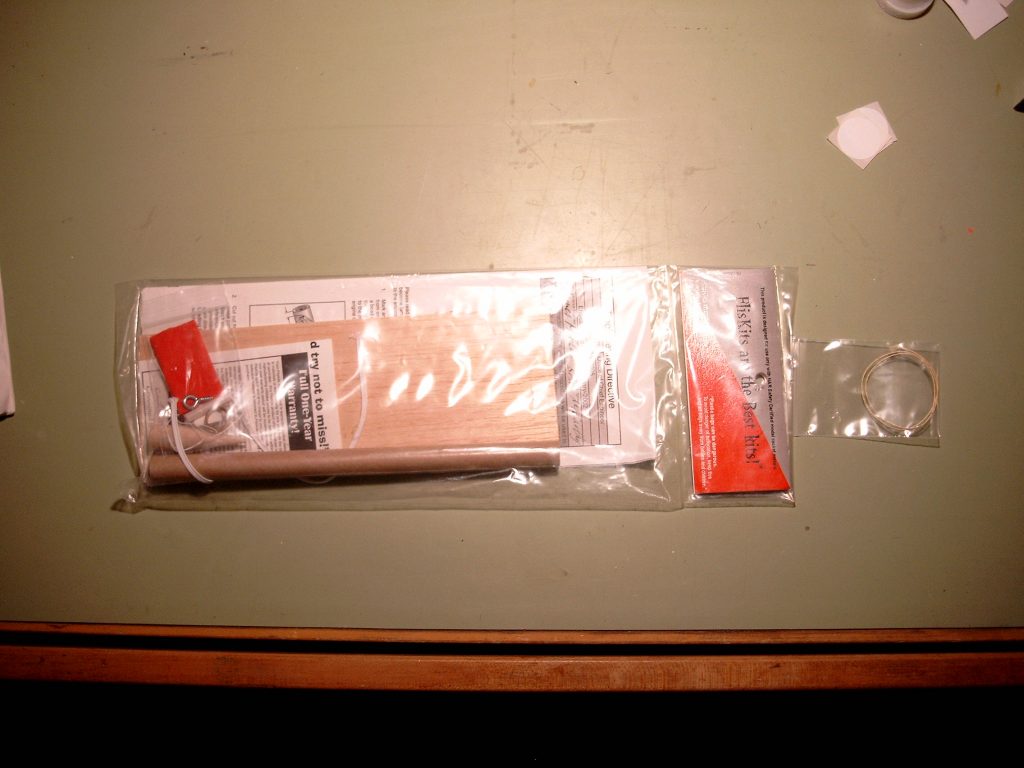
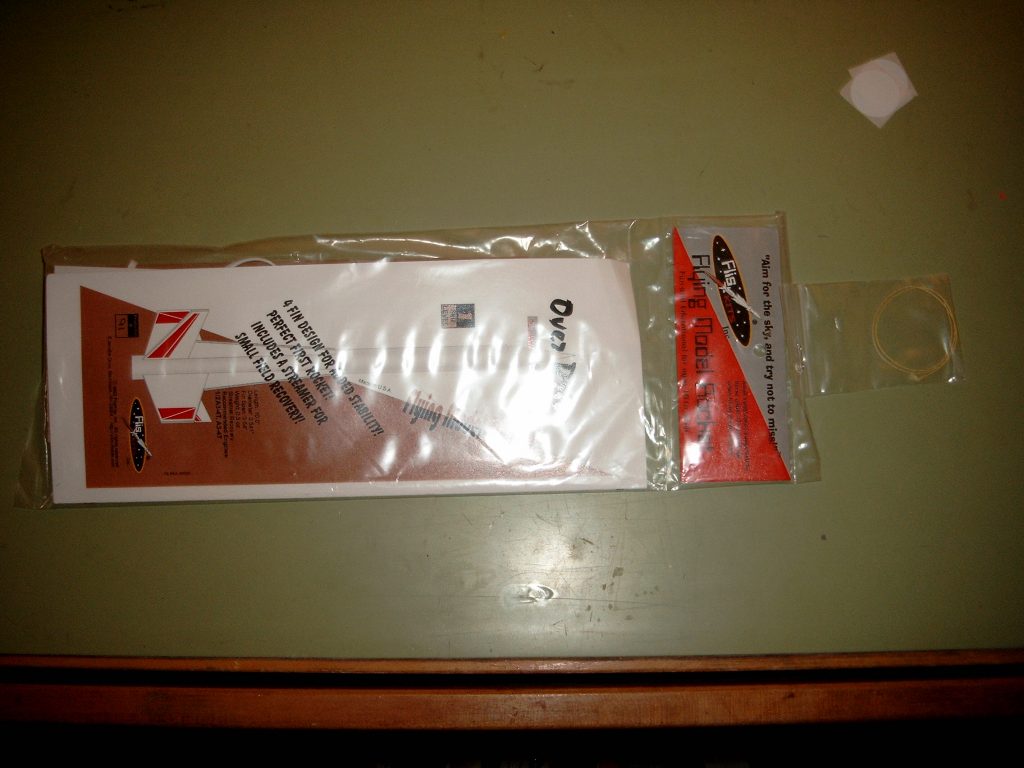
- 02/23/2004 – Scanned nose cone, template, display card front and back, and plans.
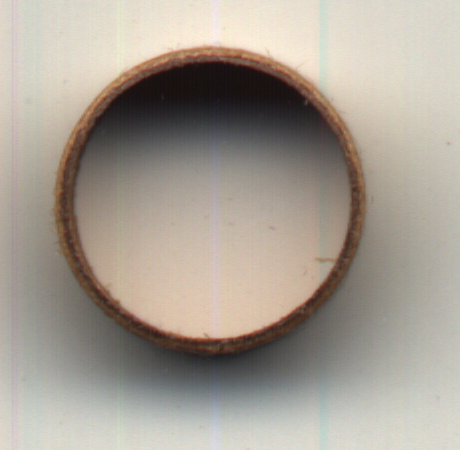
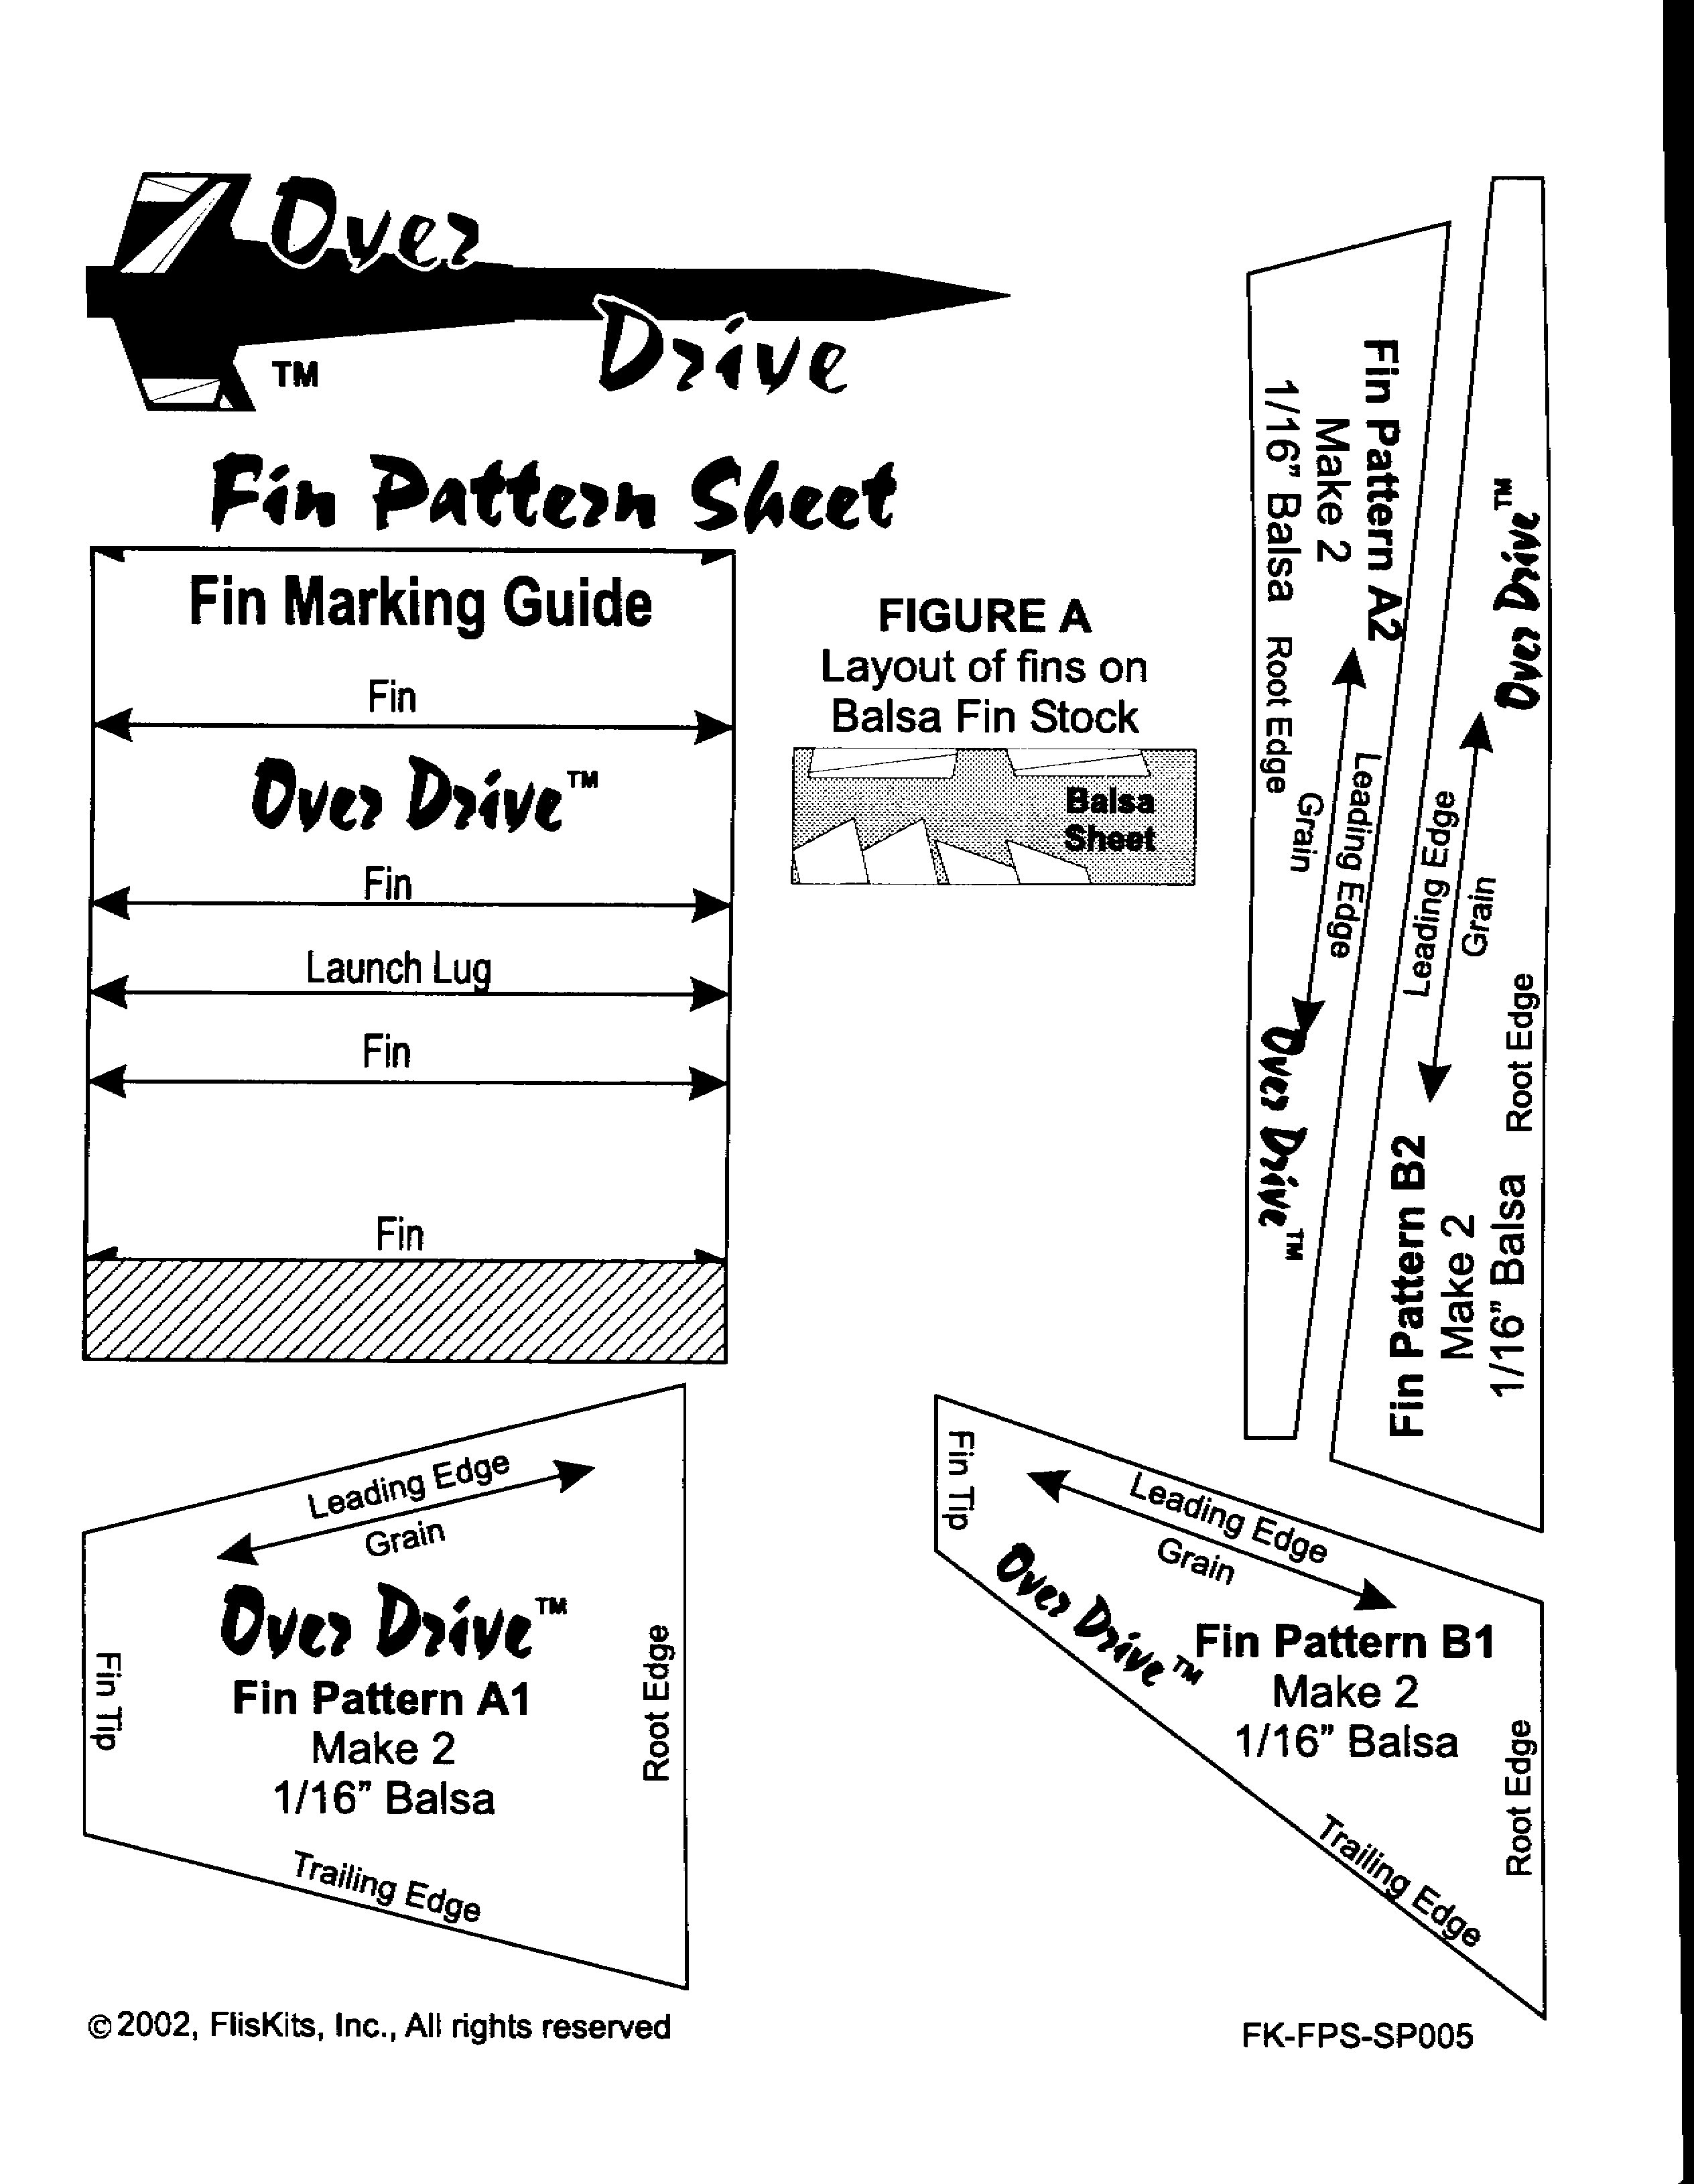
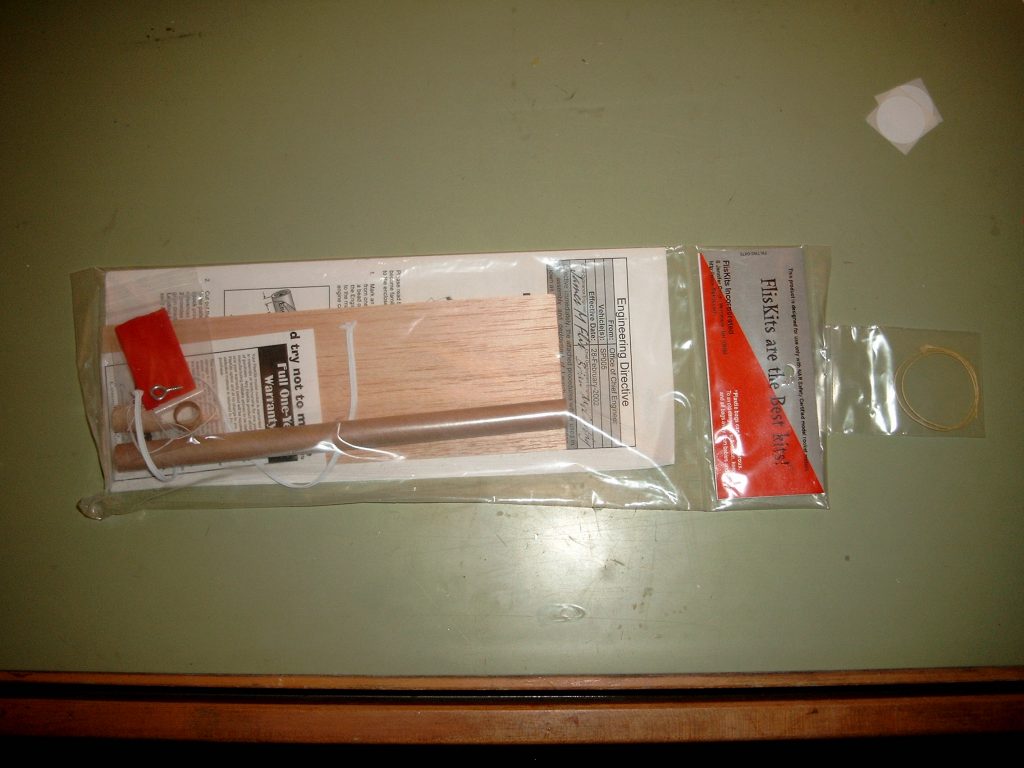
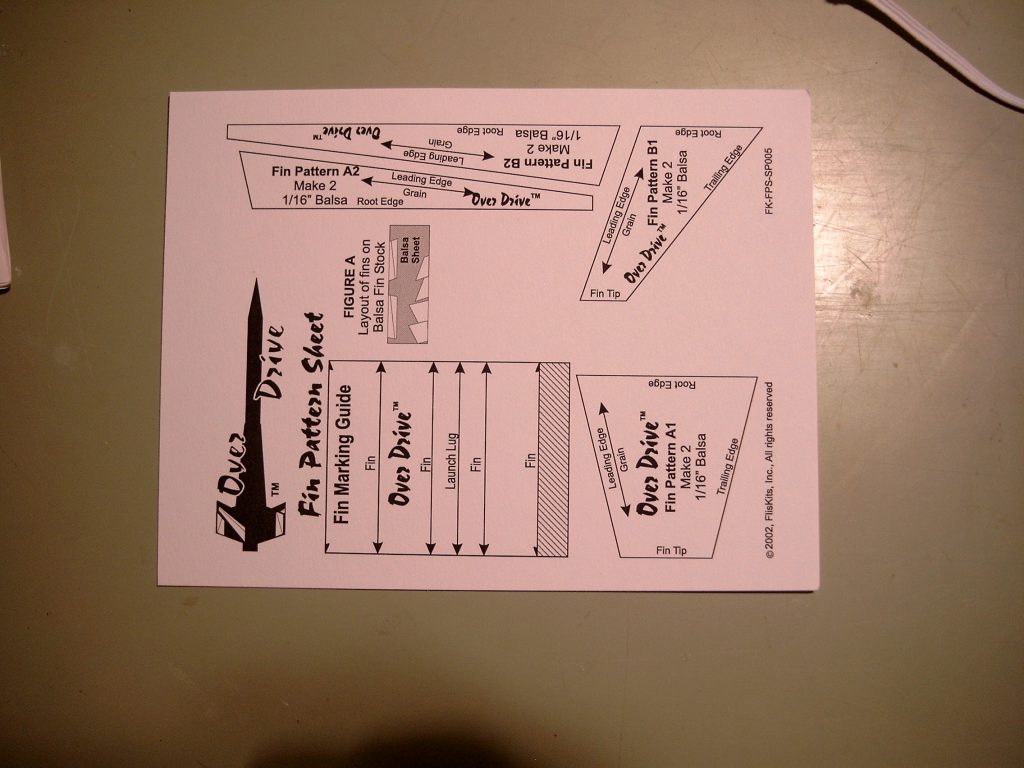
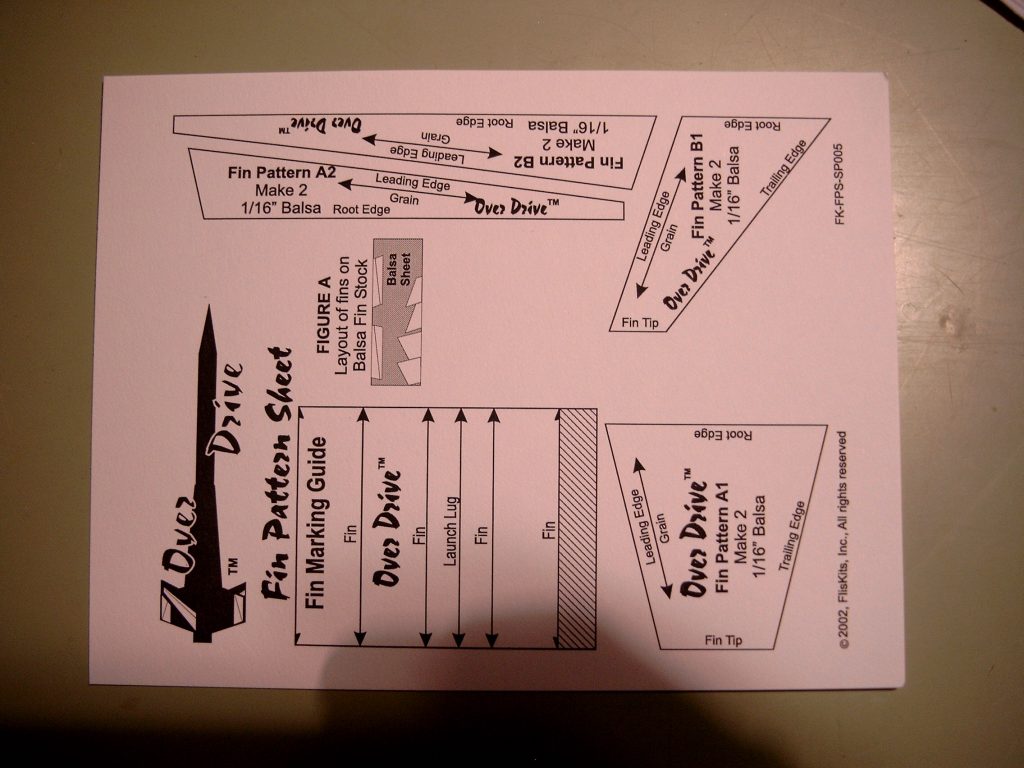
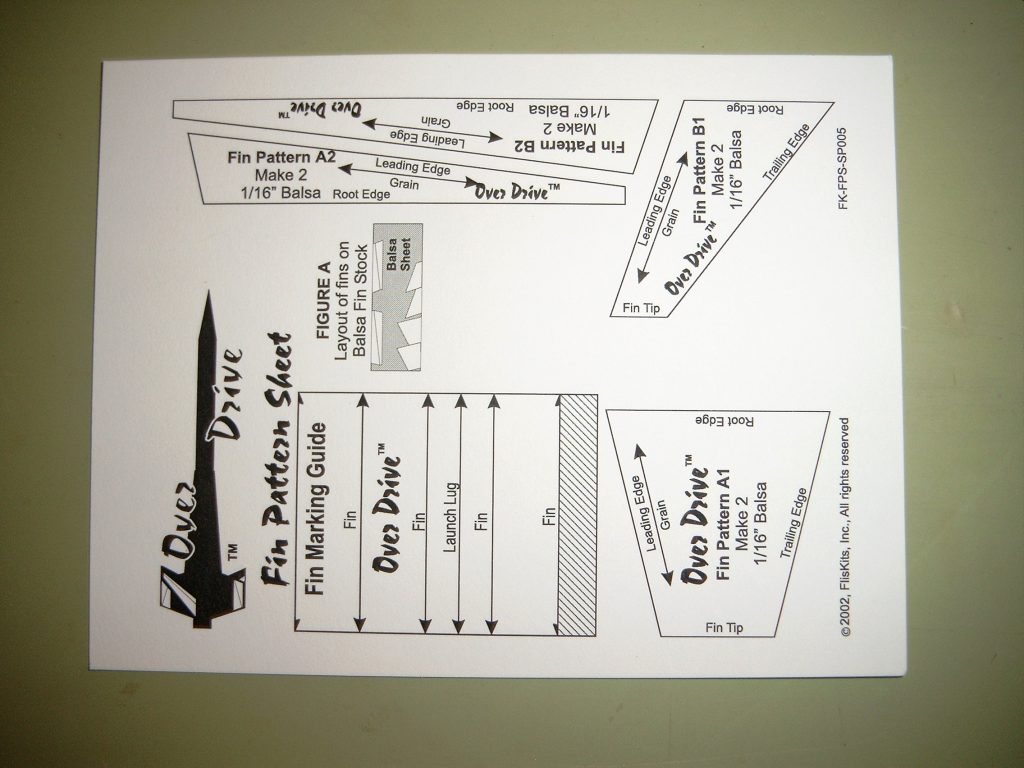
- 02/24/2004 – Took measurements of parts. See page 118 of Book #2. Made copy of template and cut out patterns with hobby knife. Using fin patterns, marked fins onto fin sheet and cut out fins with hobby knife. Tied Kevlar cord around engine block and secured it with a knot. Tied other end to white elastic shock cord. Pushed engine block with attached Devlar cord into motor tube till 1/4″ mark on engine tube matched the rear edge of the body tube. Pushed the shock cord and Kdvlar cord through the center of the engine block and out the body tube. Using the fin marking guide, marked the fin and launch lug positions onto the rear of the body tube. Extended the lines with the aid of a door jamb. Attached the tape disc to the streamer and tied one end of the white cotton shroud line through a hole punched into the disc and streamer. Tied the other end to a #12 snap swivel.
- 04/14/2004 – Glued fin A1 to fin A2 using wax paper over table top to geek glue from sticking to table top and Elmer’s Yellow Glue for both fin units. Allowed glue to dry overnight. Glued fin B1 to fin B2 using a straight edge to keep them straight along the foot edge and allowed glue to dry overnight. Glued and screwed screw eye into balsa nose cone base.
- 04/15/2004 – Removed fins from wax paper, sanded root edges and marked body tube 1/4″ from aft end around body tube. Glued A1A2 fin to fin line and allowed to dry before gluing the second fin opposite the first.
- 04/16/2004 – glued second a1-A2 fin combination to opposite side of body tube where first fin was glued. Set body tube on body tube measuring stool to allow glue to dry undisturbed. Glued B1-B2 fin combination fin between both A1-A2. Set model on body tube marking guide and lip of drafting table to keep fin upright until glue set. Glued the second set of B1-B2 fins to the body tube apposite the other set along the fin guide line. Glued the first set of fins. Applied second fillet to fin joint.
- 04/17/2004 – Applied third fillet to next fin joint. Applied fourth and final fillet. Model is now ready for balsa fill and paint.
- 05/10/204 – Applied balsa filler to fins and nose cone.
- 05/24/2004 – Sanded balsa filler with 220 grit sandpaper.
- 06/03/2004 – Applied balsa filler to fins and nose cone again.
- 03/15/2022 – Spray painted entire model with Red Primer.
- 03/02/2023 – Spray painted entire model with Rust-oleum # 328373 High Gloss White.
Flights
| Date | Location | # | Motor | Comments |
Leave a Reply
You must be logged in to post a comment.