FLIS KITS Model #CP001

Description
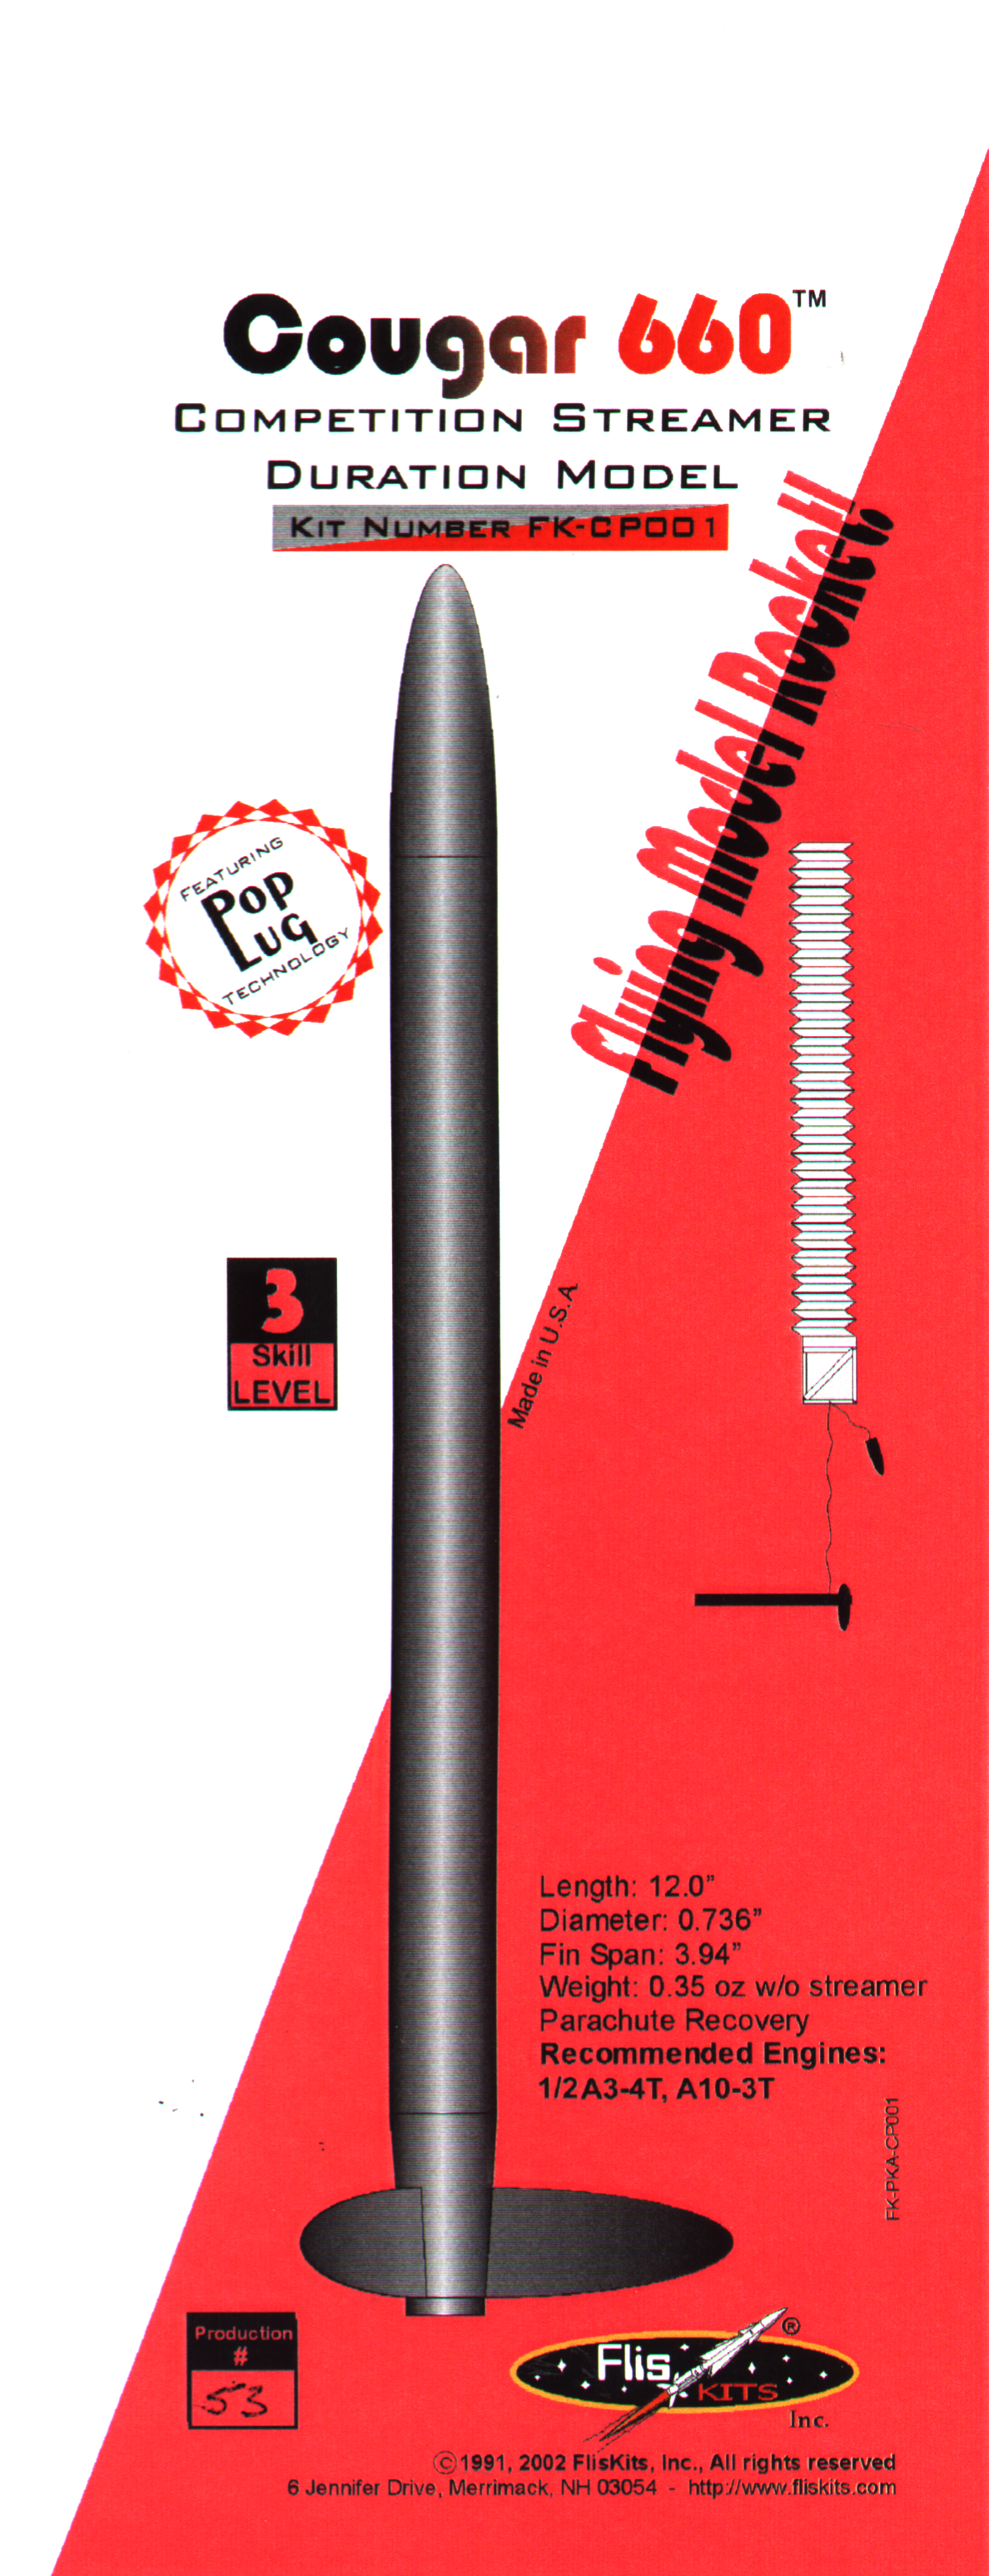
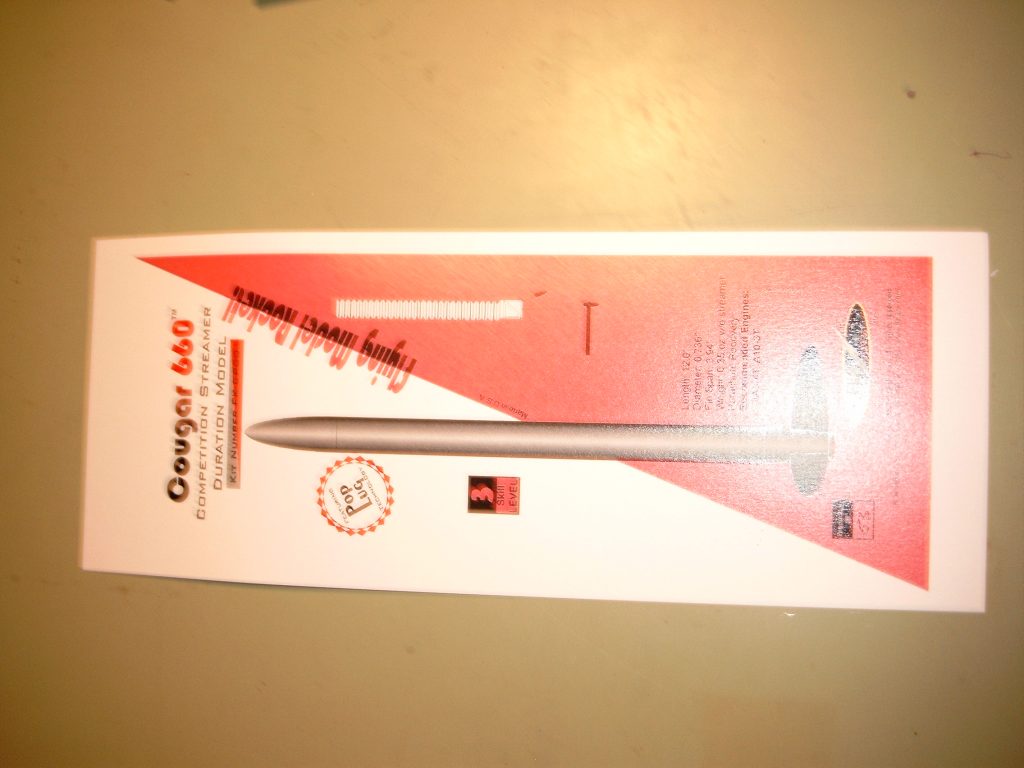
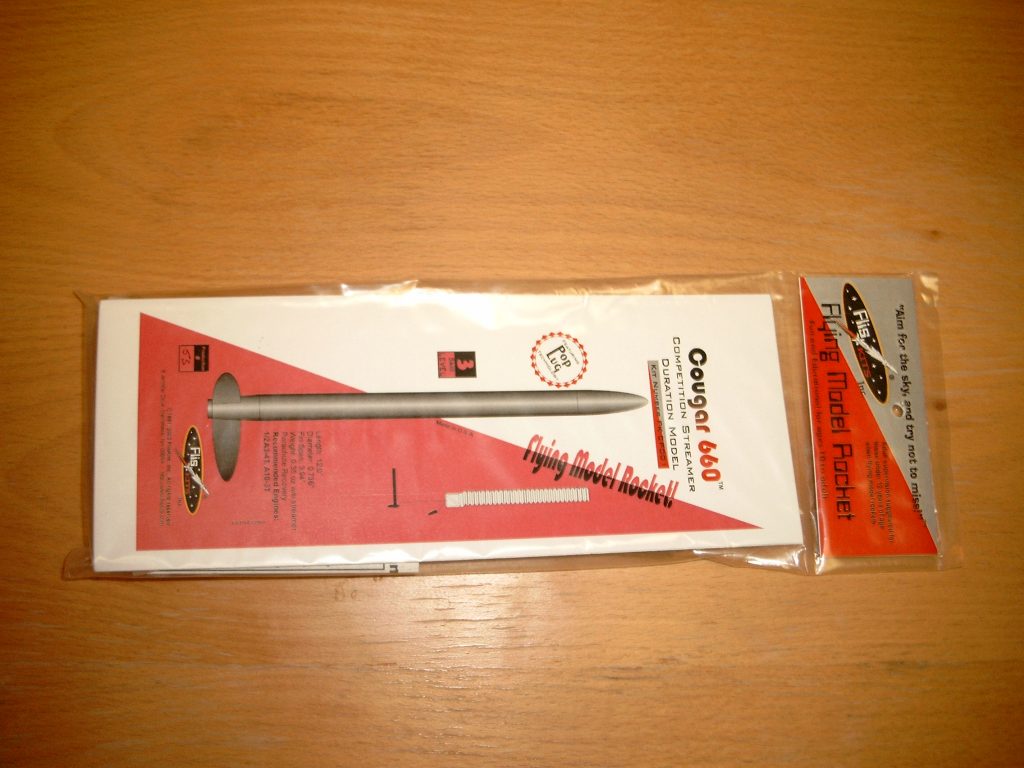
The Cougar 660 employs light weight, wind cheating design, 3 choices of competition fin designs and a record setting 6″ x 60″ competition streamer!
Sporting a ling, narrow profile and low drag fin design, the Cougar 660 provides outstanding flights with incredible altitudes and air time to bring you many hours of rocketry fun.
Additional Information
- Length: 12.0″
- Diameter: 0.736″
- Wing Span: 3.94″
- Weight: 0.35 oz.
- Recovery: Streamer
- Recommended Motors:
- 1/2A3-4T, A3-4T, A10-3T
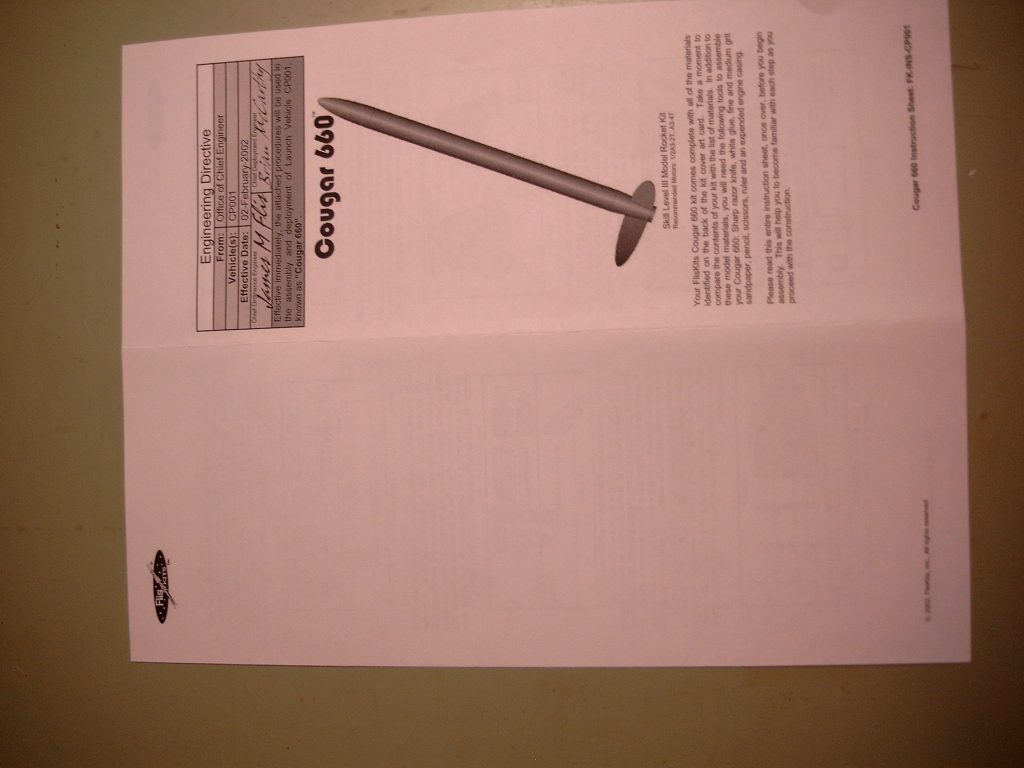
Instructions
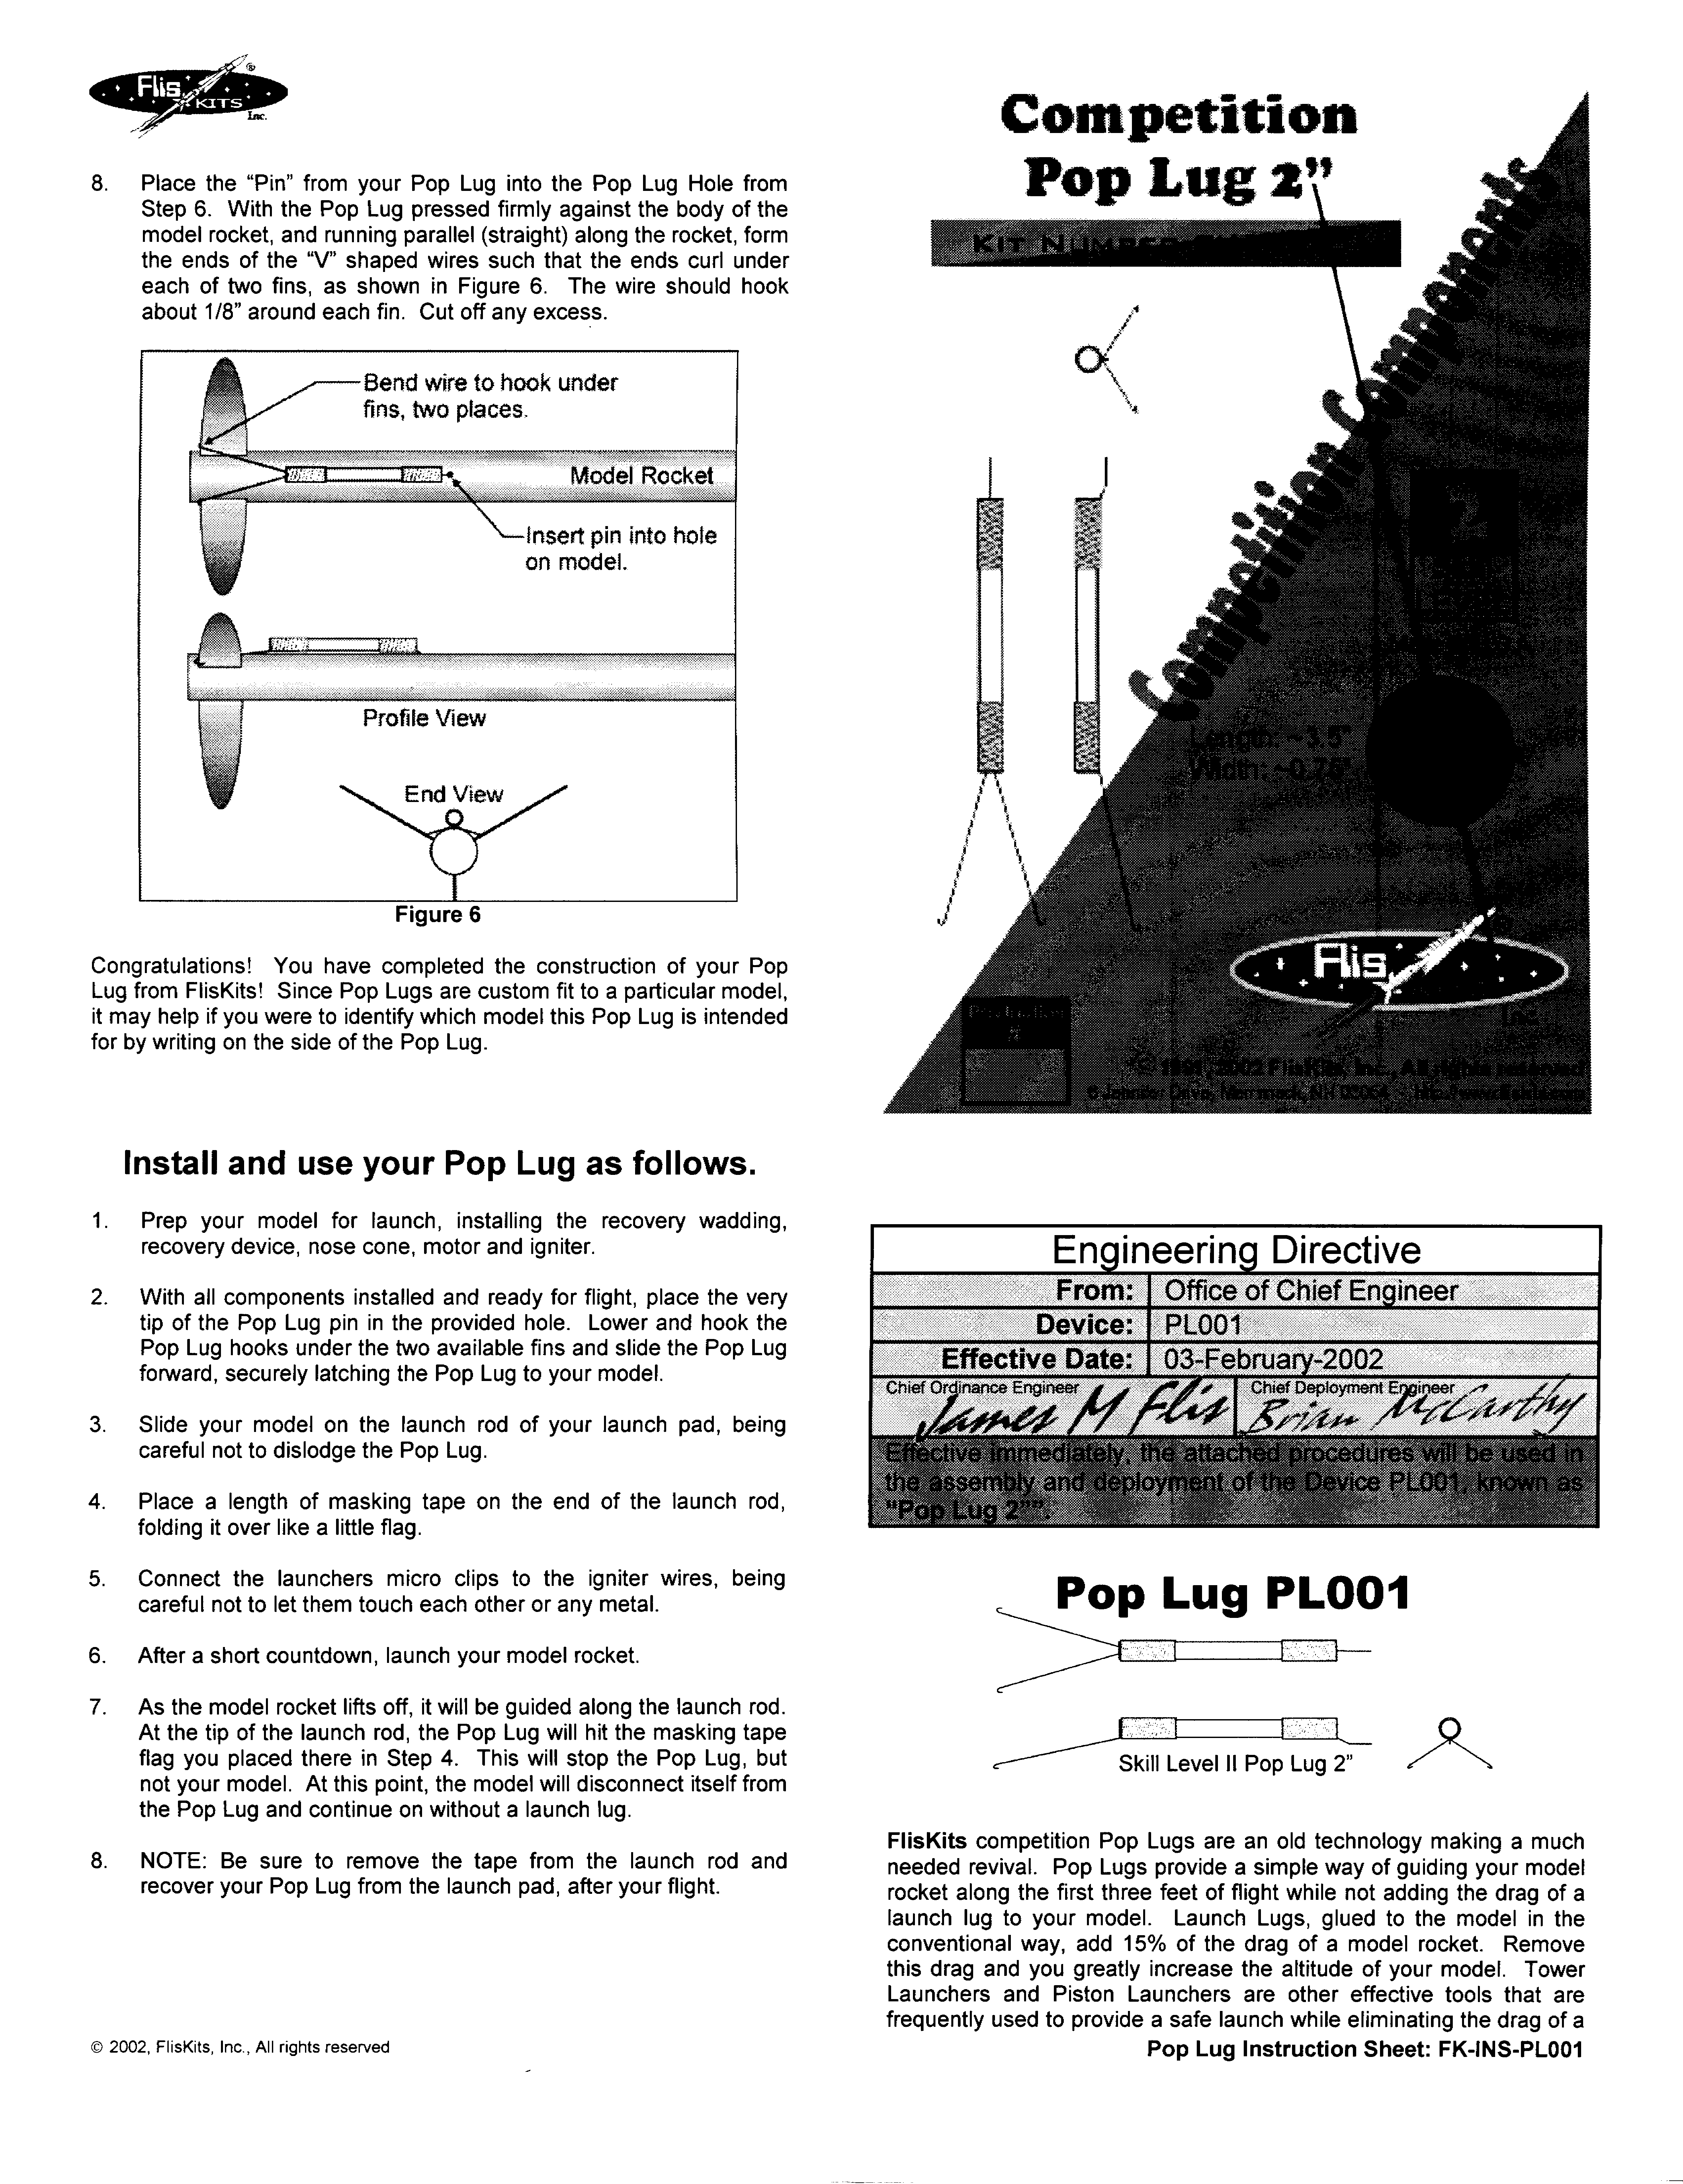
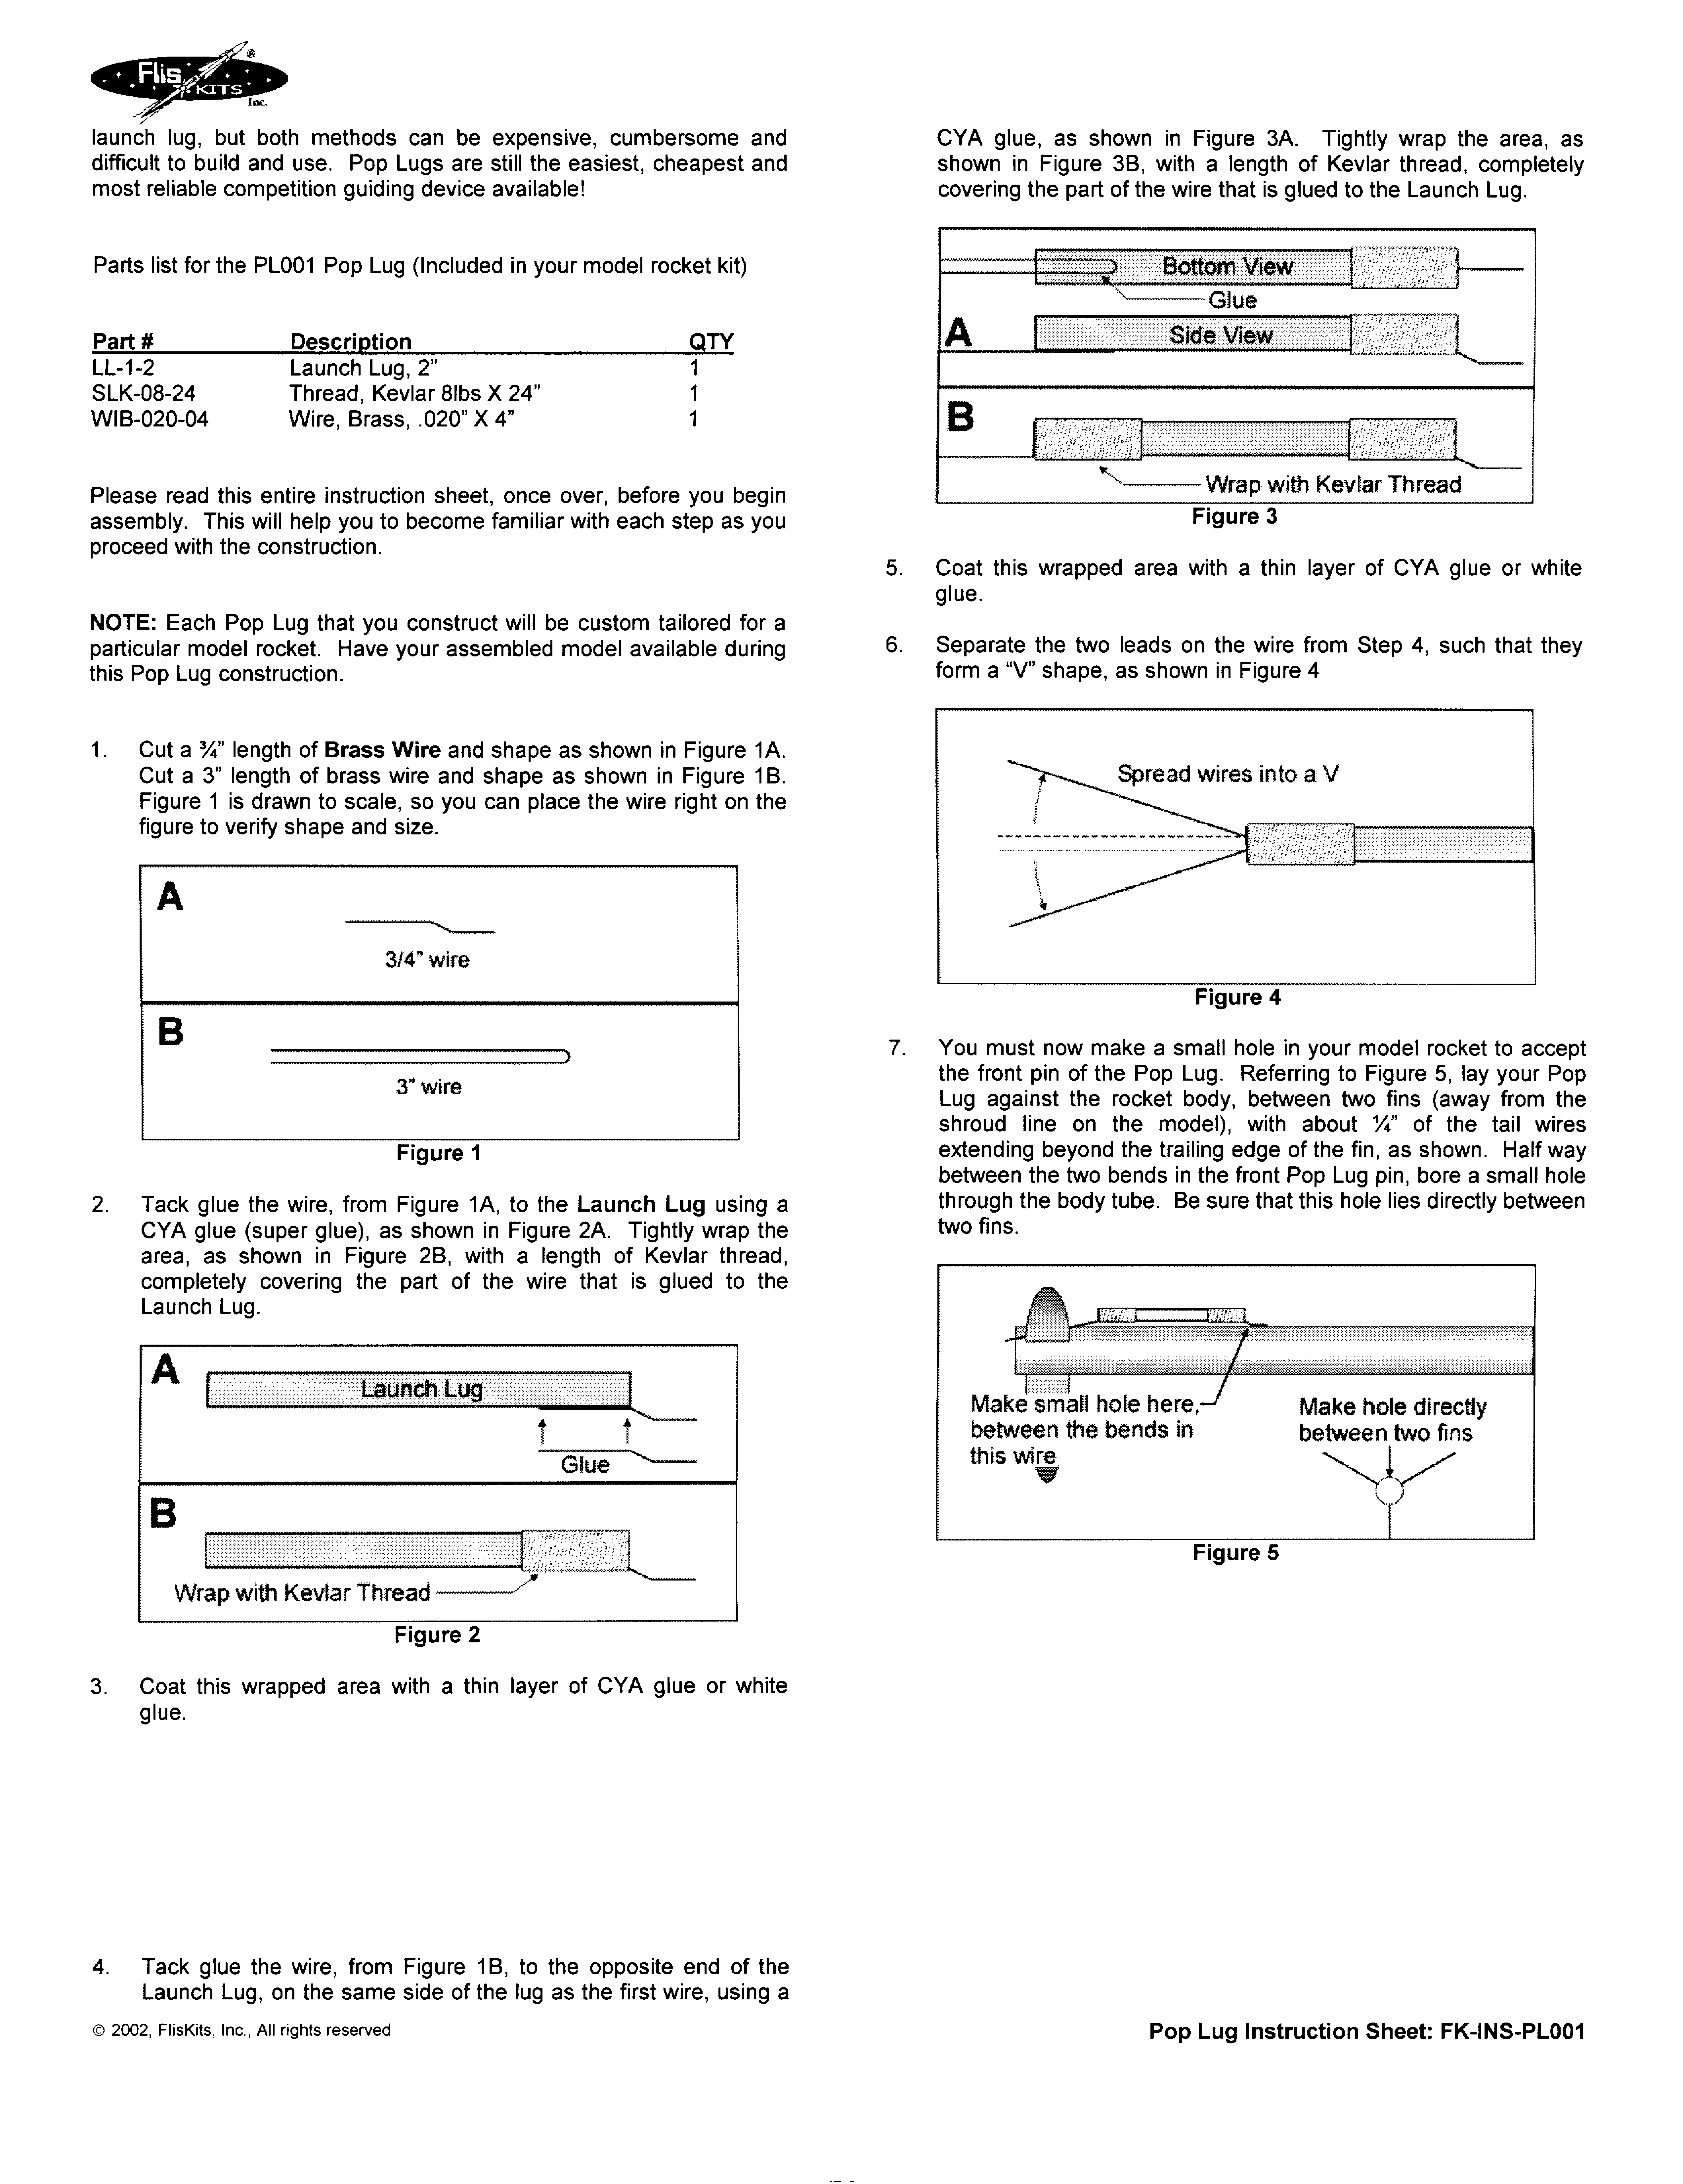
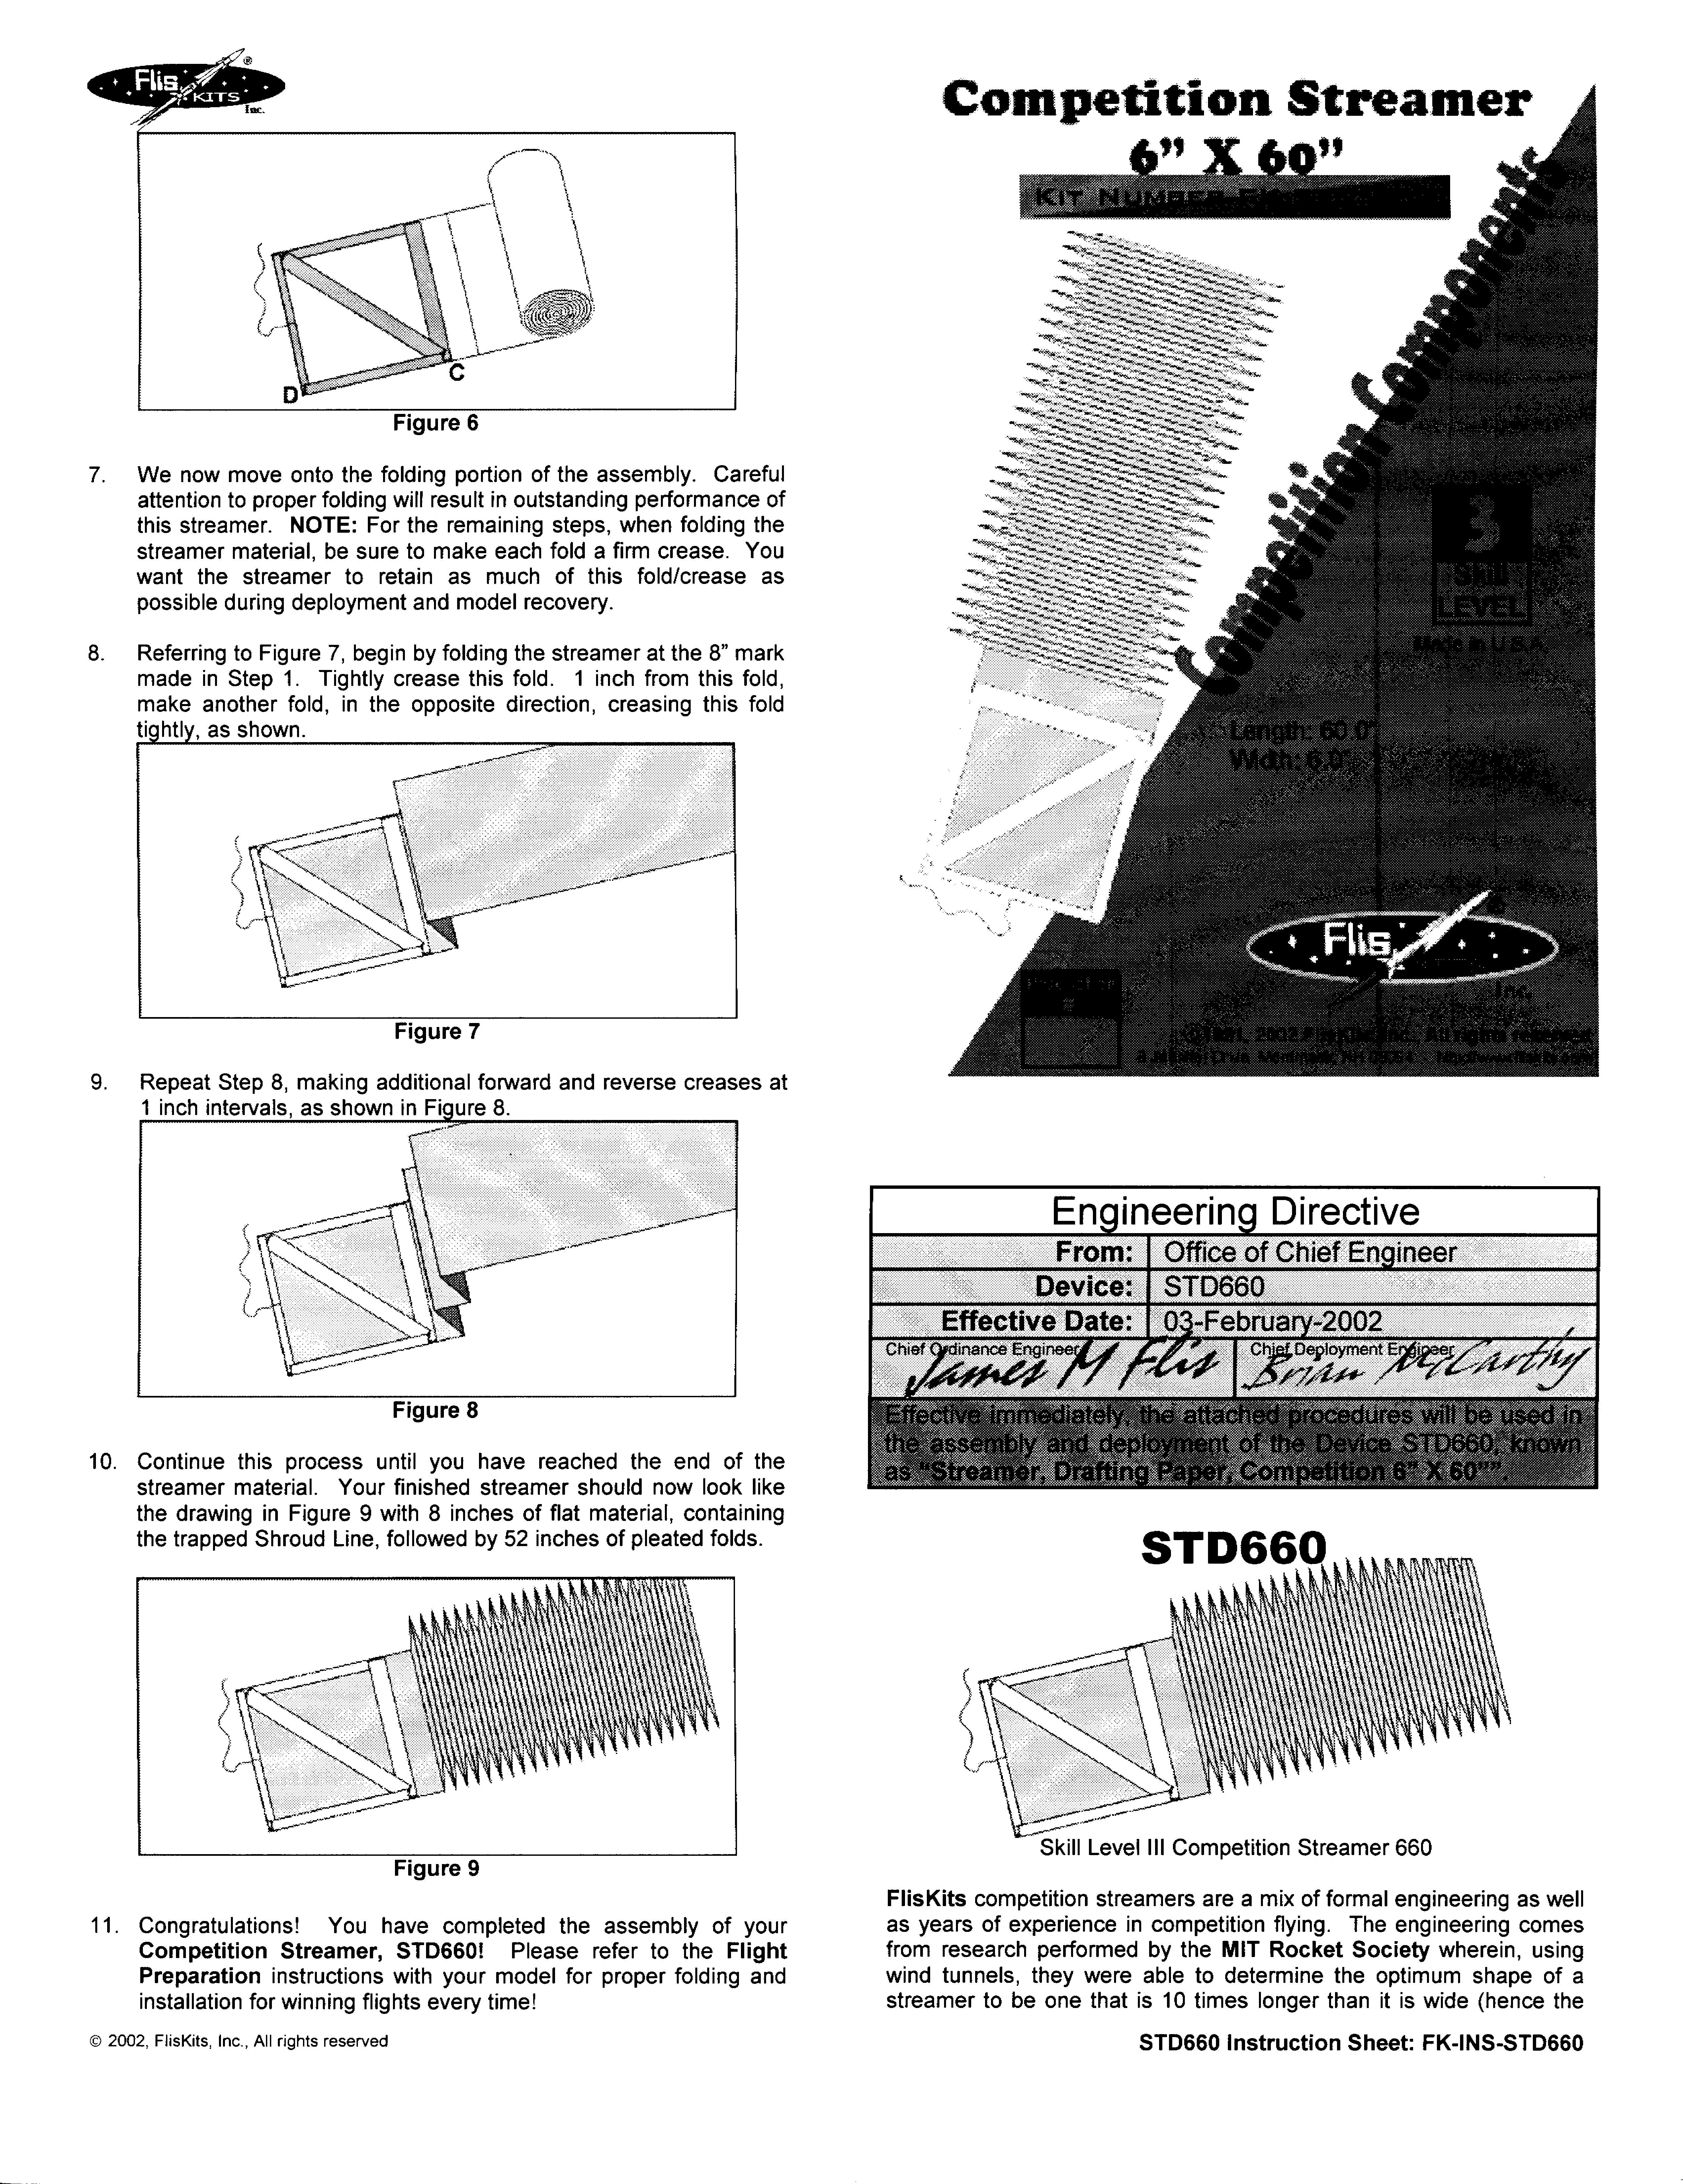
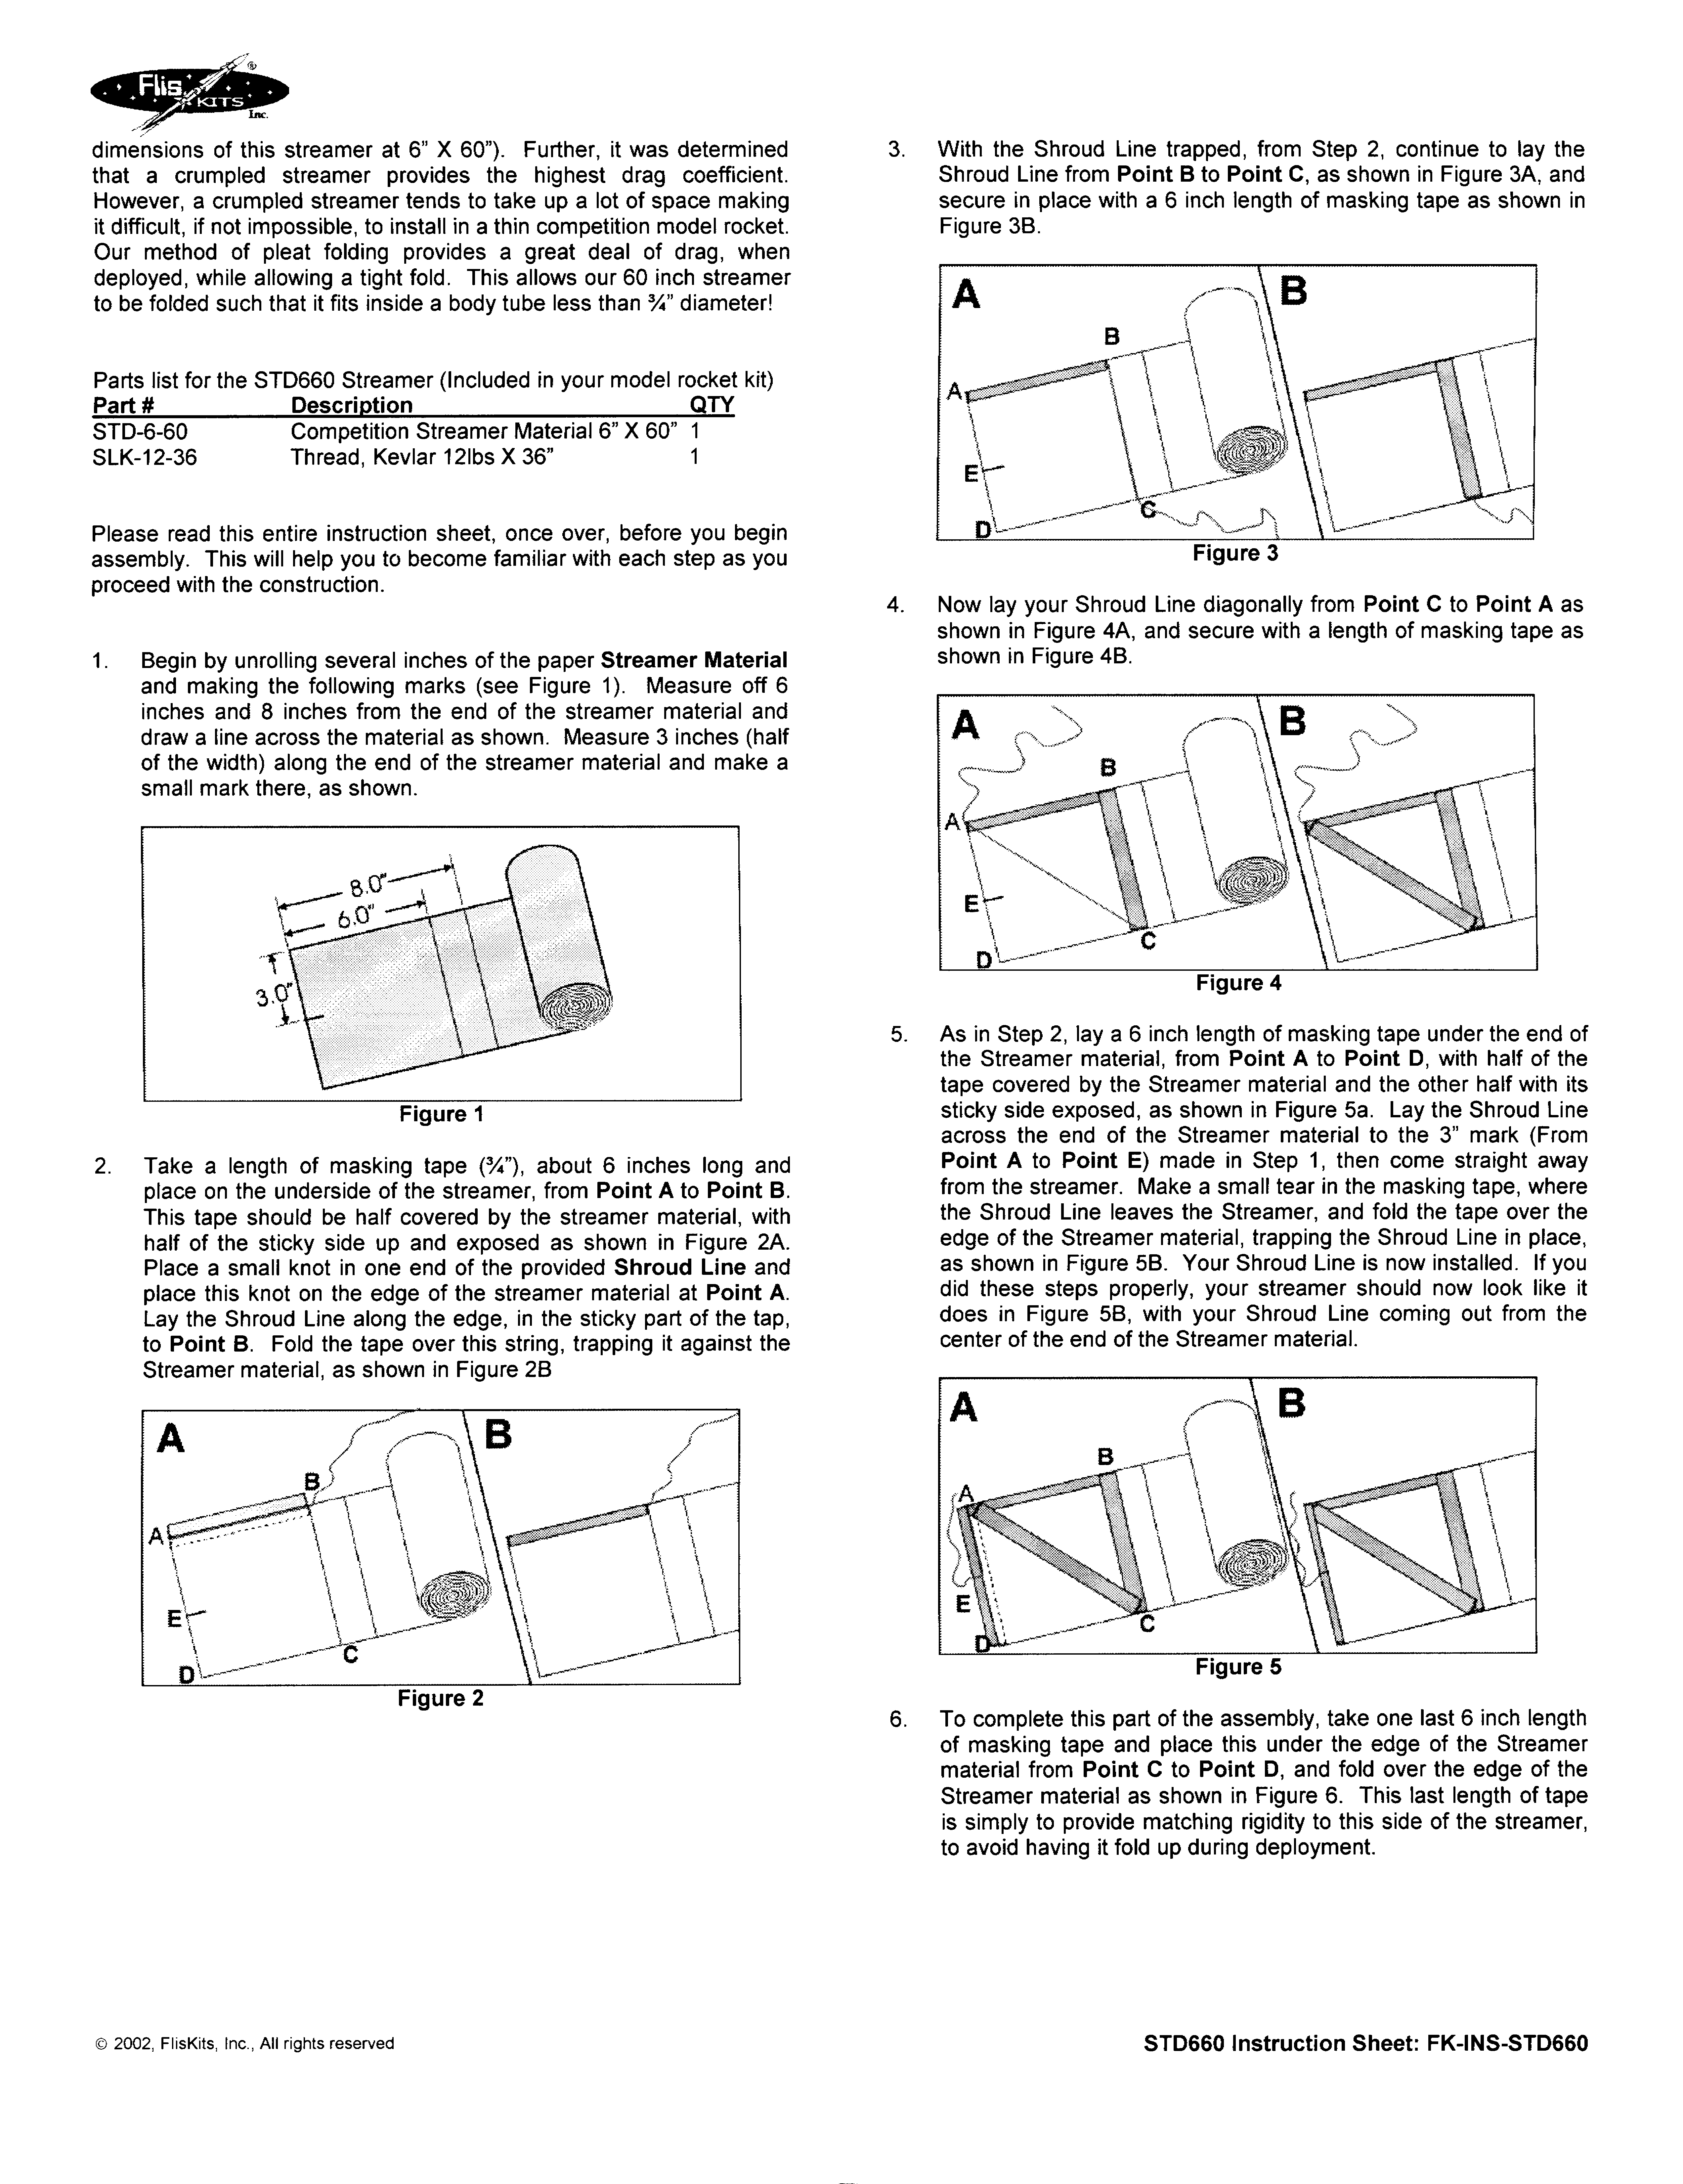
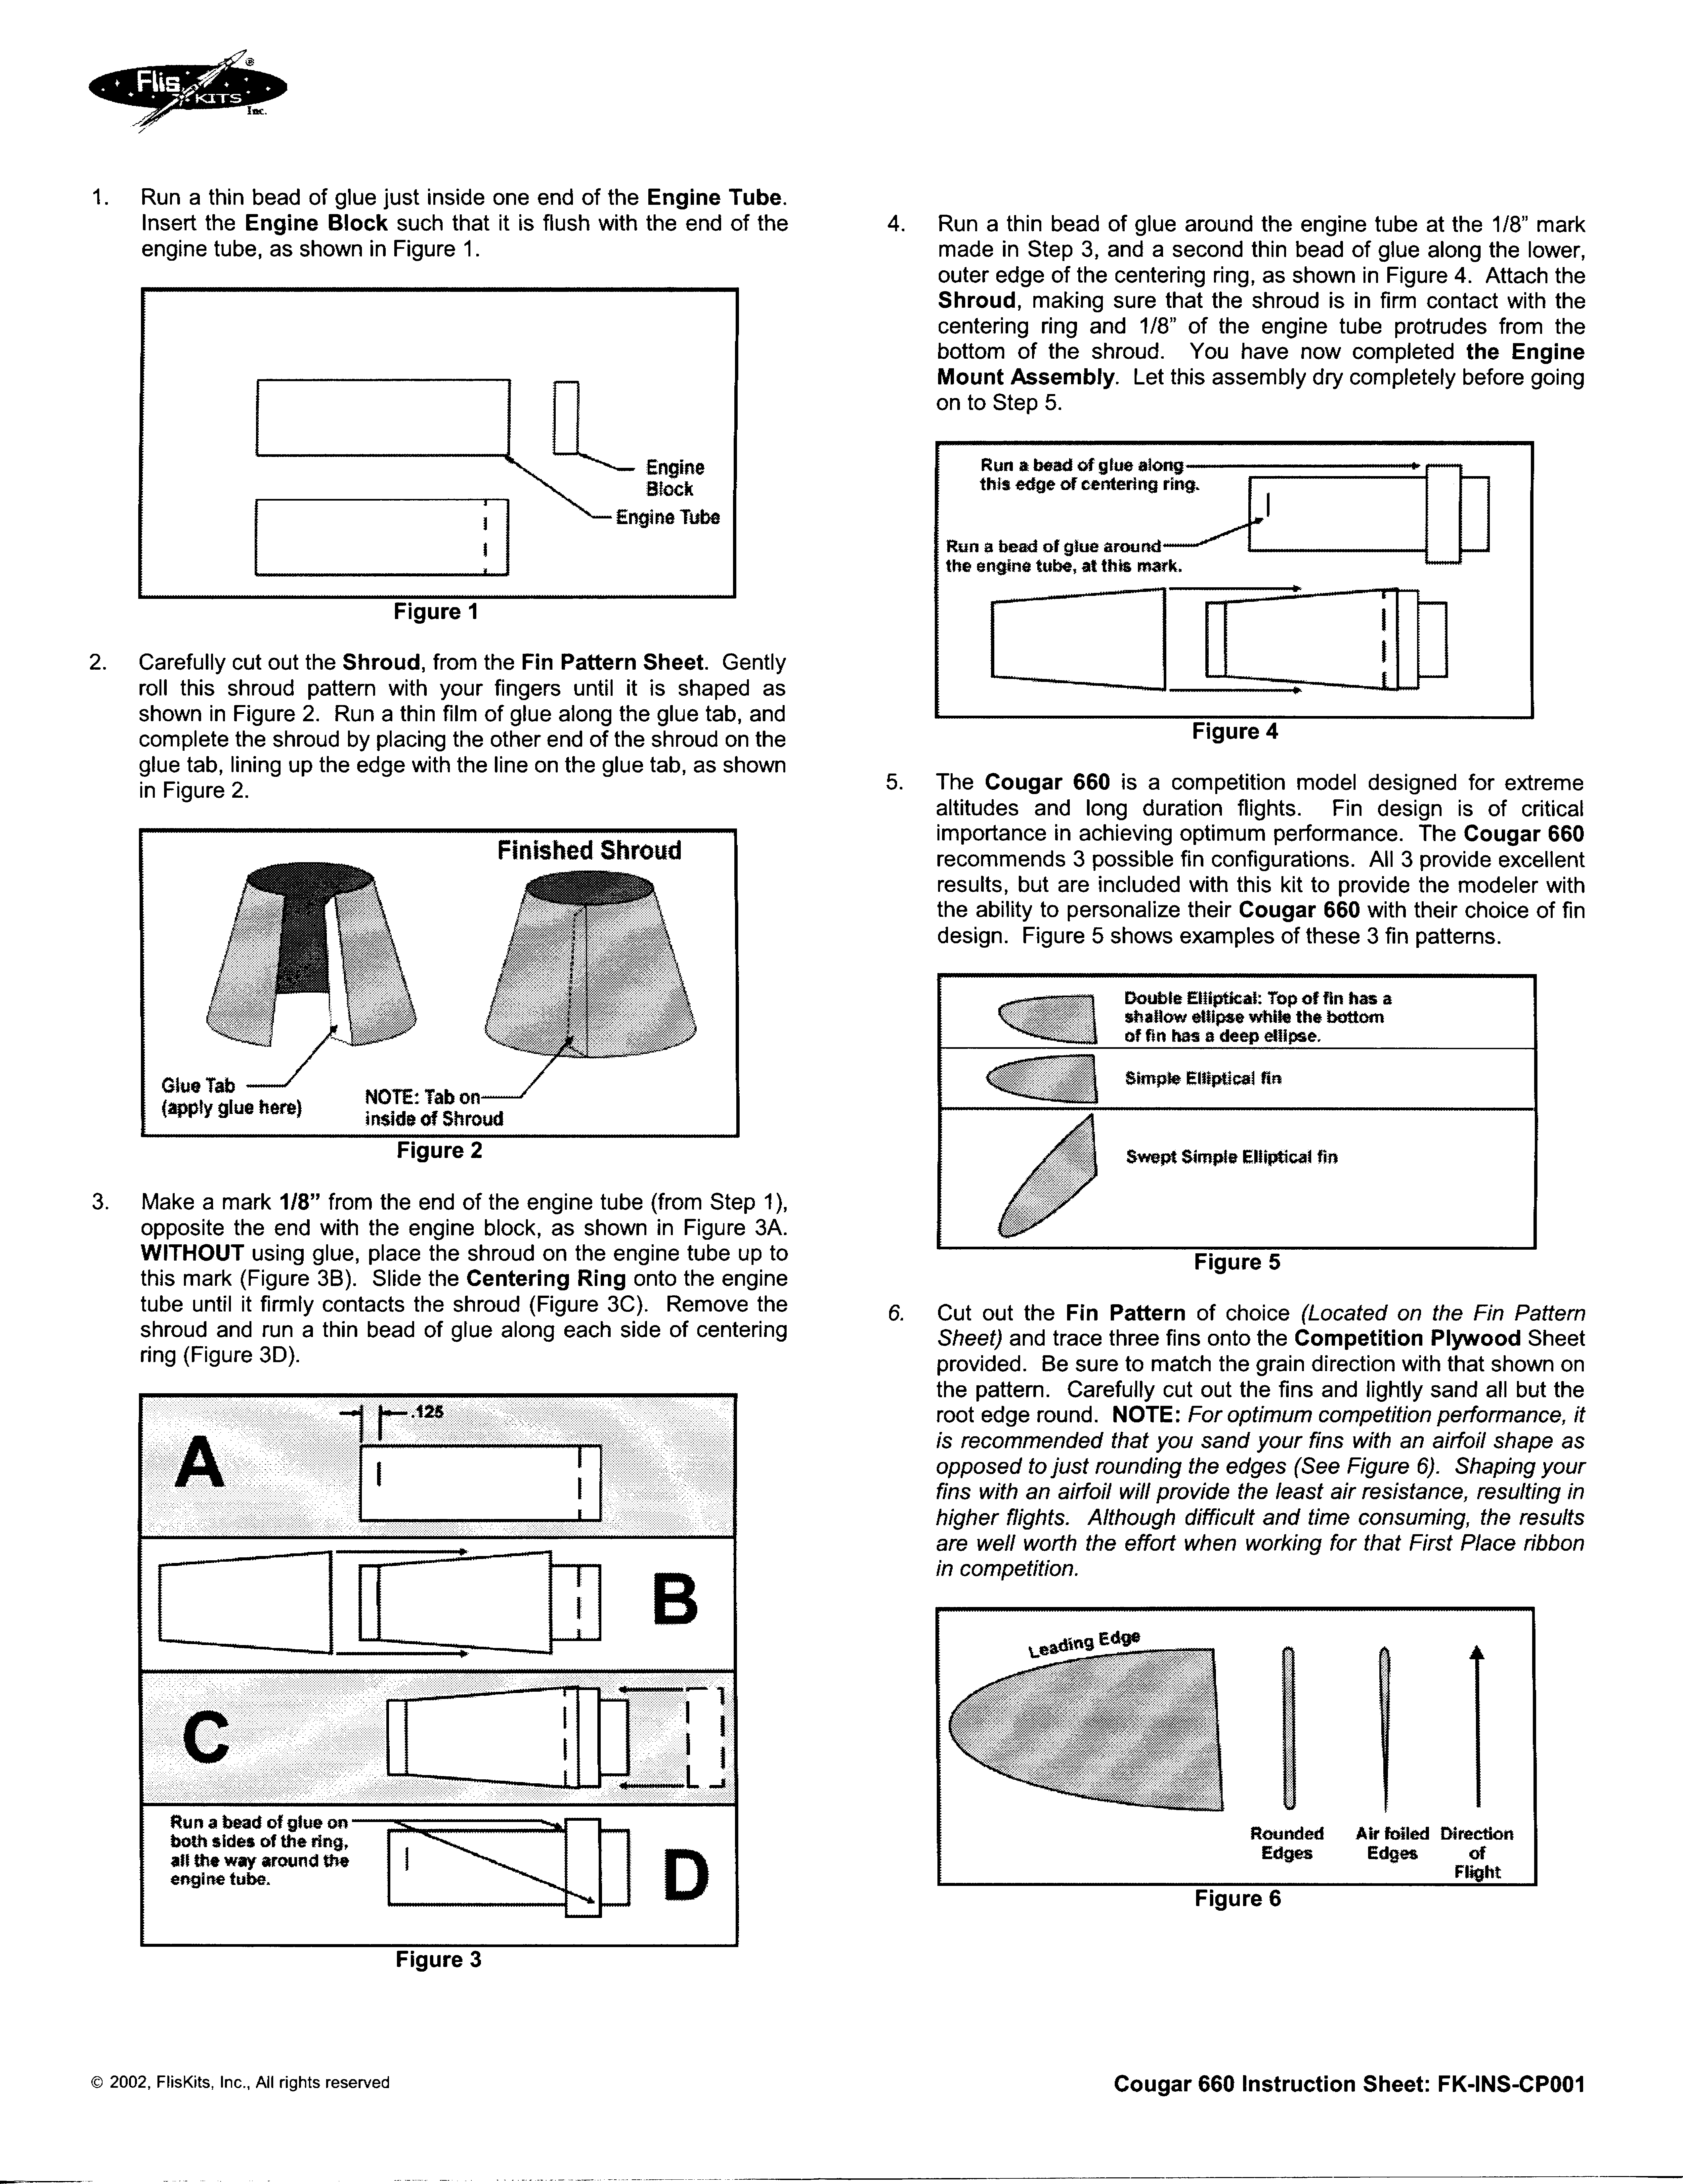
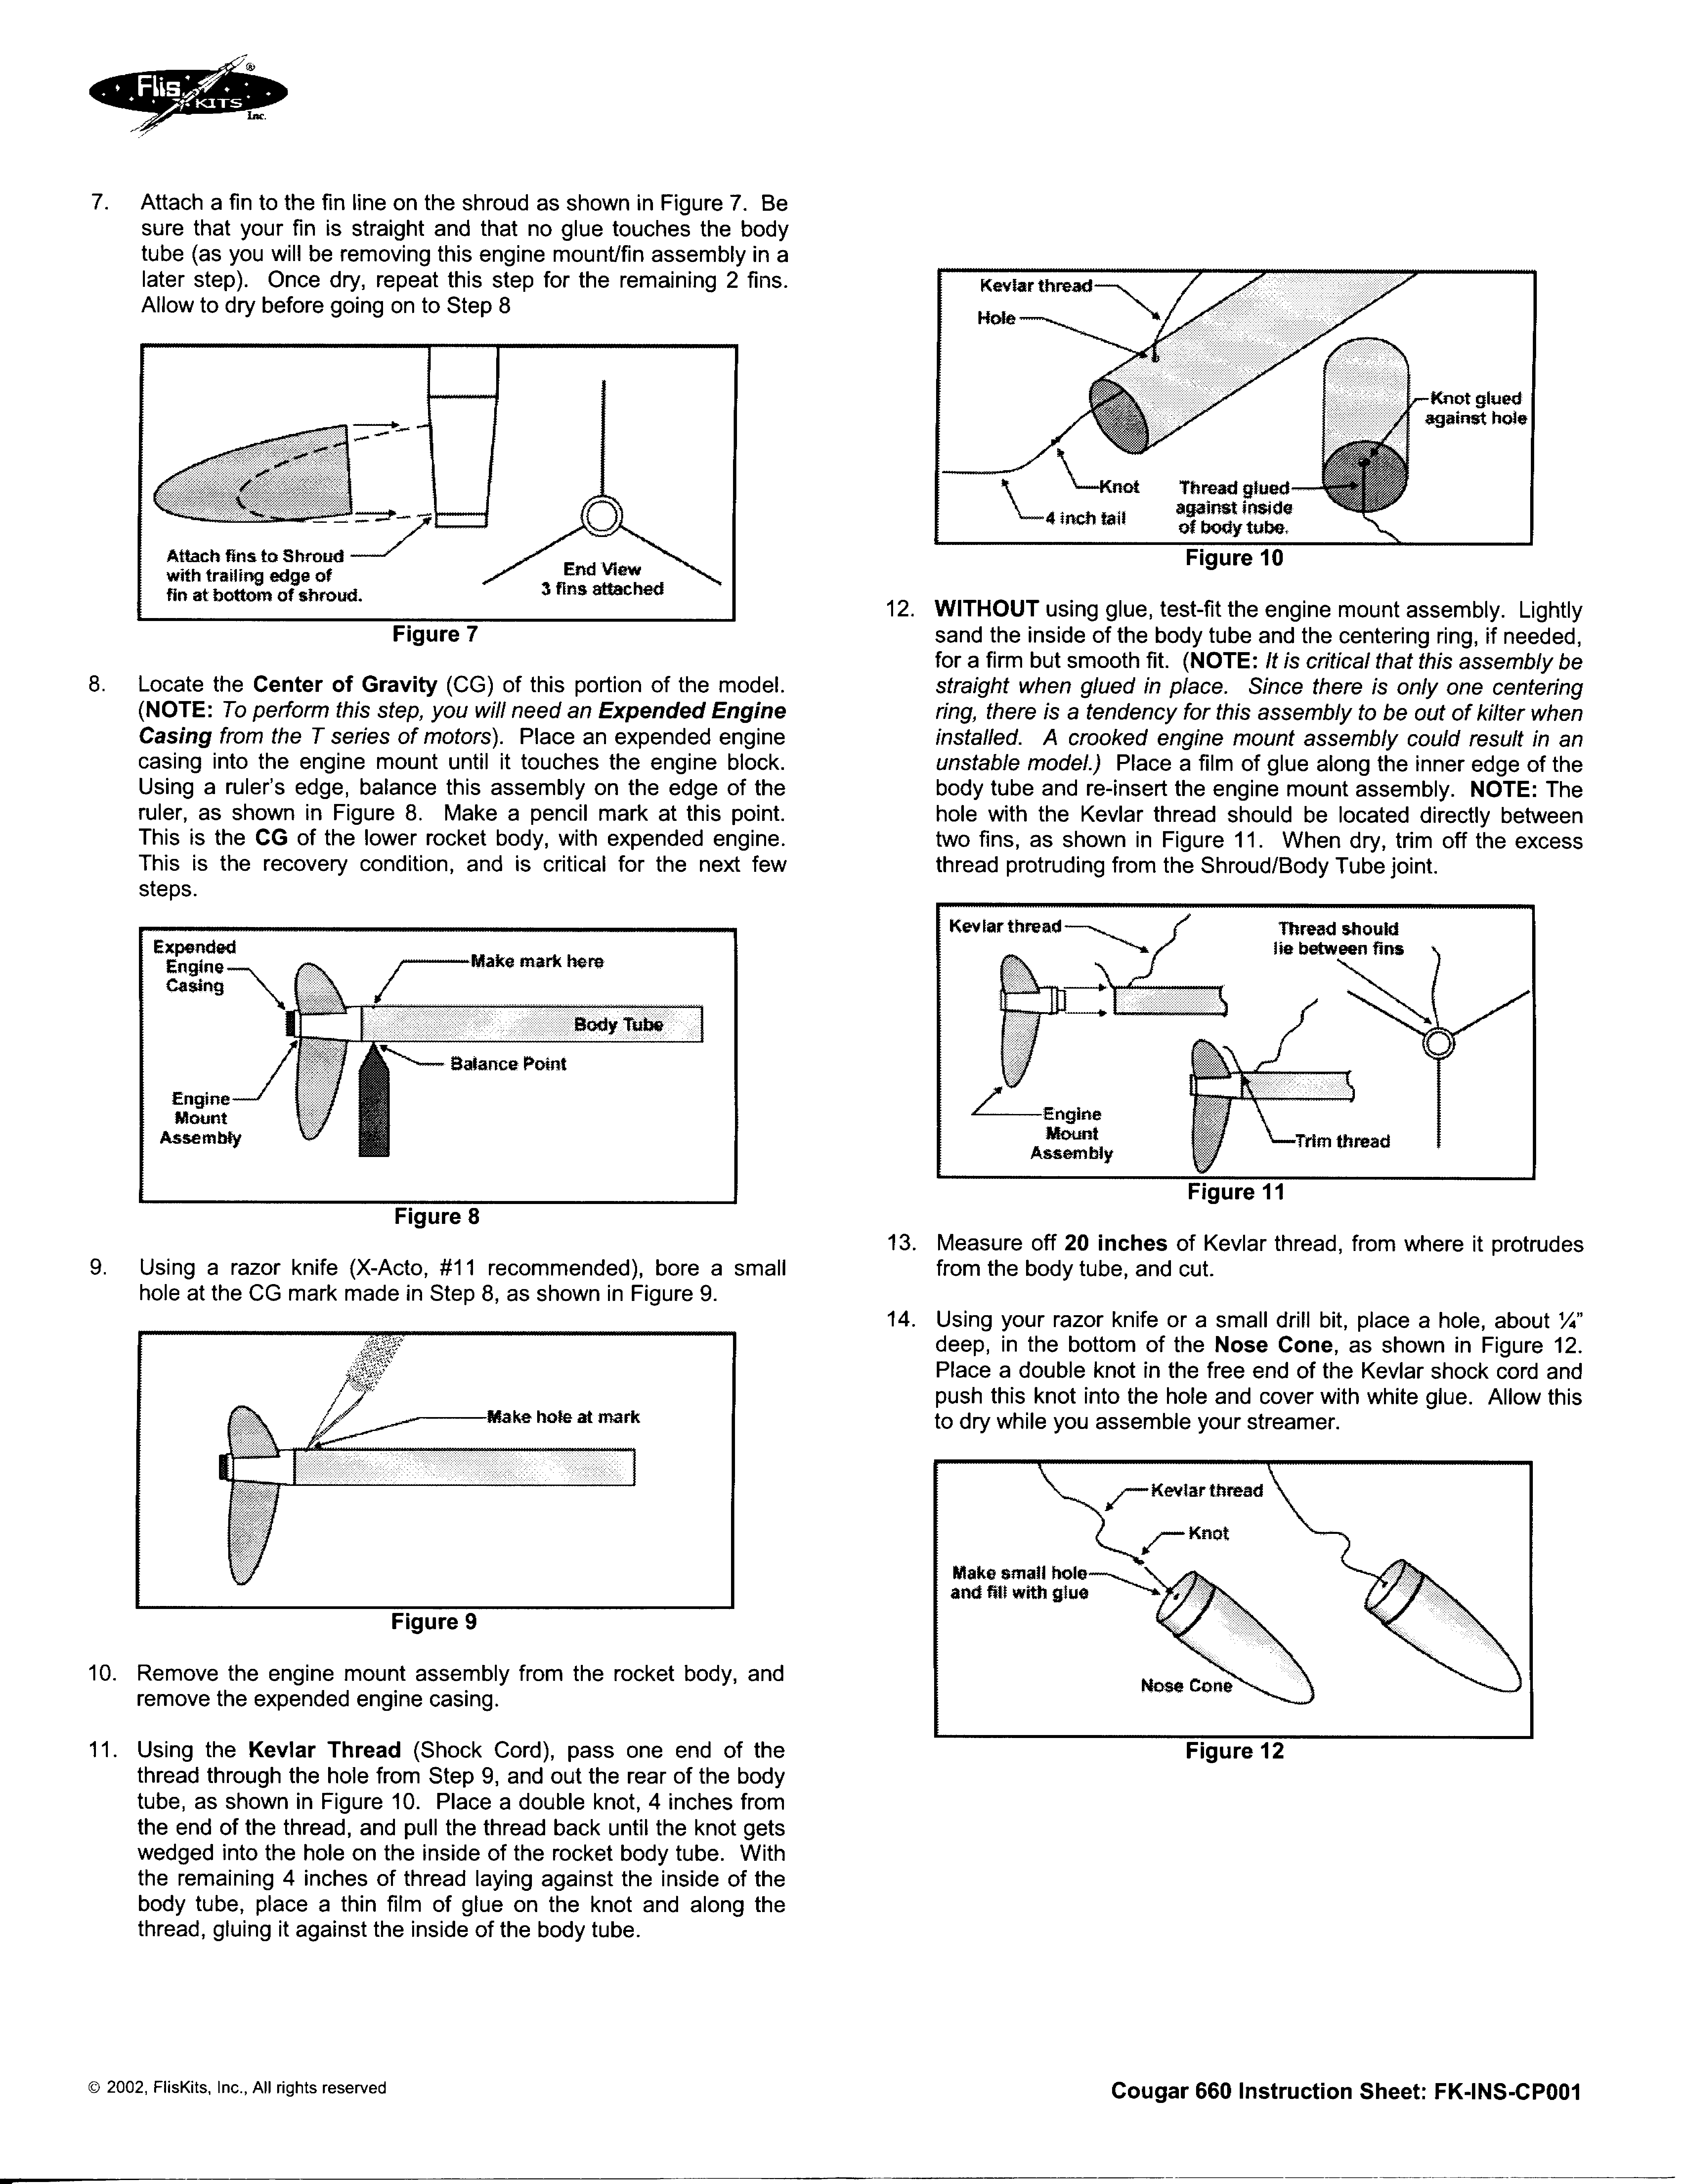

Photo Gallery
Build History
- 12/29/2003 – Purchased FlisKits #CP-001 Cougar 660 from FlisKits for $9.84 (Retail – $10.95).
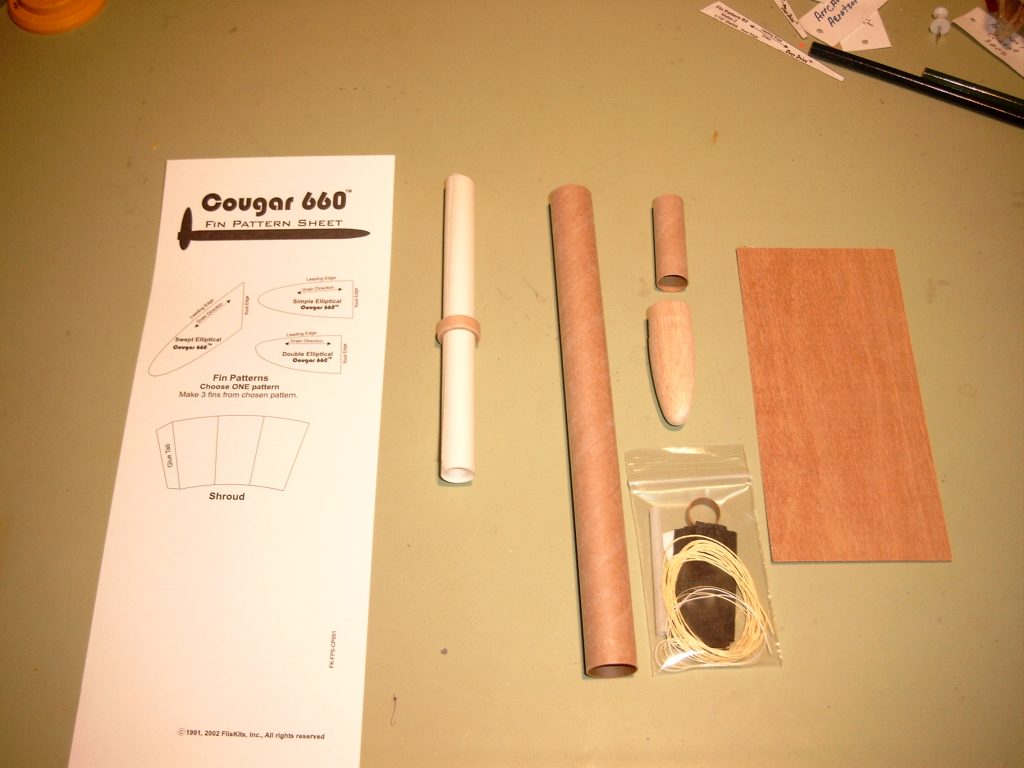
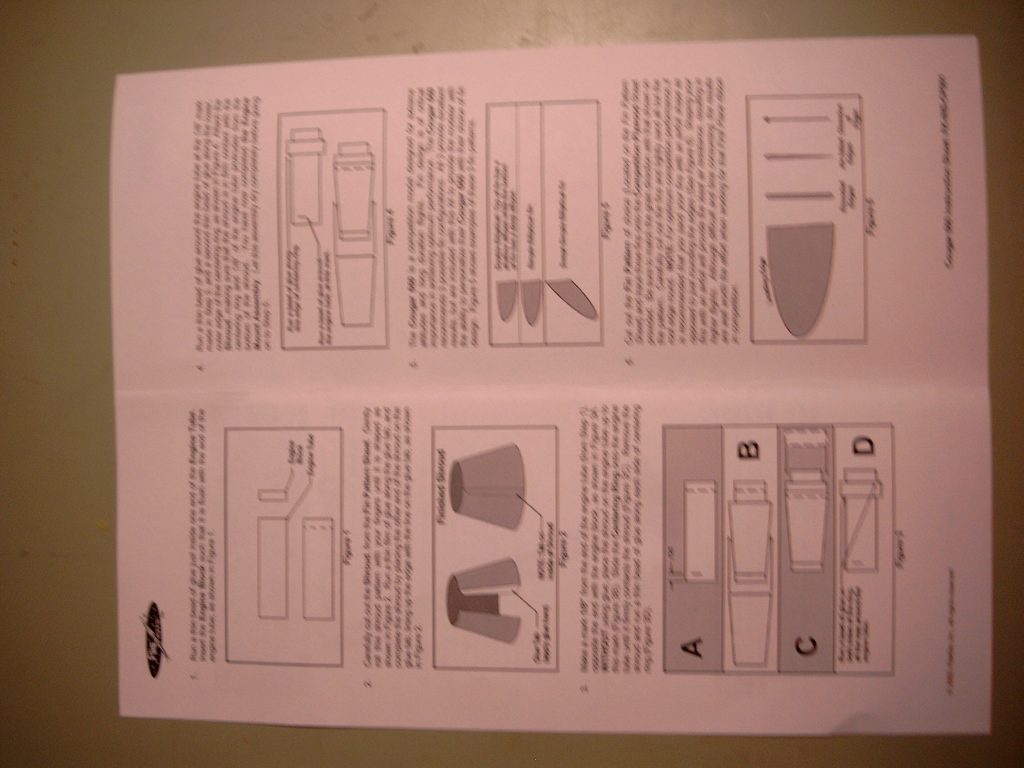
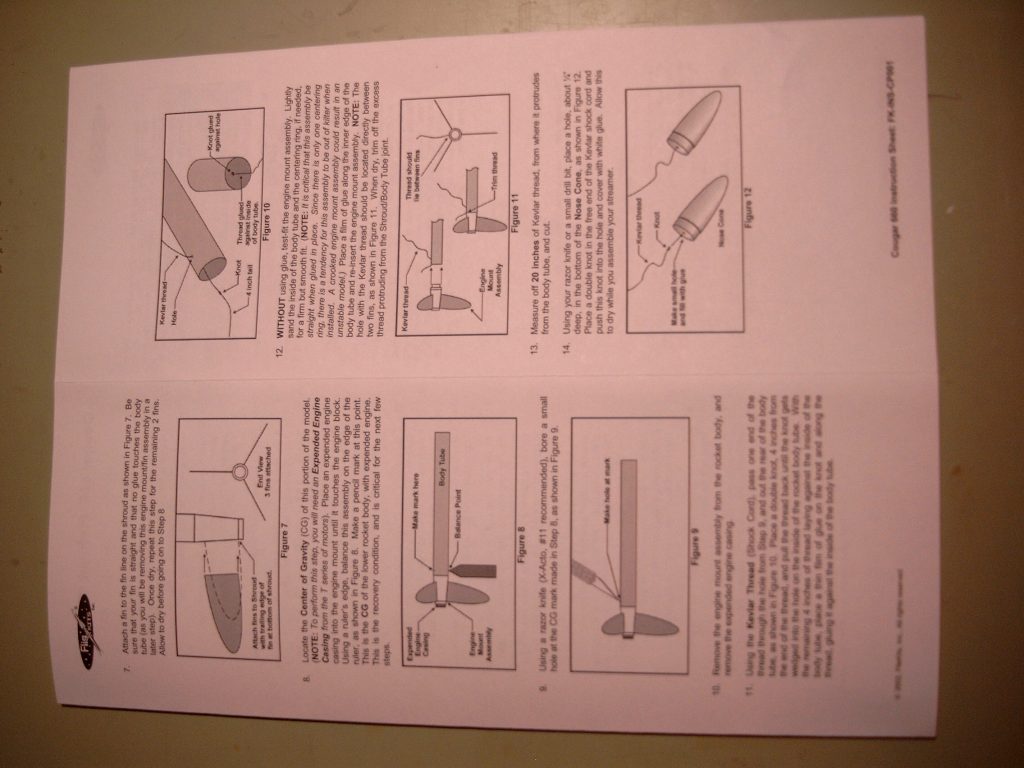
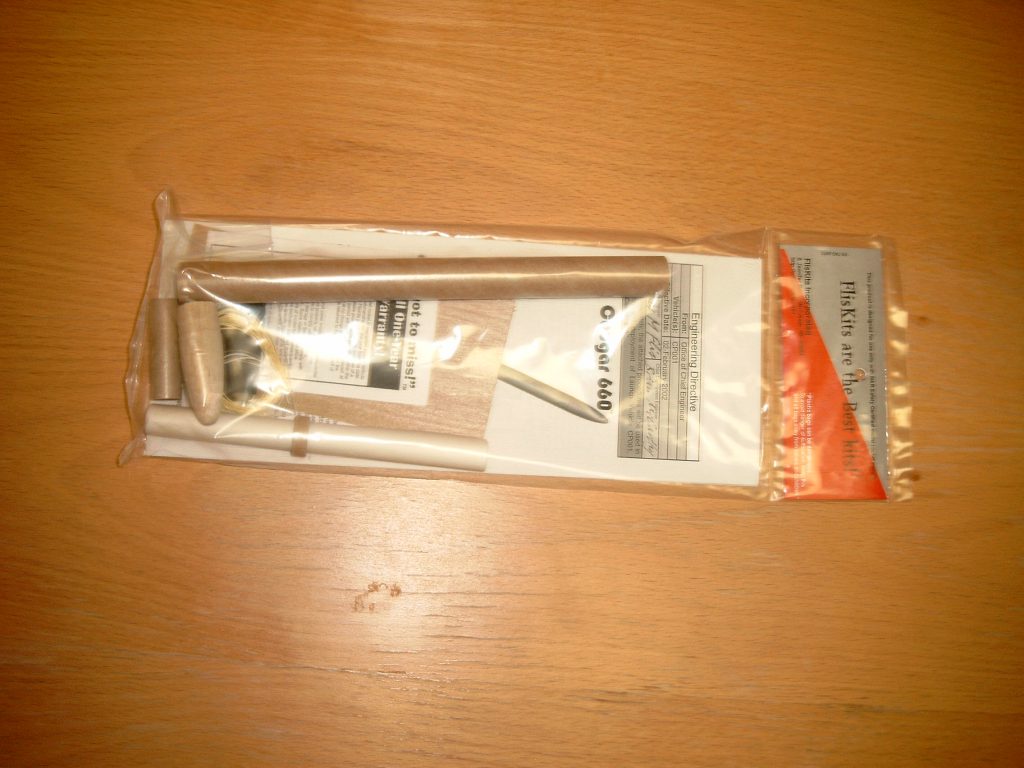
- 11/02/2004 – Opened, took pictures and scanned contents. Made copy of fin sheet, cut out shroud, marked engine mount 1/8″ from rear and placed centering ring over top of upper end. Glued shroud together and when dry, glued it to engine mount tube at 1/8″ mark and around centering ring on upper portion of engine tube. Sanded rough spots on shroud after filling with Docu quick Gel Cyanoacrylate Super Glue. Attached 3 small G-10 fins from ASP #FG8JE16-6 SM Elliptical 0.016″ thick G10 Fiberglass rocket fins. Punched a small hole into side of body tube at the CG point.
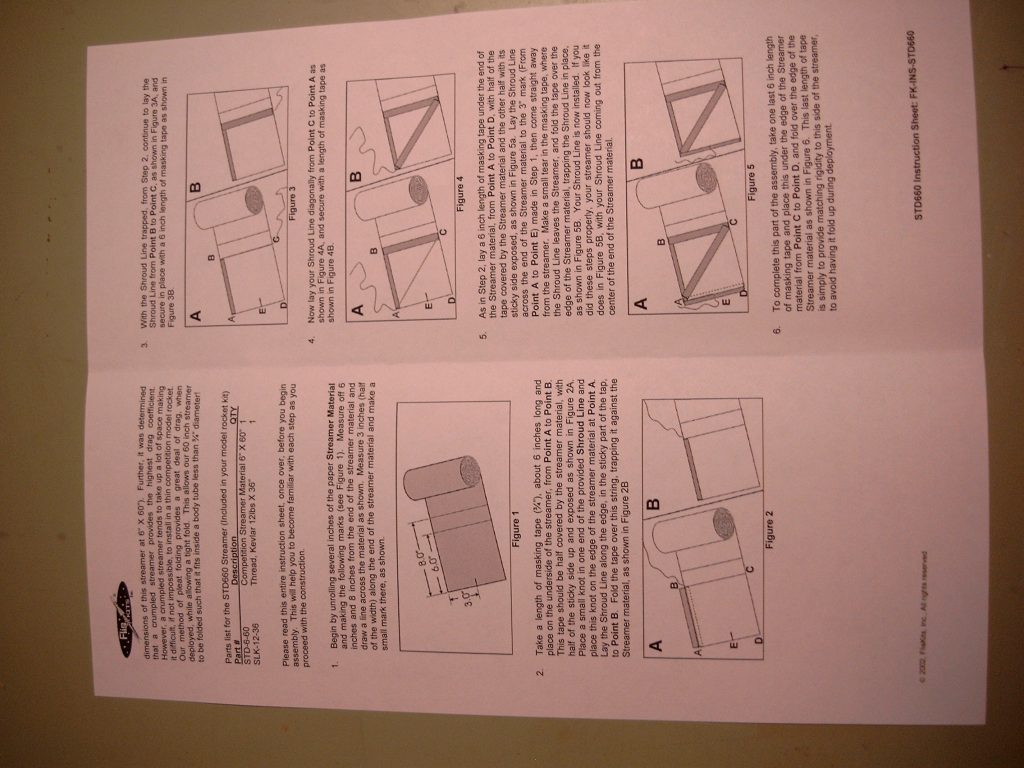
- 11/05/2004 – Modified model from original plans. Pulled an ASP competition nose cone kit and used it instead of the one supplied in original kit. Pushed the Kevlar through the hole, tied a know 4″ from the end and pulled the knot into the hole. Glued the know to the hole and some of the Kevlar along the body tube from the hole to the rear of the body tube with Elmer’s Yellow Glue. Ran a bead of glue on the inside rear edge of the main body tube using a Q tip. Inserted the engine nit into the rear of the body tube into the glue. Oriented the unit so the Kevlar sticking out of the rear of the body tube is midway between 2 fins. Measured the Kevlar protruding from the hole 20″ and cut off the excess. Worked the streamer at 6″ and 8″ along the edge and a small 3″ mark across the end. Drew lines across the stream at the 6″ and 8″ marks.
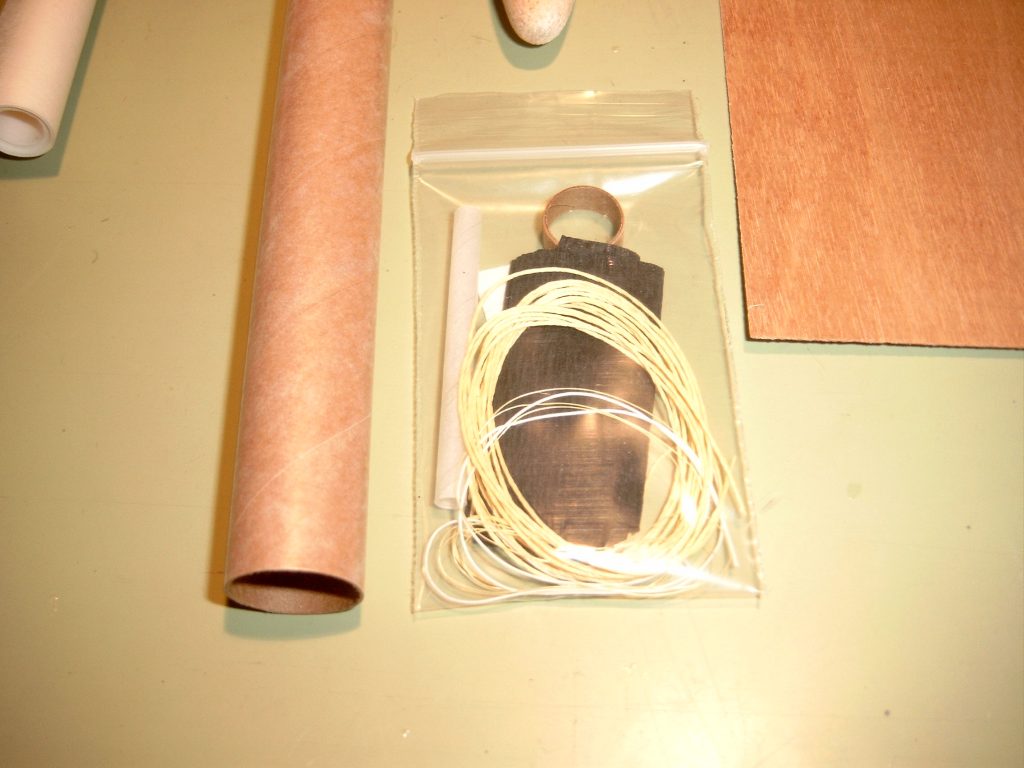
- 11/06/2004 – Started laying 8 lb Kevlar on streamer using 1/2″ Mylar tape when almost done, one more piece to place, I realized the 12 lb Kevlar thread was supposed to be used instead of the 8 lb. Carefully removed the tape and thread from the streamer material and started over. Places 6″ of Mylar tape along the left edge of the streamer with the sticky side above the streamer material. Tied a knot in the end of the Kevlar thread and laid it along the edge of the streamer on the Mylar tape sticky side. Folded the Mylar tape over the Kevlar and streamer edge. Placed the Kevlar thread on the mark accross the seam at the 6″ mark. Taped it down with Mylar tape. Ran the Kevlar thread diagonal to the streamer to the starting corner of the streamer. Using Mylar tape, taped it in place. Trimmed the edges to match the streamer. Cut a 6″ piece of Mylar tape and attached it to the under side of the streamer. Cut a slit in the tape at 3″ up to the edge. Placed the Kevlar thread along the streamer up to the 3″ . Folded the last 3″ over the edge and then the first 3″ over the thread and streamer edge so the Kevlar protrudes out of the middle of the streamer. Cut the last piece of Mylar tape 6″ long and taped it to the remaining steamer edge. Folded the remainder of the streamer material in a “Z” pattern. This completes construction of the 6″ x 60″ competition streamer. Using a competition nose cone from ASP, cut a slit in the side and secured it with CA. CA’d the nose cone shoulder to the nose cone. This completes construction of the #FK-CP001 Competition Streamer Duration Model.
Flights
| Date | Location | # | Motor | Comments |
Leave a Reply
You must be logged in to post a comment.