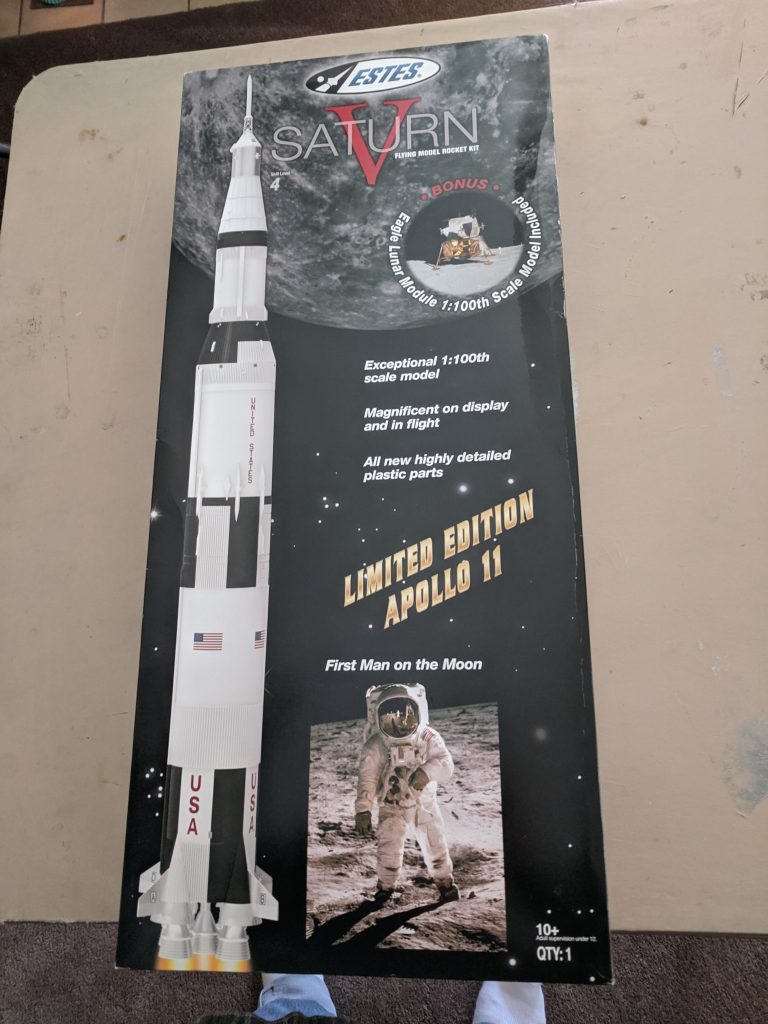
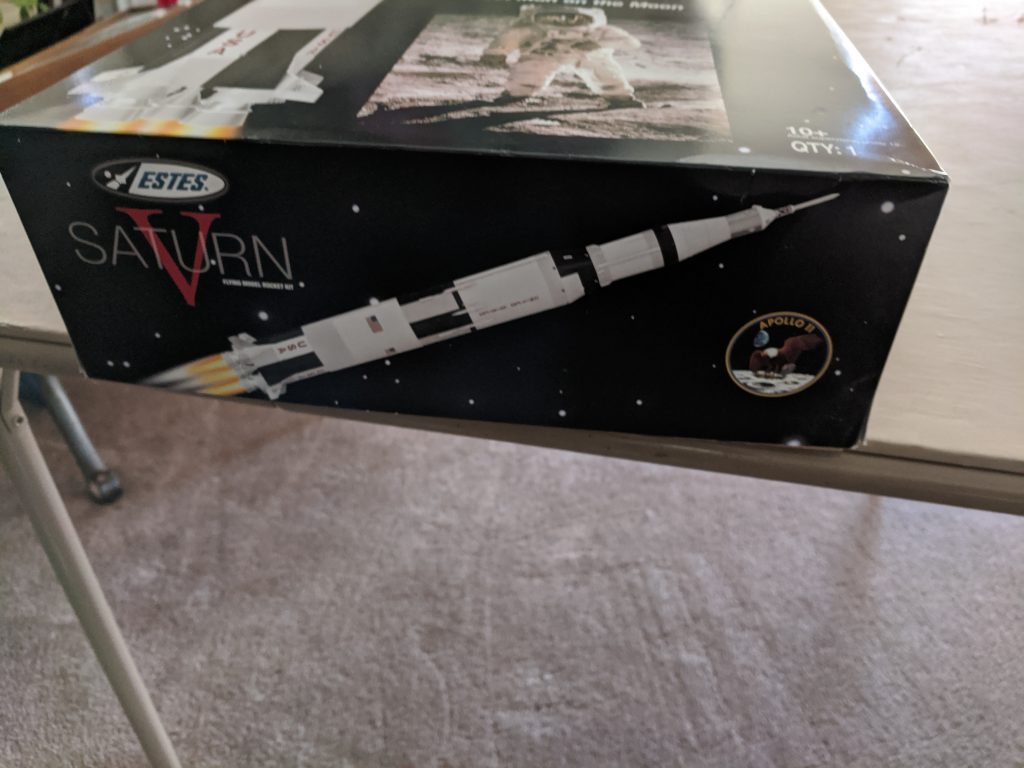
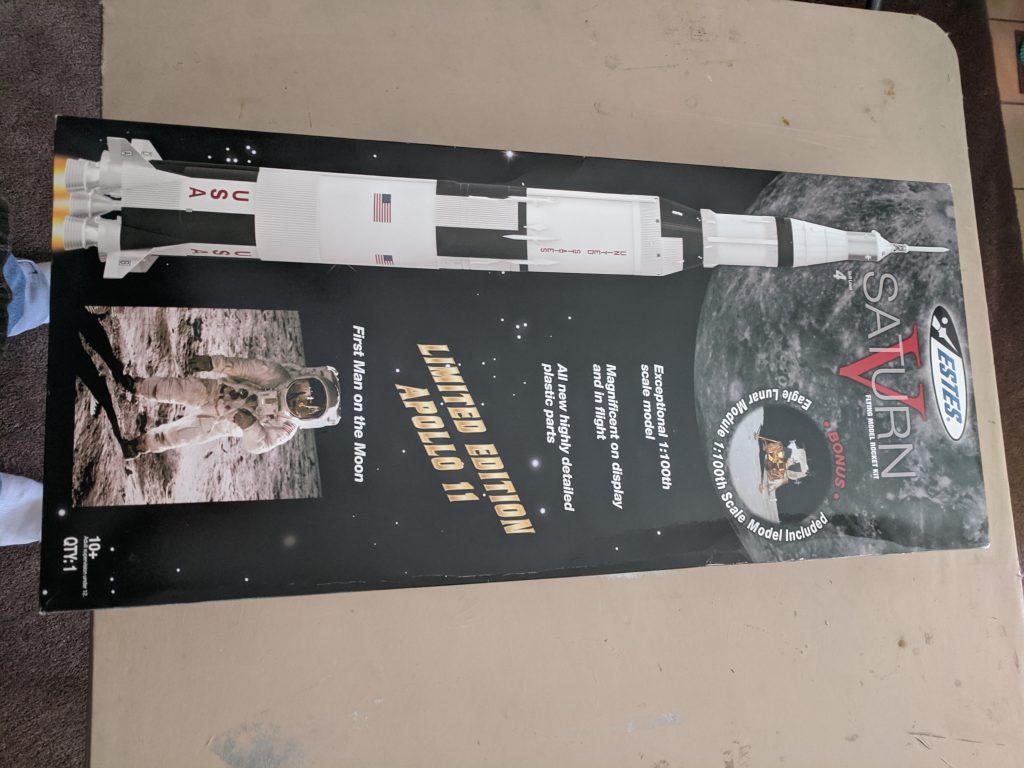
Model #1969
Description
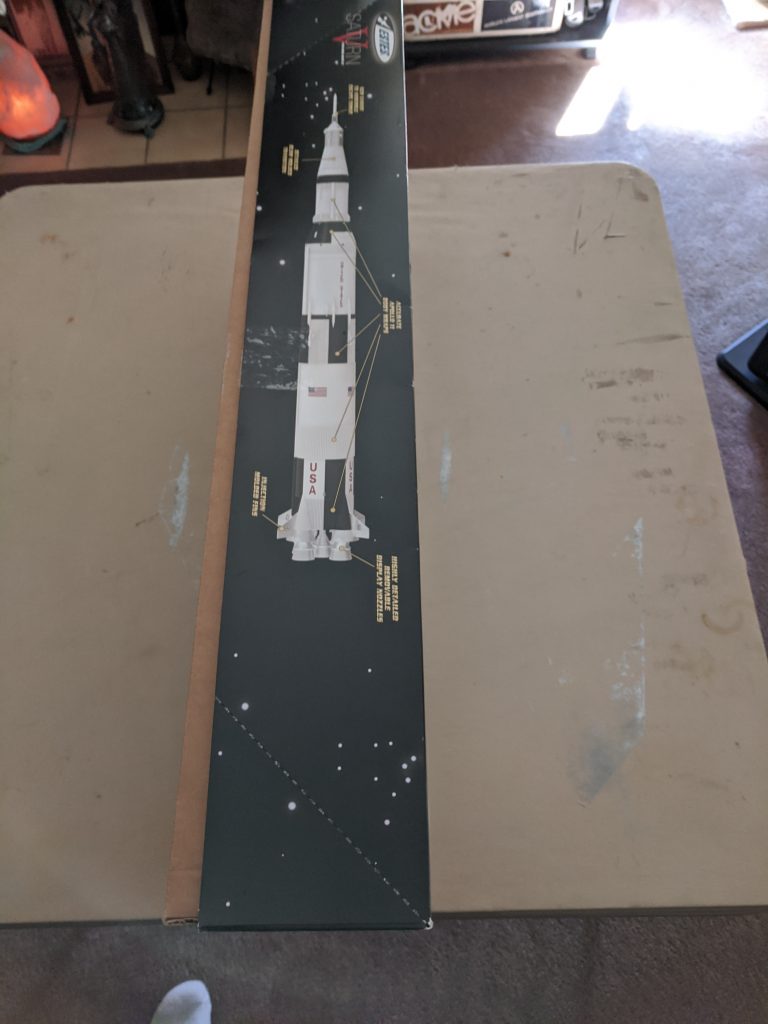
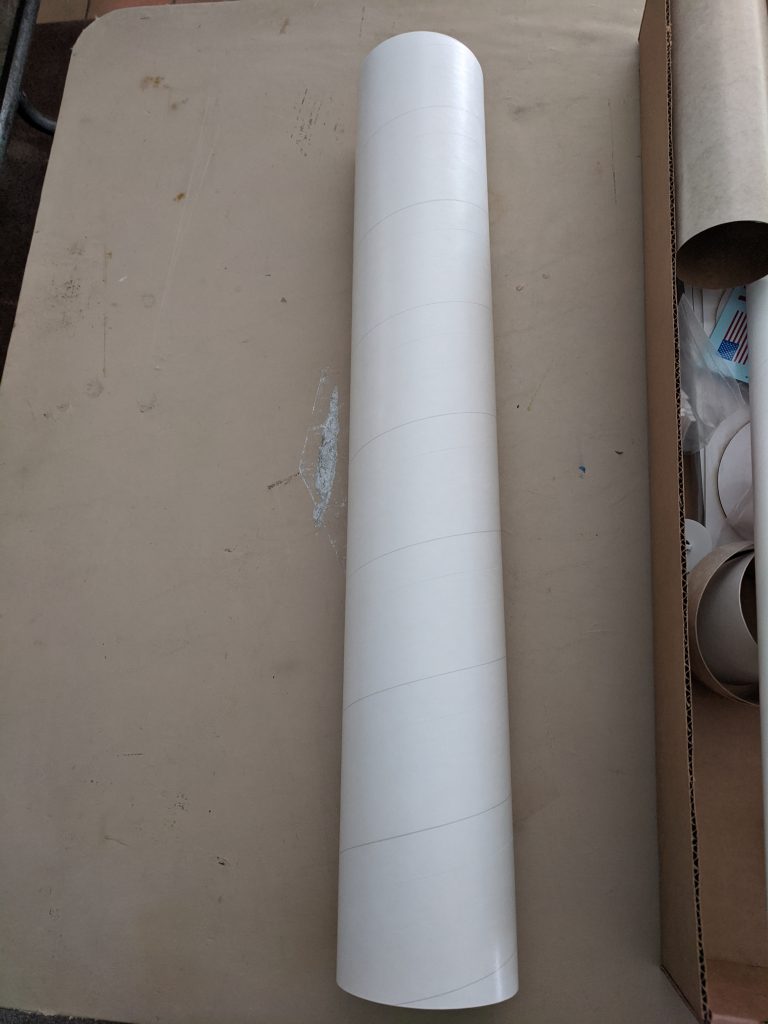
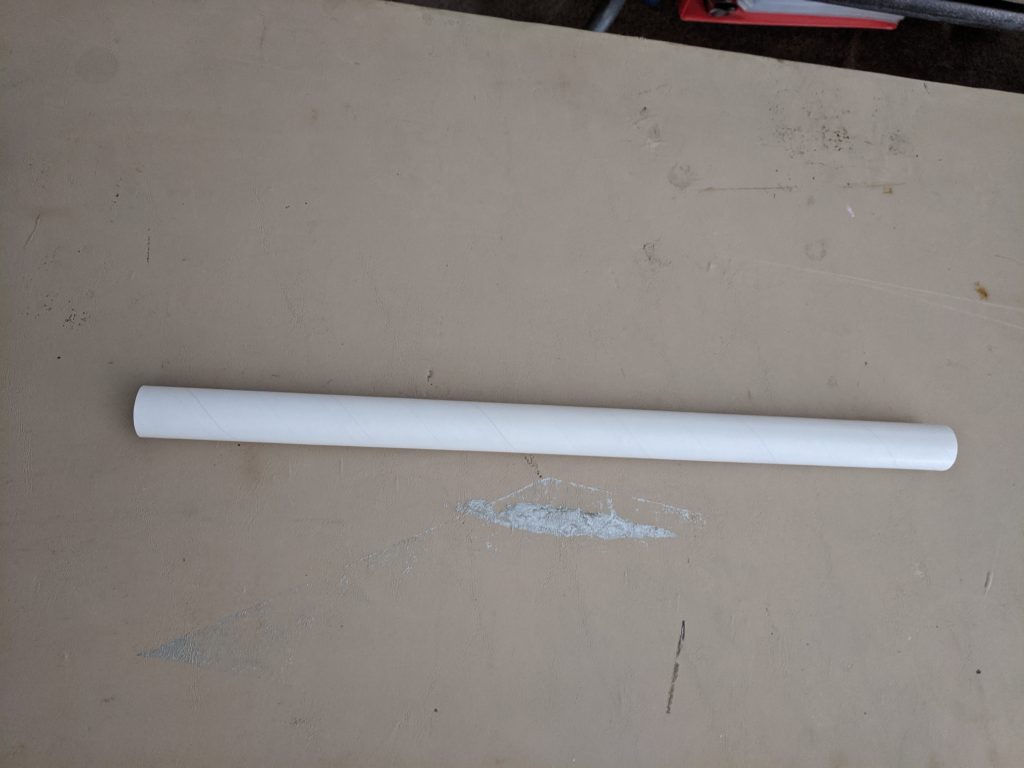
This is a 1:100 flying model rocket kit, which puts the final dimensions at 43.25” tall and 8” fin tip to fin tip. This is a challenging rocket to build but will definitely be well admired. I’m going to detail my build and show some of the modifications I’ve made. Sadly, I’m not going to get a chance to fly it on or around the anniversary. Hopefully, I’ll make it to a launch with my NAR Section (NAR.org) in August or September and fly it then, so I can share launch photos at a later date.
This is a challenging kit even for a steely-eyed missile man like myself. I’ve been building and flying model rockets for close to 30 years now. This kit is not an entry point to the hobby. GeekDad has had a few rocketry articles in the past, and I hope to have a rocketry primer article up later this summer, if you’re interested in the hobby.
Additional Information
- Length: 43.25″
- Diameter: 3.94″
- Weight: 11 oz.
- Fins: Plastic
- Decals: Waterslide
- Altitude: 350′
- Recovery:
- 2 – 24″ Parachutes
- 18″ Parachute
- Recommended Motors:
- D12-3, E12-4, E30-4
Instructions
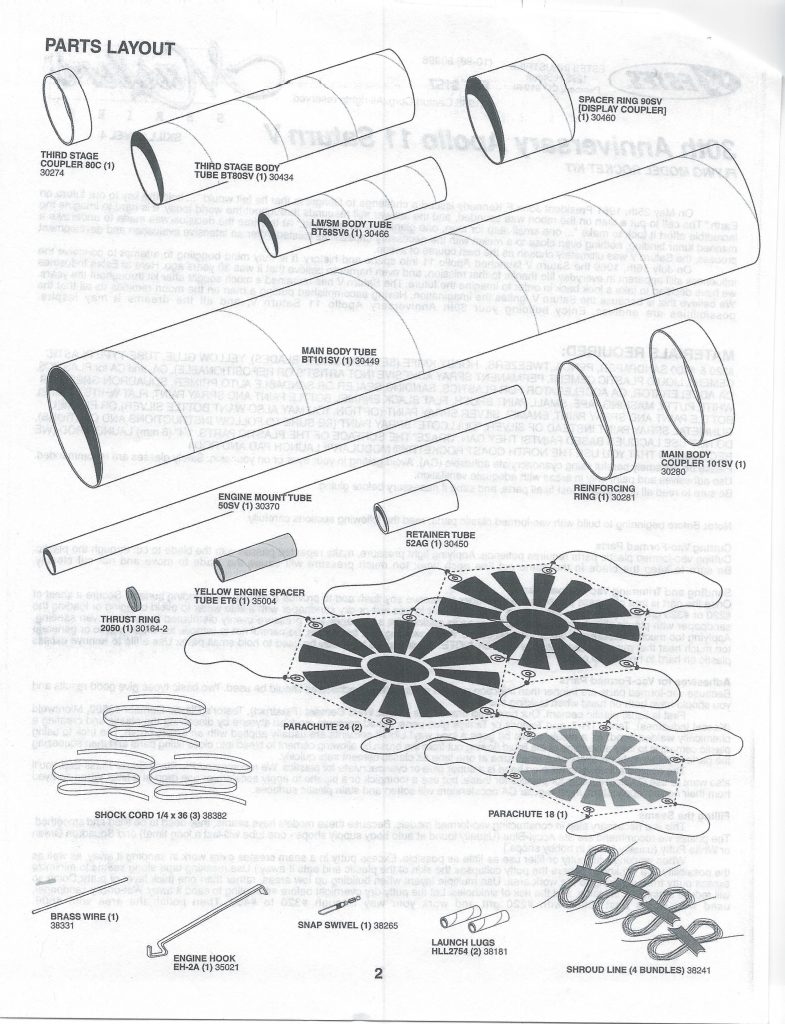
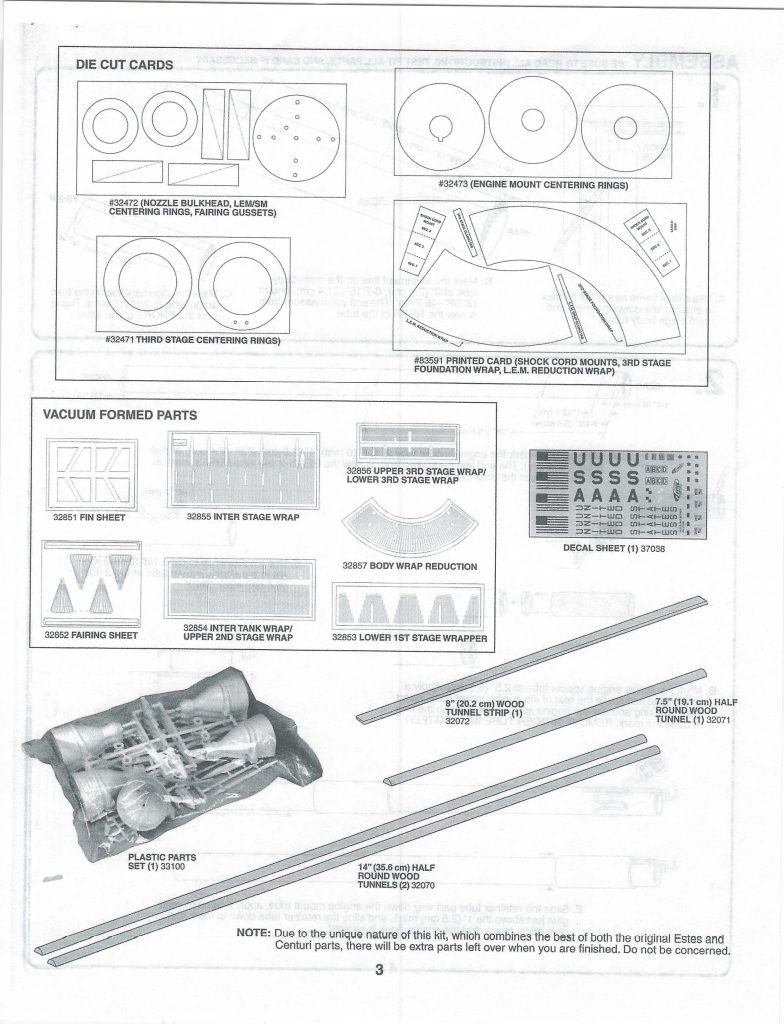
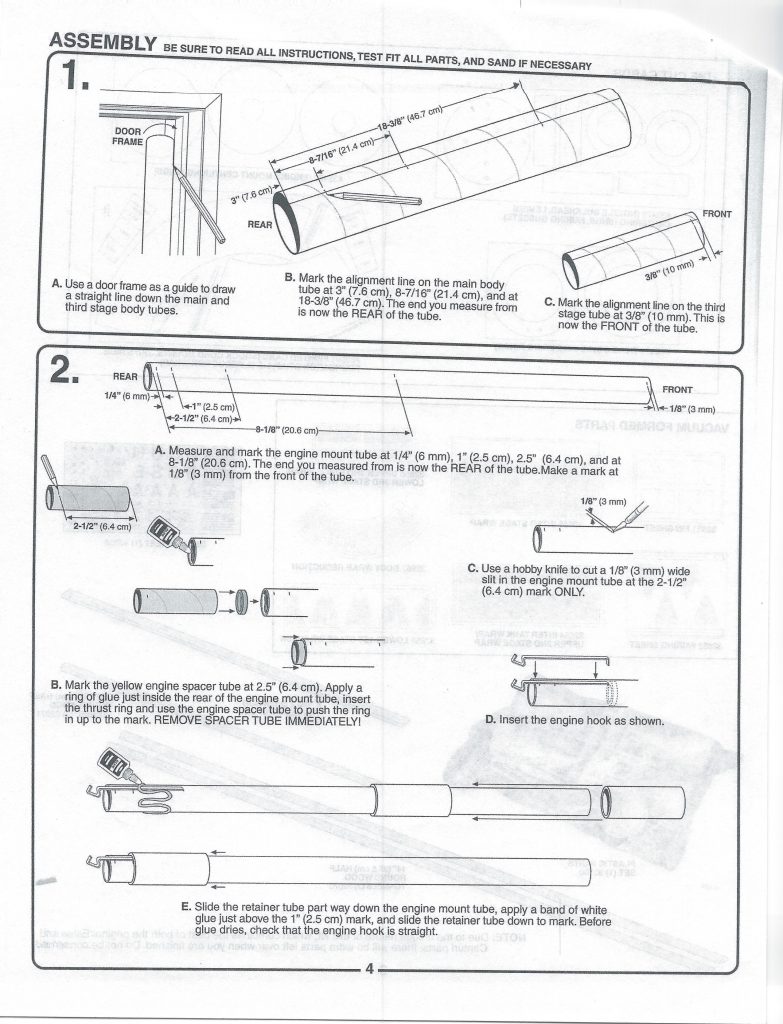
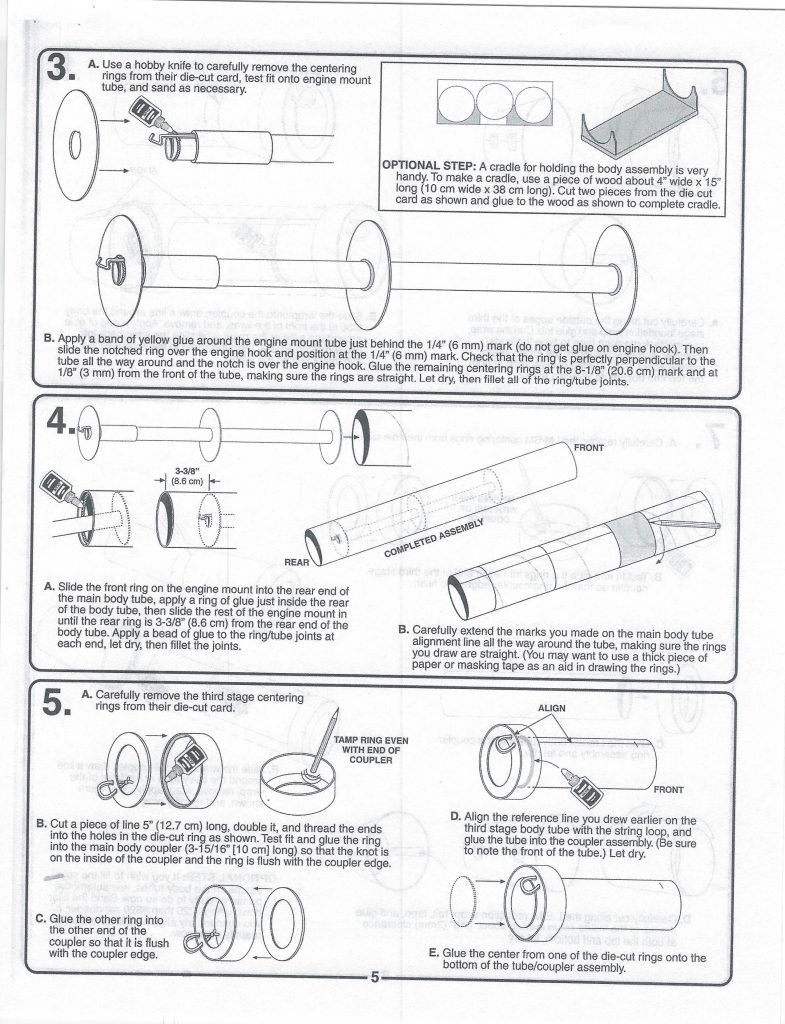
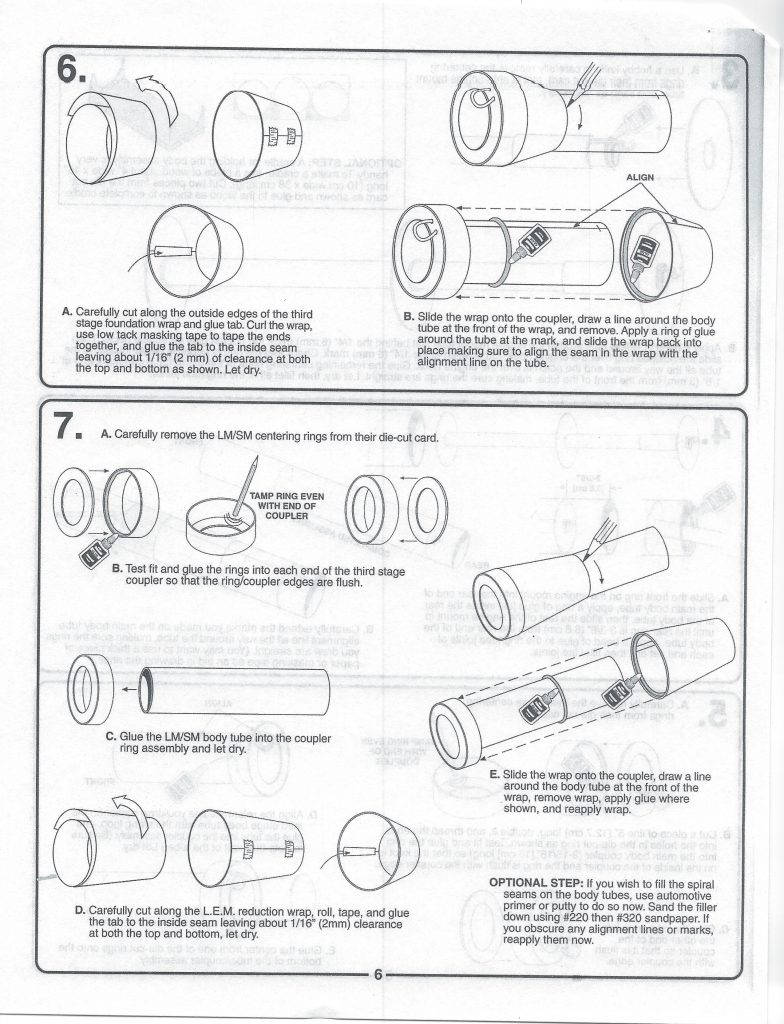
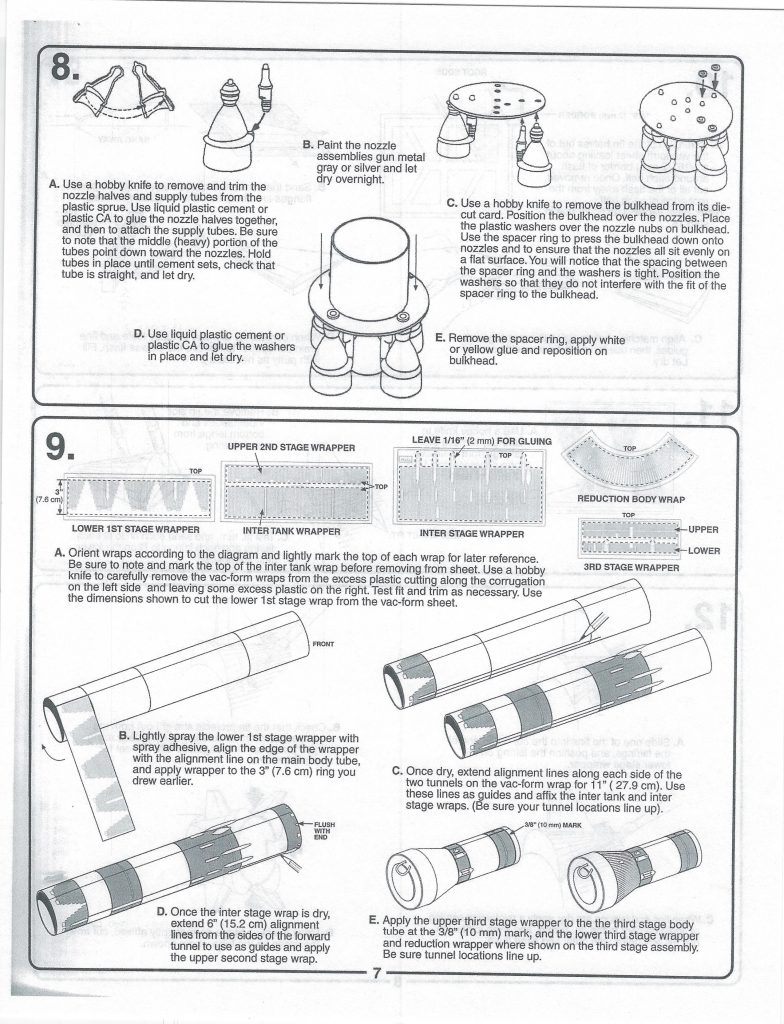
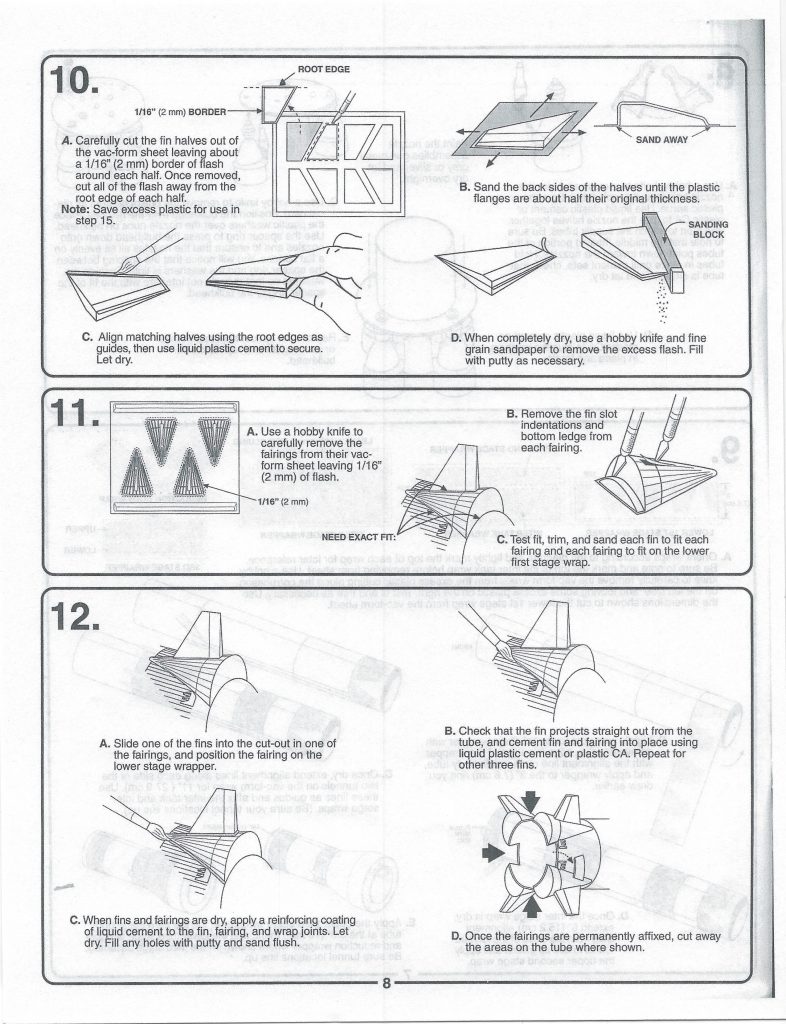

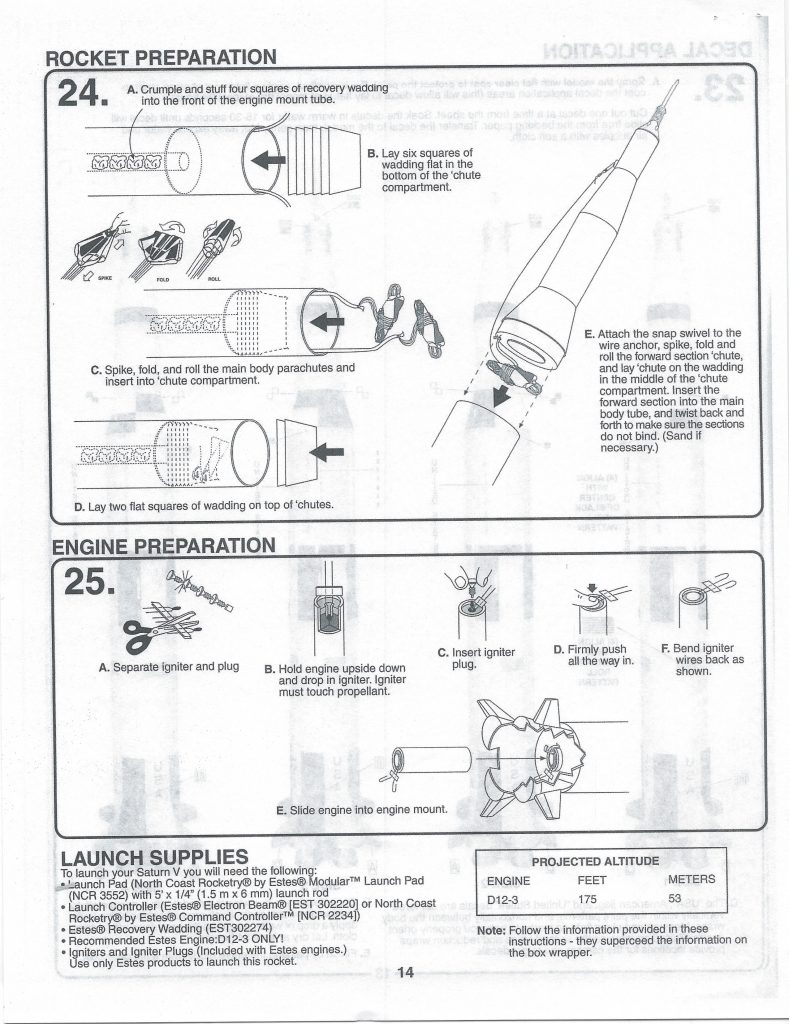
Photo Gallery


Build History
- 01/08/2020 – Purchased Estes Saturn V 50th Anniversary from Estes for $109.99 (Retail $199.99).
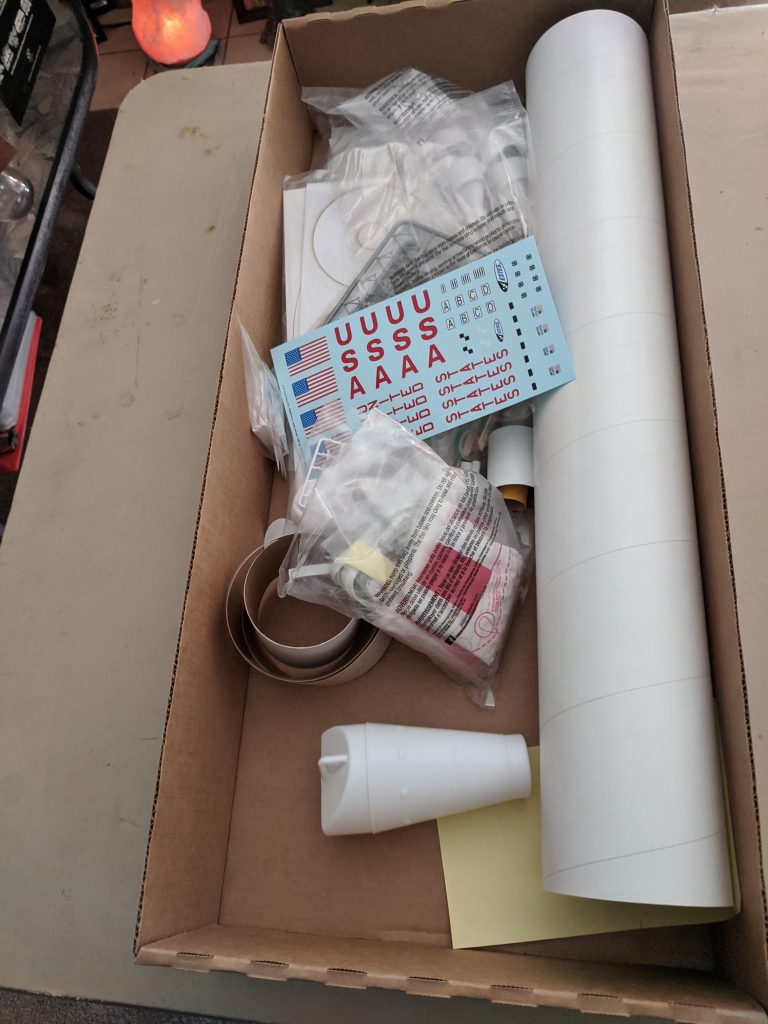
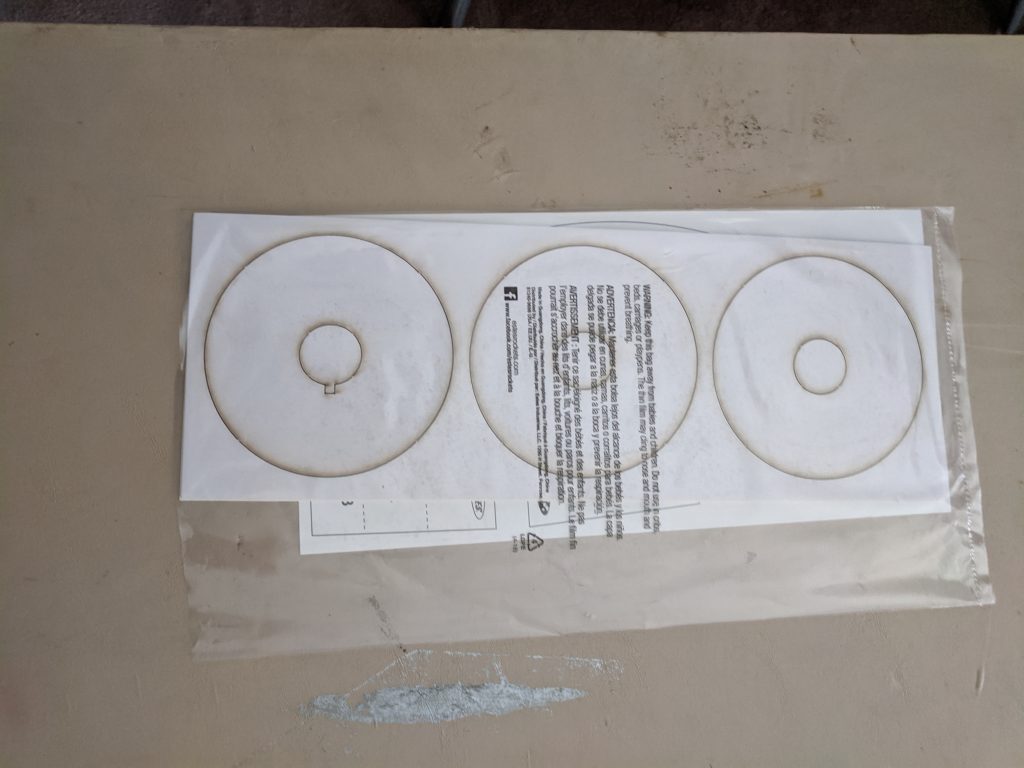
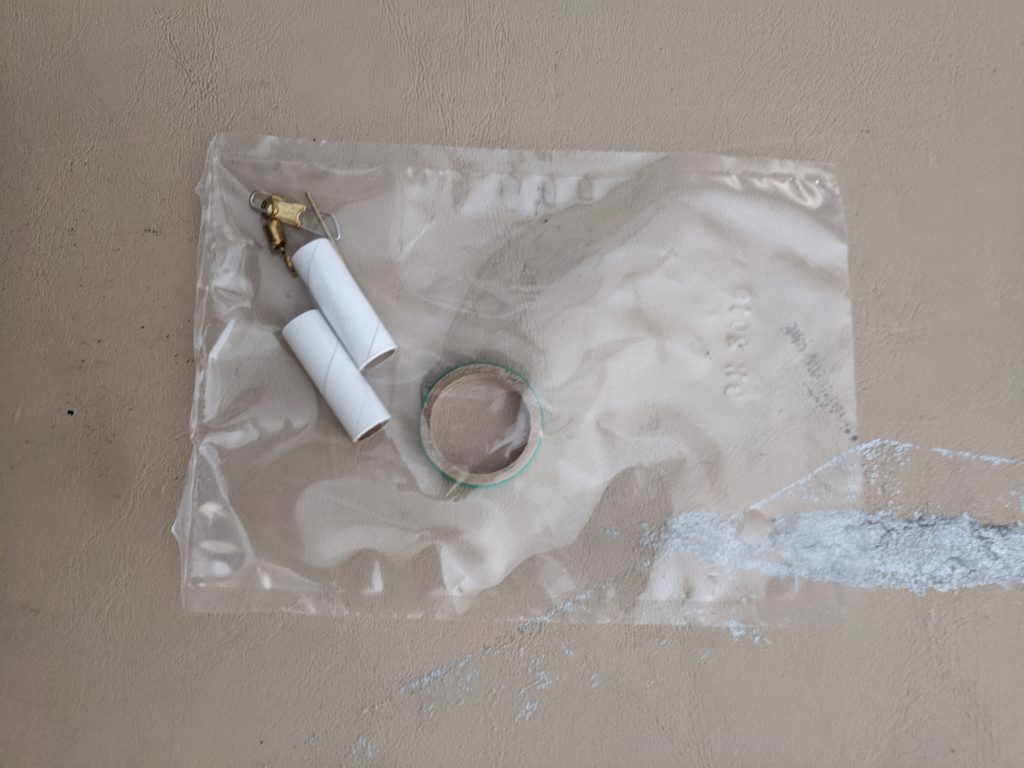
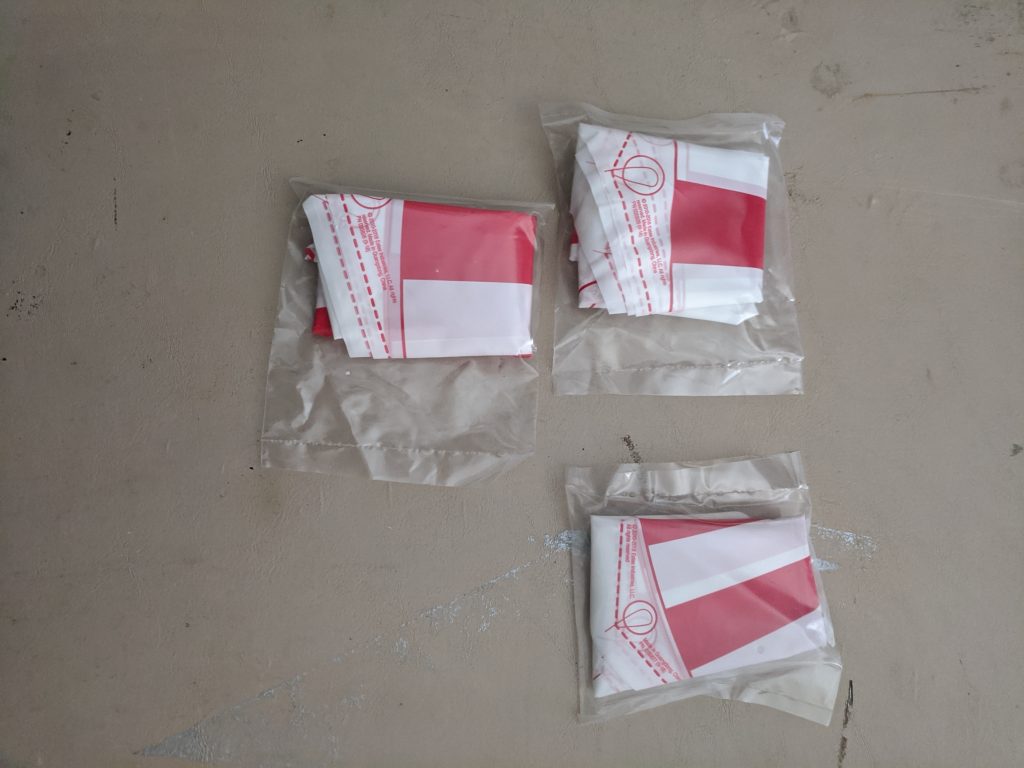
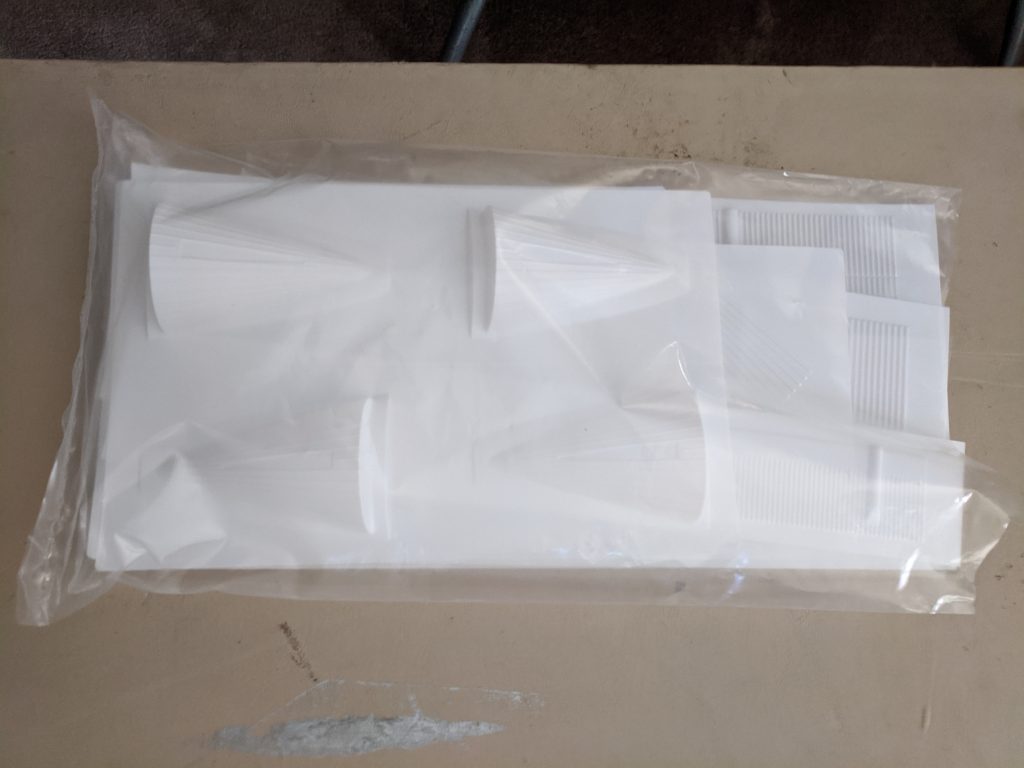
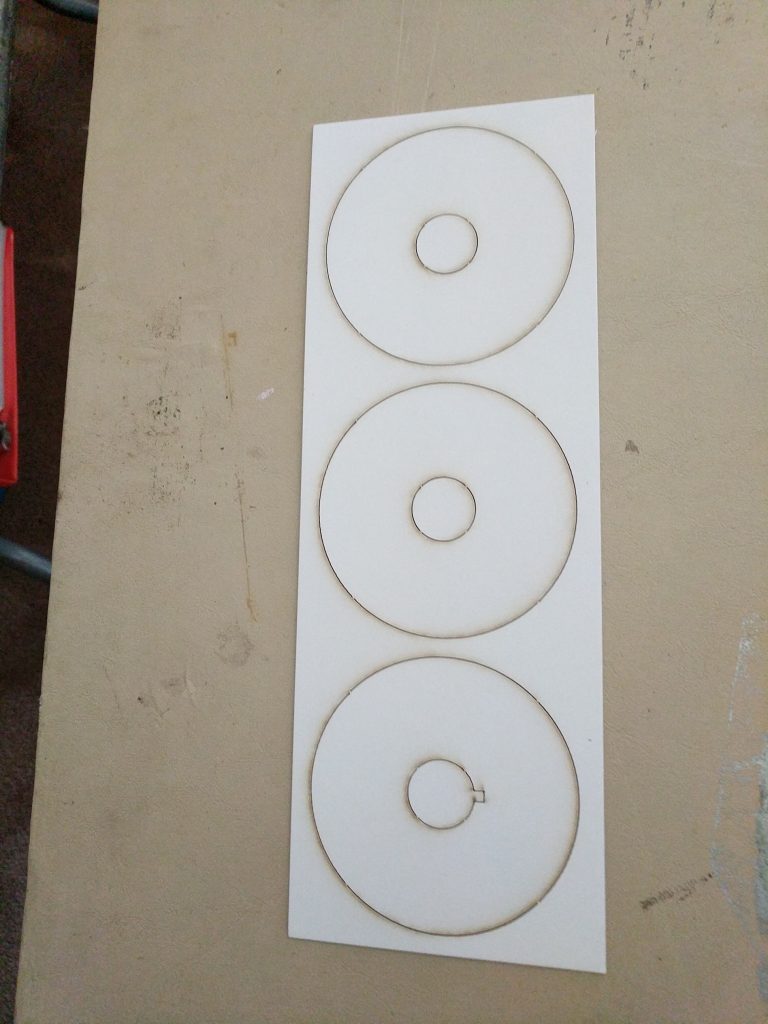
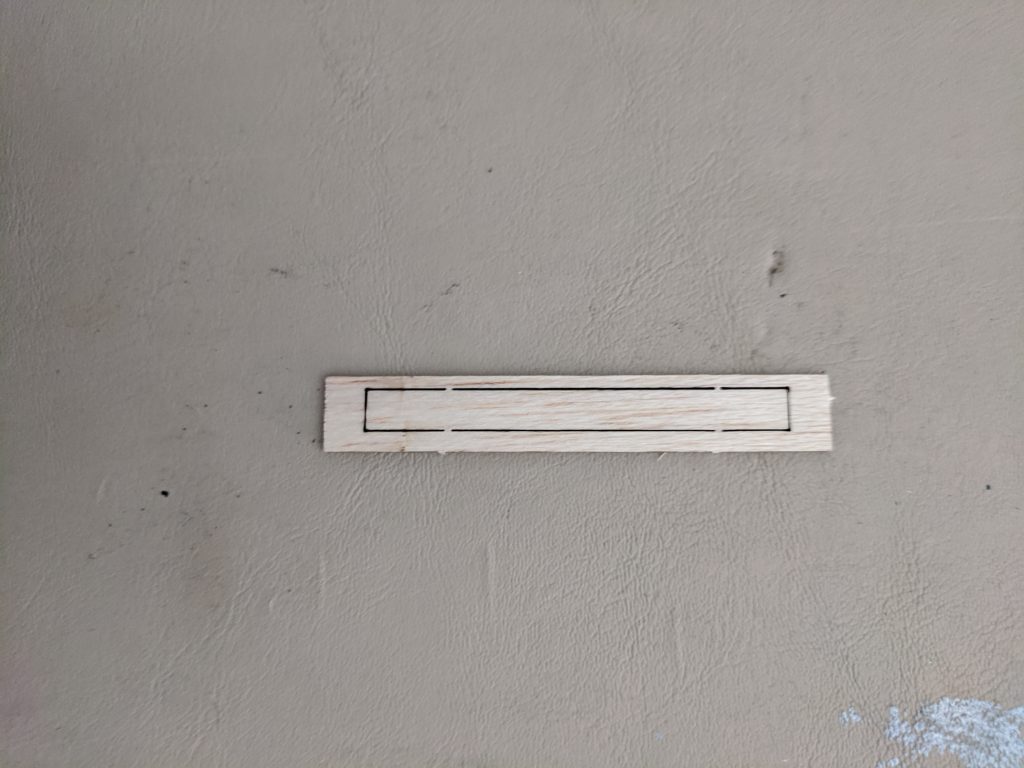
- 01/09/2020 – Took pictures of package, plans, decals and components.
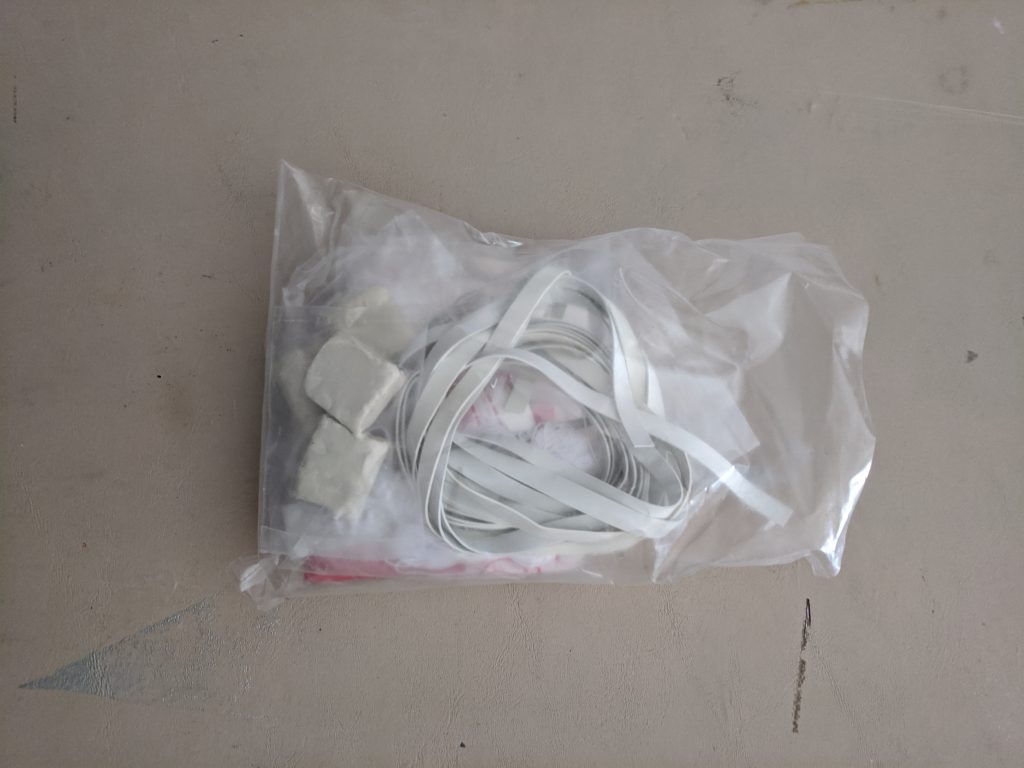
- 02/29/2020 – Took pictures of package and contents.
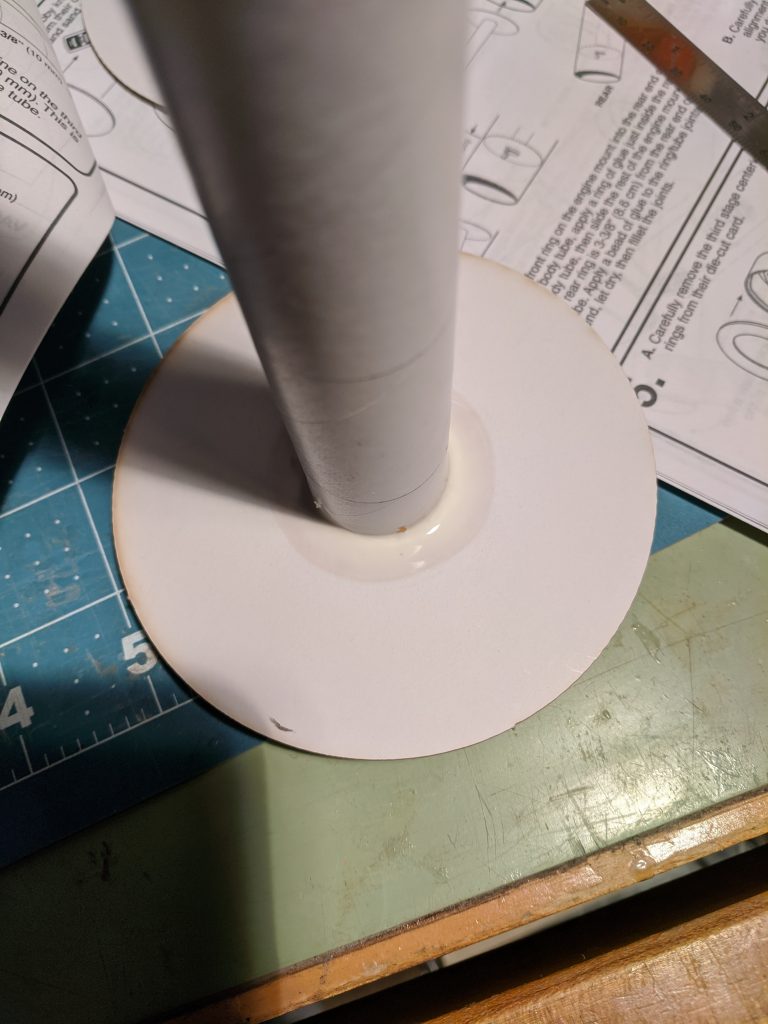
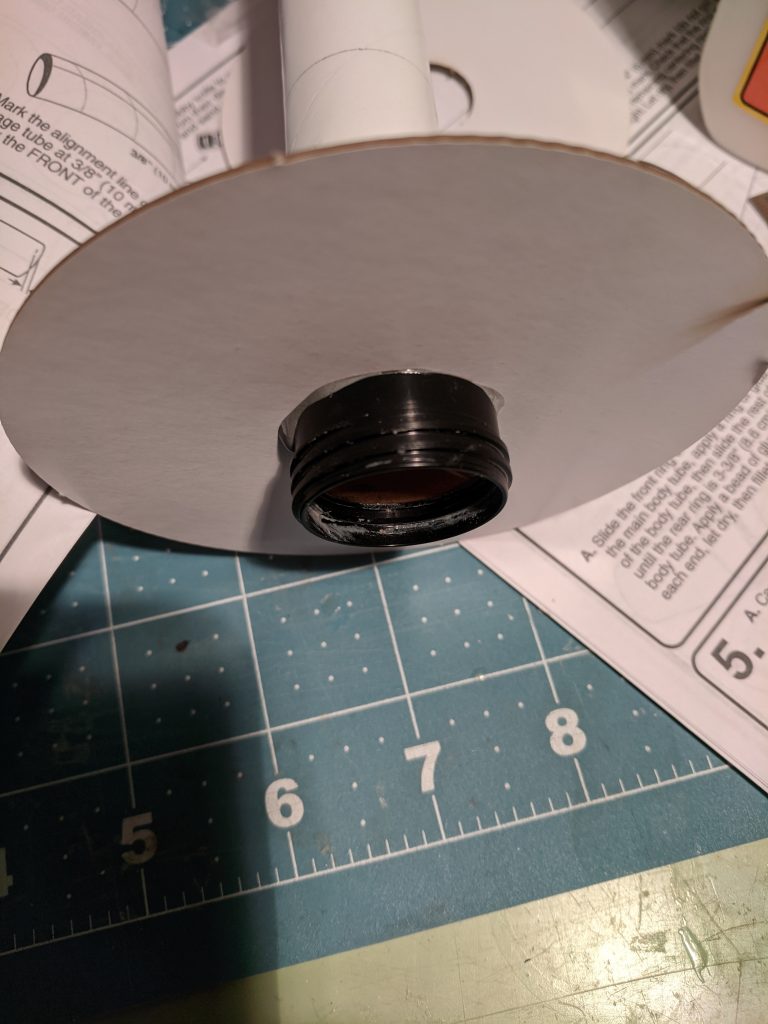
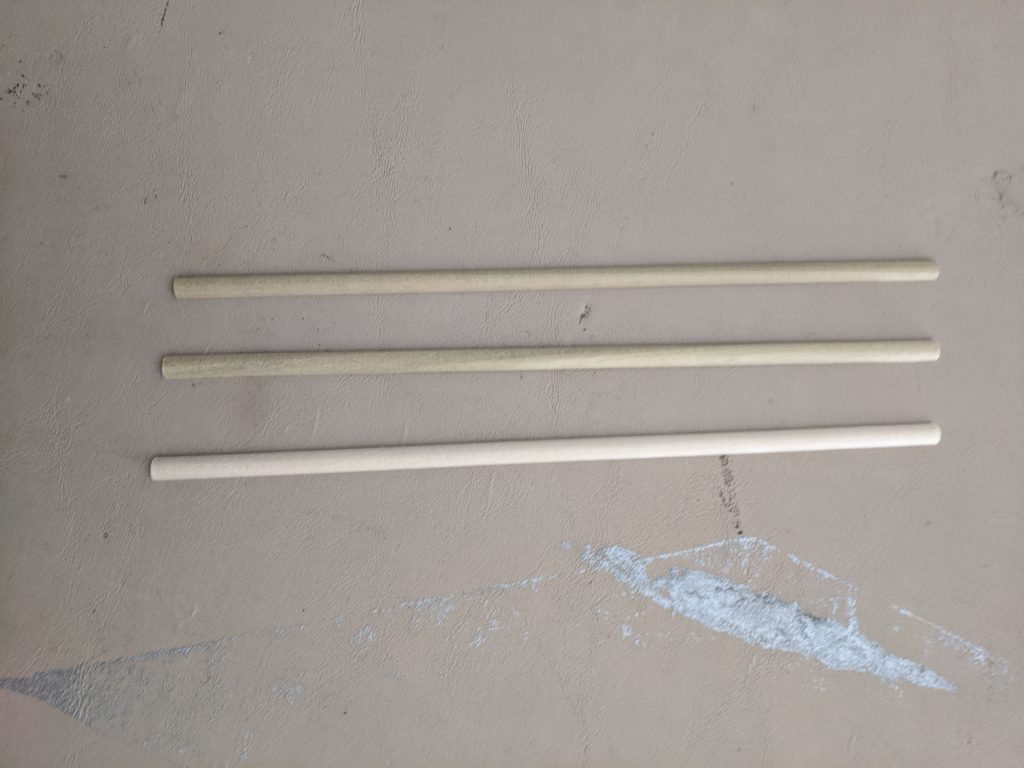
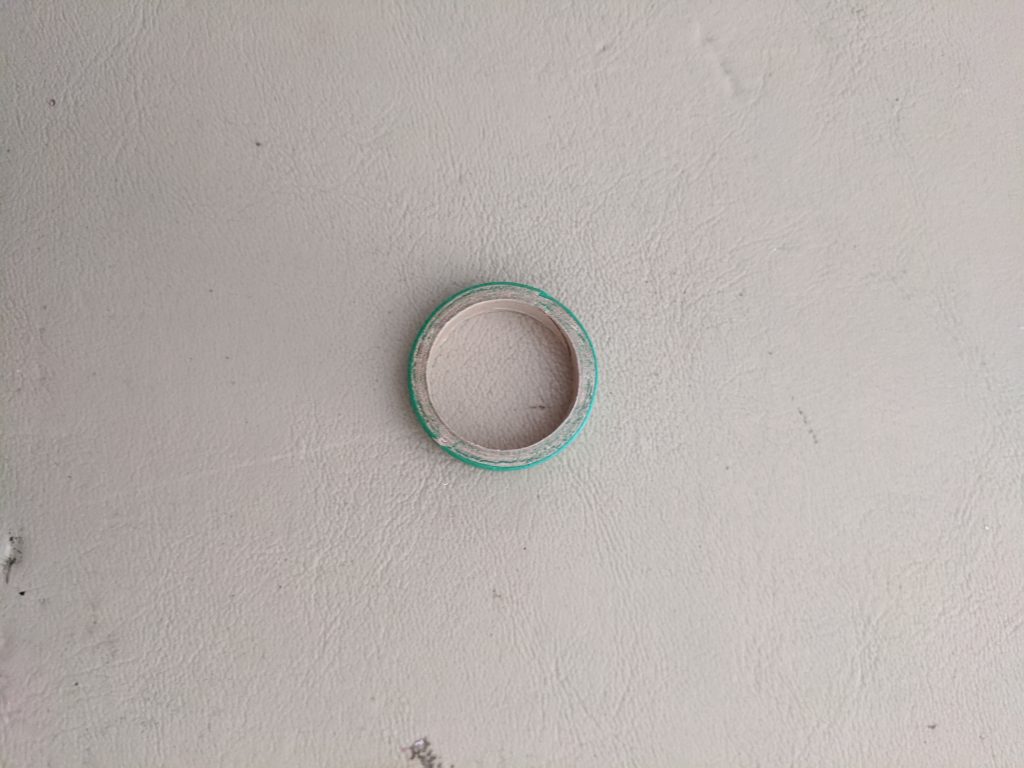
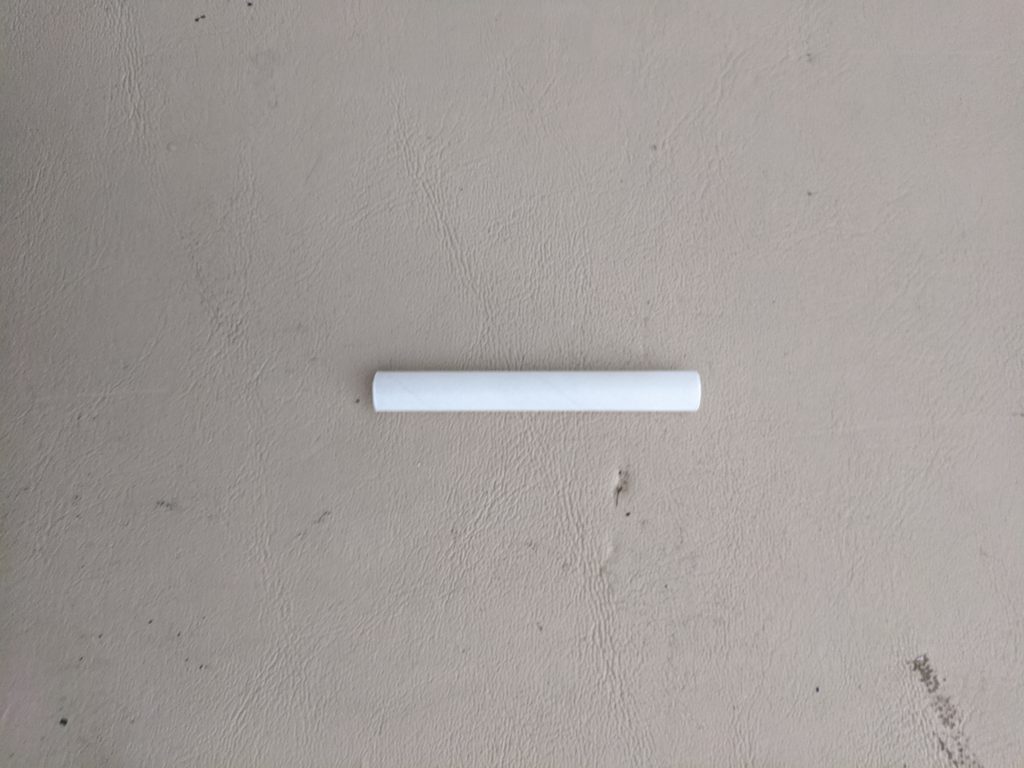
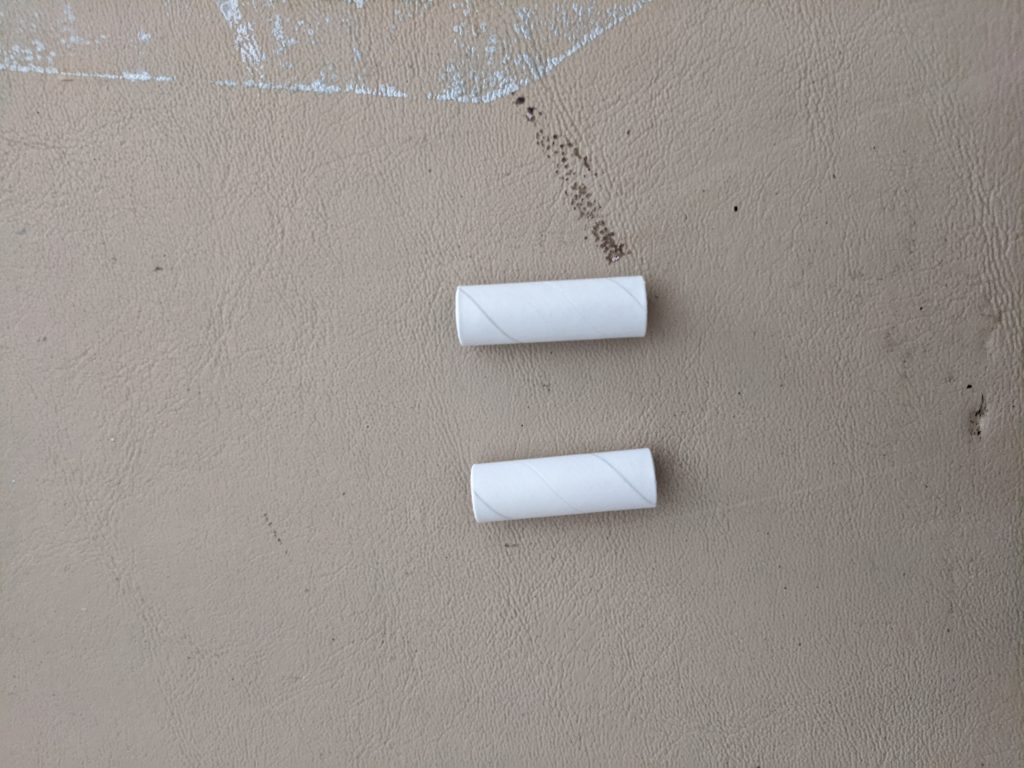
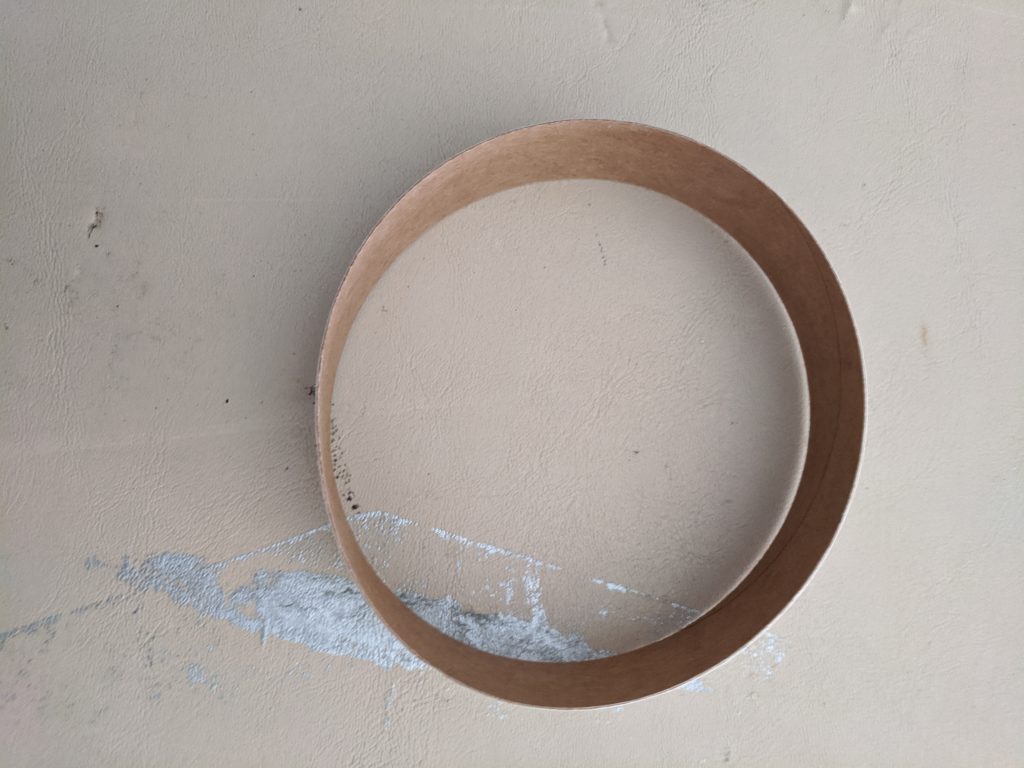
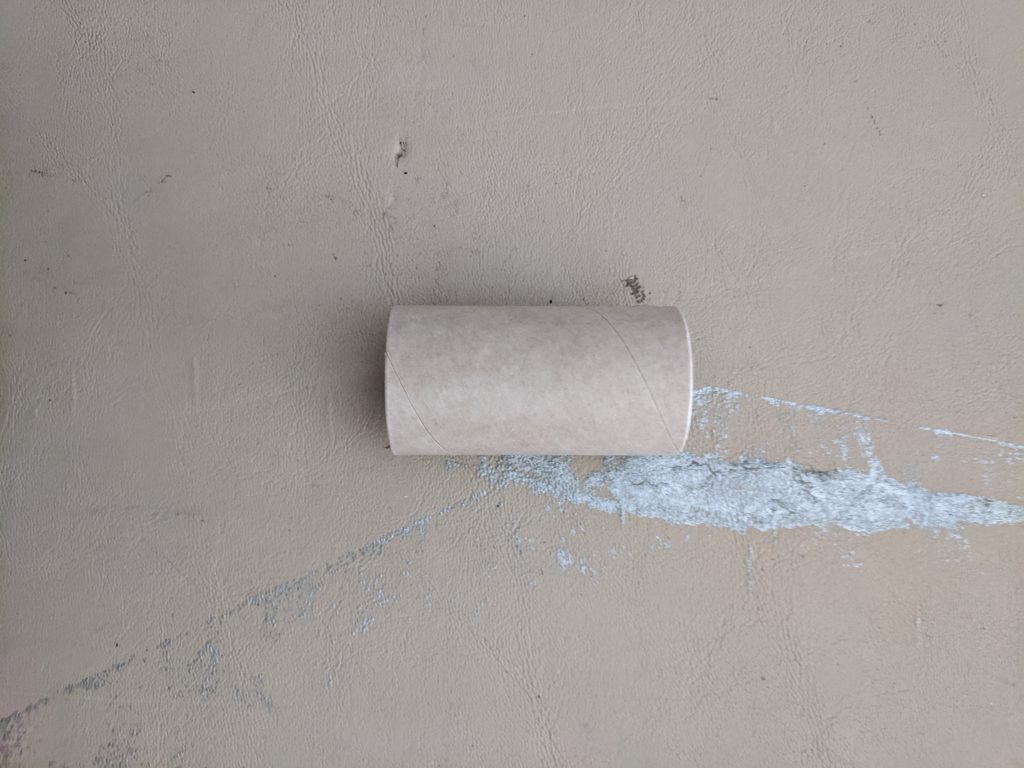
- 03/01/2020 – Marked center line on main body tube, third stage body tube and motor mount tube. Marked motor mount tube at 1/4″, 2-1/2″ and 8-1/8″ from aft end. Also marked motor mount tube at 1/8″ from forward end. Applied Harbor Freight Epoxy Super Weld to aft end of motor mount tube for attachment of retainer ring. Did not install engine block nor engine mount hook. Also did not use green retainer ring tube since did not install engine hook retainer as outlined in original plans. Glued aft centering ring to motor mount tube just behind retainer ring. Filleted centering ring joint. Glued second centerin ring at 8-1/2″ mark and filleted the joint. Glued and filleted third centering ring at 1/8″ mark . Glued motor mount tube 3-1/2″ from aft end. Filleted forward and aft centering rings.
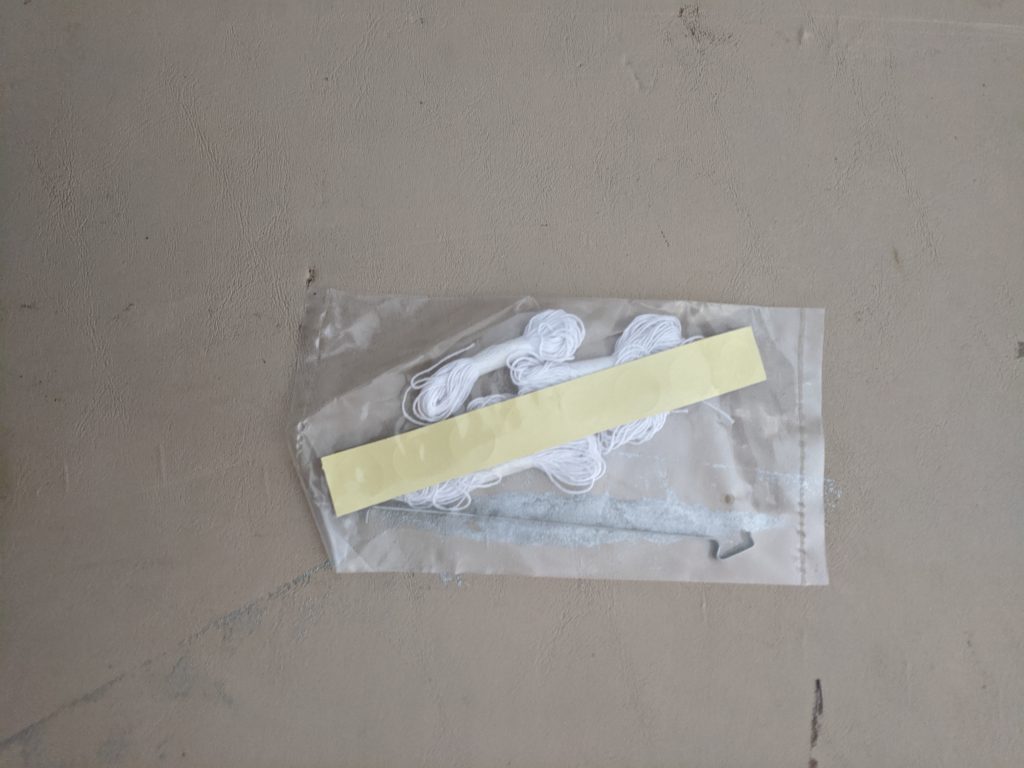
- 03/02/2020 – Filleted forward centering ring joints. Glued ring into main body tube coupler. Tied 5″ of line into the holes in the disk cut ring. Glued the ring into the other end flush with coupler tube. Glued ring assembly to end of tube coupler.
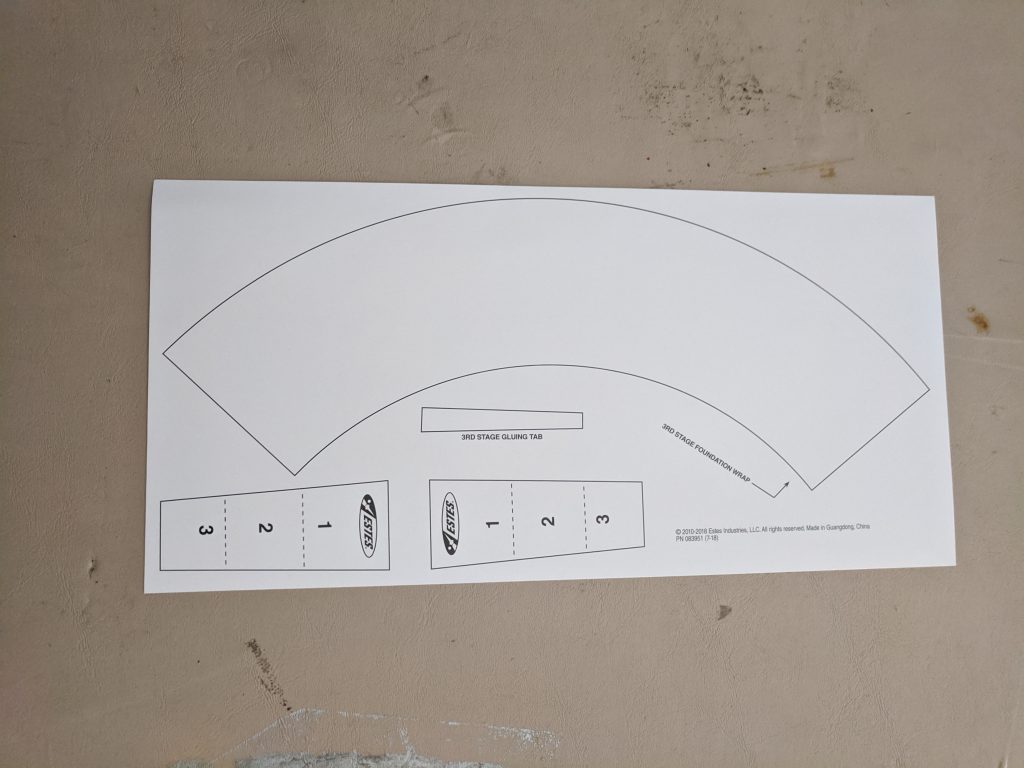
- 03/03/2020 – Cut out shock cord mounts and LEM reduction wrap and glued ends together by gluing the tab to the inside seam leaving about 1/16″ gap between wrap ends. Wrap would not fit upper body tube there for cut it off.
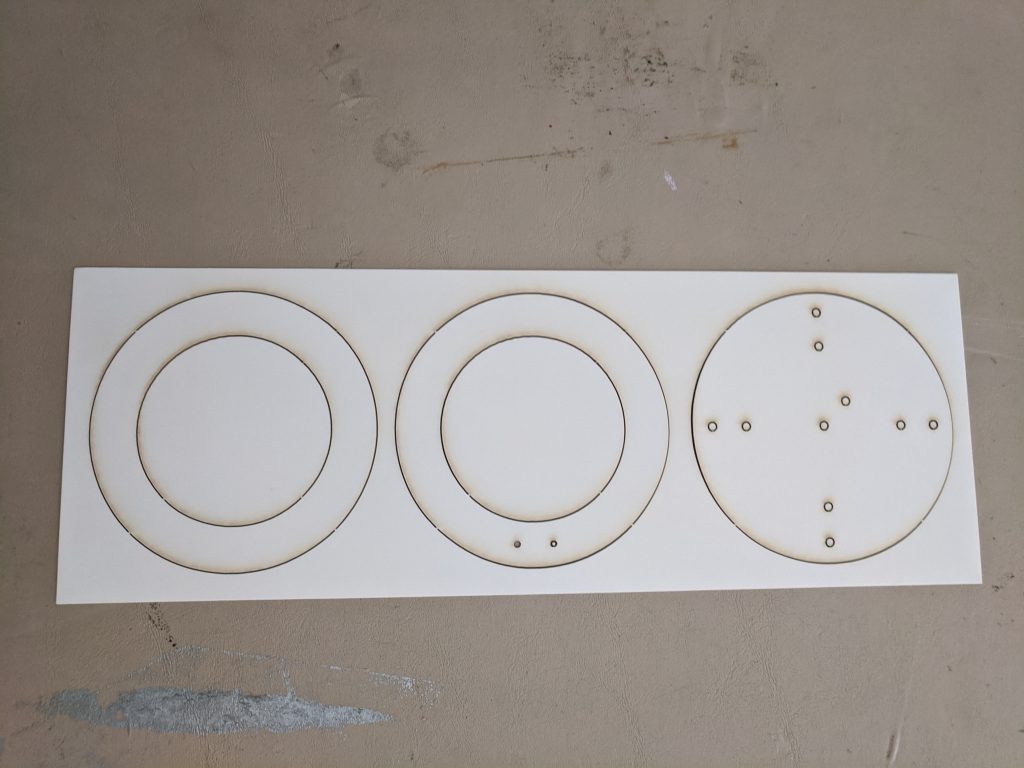
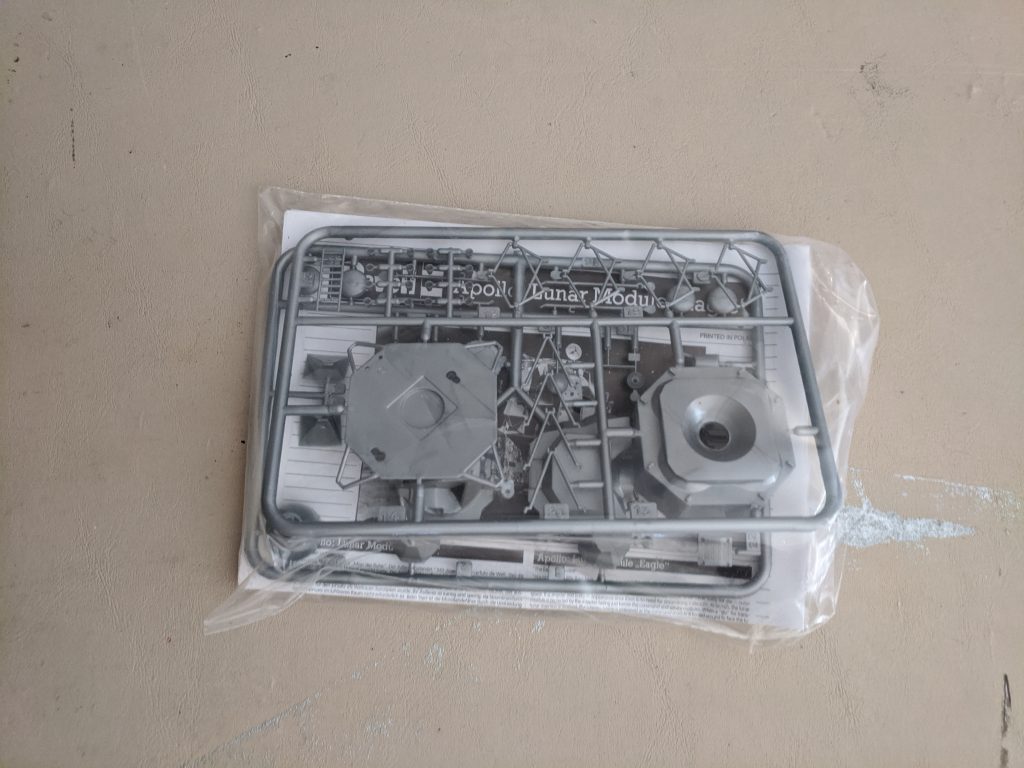
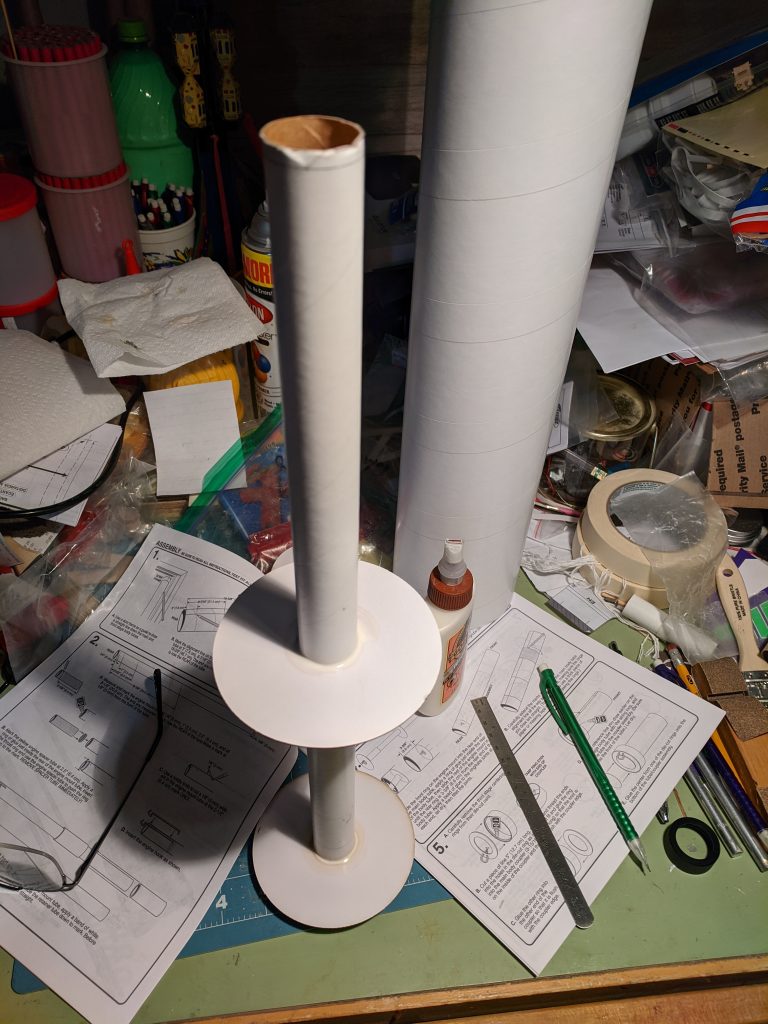
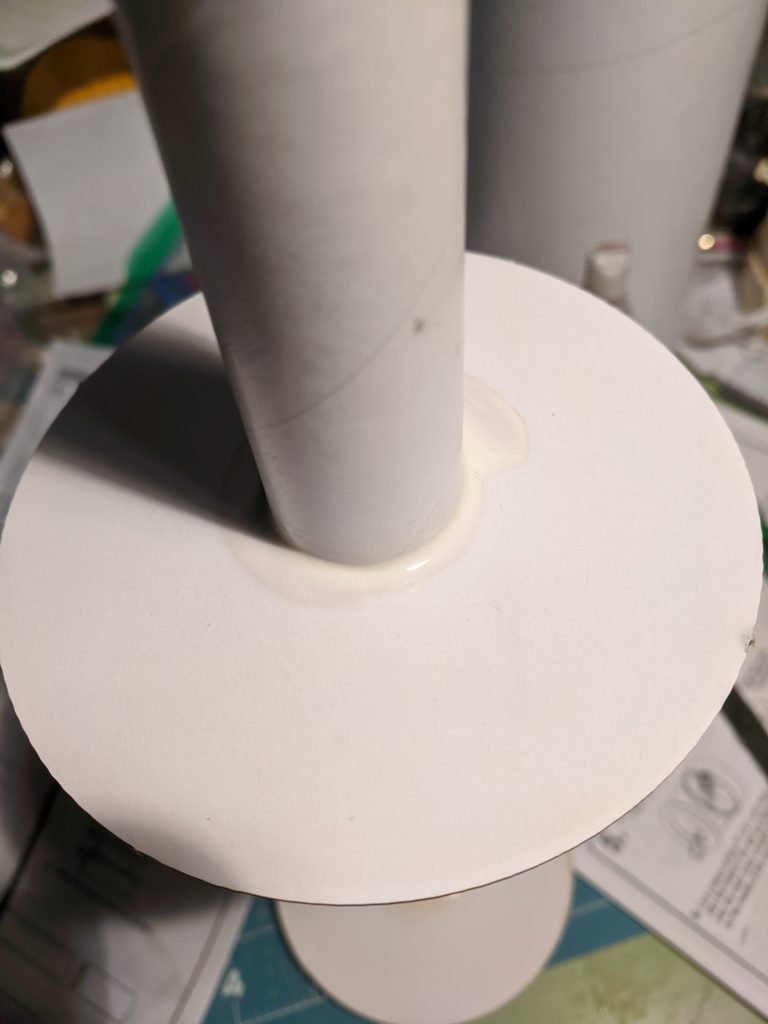
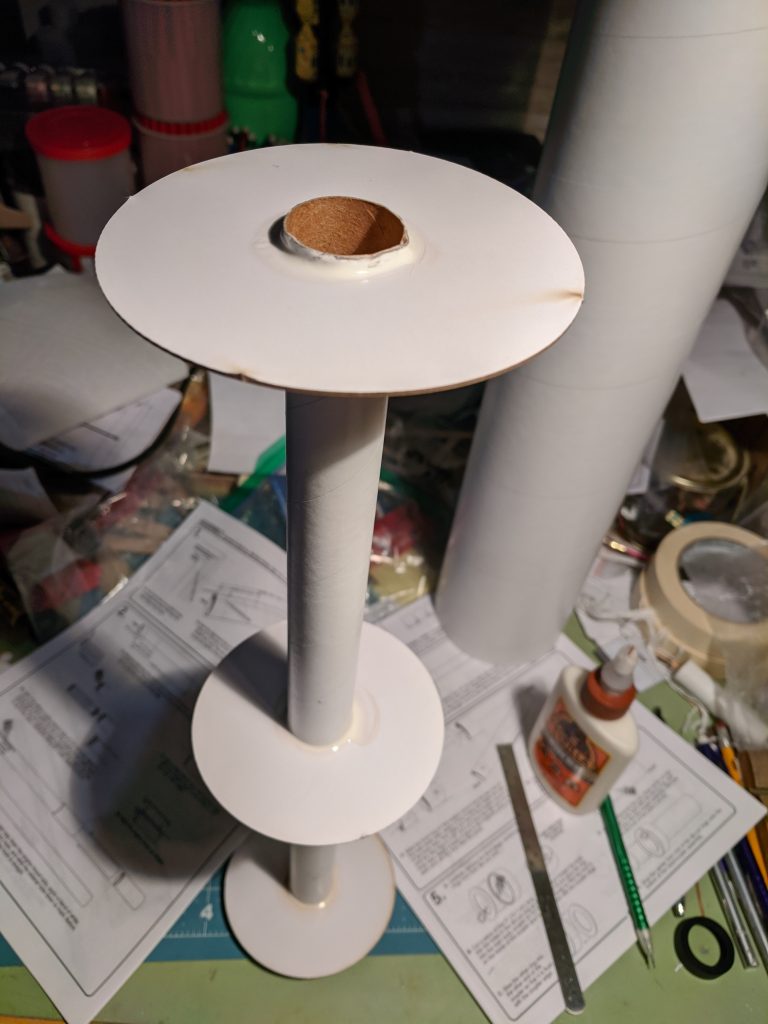
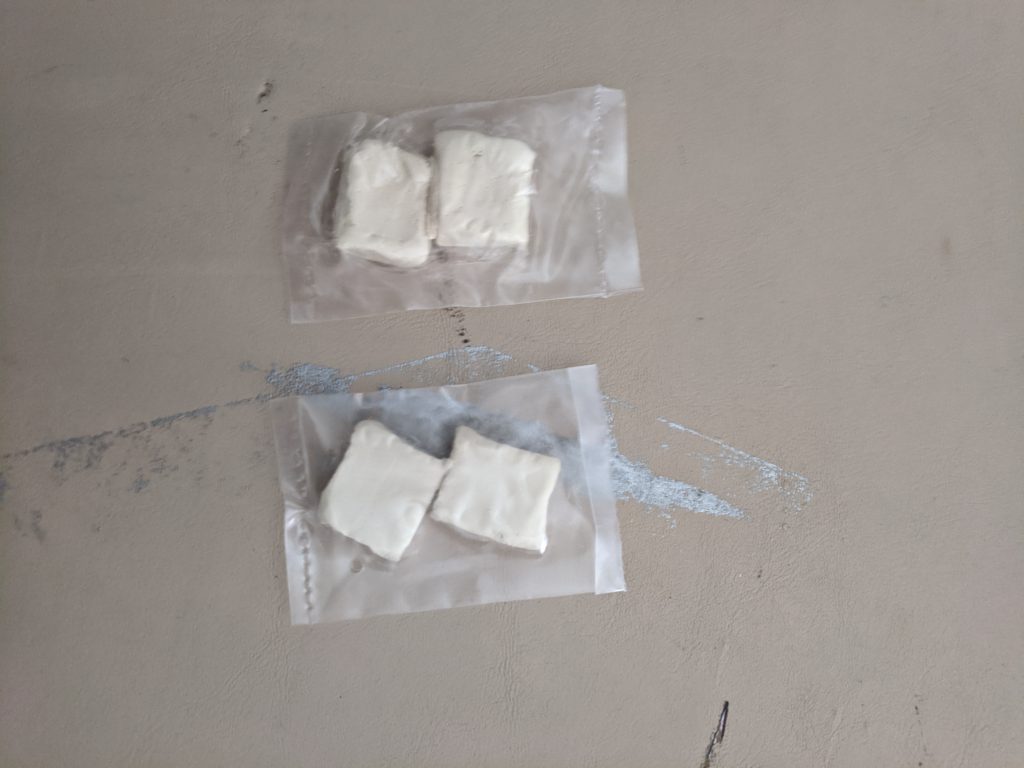
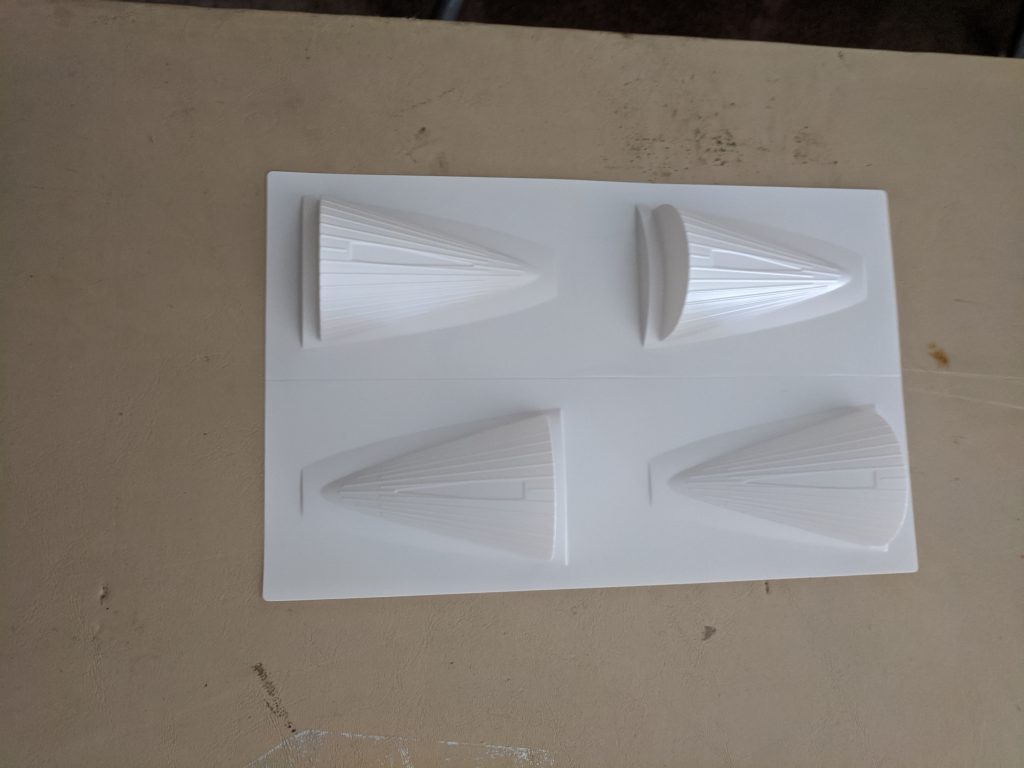
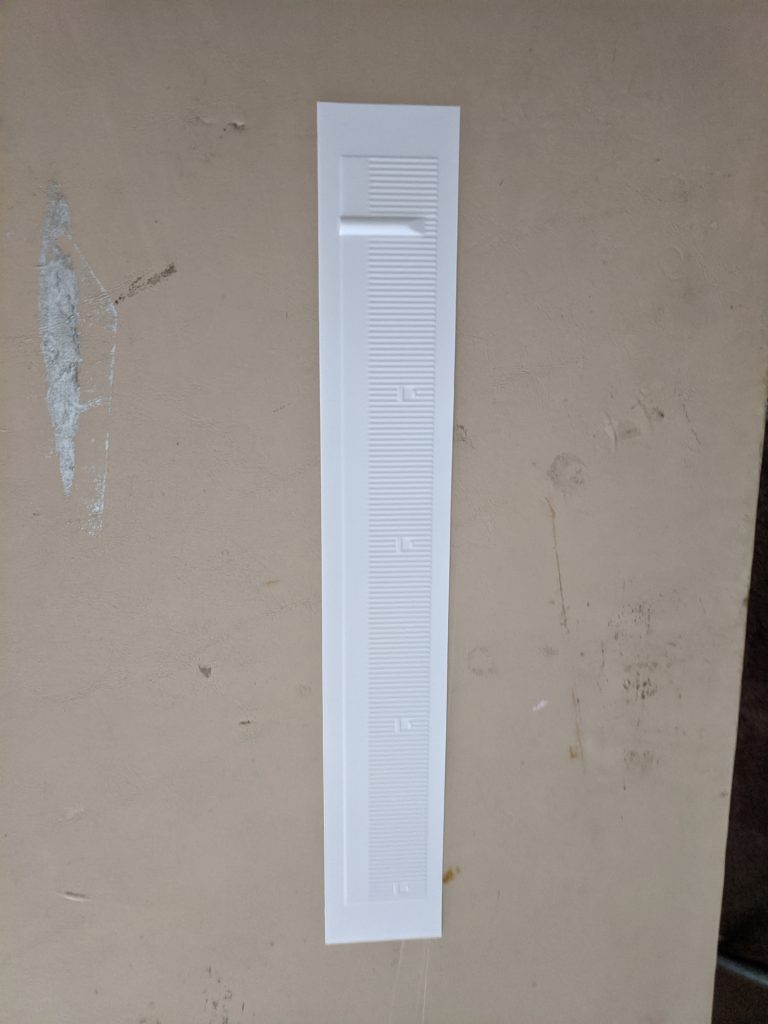
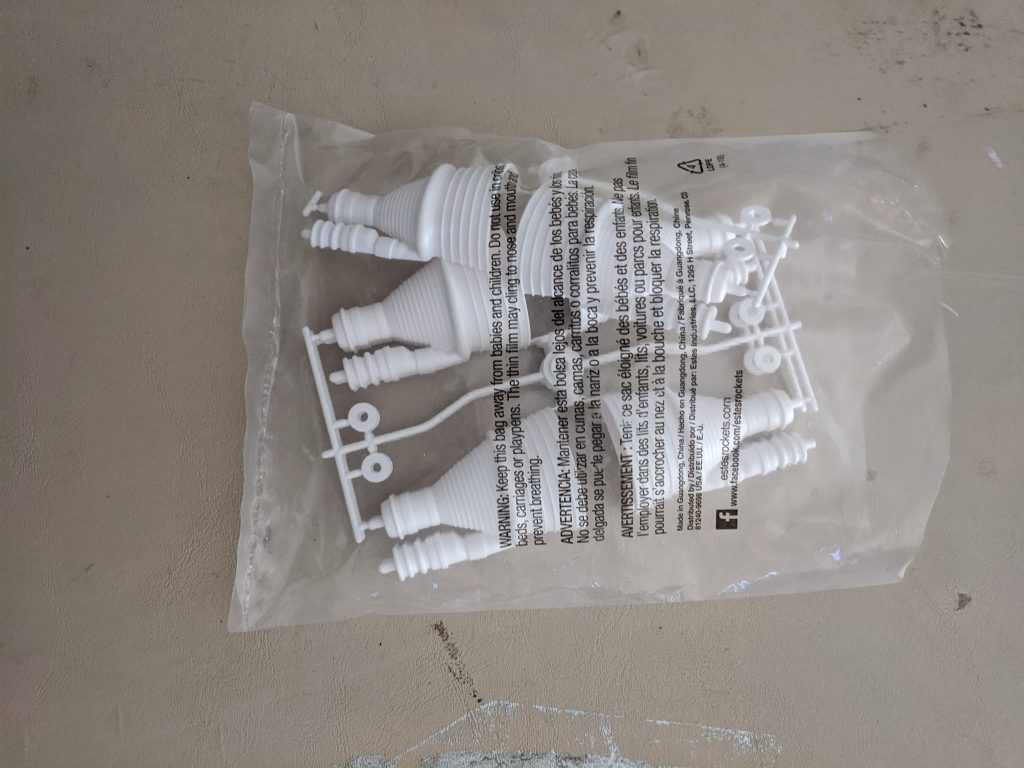
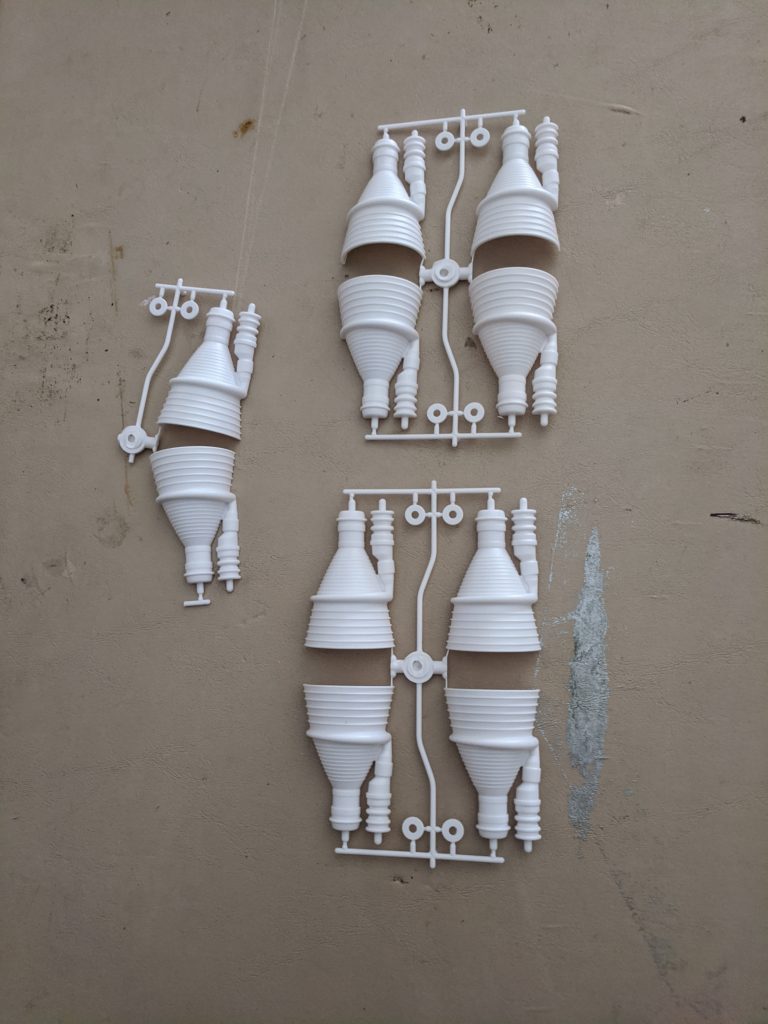
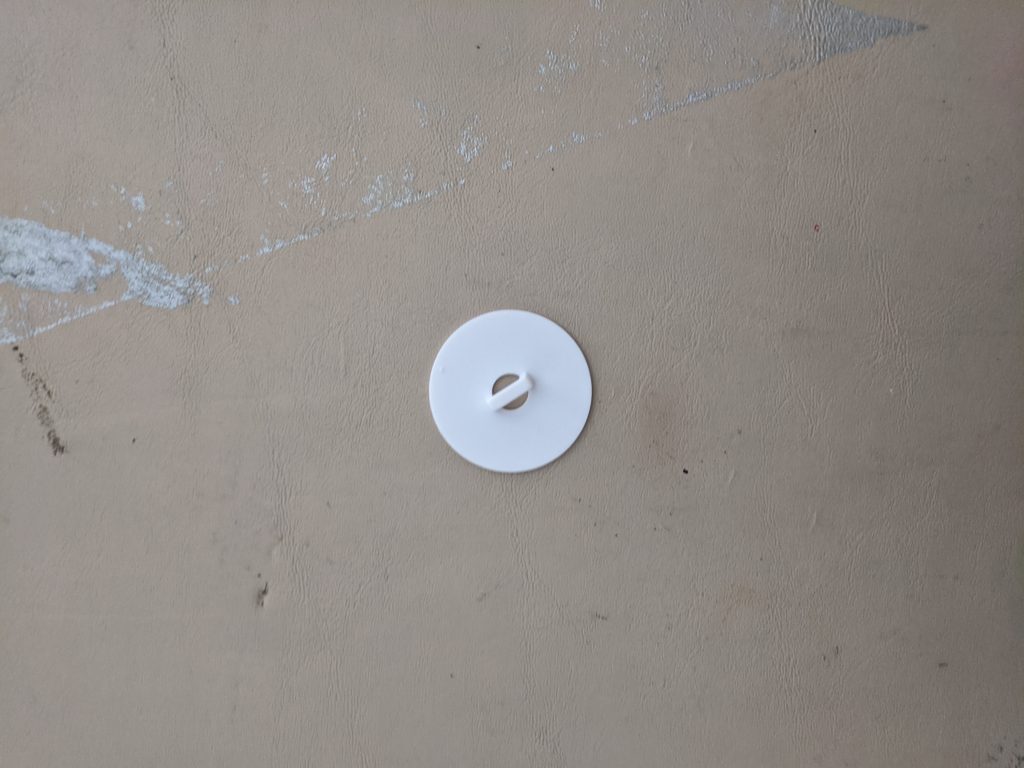
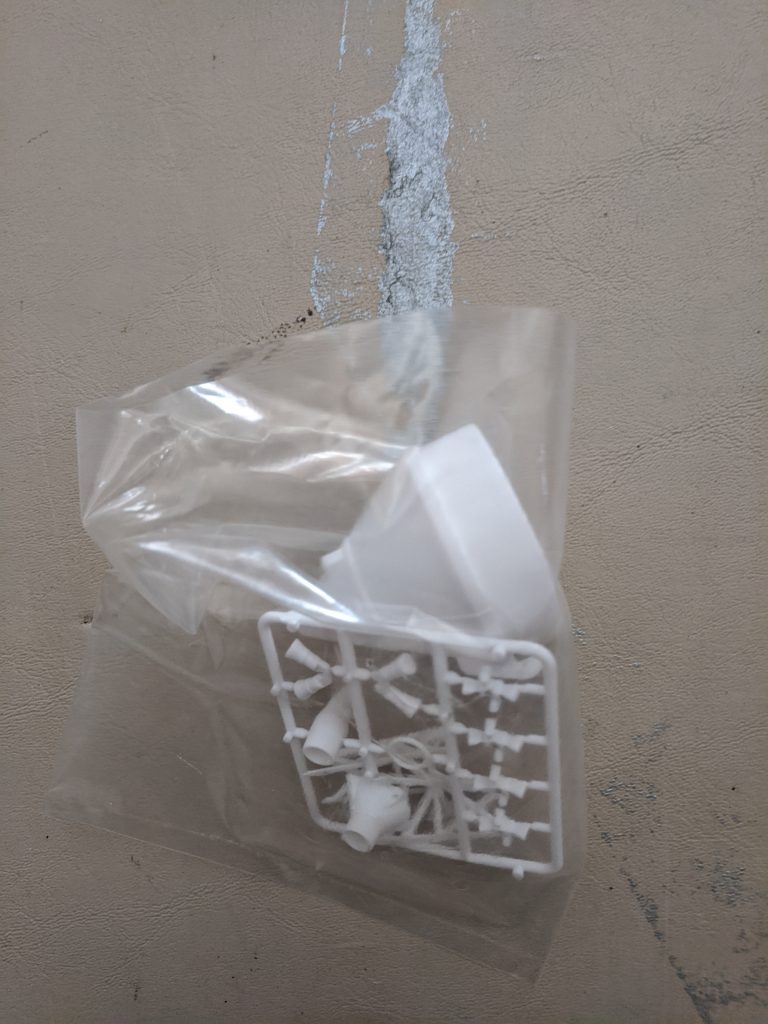
- 03/04/2020 – Cut out a new wrap from folder stock. Made it a little bigger. Glued it together and to both body tubes. Removed plastic nozzle halves from plastic tree and cemented each together to form a nozzle. Remove nozles from trees and cemented them together to make five nozzles. Using plastic disks, glued them to a cardboard disc. Glued spacer tube to top of iisc. Cut main body tube wrap wrap to size.
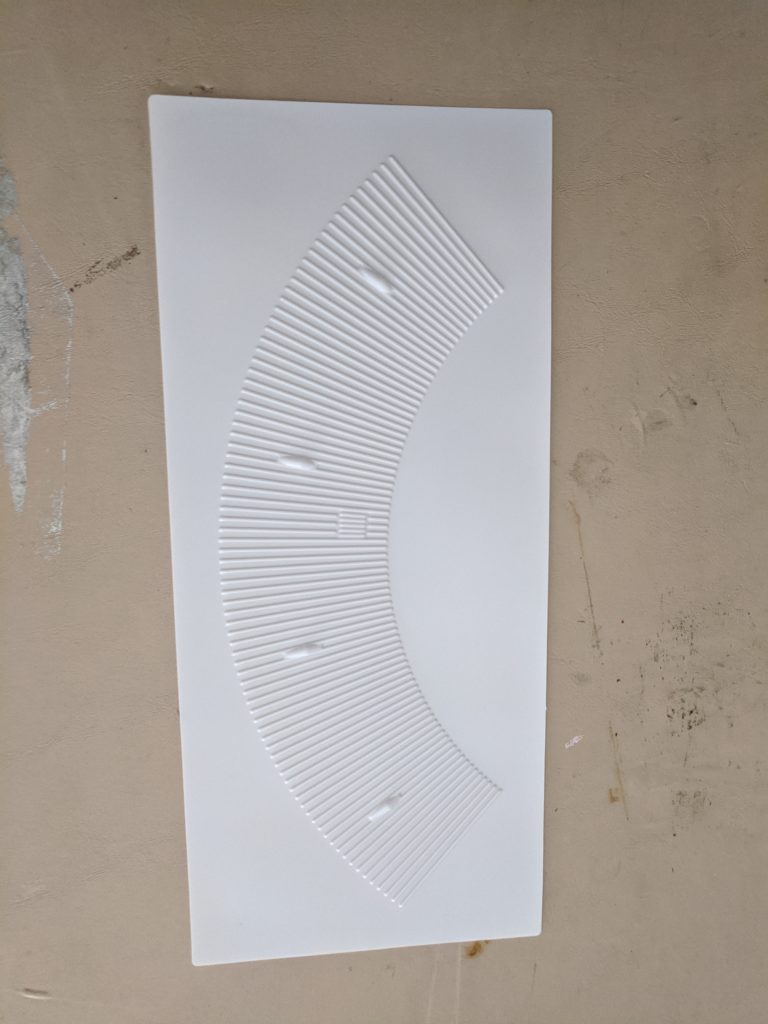
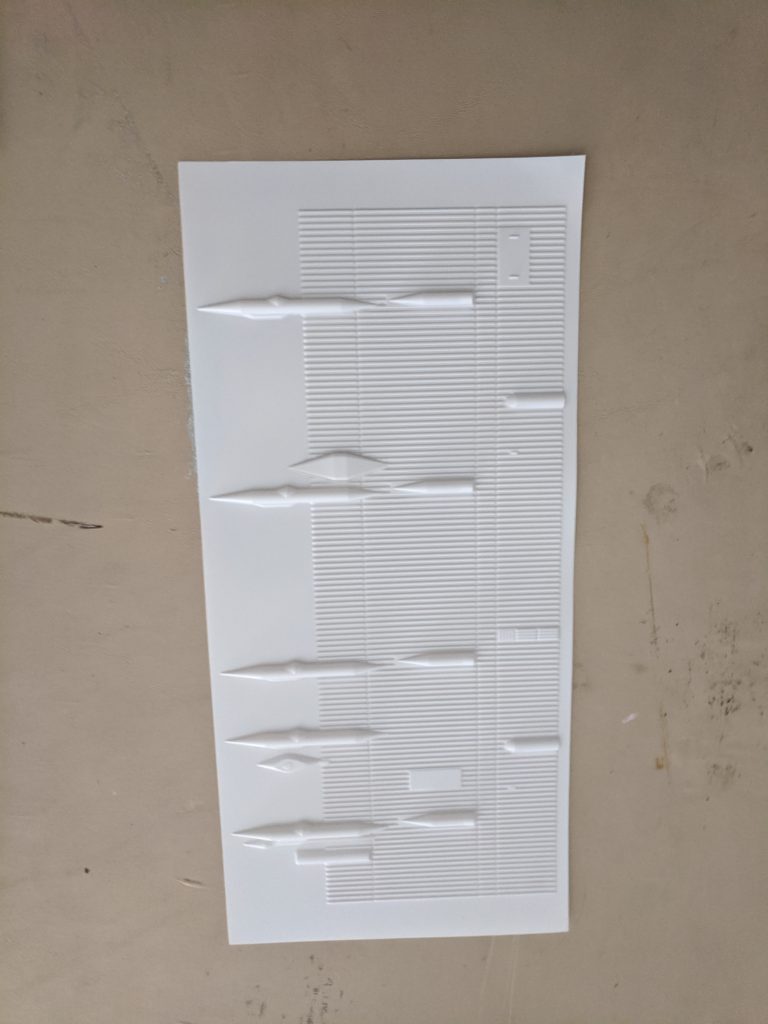
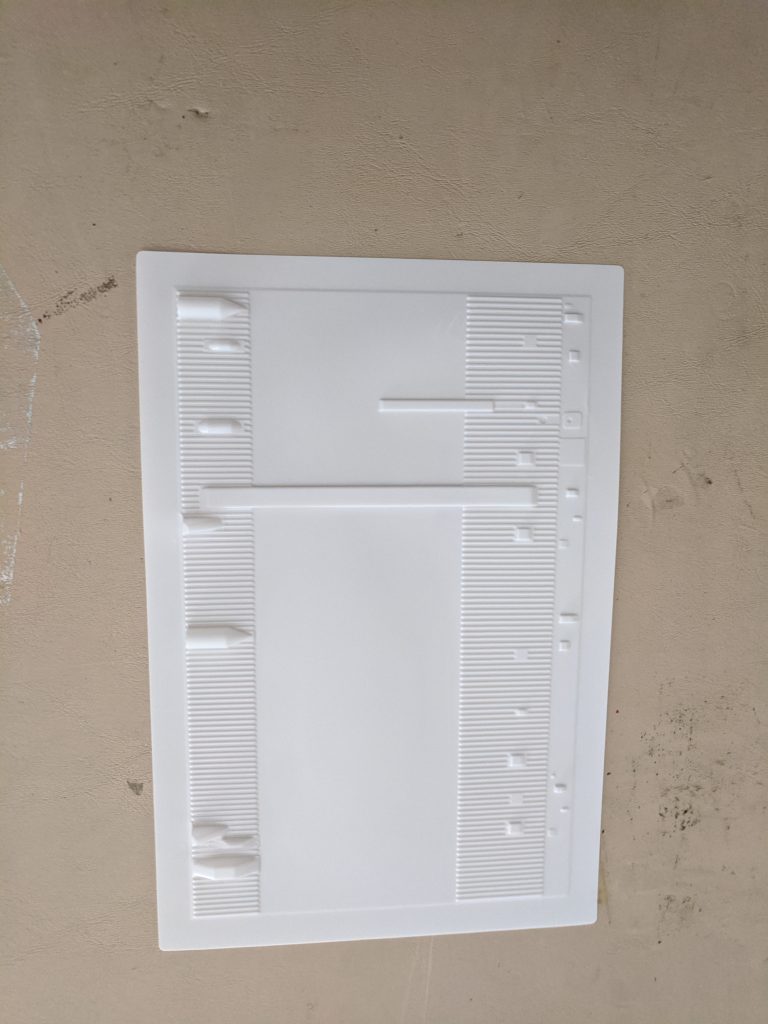
- 03/11/2020 – Cut out vacuum formed wraps.
- 03/13/2020 – Cut last two vacuum formed wraps out. All wraps have been trimmed to size.
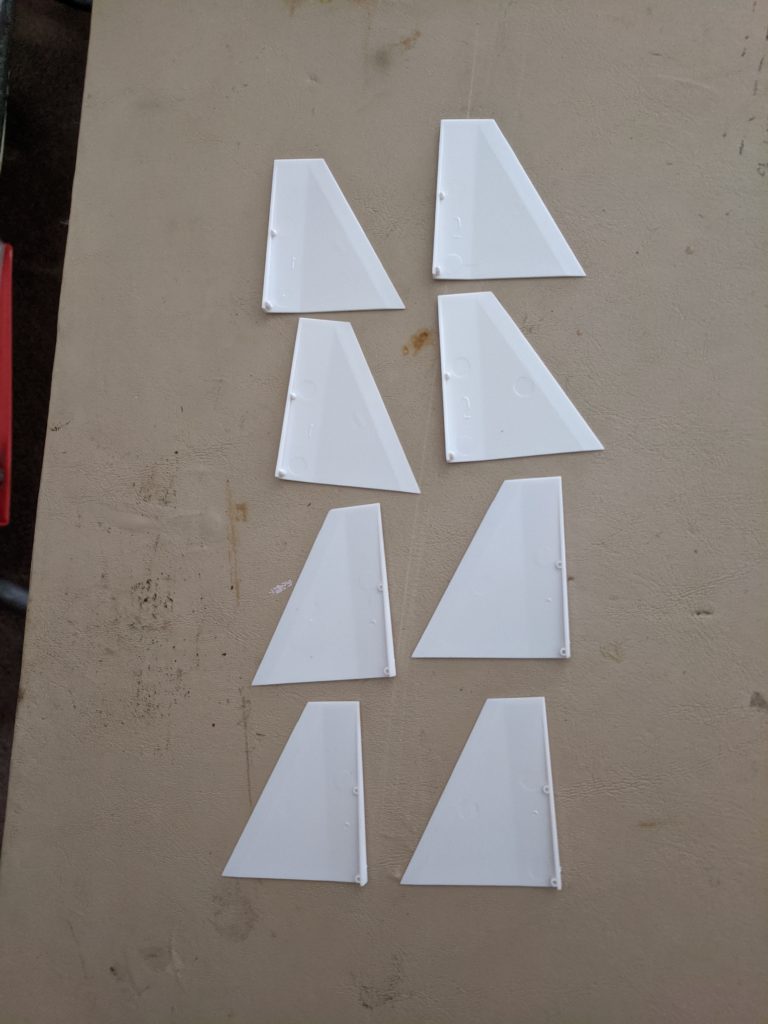
- 03/18/2020 – Glued inner ring 11/16″ from aft end of main body tube. Cemented fin halves together.
Flights
| Date | Location | # | Motor | Comments |