ESTES Model #1265
Description
This exciting bird was the first to introduce the revolutionary concept of scissor-wing flight and recovery system. It features SST styling, high flight reliability and is capable of flight times of more than 60 seconds. The power pod features vertical stabilizer fins and is recovered with a parachute.
Additional Information
- Length: 23.4″
- Diameter: 0.976″
- Weight: 3.1 oz.
- Rotospan: 16″
- Recovery: Glider & 12″ Parachute
- Recommended Motors:
- B4-2, B6-2, C6-3
Instructions
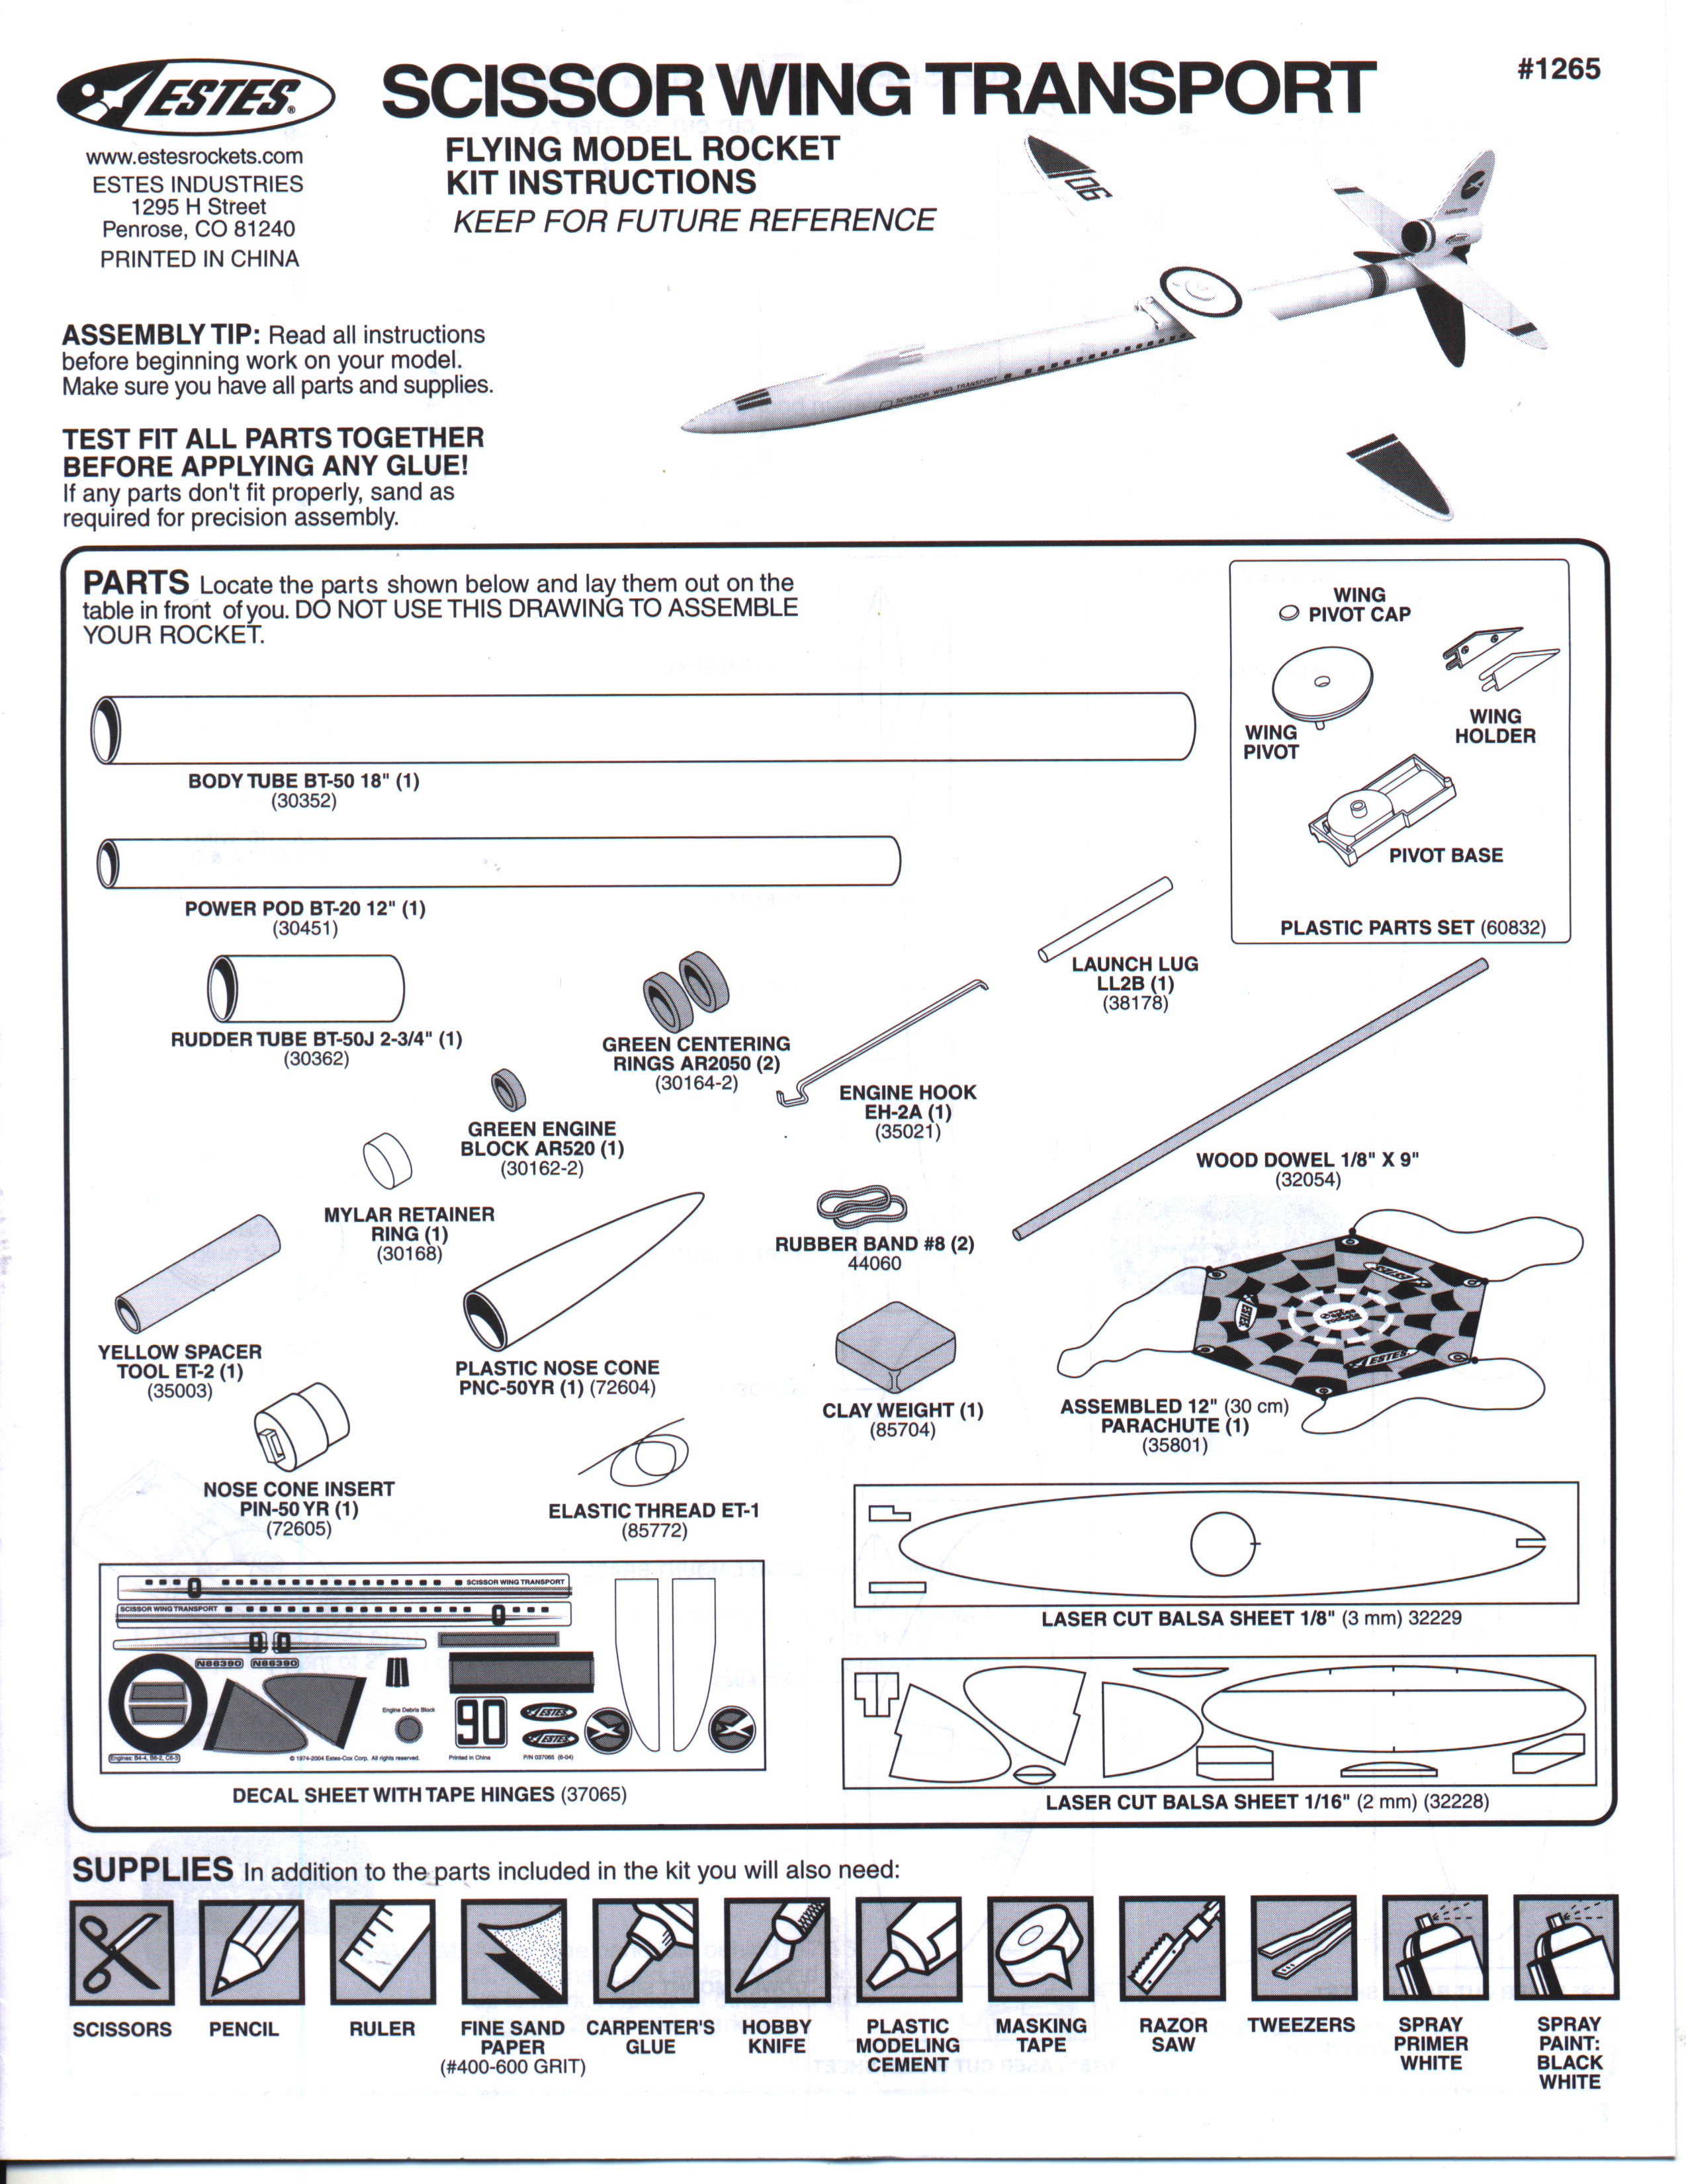
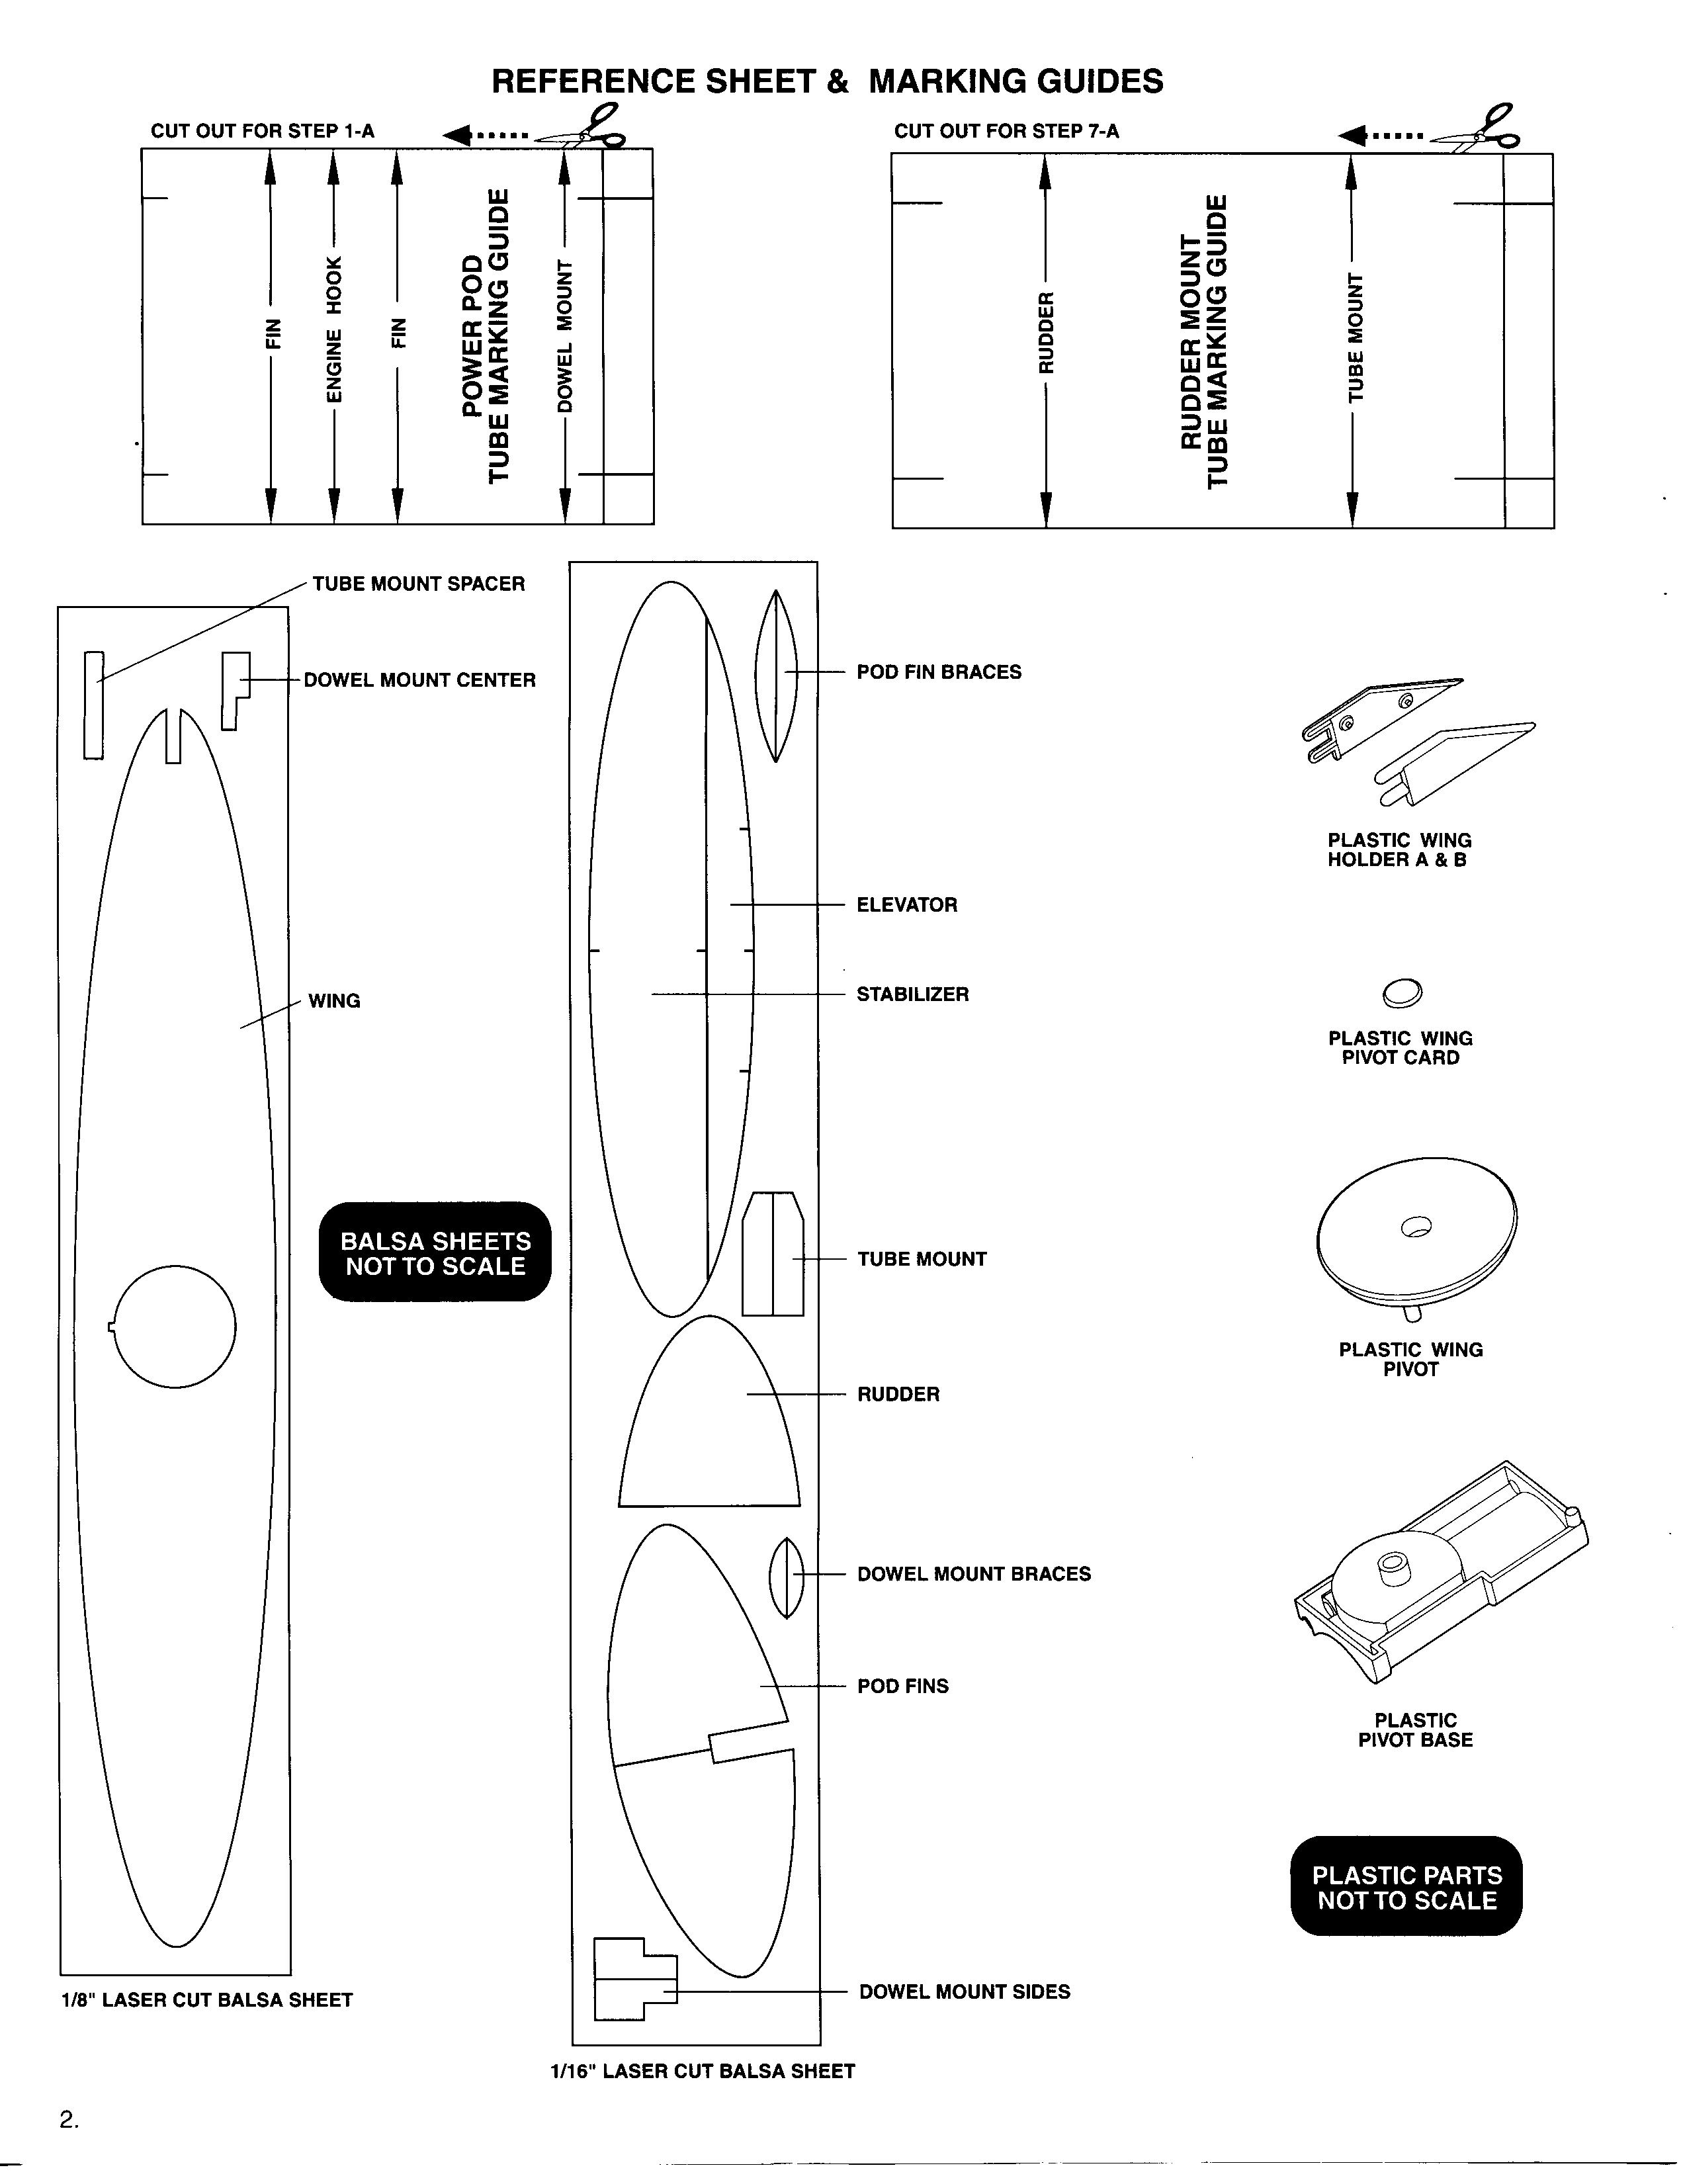
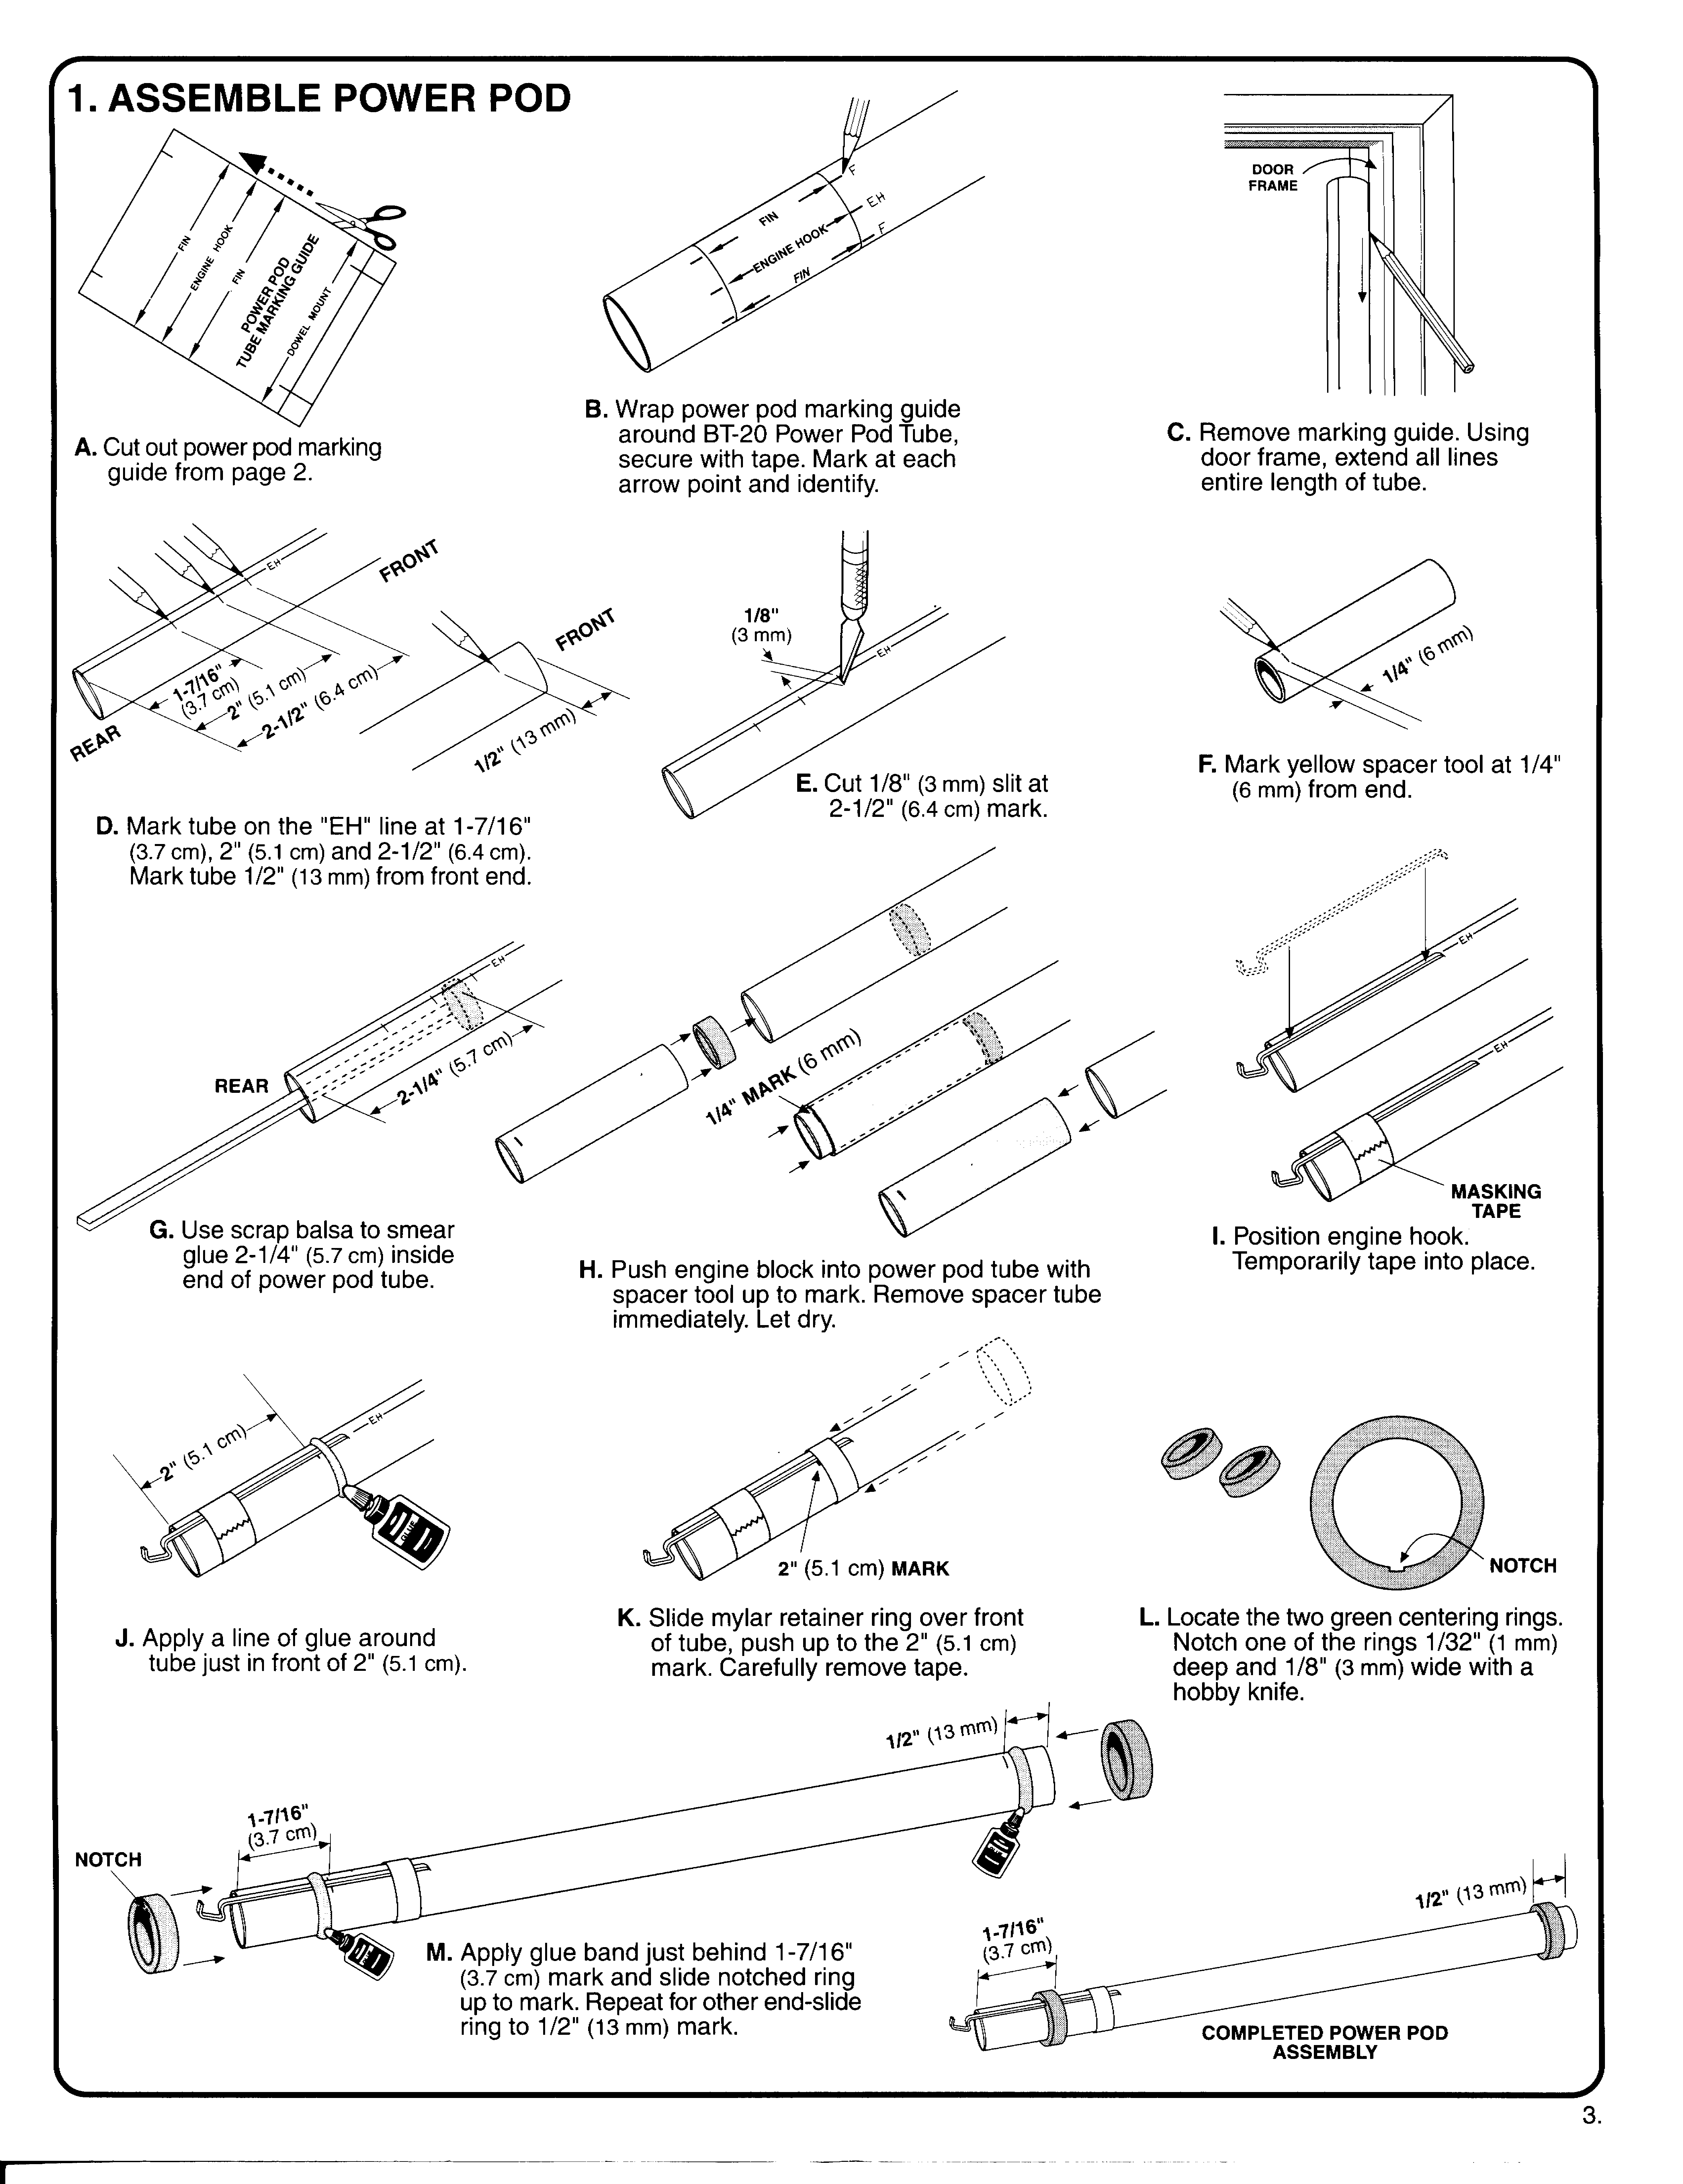
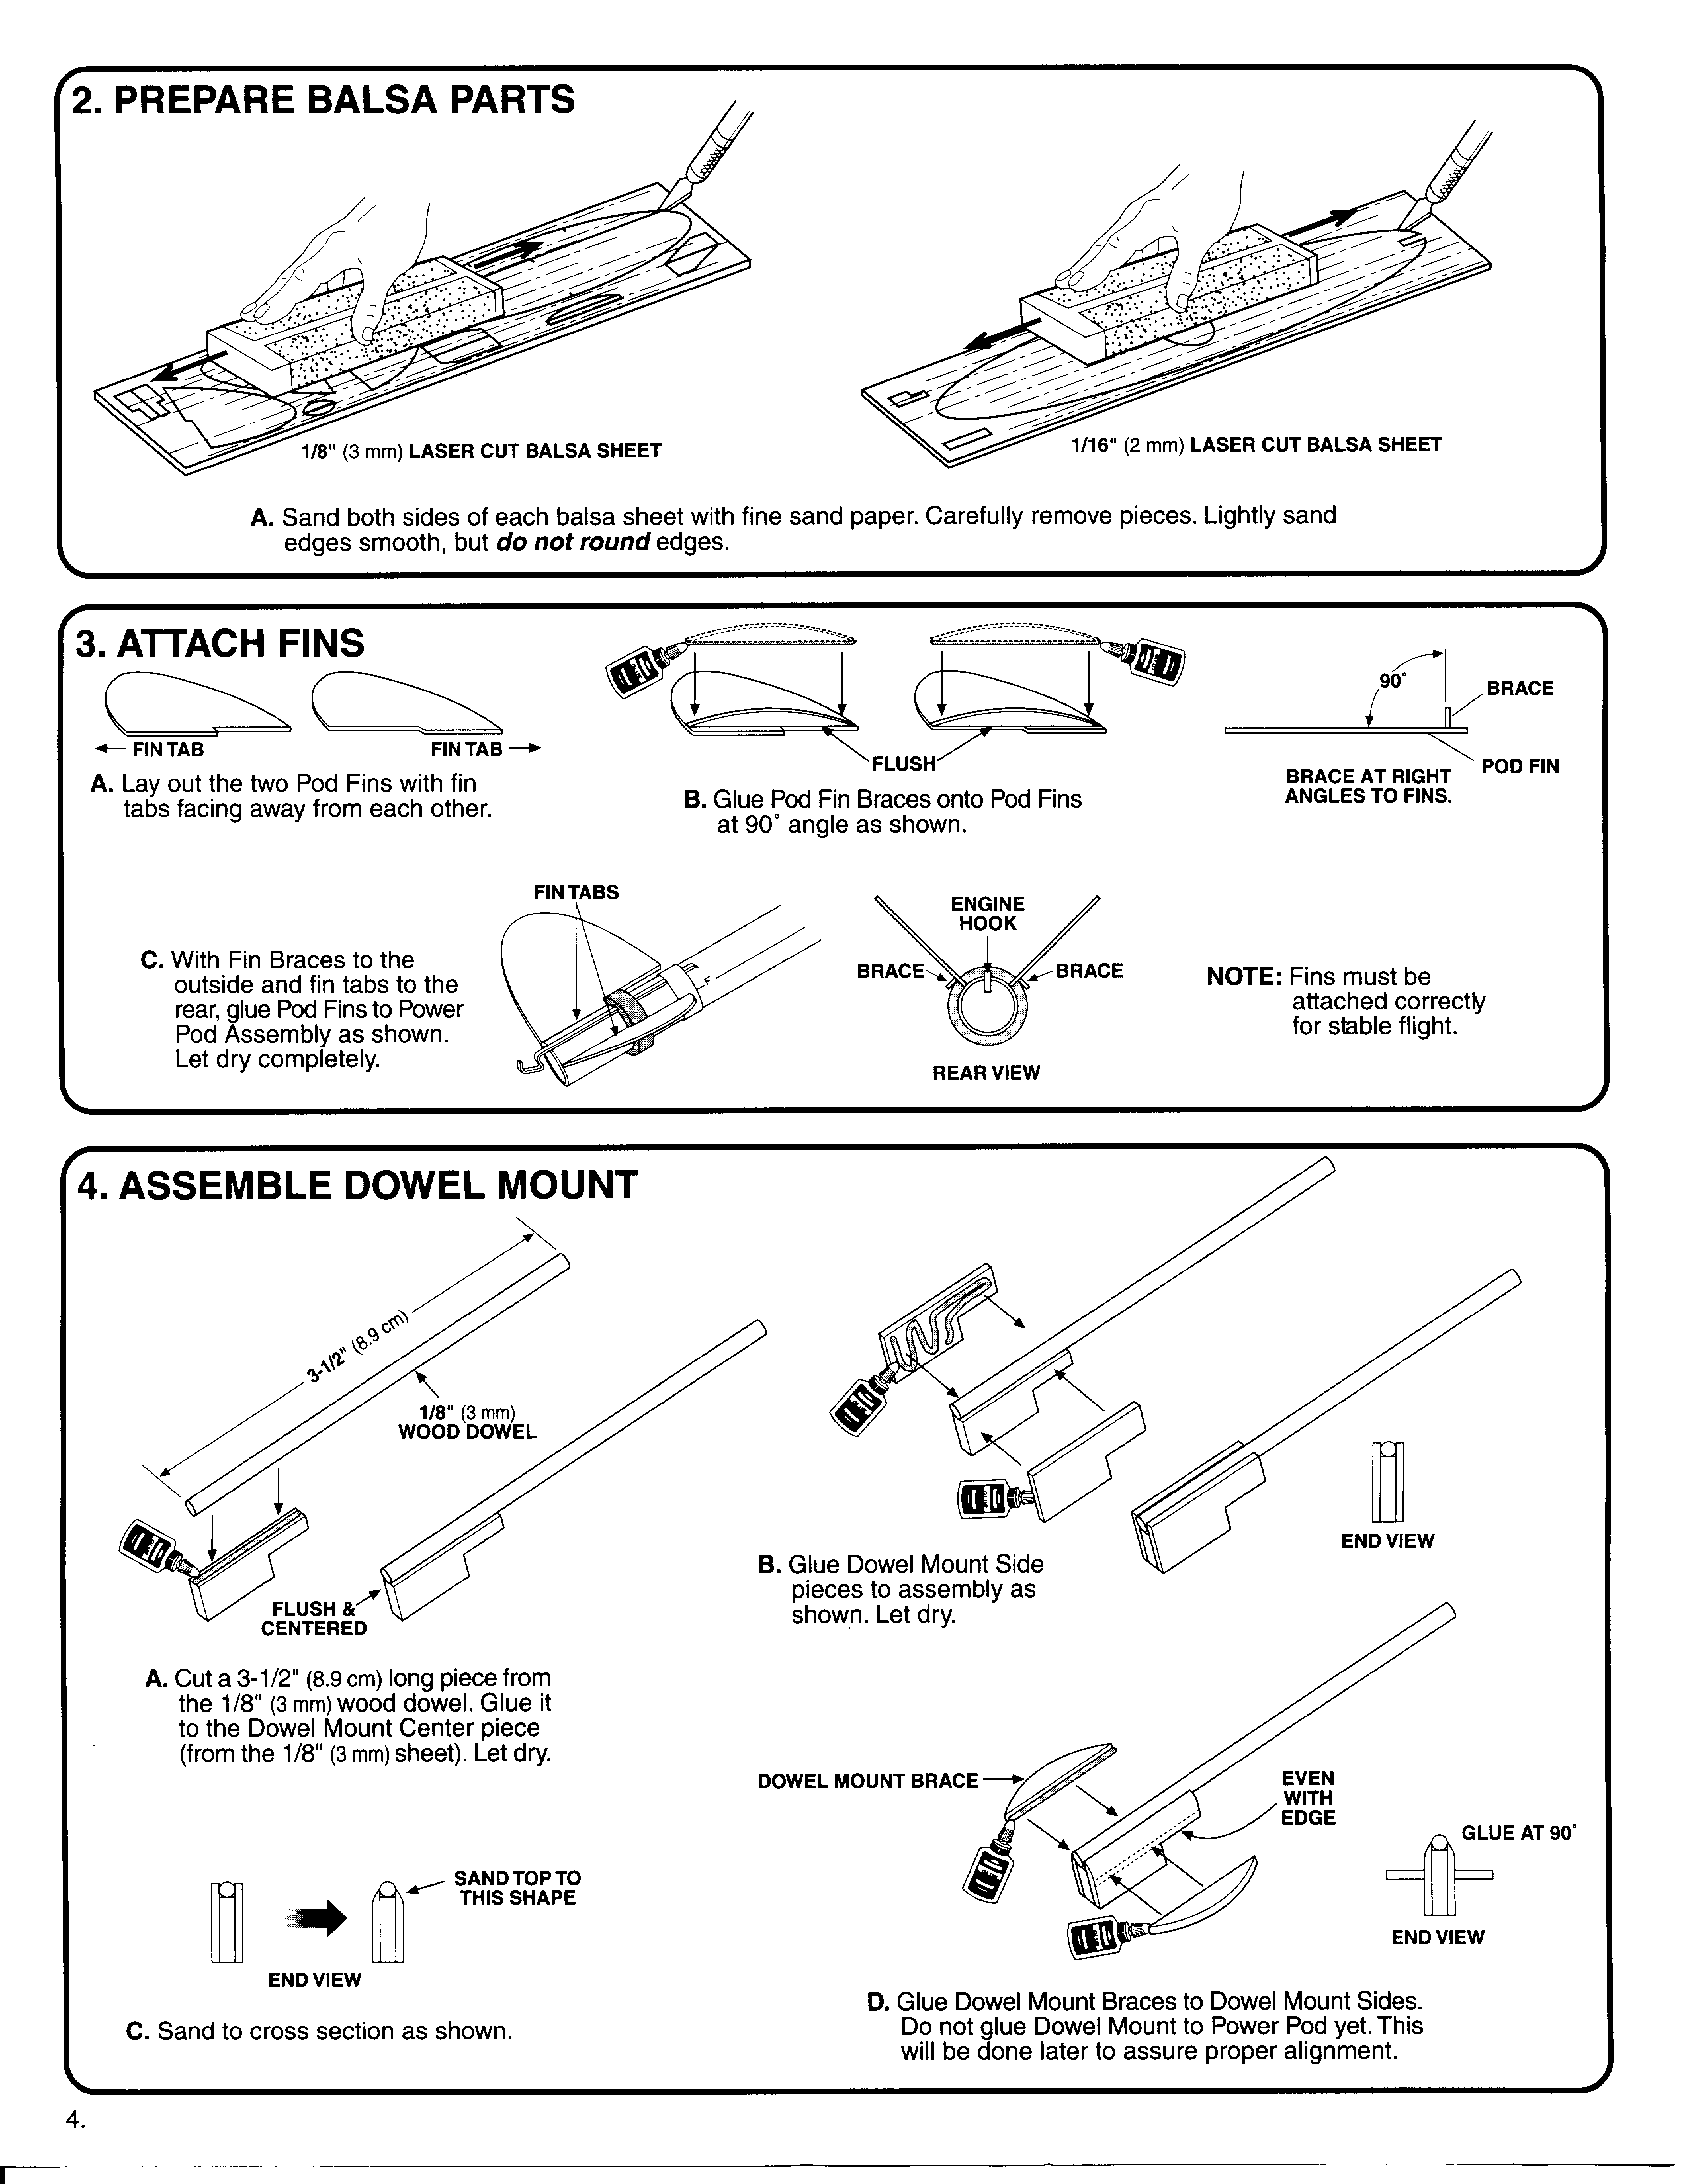

Photo Gallery

Build History
- 02/28/2005 – Purchased Estes Scissor Wing Transport from Hobby Lobby in Columbus, IN for $10.79 (Retail $19.98).
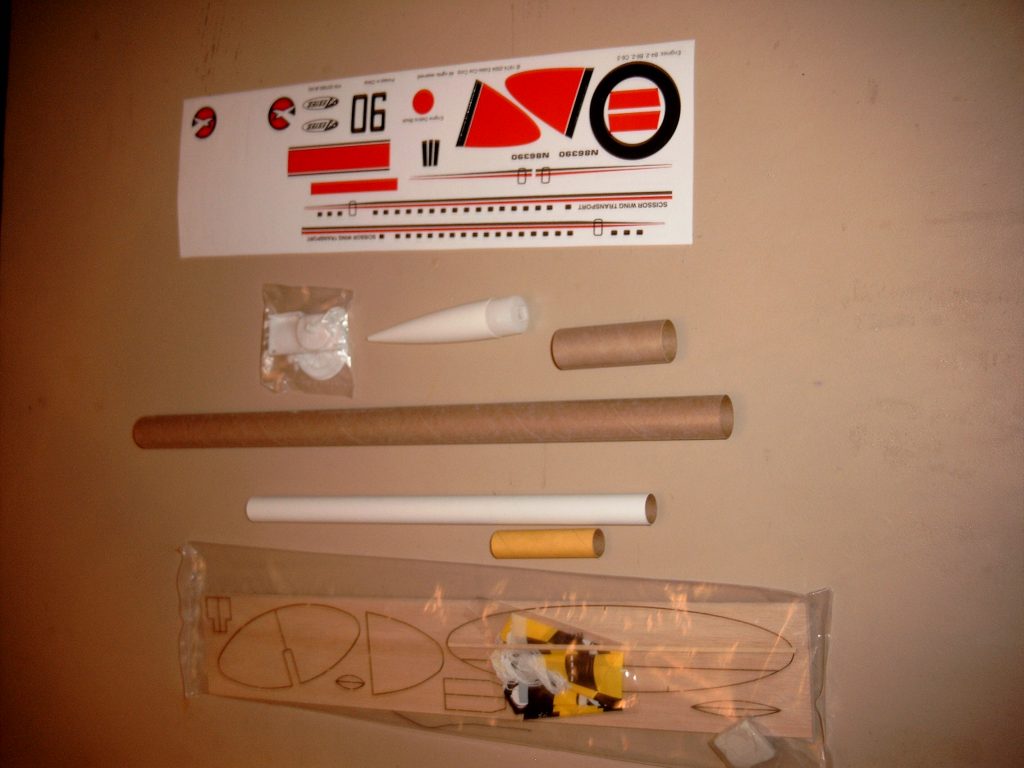
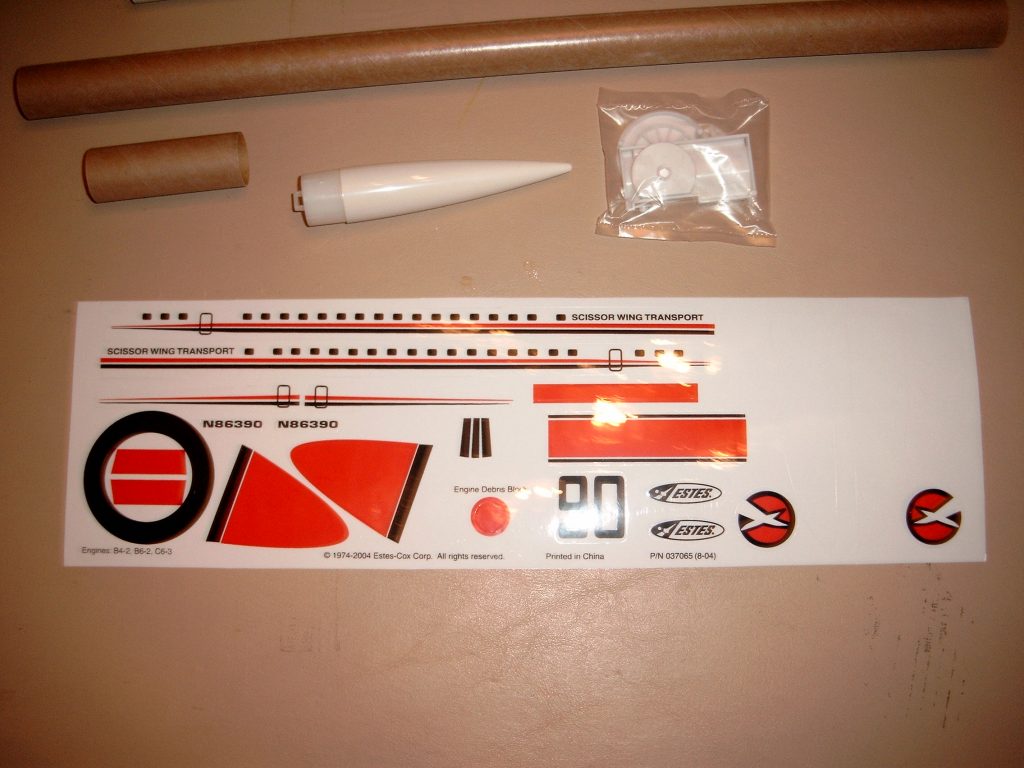
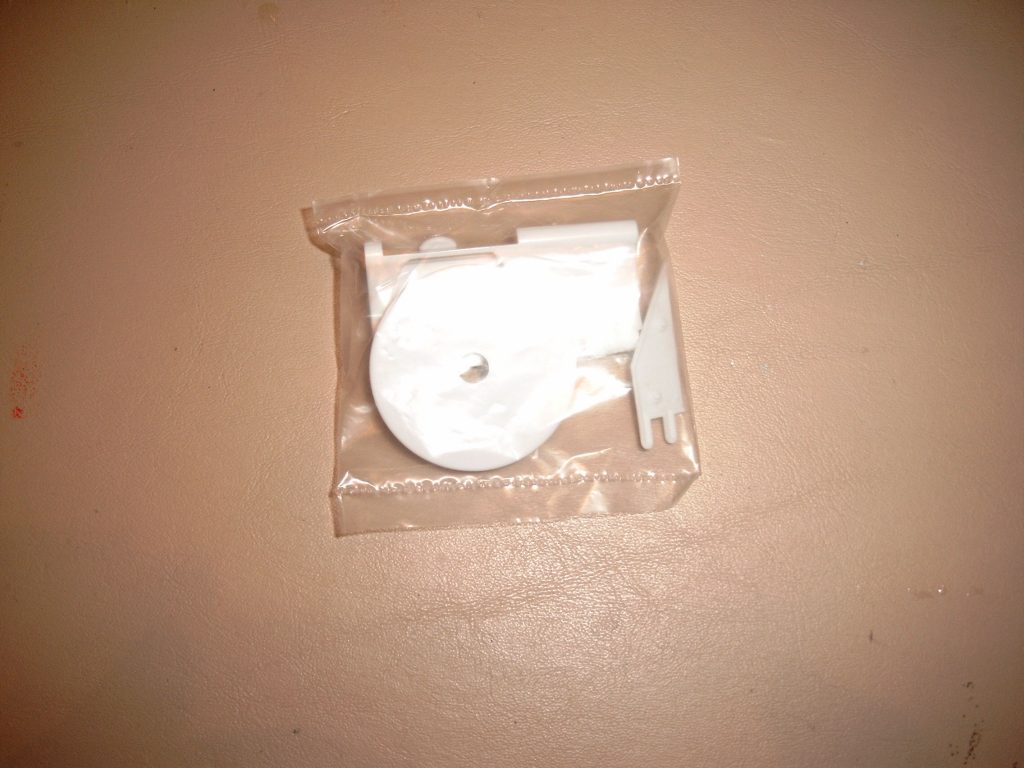
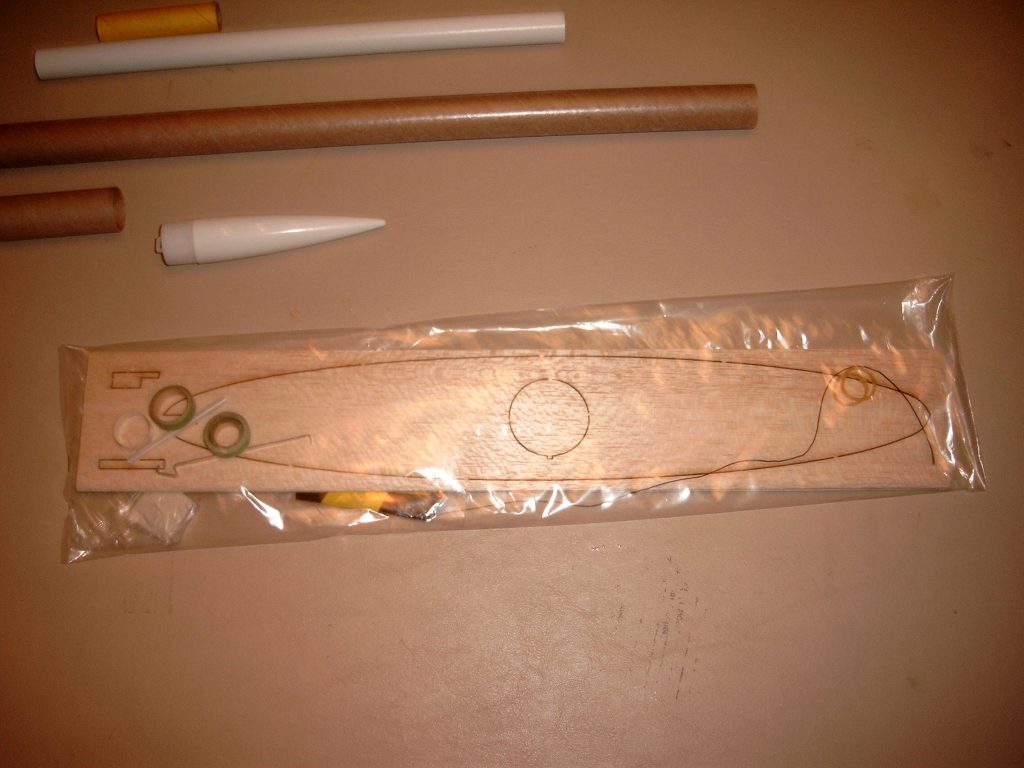
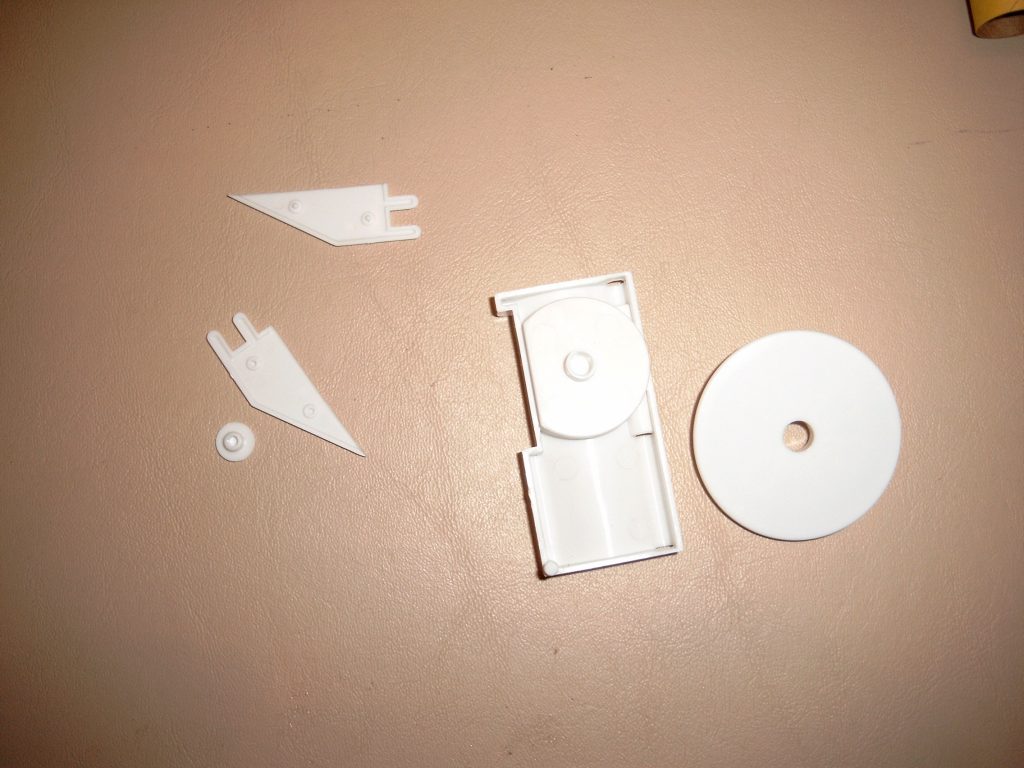
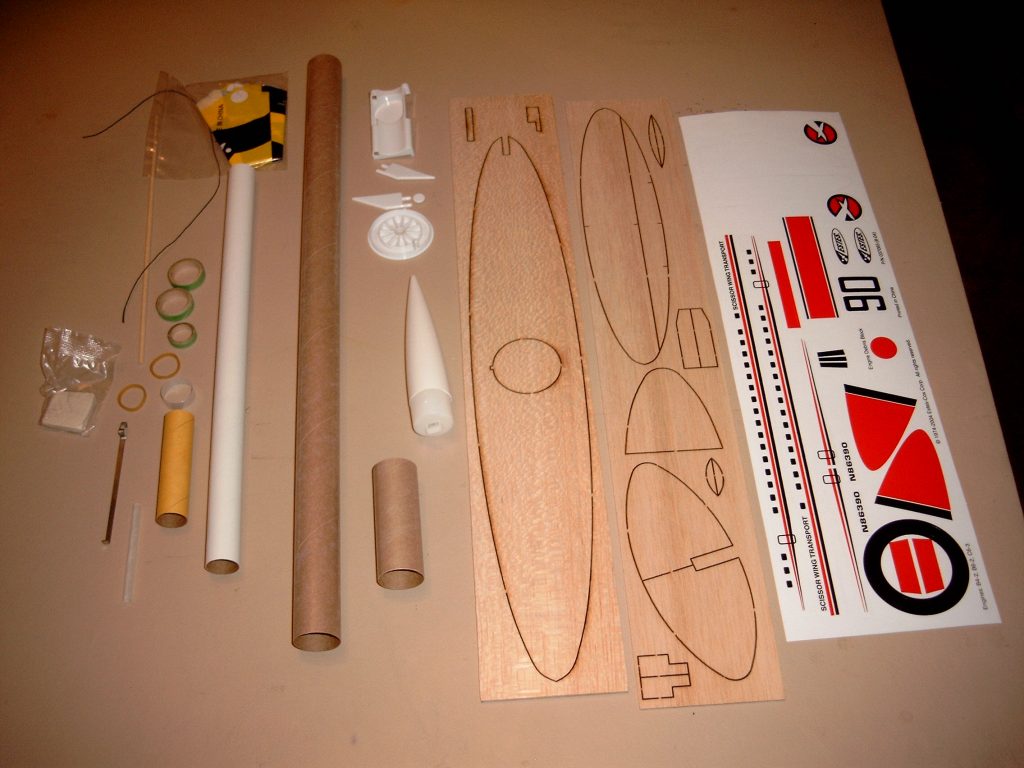
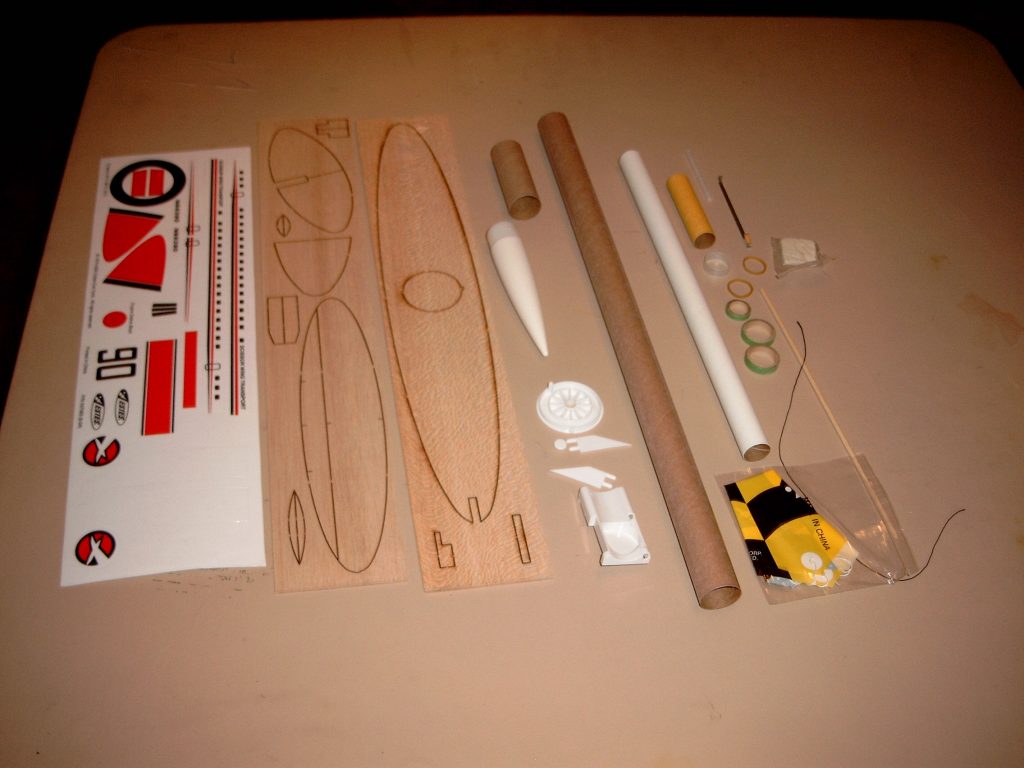
- 11/04/2005 – Took pictures of package, opened package and took pictures of components.
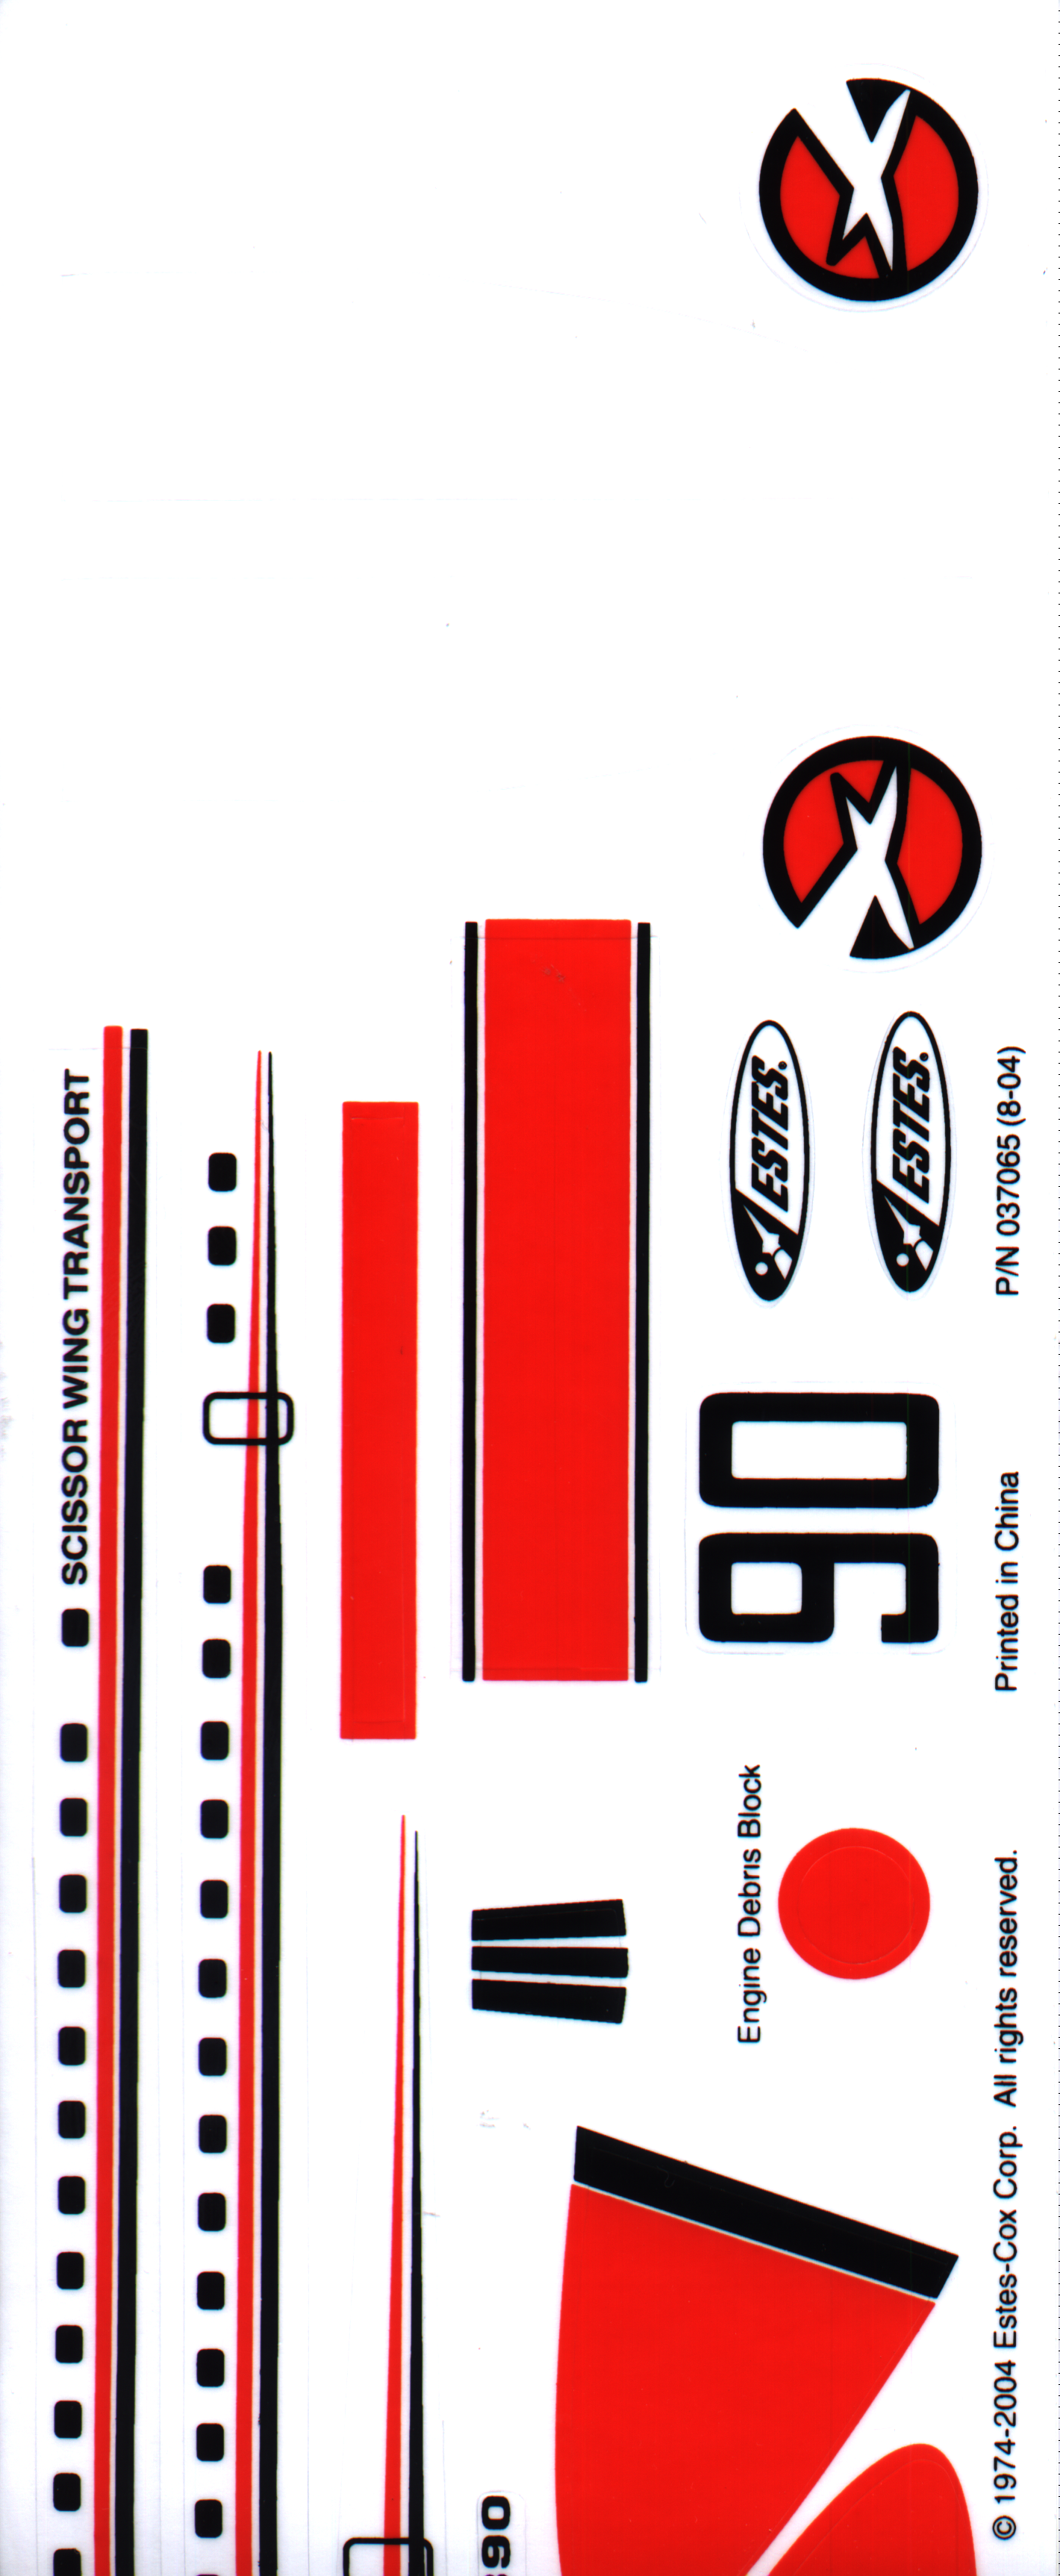
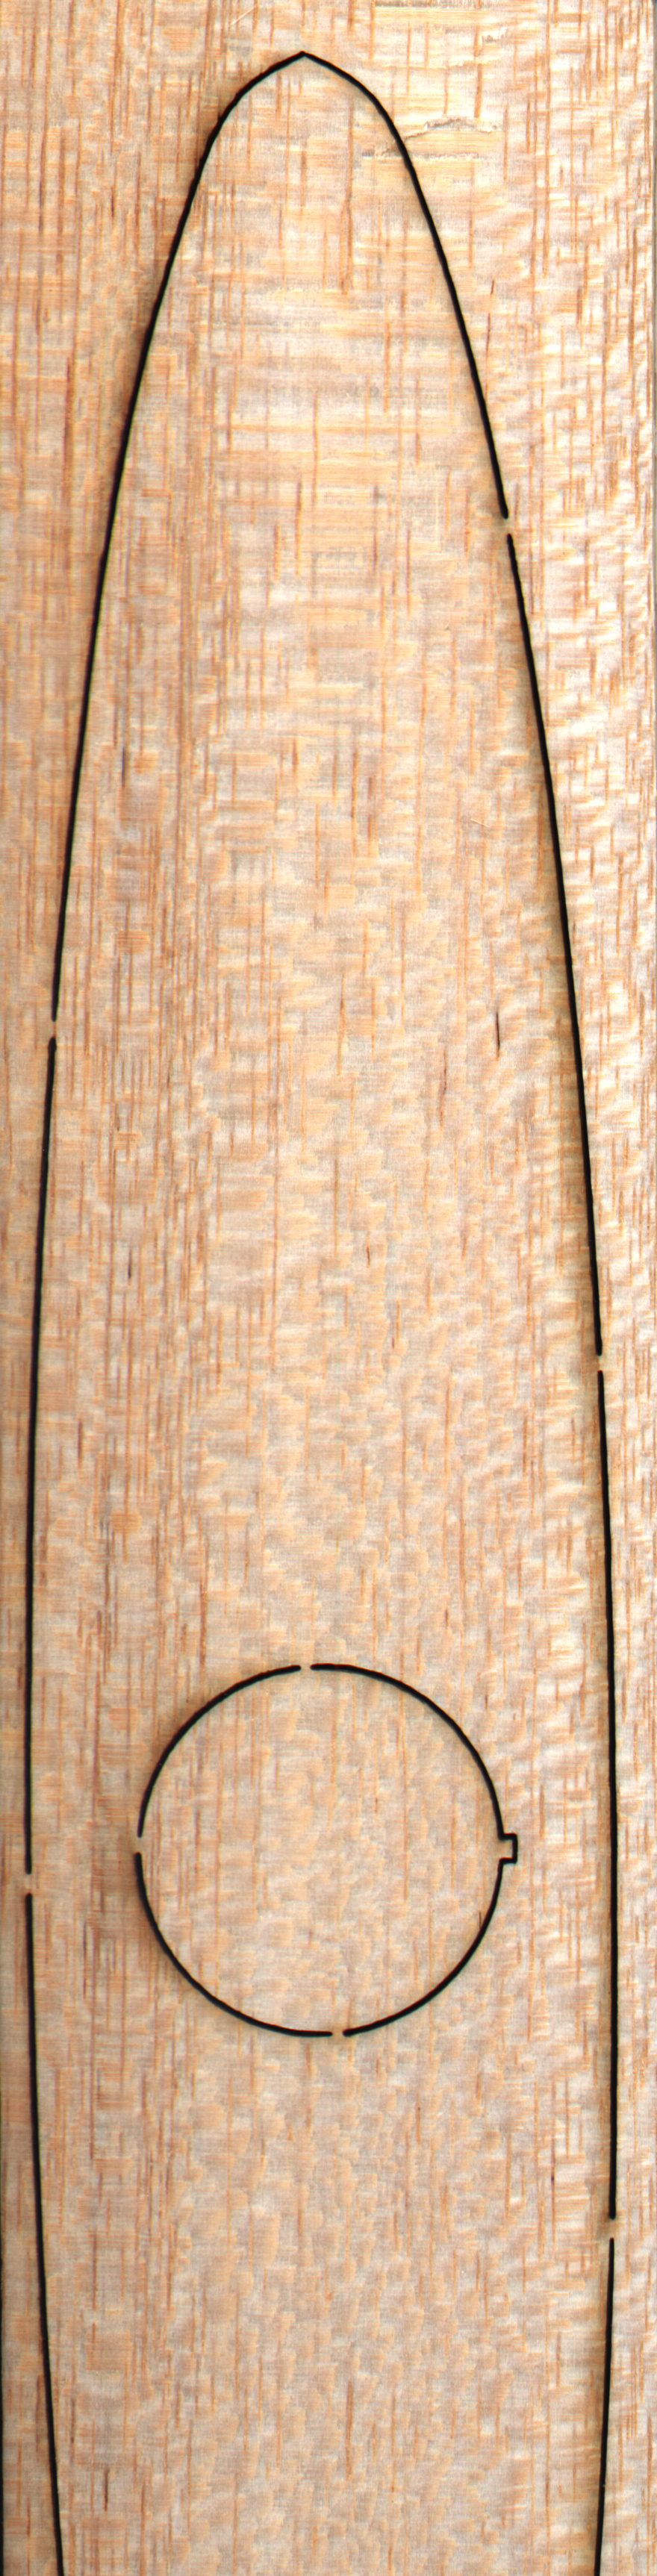
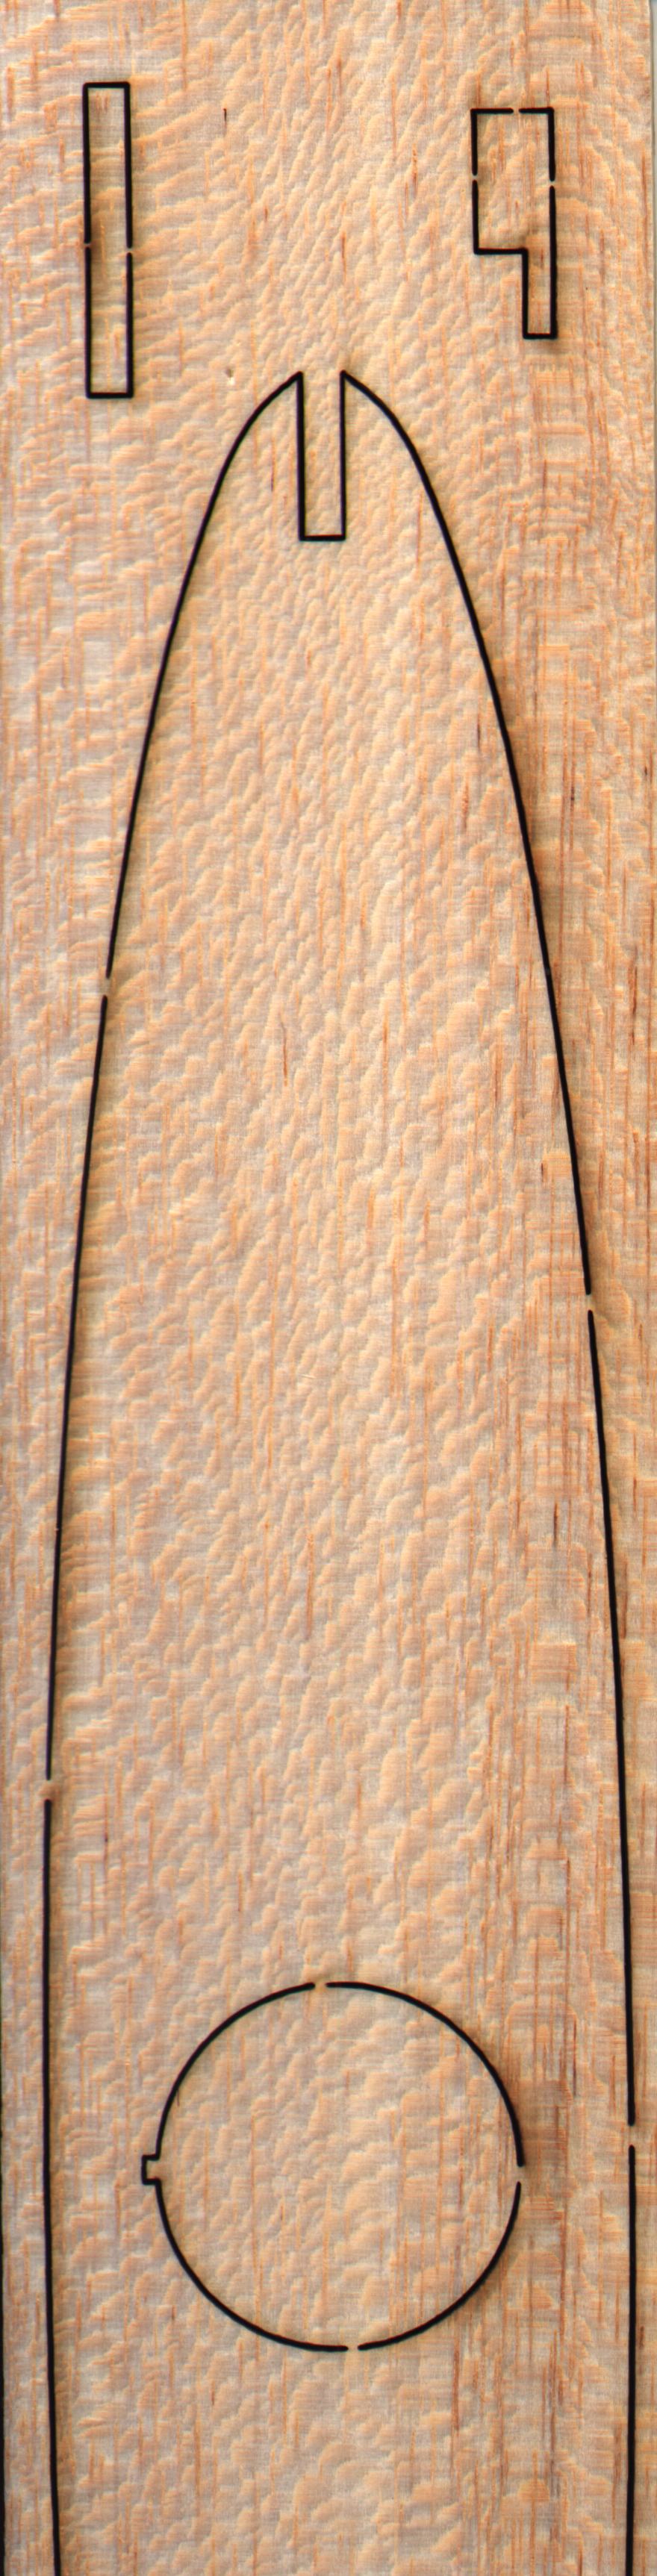
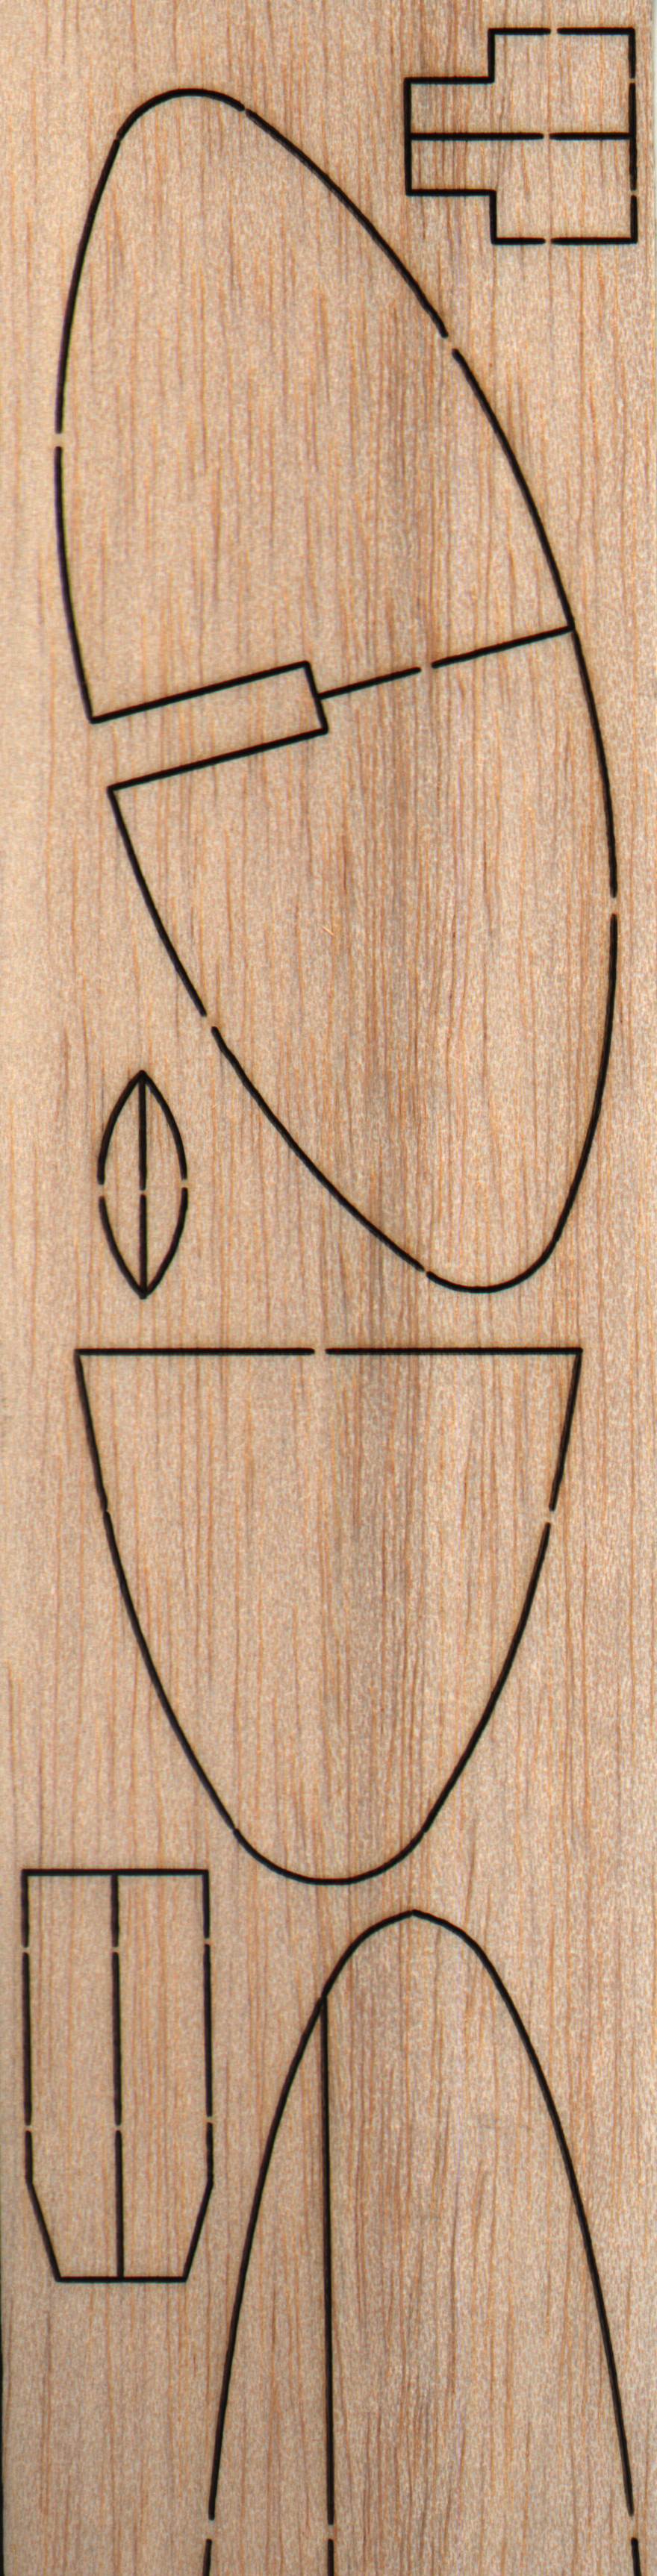
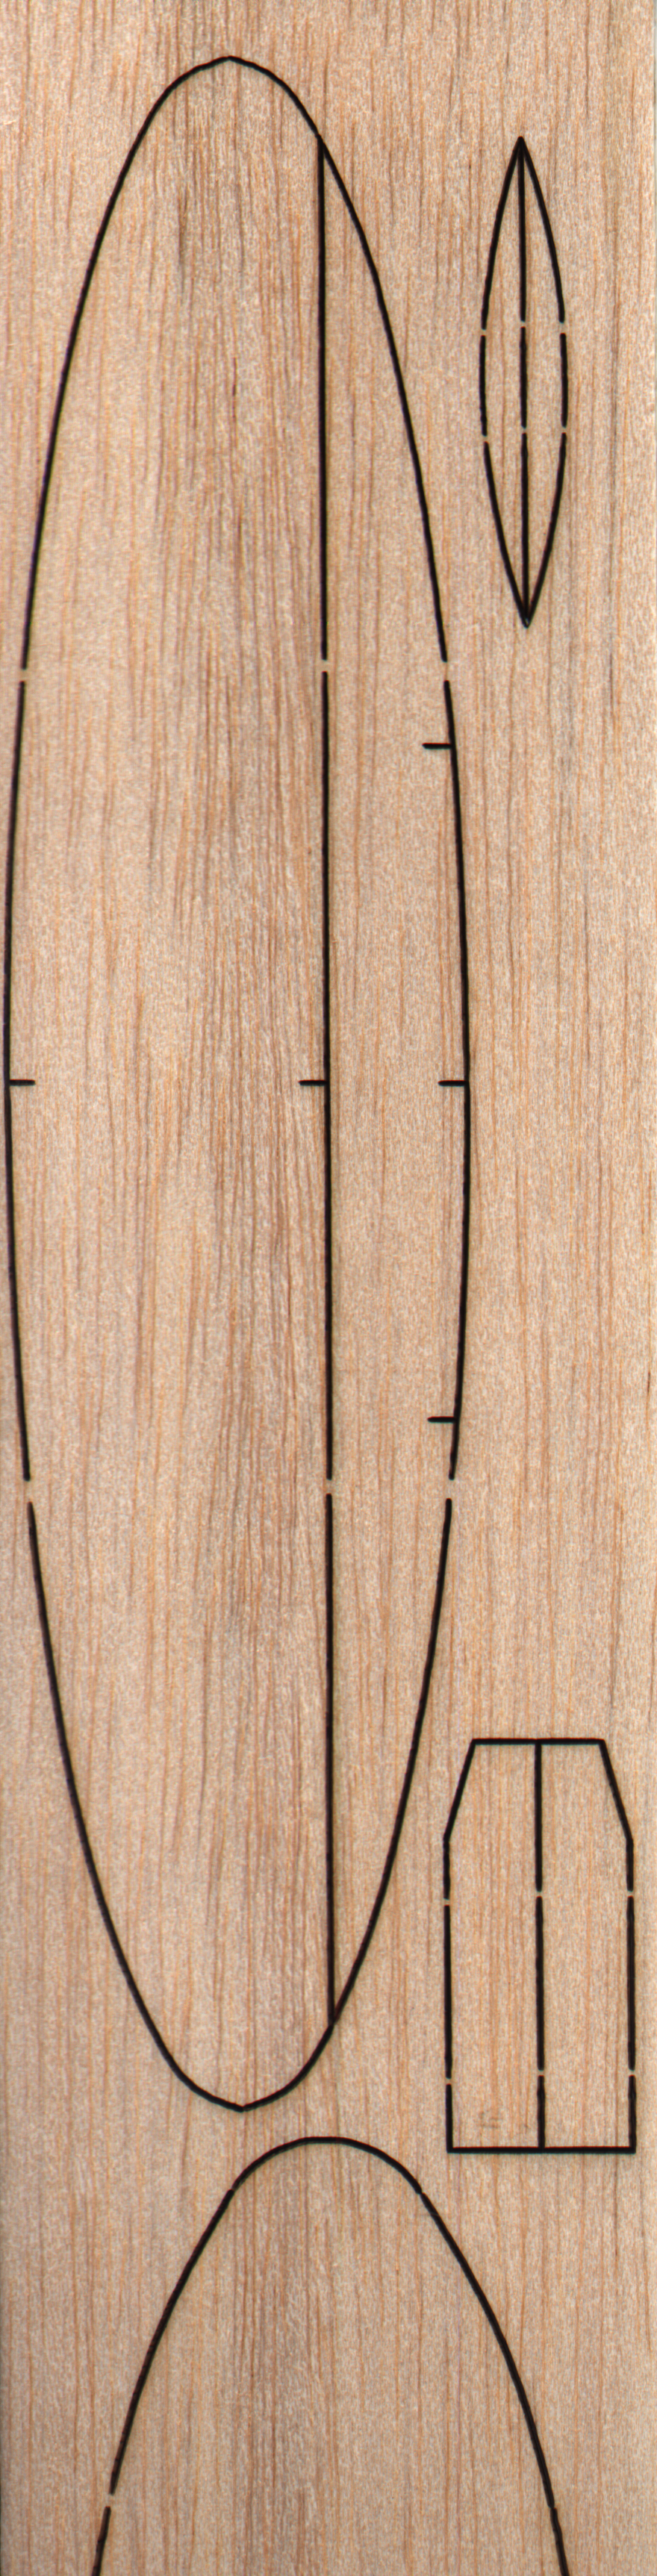
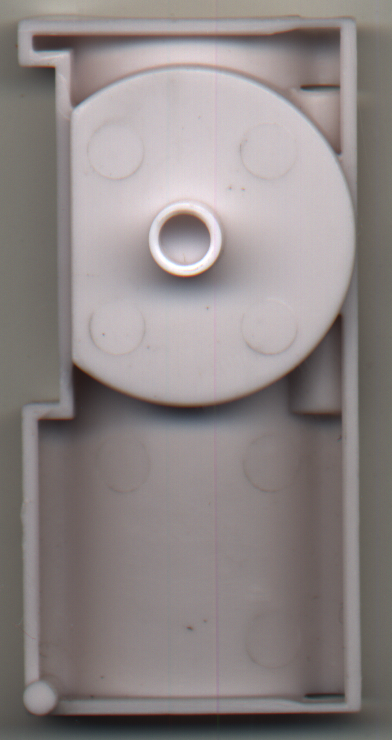
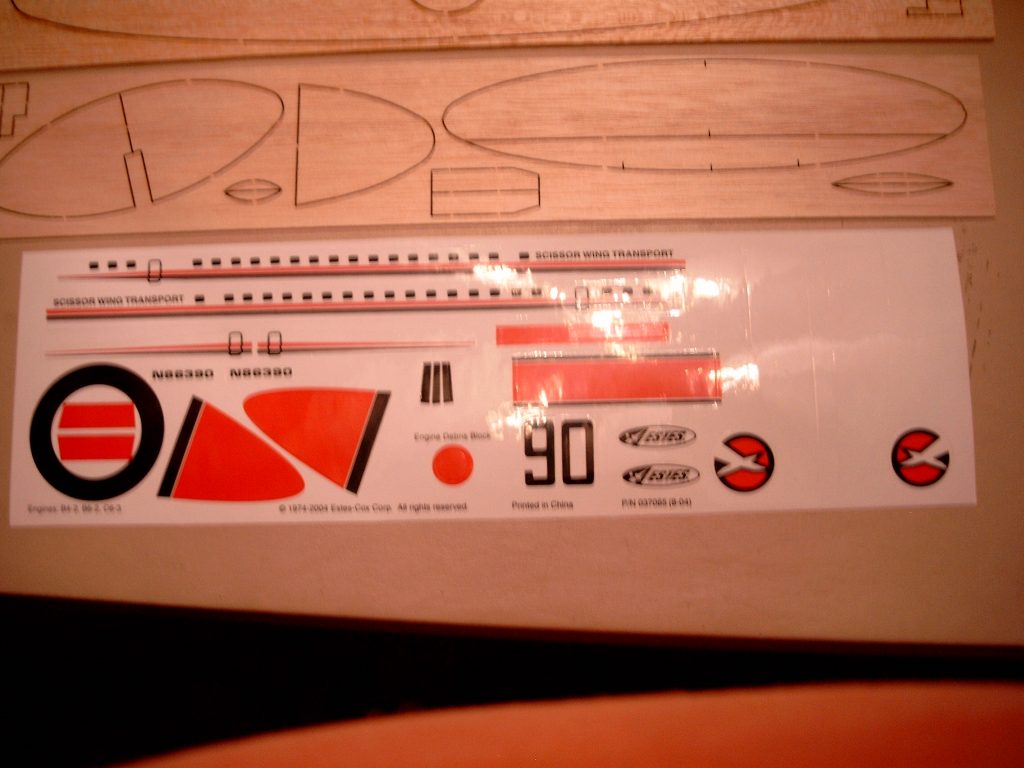
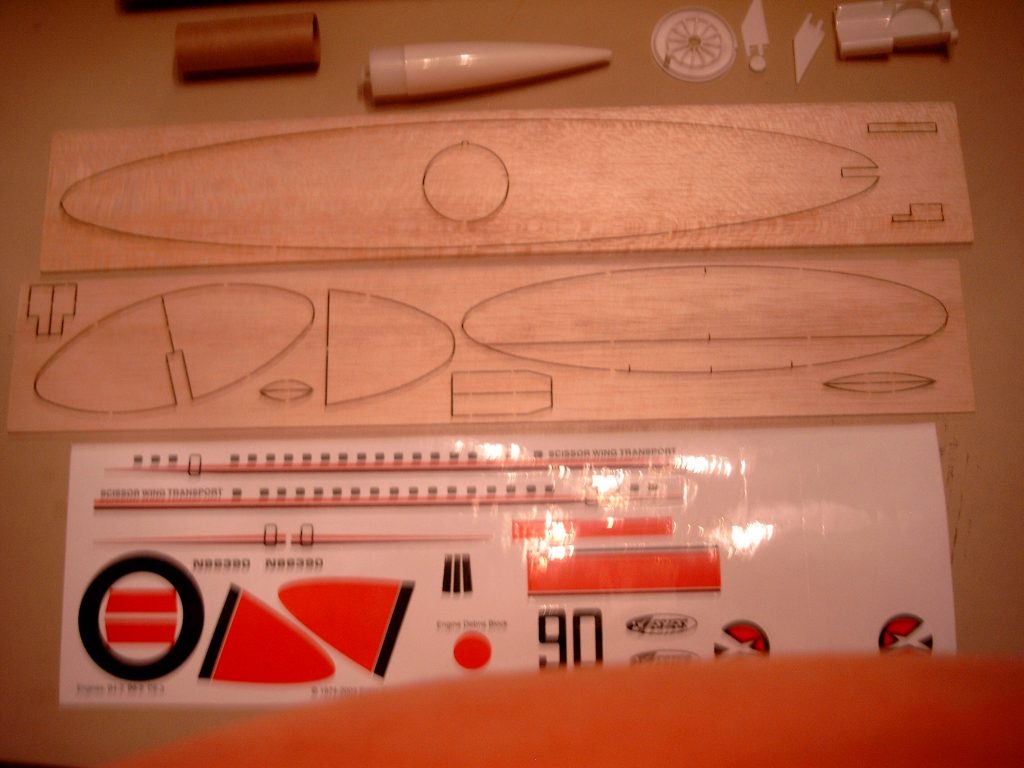
- 11/05/2005 – Scanned decal, wing patterns, wing parts and instructions.
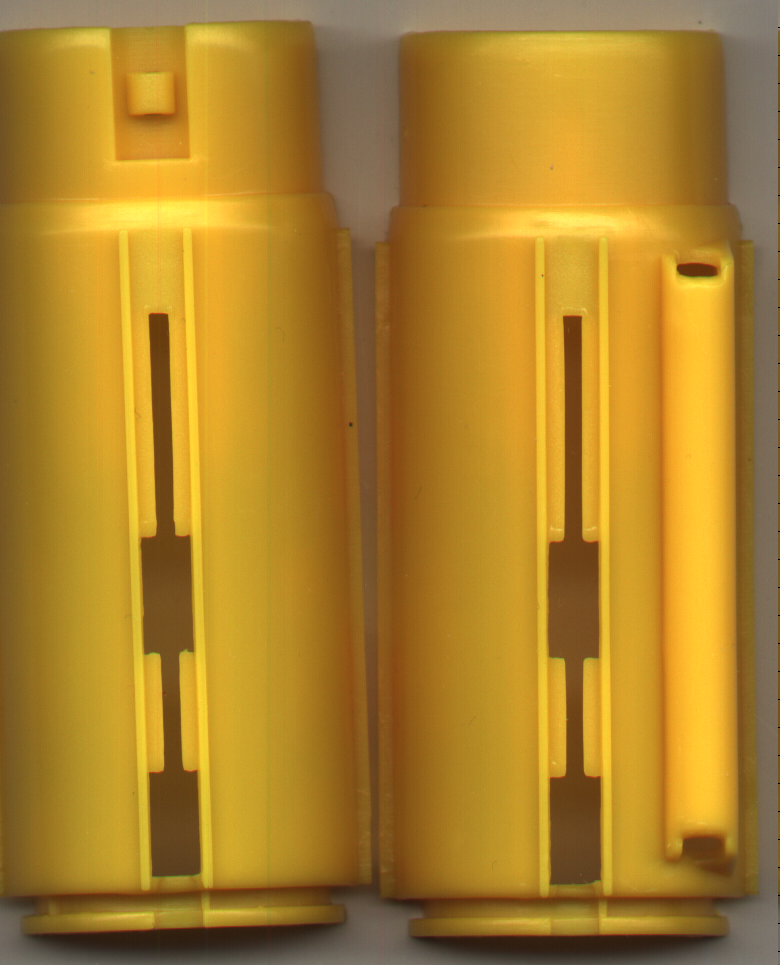
- 11/14/2005 – Copied tube marking guide and cut it out. Using the pod marking tube guide, marked the dowel, wing and engine holder tube lines. Marked the engine holder line at 1-7/16″, 2″, and 2-1/4″. Cut a 1/8″ slit at 2-1/4″. Glued green engine block inside the white pod tube even with forward end. Placed the engine retainer hook into the slit and aligned it with the guide line. Held the engine holder in place with masking tape. Marked the upper end of the tube 1/2″ from the forward end. Glued the mylar ring over the engine holder clip 2″ from aft end. Glued one of the centering rings at the 2″ mark and one at the forward edge. Filleted the centering ring joints. Assembled dowel mount by gluing 3-1/2″ to center piece and then glued side to center piece.
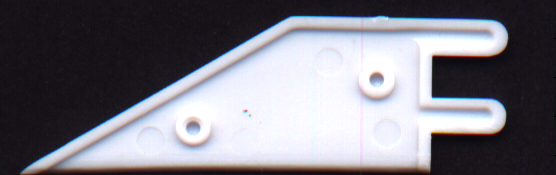
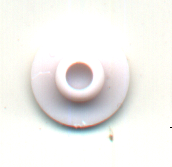
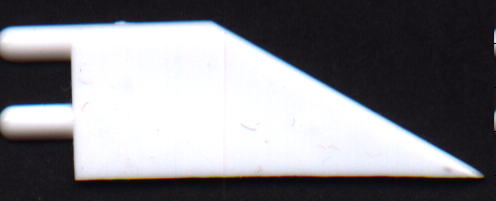
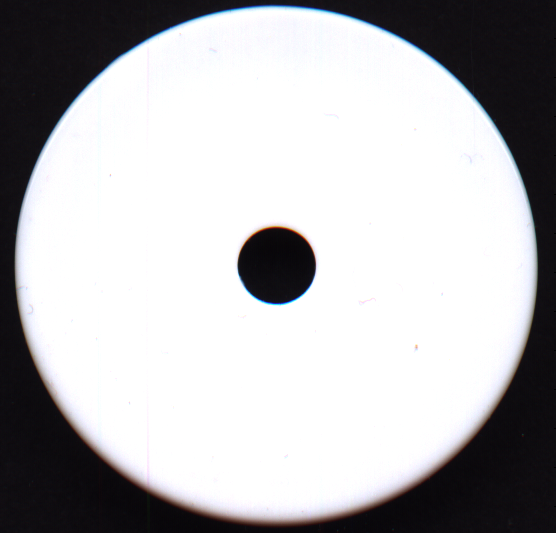
- 11/15/2005 – Using tail fin tab, marked location of centering ring from aft end. Sanded edges of fail fin and tab to remove burrs. Sanded fin supports and glued even with fin edge. Sanded dowel rod support so it tapers to the bottom of the unit. Glued rear fins to power pod. sanded sissor wing edges. Cemented wing pivot into wing. Applied a drop of cement into pivot base and attached pilot cap into pivot base tab. Drew alignment line along entire length of body tube. Marked body tube at 1-1/2″ and 9″ from aft end and 1/8″ from front end of body tube. Glued stabilizer to body tab at 1-1/2″ mark.
- 11/16/2005 – Epoxied wing to body tube.
- 11/17/2005 – Dropped the sissor wing while checking ou the top button. The top button came loose and the epoxy joint was weakened. The wing came loose of the body tube with a little force. Cleaned up the body tube and wing holder. Re-cemented button to wing holder.
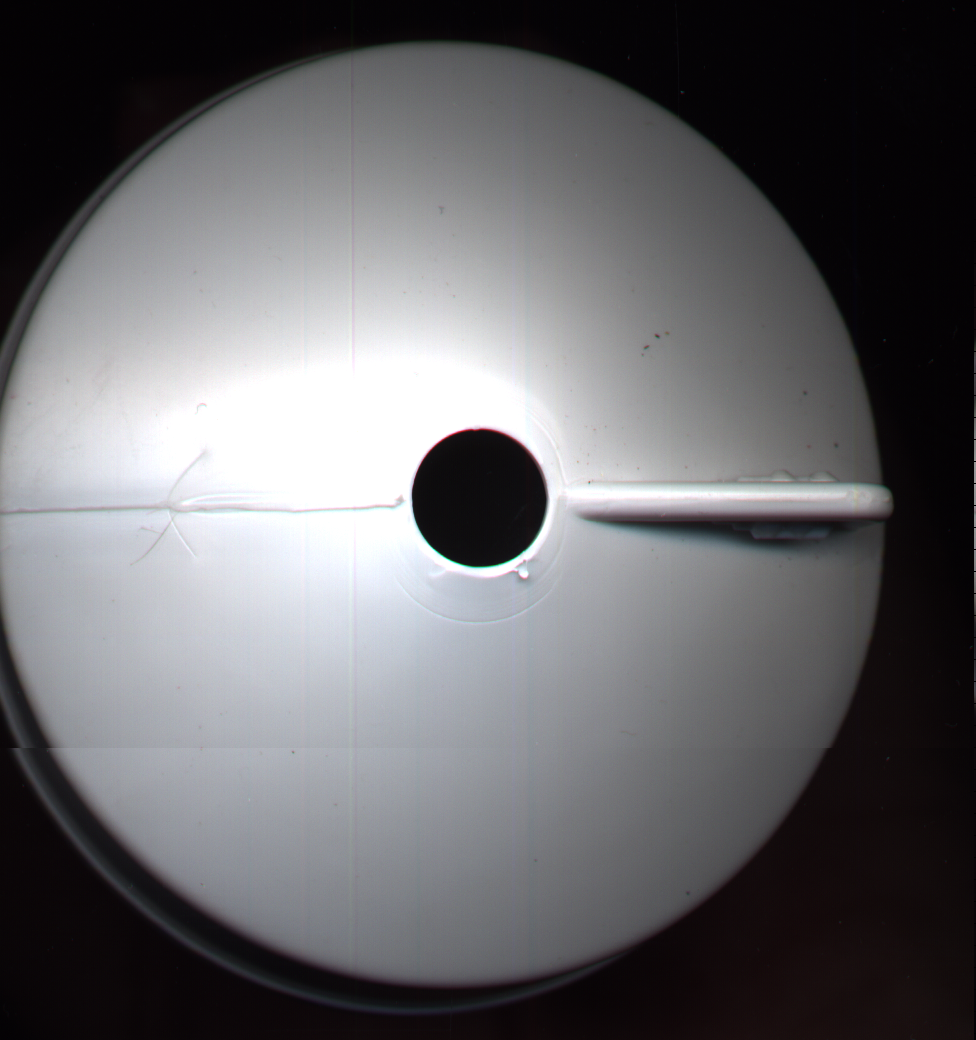
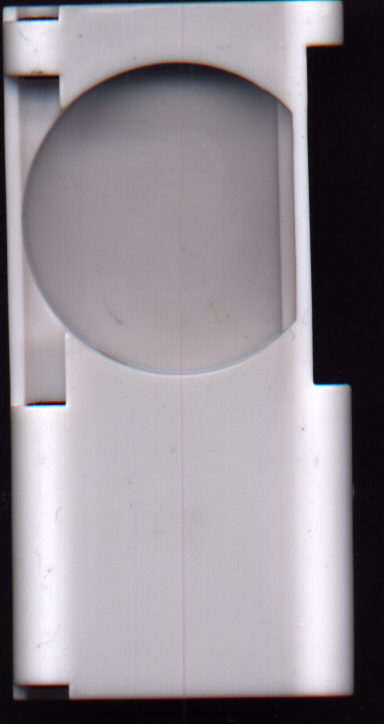
- 11/18/2005 – Checked the button to make sure the wing moved freely. Sanded body tube in area wher wing attached. Using cement re-attached wing holder to body tube being careful to align the wing to the stabilizer wing. Cut launch lug 1-3/8″ and glued to stand off. Marked tall tube using guide, glued rudder to appropiate guide line. Glued a tube mount to side of tube mount spacer so the slant side is over the elevator. Glued rudder assembly to tube mount so it is 5/16″ forward the stablizier wing. Cut eyelet from rear of nose cone and covered slit with red engine decal. Cemented insert fluch wiht shoulder. Test fit power pod into body tube. Fins required a slight adjustment so the body tube slid over the poser pod.
Flights
| Date | Location | # | Motor | Comments |
Leave a Reply
You must be logged in to post a comment.