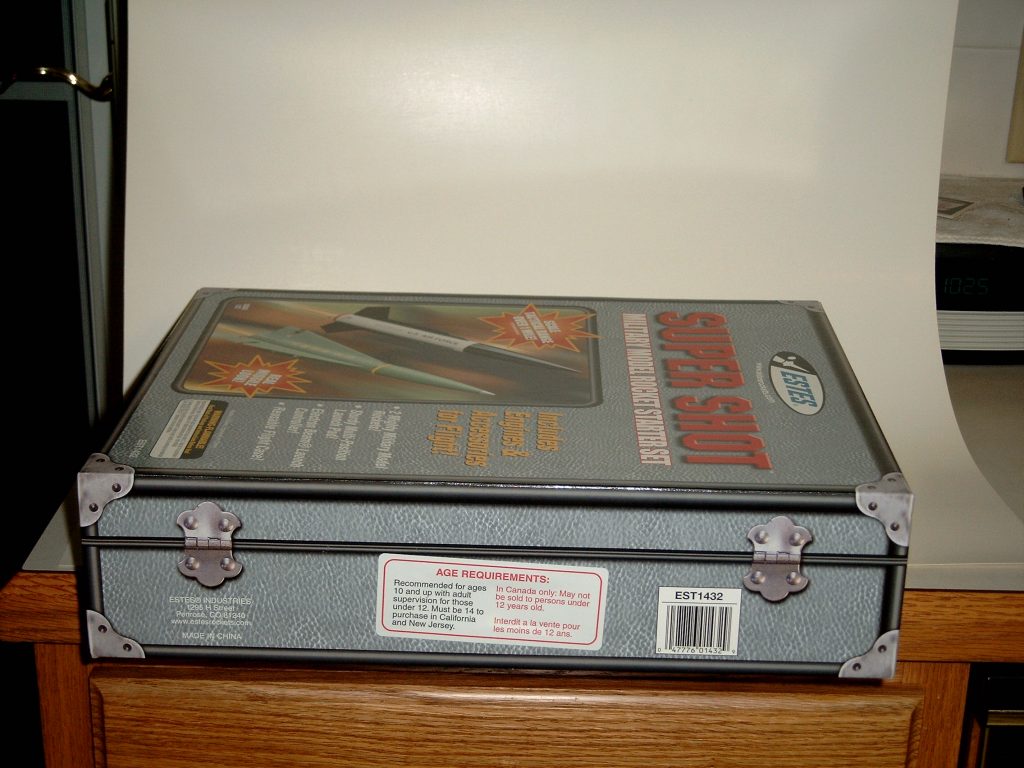
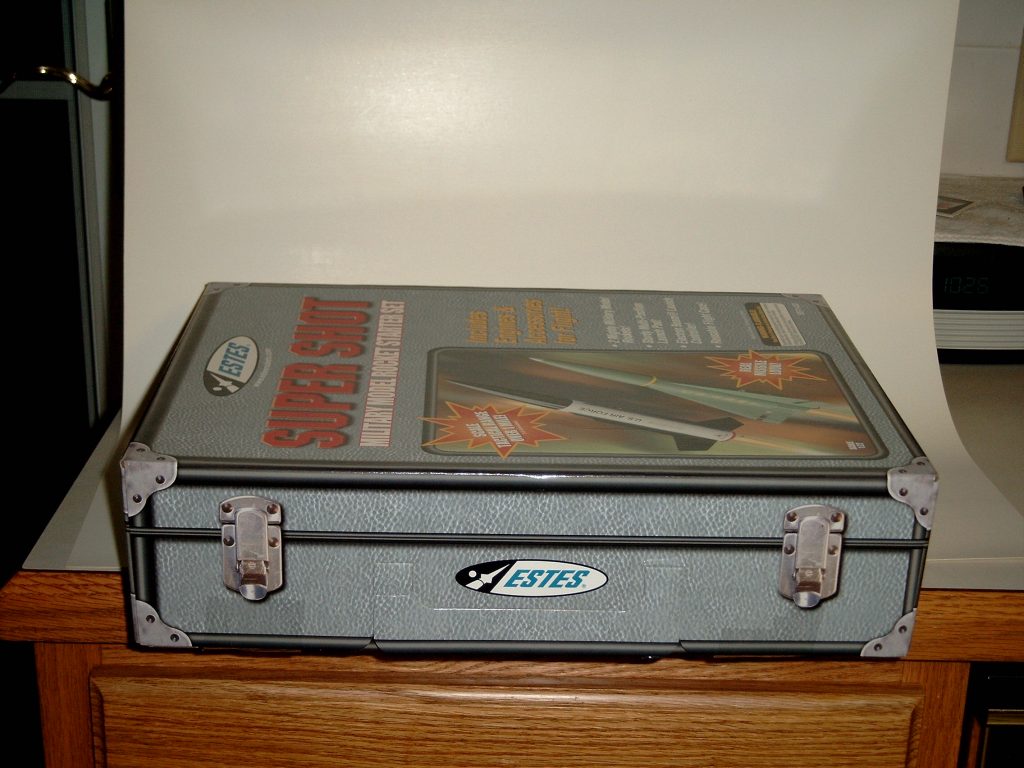
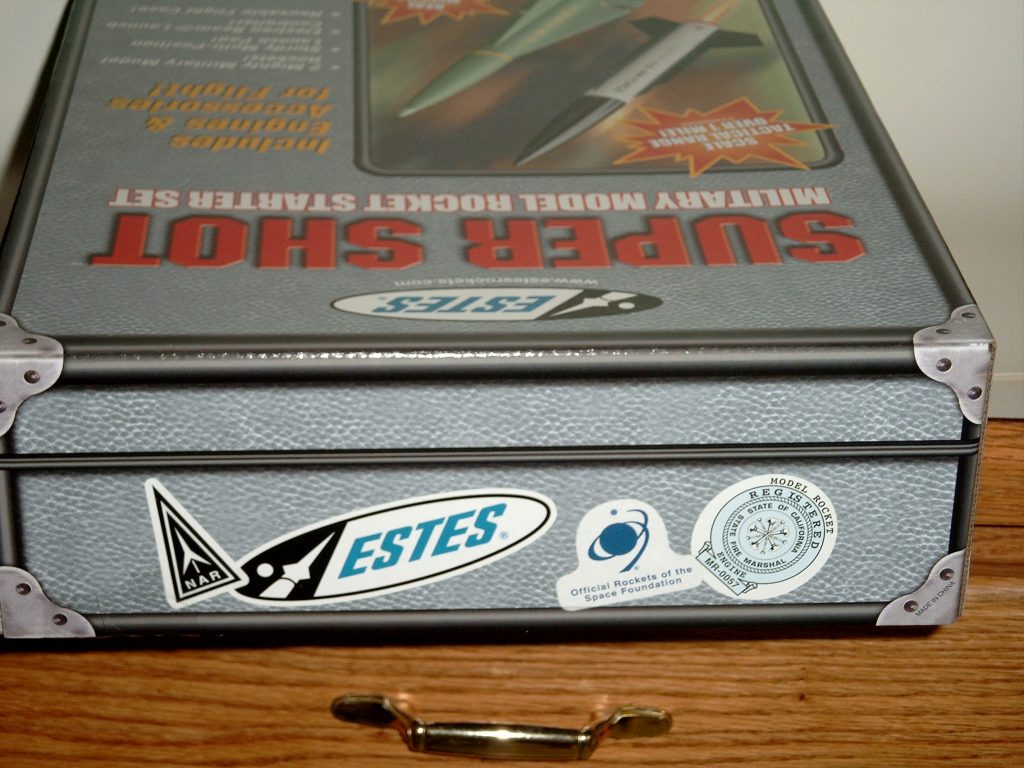
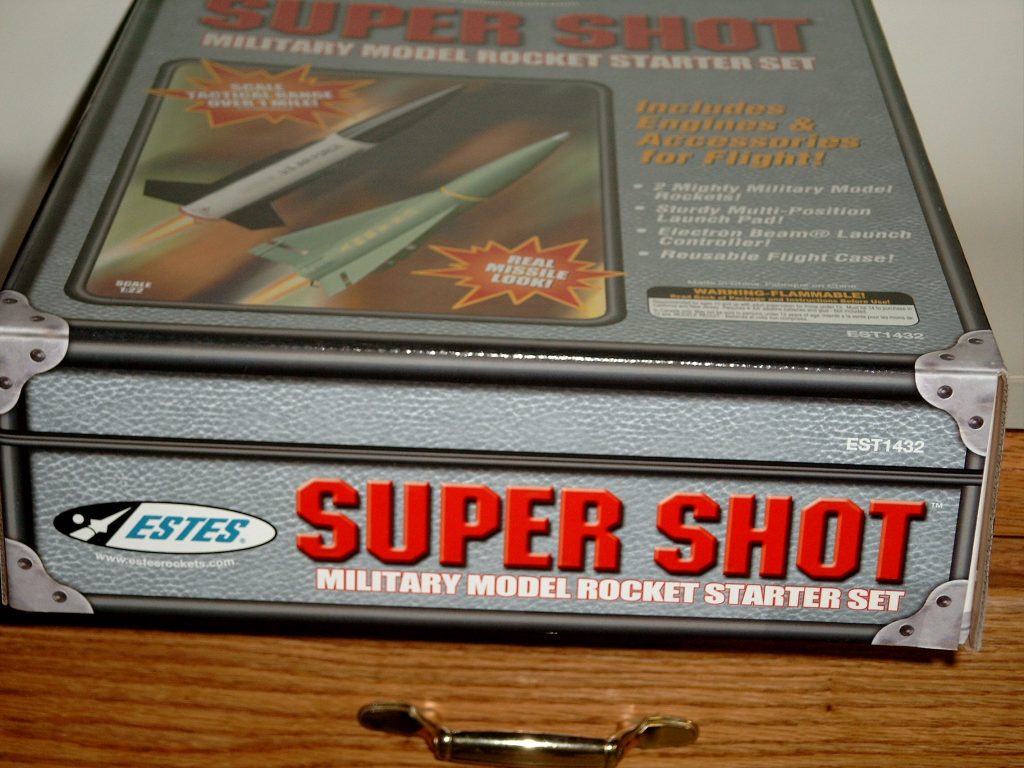
ESTES Model #1432
Description
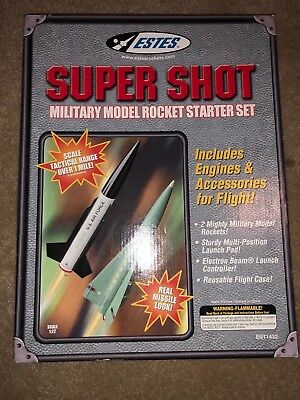
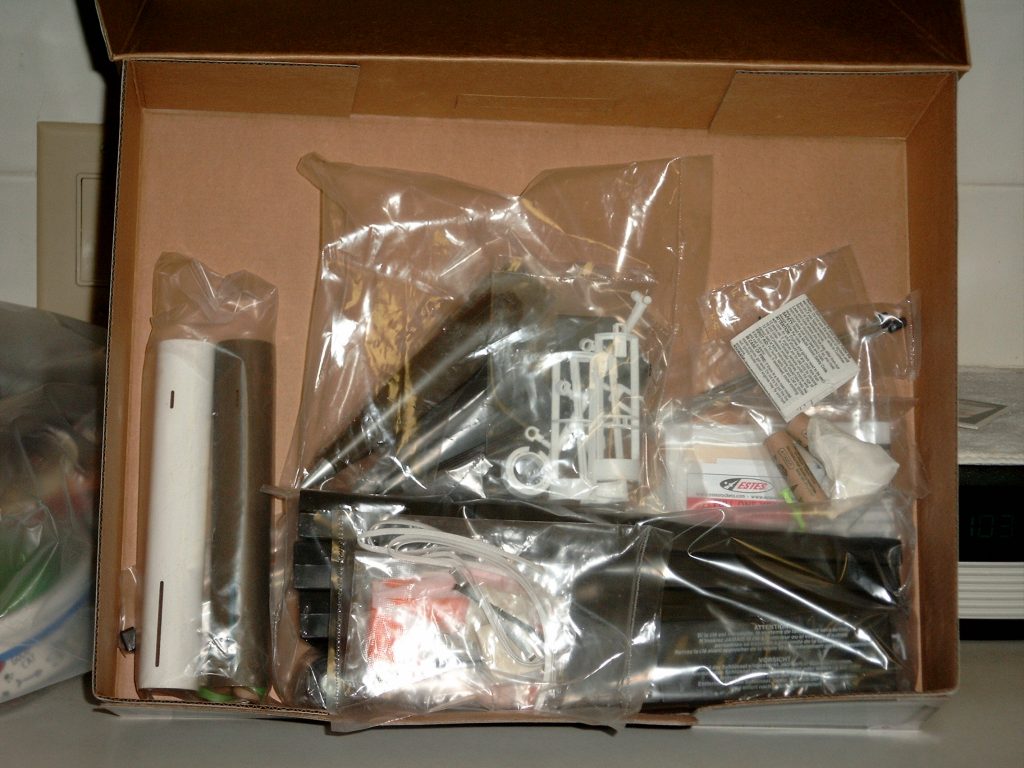
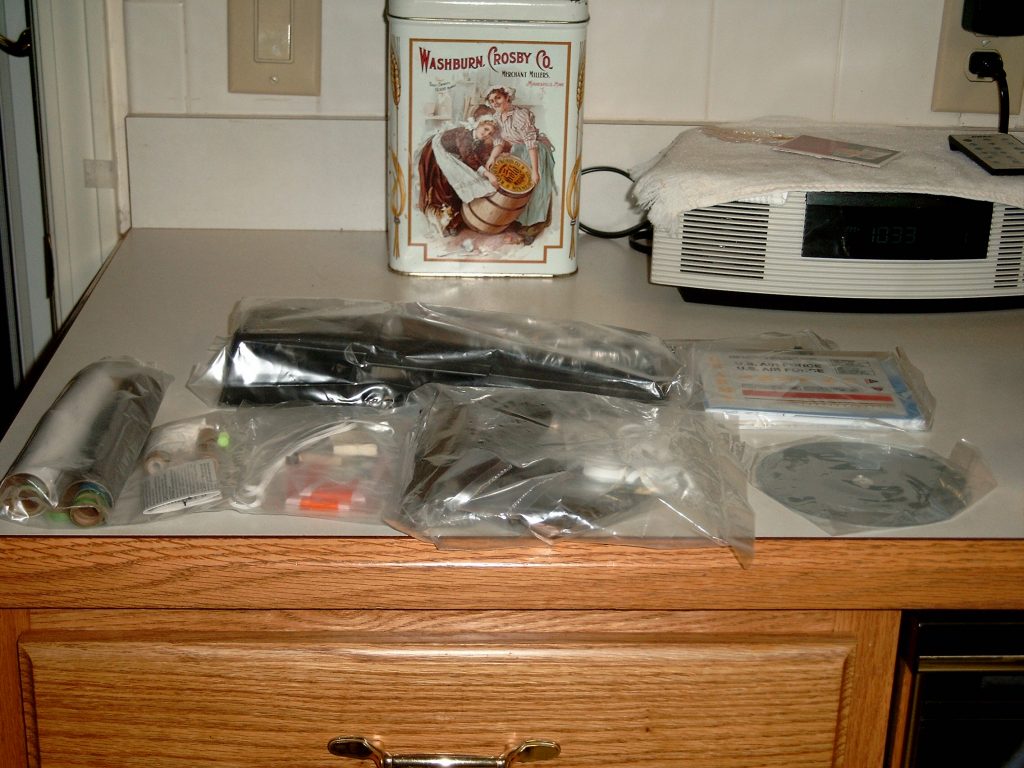
This is a starter set that includes the Army and Air Force mini engine E2X series kits with parachute recovery, launch pad, controller, two A10-3T motors, igniters, …
Additional Information
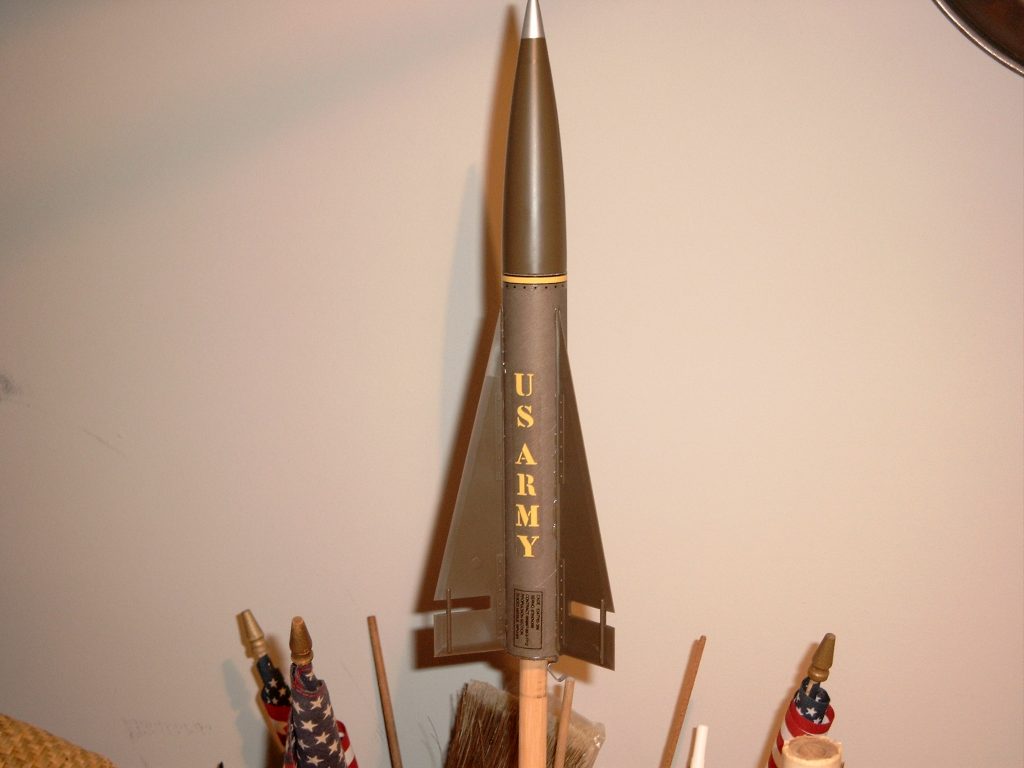
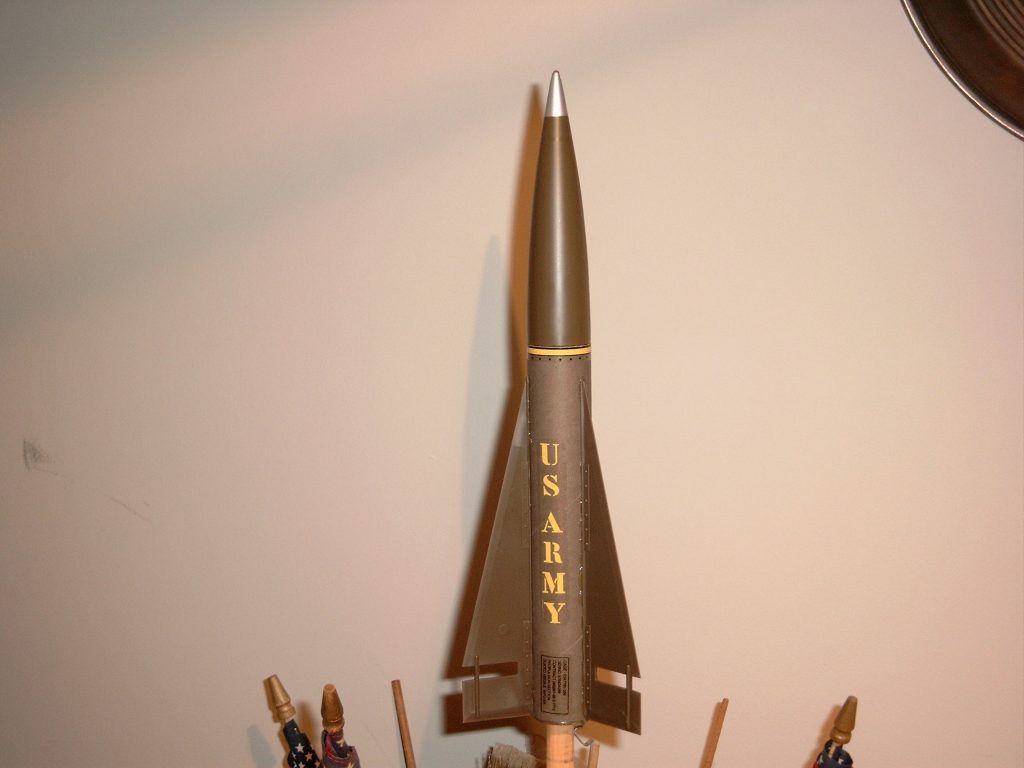
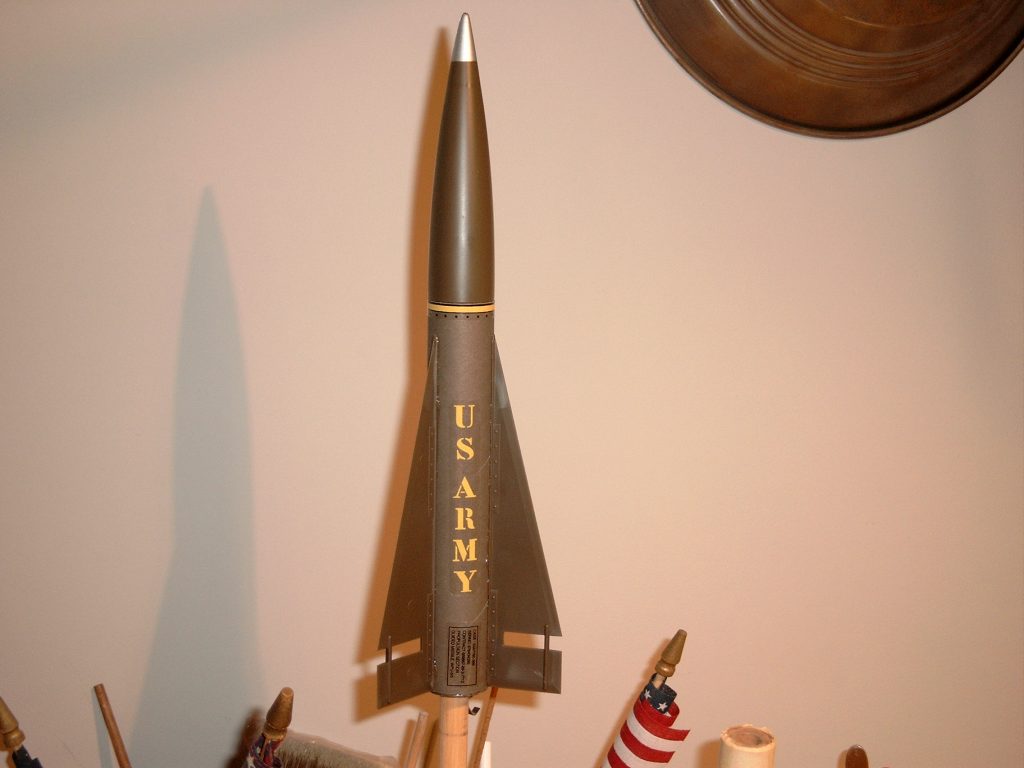
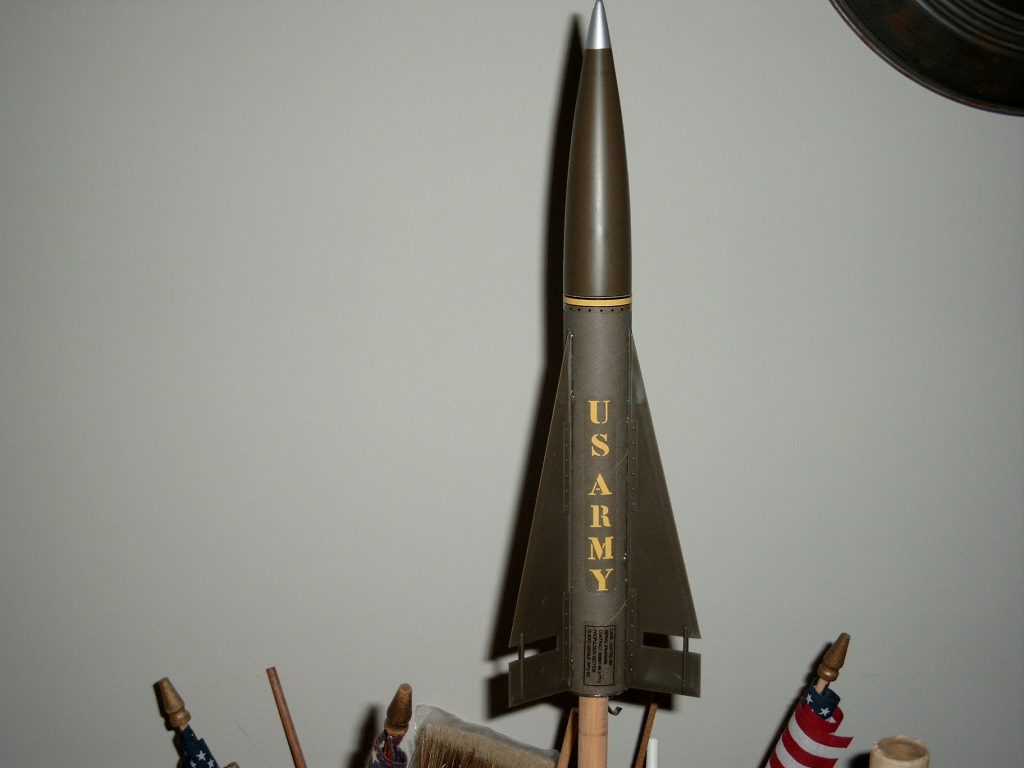
- Army
- Length: 11.25″
- Diameter: 1.0″
- Weight: 1.7 oz
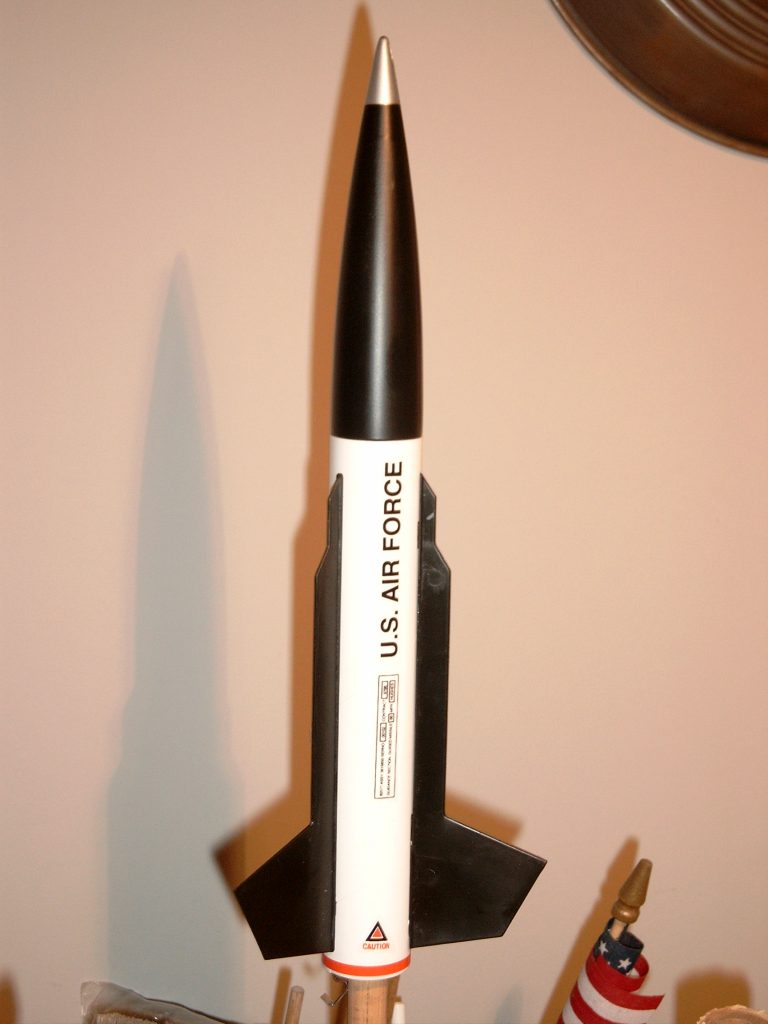
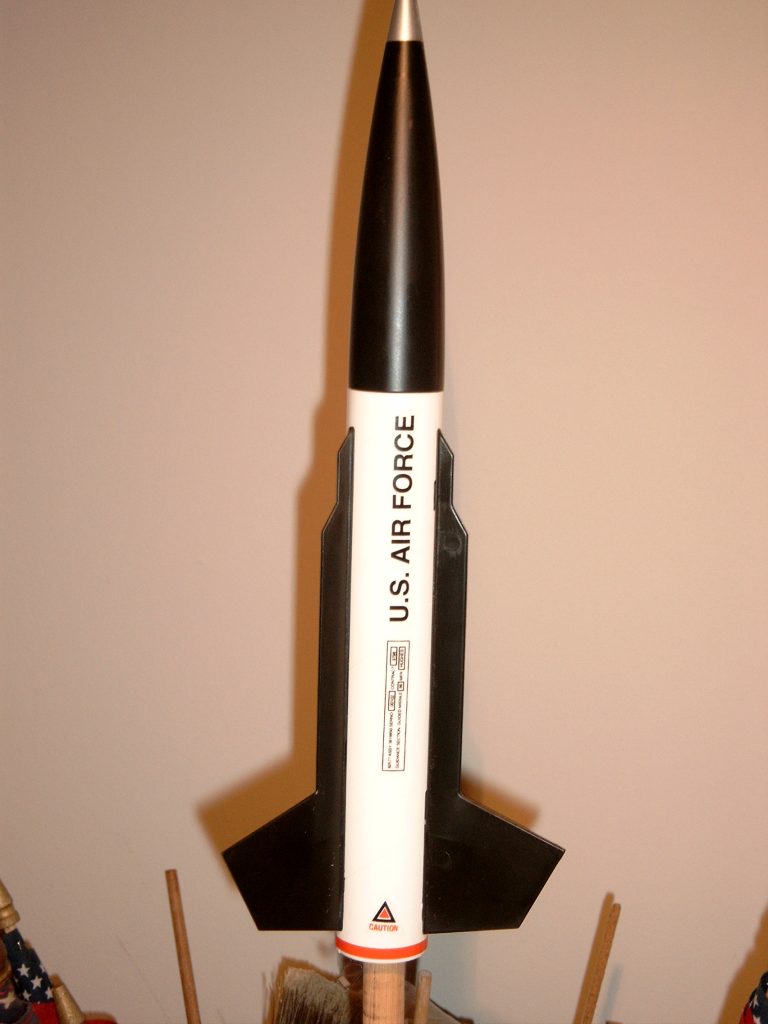
- Air Force
- Length: 11.25
- Diameter: 1.0″
- Weight: 1.7 oz.
- Fin: Molded Plastic
- Recovery: Parachute
- Recommended Motors:
- A3-4T, A10-3T
Instructions
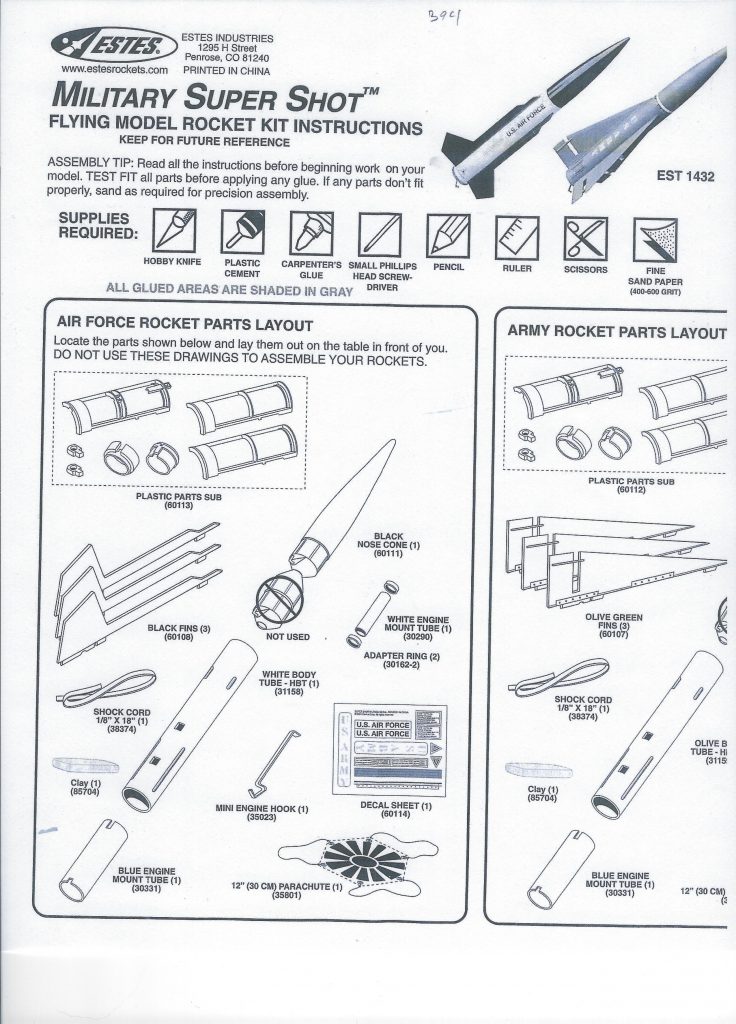
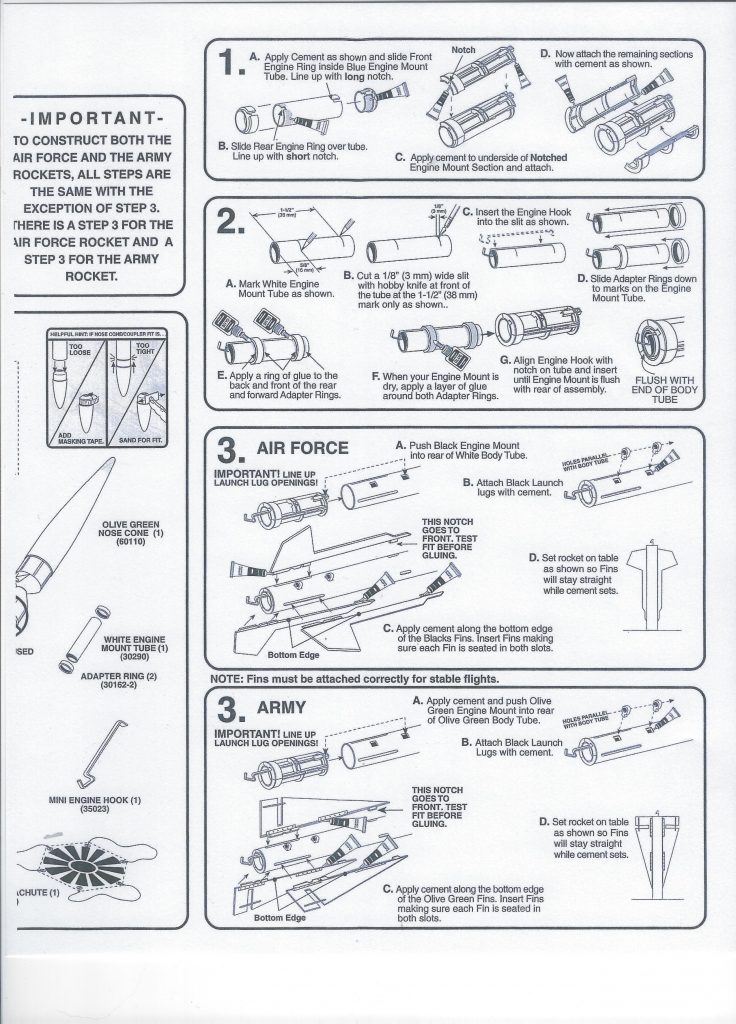
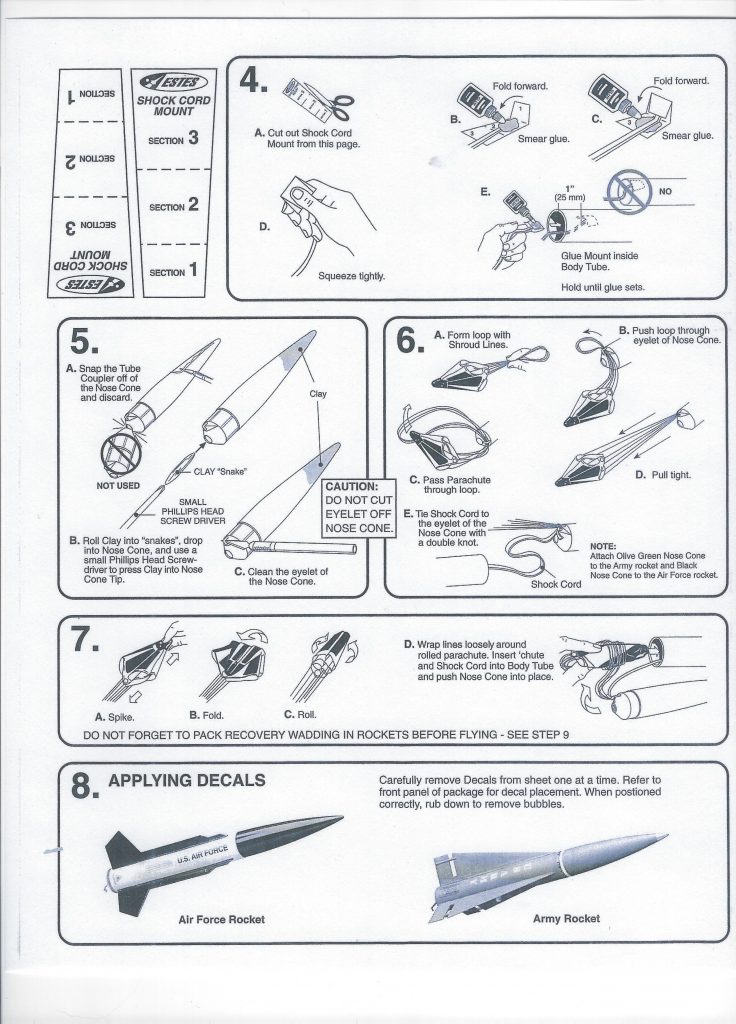
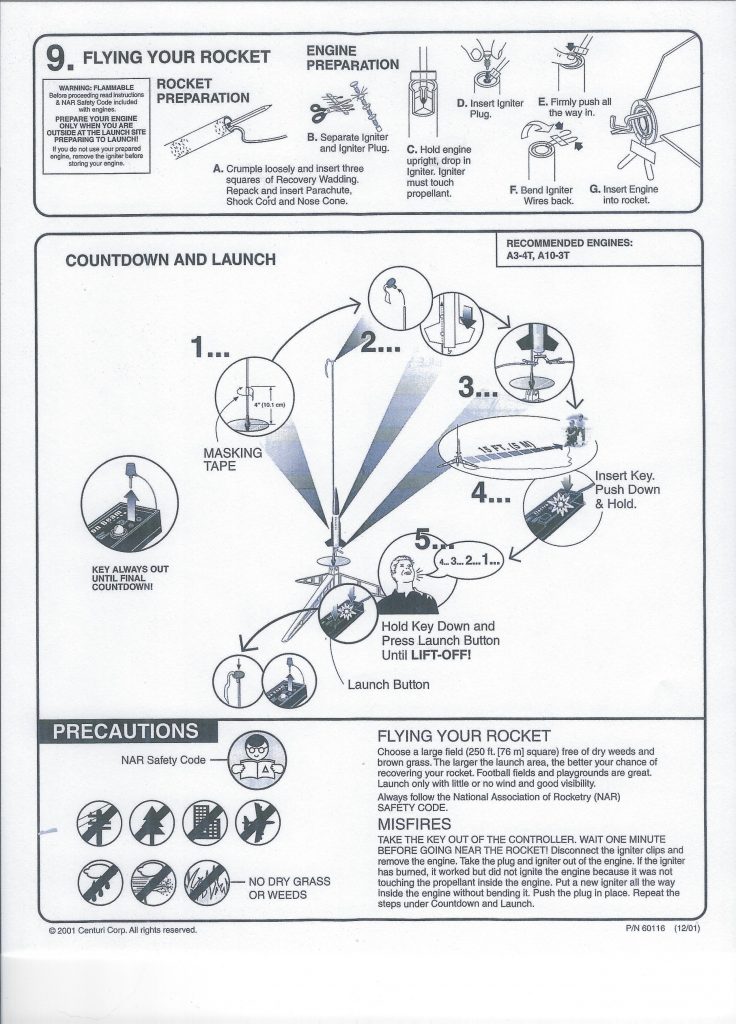
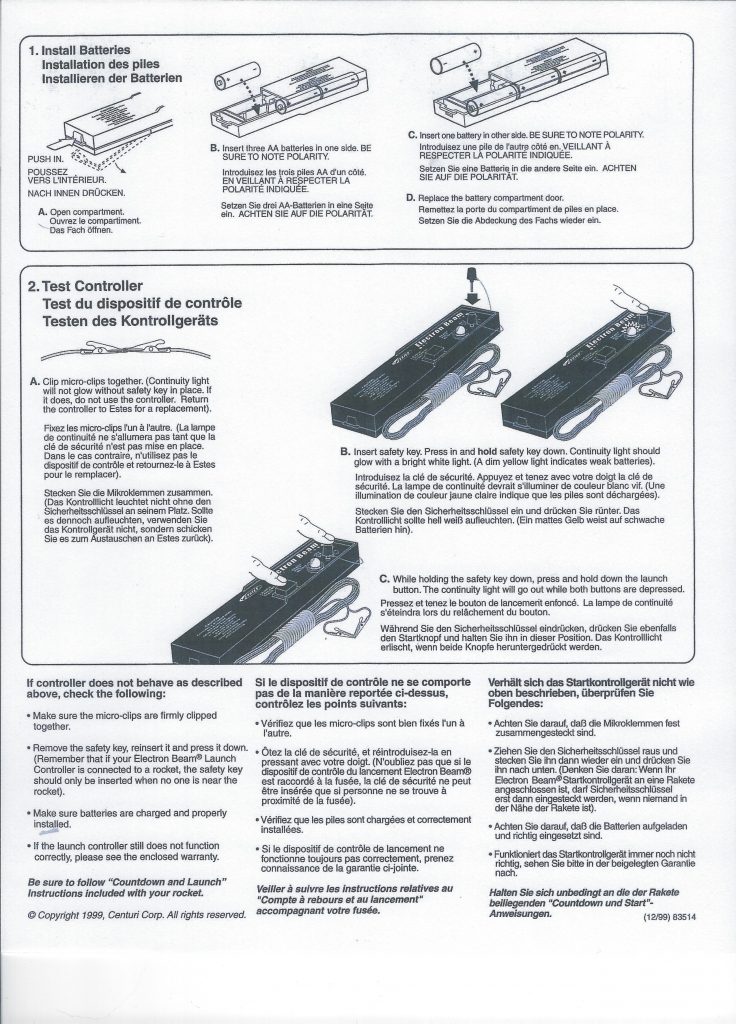
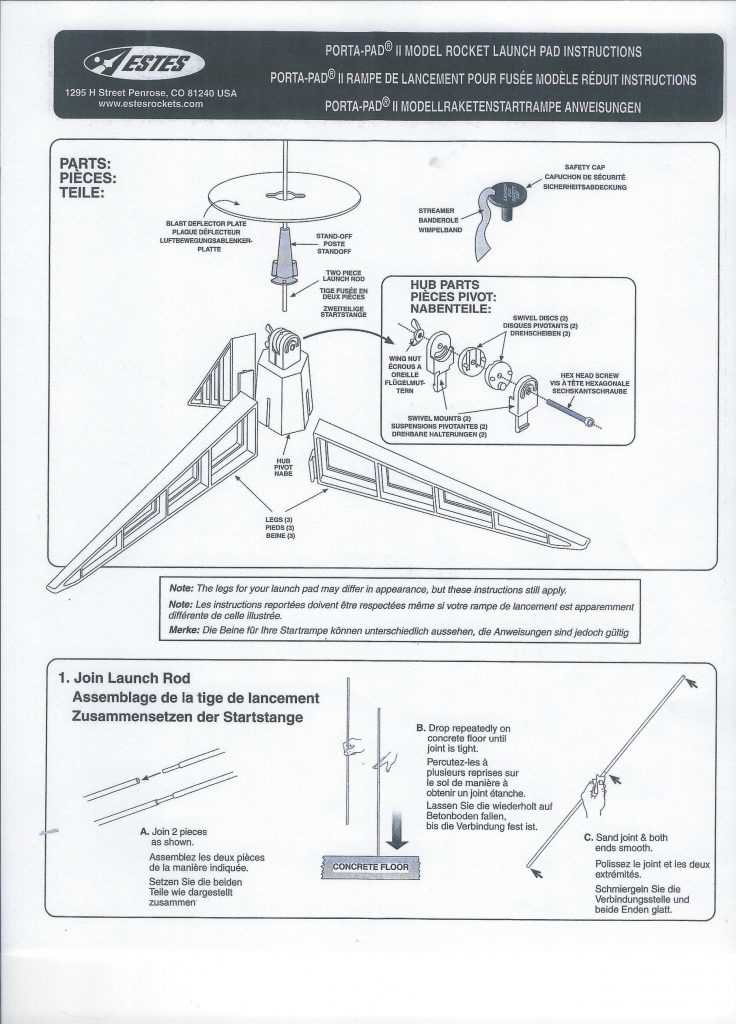
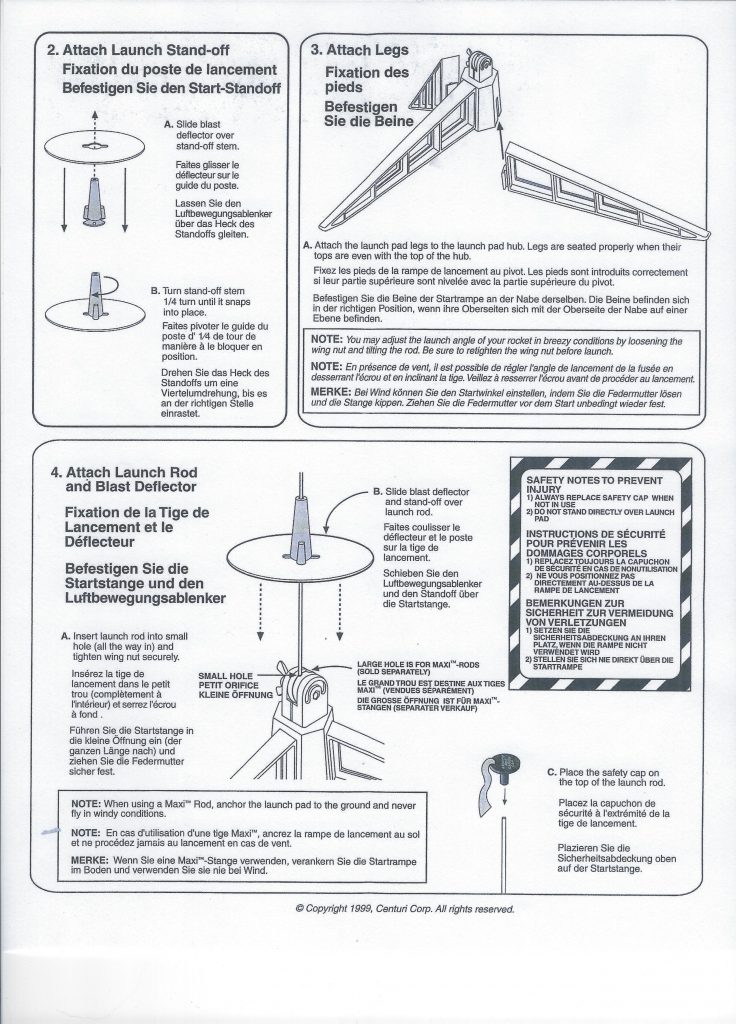

Photo Gallery


Build History
- 06/12/2002 –Purchased Estes Super Shot Military Starter Set from Walmart in Seymour, IN for $19.97 (Retail $34.99)
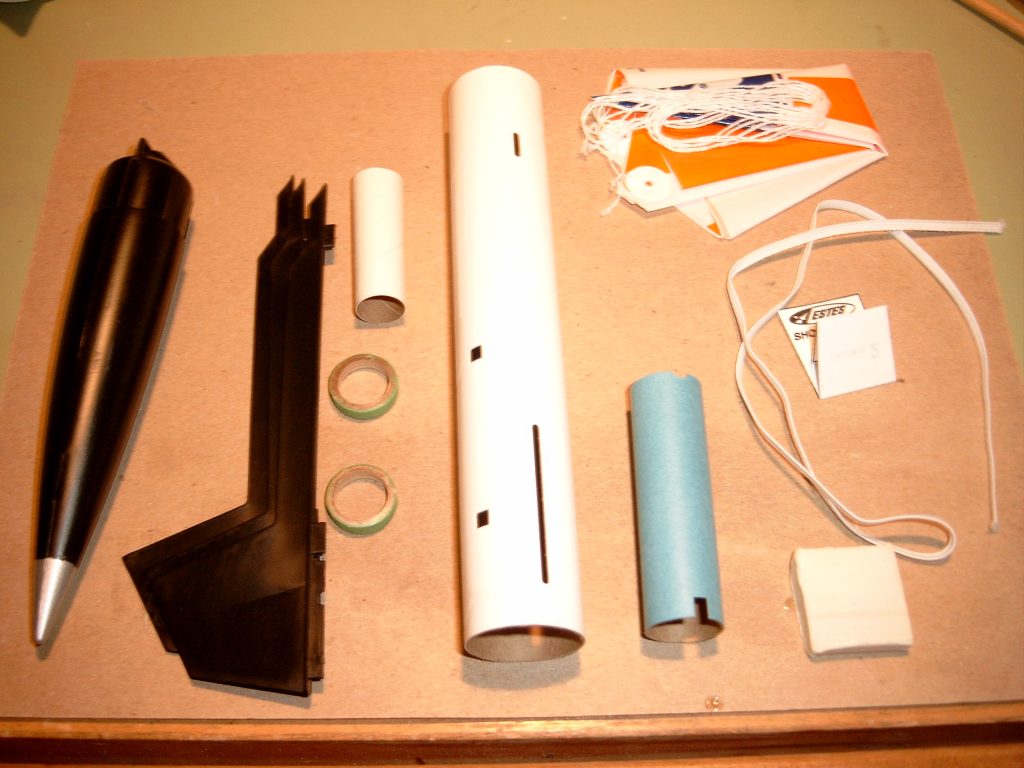
- 06/13/2002 – Took pictures of box and then opened it and inventoried parts against parts list. All parts included. Opened box and took pictures.
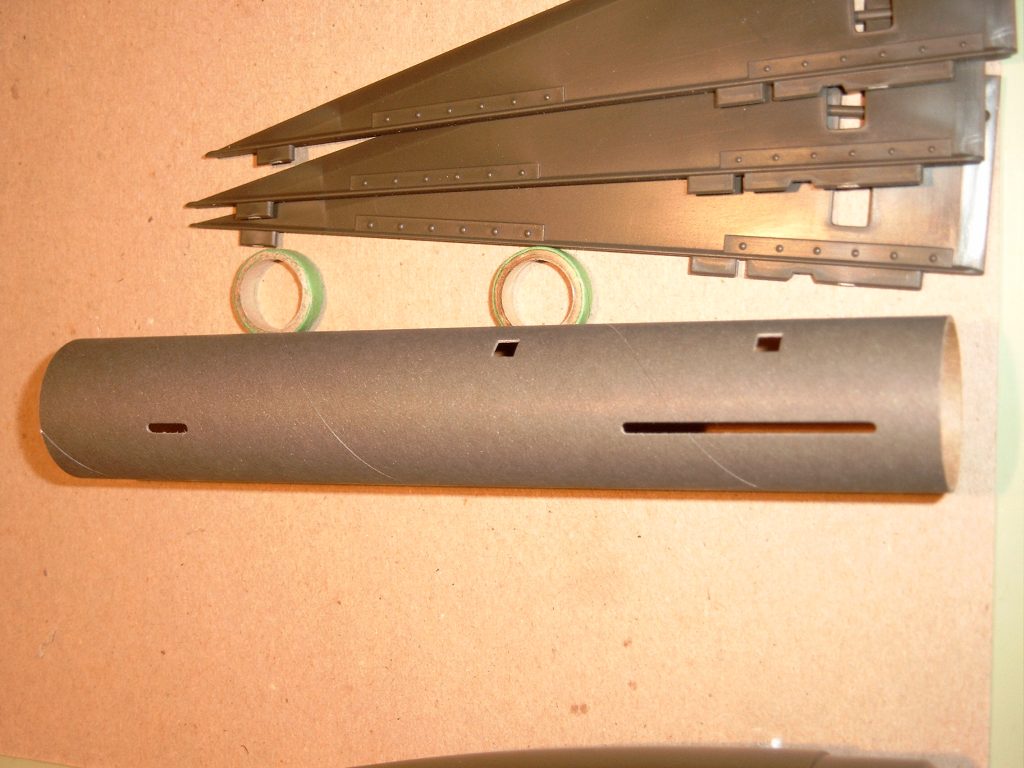
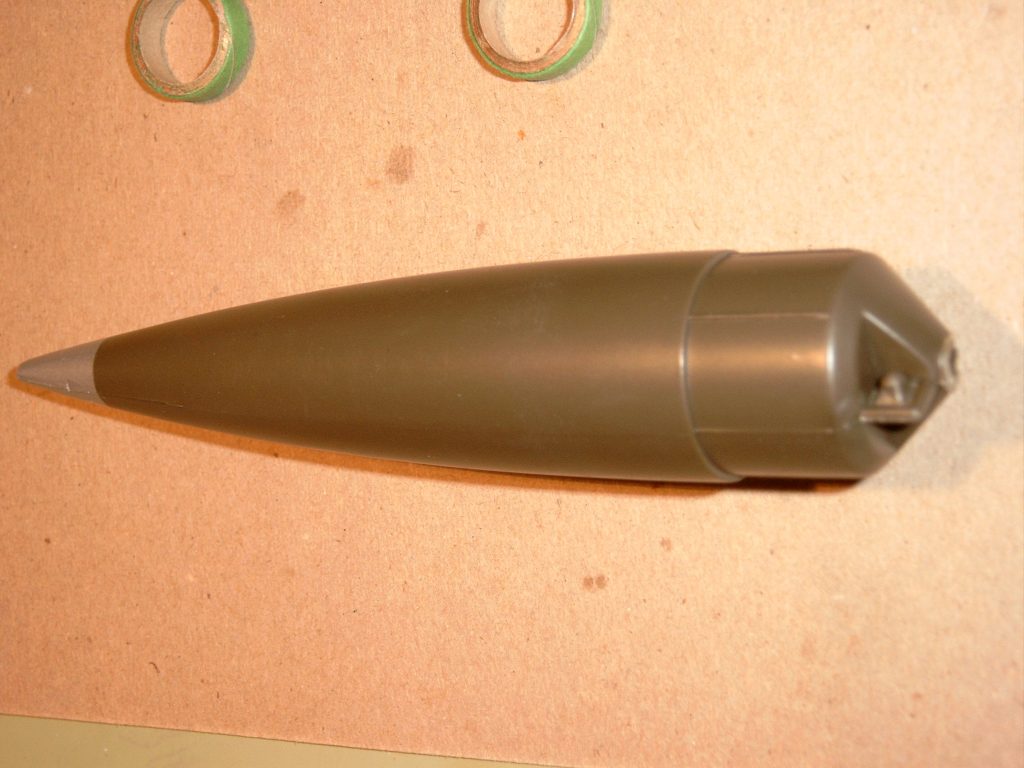
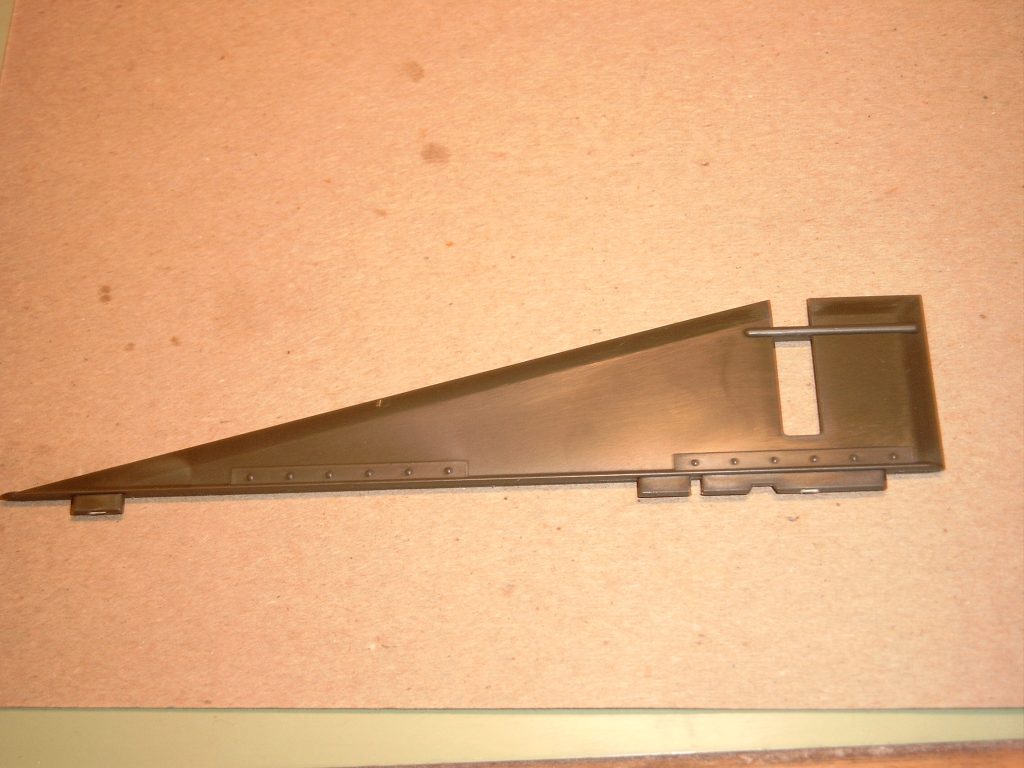
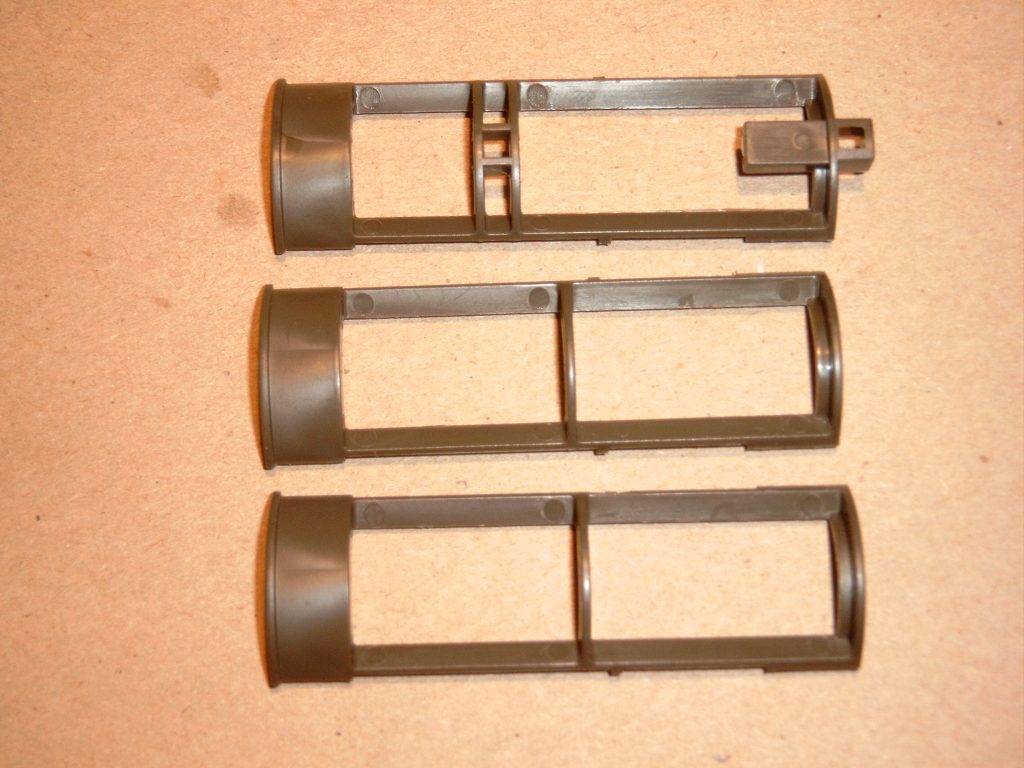
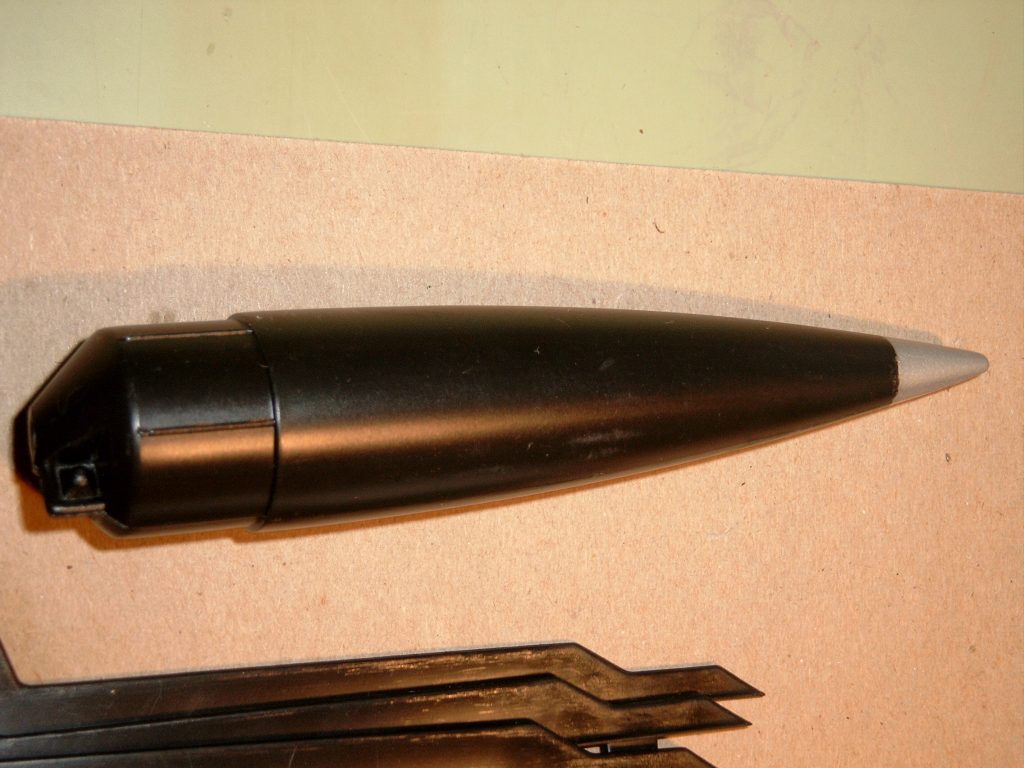
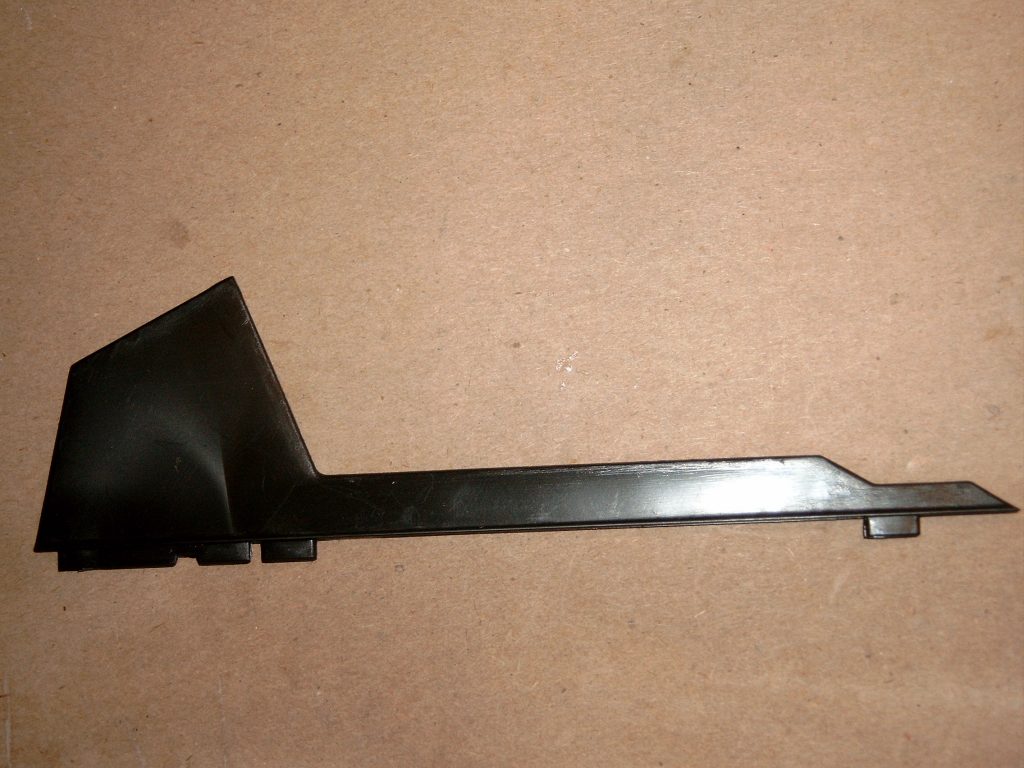
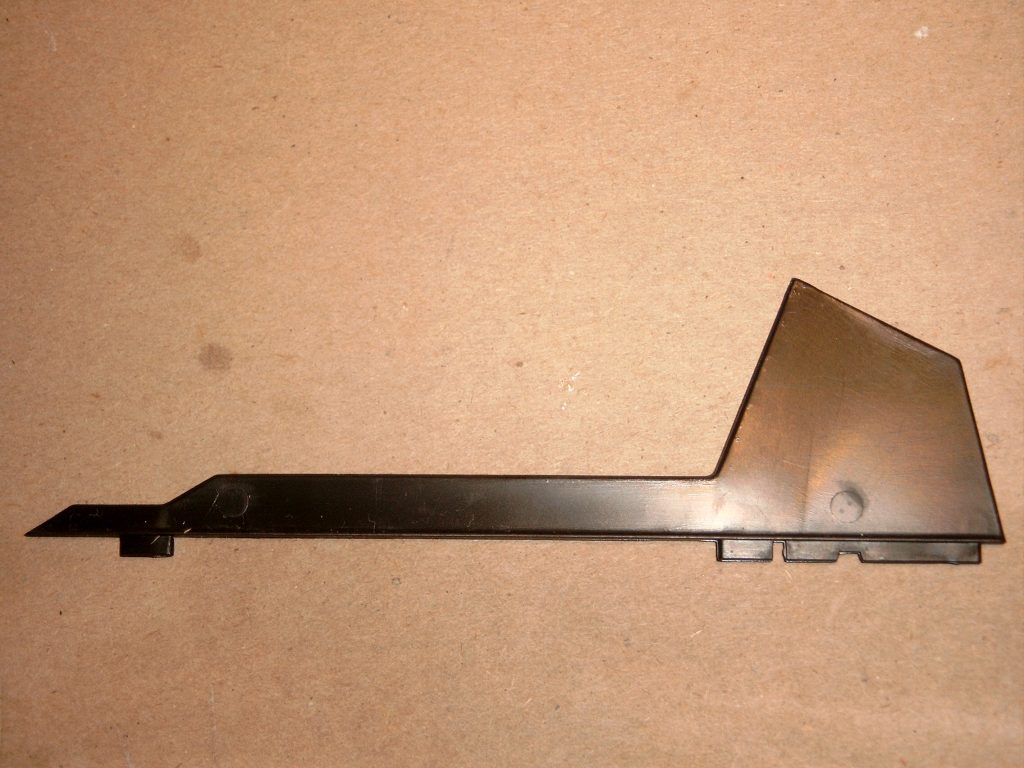
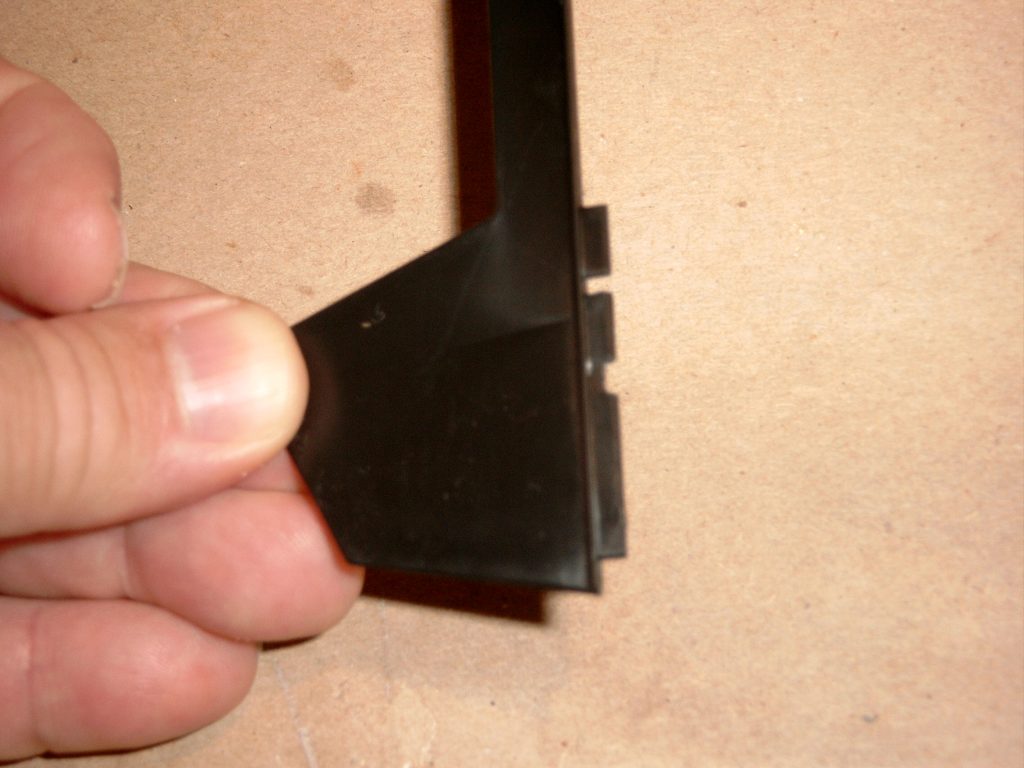
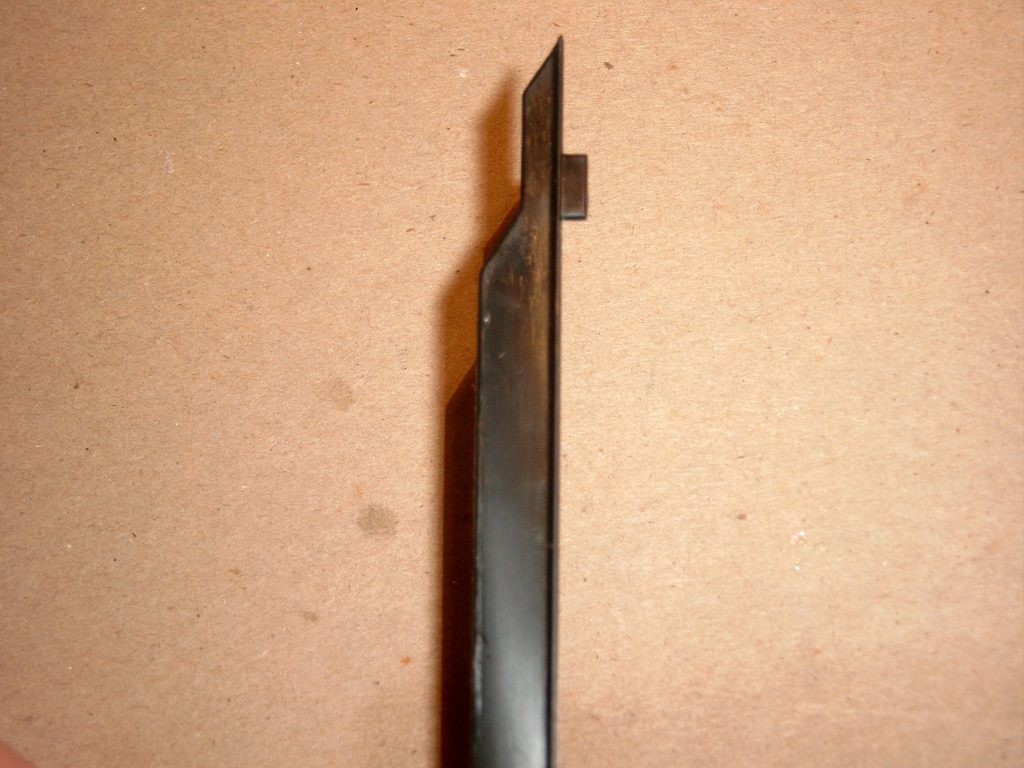
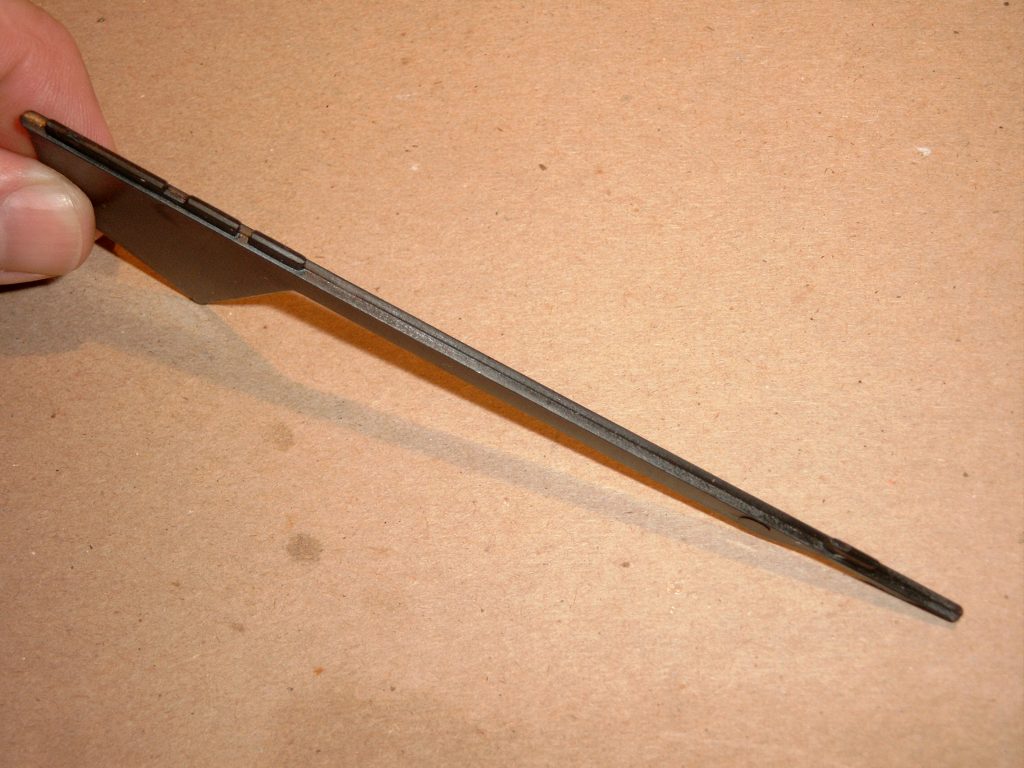
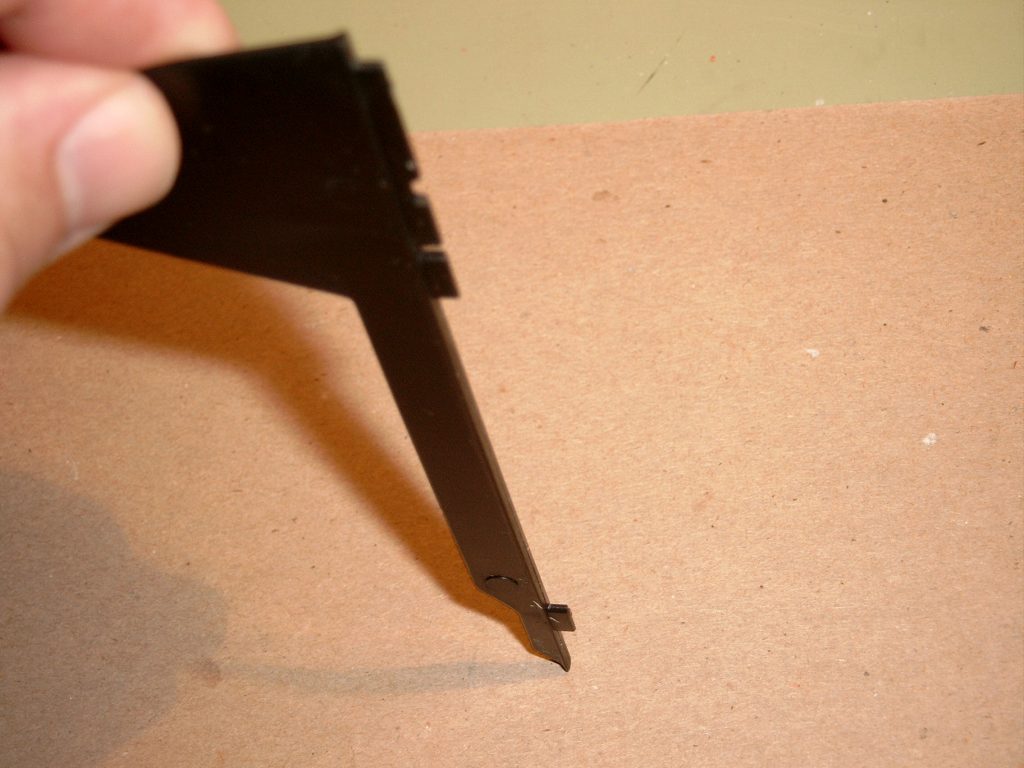
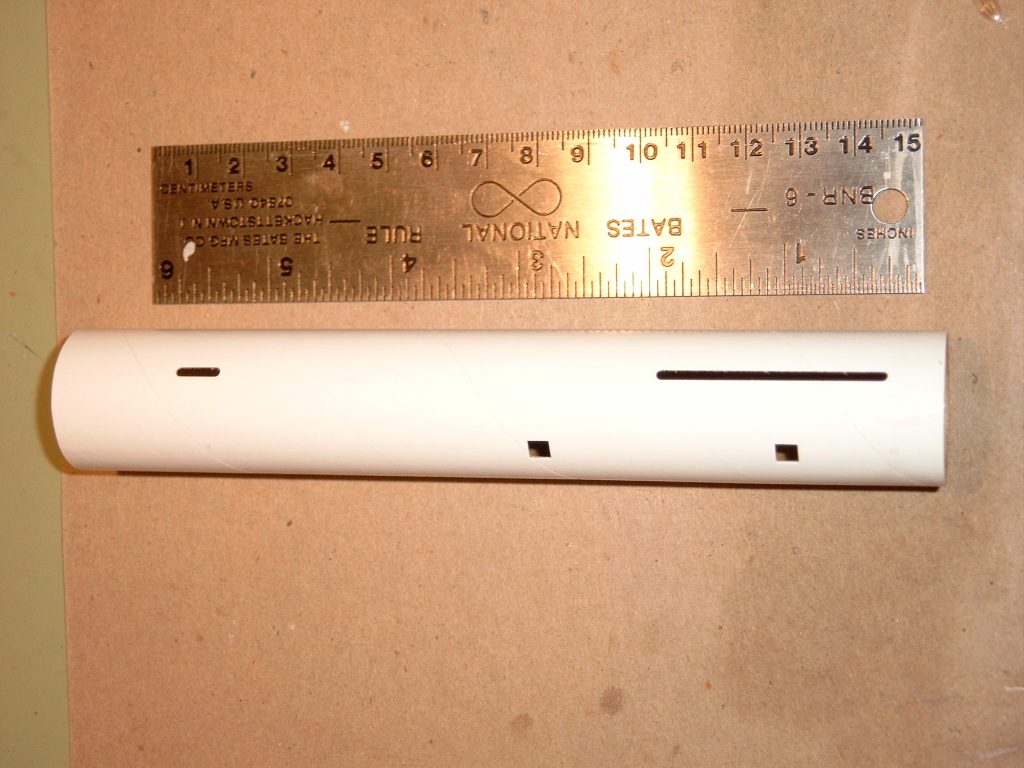
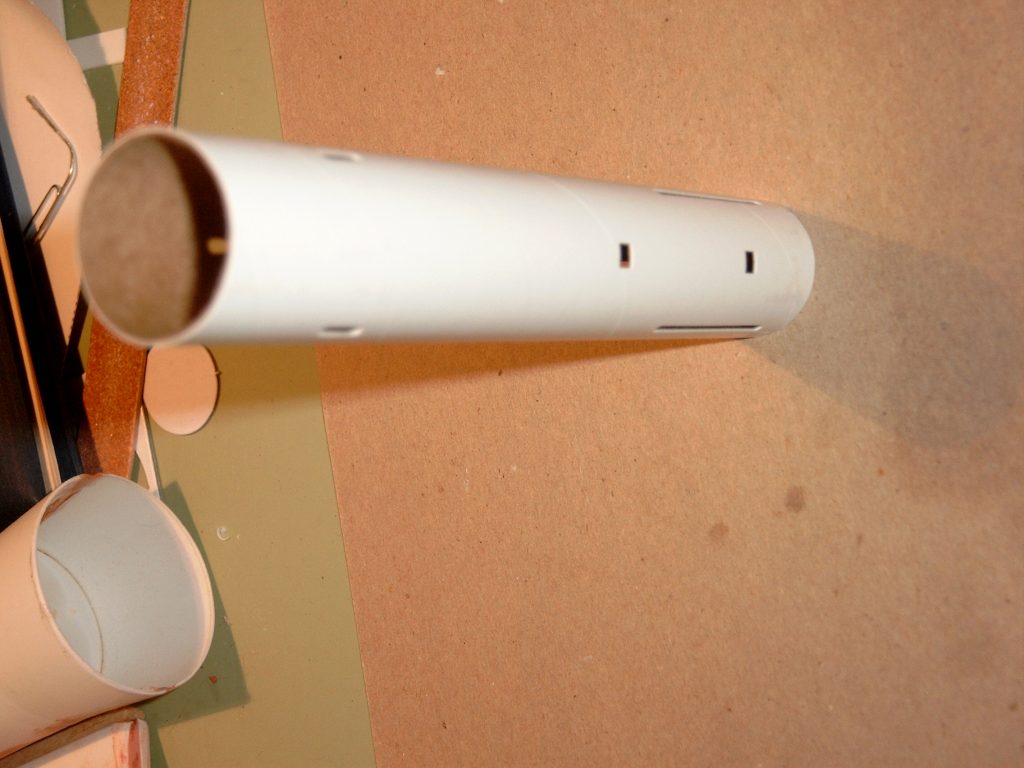
- 06/20/2002 – Took pictures of components.
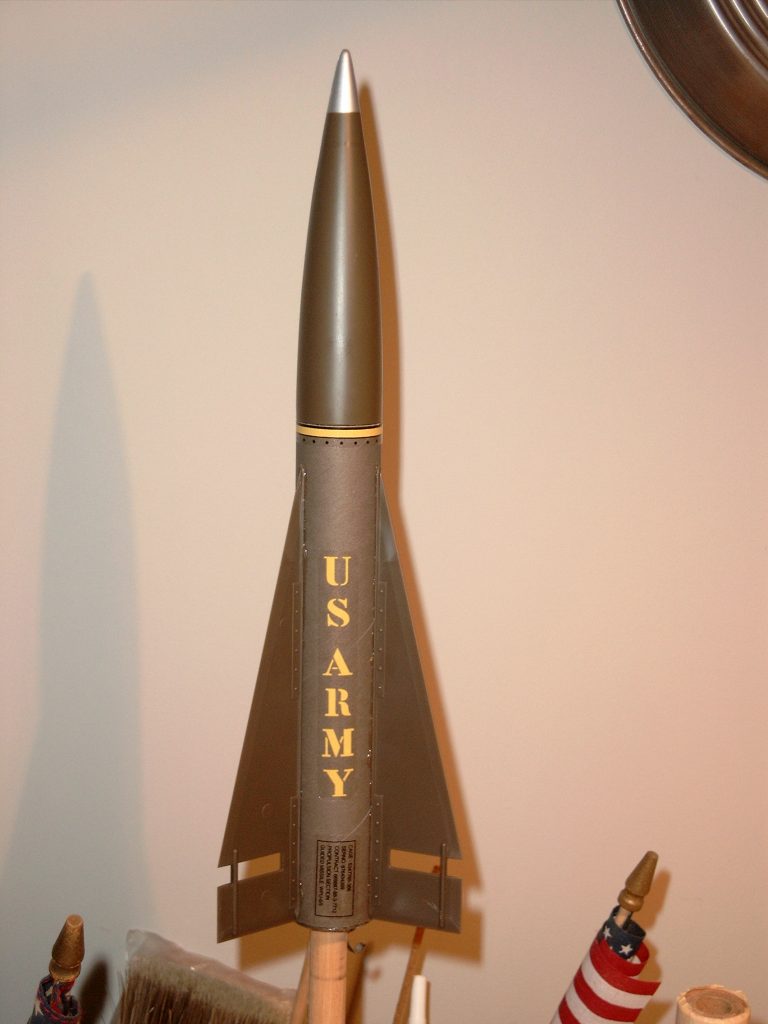
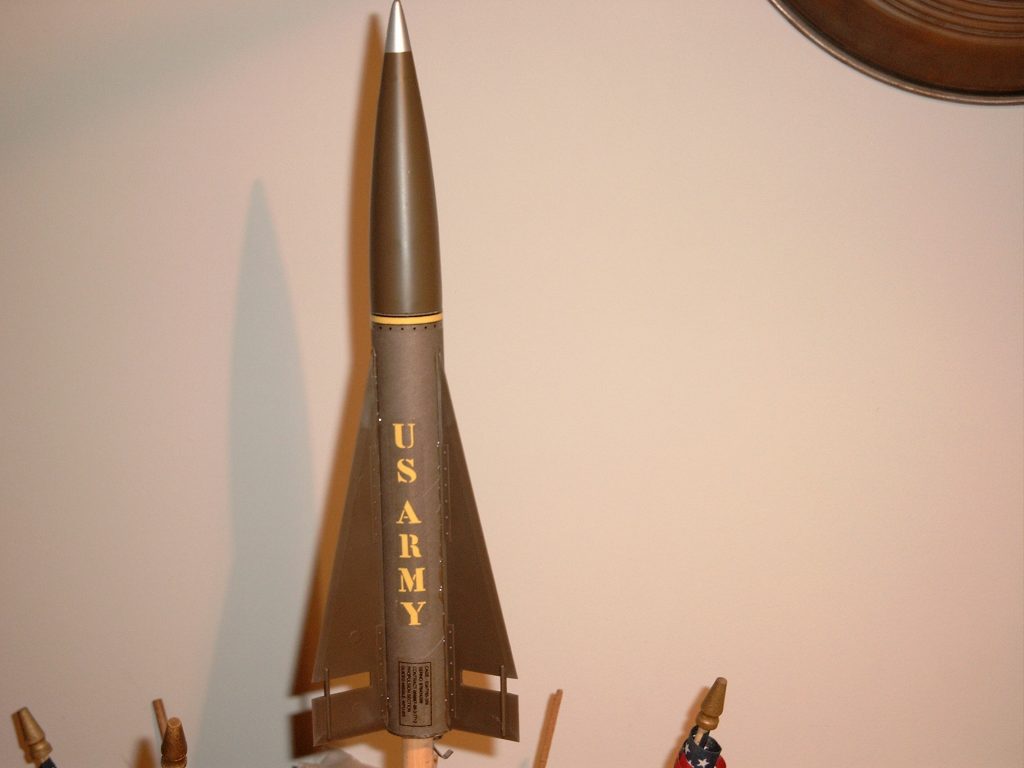
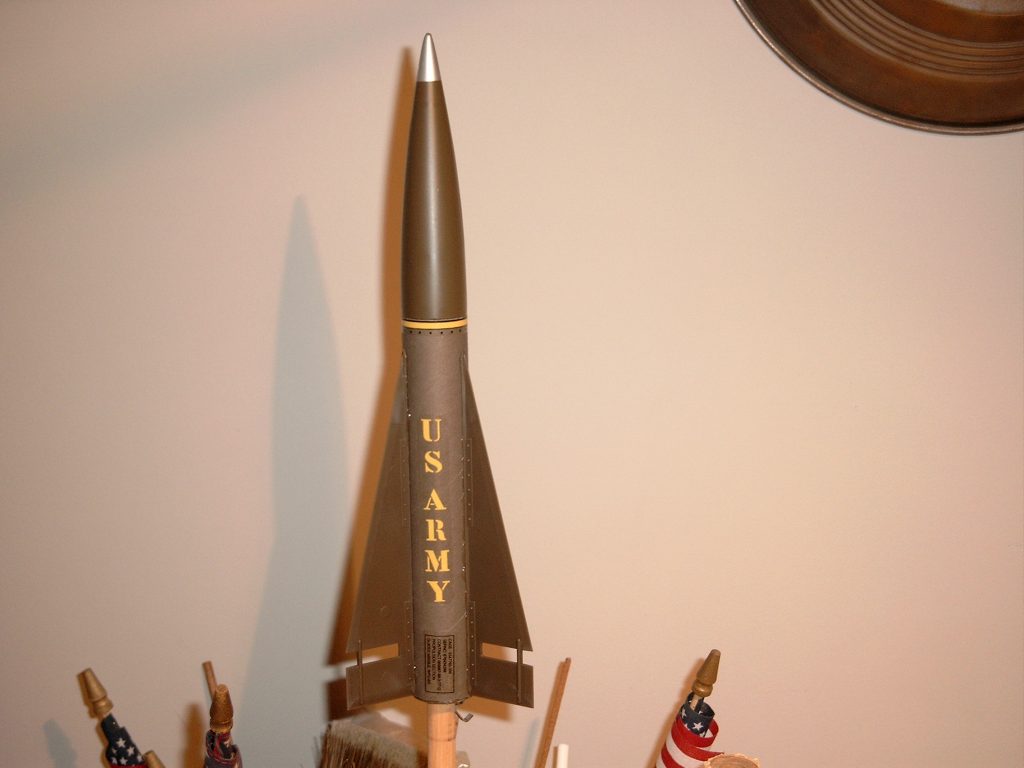
- 06/20/2002 – Army
- Cemented rear engine ring over blue engine mount tube into the short slot of the tube. Cemented the front engine ring inside the blue engine mount tube’s long notch. Cemented the notched plastic fin section to the notched engine mount tube and then cemented the other section of the plastic parts to fin of the motor mount slot assembly. Marked the white motor tube ant 5/8″ and 1-1/2″. Cut a 1/8″ slot into the tube at the 1-1/2″ mark. Inserted the engine holder into the slot. Slid the adapter rings over the engine holder up to the 5/8″ mark and the other adapter ring up to the 1-1/2″ mark. Glued both ring in jplace and filleted on side of each ring. Traced the fin pattern.
- 06/21/2002 – Filleted other side of rings.
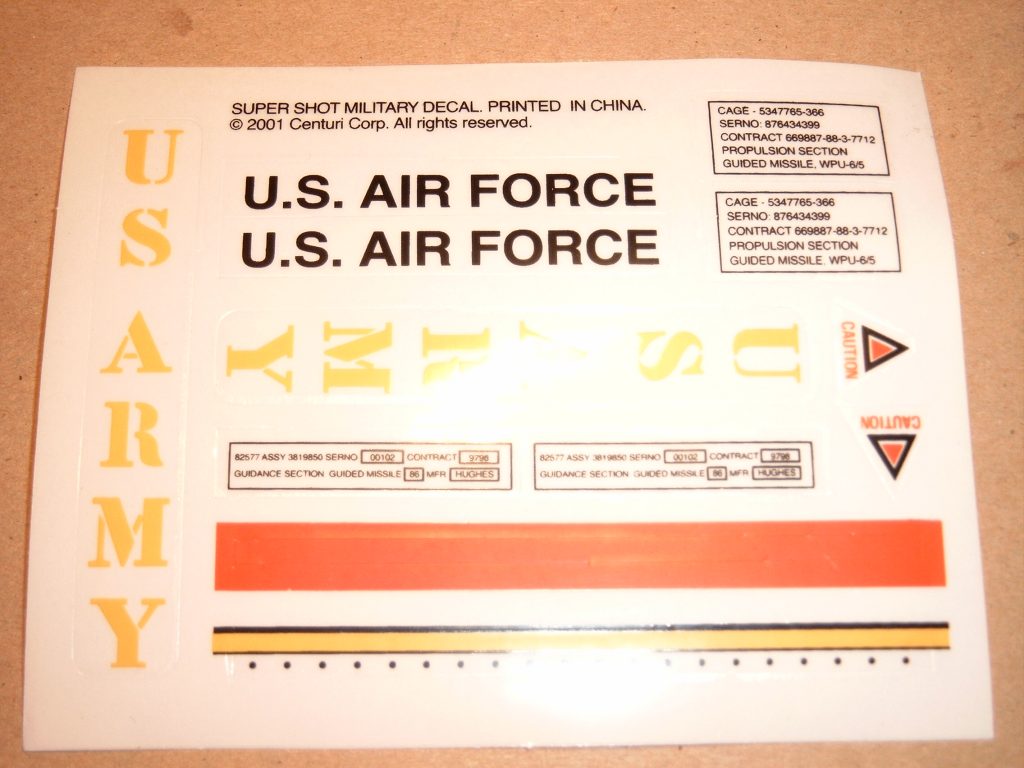
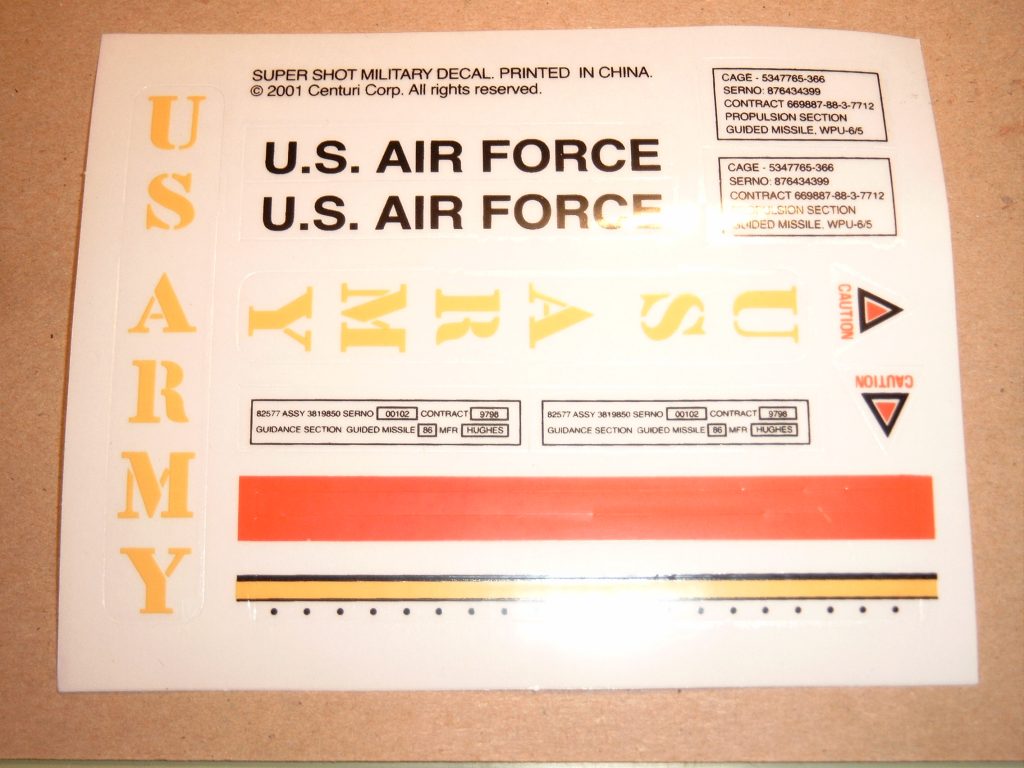
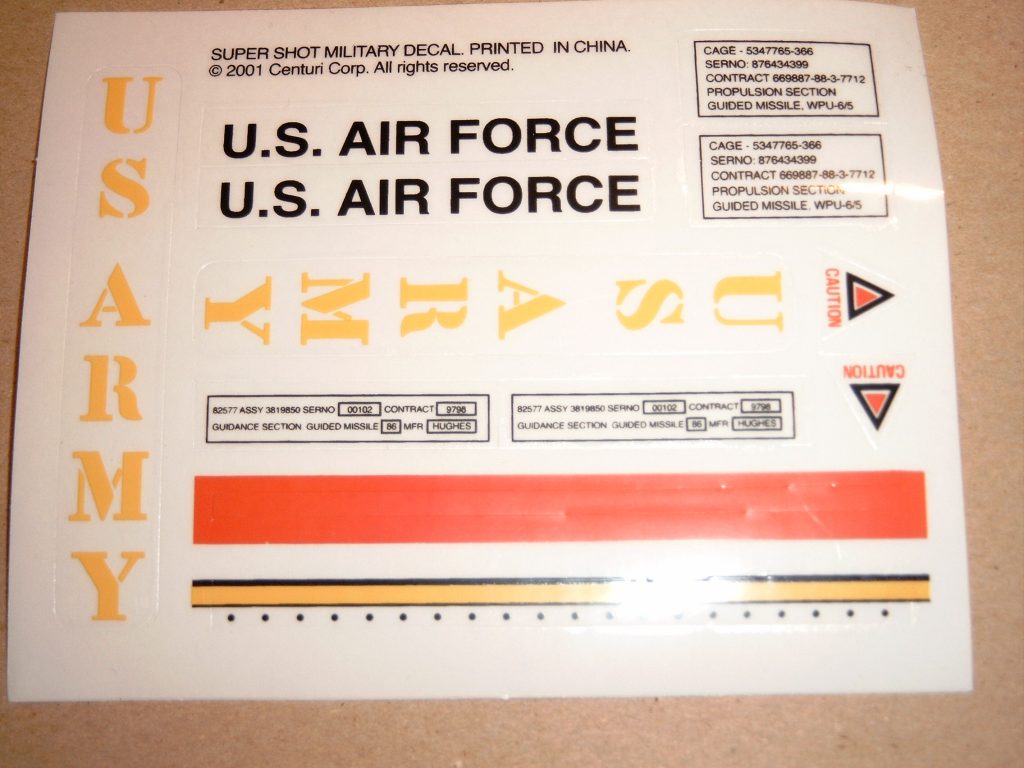
- 06/22/2002 – Glued the engine tube inside the adapter assembly. Cemented the assembly into the rear of the body tube so the launch lug hole lined up. Cemented both launch lugs into the holed and cemented the fins in place. Glued the shock cord to the mount and then inside the body tube. Tied the other end of the shock cord to the loop in the nose cone. Added clay to front of nose cone and tampered in place with dowel rod. Put a snap swivel on the parachute. Applied self adhesive decals. This completes the Army model rocket #1432.
- 06/23/2002 – Air Force
- 06/23/2002 – Cemented plastic ends int the blue body tube with the short inserted int the larger end in line ring and the longer notch in the smaller engine ring inserted into it. Cemented this assembly int the plastic piece where the fins will attach to the motor mount assembly. The first piece was aligned with the launch lug slots. The other two pieces were cemented t the first piece and each other. The engine holder was splaced in a 1/8″ slot 1-1/2″ from the rear of the motor tube and a 5/8″ marks was also made in the engine holder tube. One adapter ring was slid over the engine retainer and to the 5/8″ mark. The other adapter ring was slid to the holder and one side of each was filleted. The motor tube was then glued to the fin assembly so the rear of both tubes were even. the fins were cemented to the body tube. The shock cord was glued to the mount and then to the inside of the body tube so it will not interfere with the nose cone shoulder. Attached a small snap swivel to the parachute. Cut flange from the nose cone eyelet and tied the shock cord to it. Attached self adhesive decals. This completes construction of the U. S. Air Force model rocket #1432.
- 06/23/2002 – Assembled launch controller and launch pad as per instructions. This completes construction of Estes Super Shot Military Starter set.
Flights
| Date | Location | # | Motor | Comments |
Leave a Reply
You must be logged in to post a comment.