QUEST Model #4002
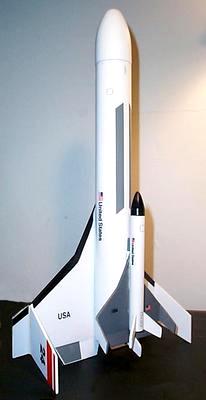
Description
Quest’s most challenging – and rewarding – model rocket kit. There are two major components: a ‘main ship’ ( that is a model rocket awesome
enough to stand alone) and a ‘shuttlecraft’ that separates at apogee and glides to earth.
Additional Information
- Length: 15.4″
- Diameter: 1.58″
- Recovery:
- Shuttle: Glide
- Body: 14″ Parachute
- Recommended Motors:
- B6-4, C6-3
Instructions
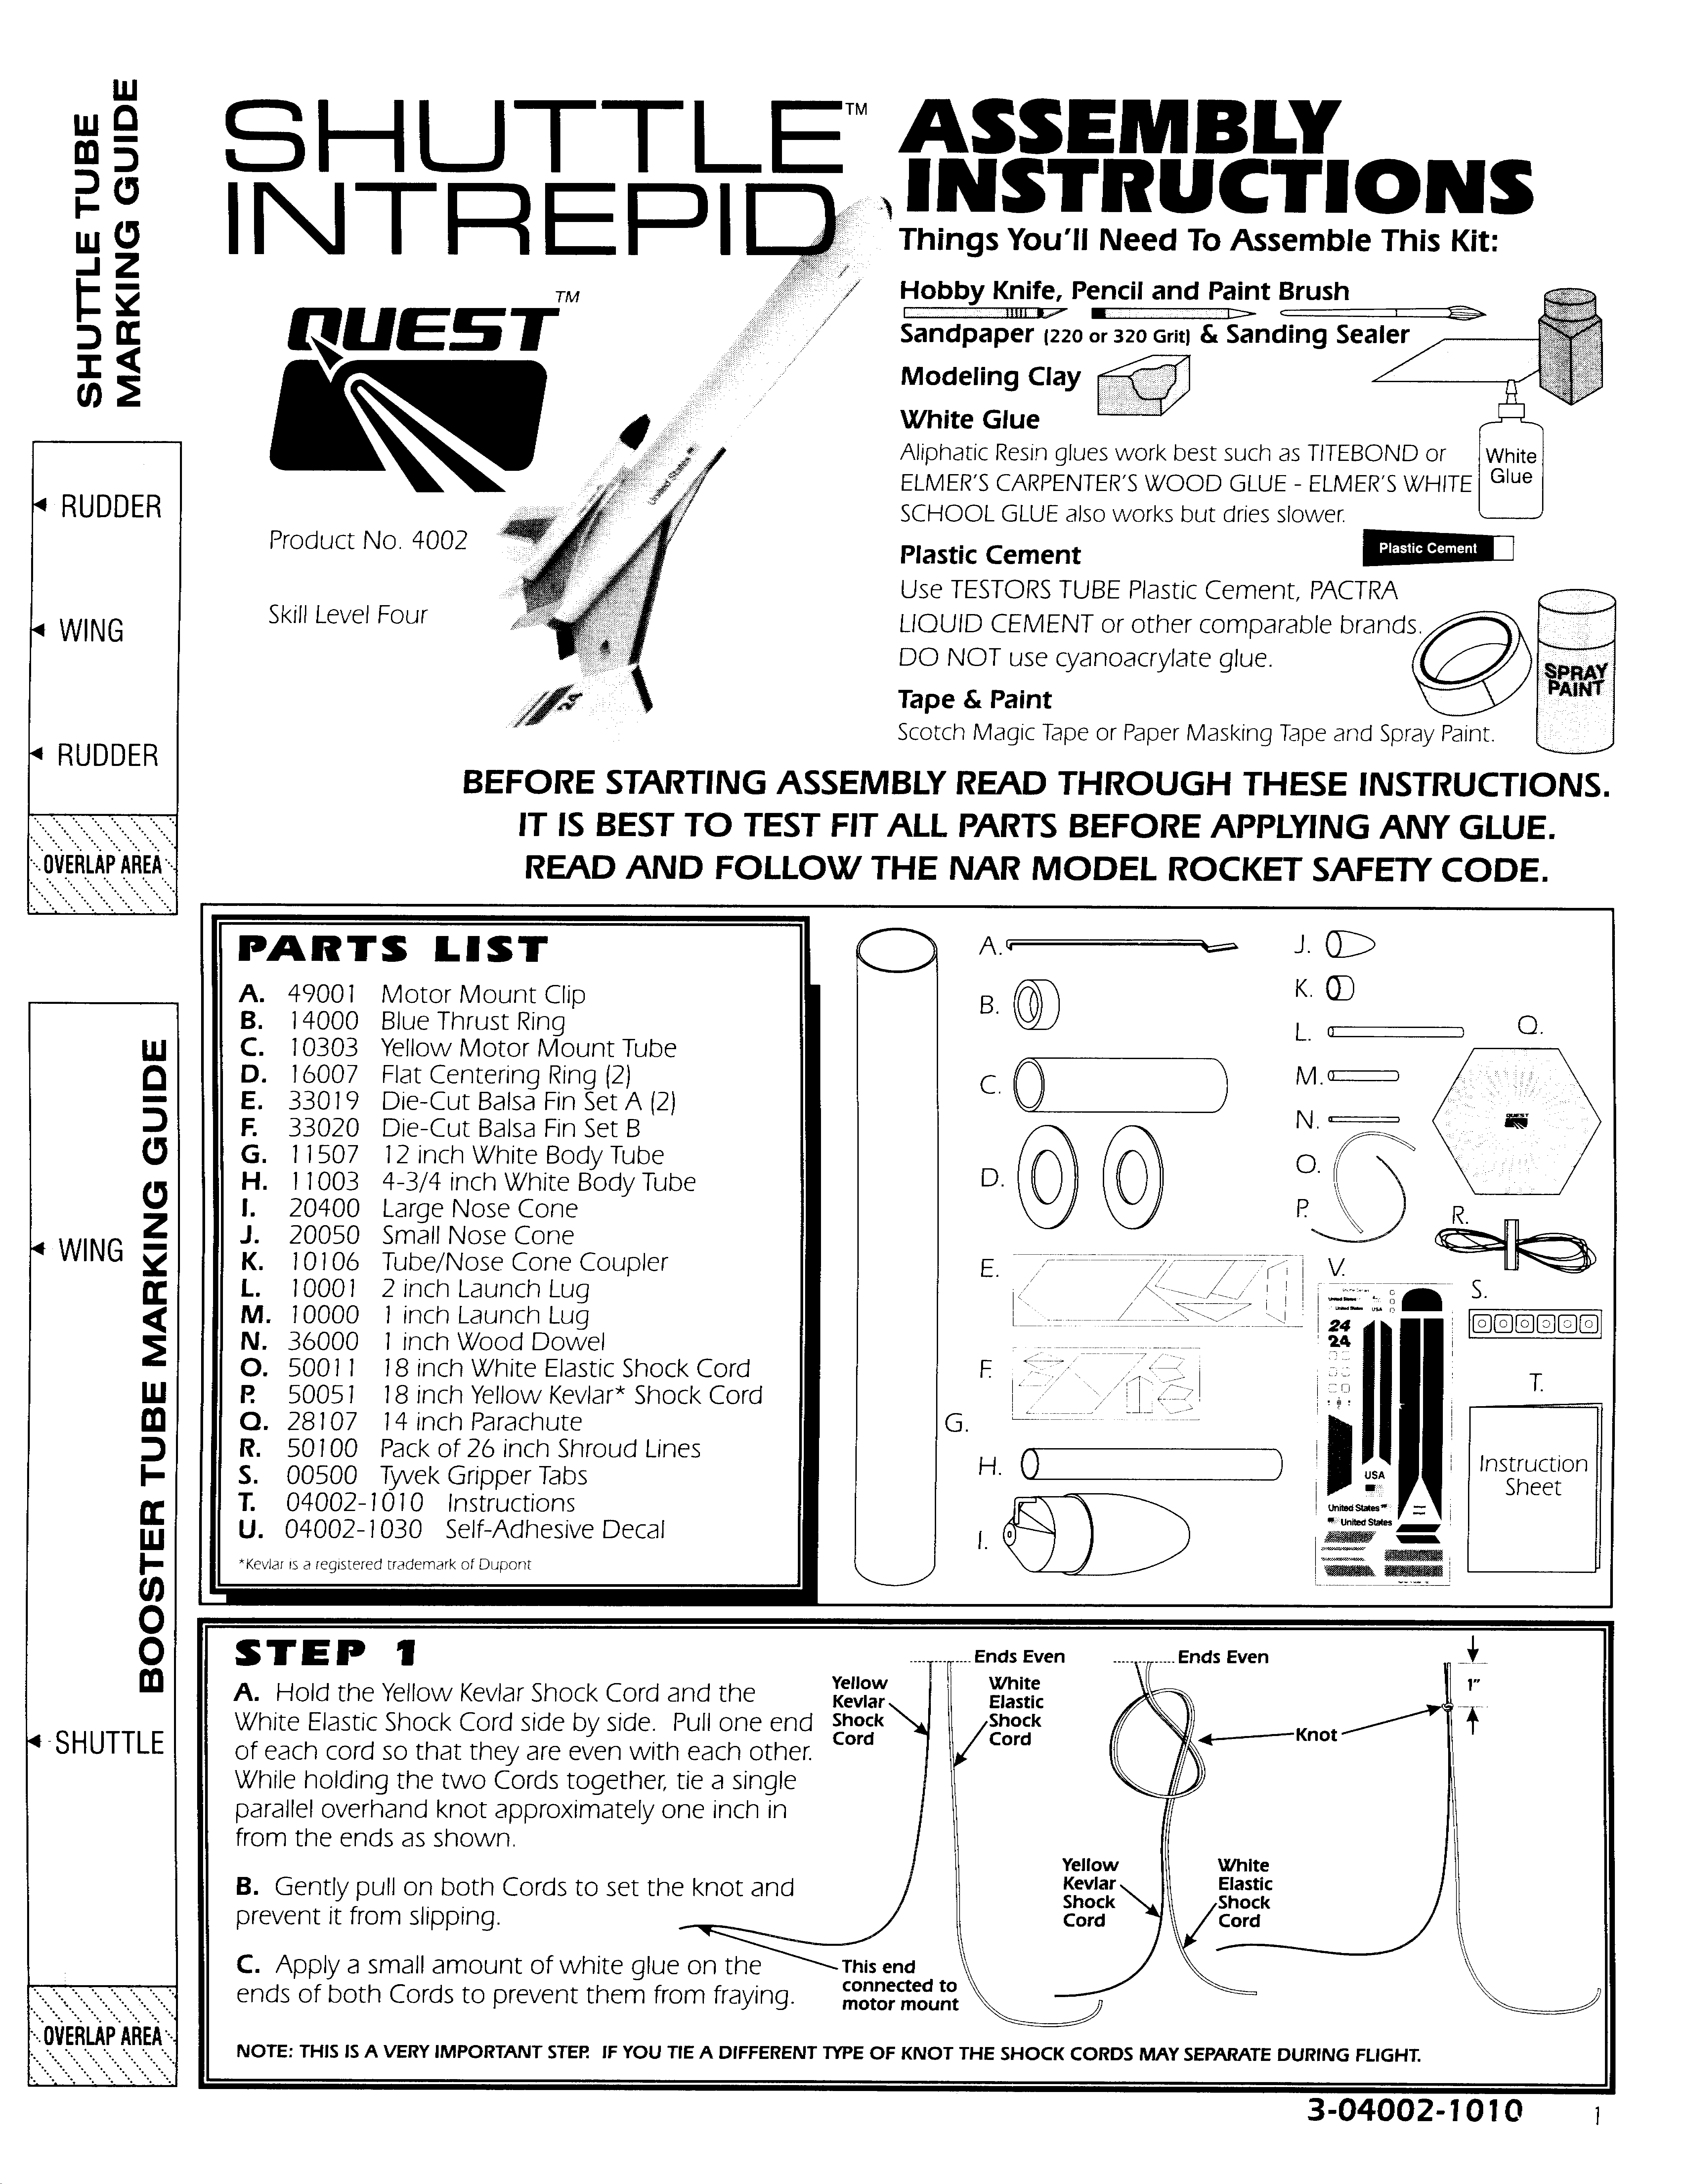
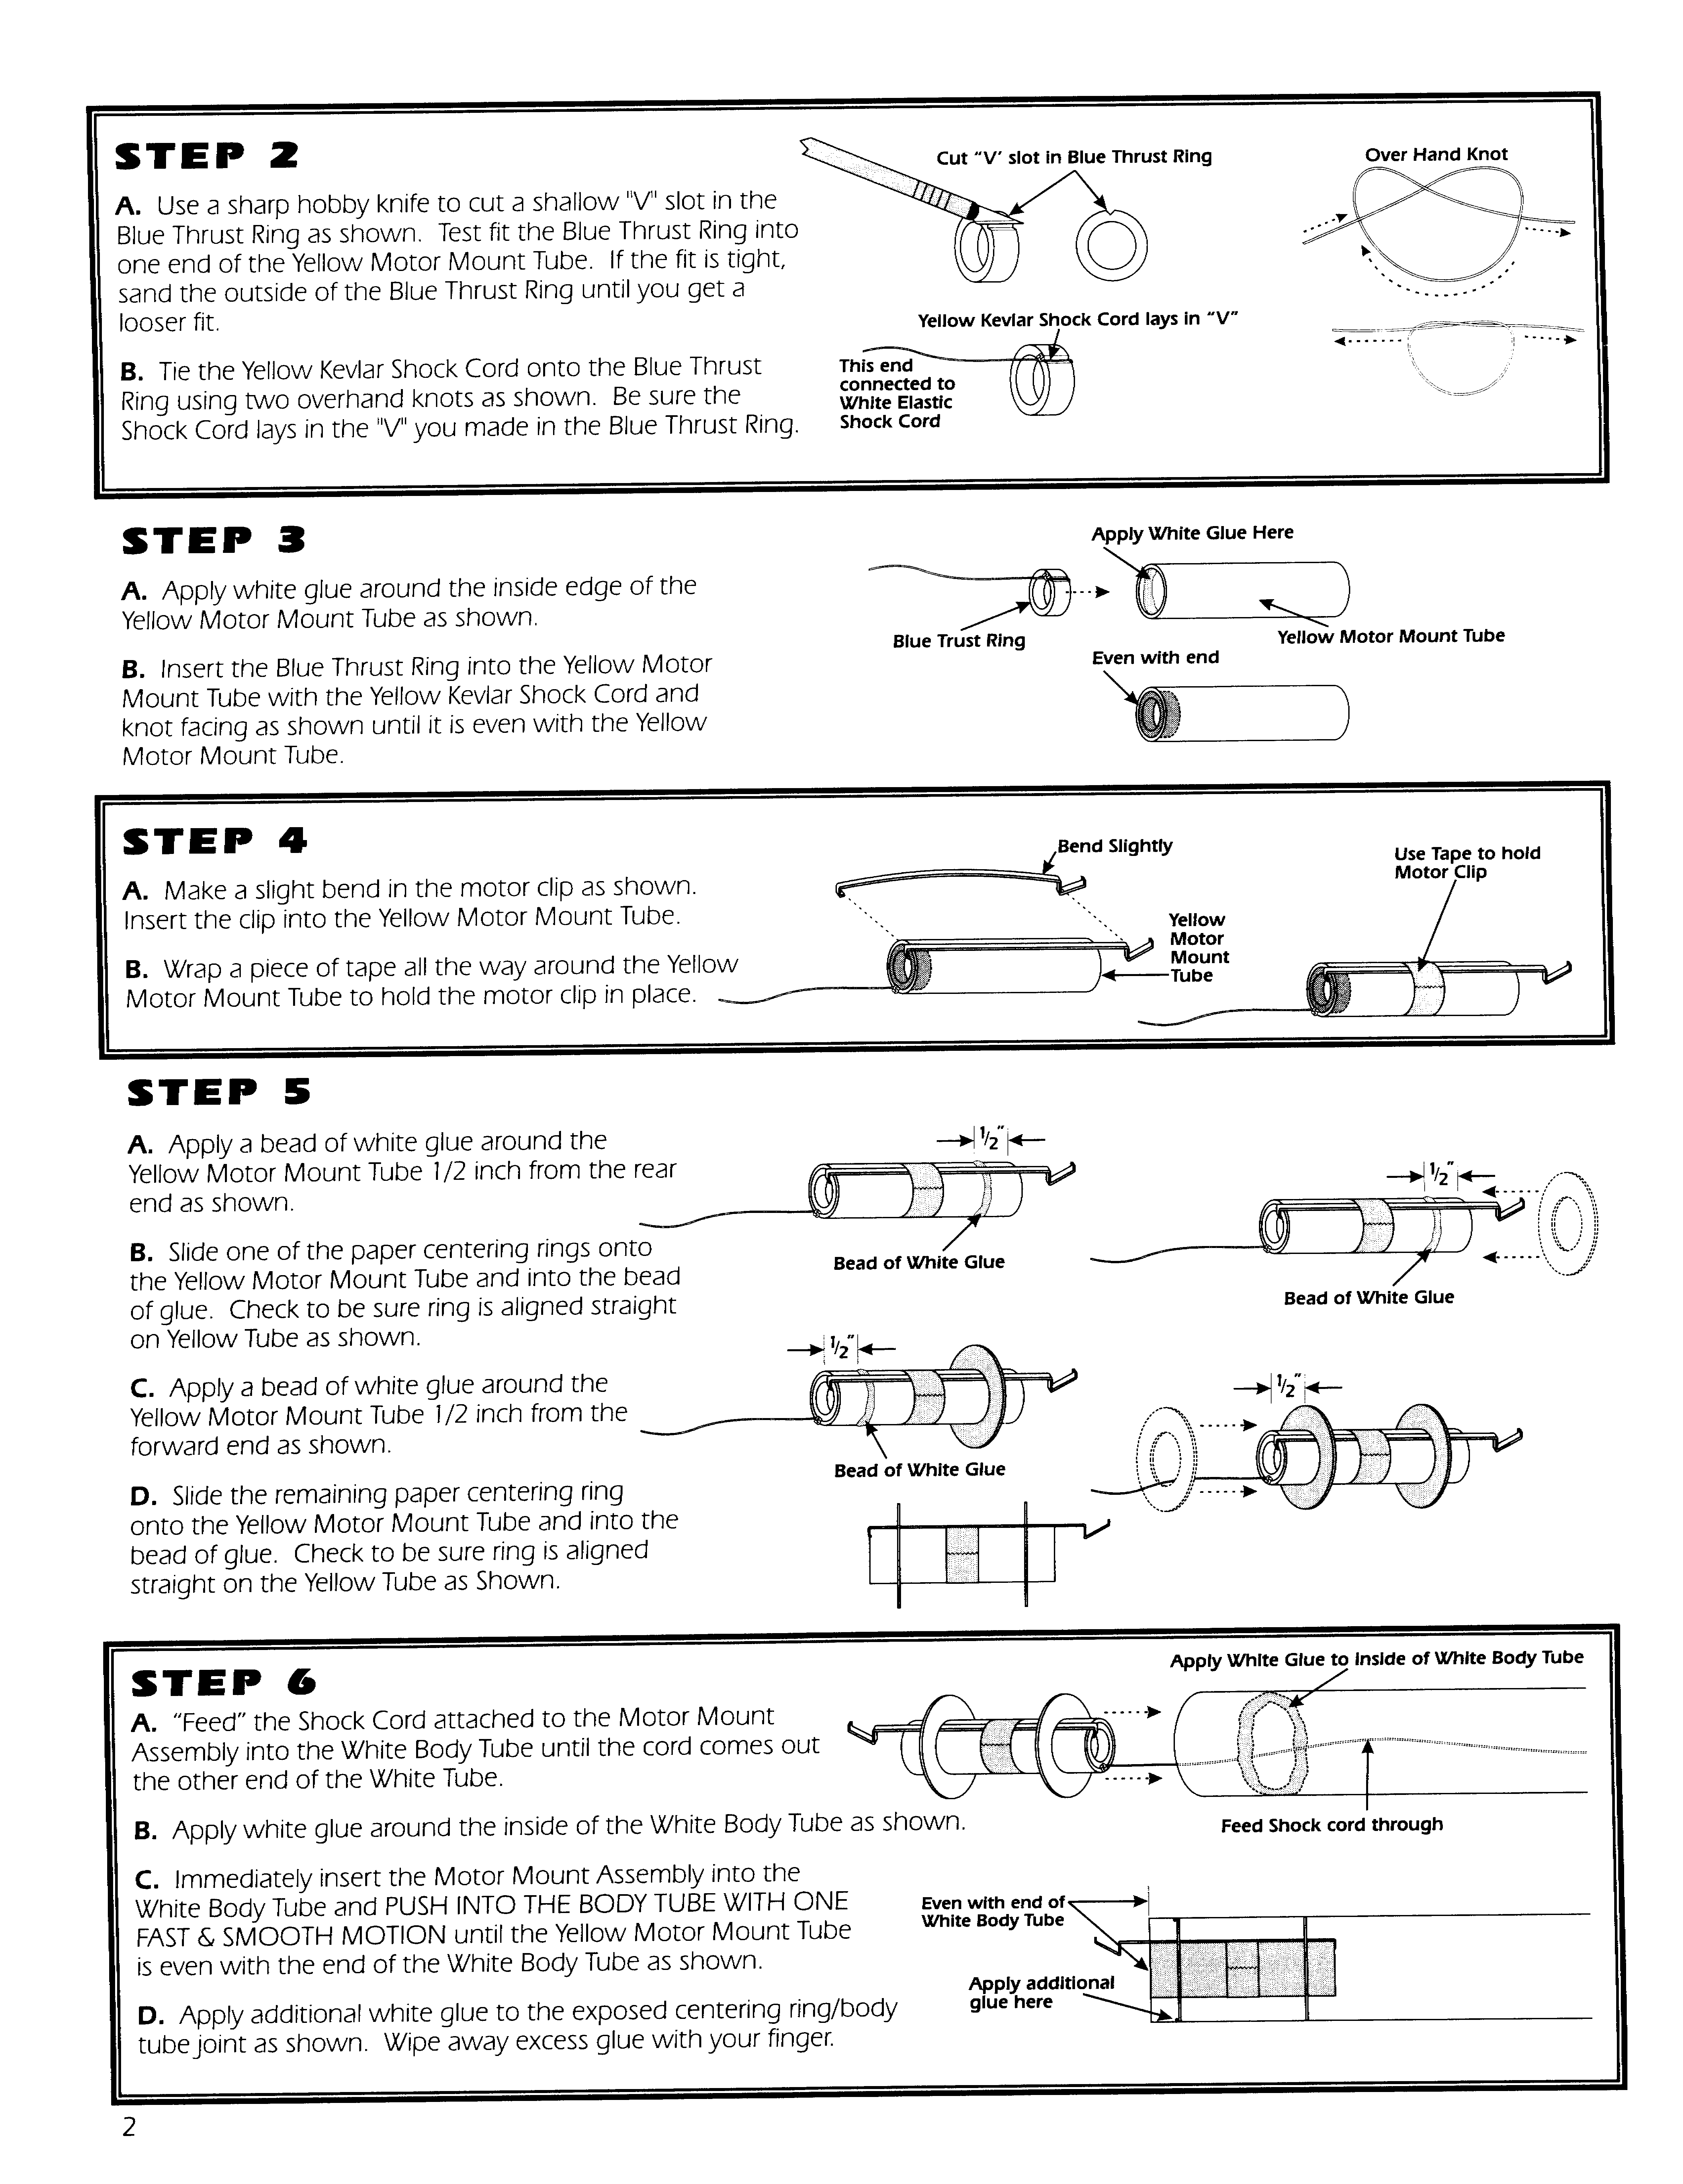
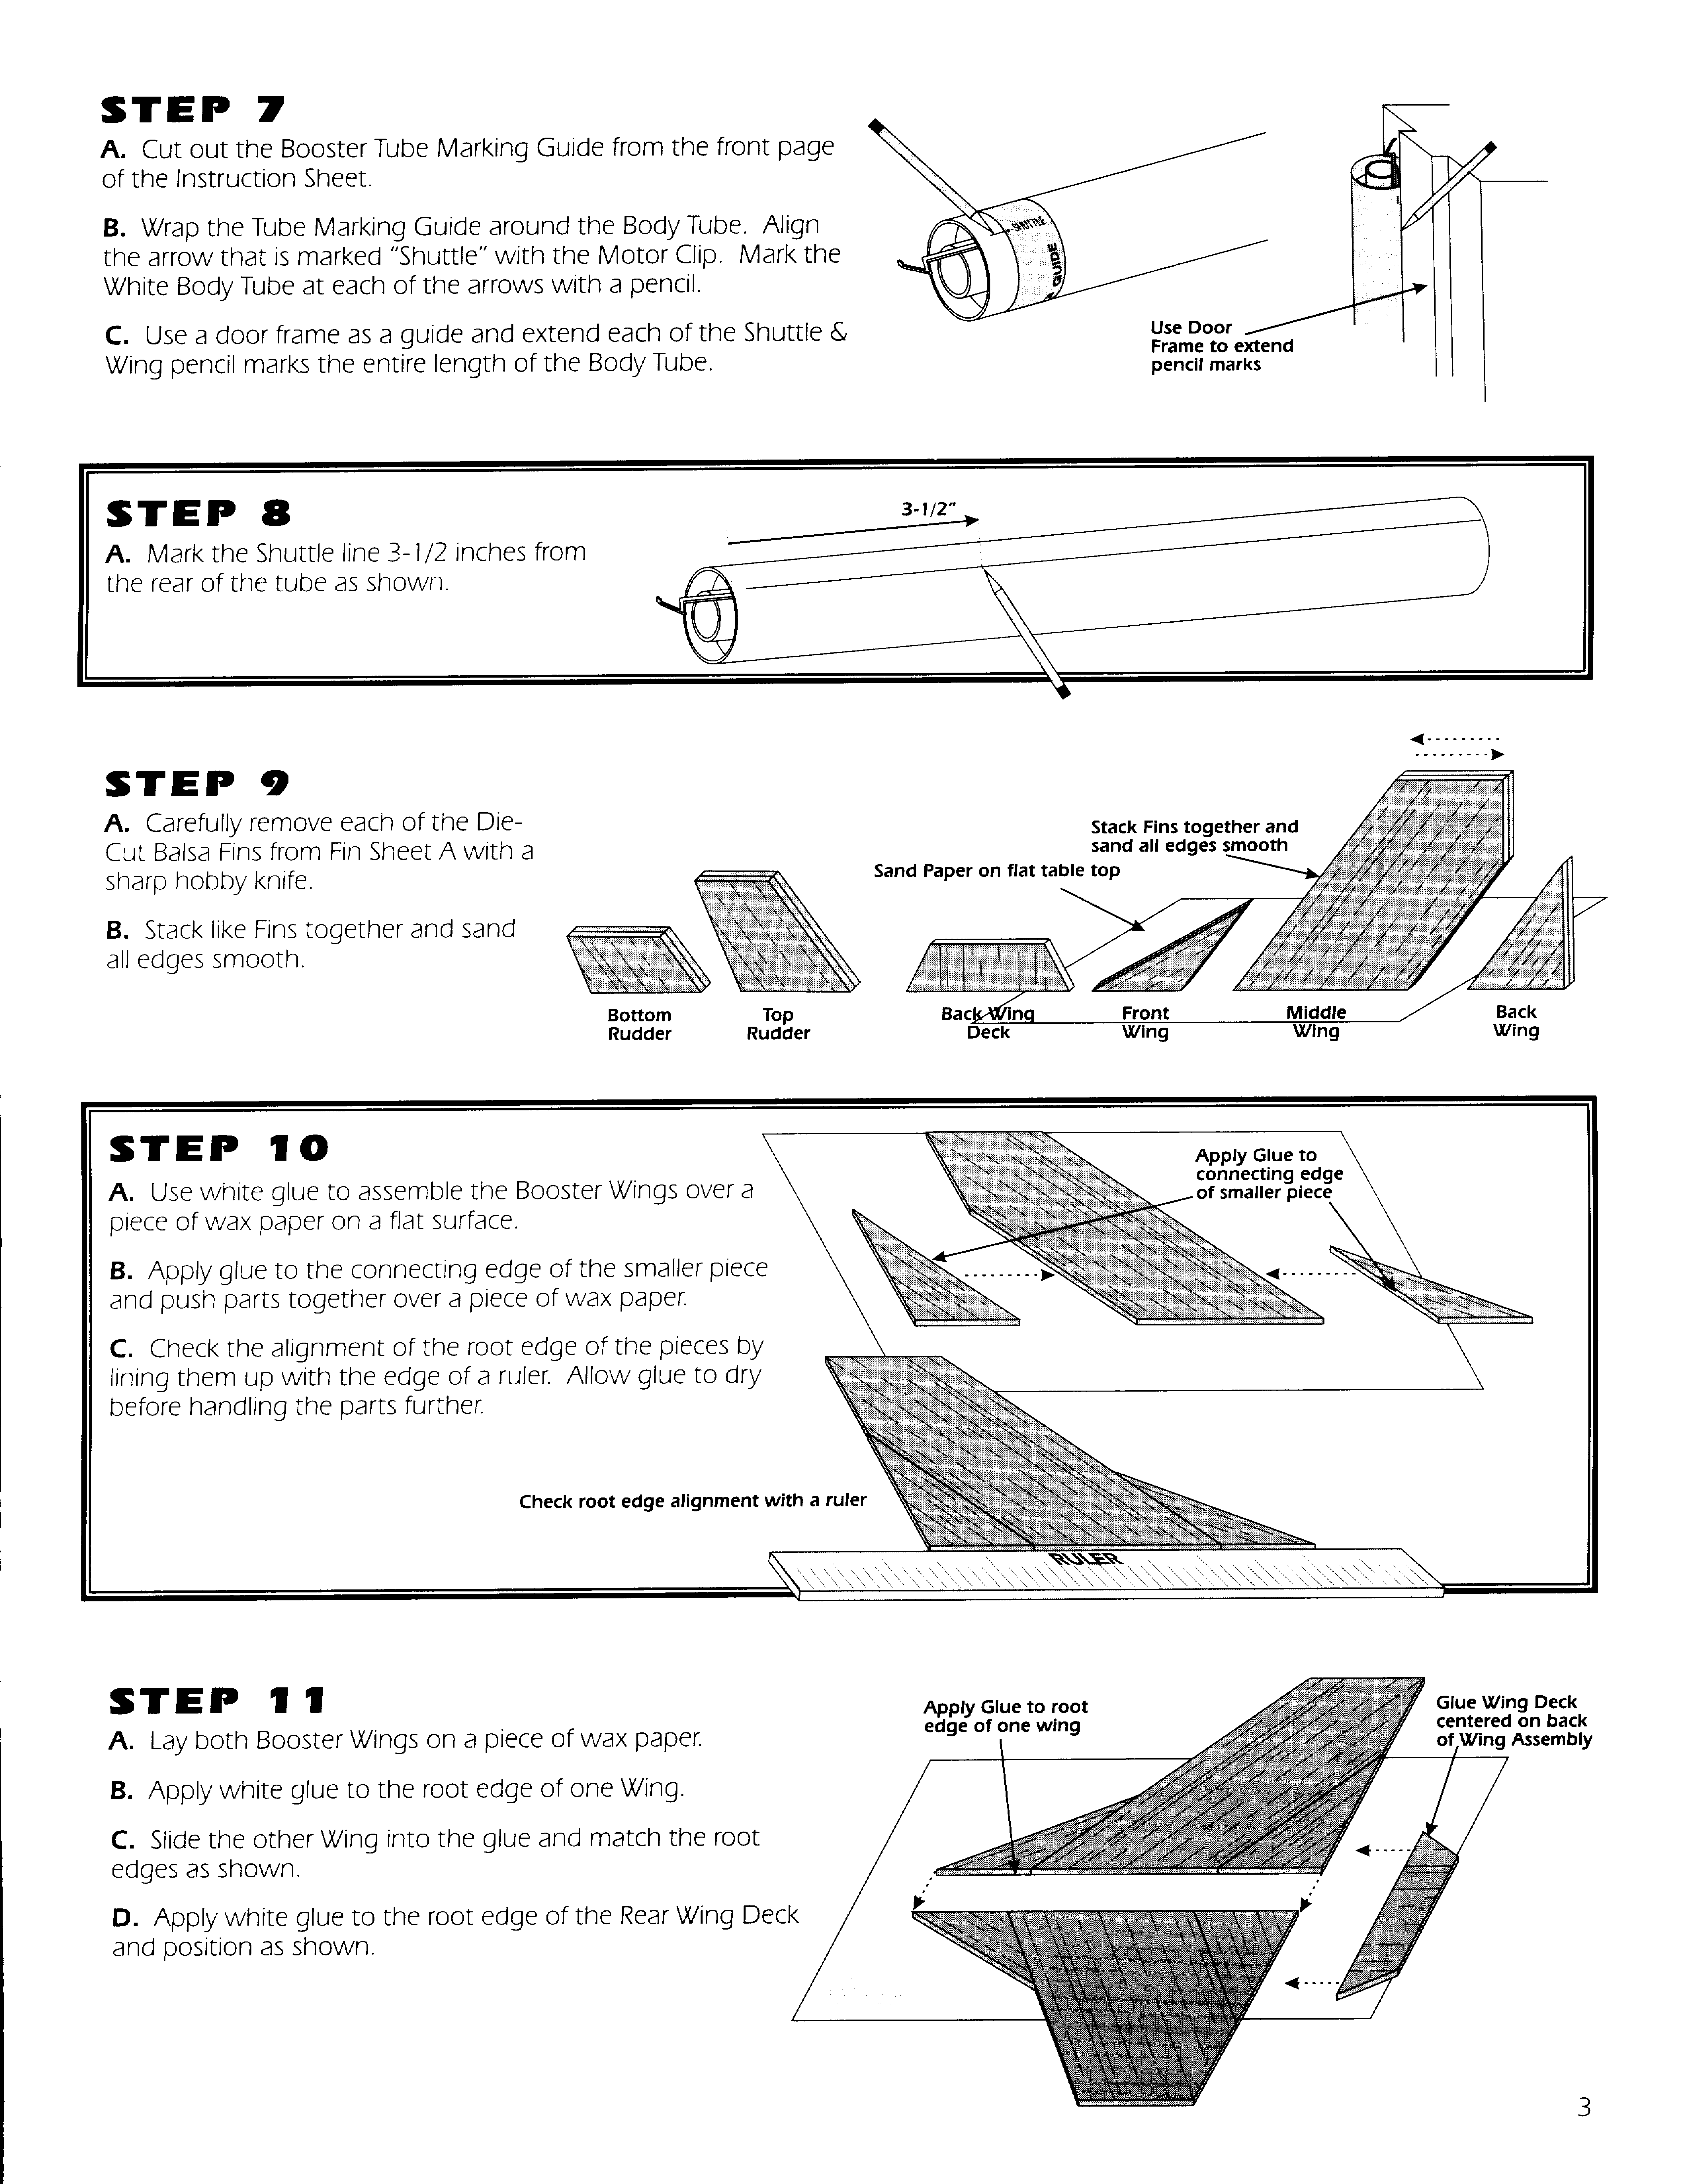
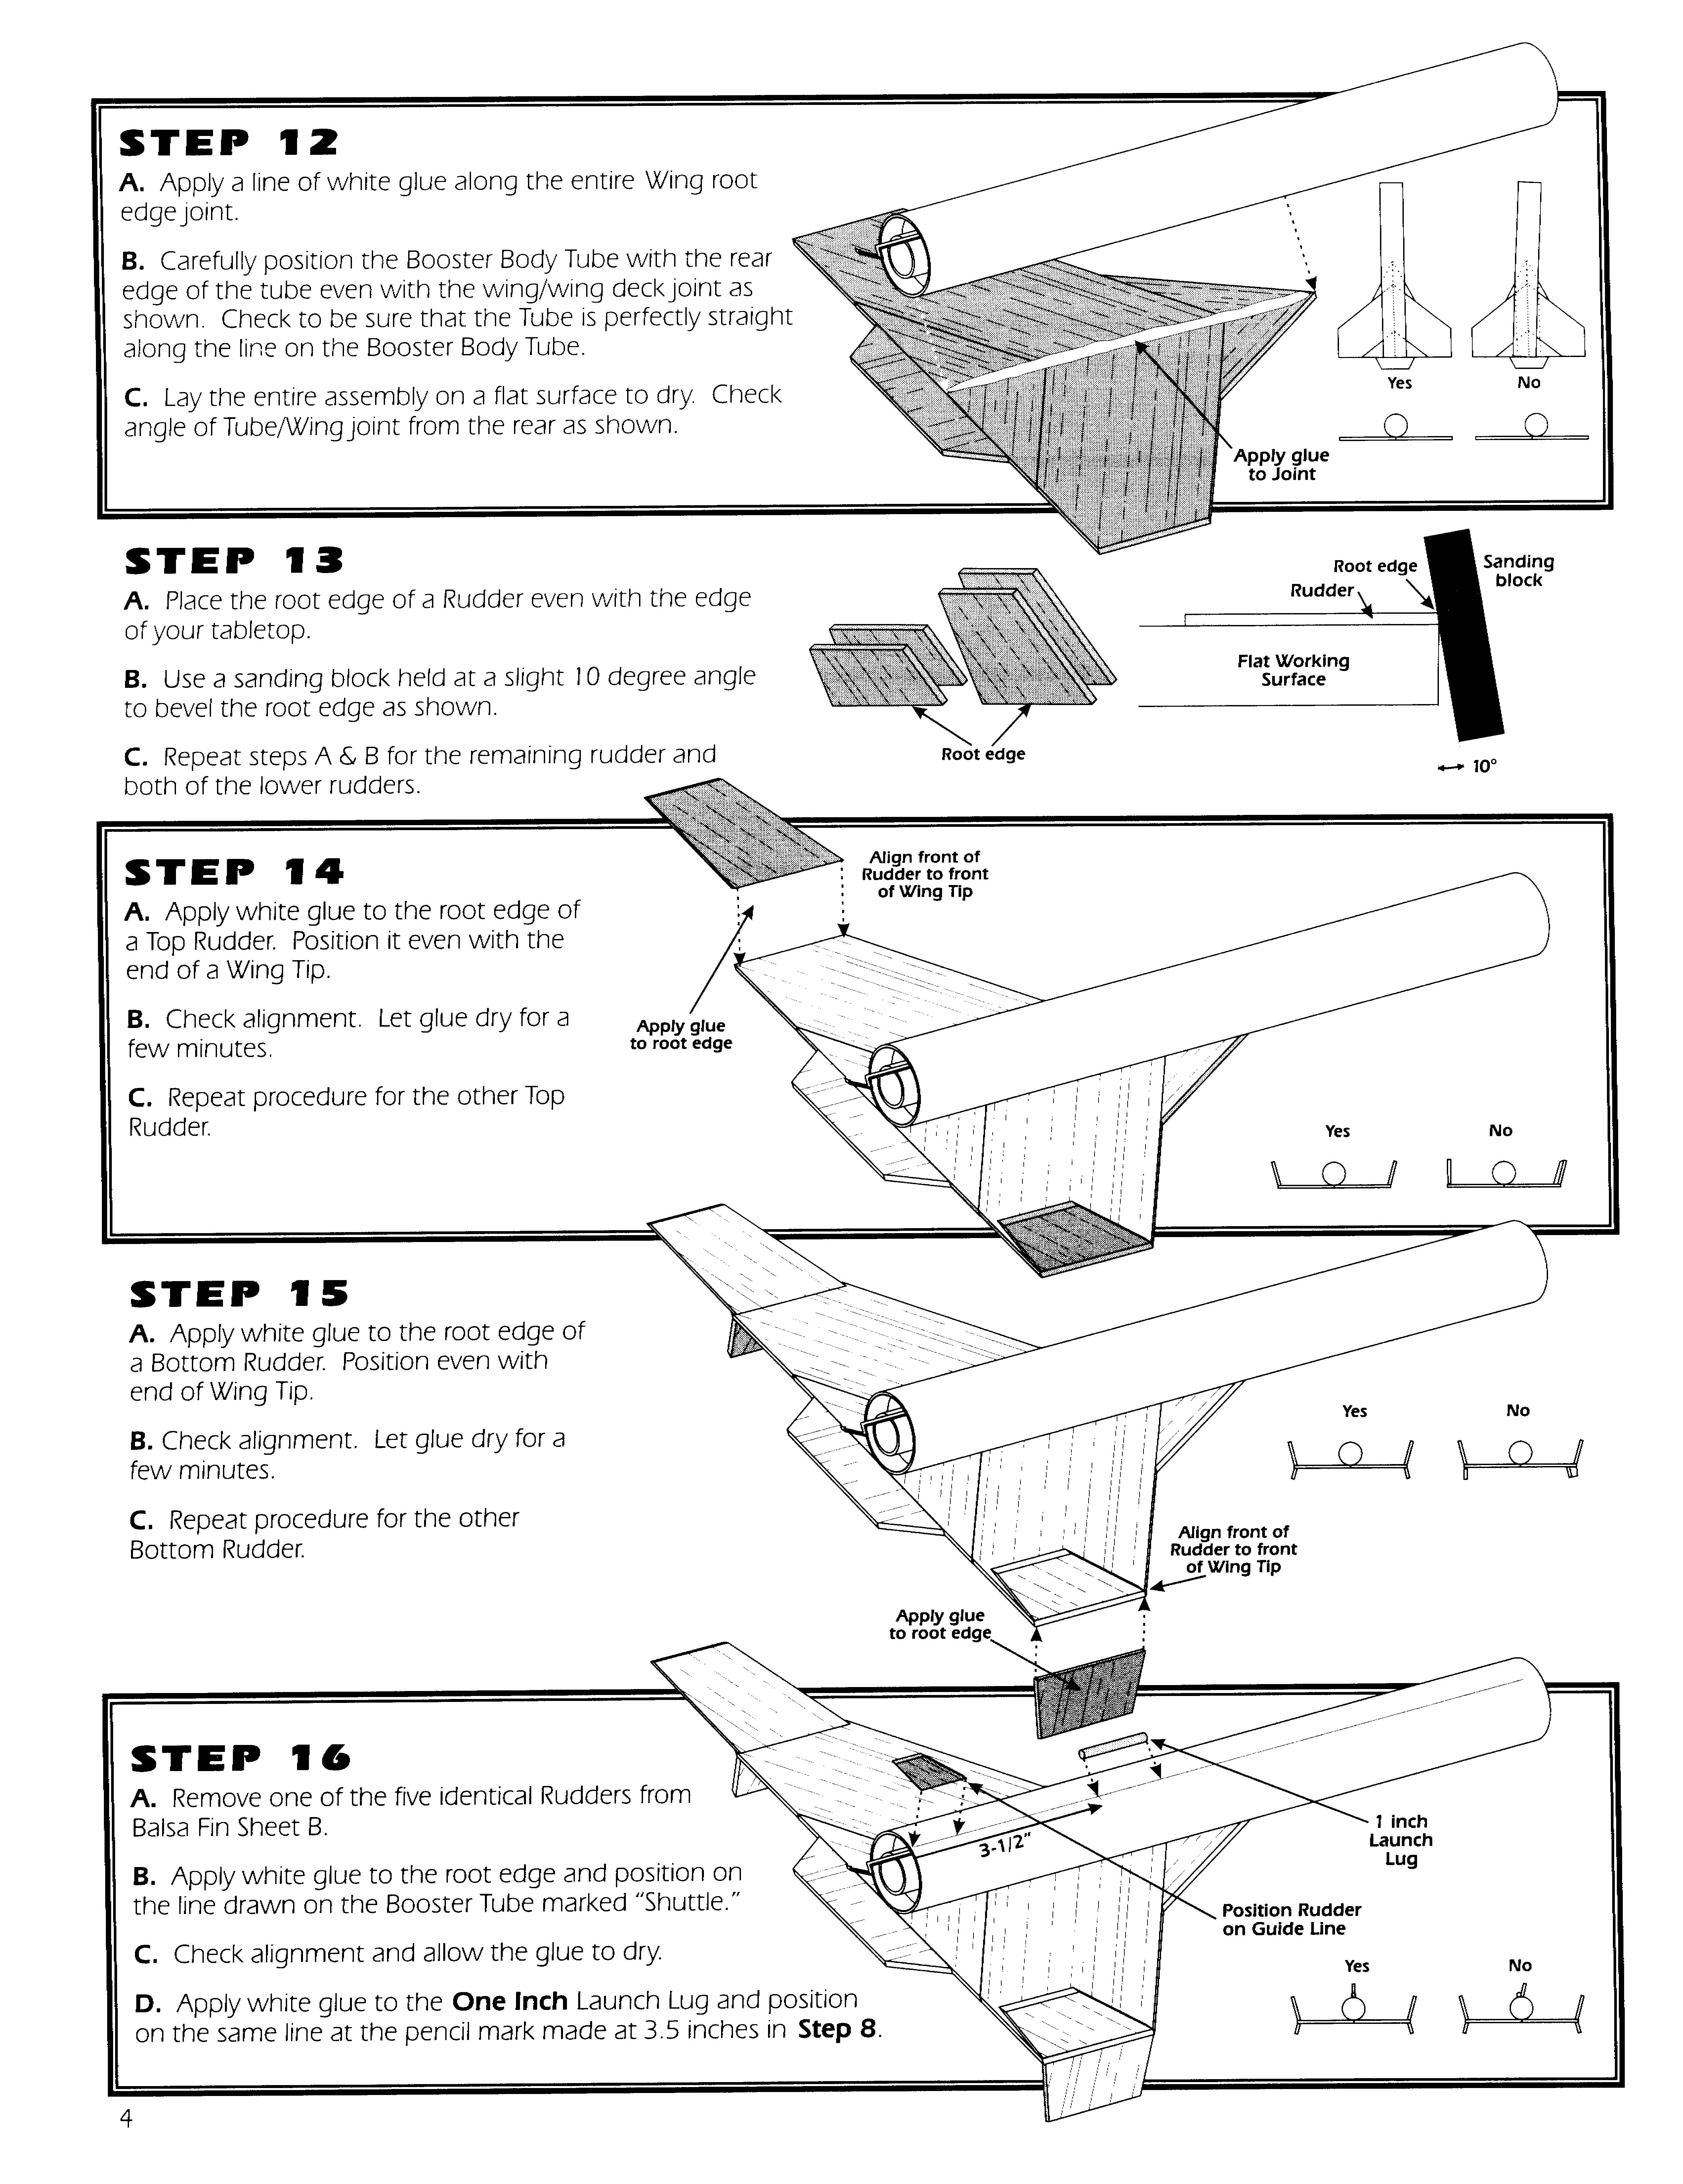
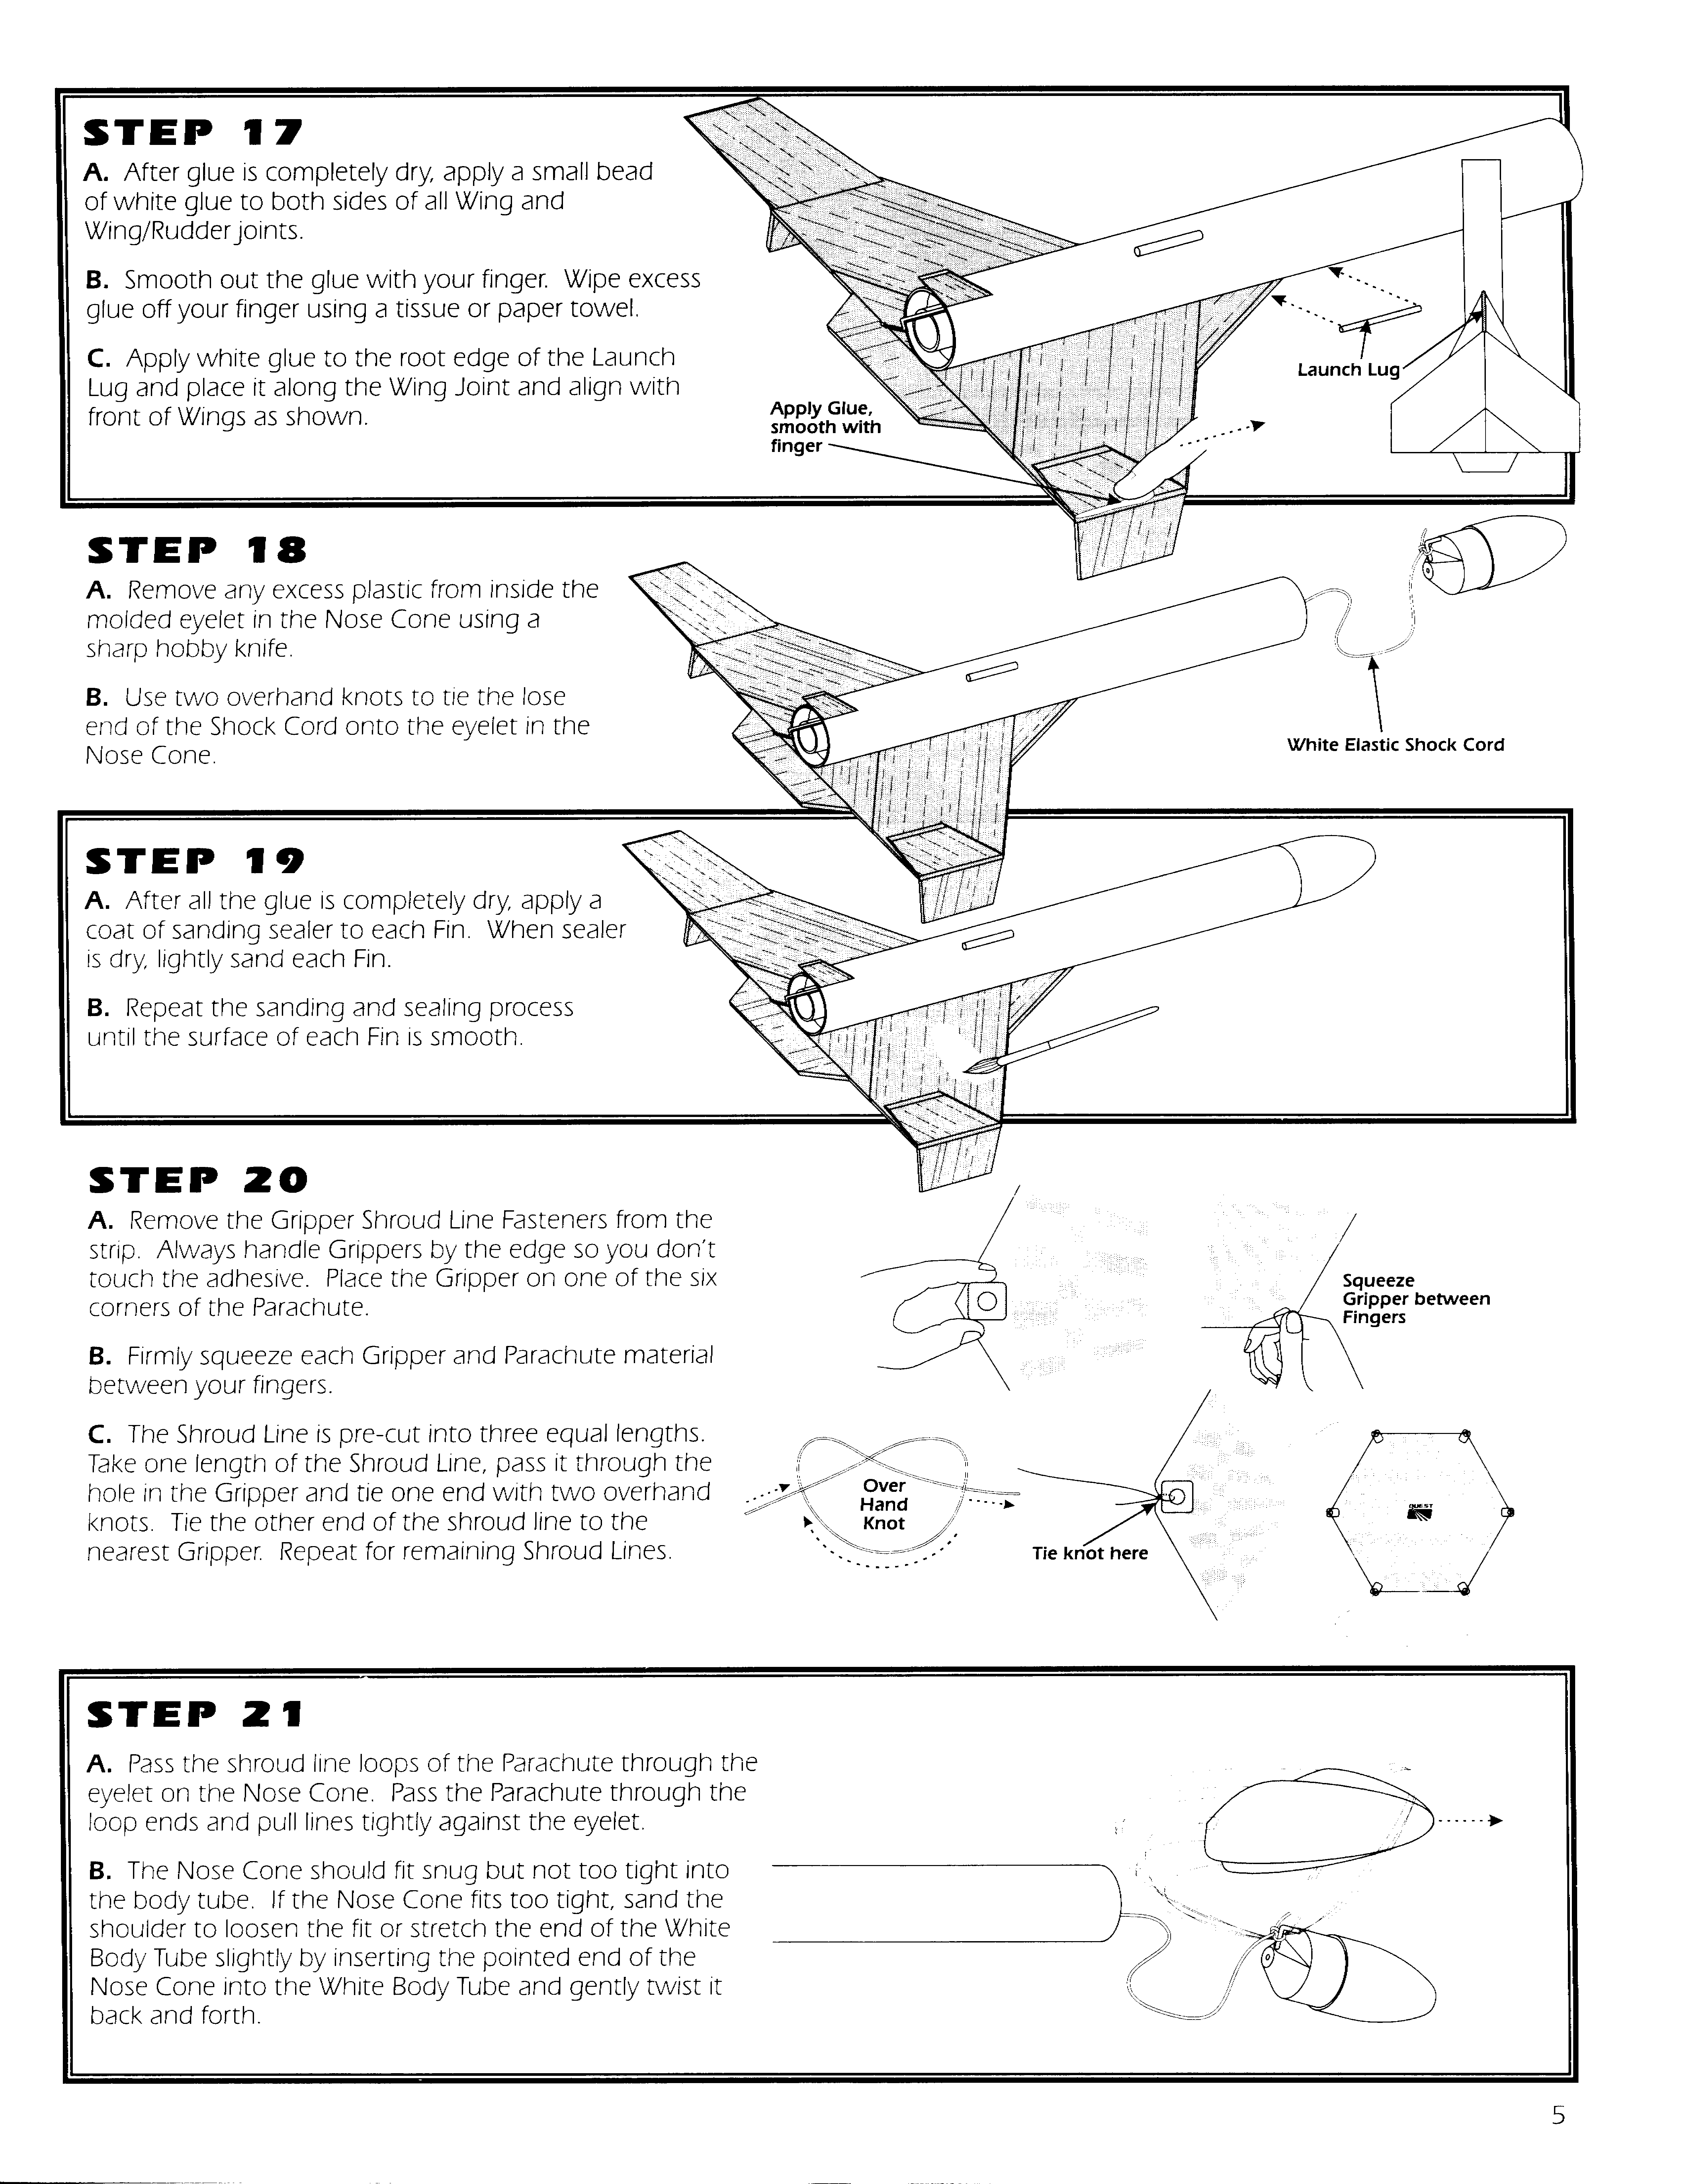
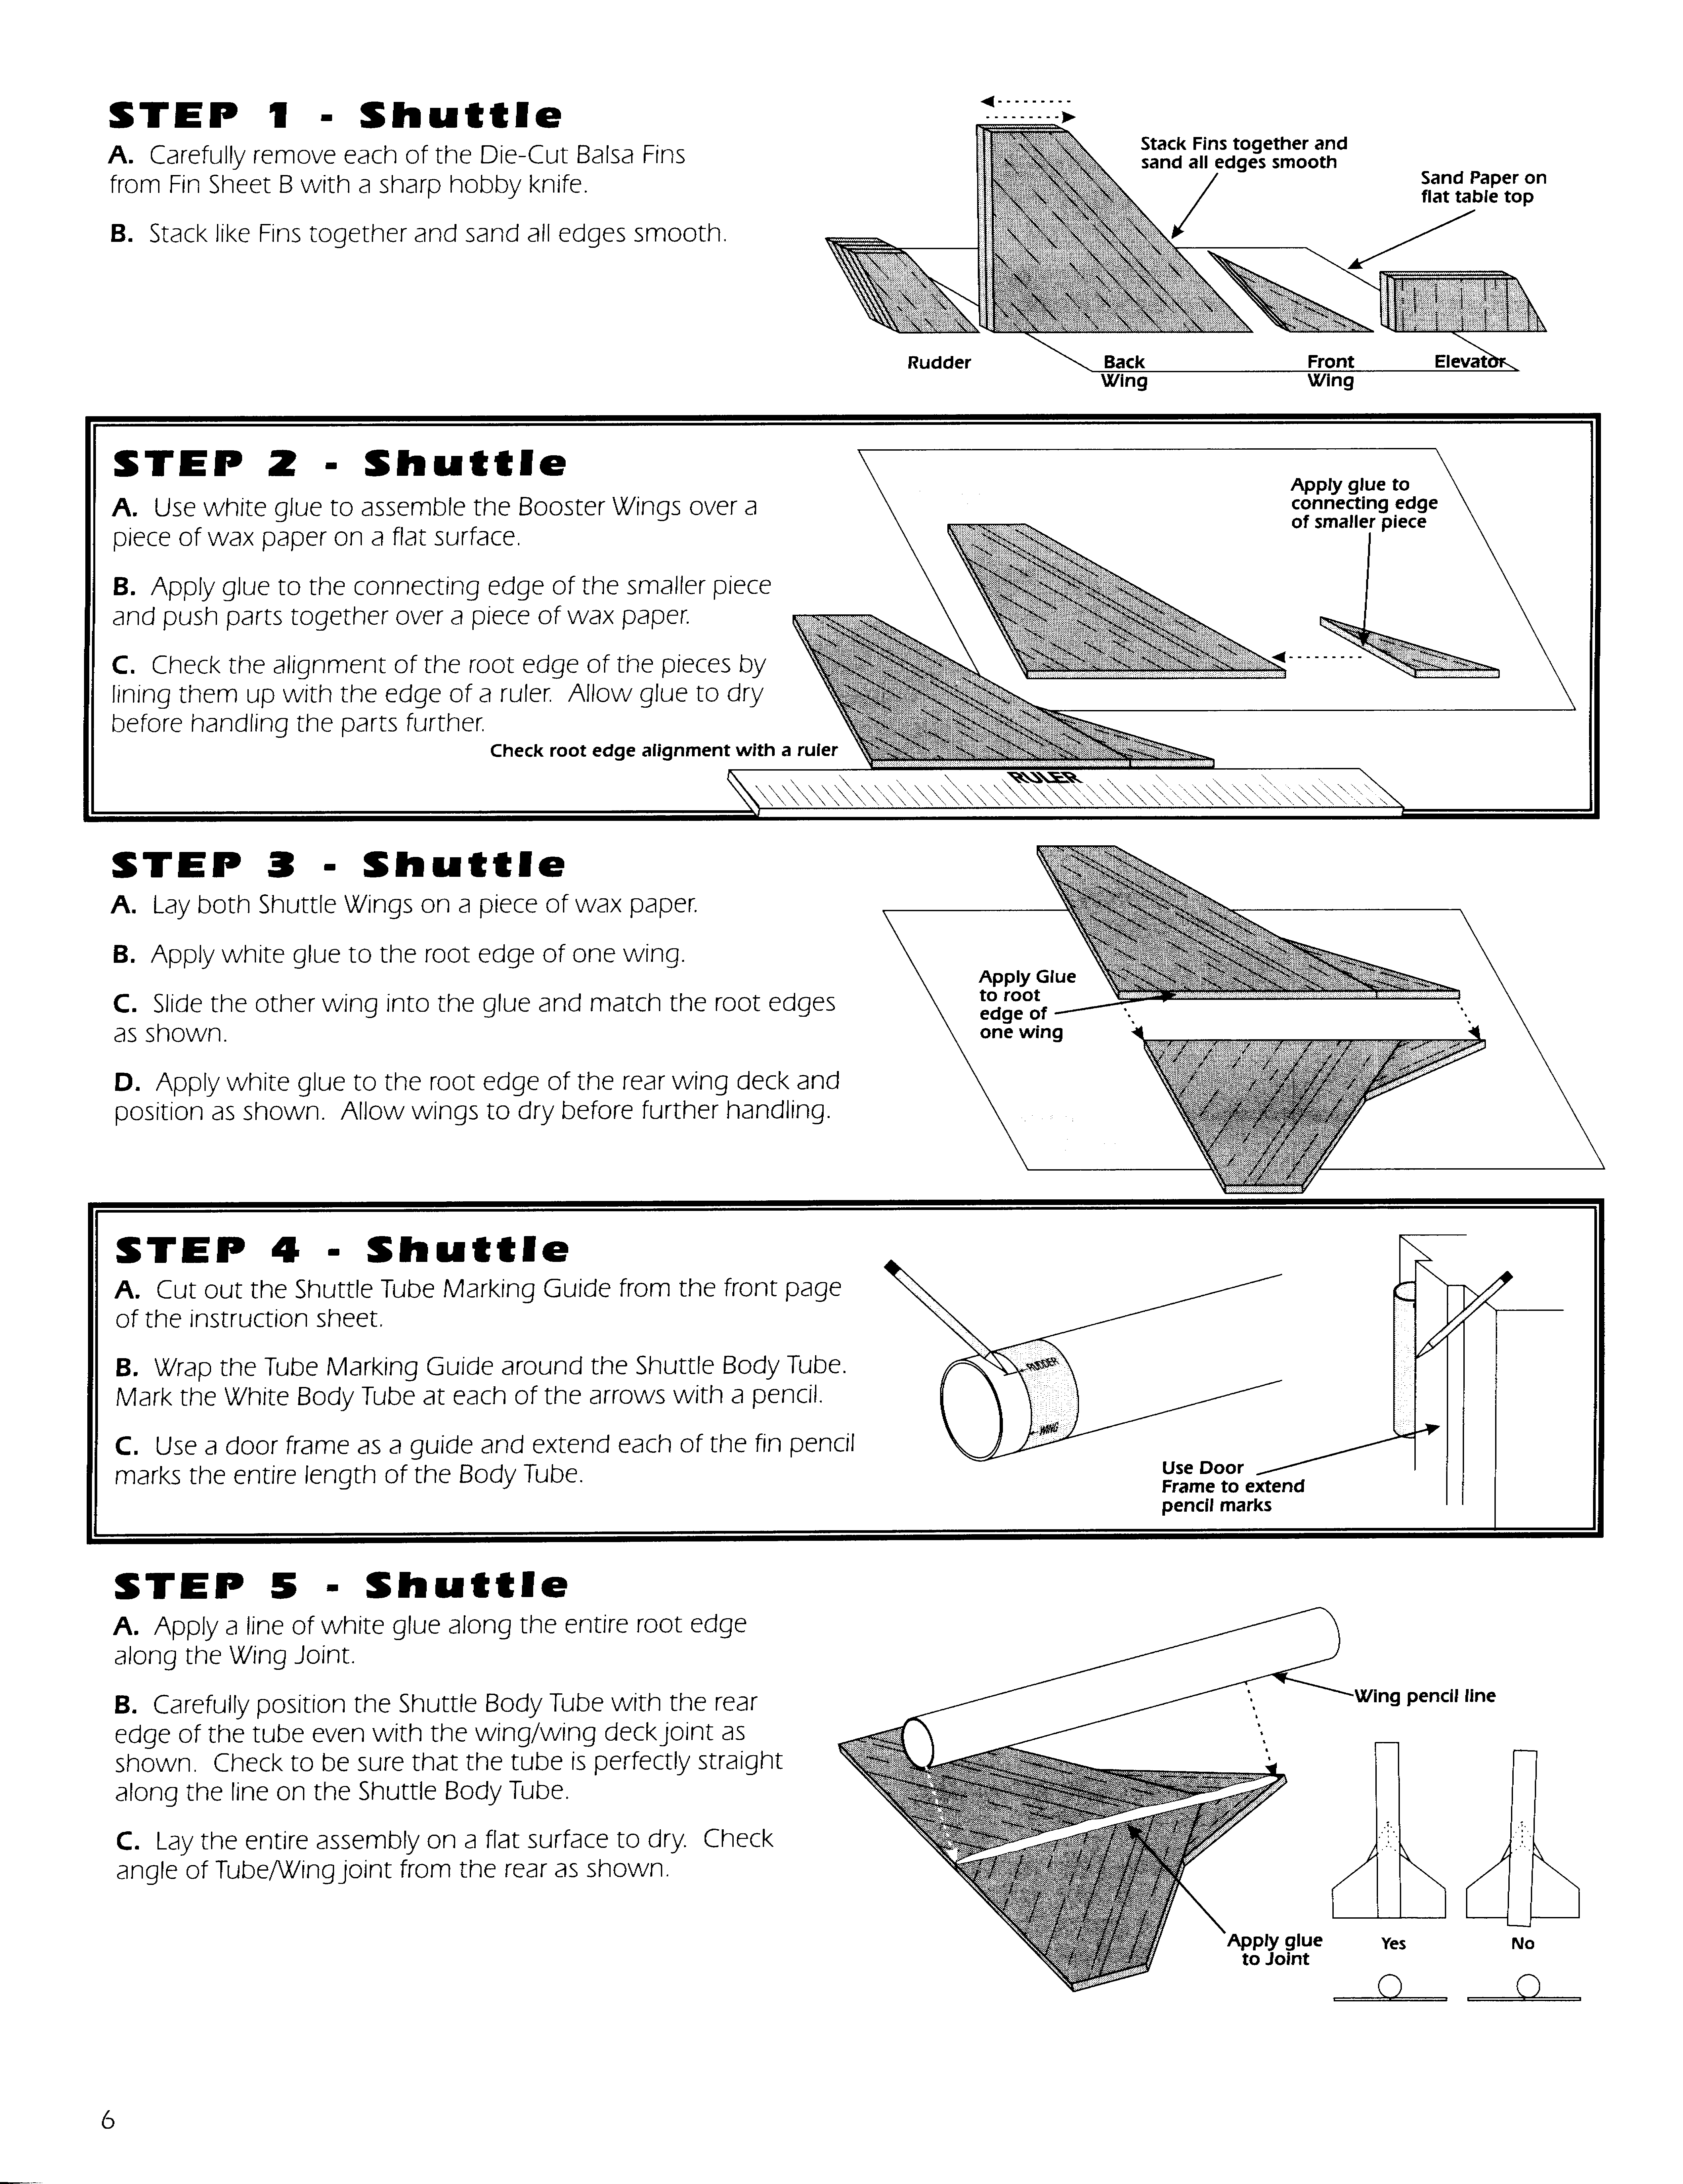
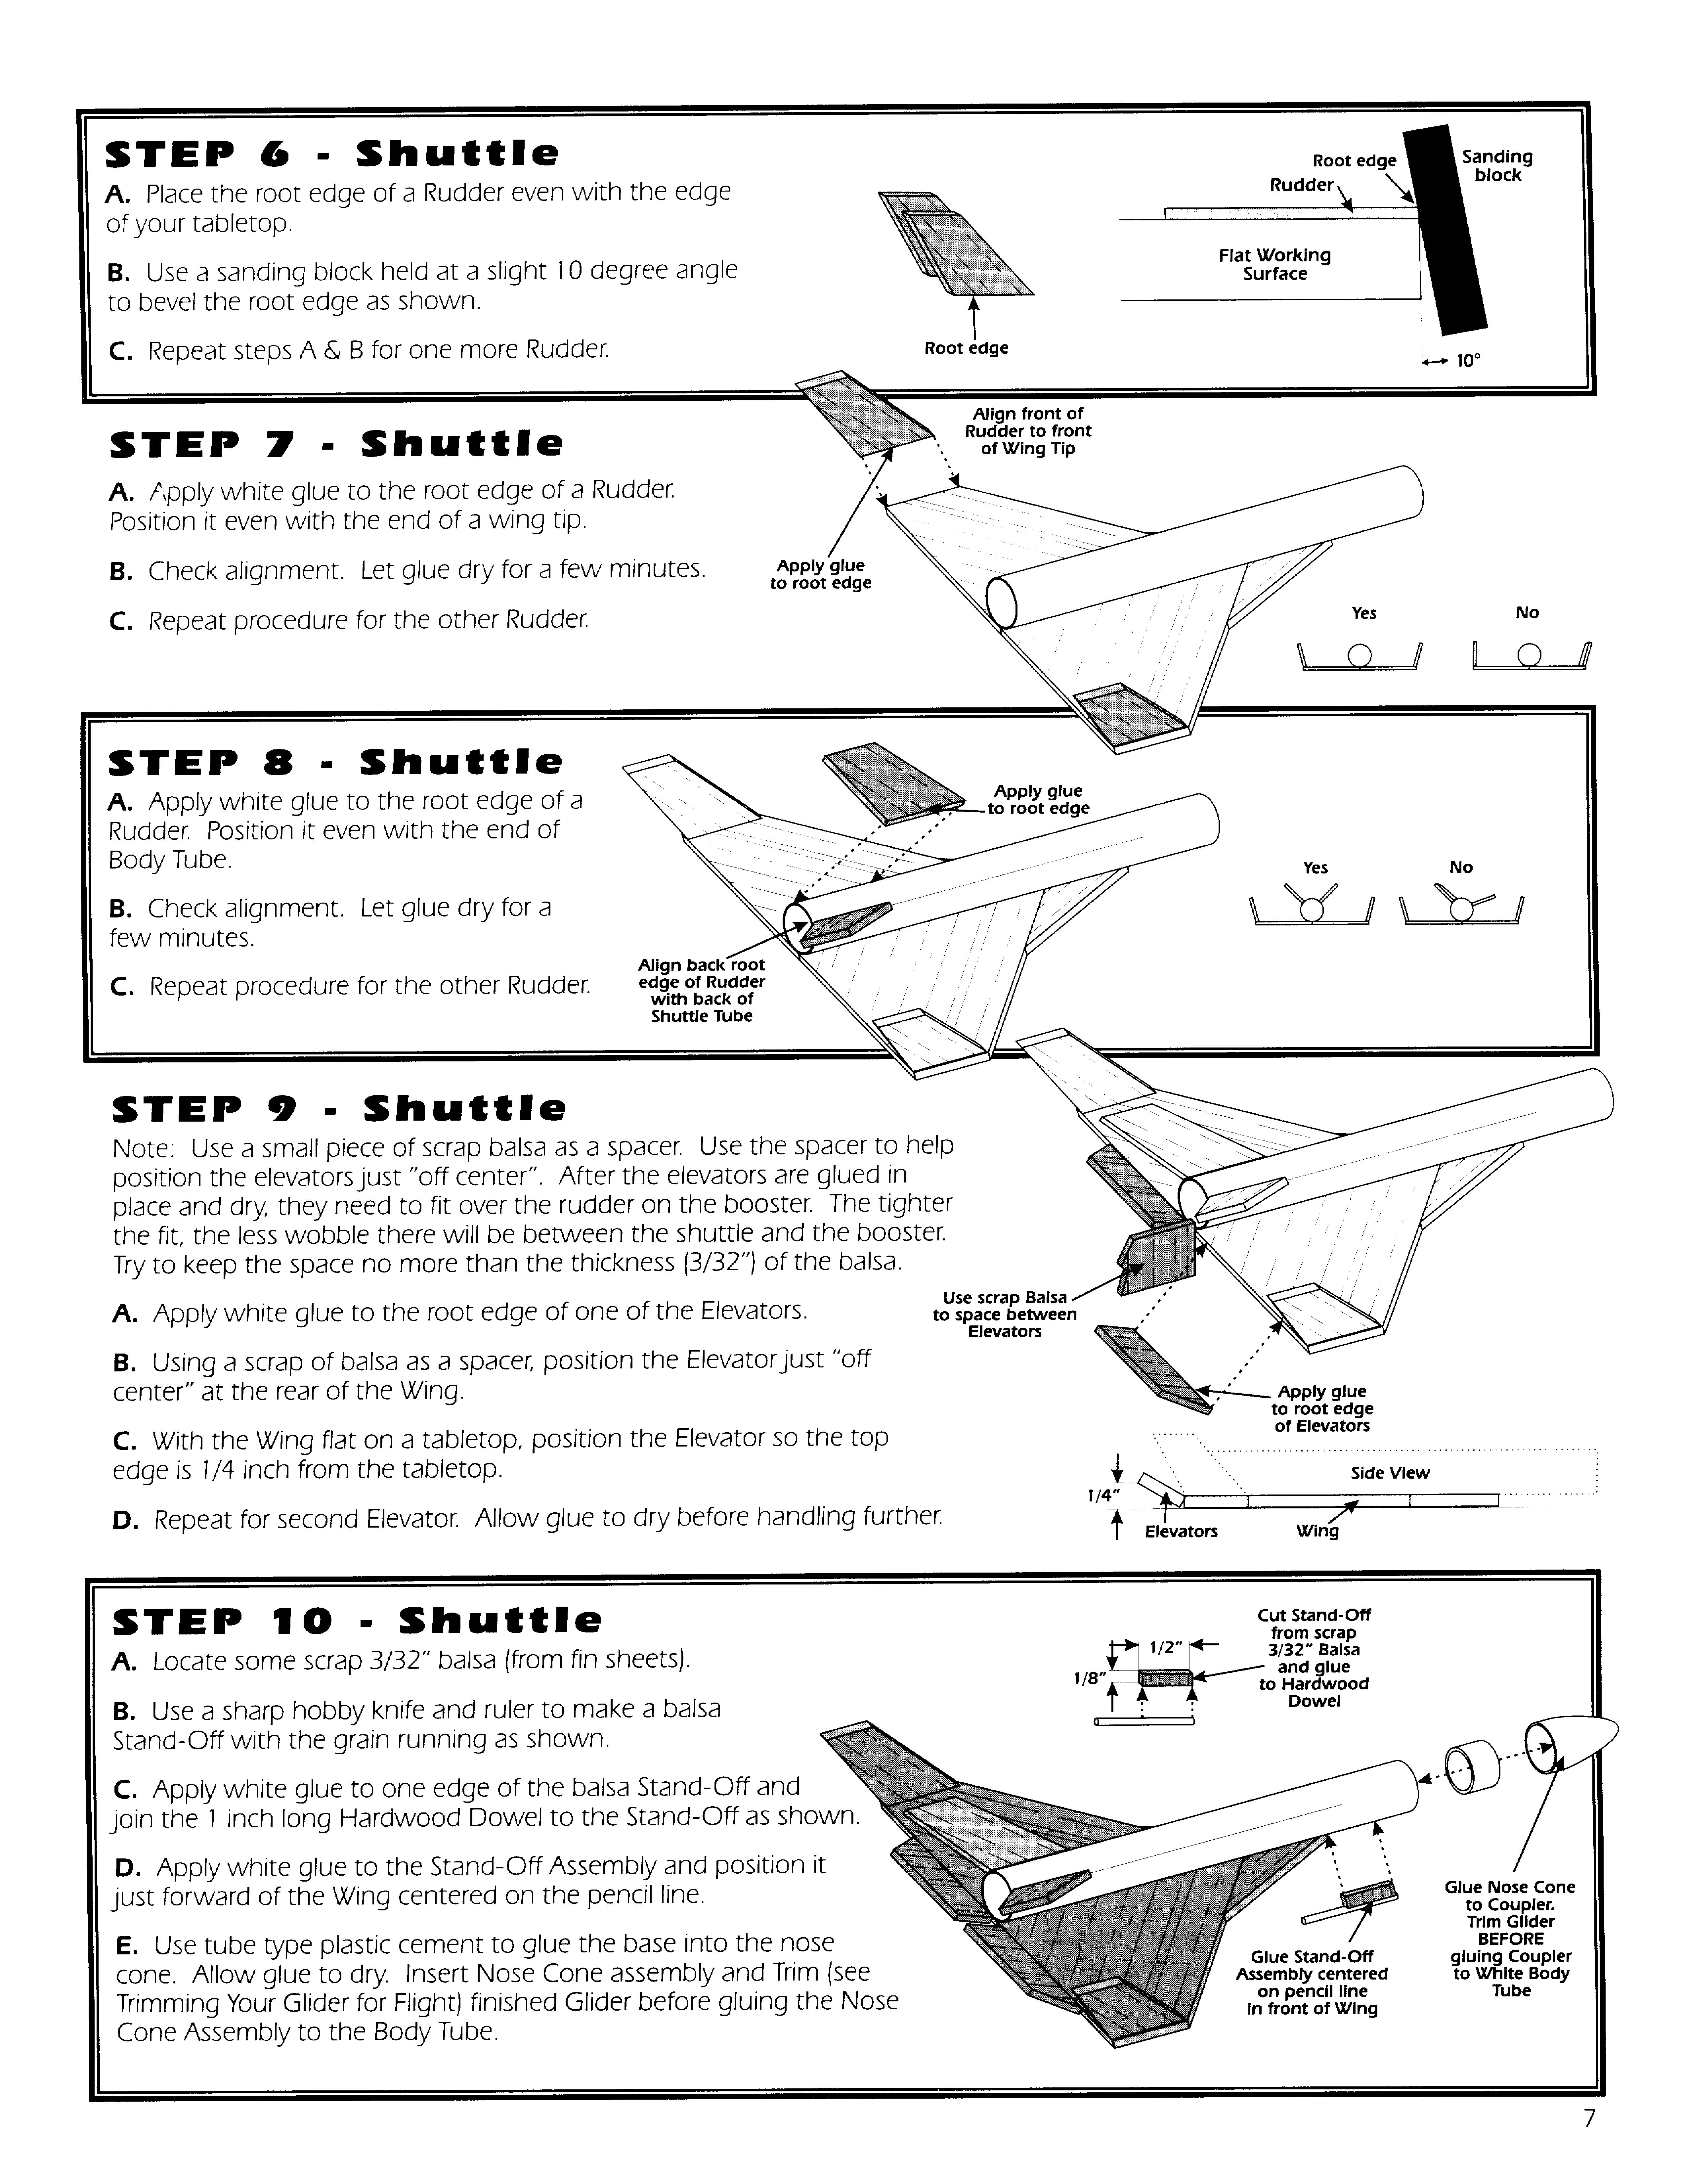
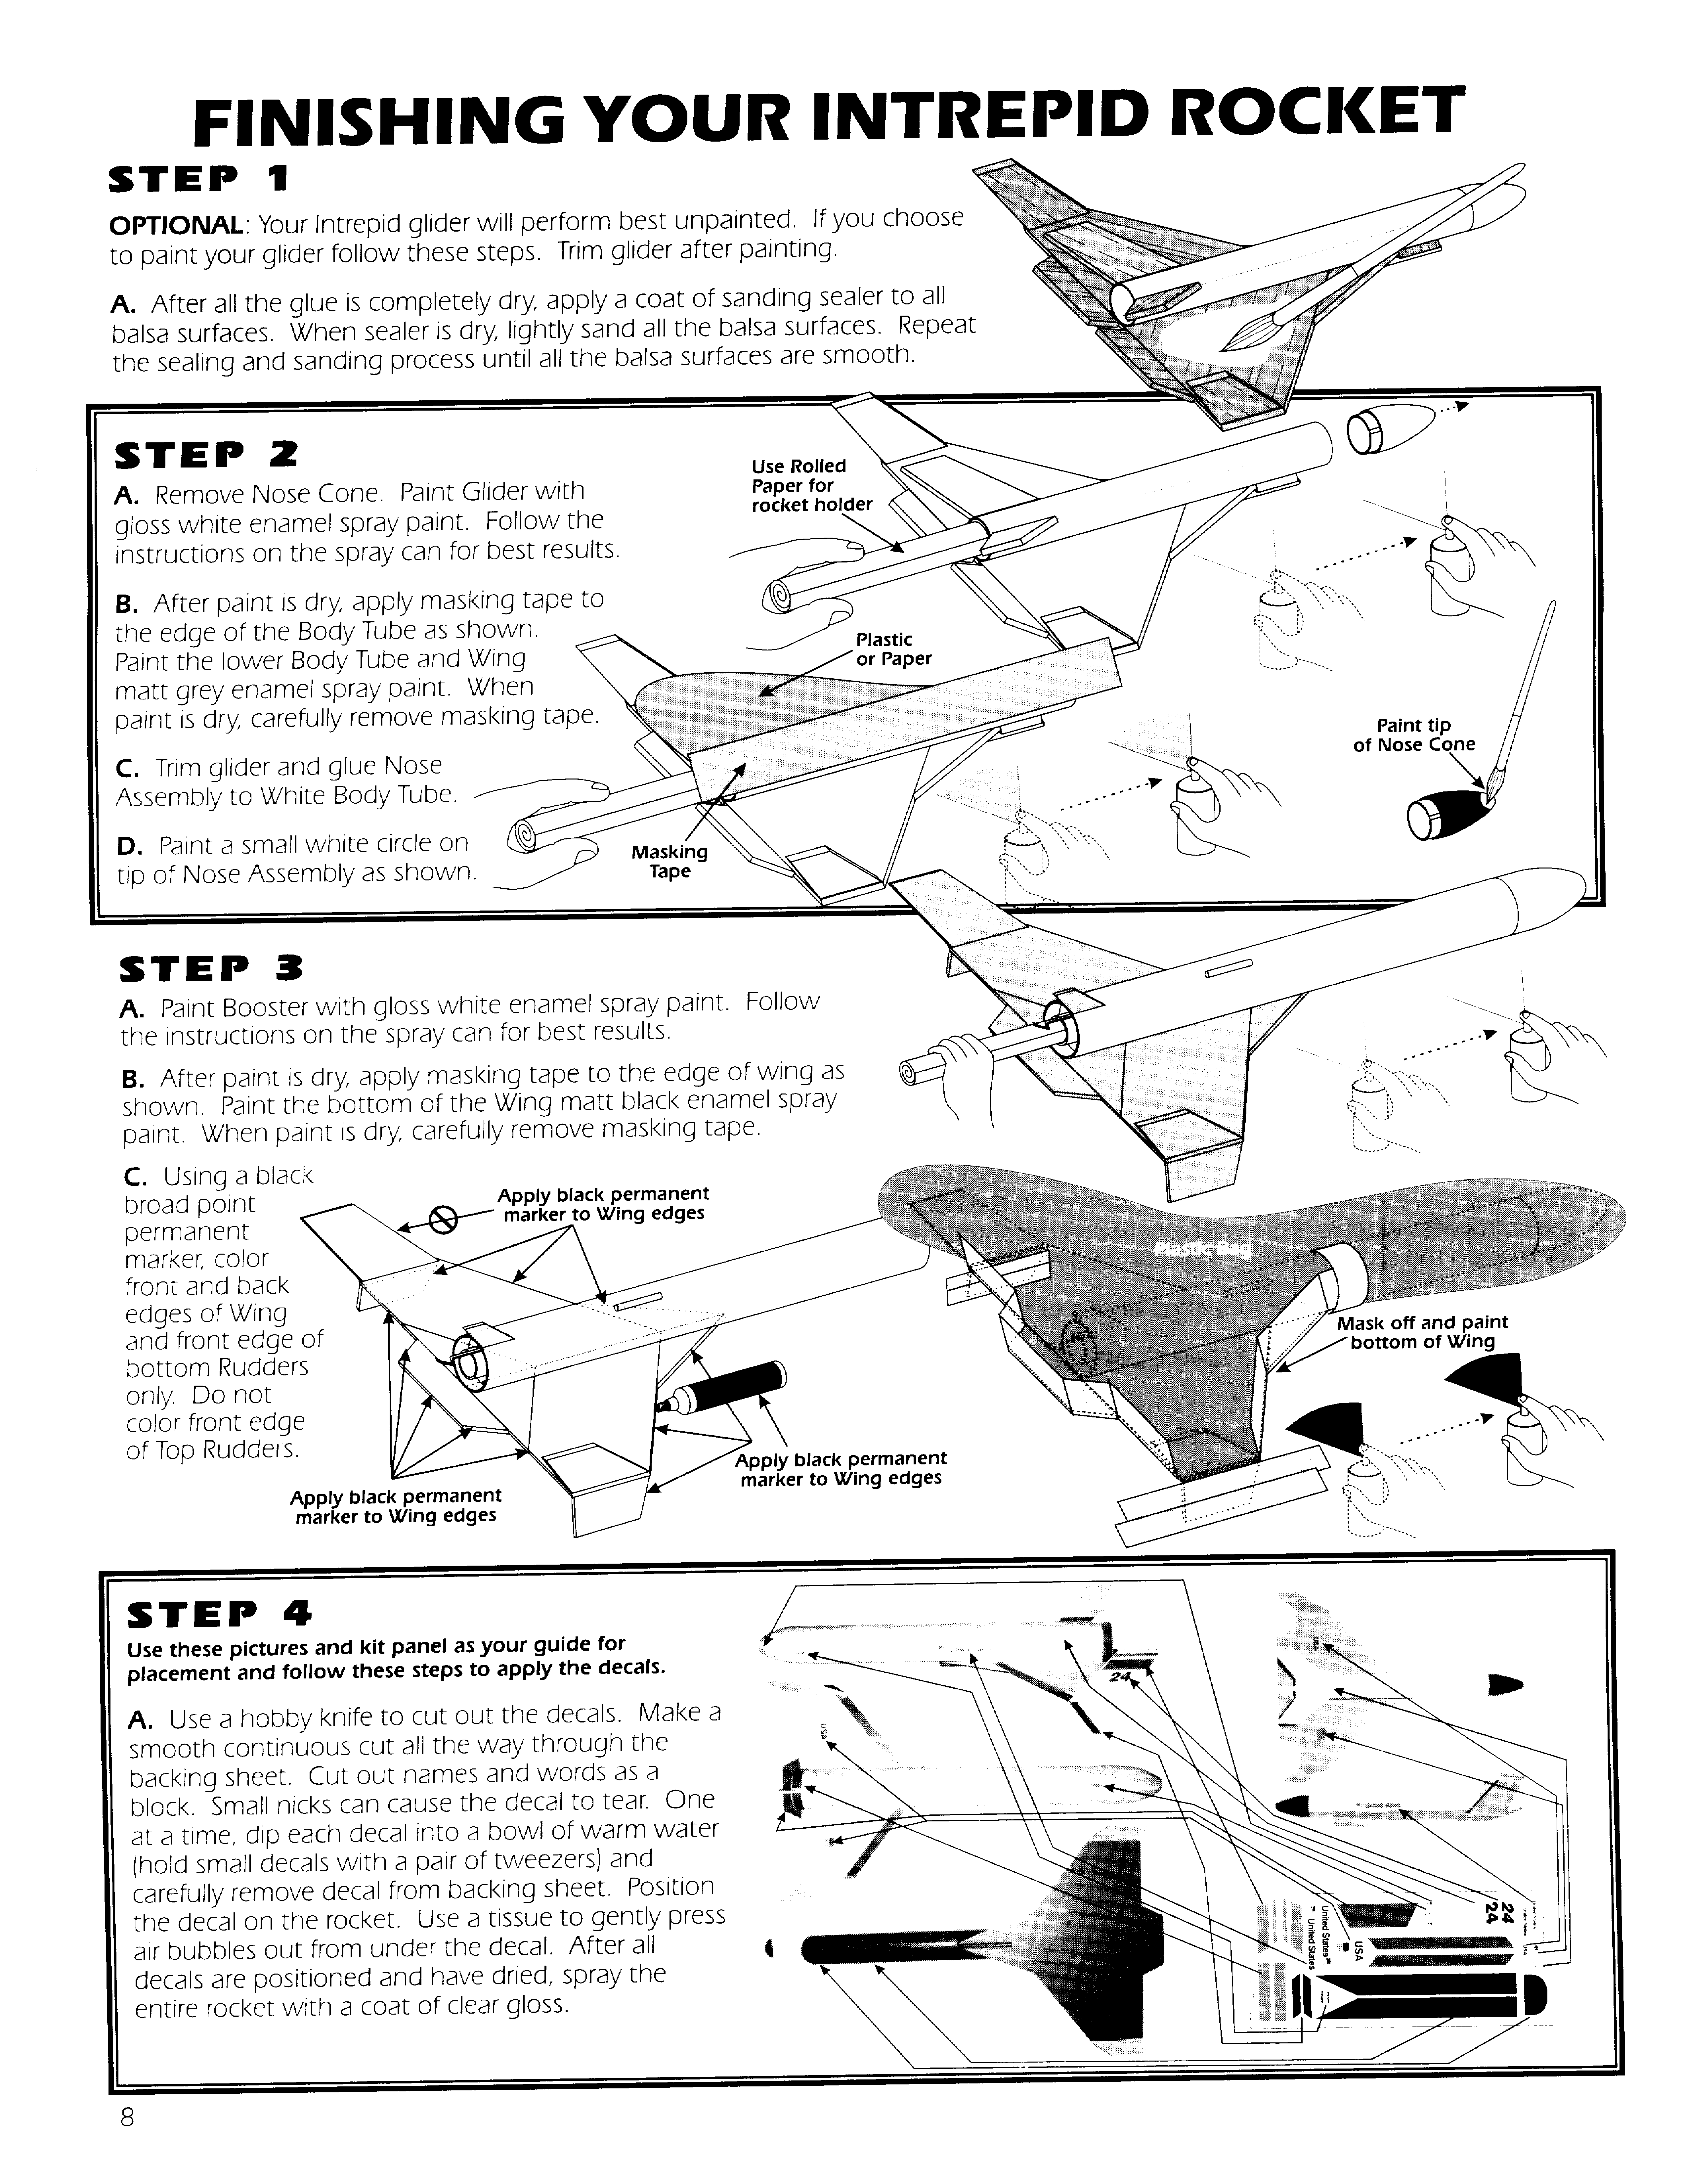
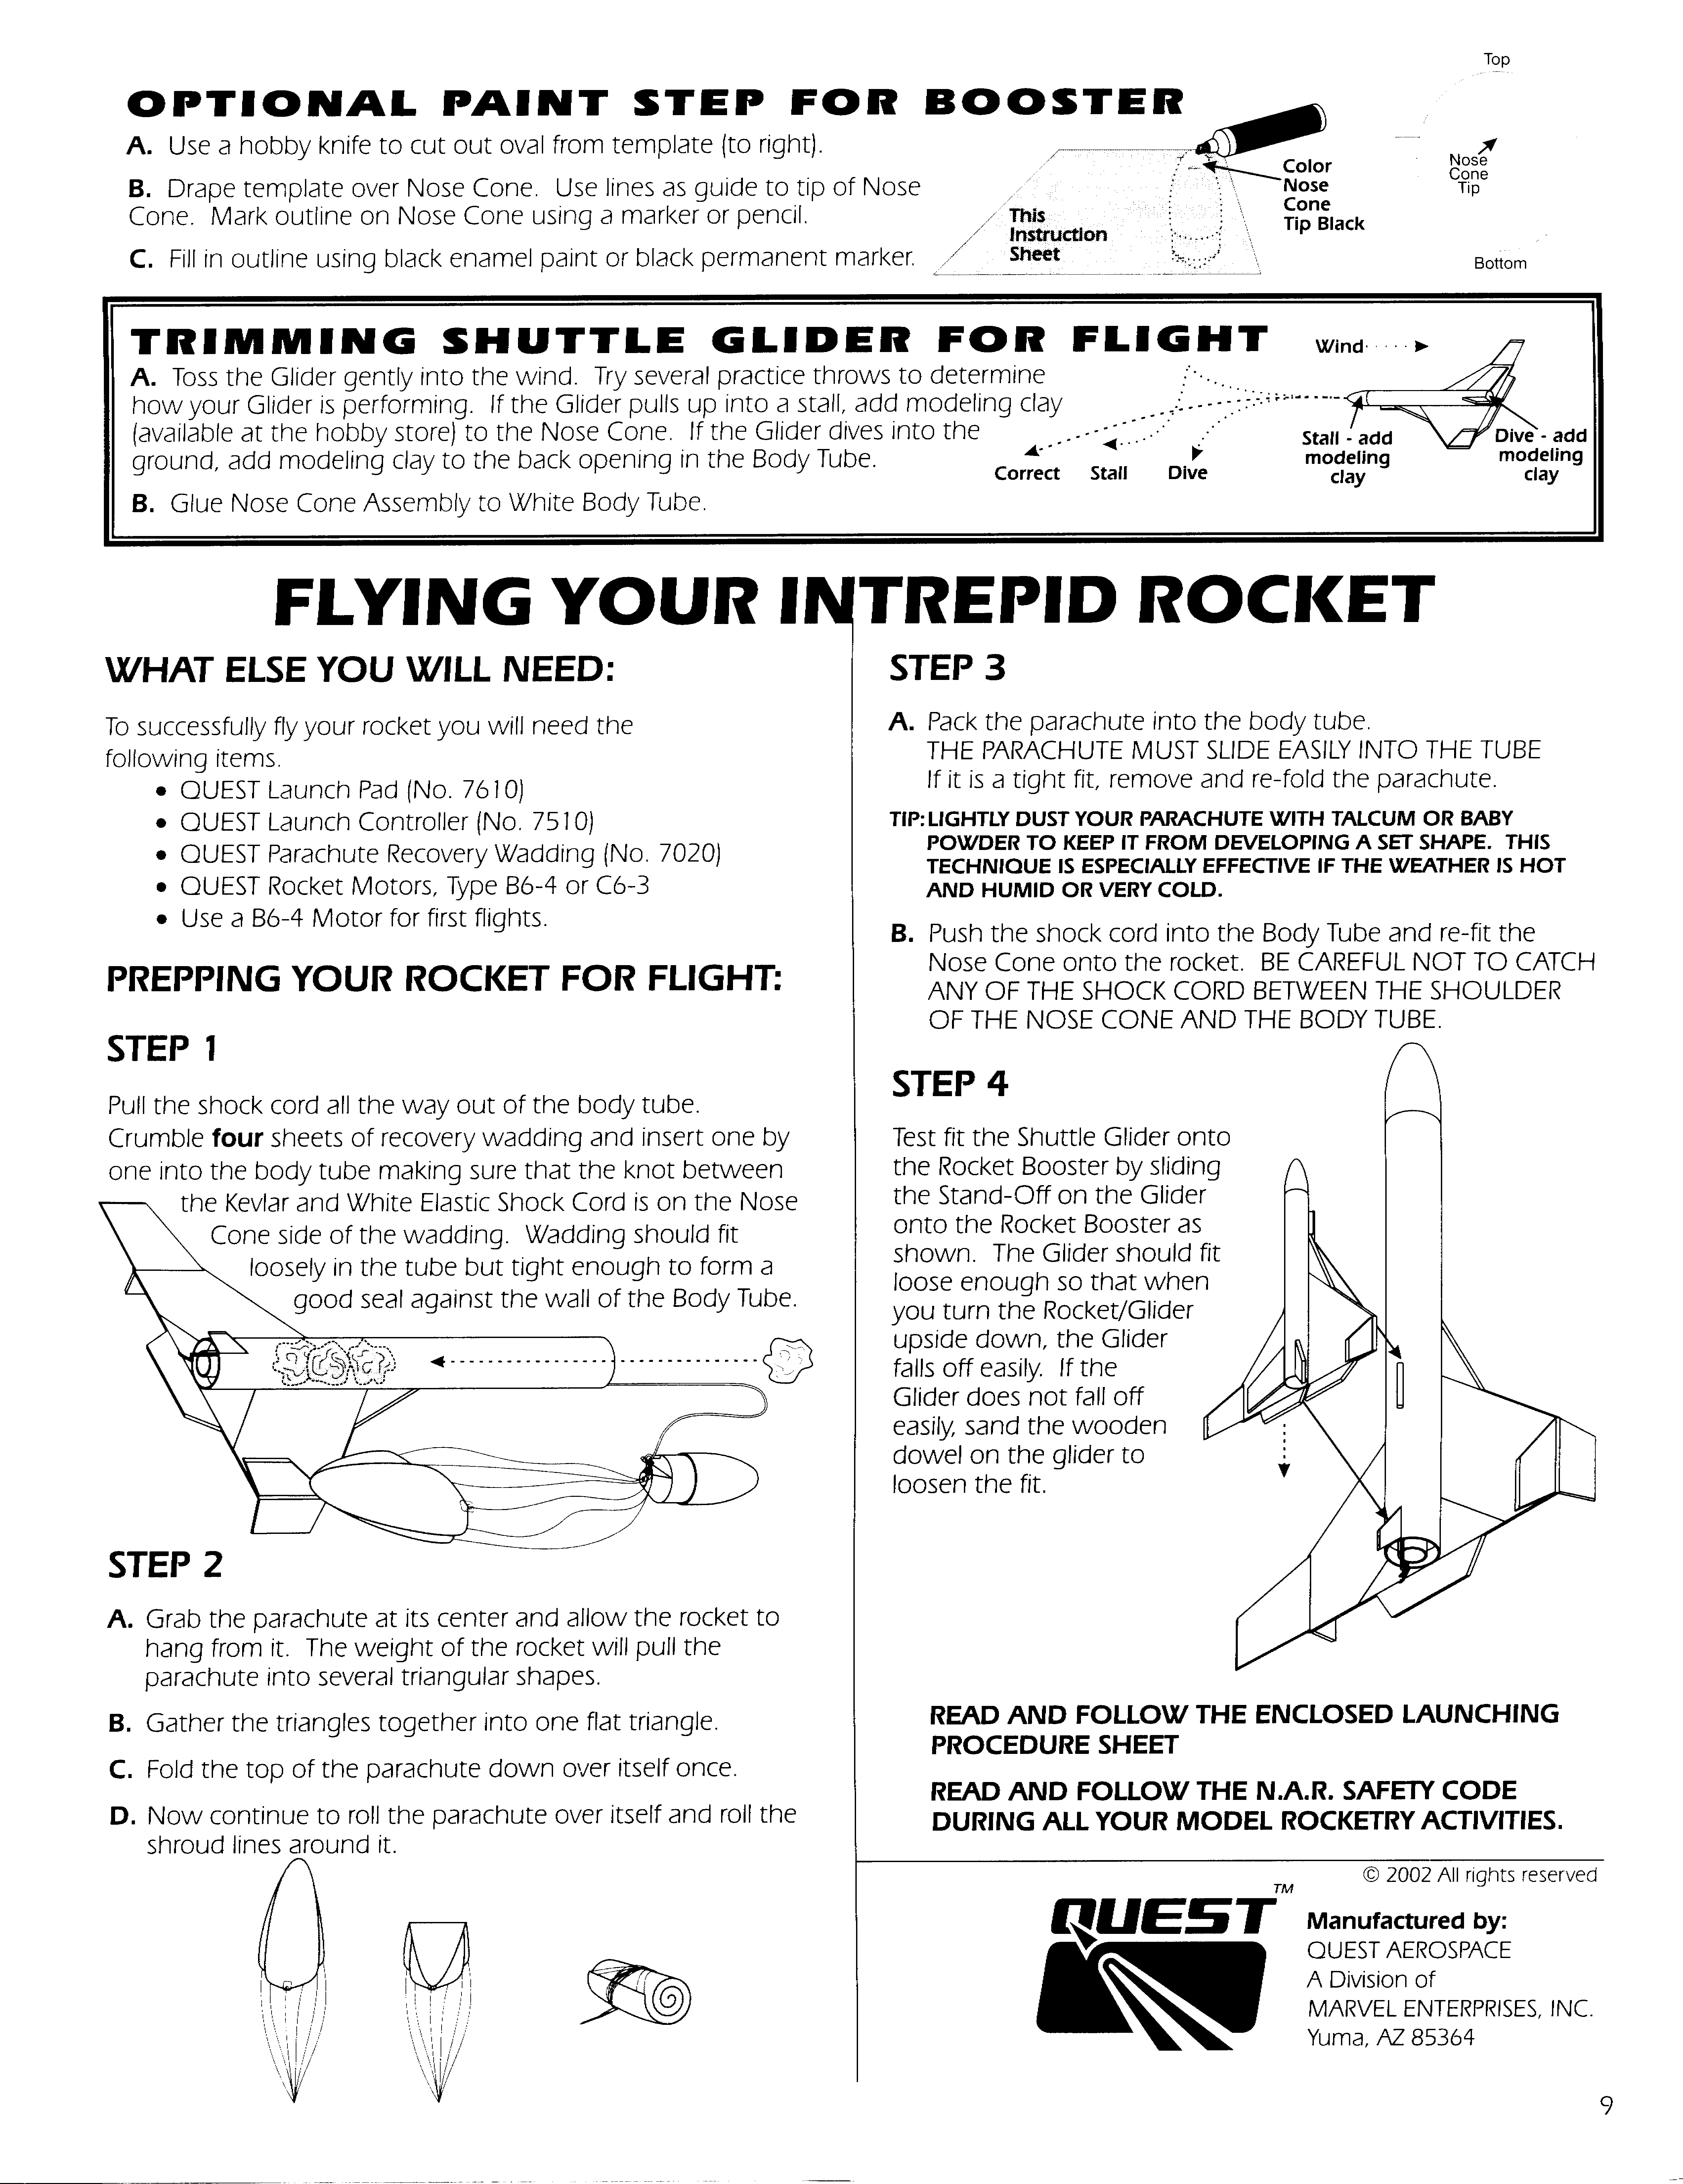
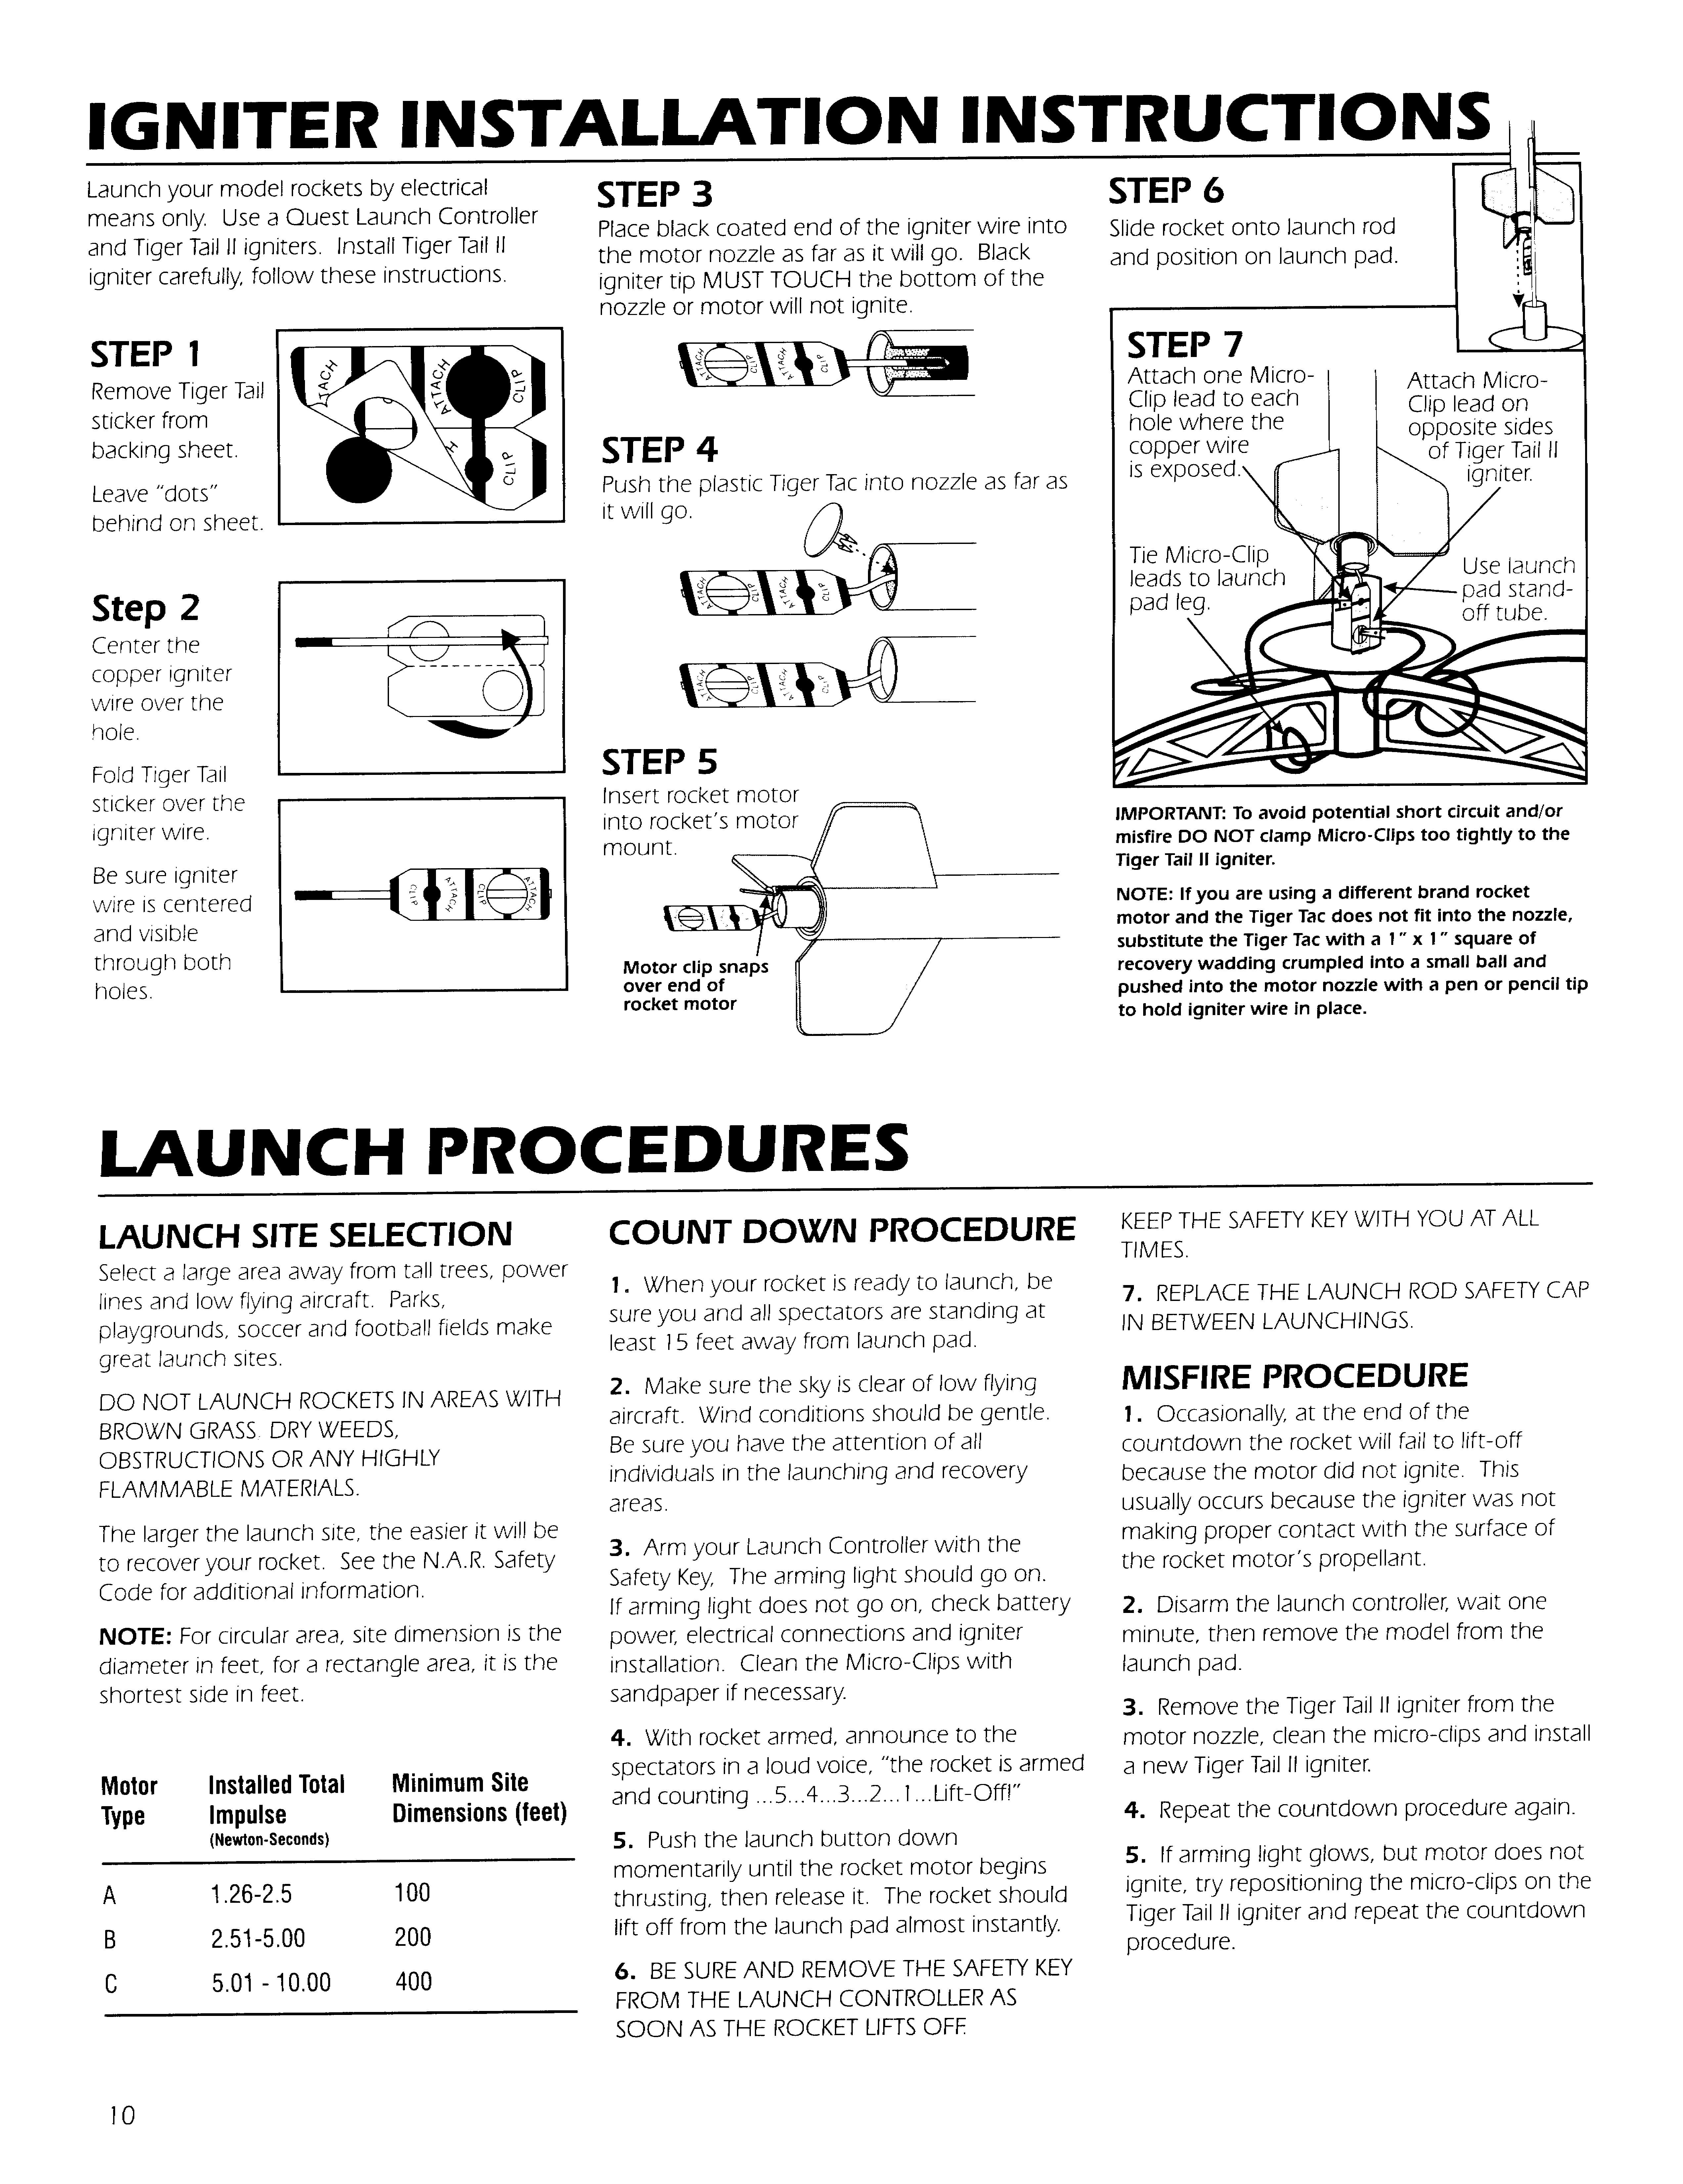
Photo Gallery



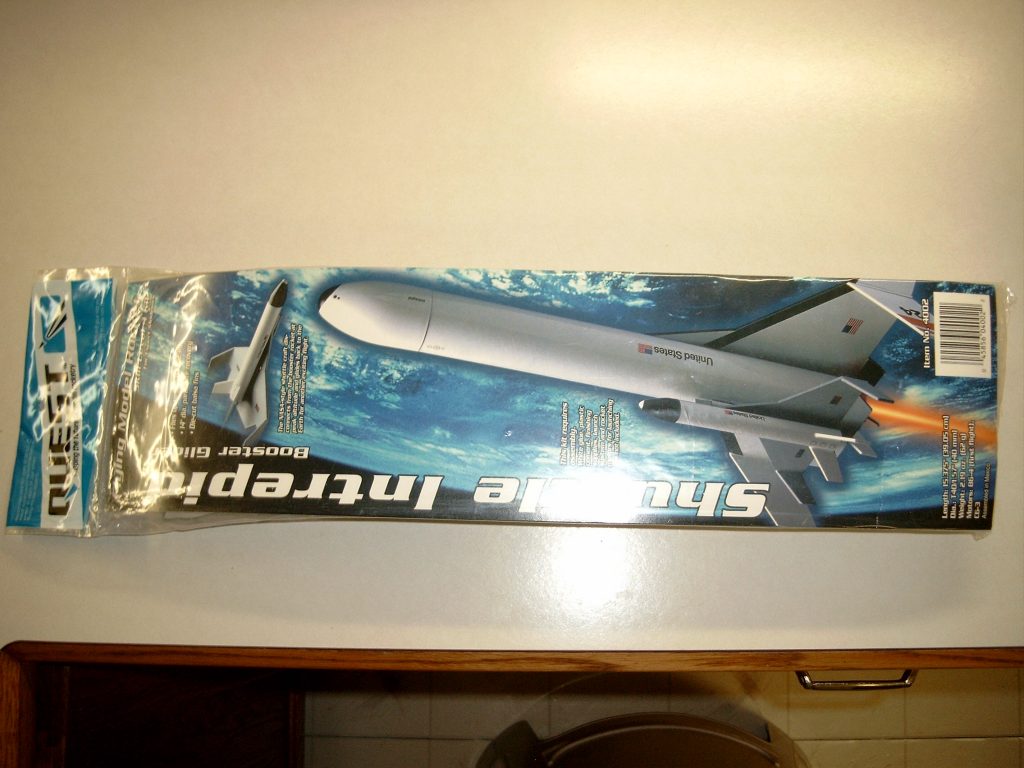
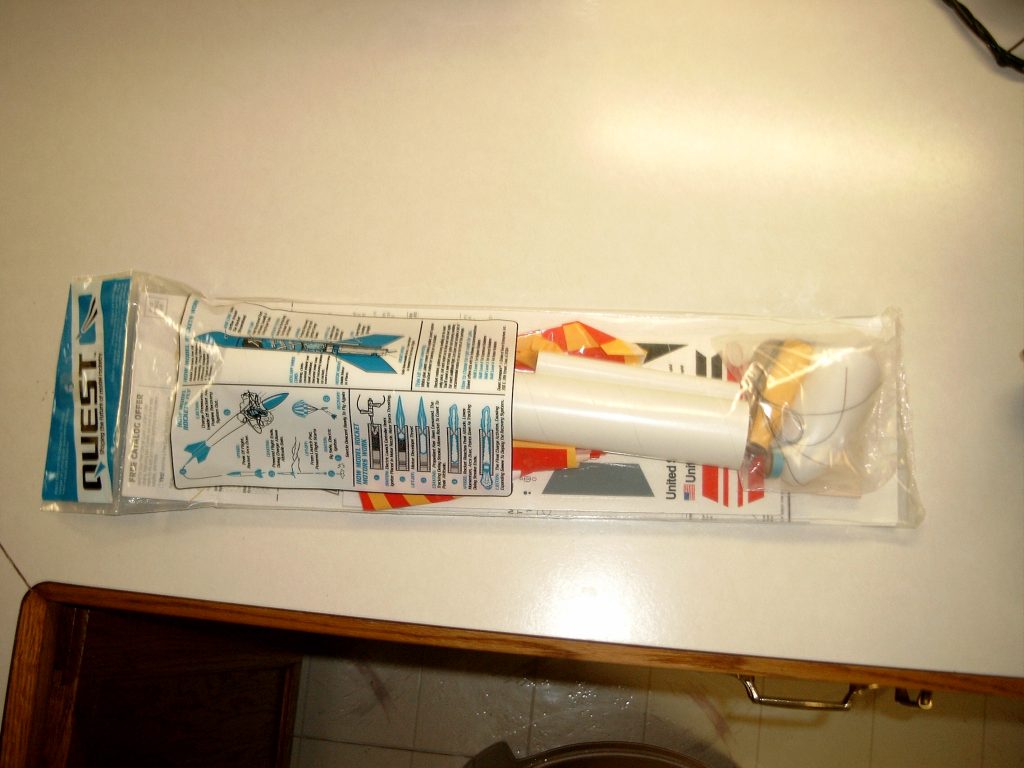
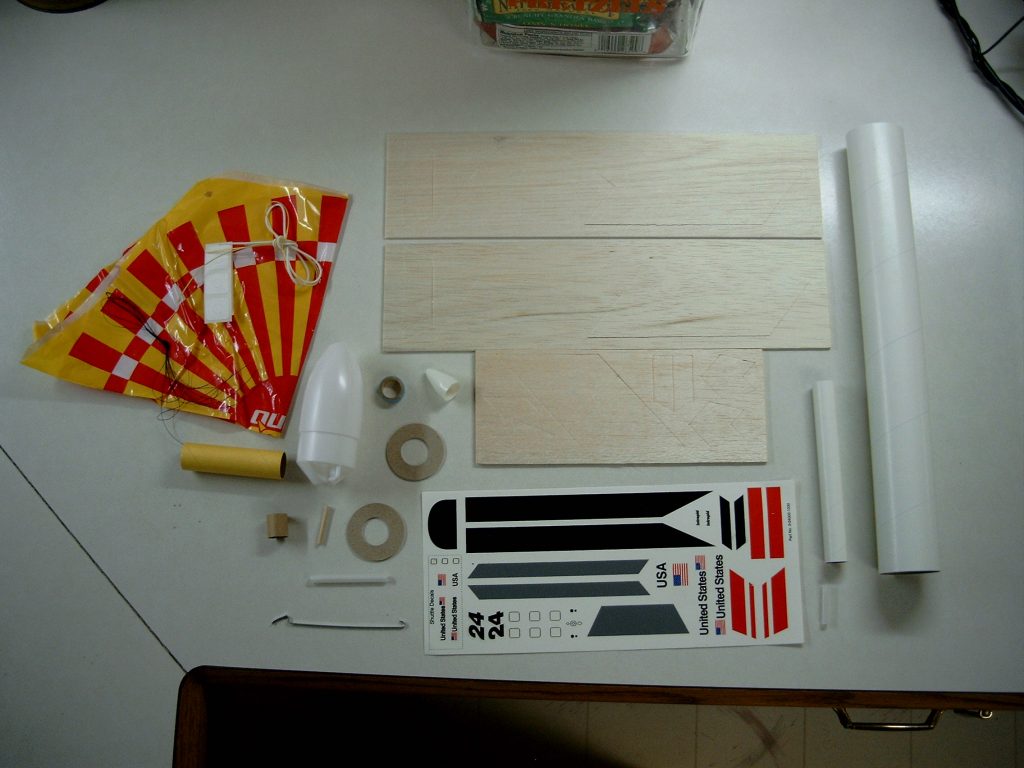
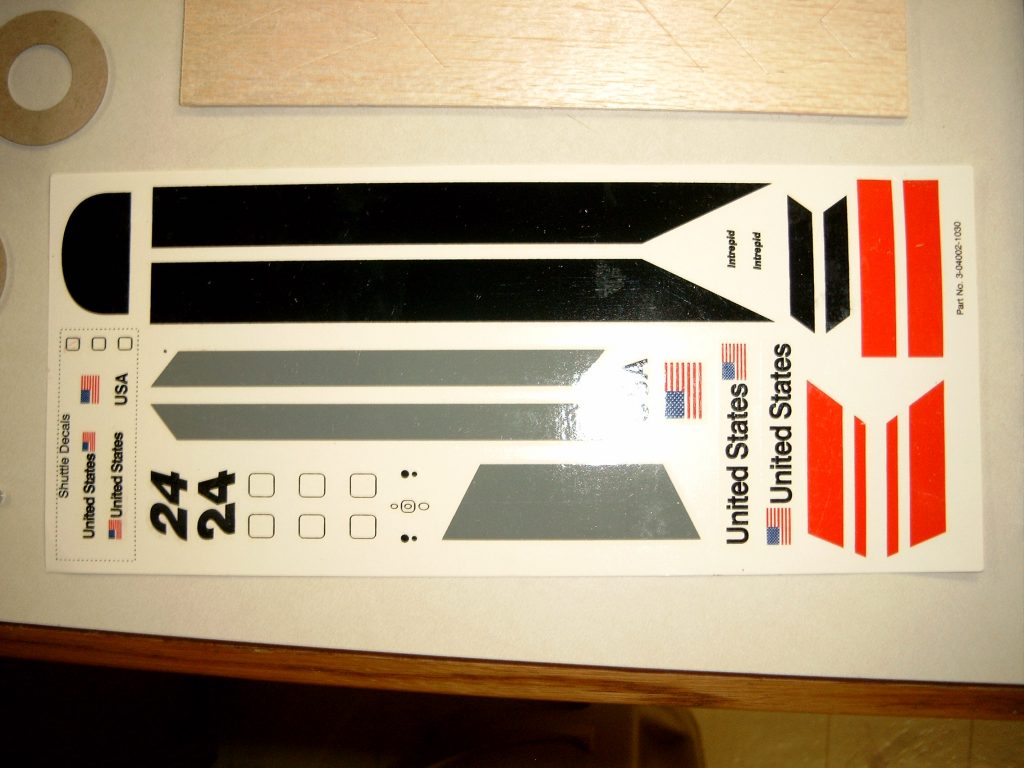
Build History
- 02/25/2003 – Purchased Quest Shuttle Intrepid from Hobbylinc for $11.39 (Retail $13.99)
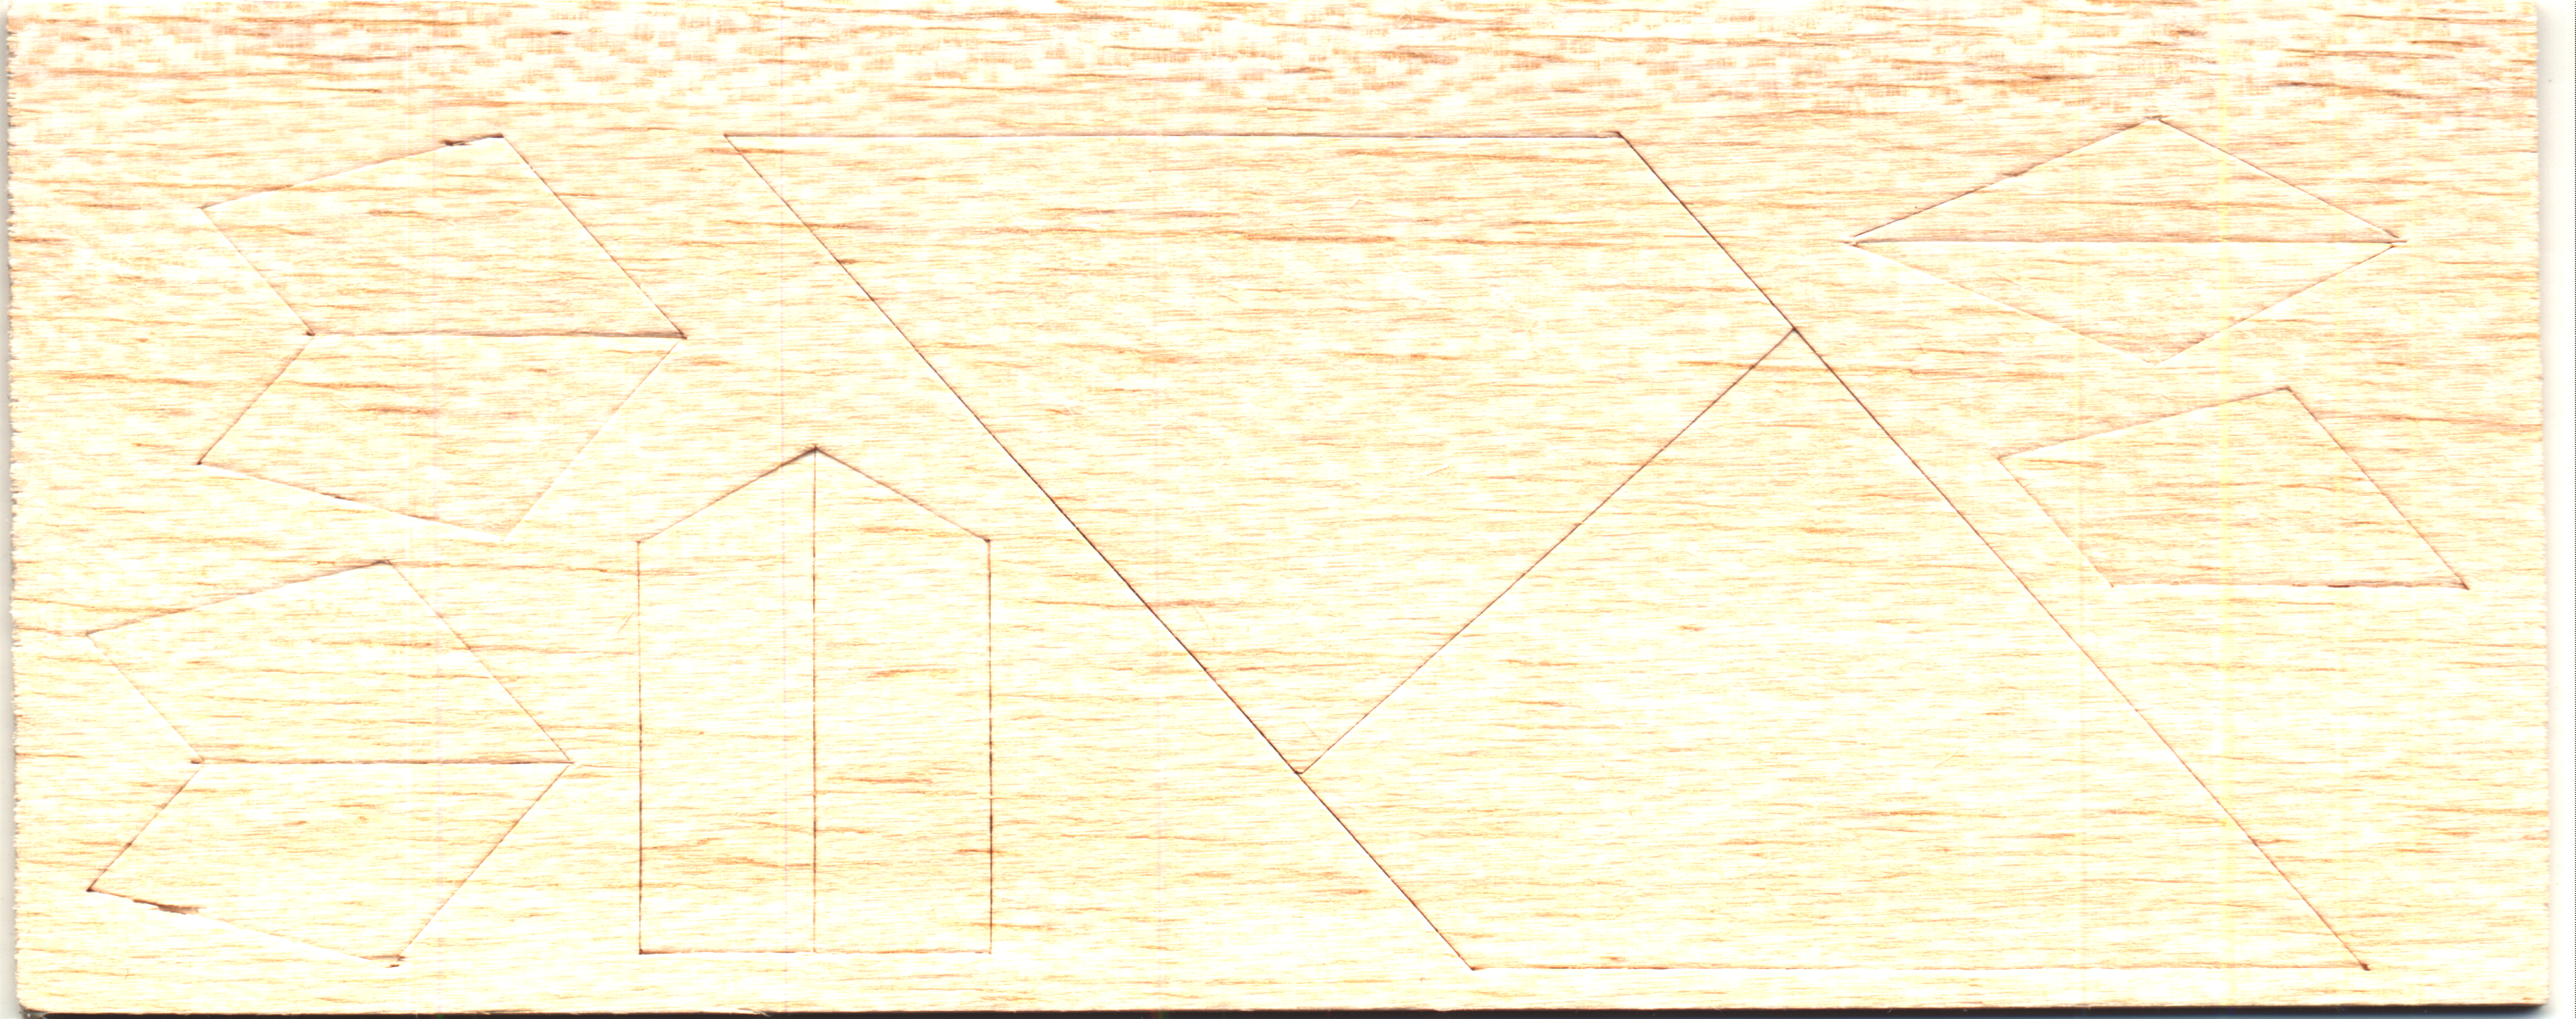
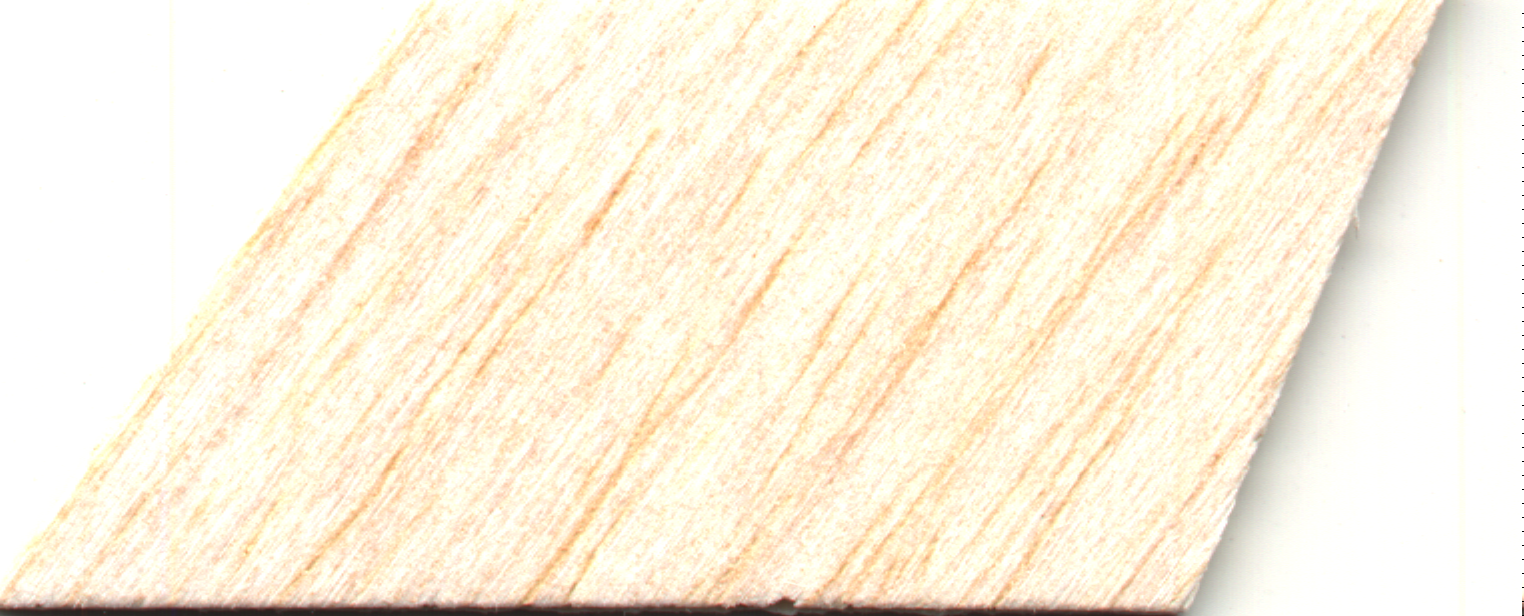
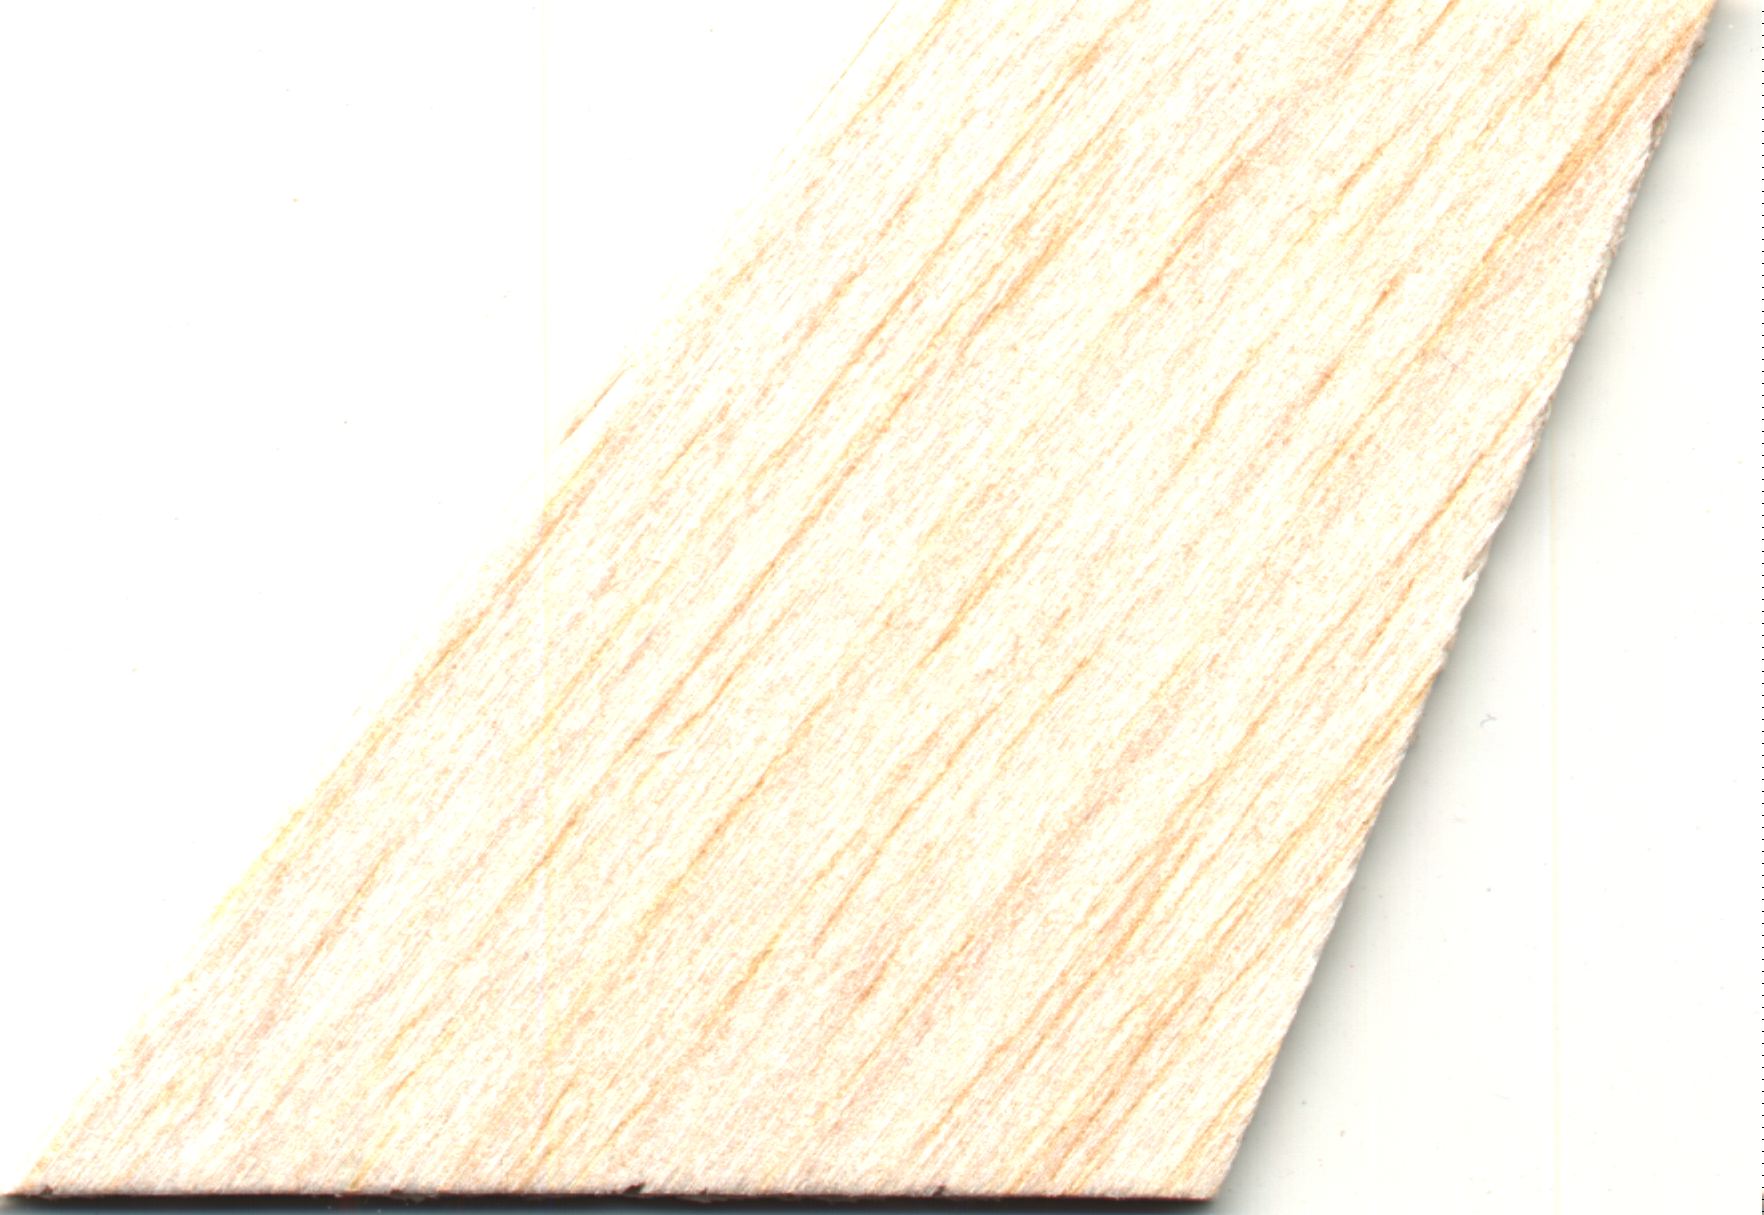
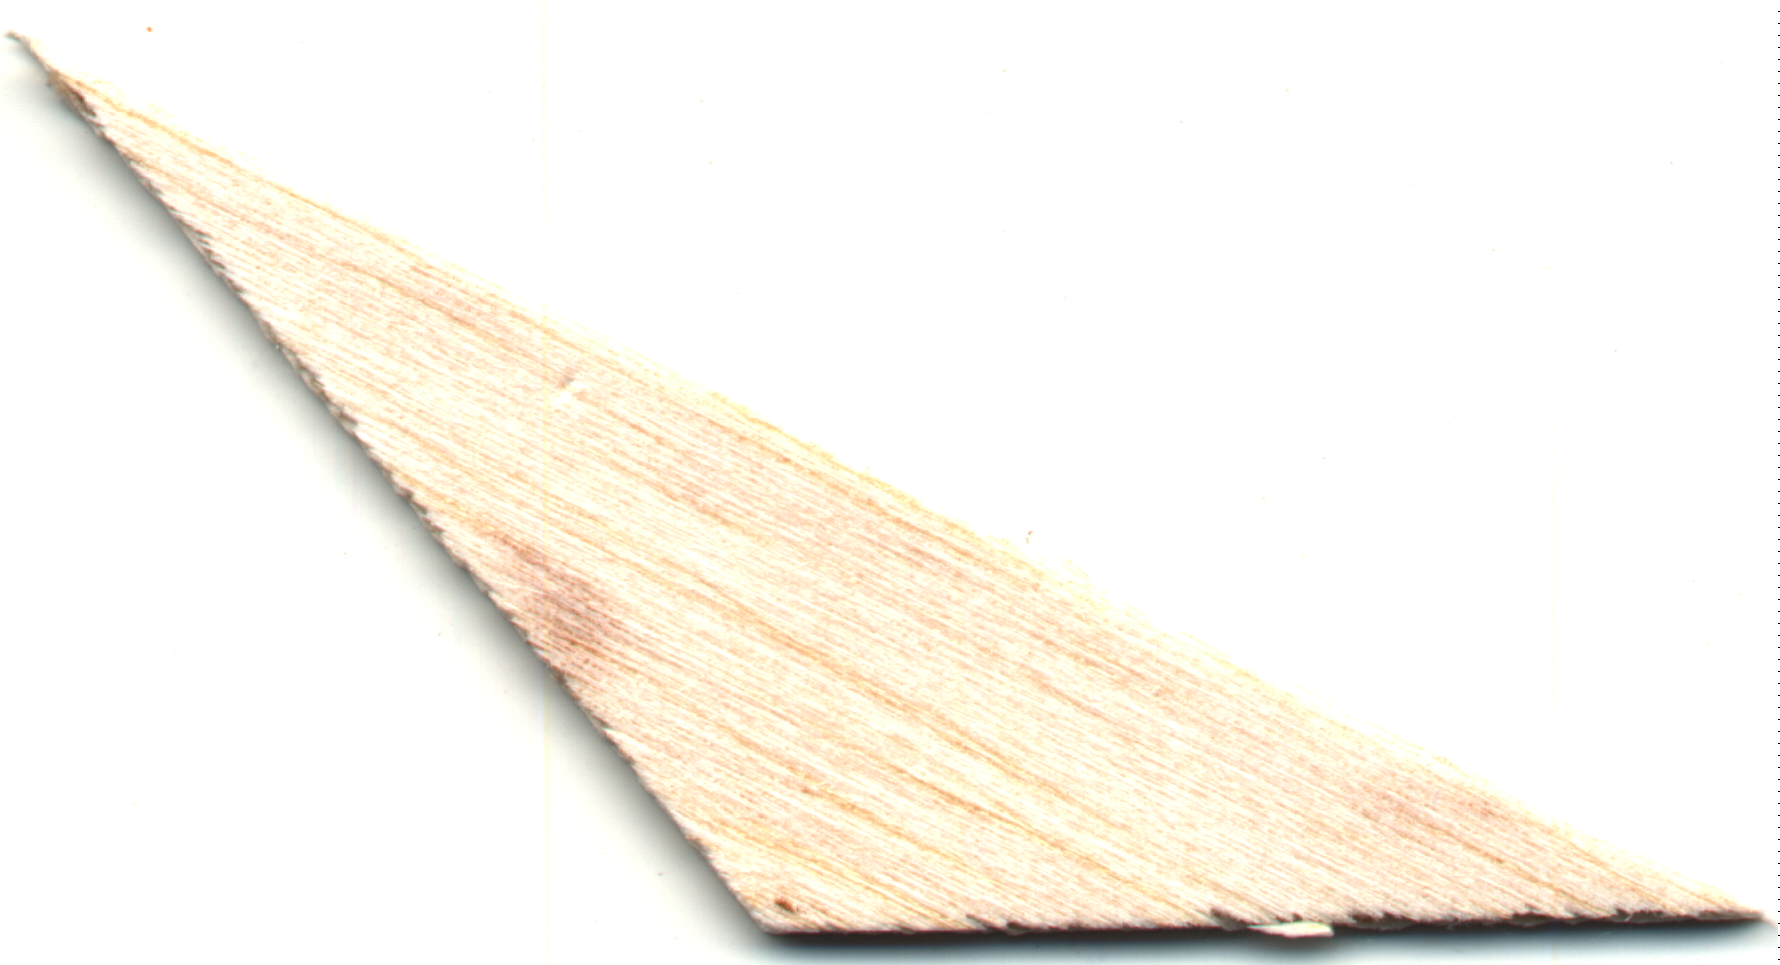
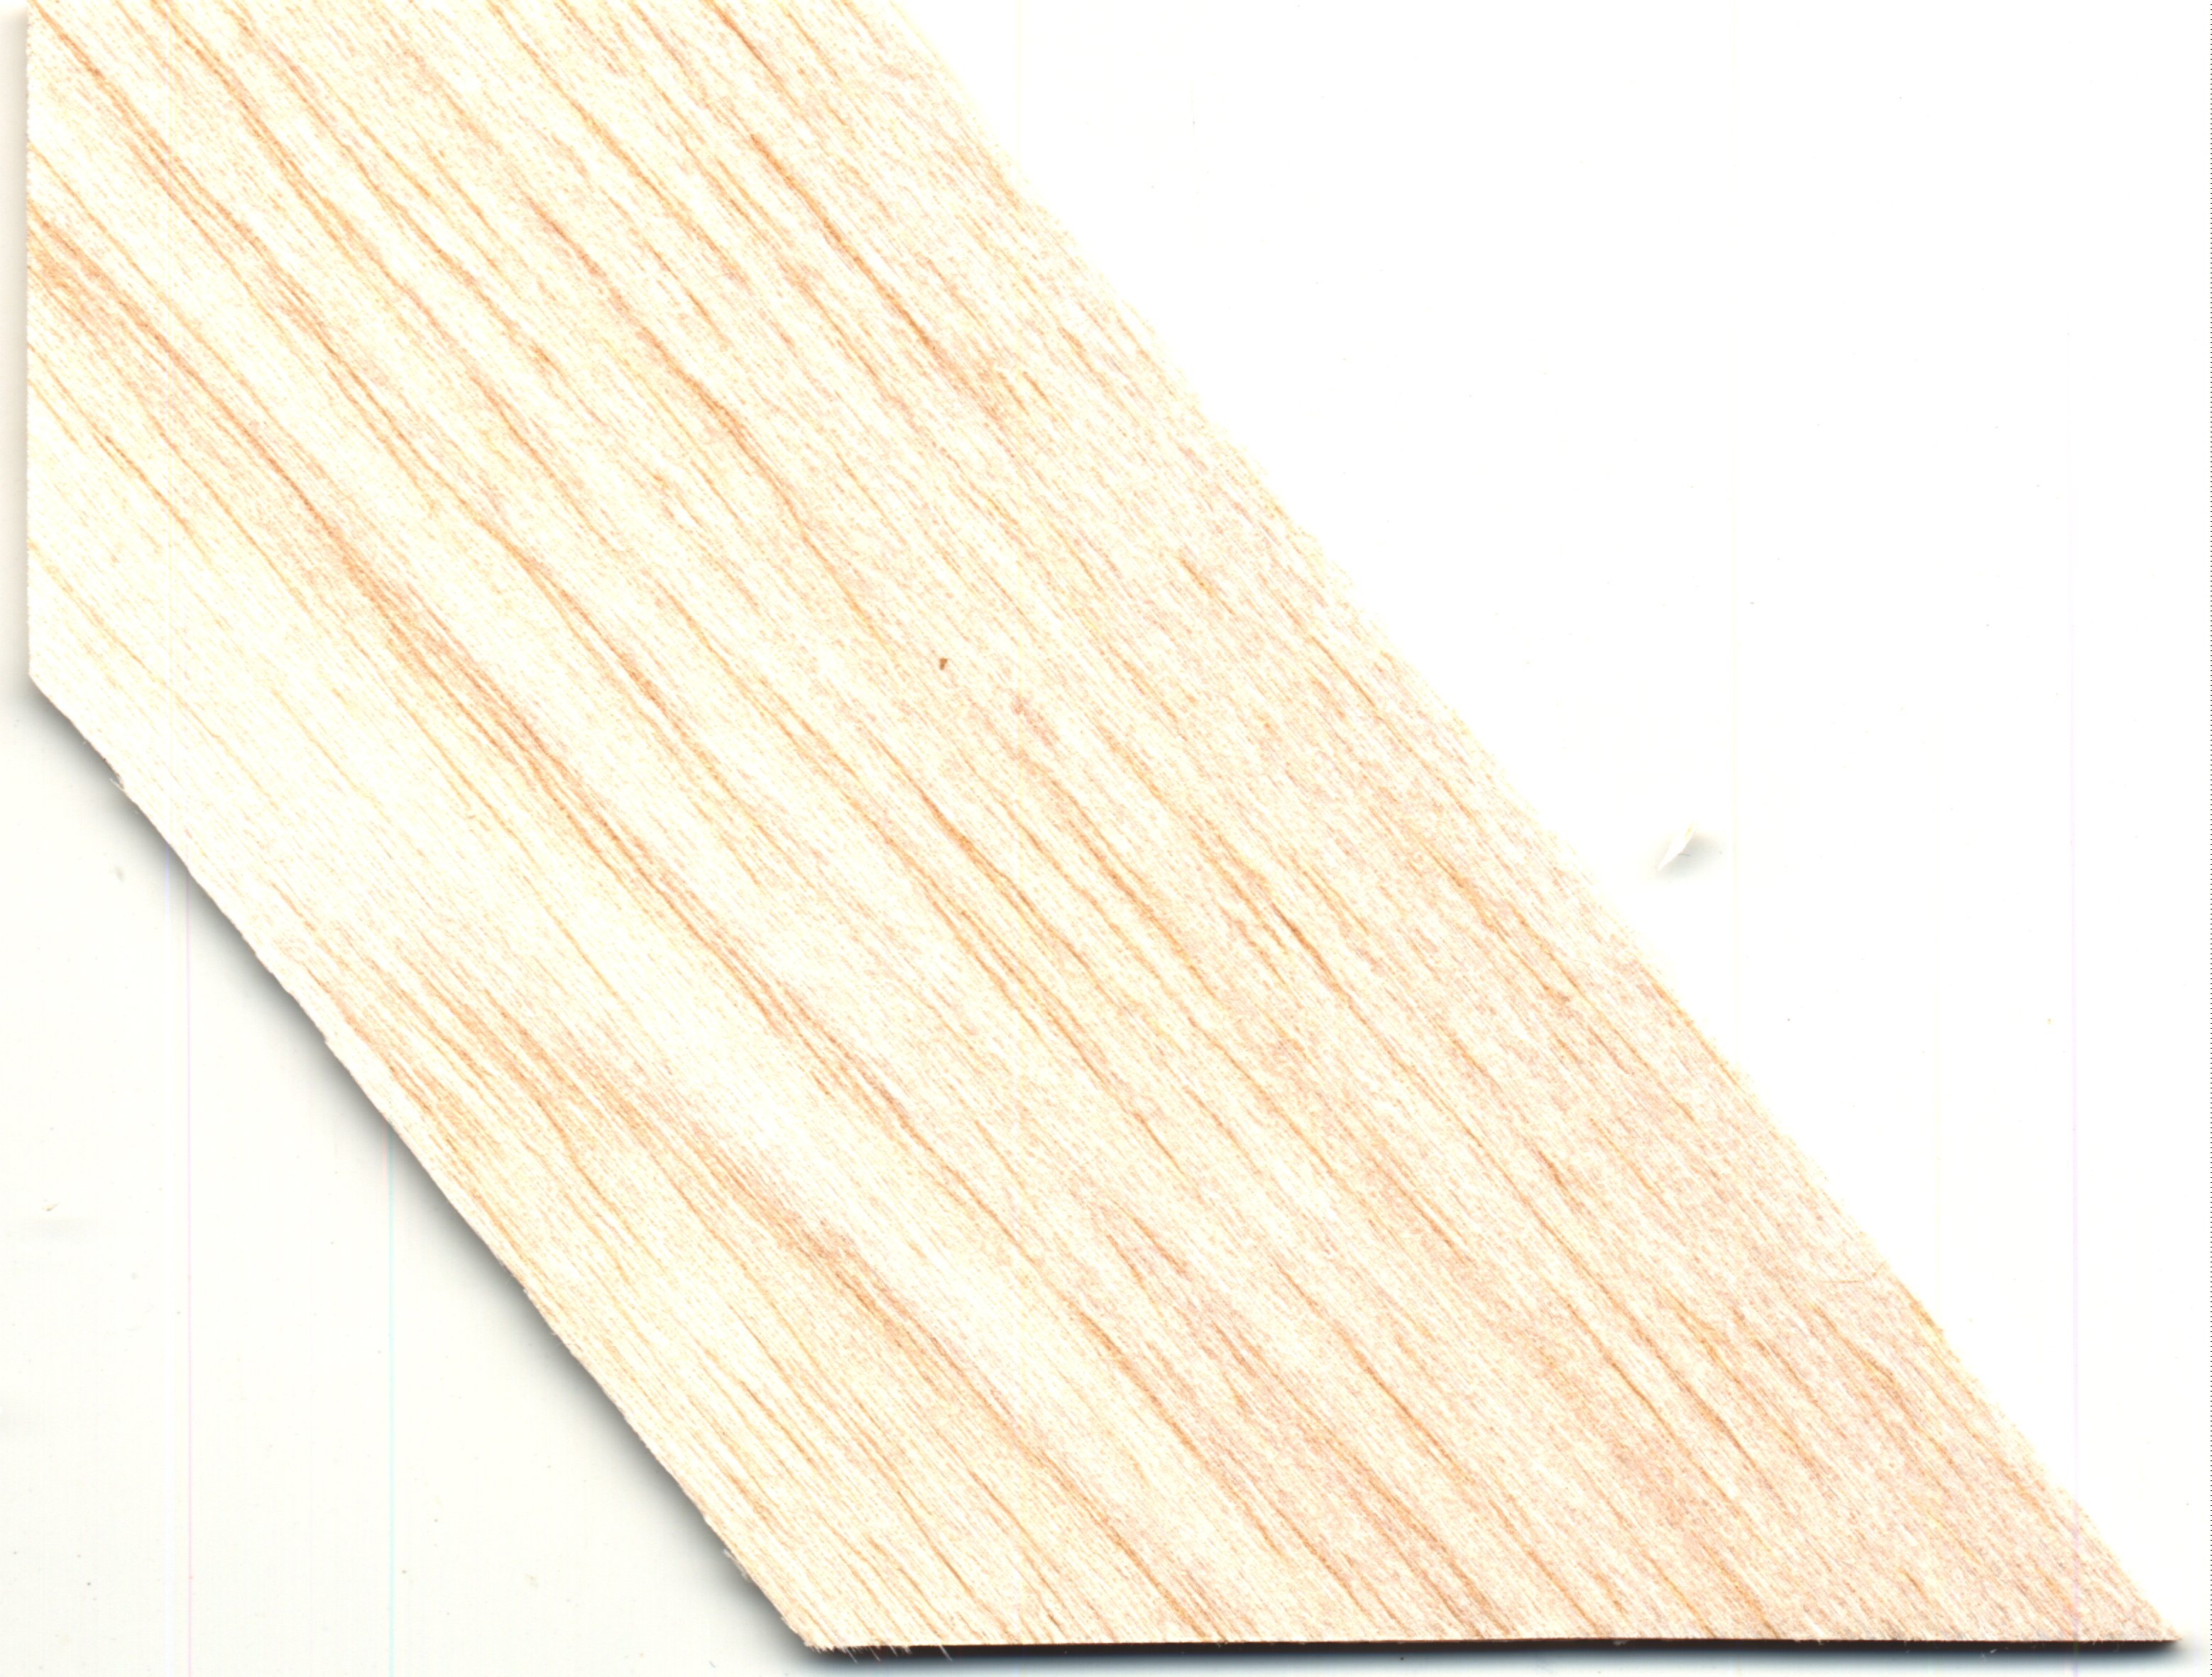
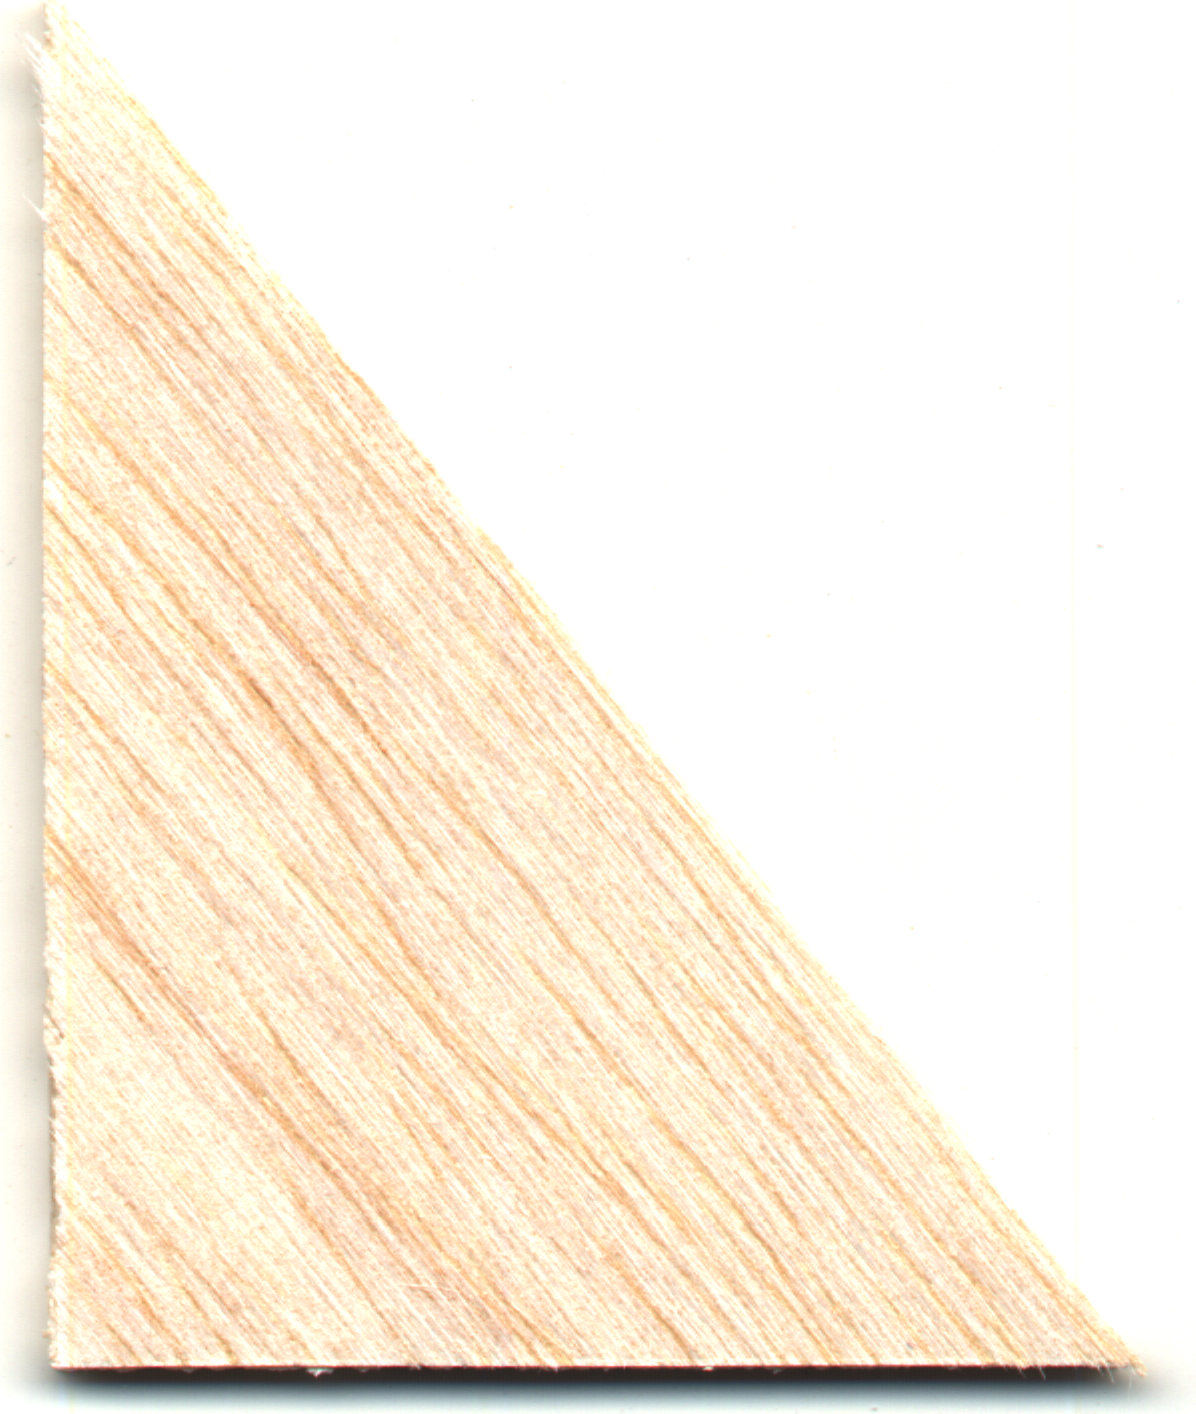
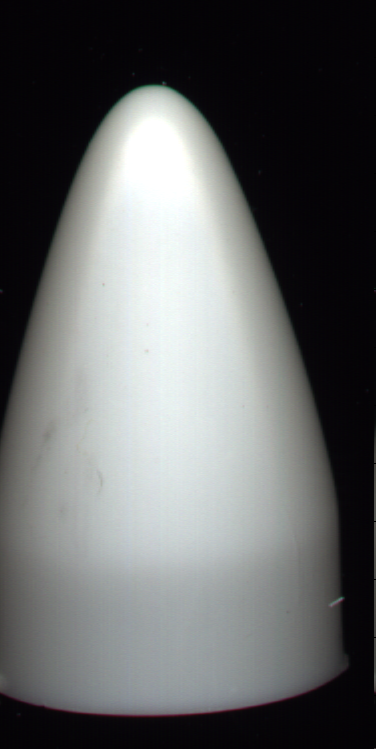
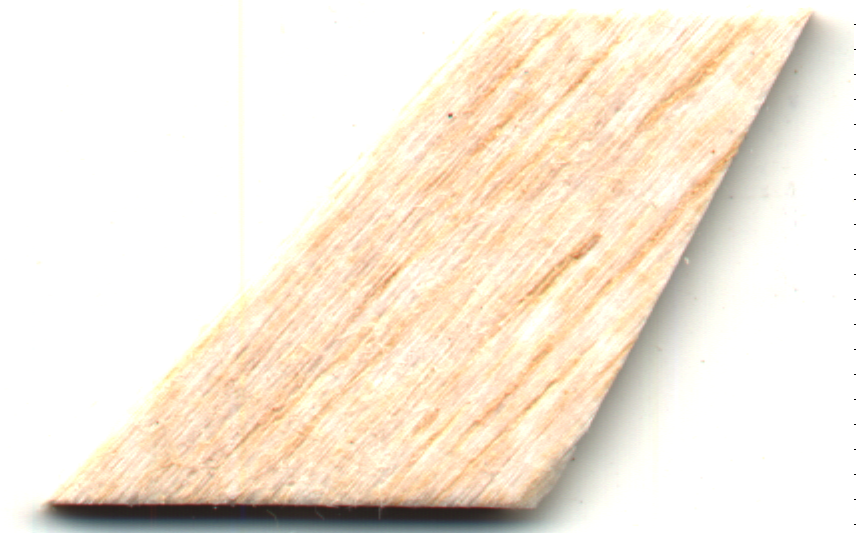
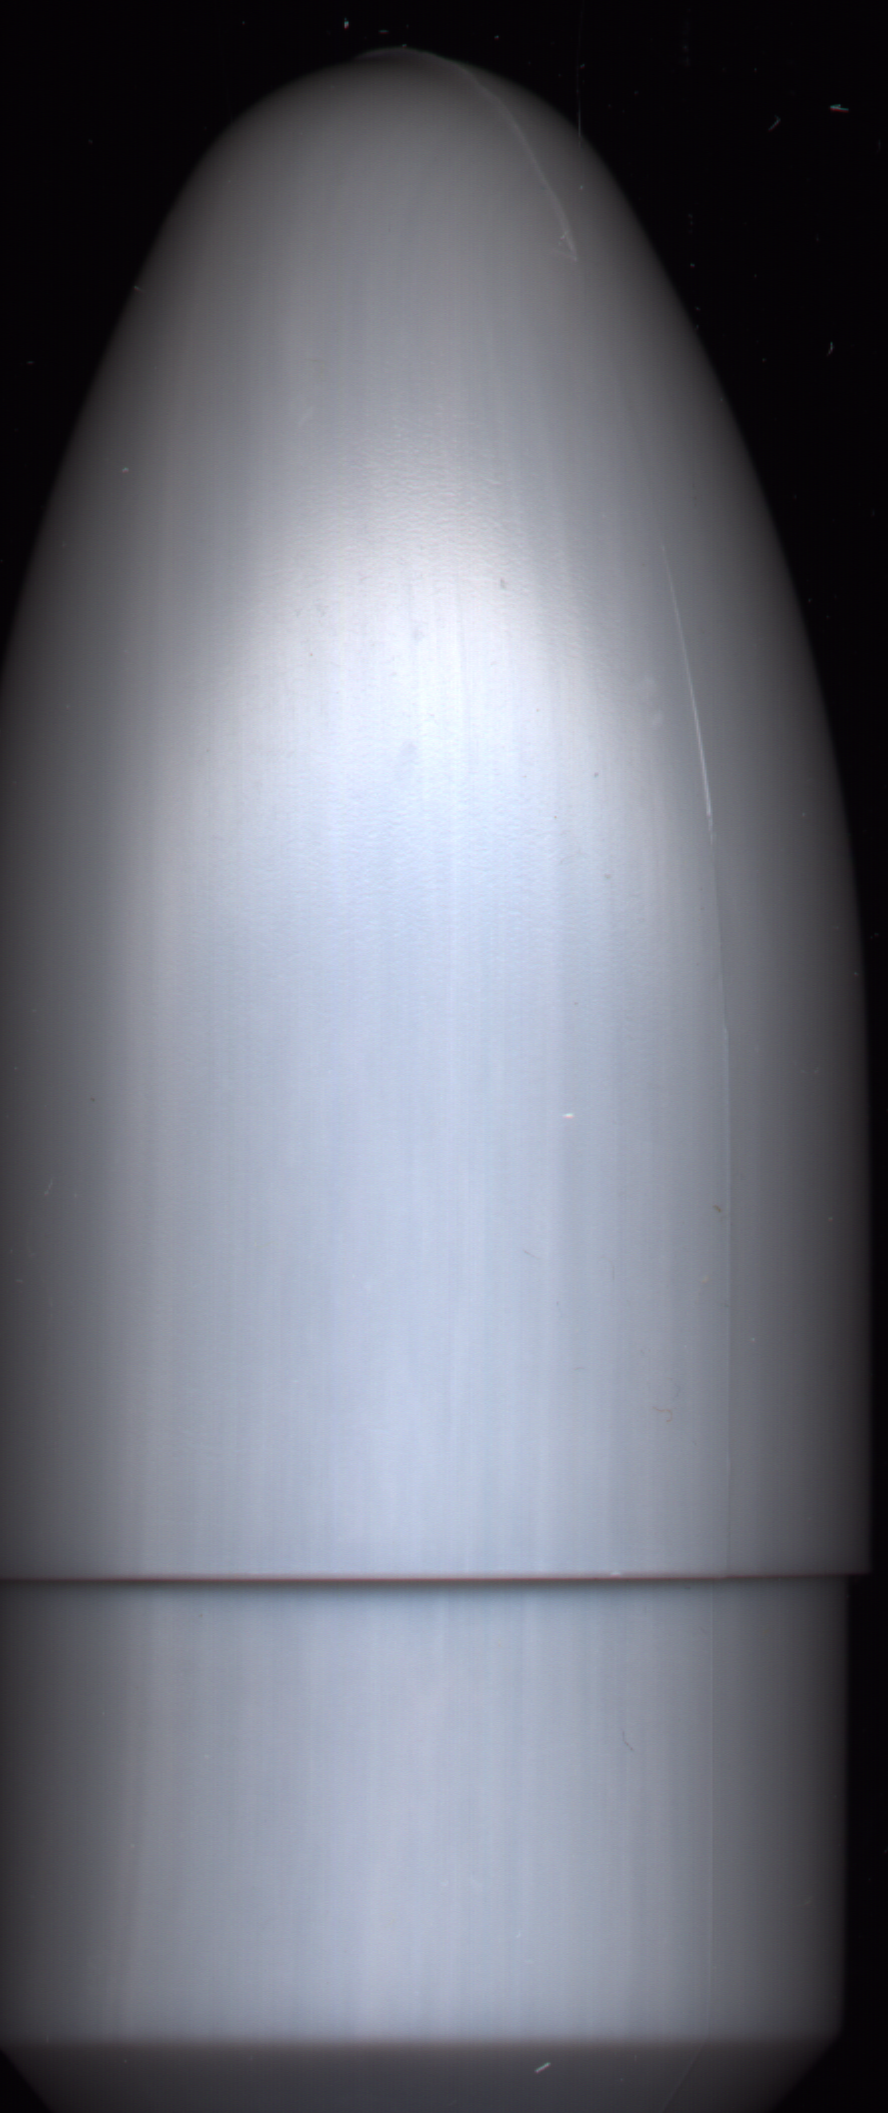
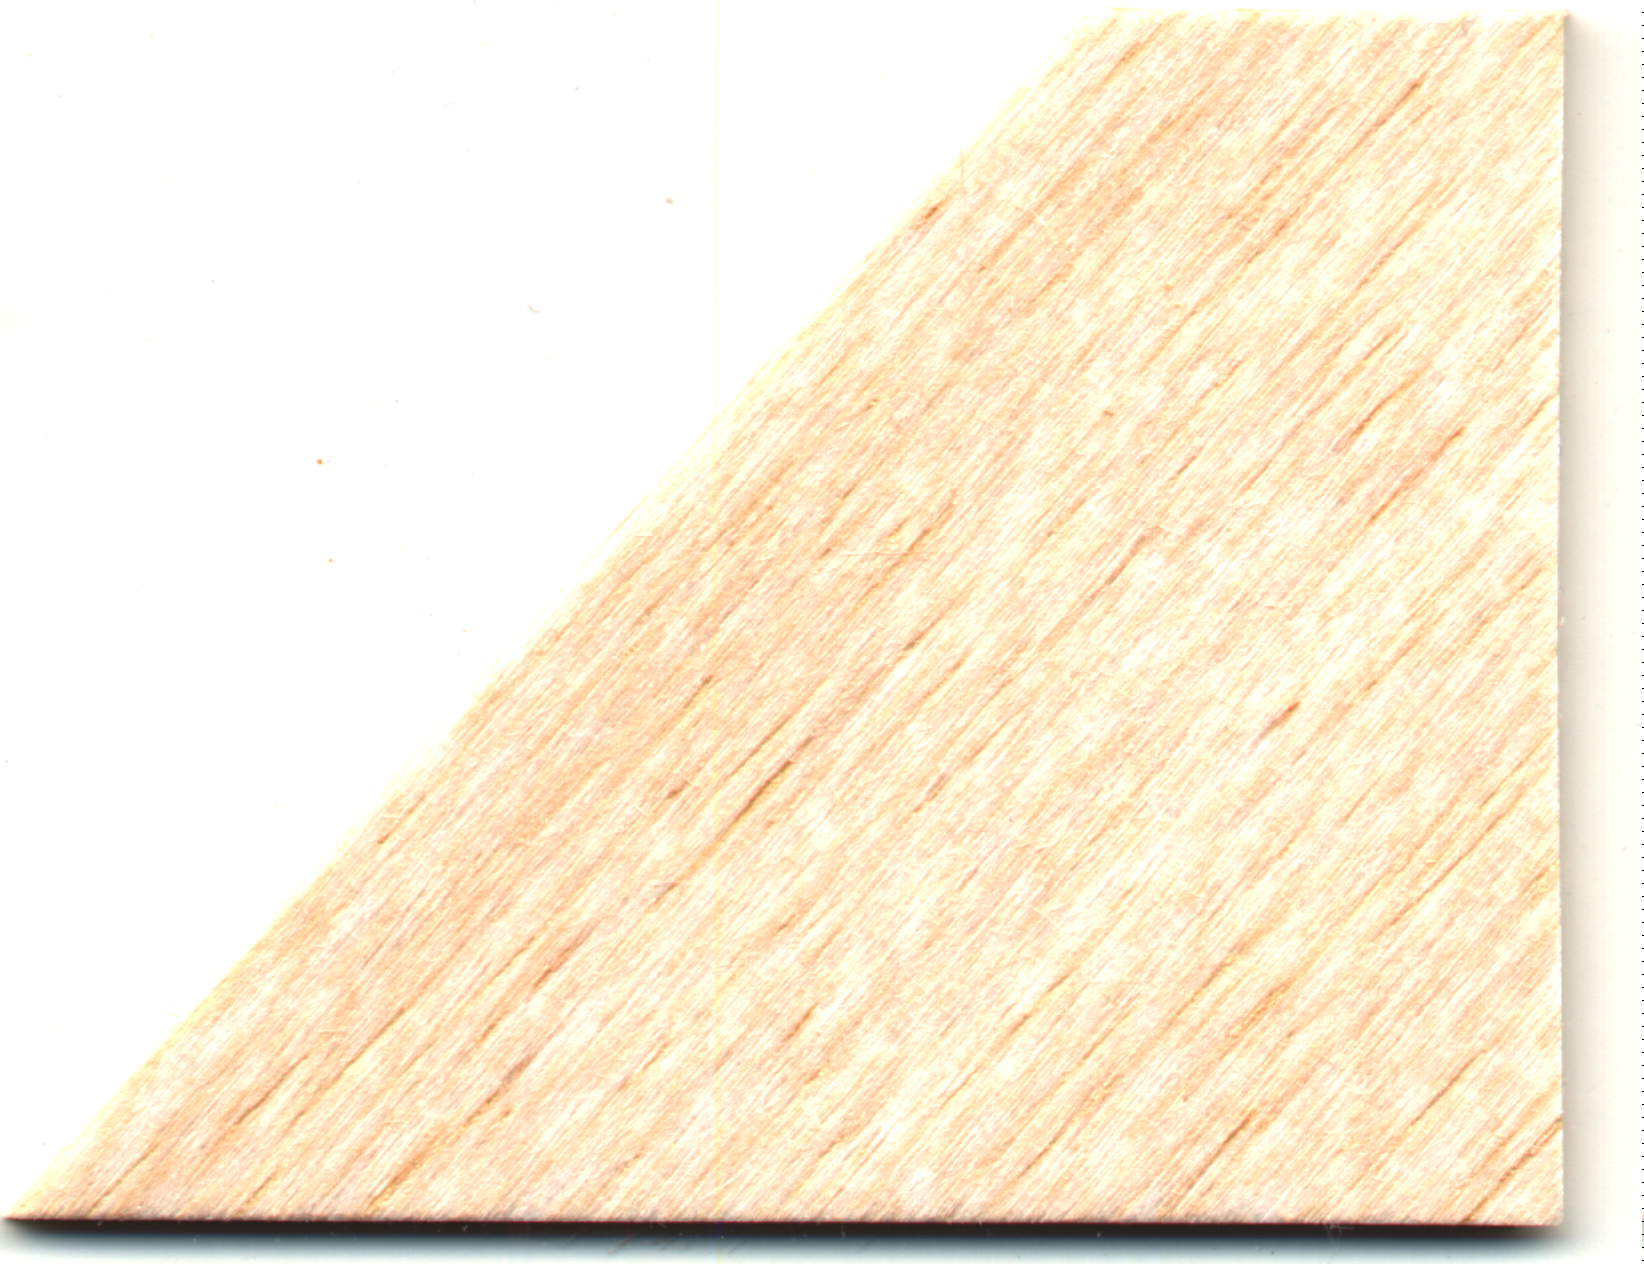
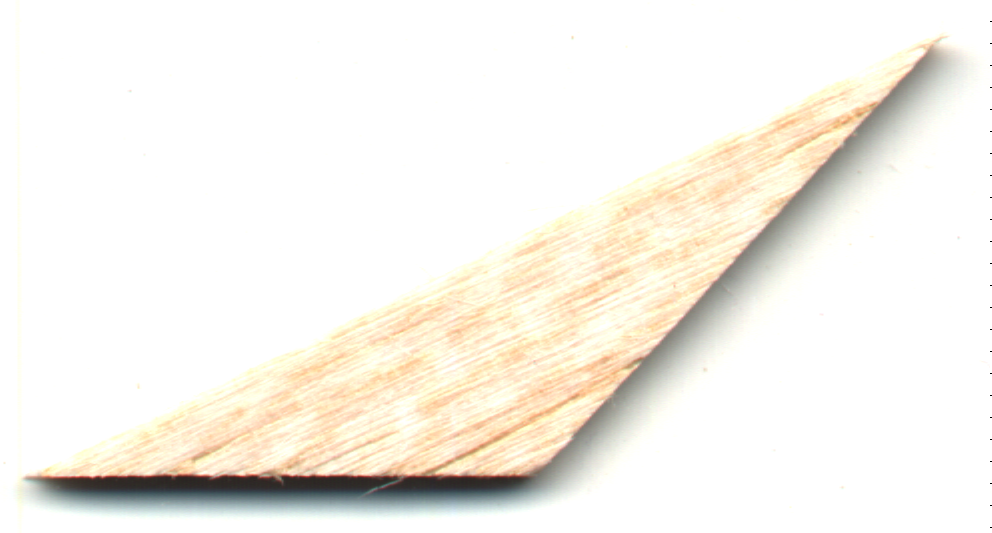
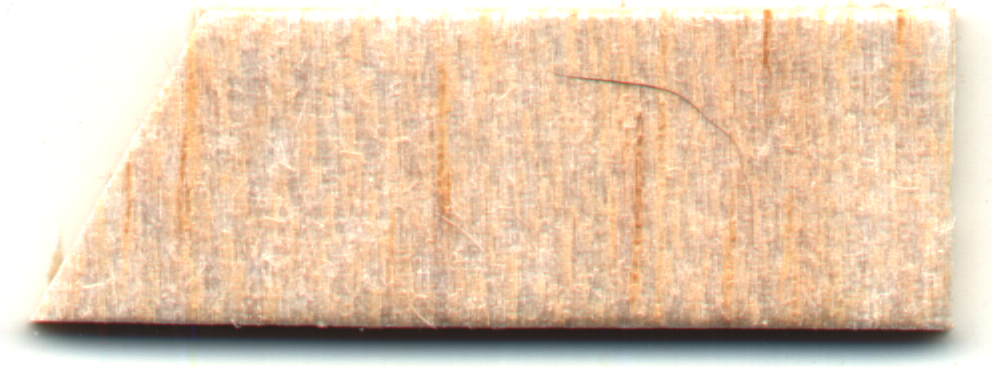
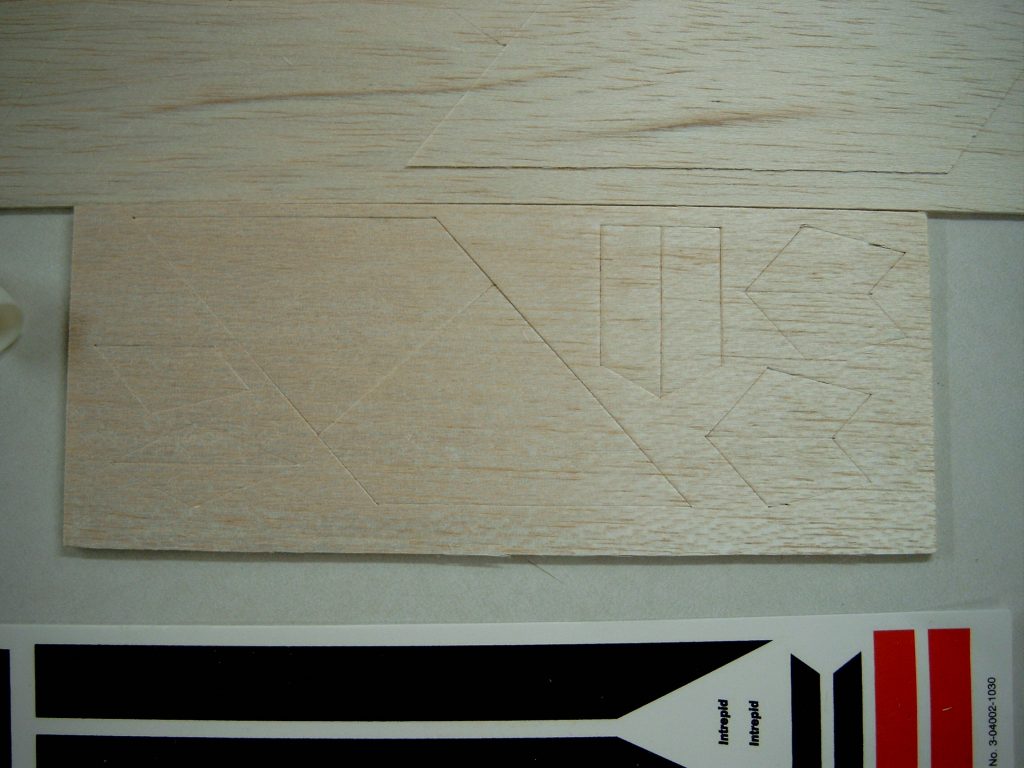
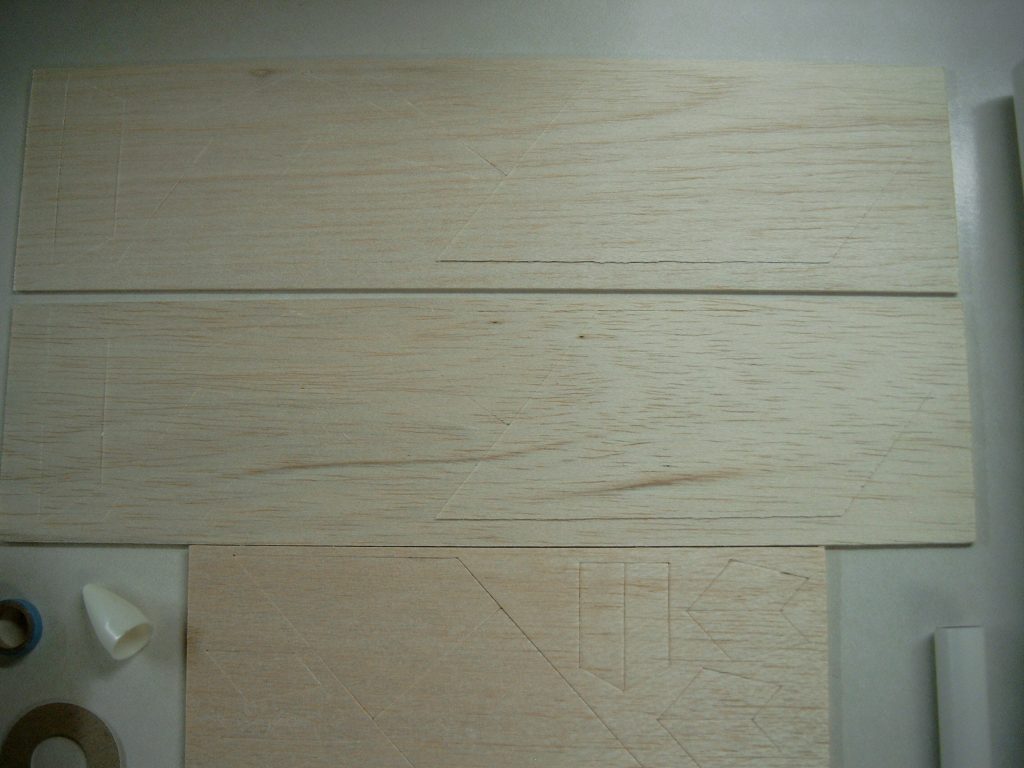
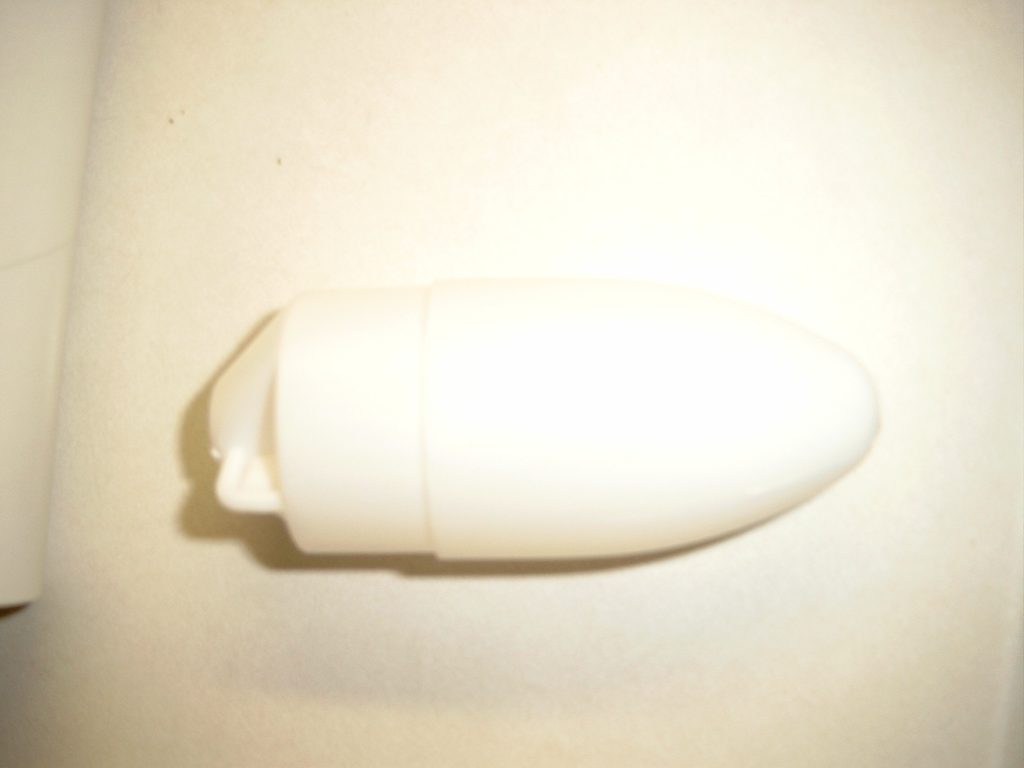
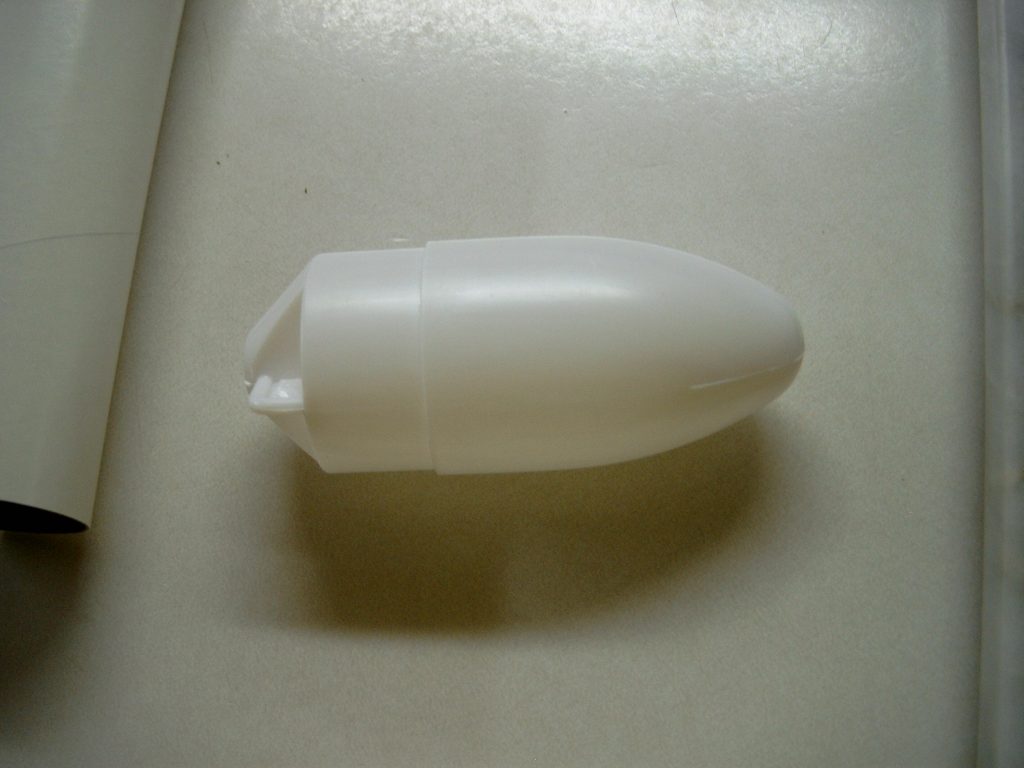
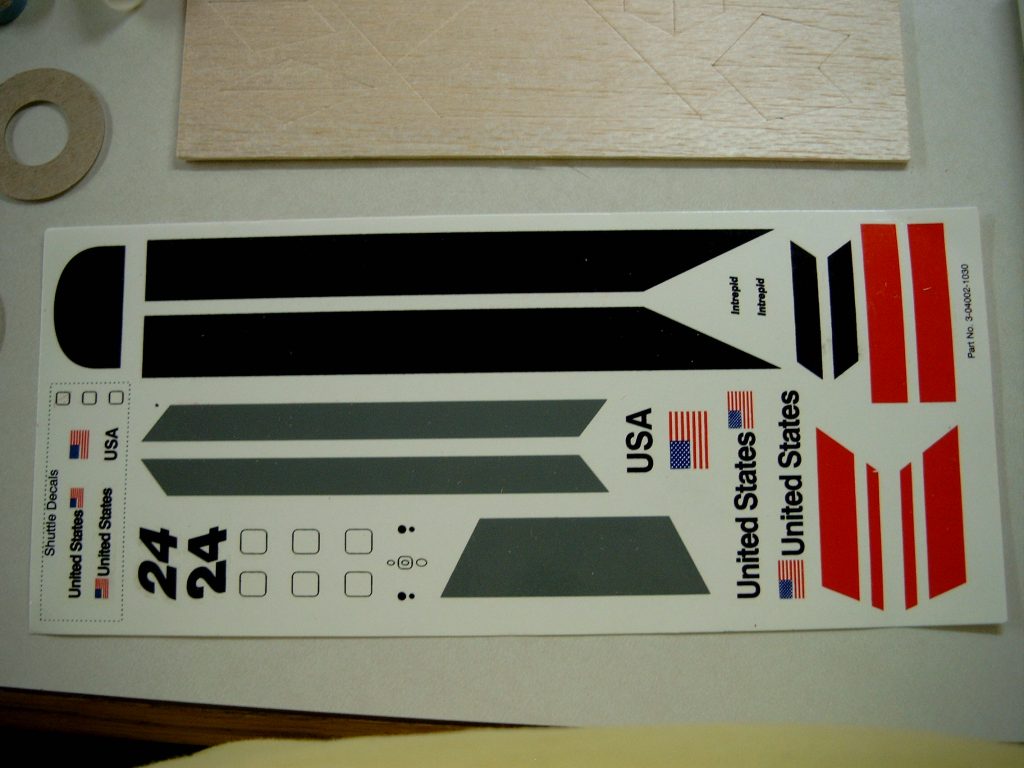
- 05/30/2003 – Took pictures of package and parts. Scanned fin sheets A & B, decal, nose cone, centering rings, individual fins from sheets A & B and instructions.
- 06/05/2003 – Tied the white and yellow cords together. Tied other end of Kevlar yellow cord to blue engine block. Glued engine block int end of yellow motor mount tube.
- 06/06/2003 – Attached engine holder clip to yellow engine tube by hooking the front end over the engine block and forward end of motor tab. Taped in place. Marked engine tube 1/2″ from each end. Slide centering rings over each end and applied a bead of glue near marks. Slide centering rings into glue beads to the marks on each end. Filleted one side of each ring joint. Filleted other side of centering ring joints. Made copy of first page and cut out marking guides.
- 06/08/2003 – Glued engine mount into body tube and filleted rear centering ring to body tube.
- 06/09/2003 – Sanded all booster wing edges. Glued booster halves together. Glued deck to booster wing. Used wax paper to keep glue from sticking to surface. Marked wing and booster lines on body tube using booster tube marking guide. Marked shuttle line at 3-1/2″ from rear. Glued wing assembly to guide line. Glued rudder to front wing at 10 degree angle and used 10 degree form to support as glue dried.
- 06/10/2003 – Glued second rudder at 10 degree angle to fromt wind and allowed to dry using support form. Sanded bottom rudder to 10 degree angle, and glued to booster wing at 10 degree angle. Used an angle finder to set the angle. Cut out a 100 degree angle form to set rudder while drying. Filleted top rudder booster wing joint. Glued rudder to shuttle line even with rear of booster tube. Glued 1″ launch lug along shuttle line and even with 3-1/2″ mark.
- 06/11/2003 – Filleted lower rudder joint and seams. Filleted launch lug and rudder joints. Glued shuttle wing part together. Glued the smaller tip to end half and allowed to dry before gluing the two halves together. Marked shuttle body tube with marking guide help and extended lines entire length of body tube. Glued wing halves together. Glued both halves.
- 06/12/2003 – Sanded both rudders at 10 degree angles and glued them to the top of the shuttle wing at the edge of the wings. Allowed to dry and then glued a rudder to the rear edge of the shuttle tube along the rudder marking guide line on the body tube.
- 06/13/2003 – Glued final rudder to body tube. Found a piece of balsa 1/4″ thick and used it to set the elevaters on the rear of the shuttle. Marked the wing with 3/32″ thick scrap piece of balsa and glued on elevator to the rear of the wing so it was elevated 1/4″. Then glued the second elevator in place and smeared glue on the joint. Cut a 3/32″ thick piece of balsa 1/8″ x 1/2″ as a stand for the eowel rod assembly. Glued the dowel rod to the balsa and the bottom of the shuttle wing. Filleted the joint of the launch lug. Using plastic cement, cemented plastic nose cone to coupler.
- 06/14/2003 – Glued launch lug to front of booster wing along seam. Widened shutter elevator split so it will fit over booster rudder. Assembled 14″ parachute. Filleted both side of launch lug joints.
- 07/10/2003 – Filled balsa with balsa filler.
- 11/23/2003 – Spray painted entire model and shuttle with Krylon Gloss White #1501.
- 04/26/2020 – Cut a fin template from a copy of the plans and then cut the fins from scrap balsa. Painted fins Gloss White.
- 09/19/2023 – Spray painted glider and main with Rust-o-leum # 328373 High Gloss White.
Flights
| Date | Location | # | Motor | Comments |
Leave a Reply
You must be logged in to post a comment.