FLIS KITS Model #SP-006
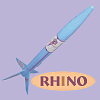
Description
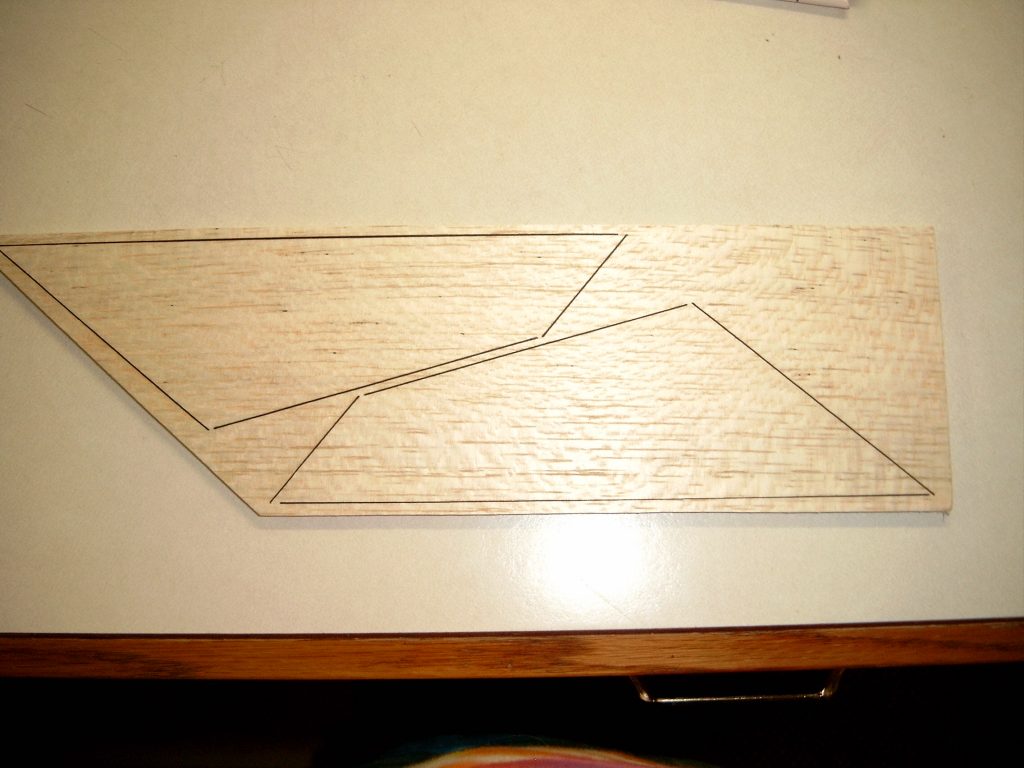
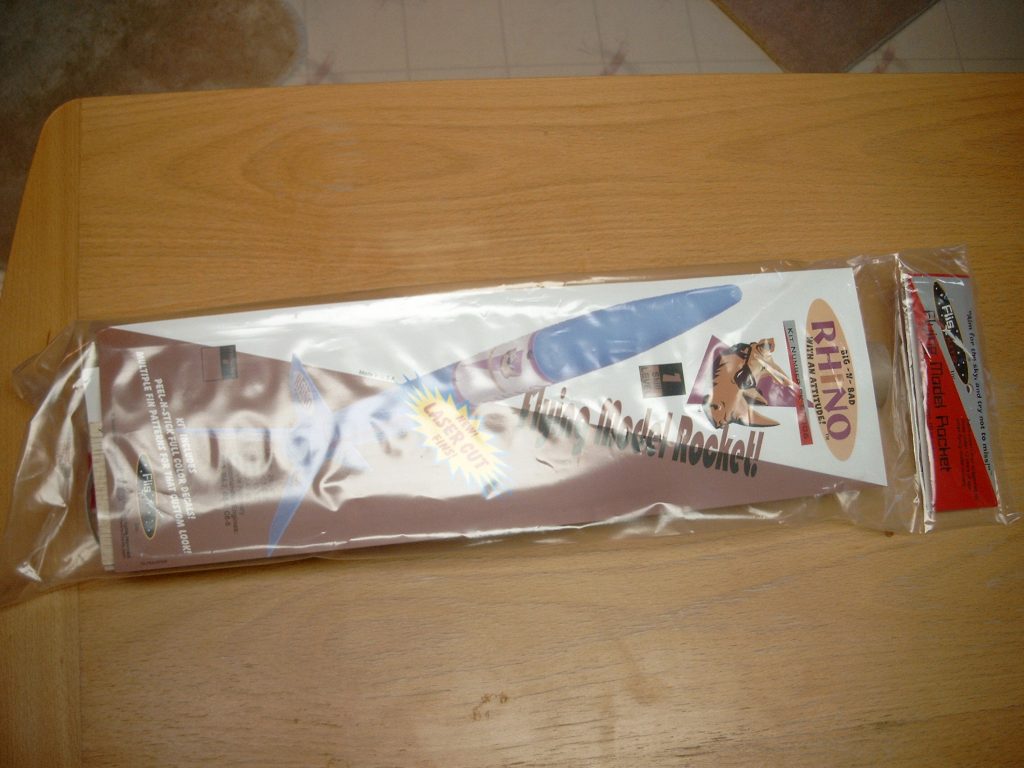
This entry level rocket is a great way to get started in model rocketry! We have provided laser cut fins which are slightly oversized to ensure great stability. You can customize your Rhino by using one or a mixture of the enclosed fin patterns.
Additional Information
Length: 24.54″
Diameter: 1.637″
Fin Span: 10.53″
Weight: 2.49 oz
Recovery: Parachute
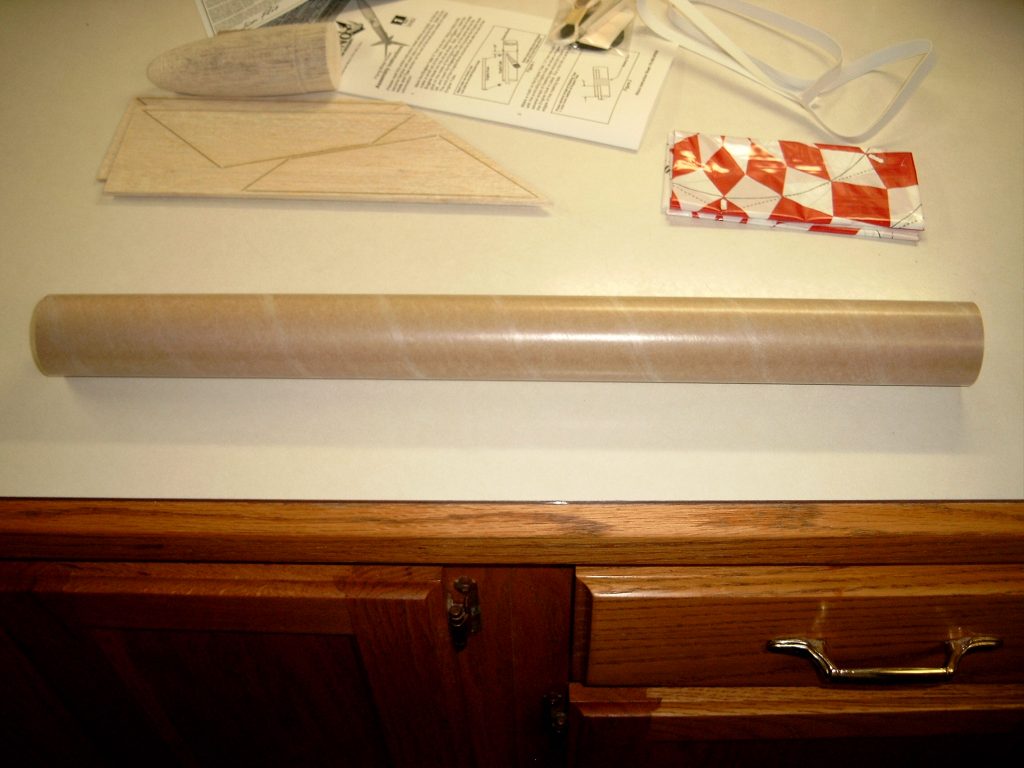
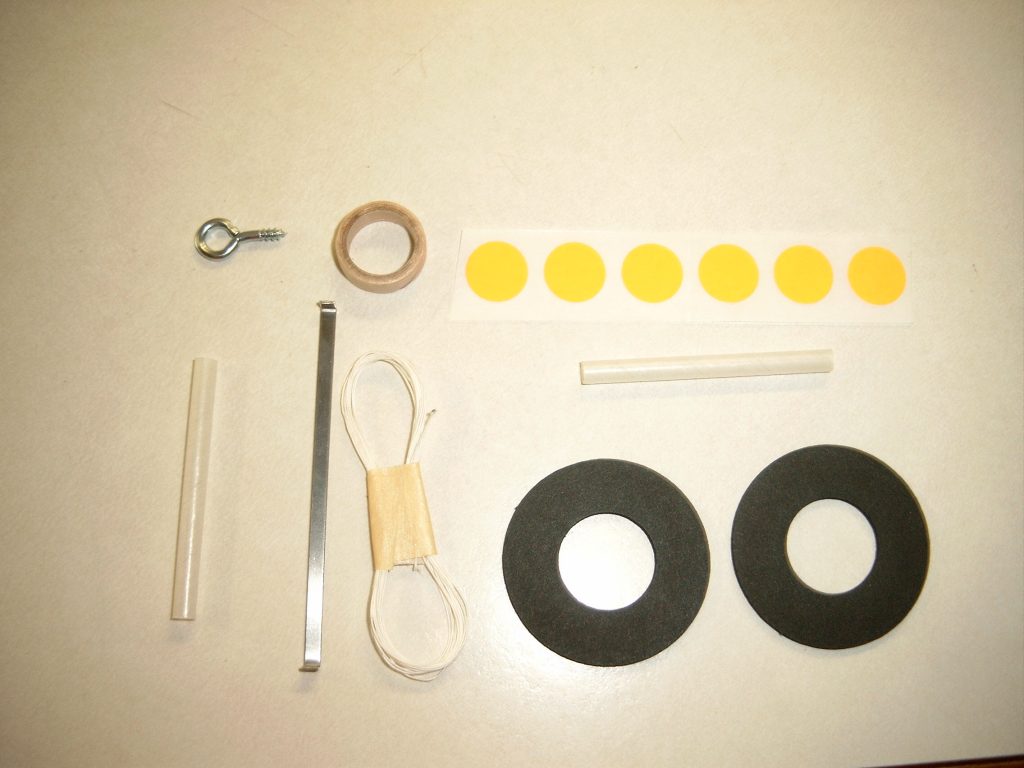
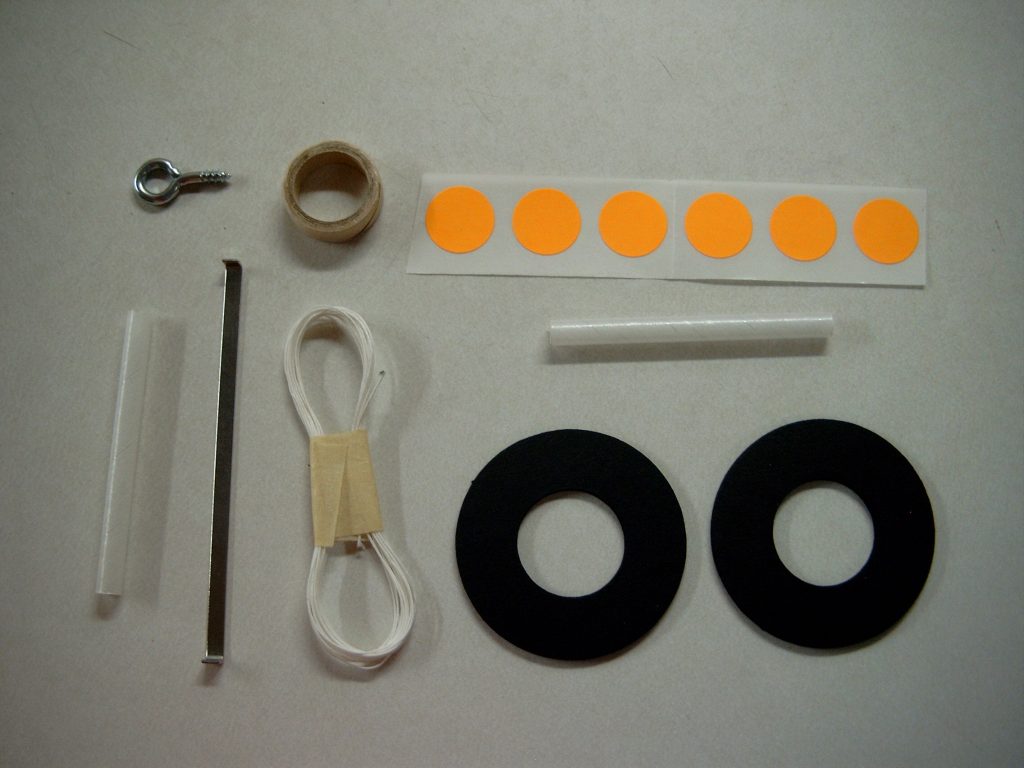
Parts List:
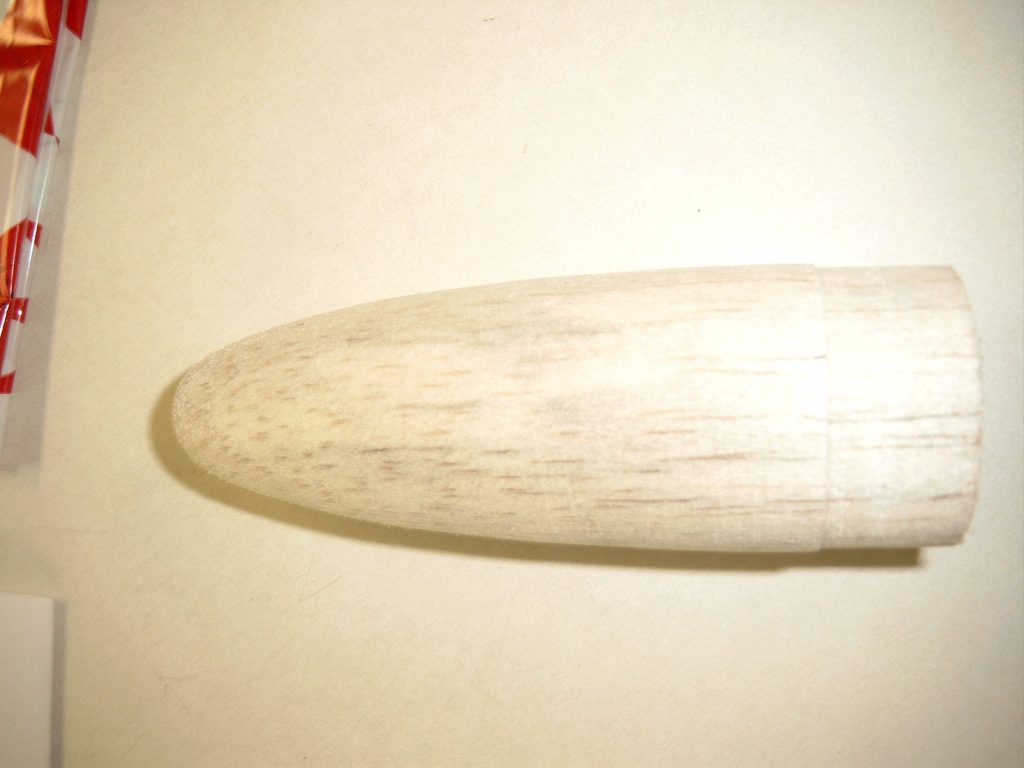
Nose Cone – NC8-60RH
Body Tube – BT-60-18
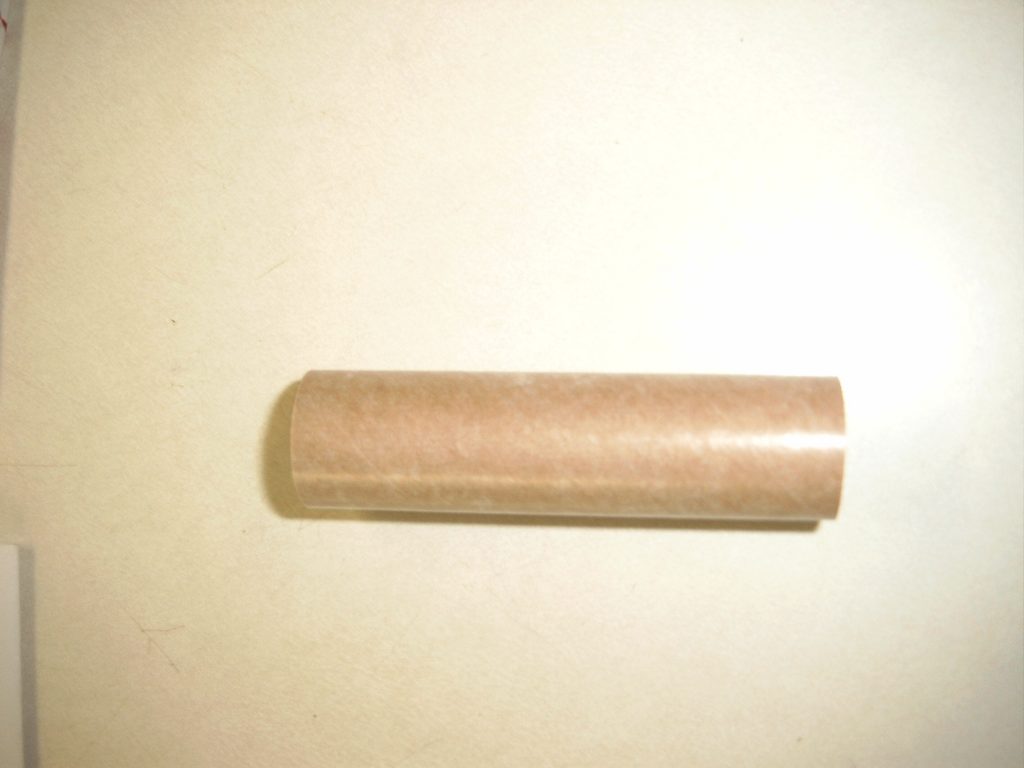
Engine Tube – BT-20-0275
Laser Cut Fins Balsa (2) – FS8-SP006
Launch Lugs (2) – LL-1-2
Engine Block – EB-20-0025
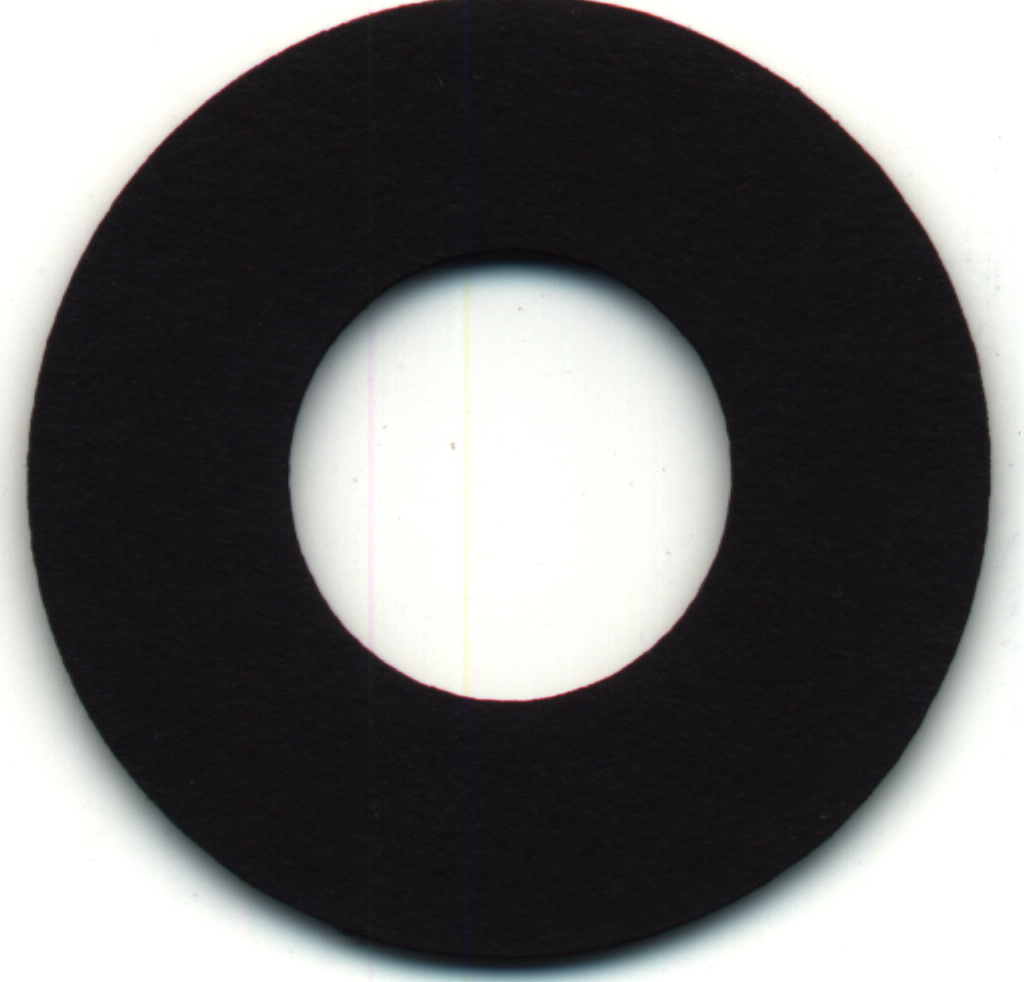
Centering Rings – CRF-20-60
Engine Hook – EH-0275
Screw Eye, Large – SE-L
Shock Cord – SC-2-30
Parachute – PCP-16
Shroud Line – SLCA-96
Tape Disks – TD-1-6
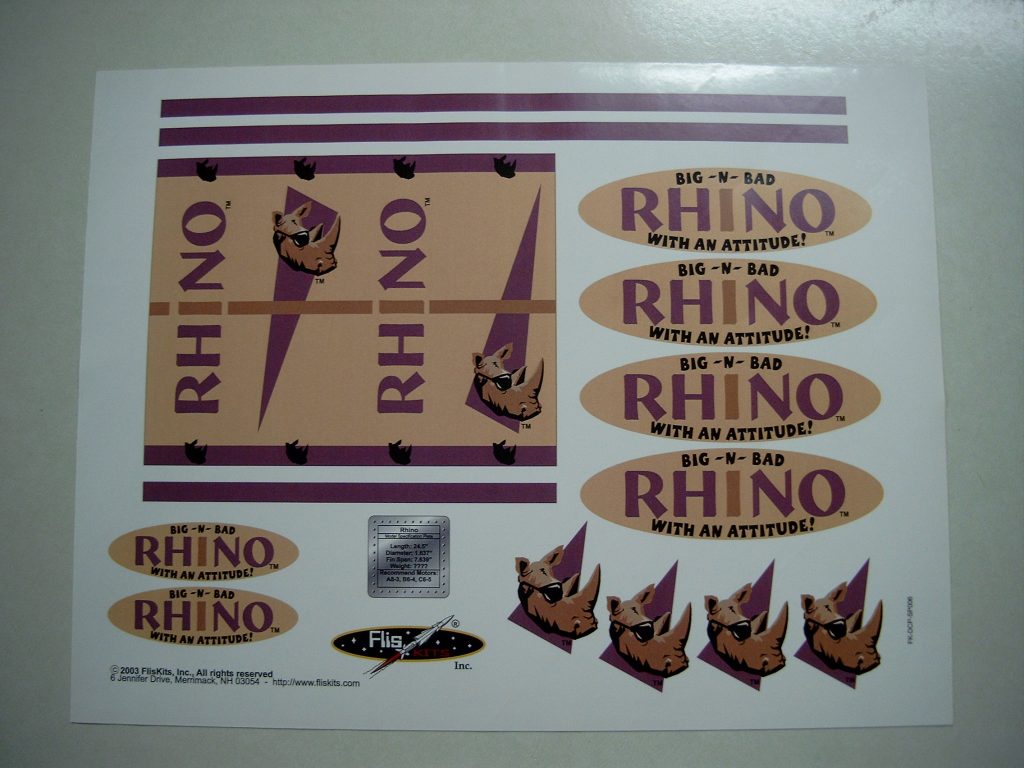
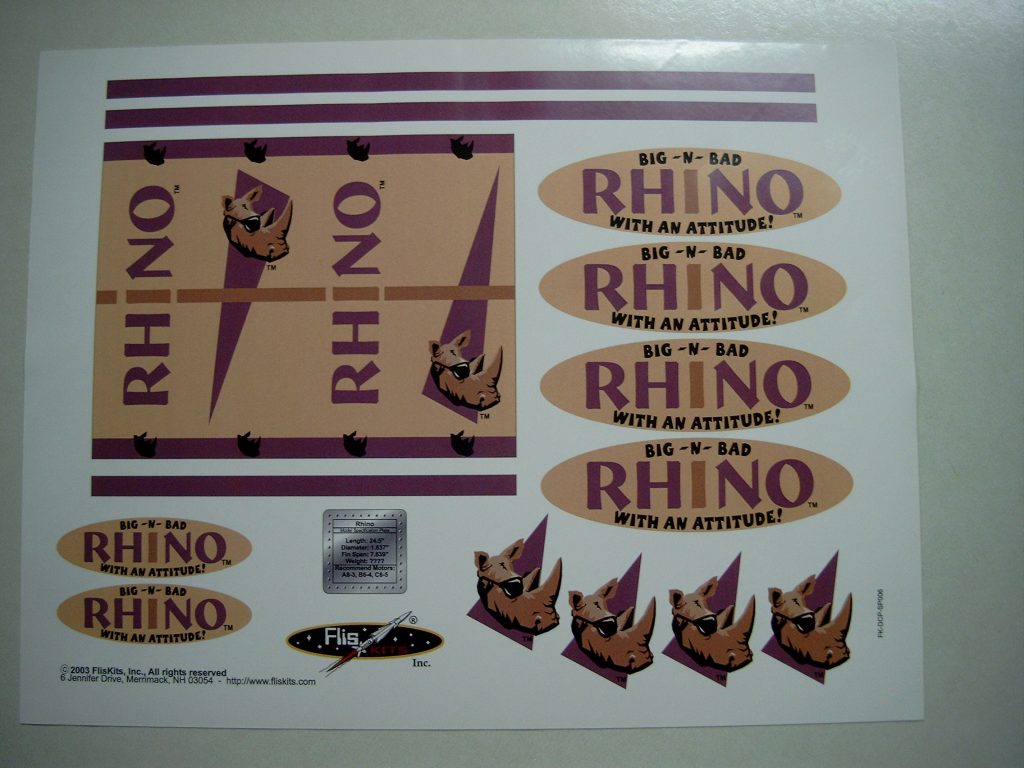
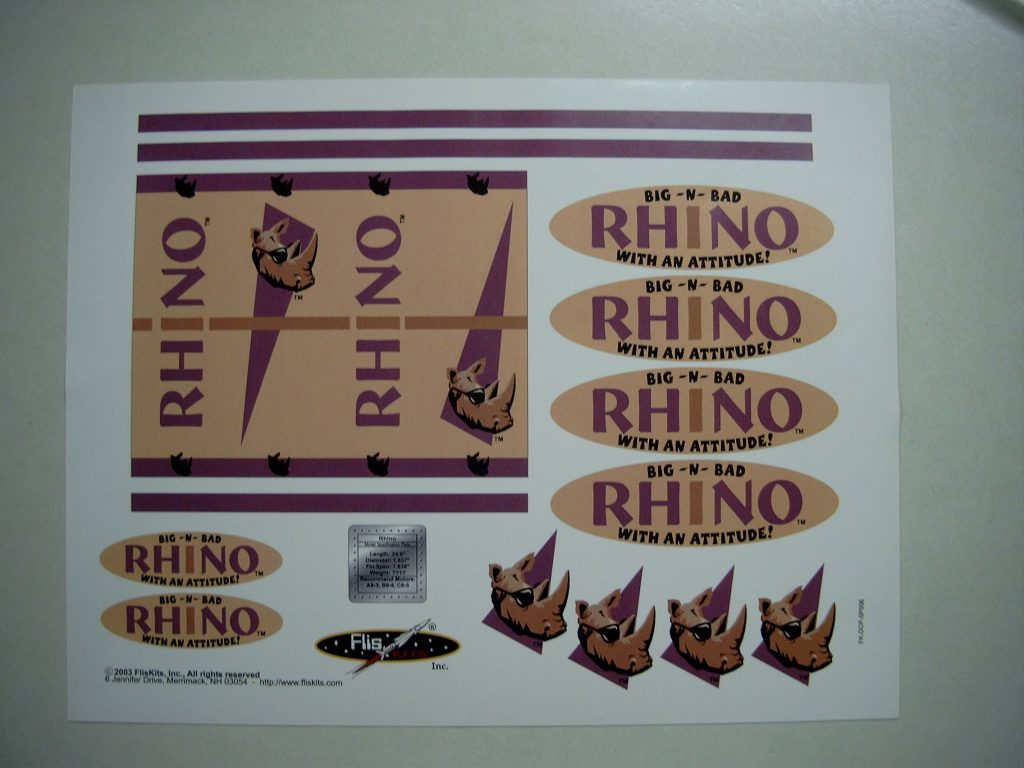
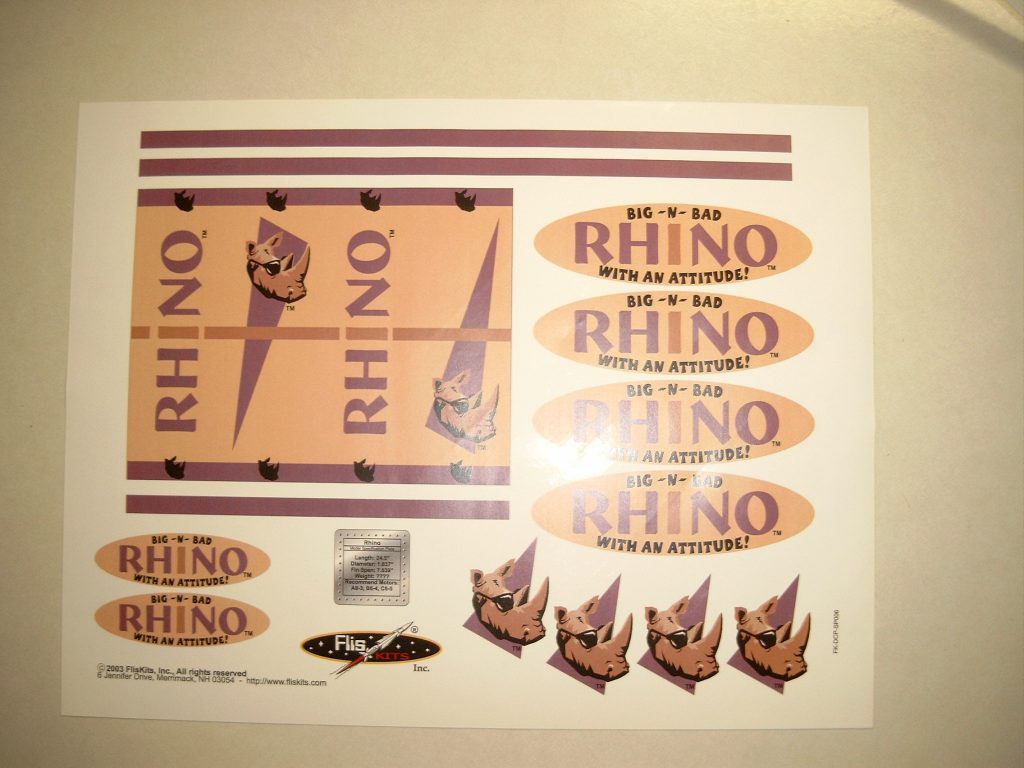
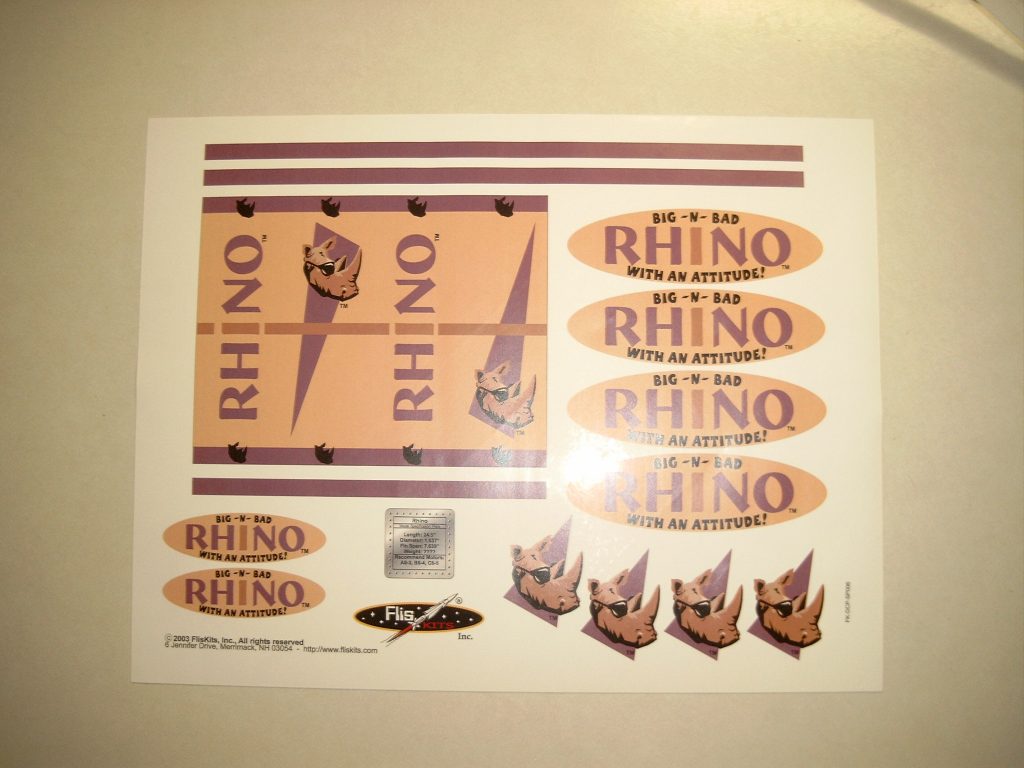
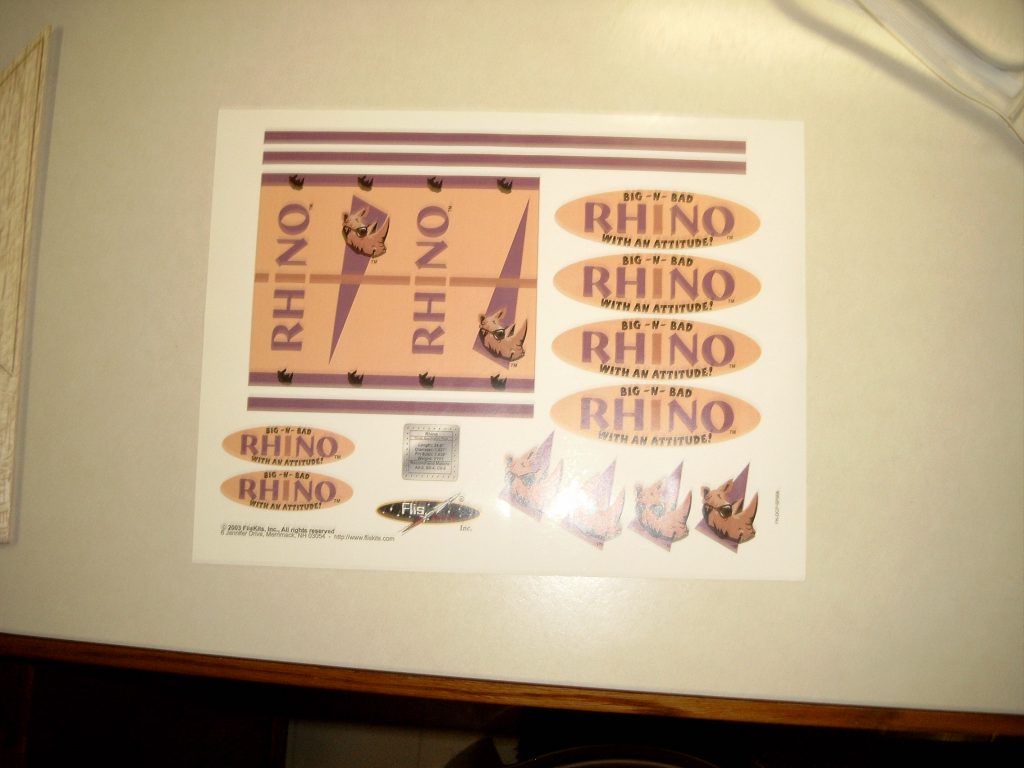
Decal Set – DCP-SP006
Assembly Instructions – INS-SP006
Recommended Engines:
A8-3, B4-2, B6-4, C6-5
Instructions
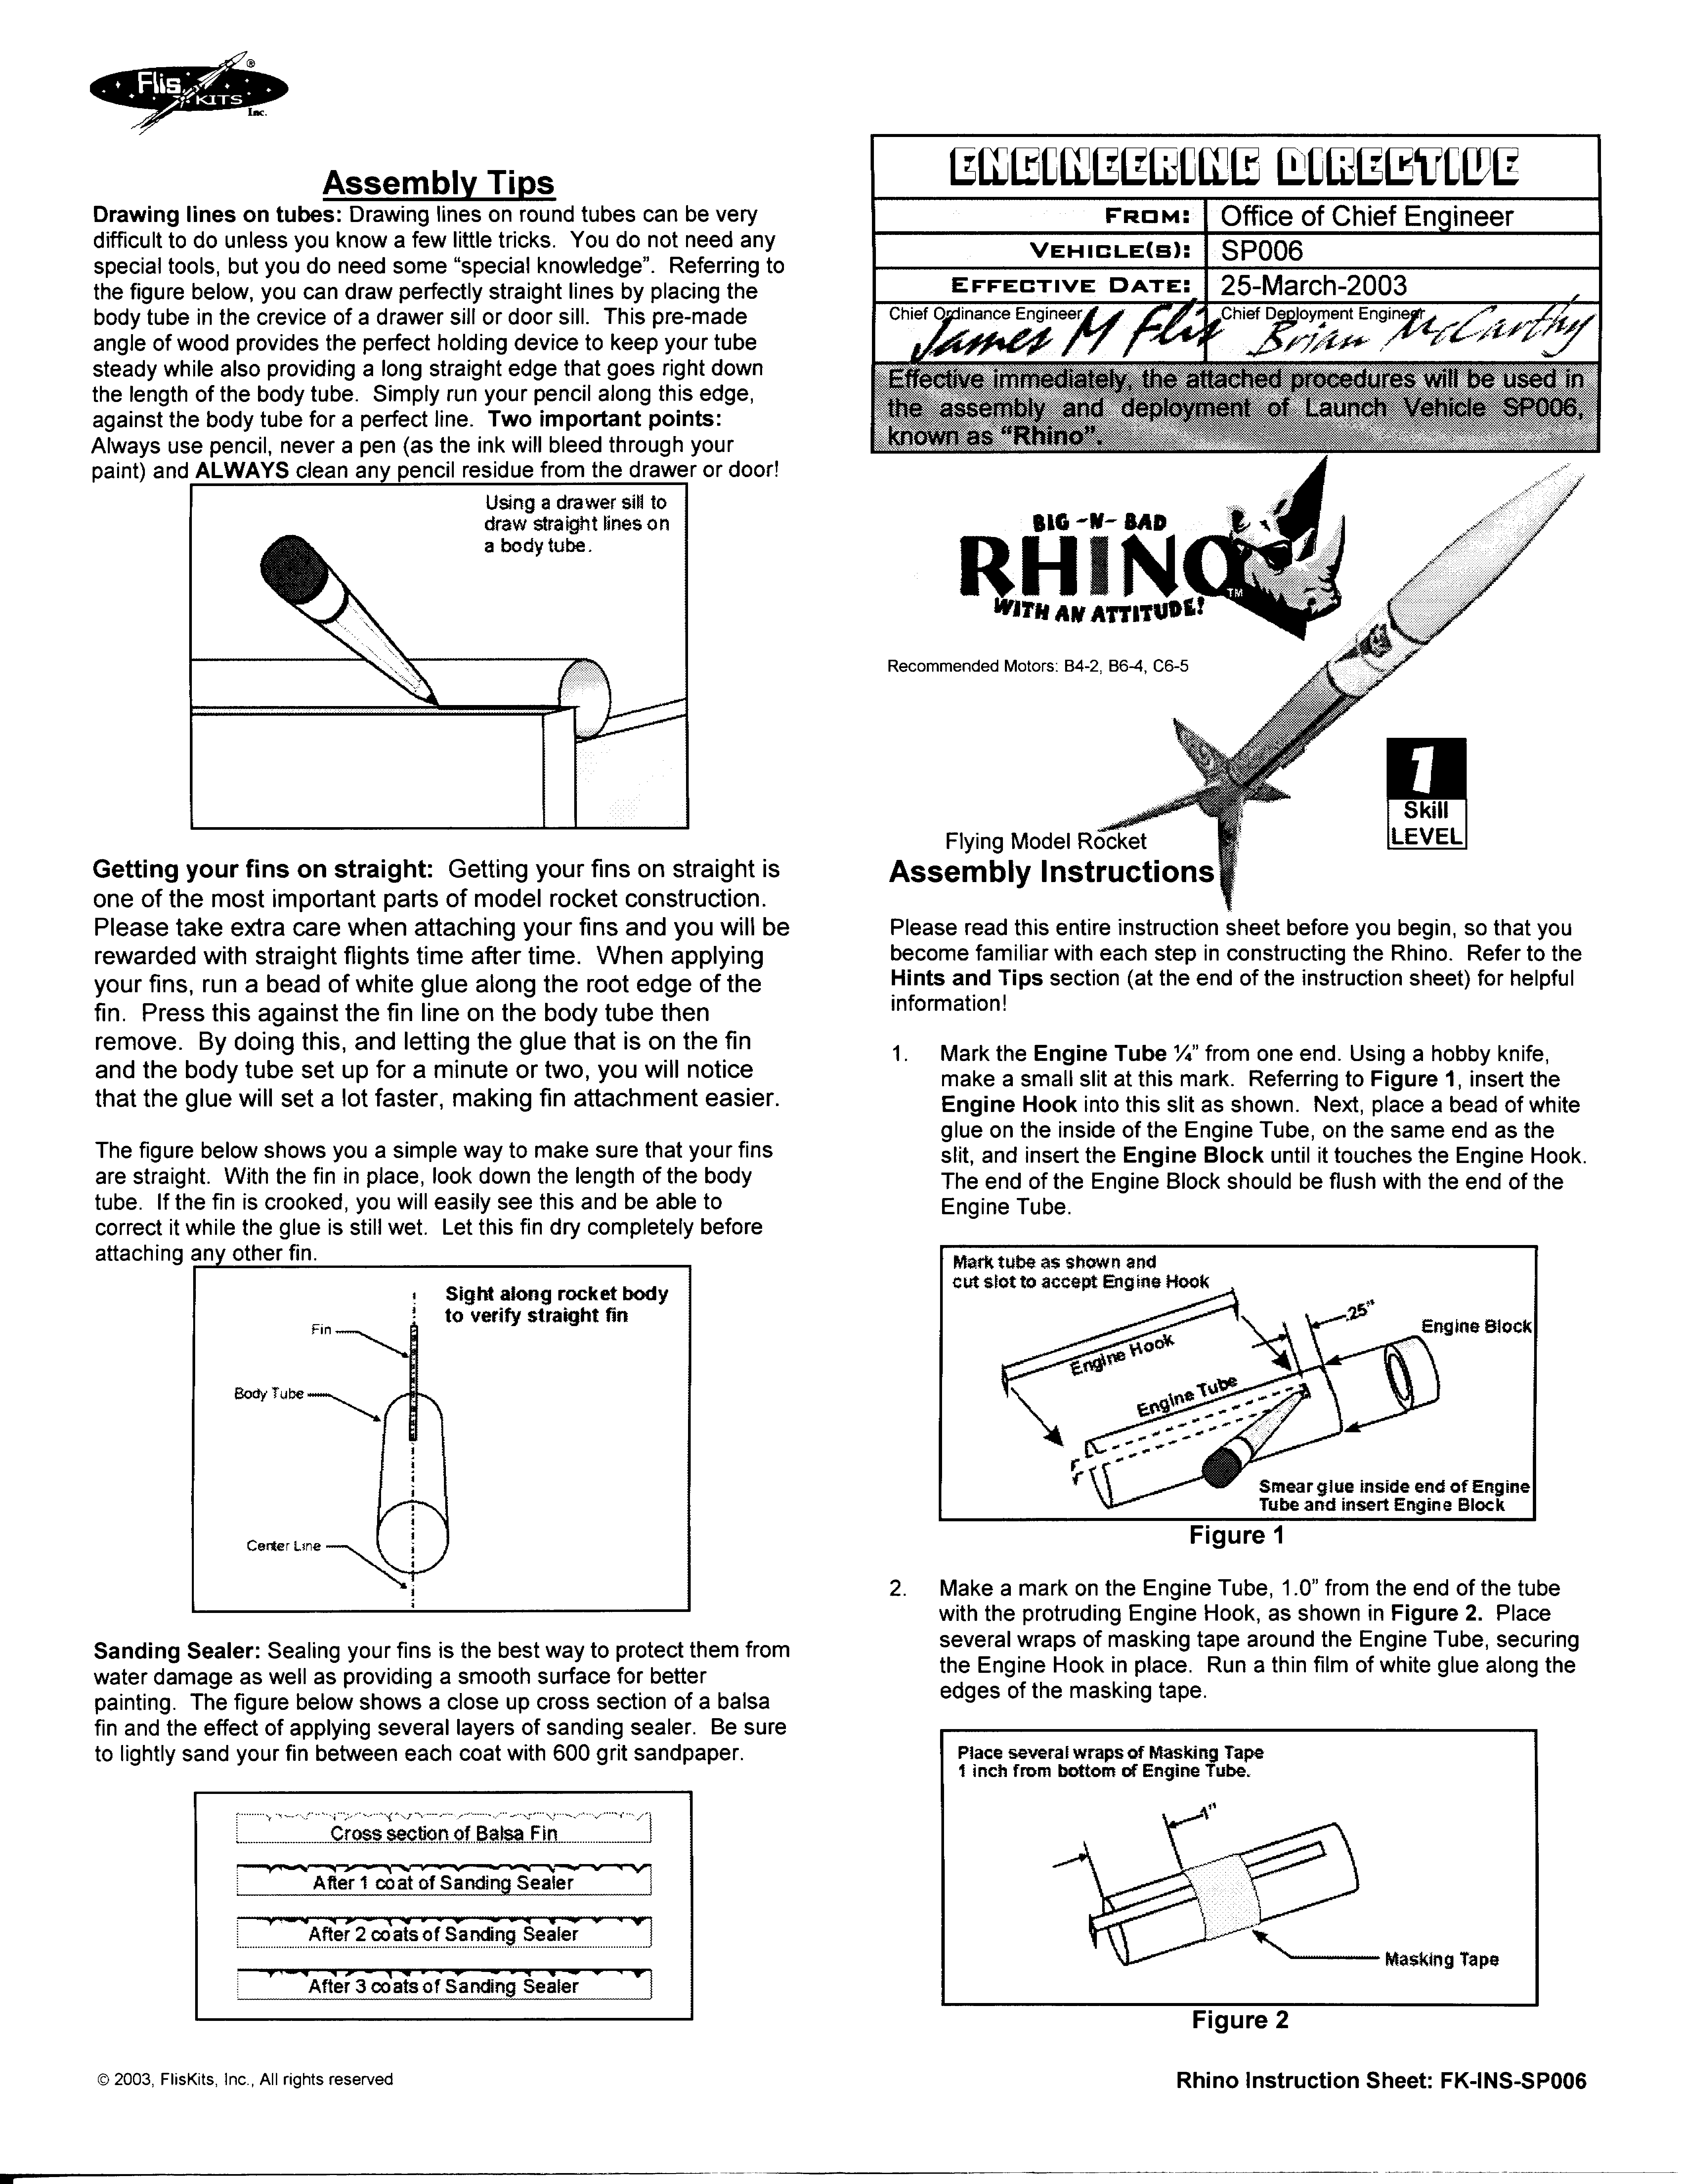
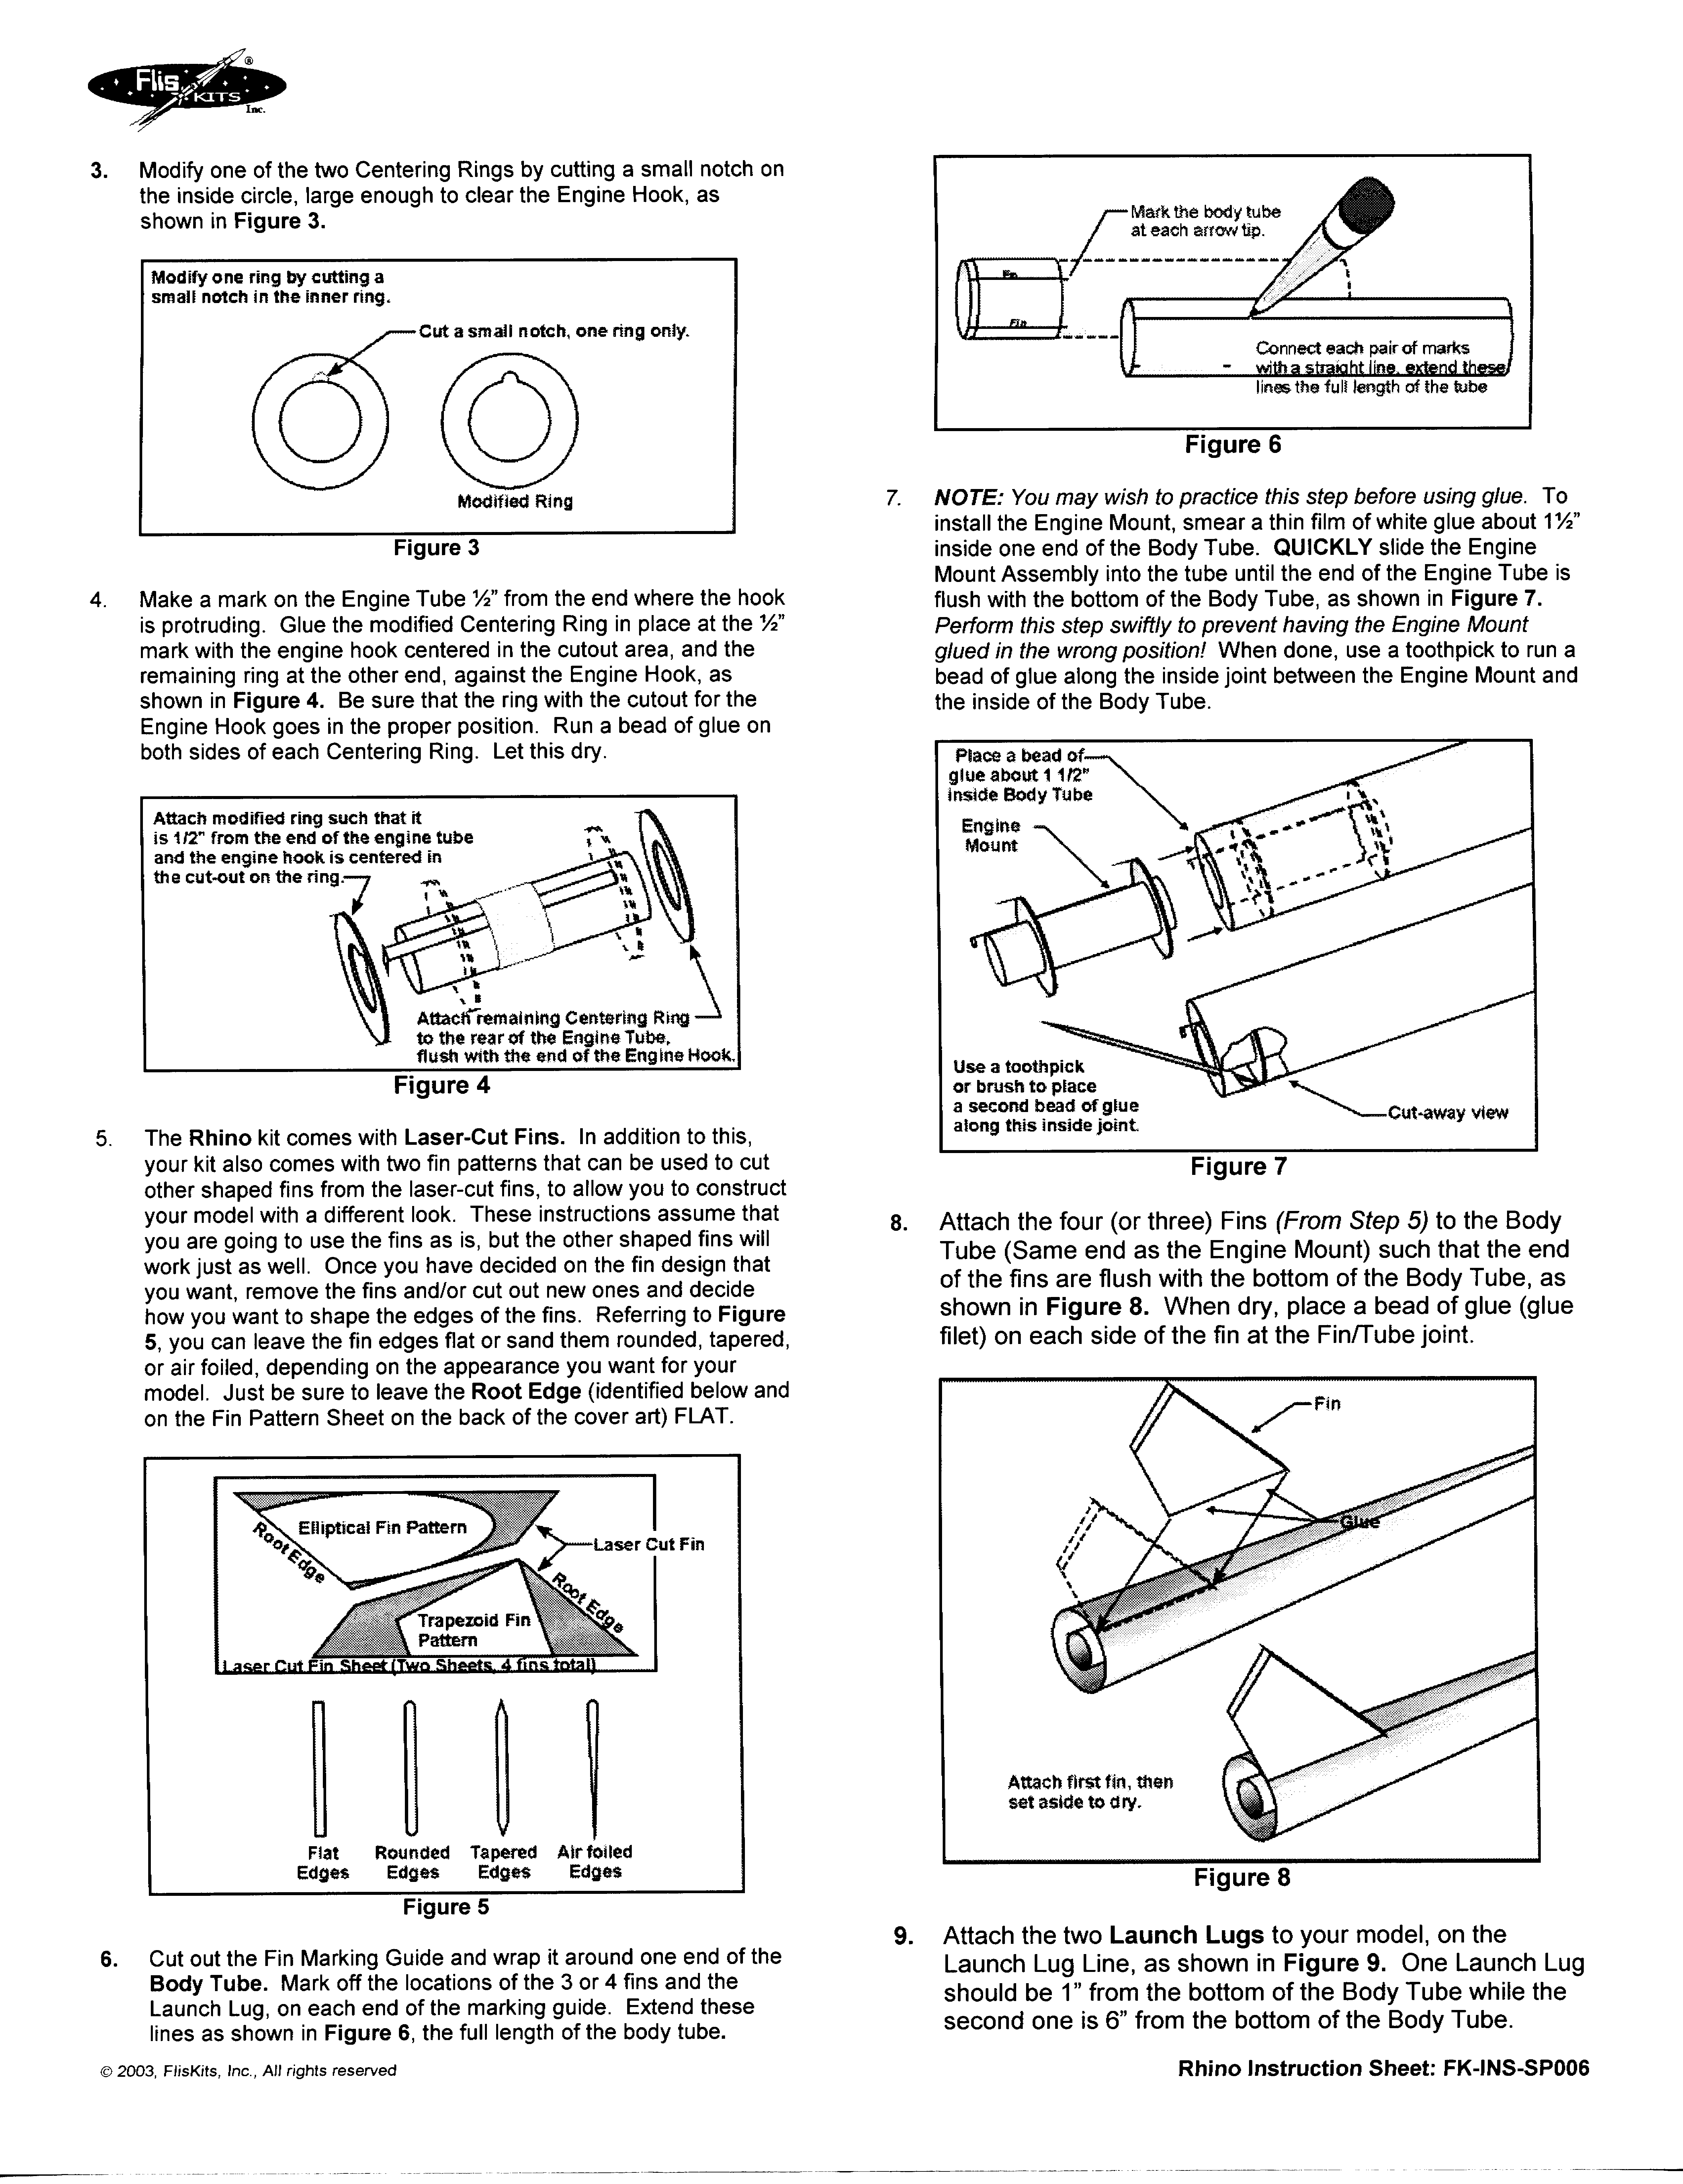
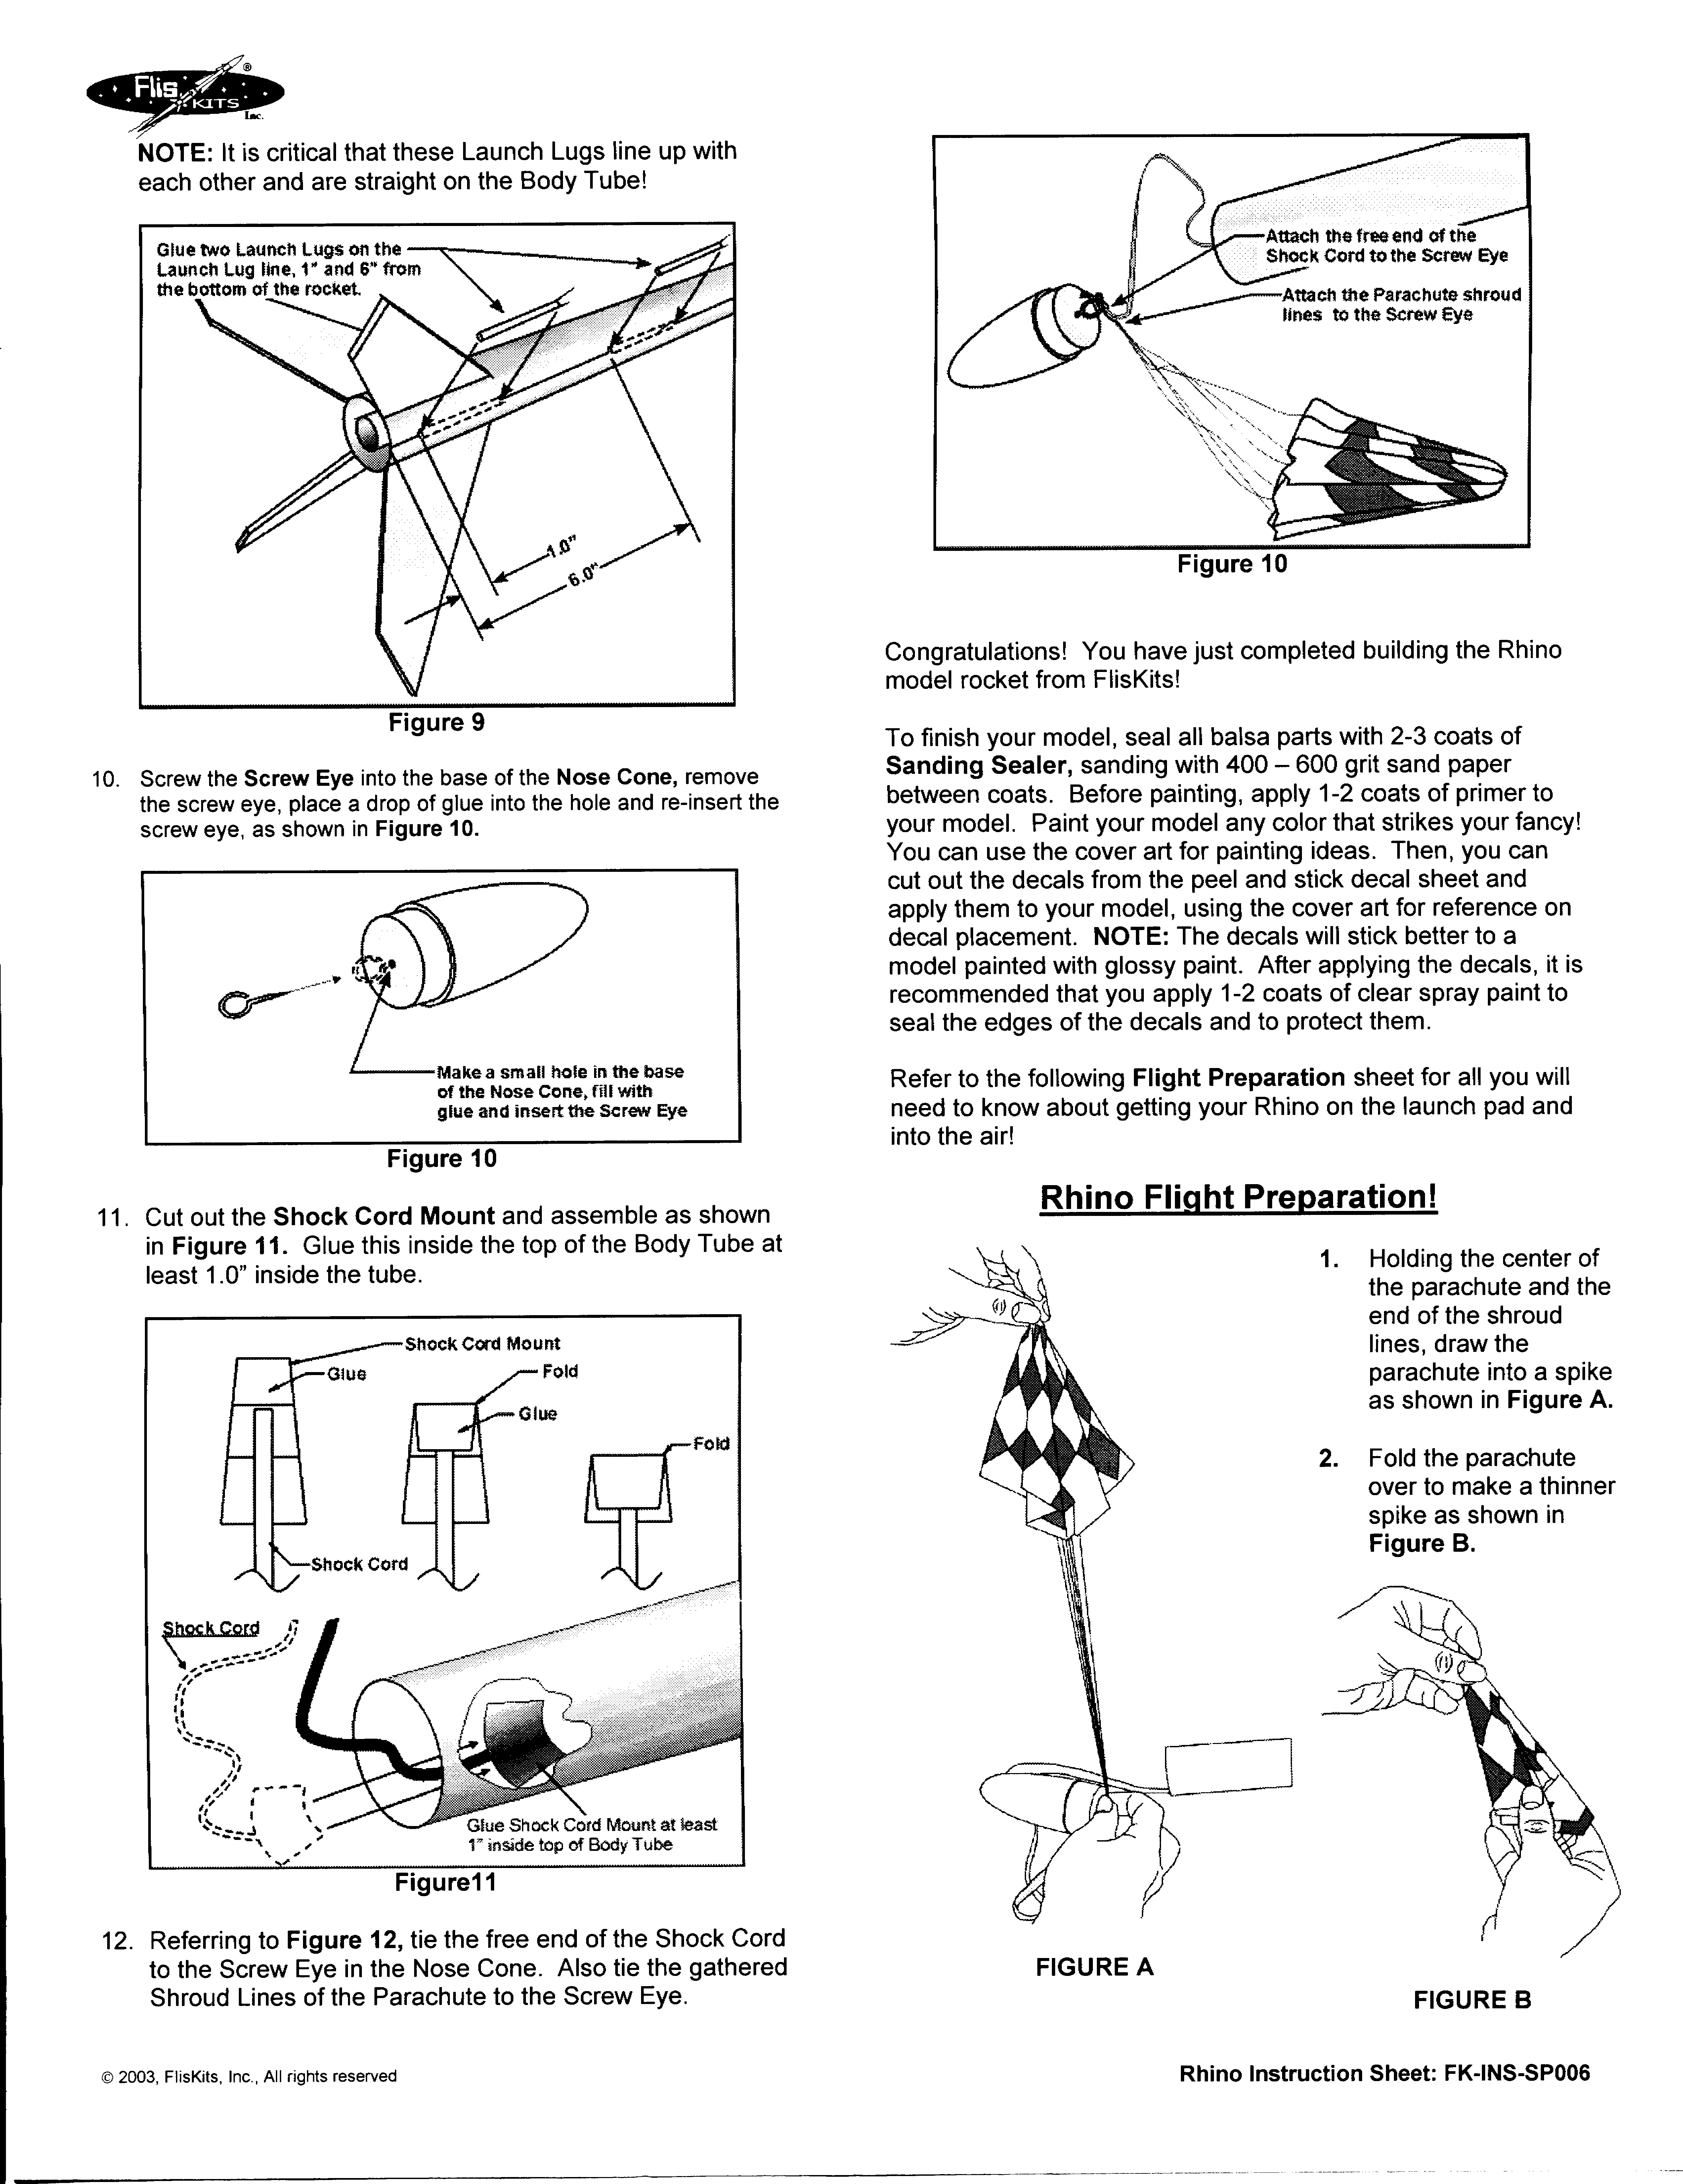
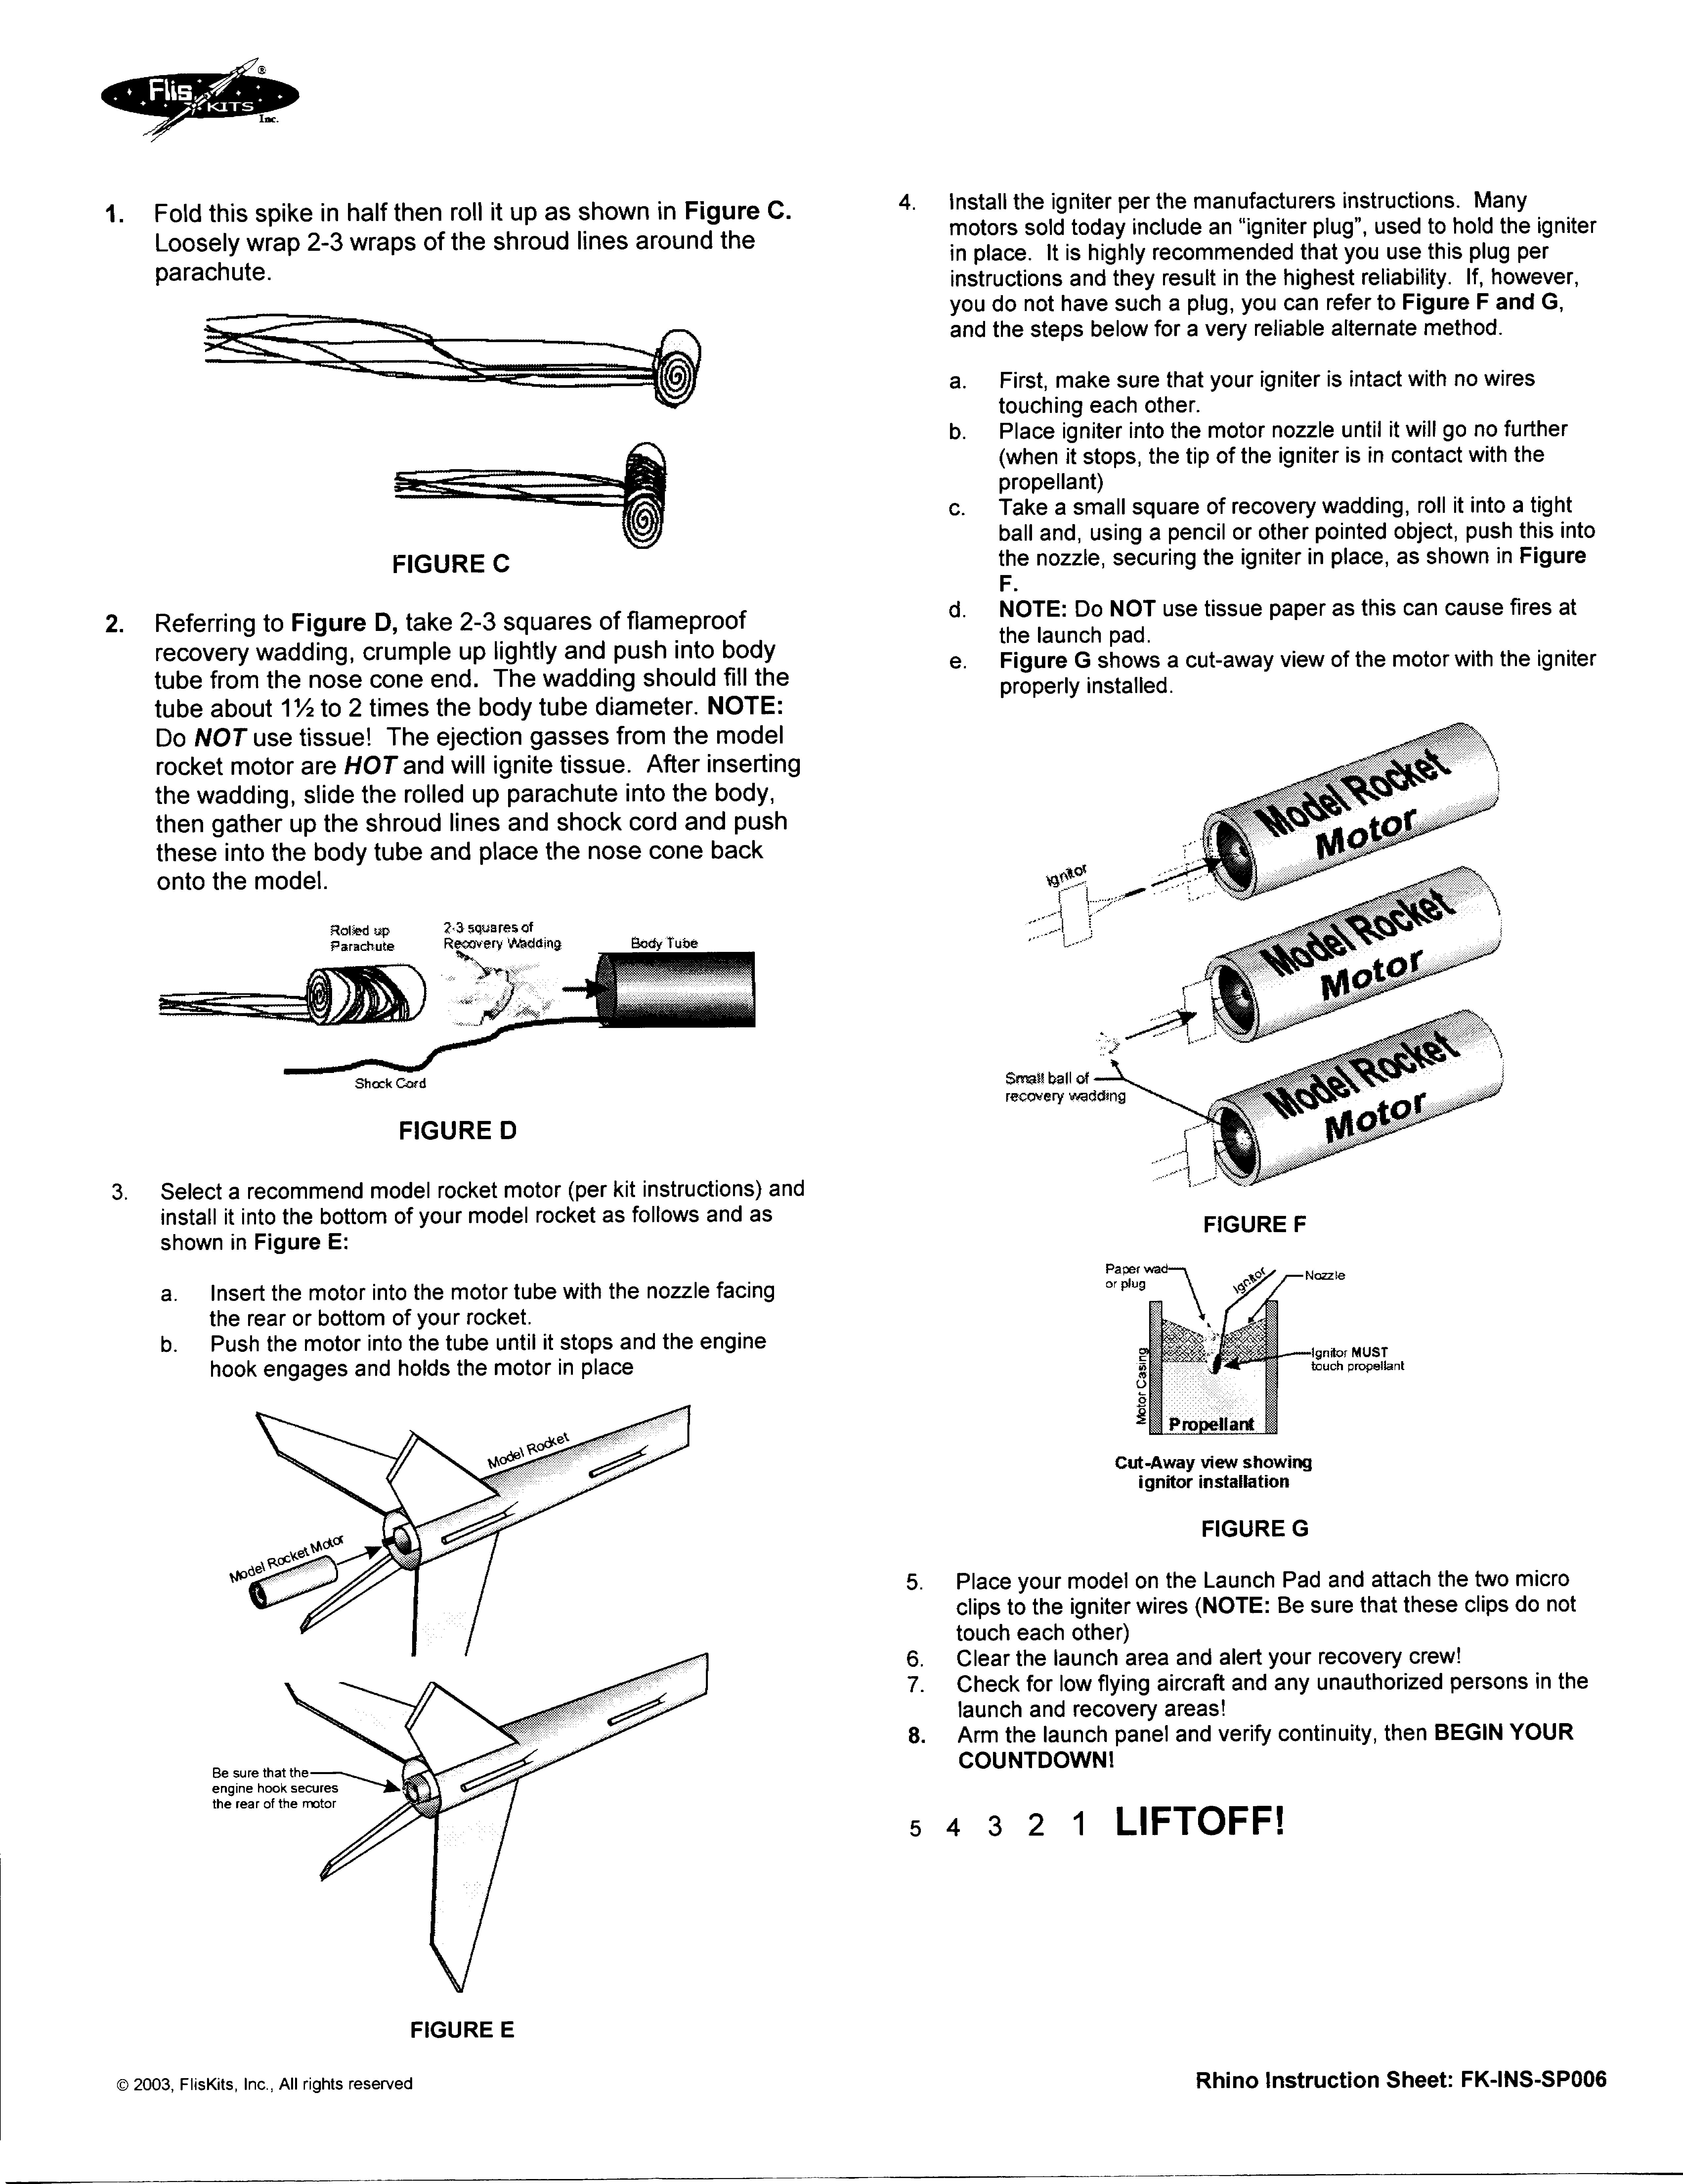
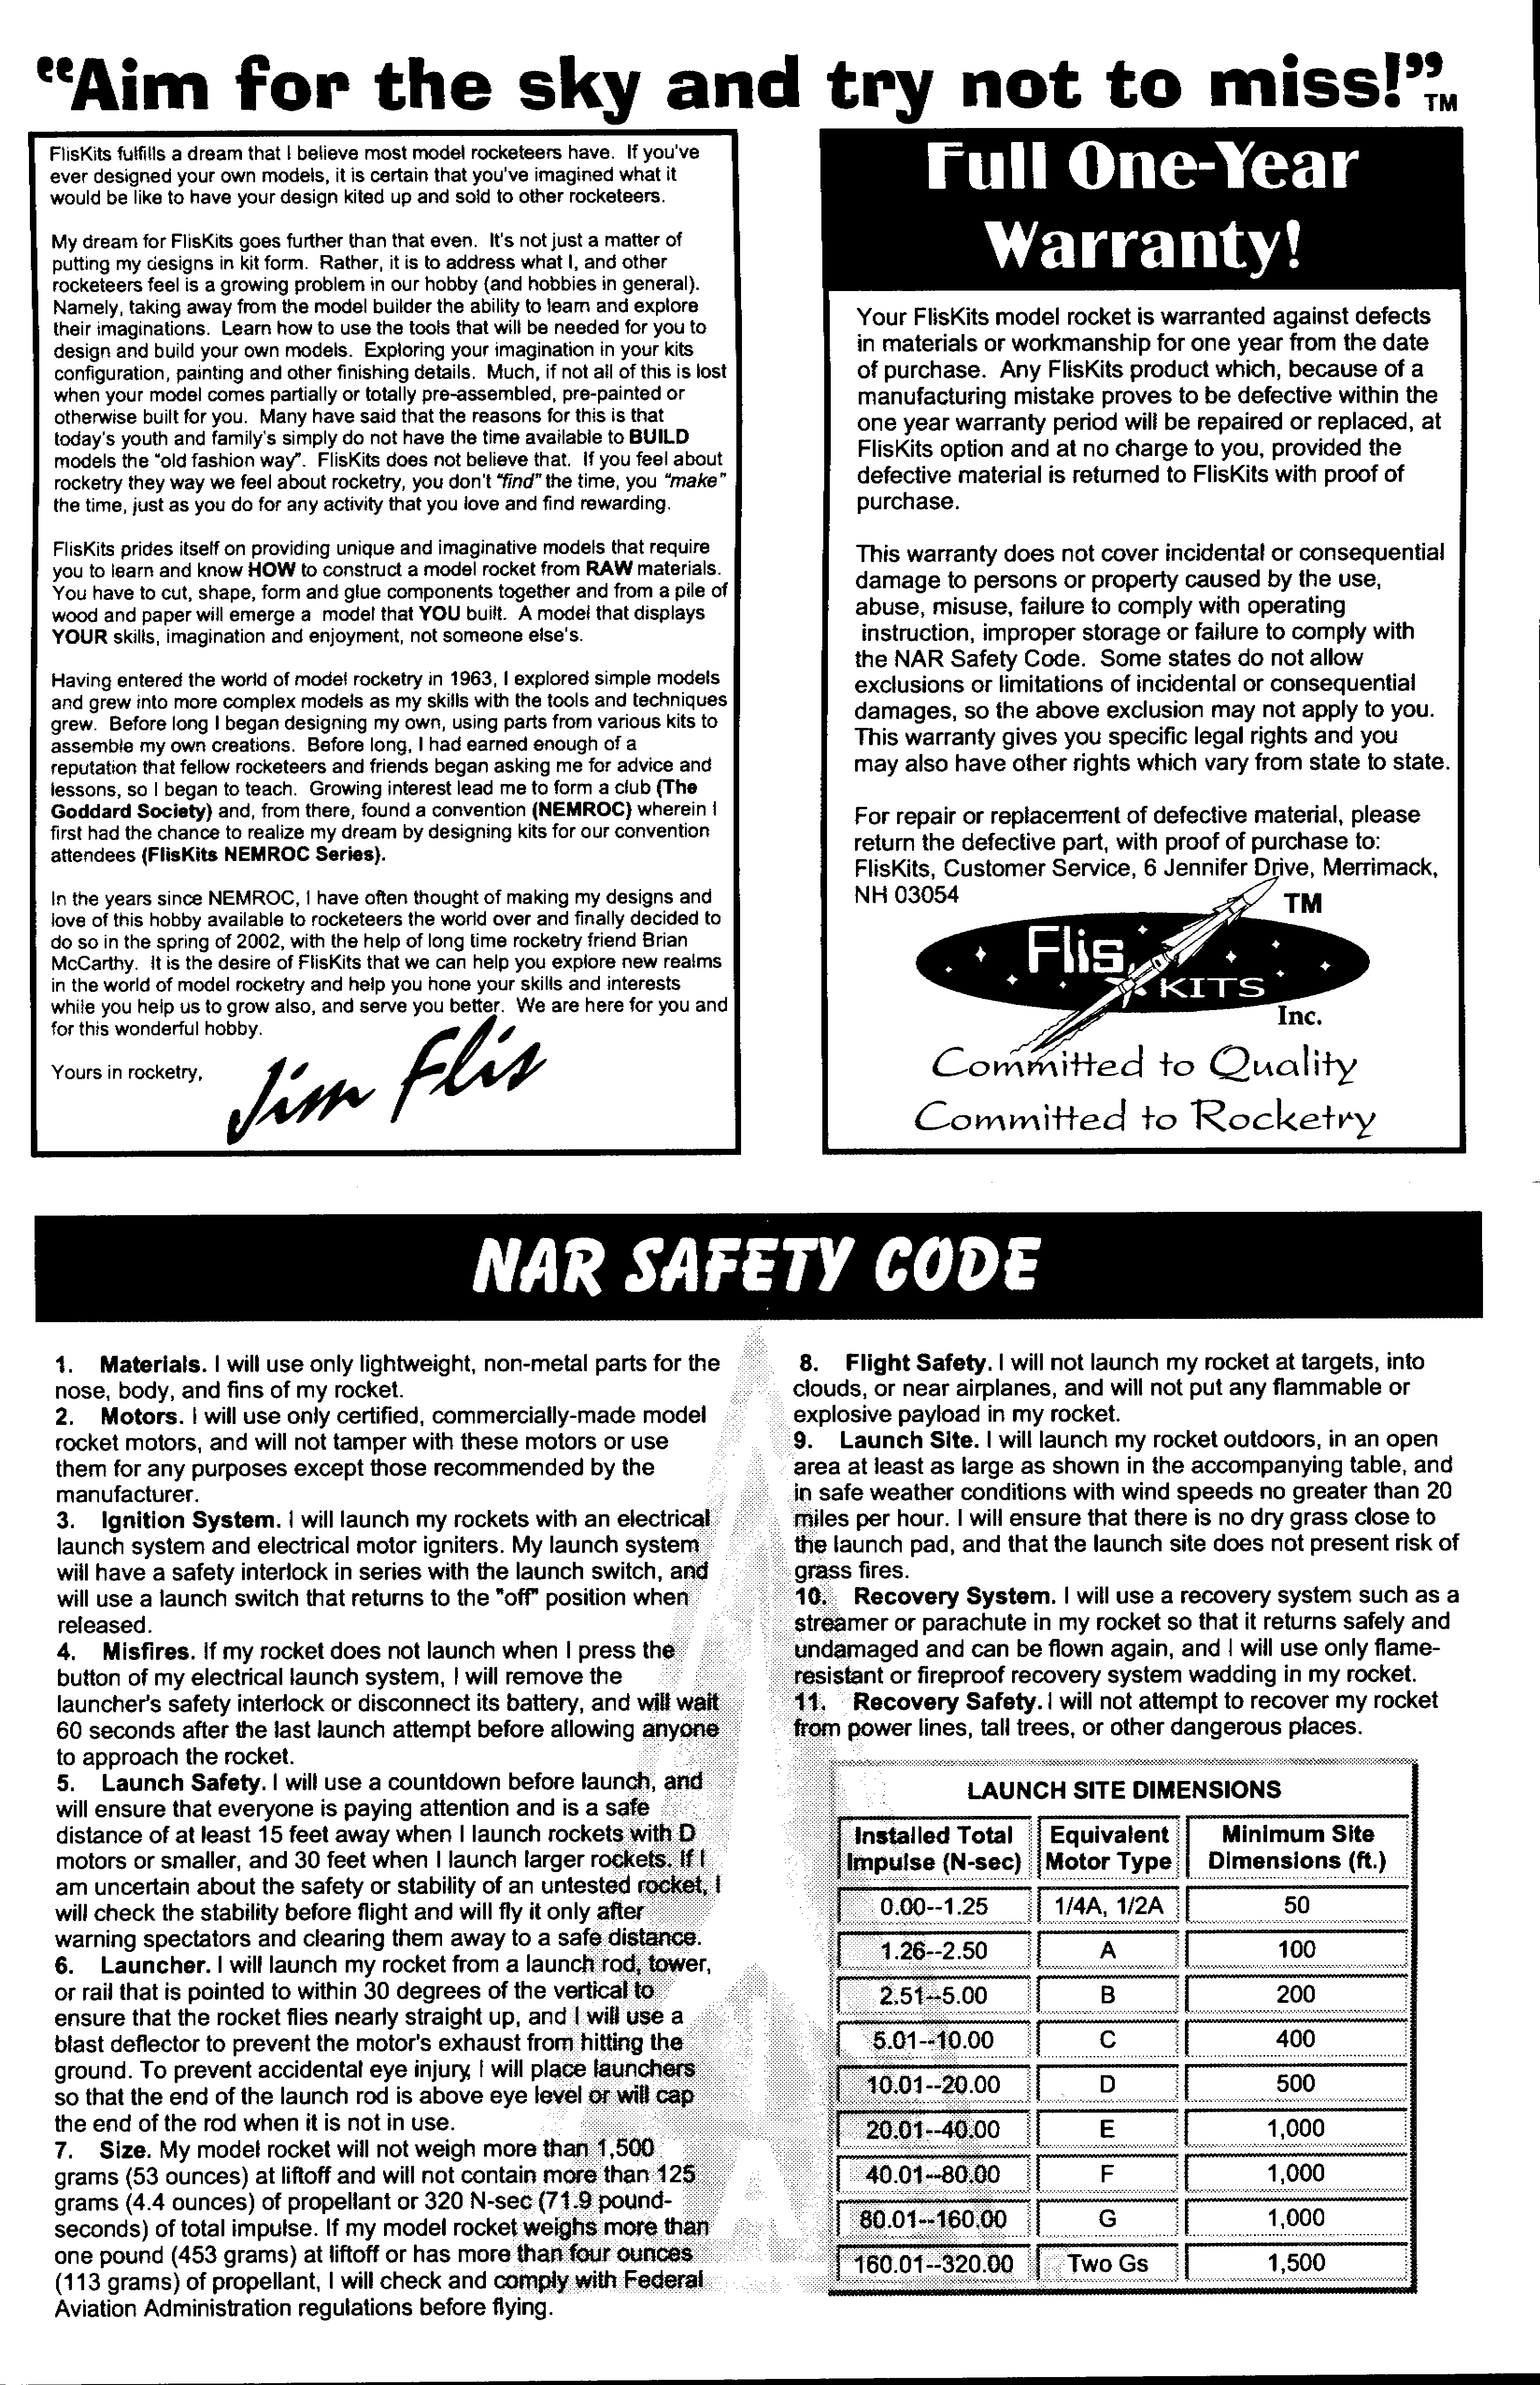
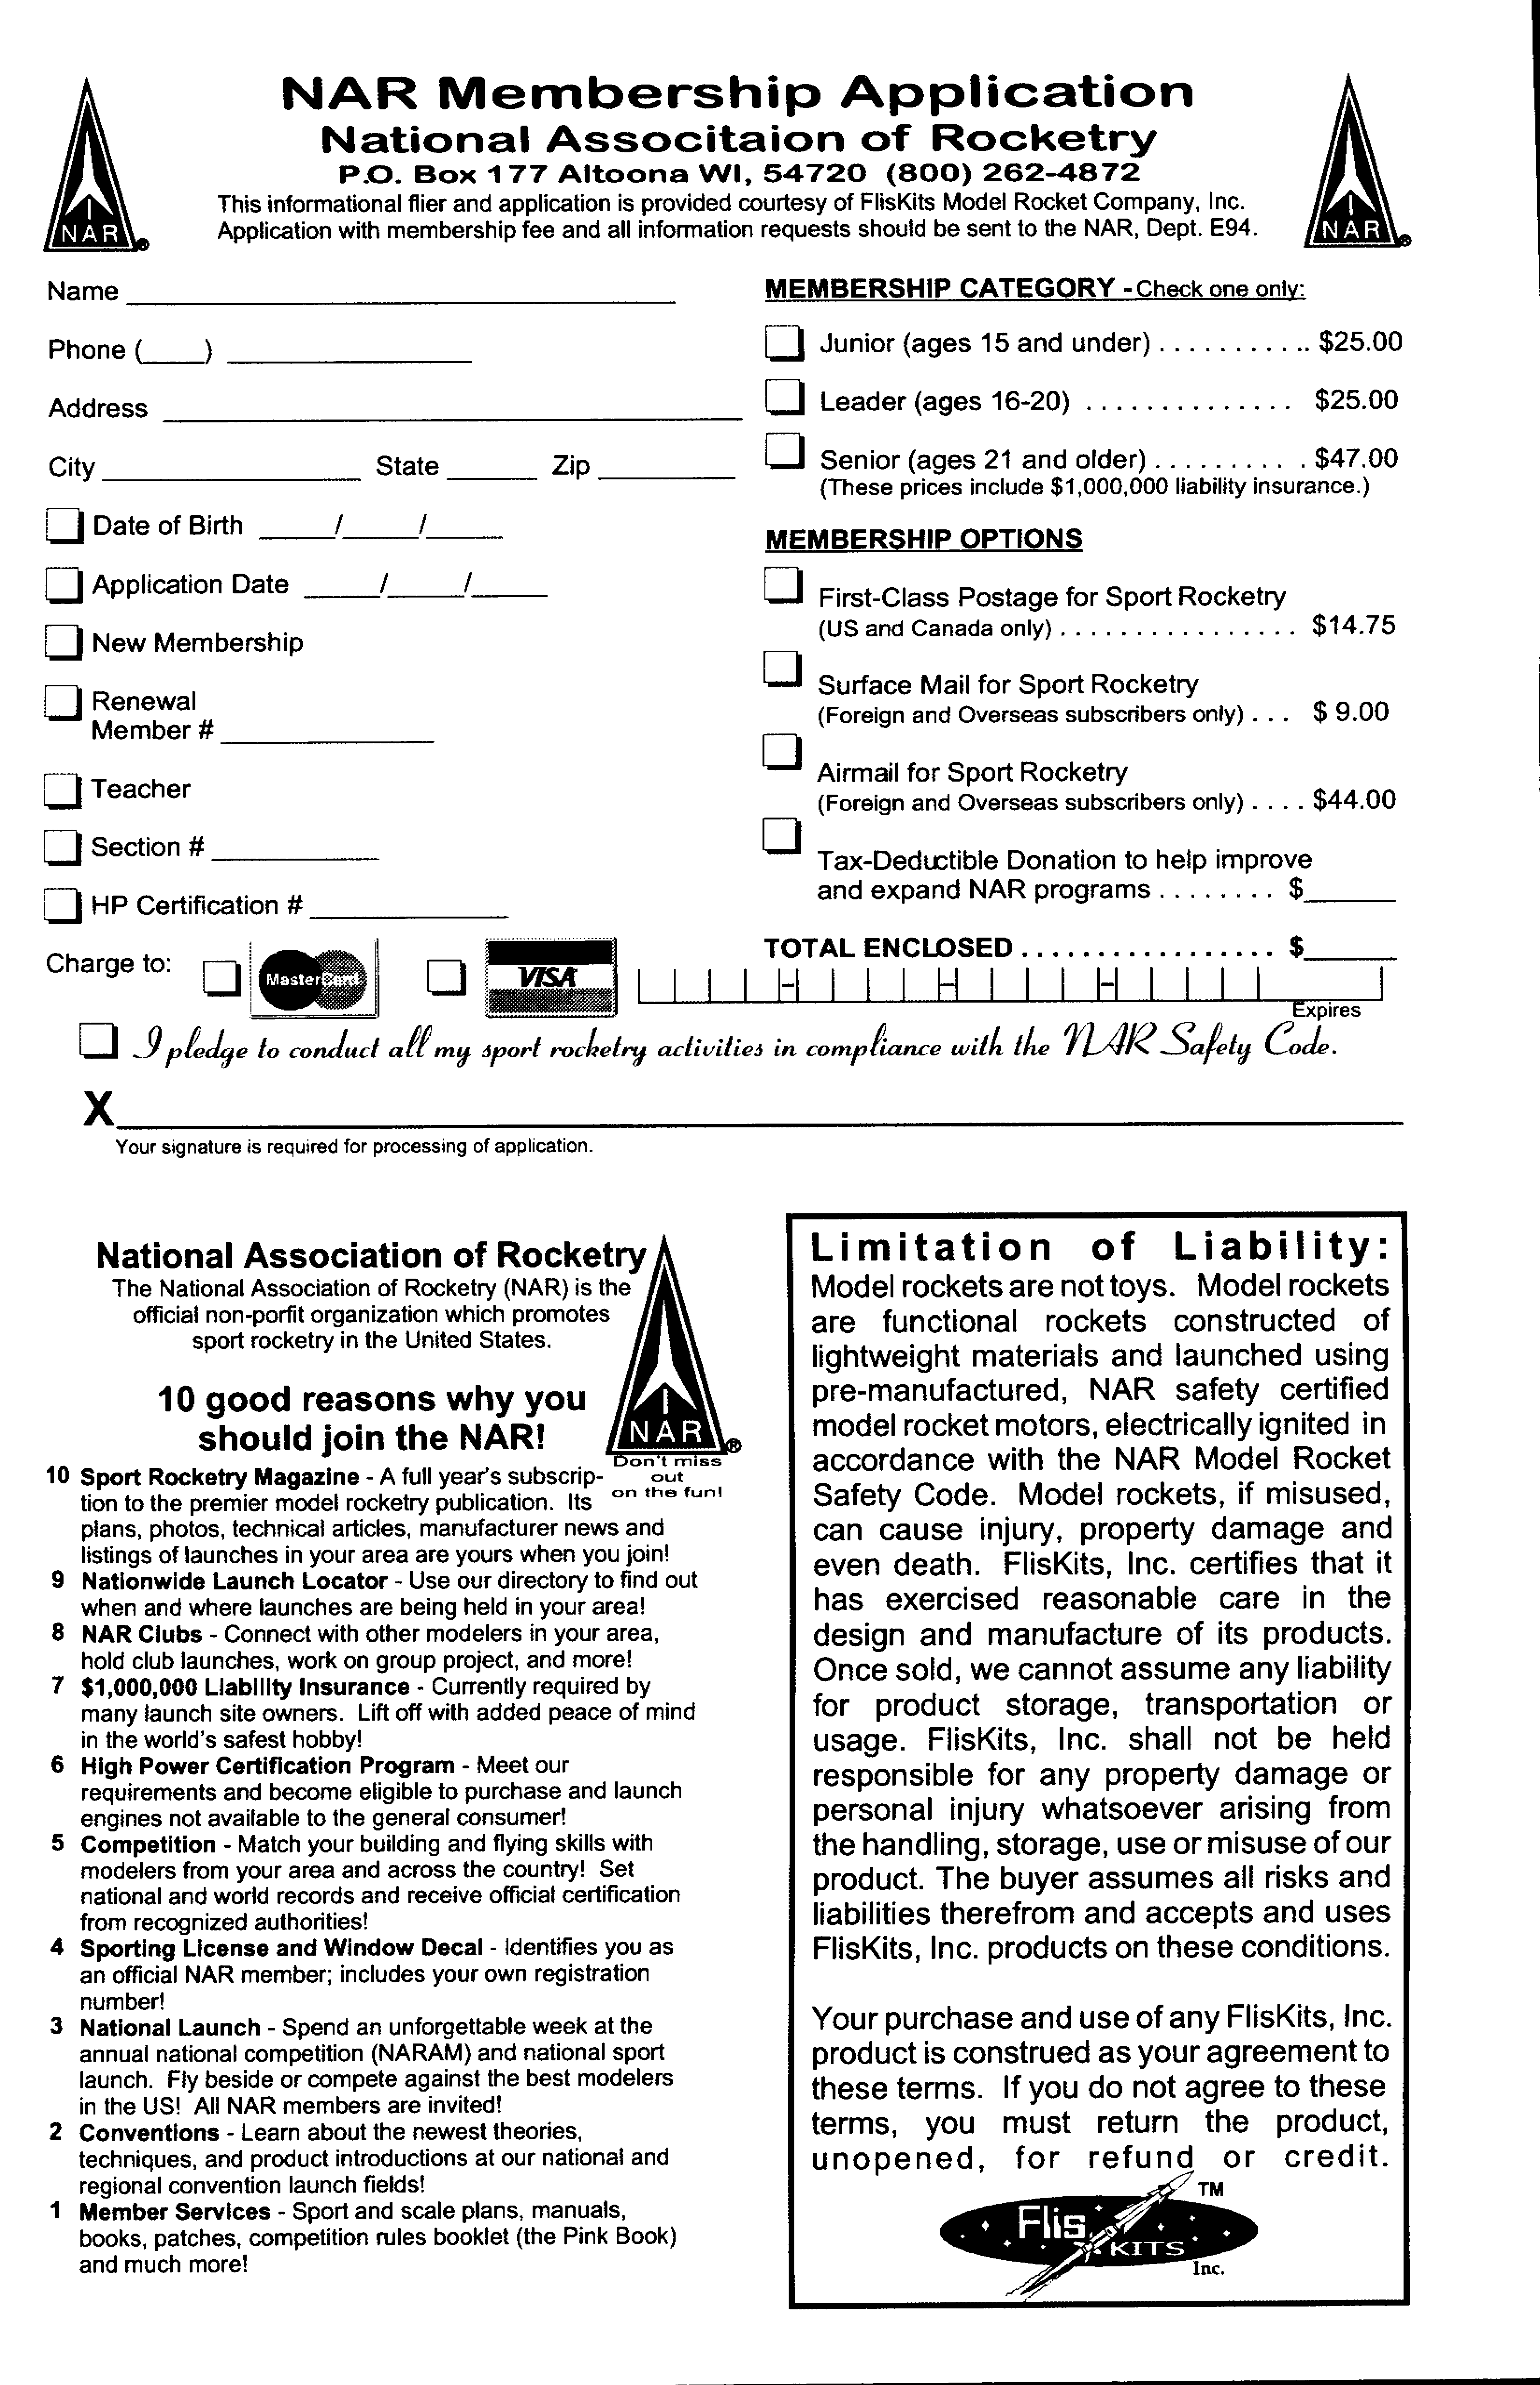
Photo Gallery



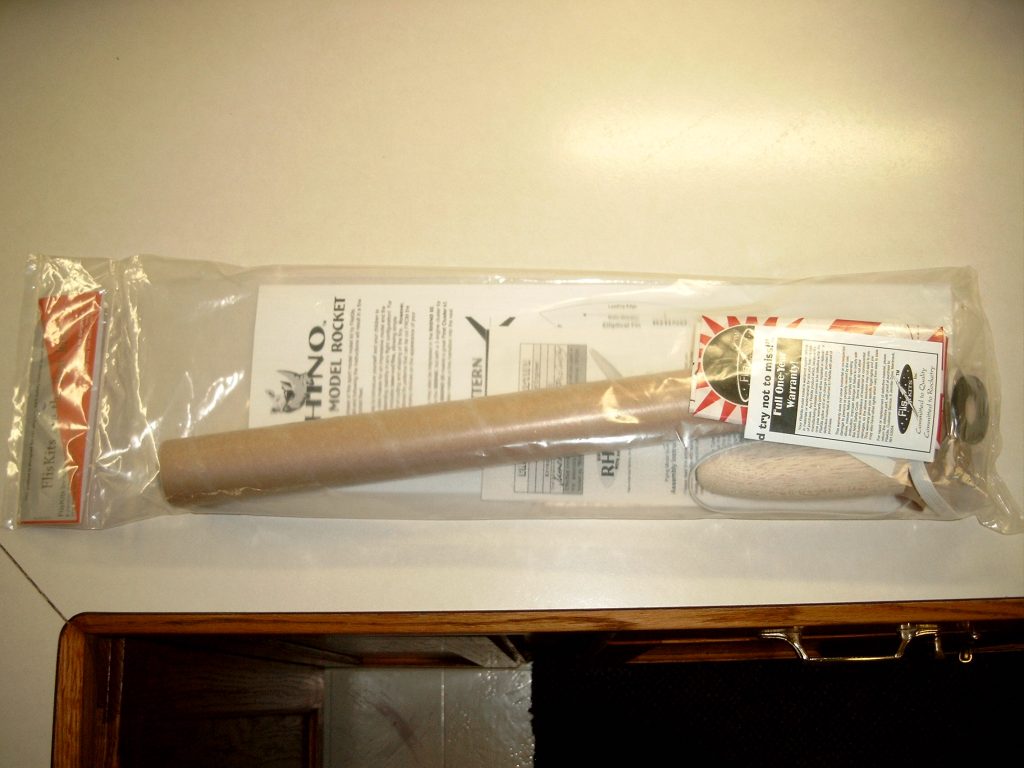
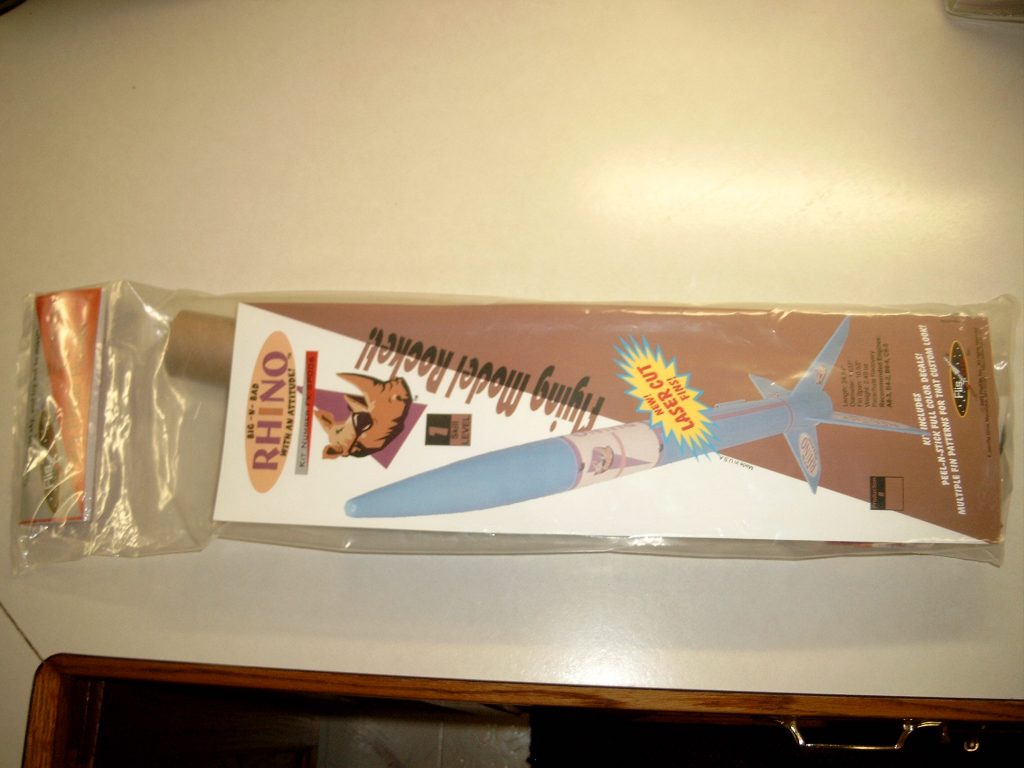
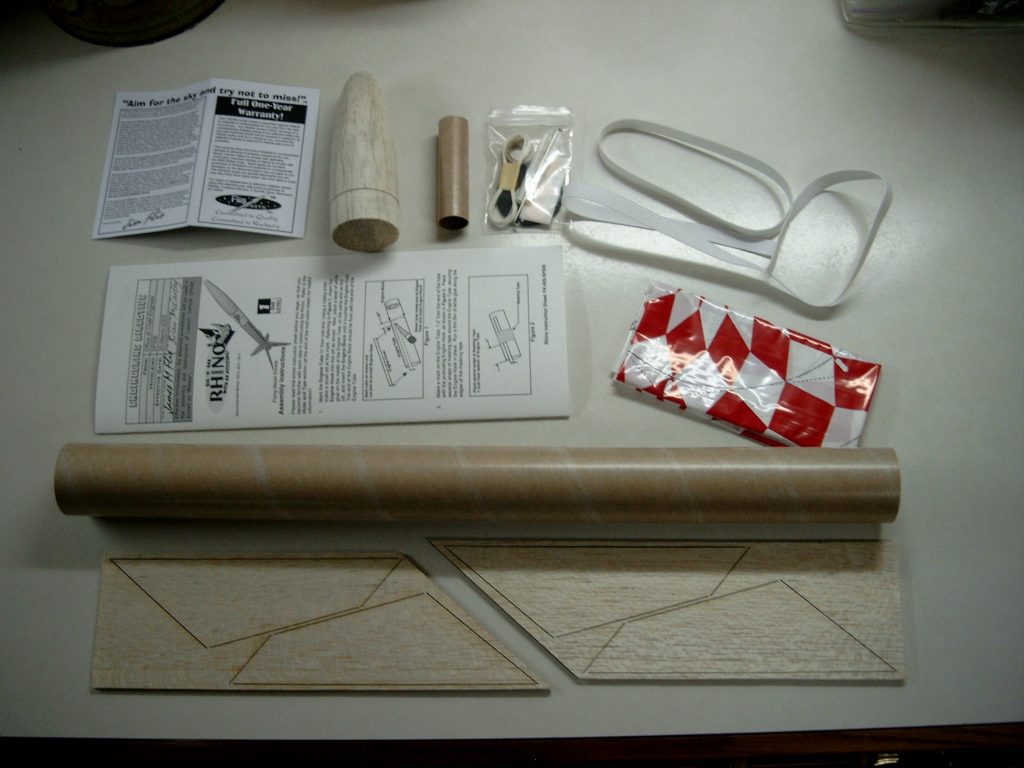
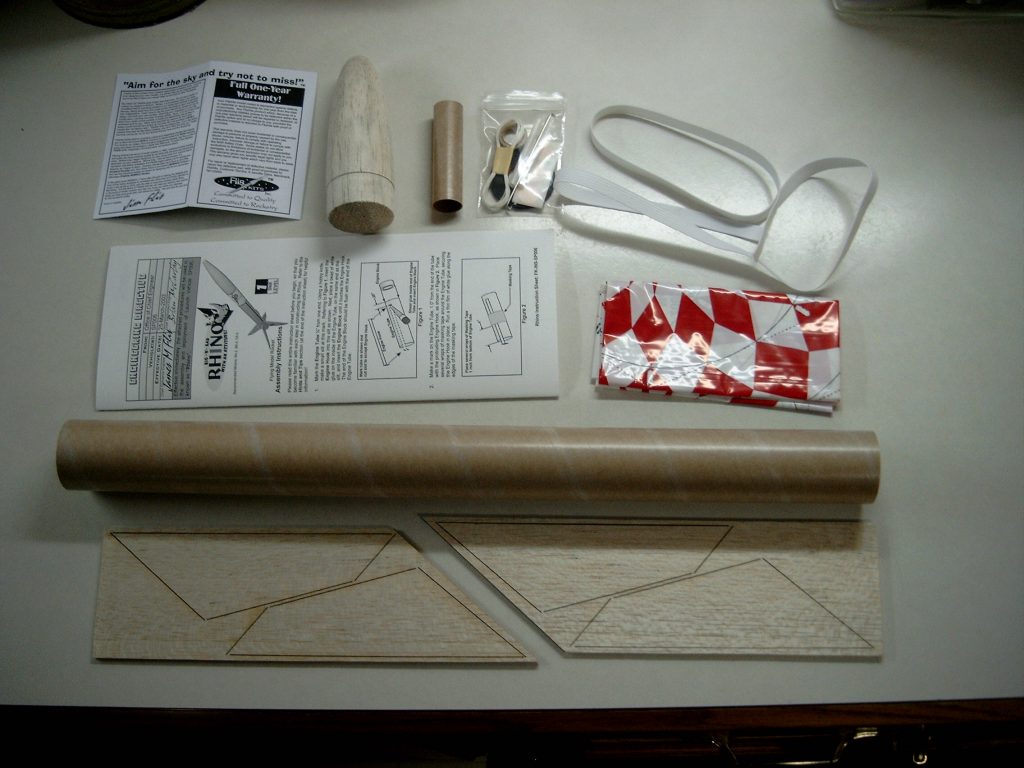
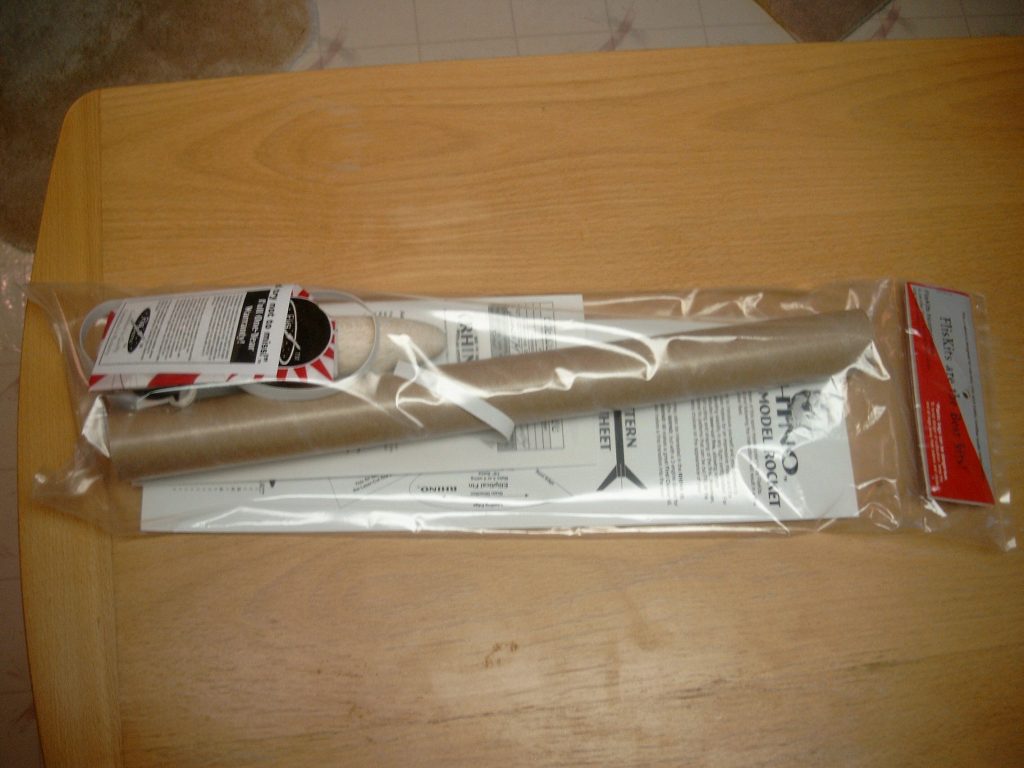
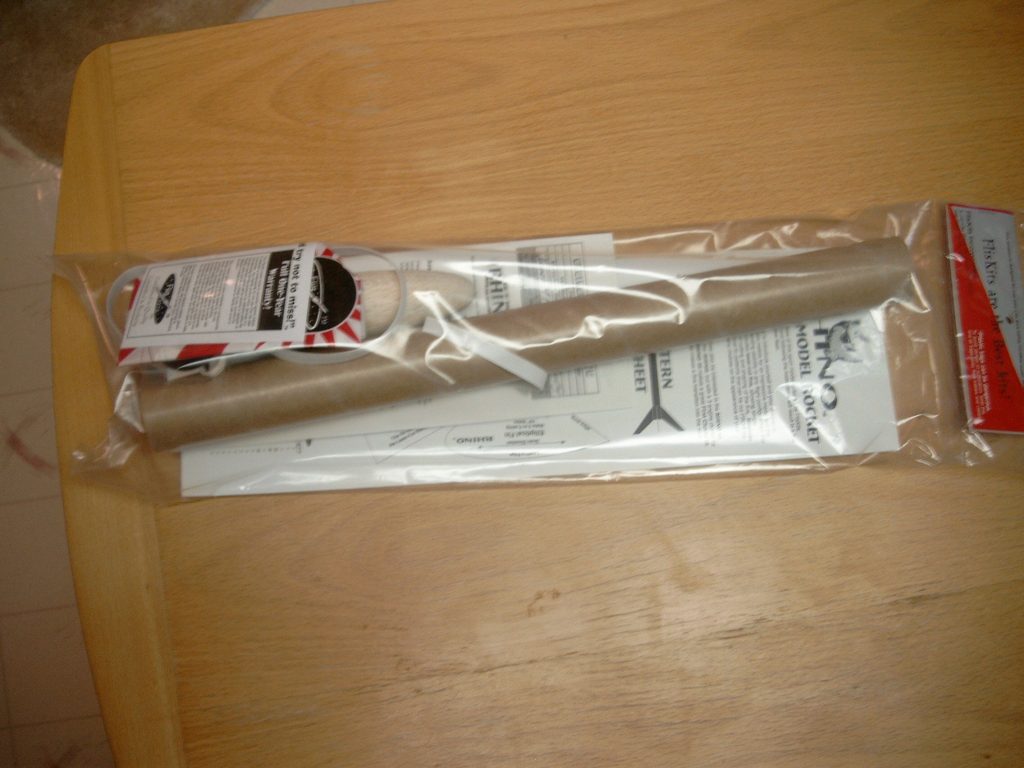
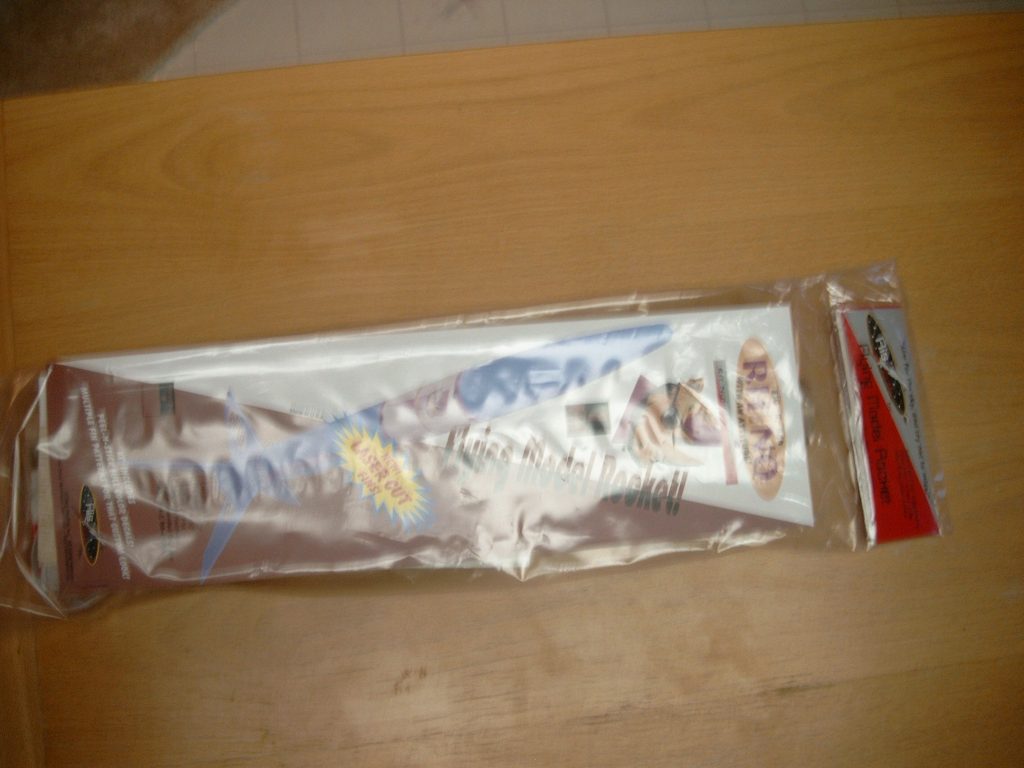
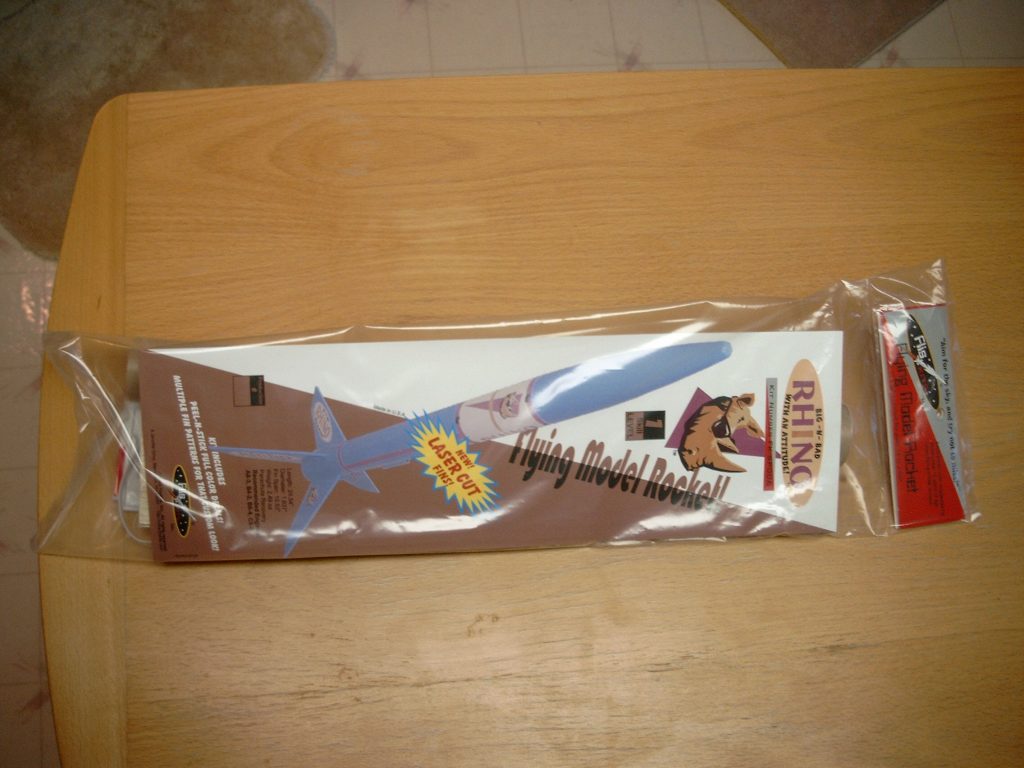
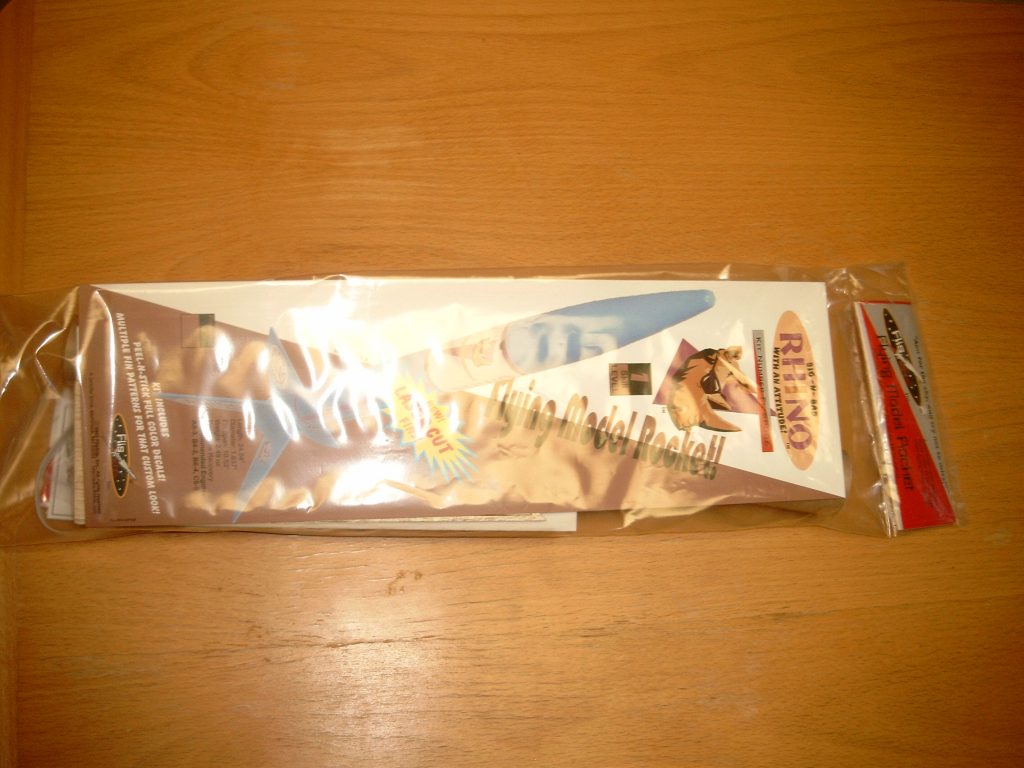
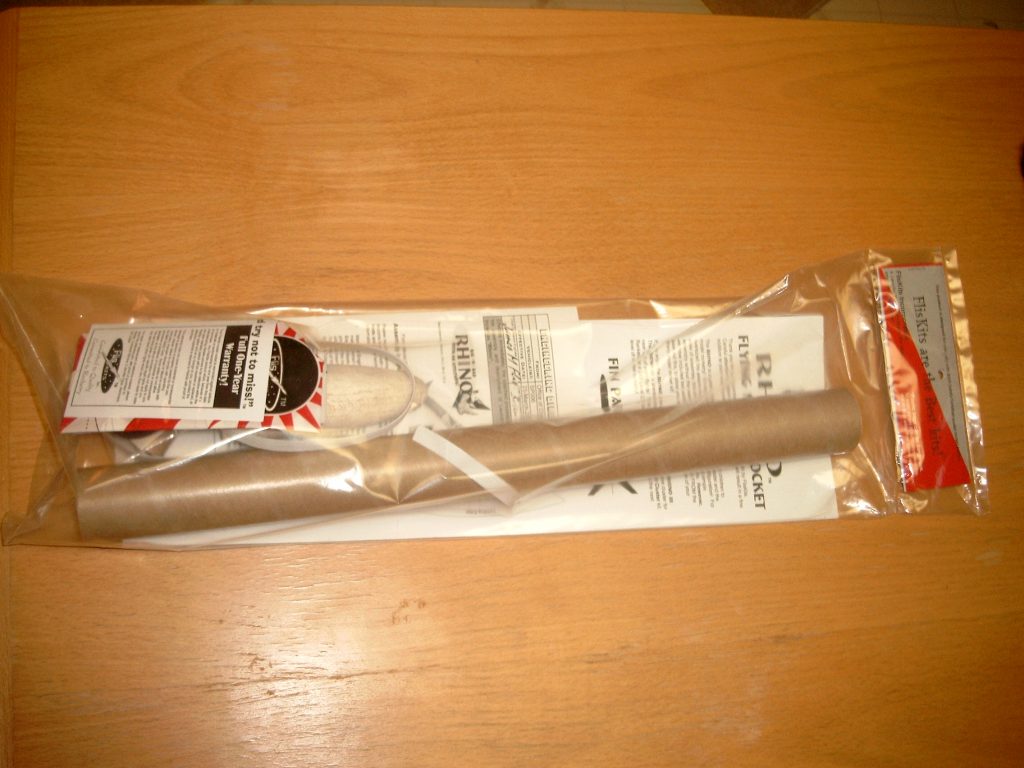
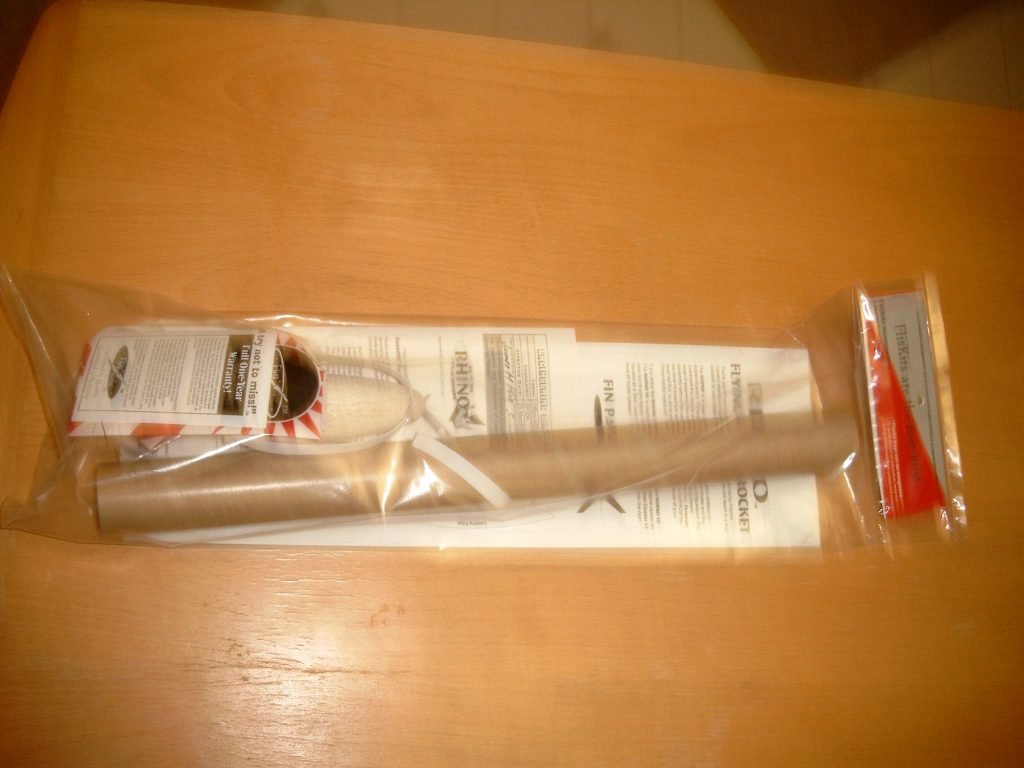
Build History
- 12/29/2003 – Purchased FlisKits #SP006 Rino from FlisKits for $10.75 (Retail – $11.95).
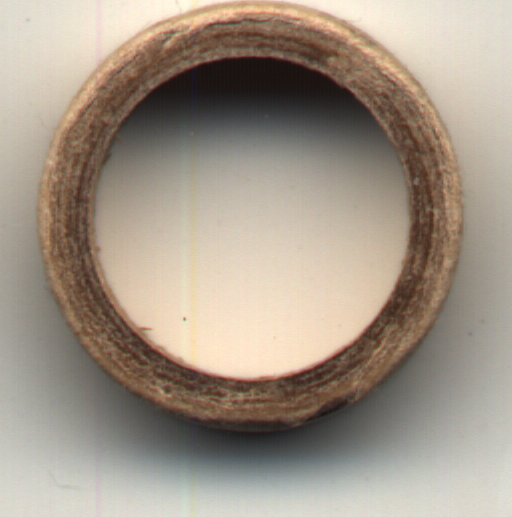
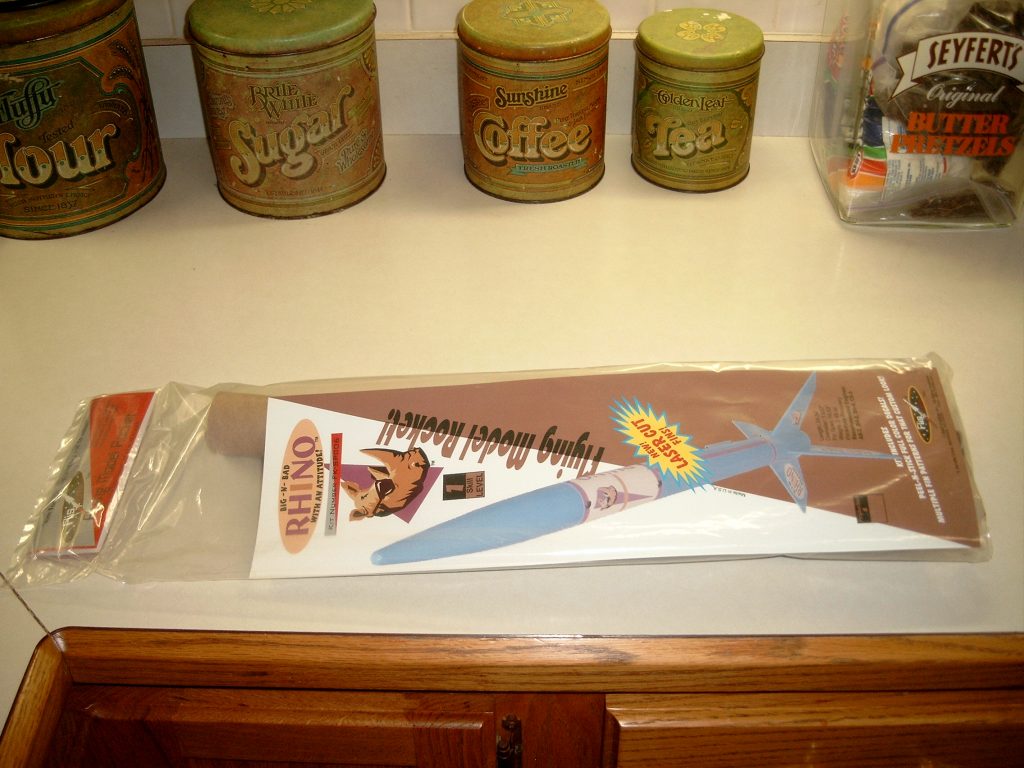
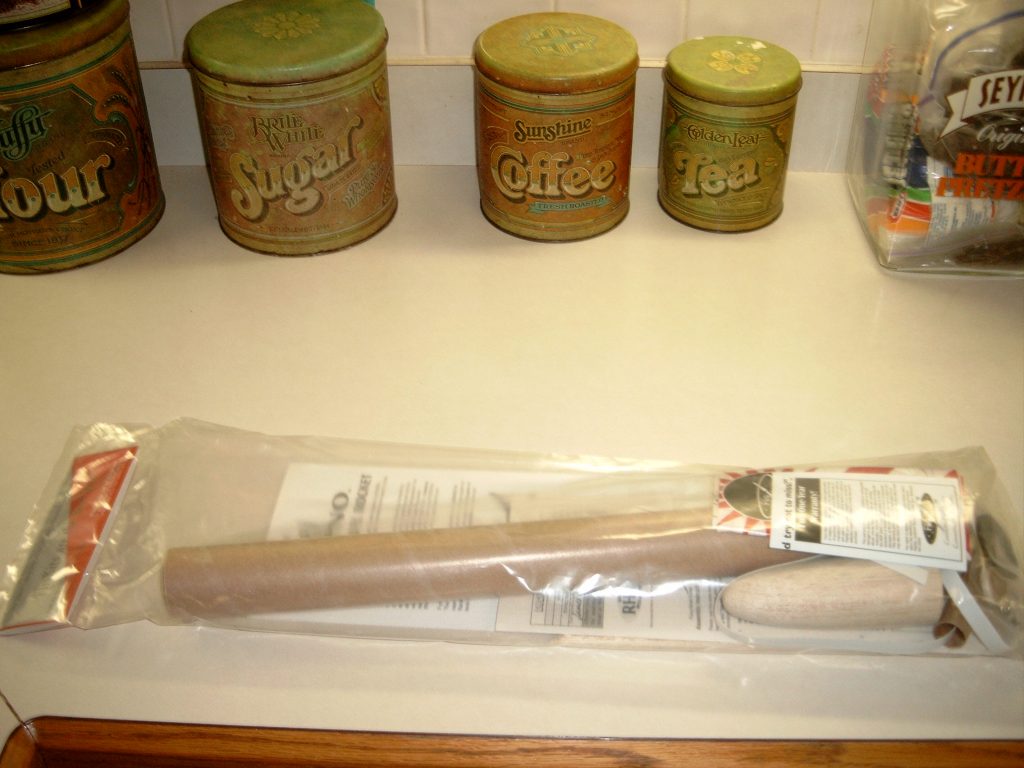
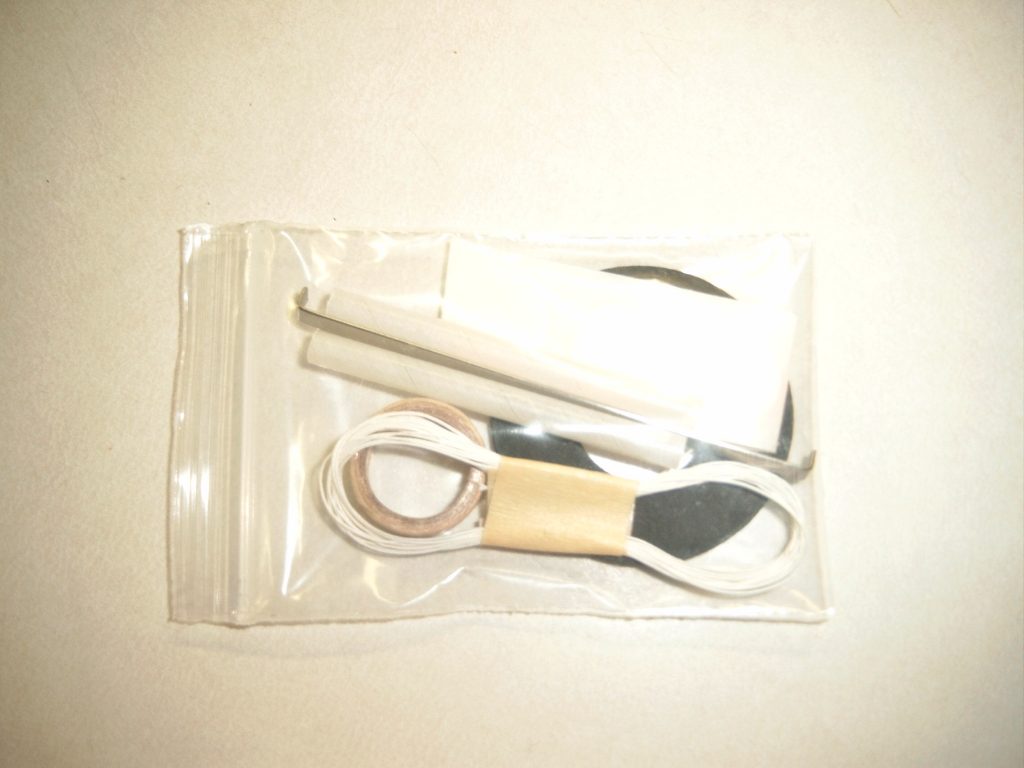
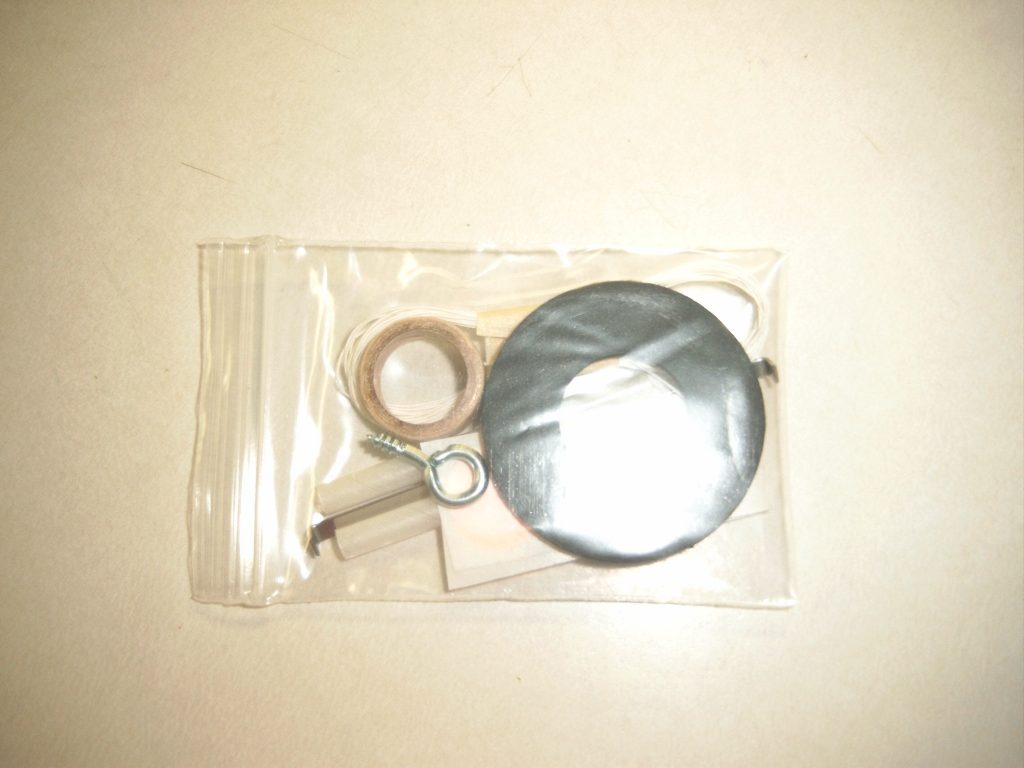
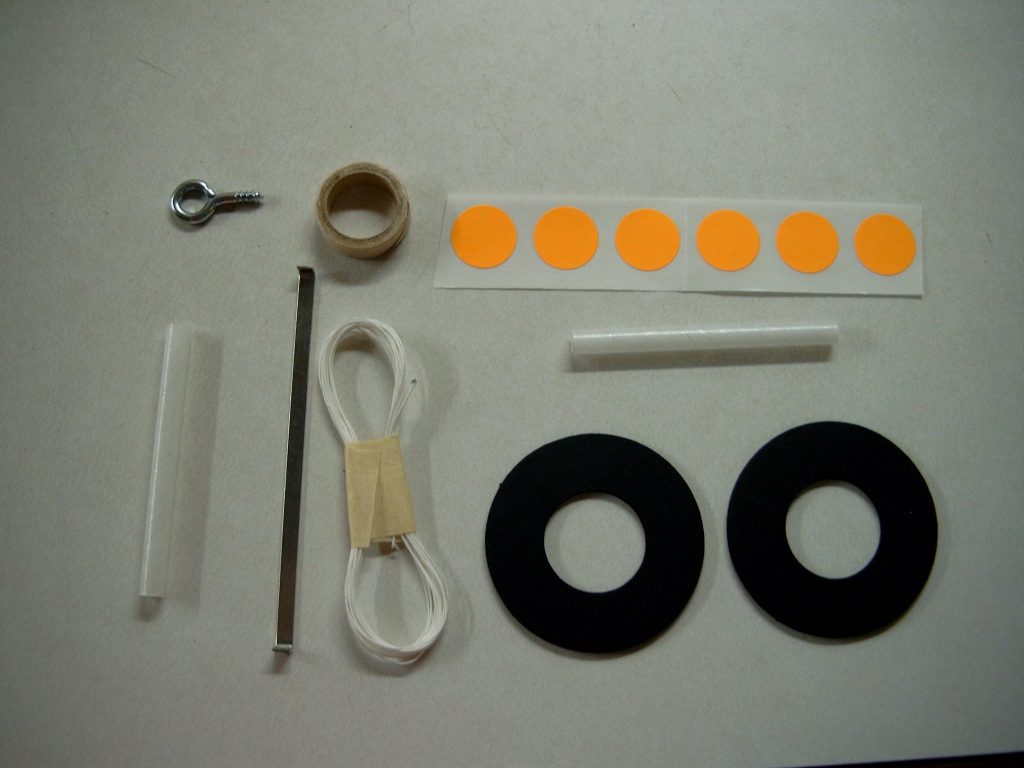
- 10/24/2004 – Took pictures, opened package and took picture of components. Scanned decal, instructions, centering ring, engine block, nose cone fin sheet and parachute material. This model has 3 styles of fins configurations. Laser cut balsa fins can be found on page 106 of Book #2. The elliptical and trapezoid fins are on the back of the picture card and have been scanned for future reference.
- 10/27/2004 – Cut out shock cord mount and fin maraking guide. Measured 1/4″ from one end of motor mount tube and cut a 1/4″ slot for the upper portion of the engine hook. Placed the engine hook into the slit extending the hook along the side of the motor tube. Measured 1″ from the rear of the motor hook and placed several wraps of 1″ masking tape around the mask toward the forward end of the tube. Placed one centering ring flush with the forward end of the tube. Place another centering ring 1/2″ from the rear edge of the tube. Filleted each side of each centering ring on the motor mount tube.
- 10/28/2004 – Using Estes marking kit, marked the body tube for four fin construction and launch lug. Extended each line full length of body tube. Applied glue inside of body tube and inserted motor mount assembly.
- 10/31/2004 – Shaped 4 fins, rounded leading edge and tapered trailing edges. Glued each fin to the fin marking guide lines on the body tube. Installed the screw eye into the nose cone base. Filleted fin joints. Glued on launch lug 1″ from rear and other launch lug 6″ from rear of body tube. Filleted launch lug joints.
- 11/01/2004 – Filled in fillet holes of launch lugs.. Glued shock cord to mount and then to body tube. Cut out 16″ parachute, attached shroud discs, punched hole through discs and plastic. Cut shroud line into thirds and tied through holes. Attached a snap swivel to lines. Tied other end of shock cord to screw eye in nose cone base. Model is now ready for paint.
- 07/11/2005 – Brushed on first coat of balsa filler to balsa parts.
- 09/03/2005 – Cleaned model with damp sponge, allowed to dry and spray painted with Krylon #1501 Gloss White.
Flights
| Date | Location | # | Motor | Comments |
Leave a Reply
You must be logged in to post a comment.