FLIS KITS Model #SP001
Description
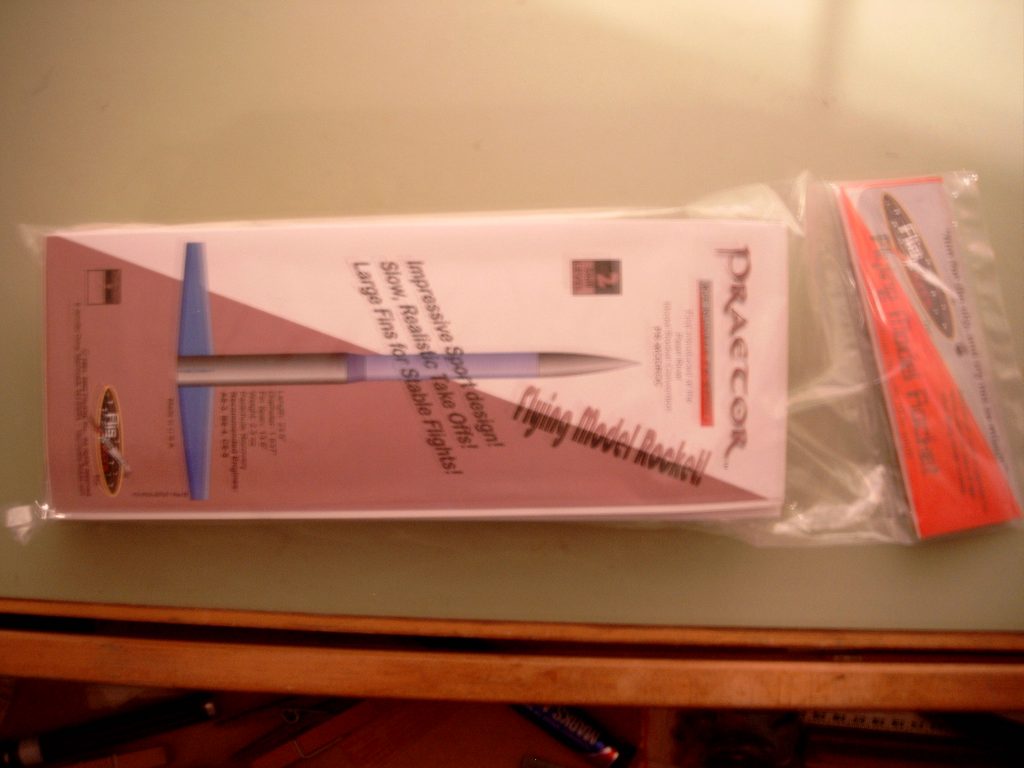
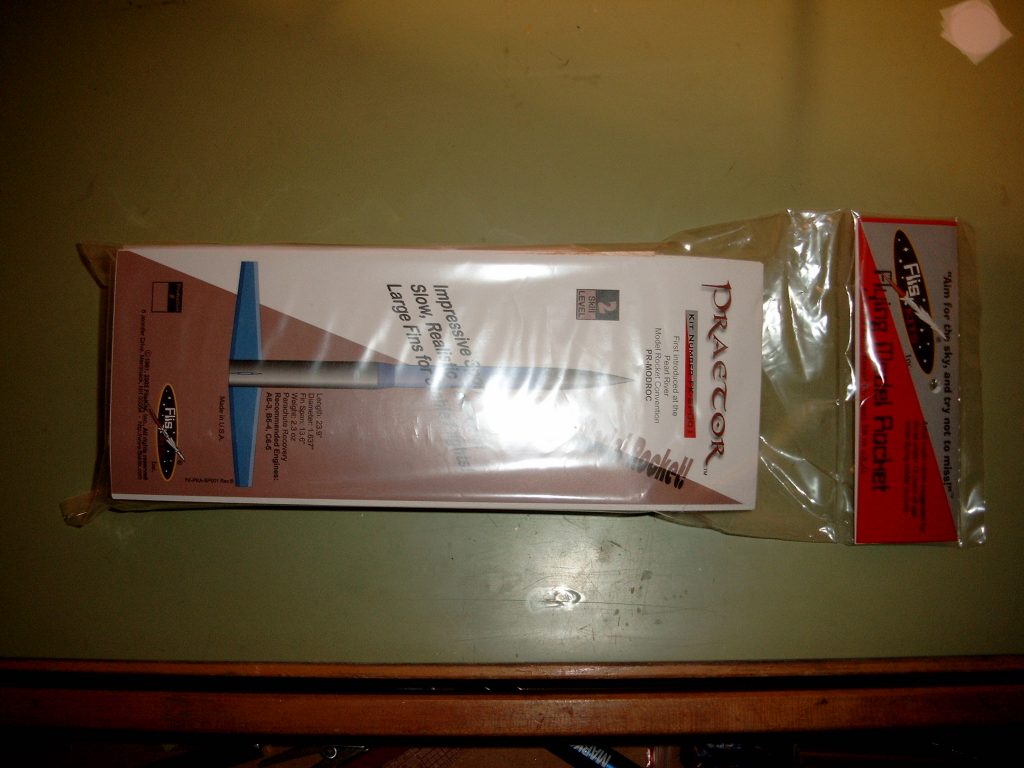
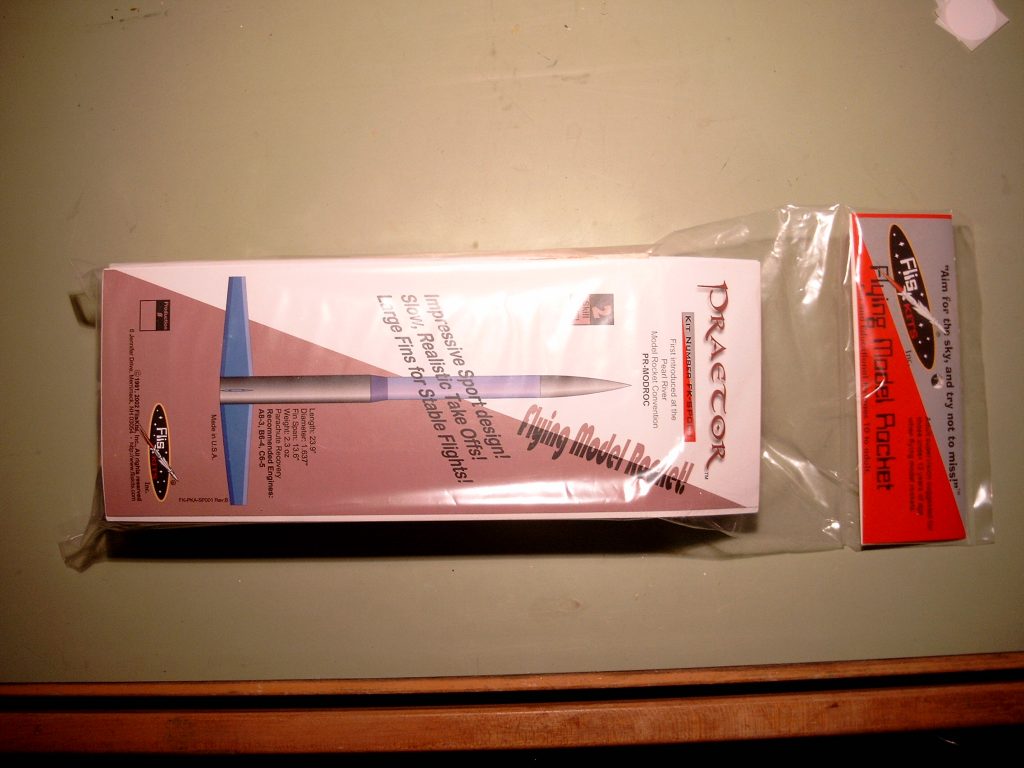
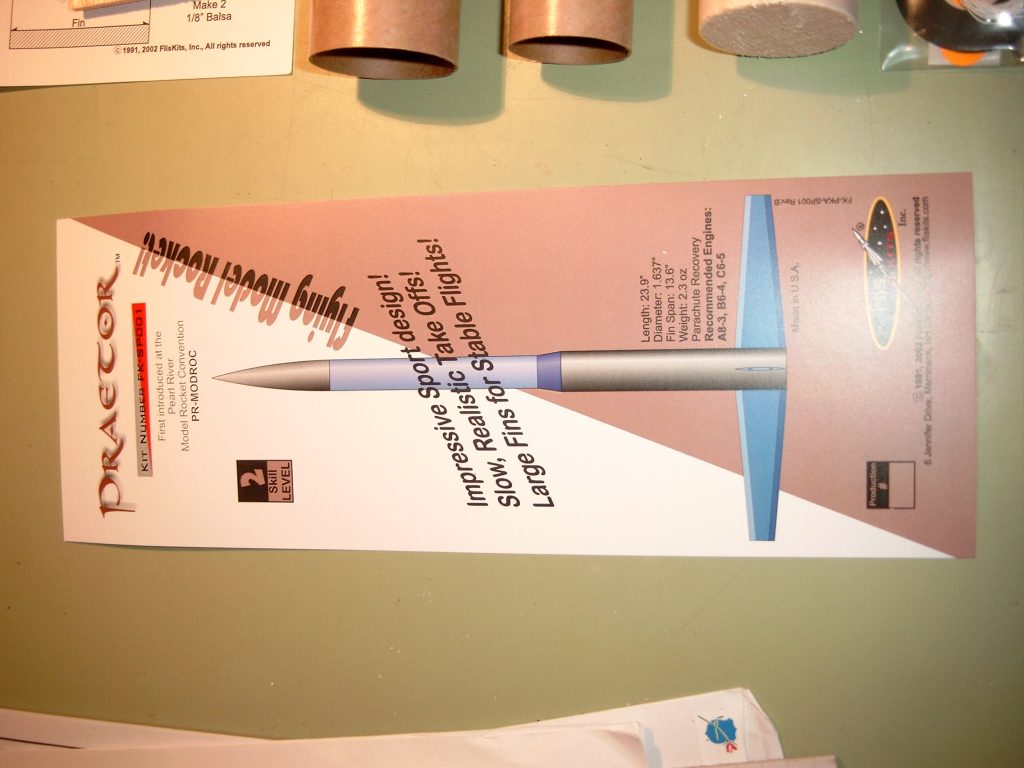
A FlisKits original, the Praetor was designed as the pre-registration gift for the 1990 Pearl River Model Rocketry Convention. Flying on 18mm motors, this craft features slow and realistic liftoffs. We are only selling this as a two stage rocket – a departure from the past…
Additional Information
Length: 27.9"
Diameter: 1.637"
Weight: 2.9 oz
Recovery: Parachute
Recommended Engines:
Single stage only:
A8-3, B6-4, C6-5
Two stage flights:
Booster: B6-0, C6-0
Sustainer: A8-5, B6-6, C6-7
Instructions
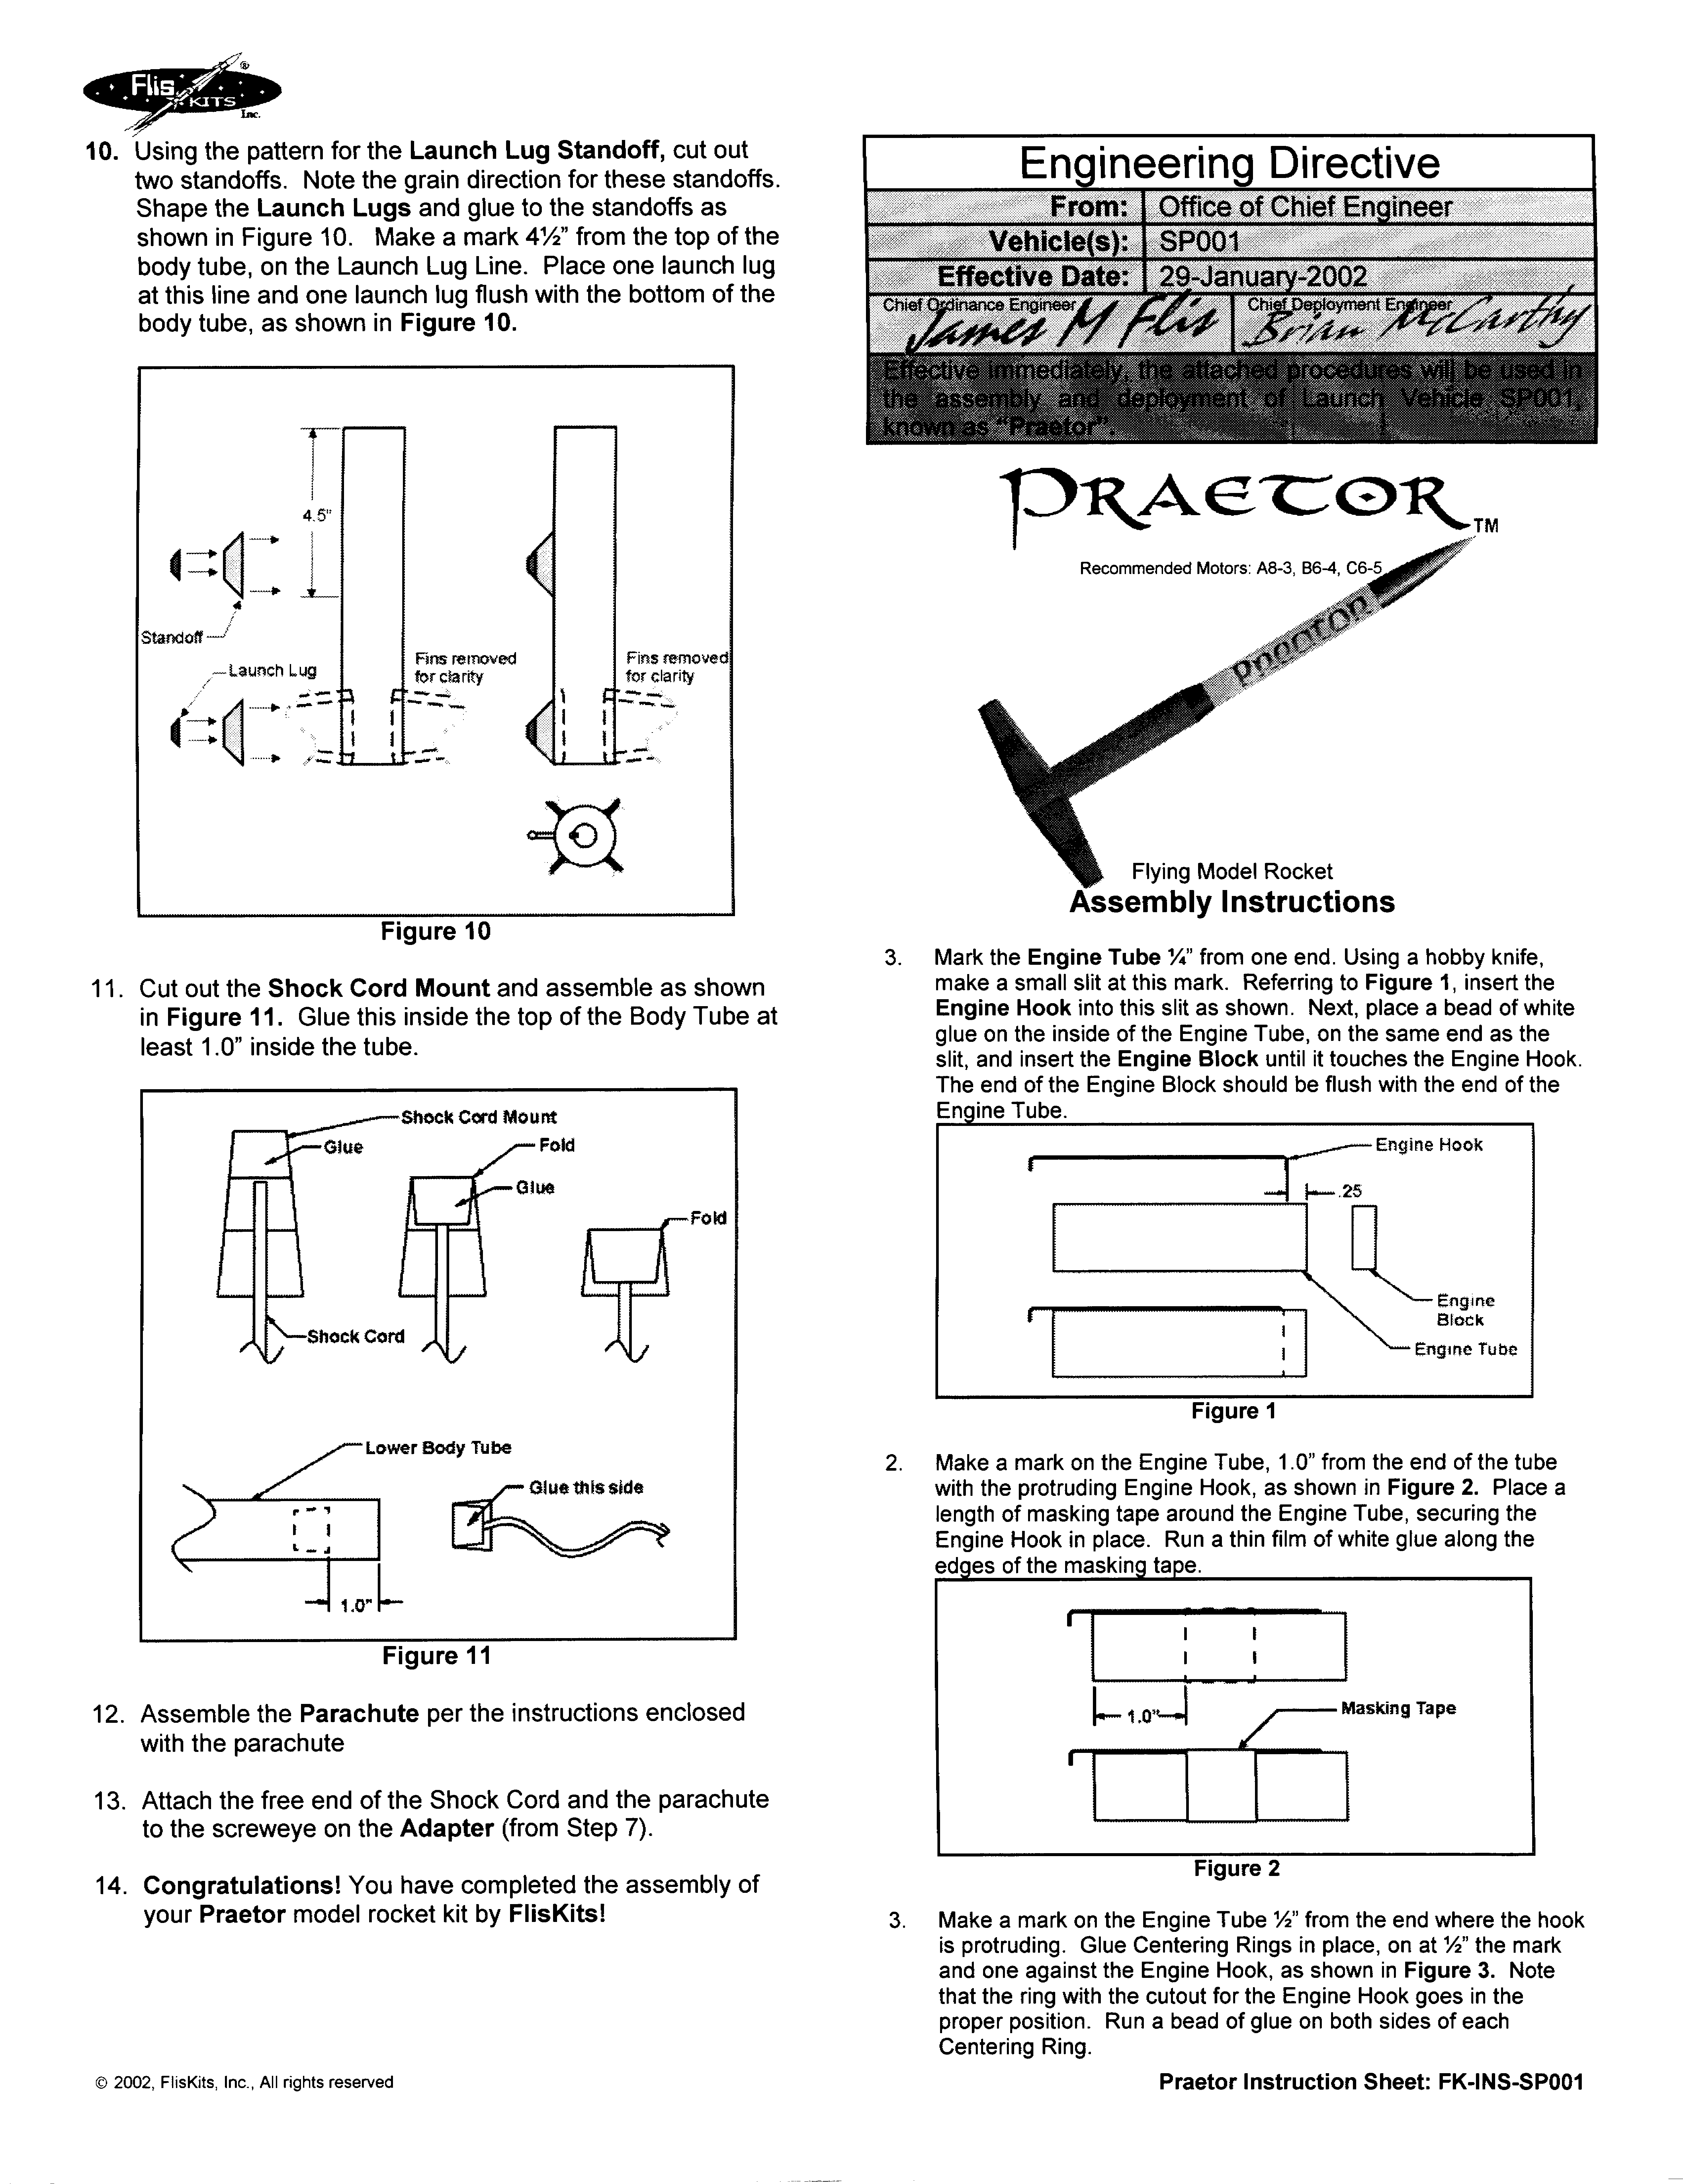
Photo Gallery


Build History
- 12/29/2003 – Purchased FlisKits Practor from FlisKits for $13.44 (Retail – $14.95)
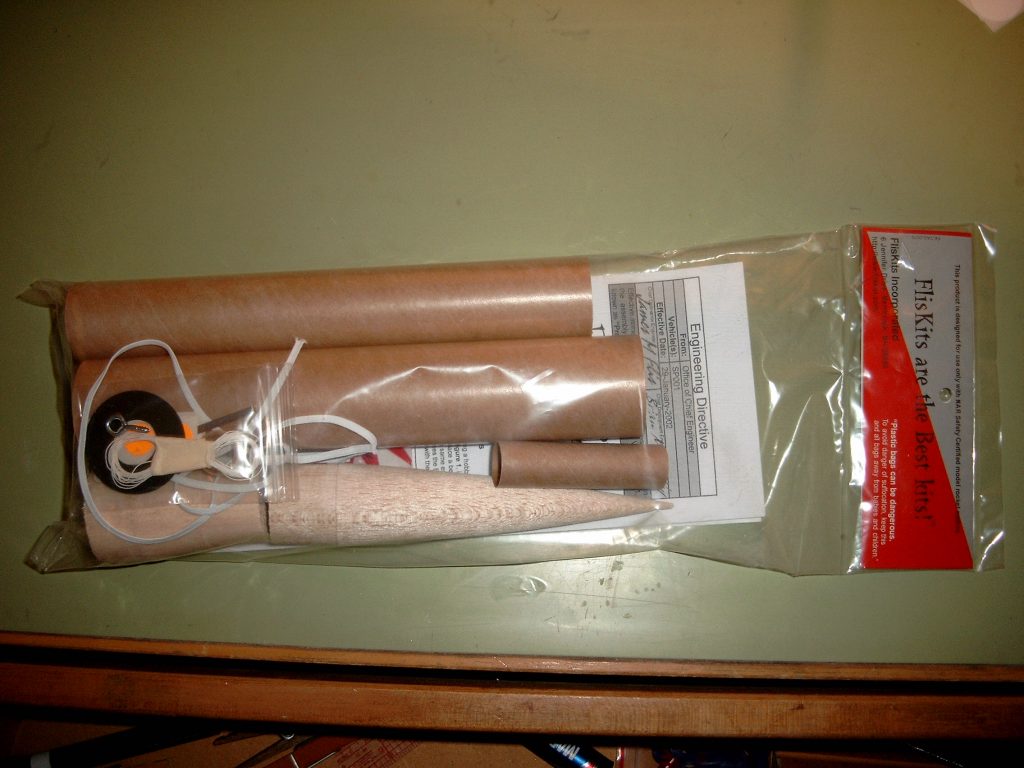
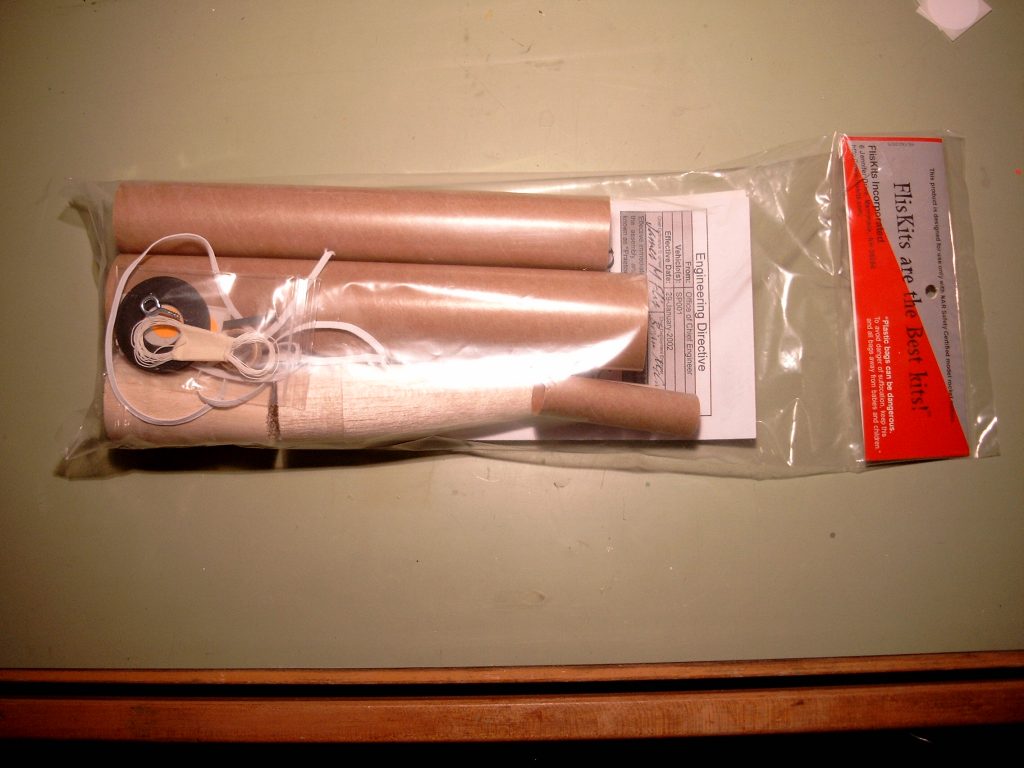
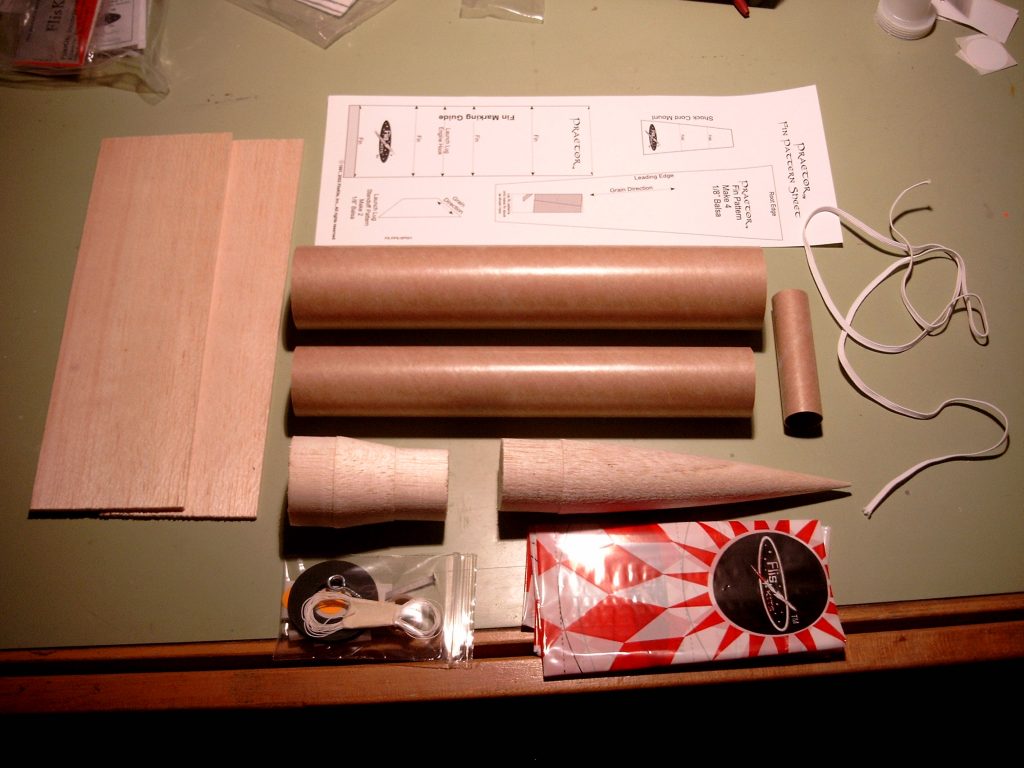
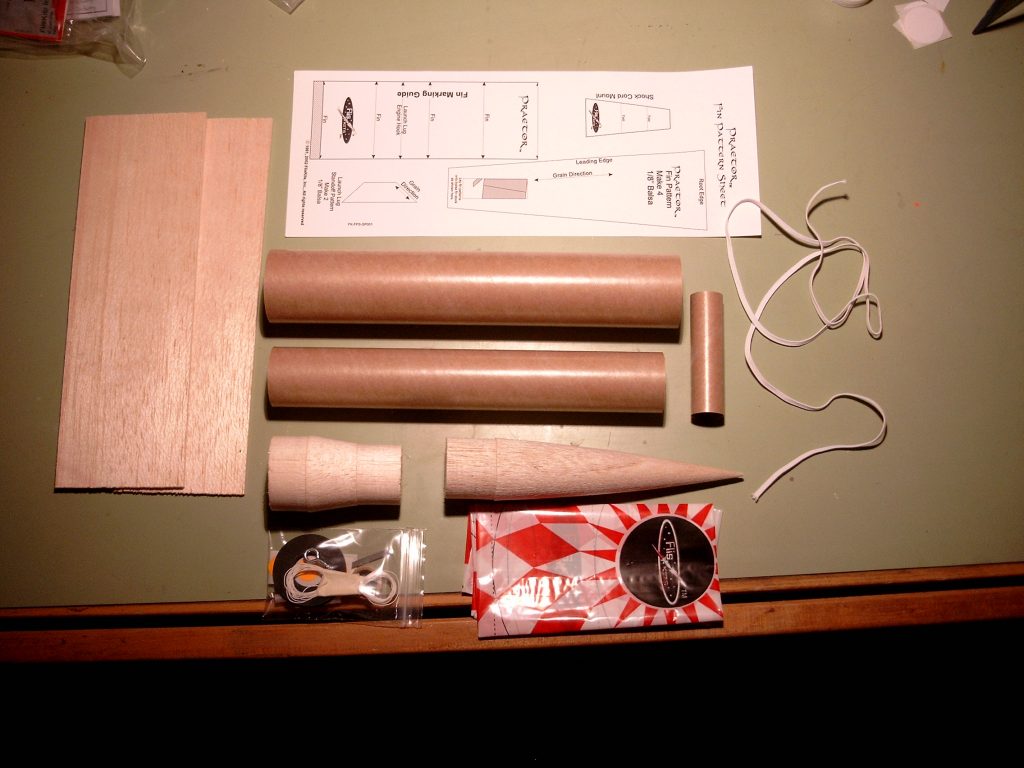
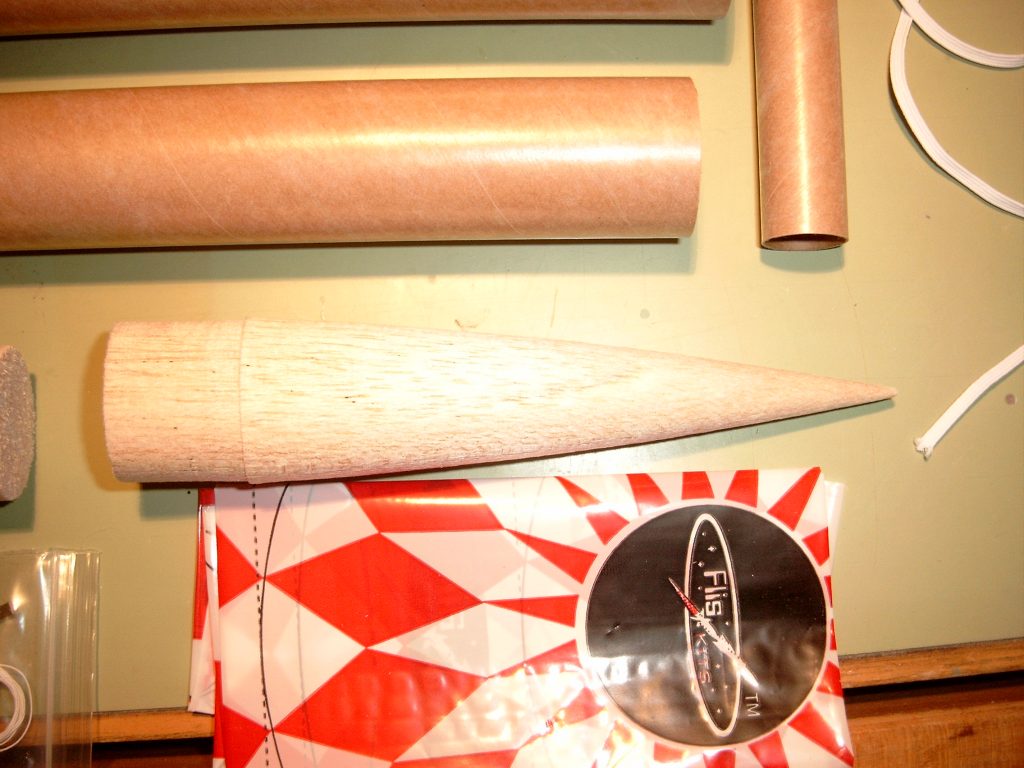
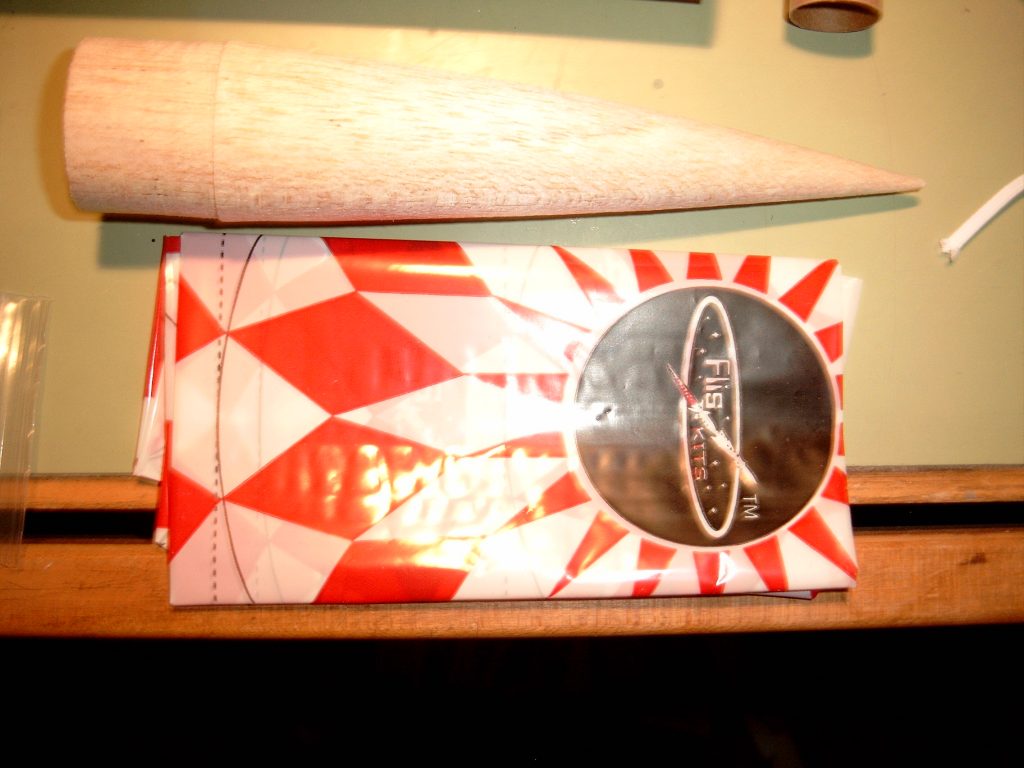
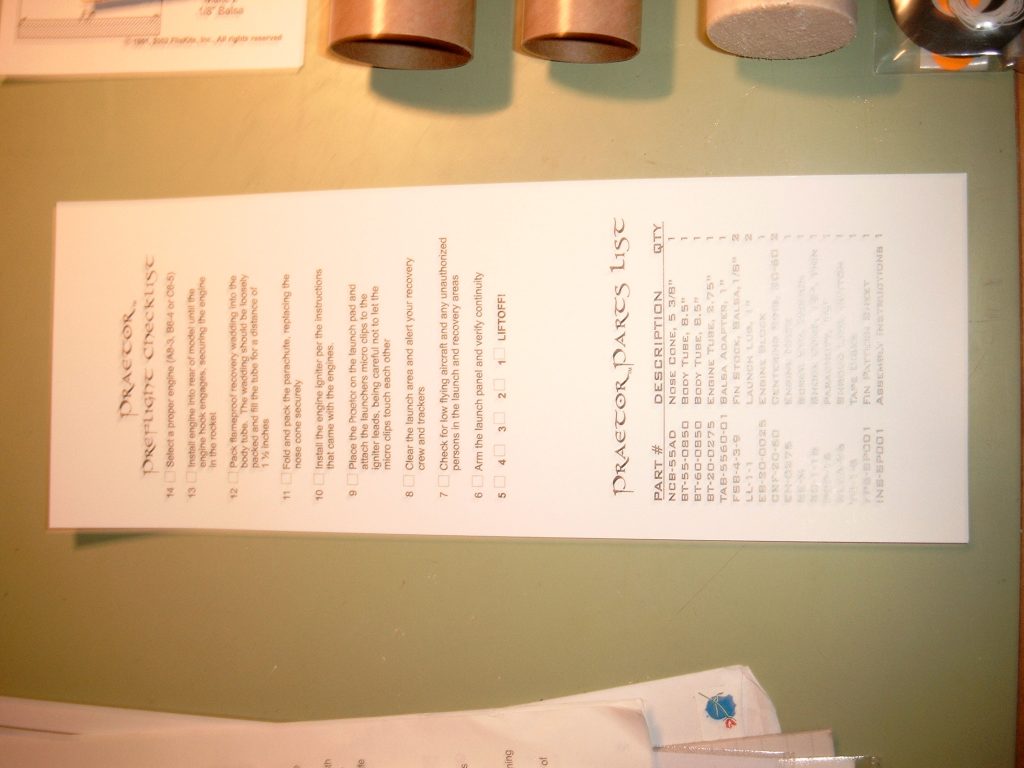
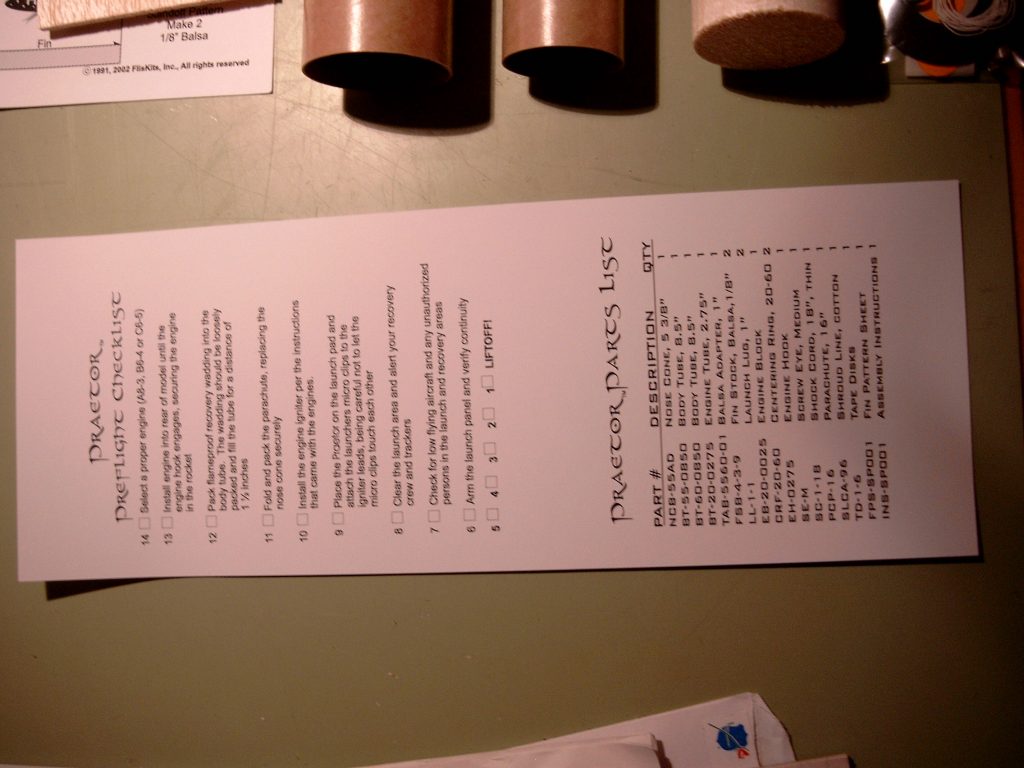
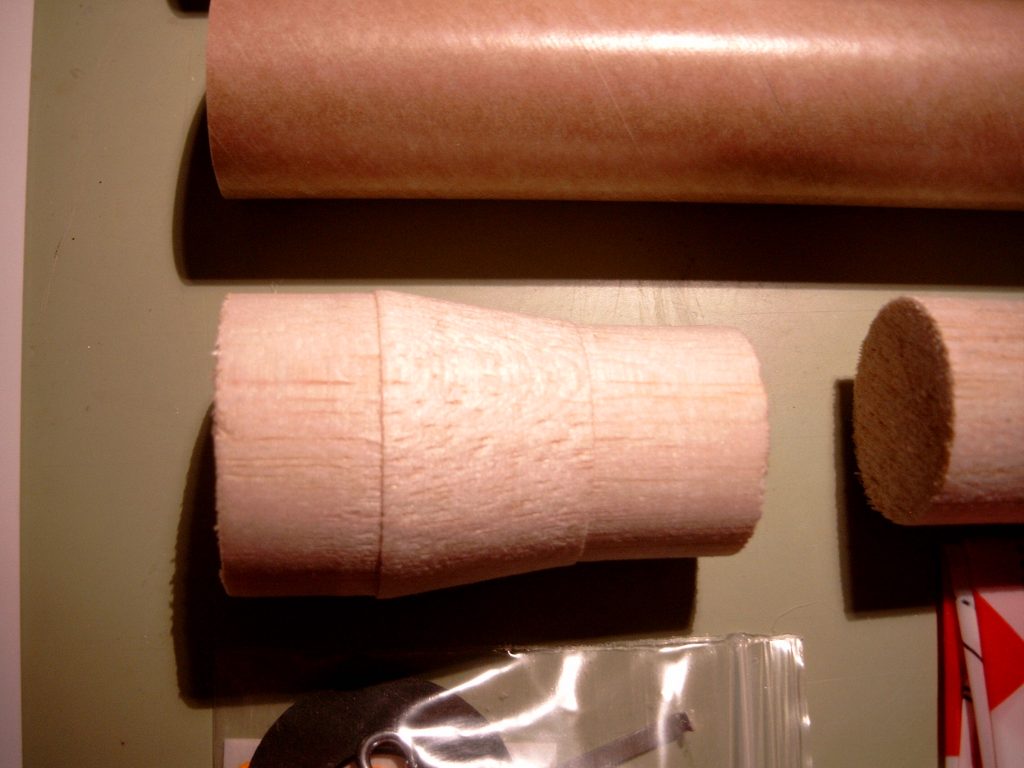
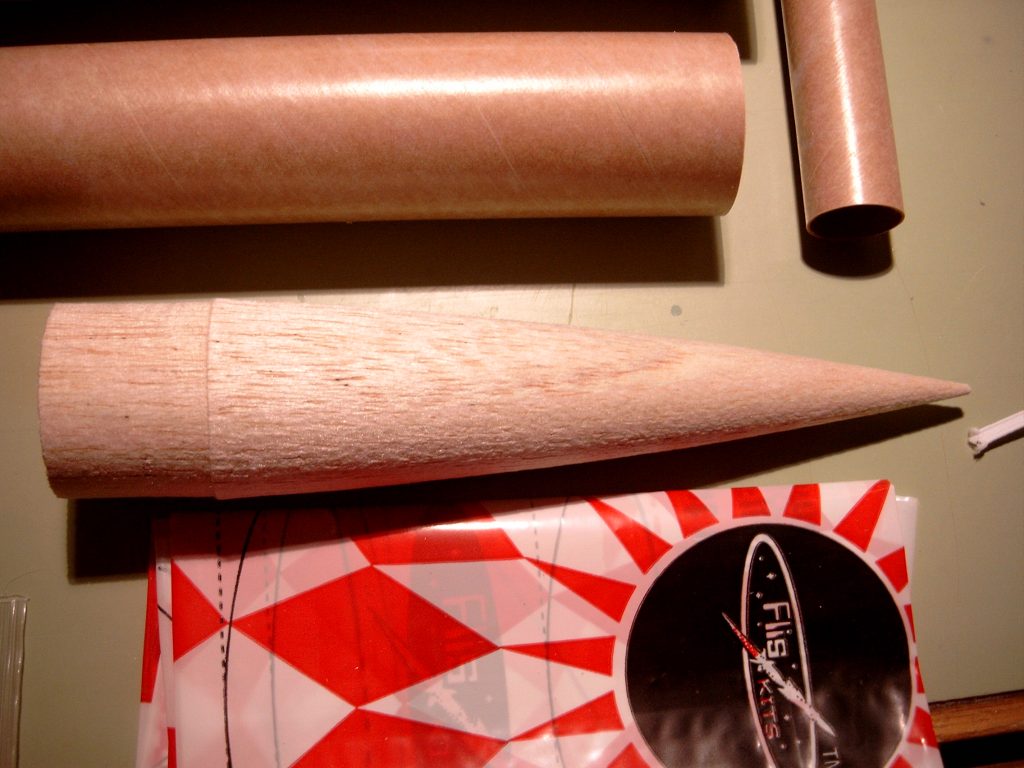
- 02/22/2004 – Took pictures of package and its contents. Scanned plans, nose cone, adapter, template, engine block and centering ring.
- 02/23/2004 – Took measurements of components. See page 116 of Book #2.
- 10/22/2004 – Glued balsa transition and nose cone into upper body tube. Marked fins and launch lug guidelines on lower body tube.
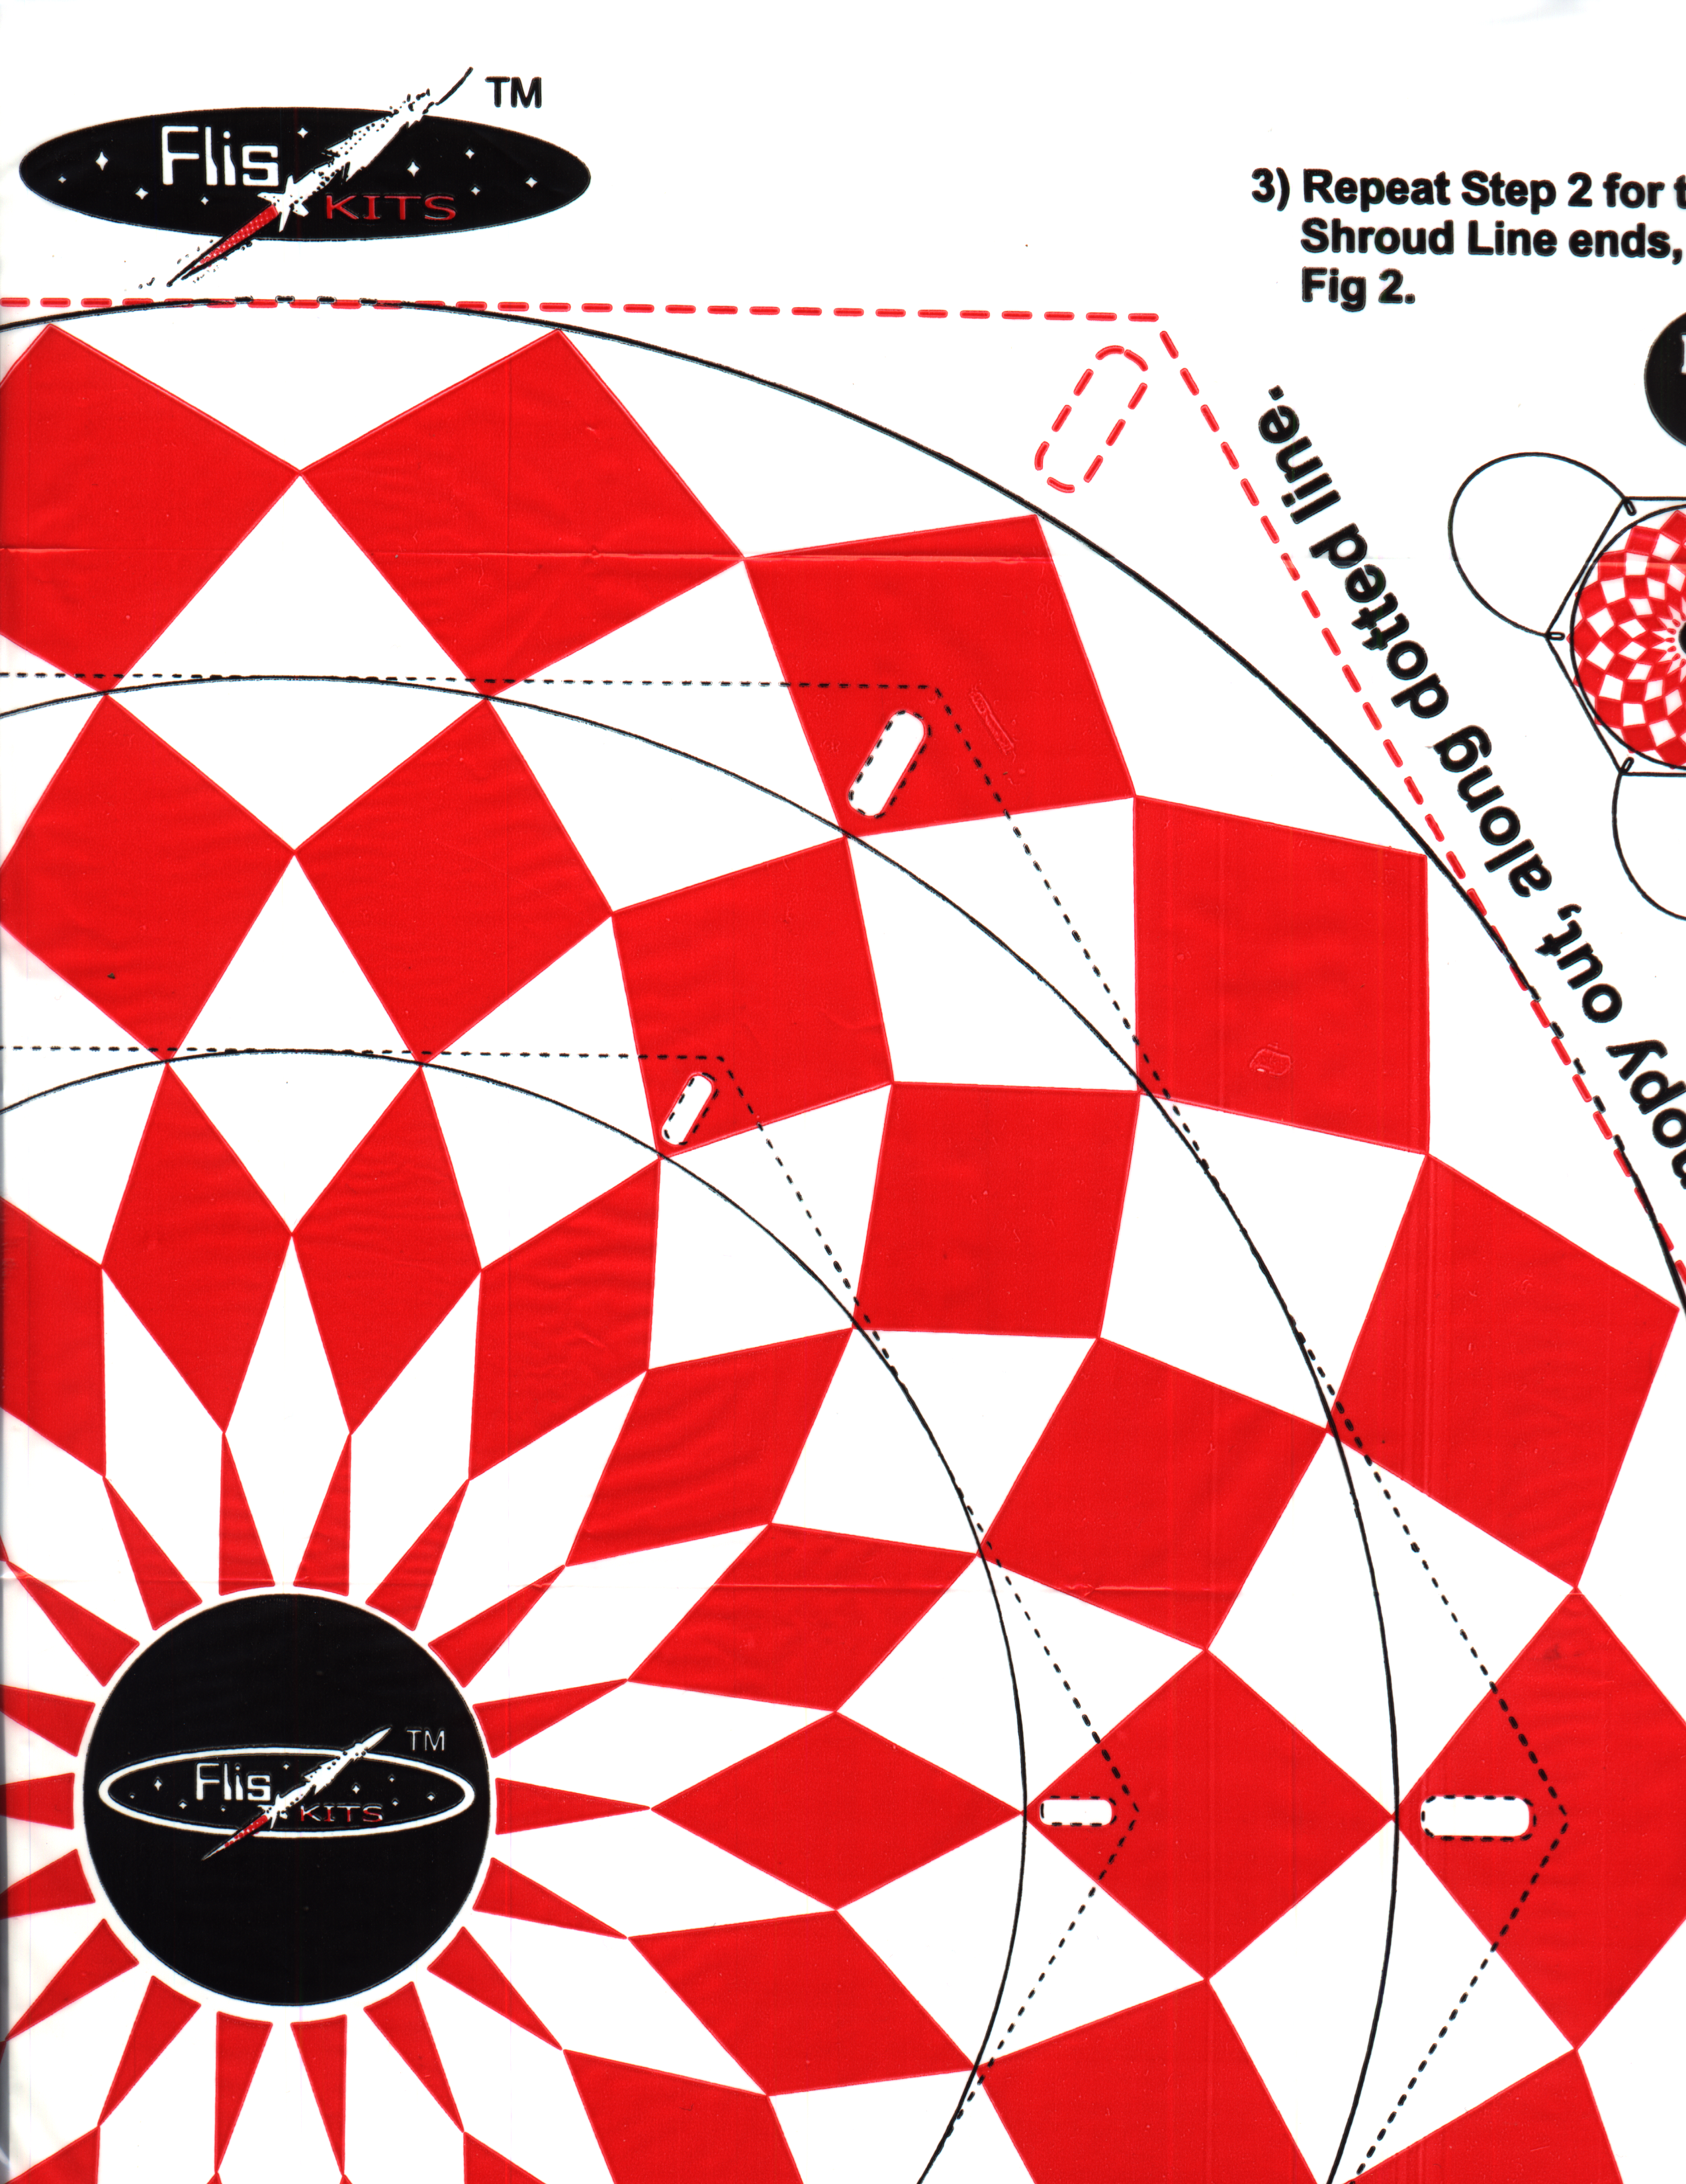
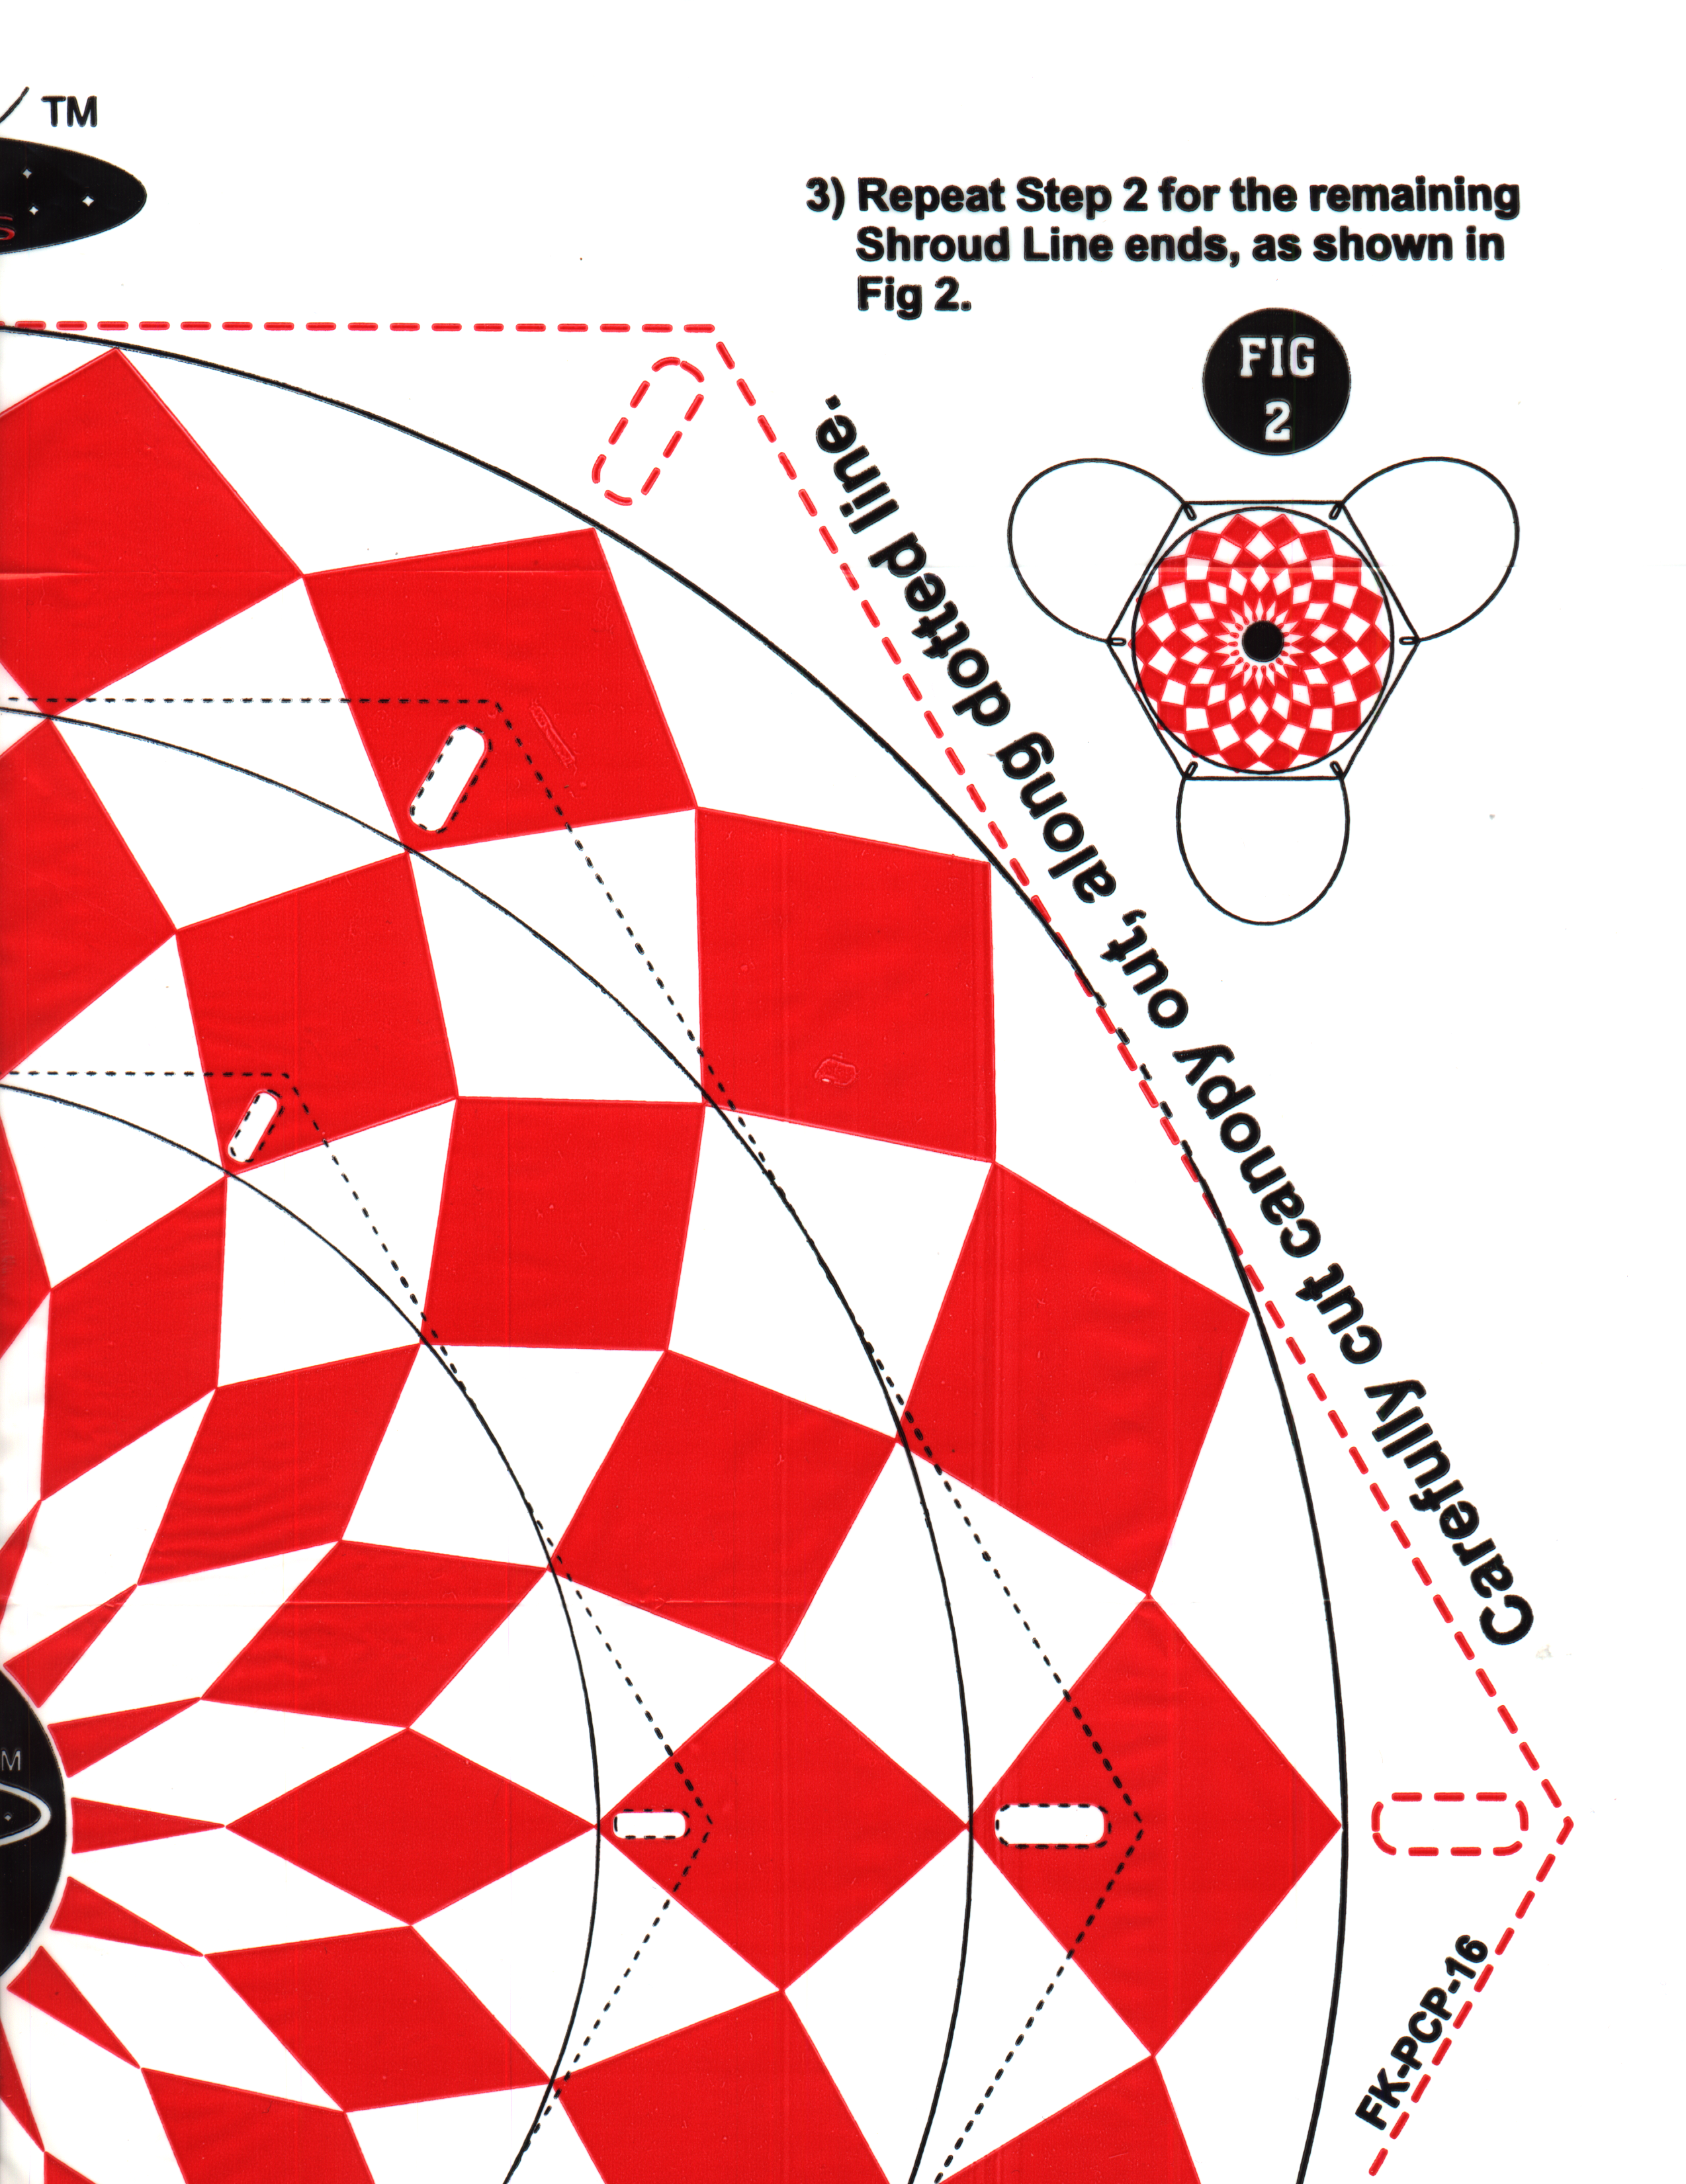
- 10/23/2004 – Shaped all four fins using dremel tool then sanded to shape. Had trouble when sanding drum wanted to take a bite out of the feathered edge. Hand sanding helped smooth out the divots created by the dremel drum. Glued the four fins even with the rear of the body tube. Glued launch lug to each stand off. Cut parachute shroud line into thirds. Cut out 16″ plastic parachute along dotted lines. Applied tape discs to corners of chute. Punched holes through disc and plastic chute material. Tied shroud lines in holes. Looped a snap swivel through the shroud lines to affix it to the lines. Glued shock cord to mount and then inside the lower body tube. Unit was glue low enough inside tube so it does not interfere with bottom of transition balsa piece.
- 10/24/2004 – Glued launch lug stand offs along marked guideline. Glued bottom stand off flush with rear and the other $-1/2″ from the front edge of the lower body tube. Filleted both sides of stand offs and launch lugs.
- 09/02/2005 – Wiped model with dry cloth and then painted it with Krylon #1501 Gloss White.
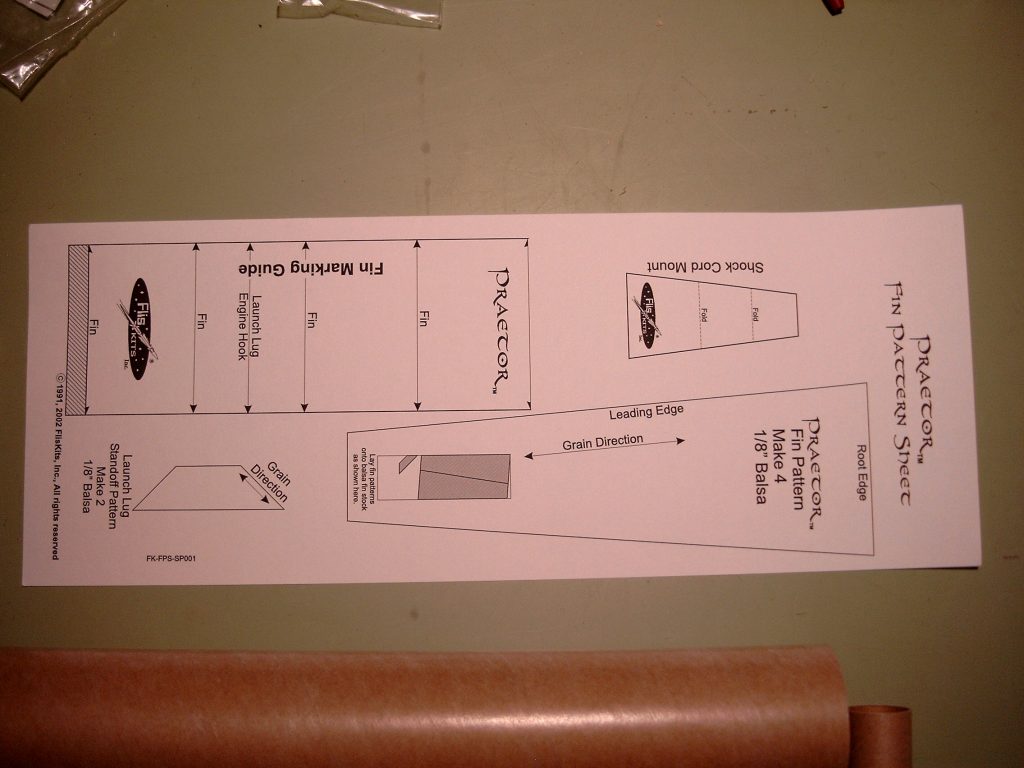
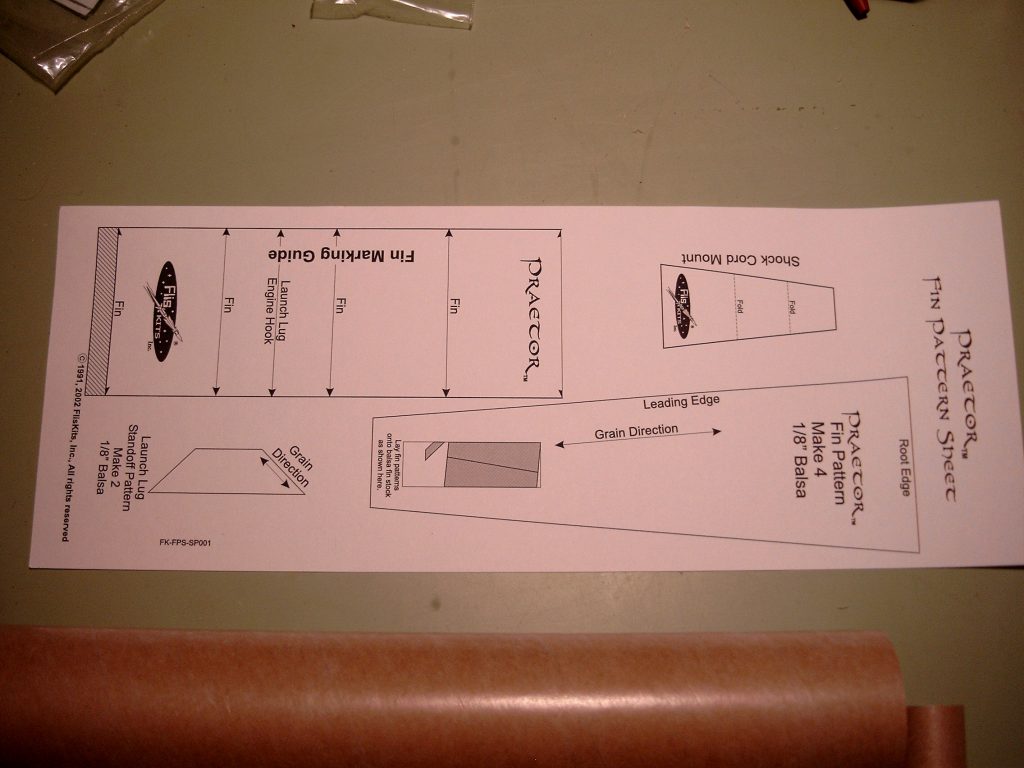
- 06/30/2007 – Printed fin pattern sheets.
- 07/01/2007 – Printed 3 additional fin pattern sheets. Cut out the 4 fin patterns and glued them with spray adhesive to the 1/8″ thick fin stock material. Cut out the fins using a razor knife. Removed the paper pattern after cutting out all fins.
- 07/02/2007 – Removed remaining fins and glue from body tube using Dremel tool and emery boards.
- 07/16/2007 – Using dremel tool shaped new fin surfaces. Glued fins to body tube.
- 07/18/2007 – Filleted one set of fin joints.
- 03/02/2008 – Touched up fin fillets. Moved motor mount assembly into position and glued the aft centering ring in place.
- 05/04/2008 – Sprayed model with Krylon gray Primer.
- 05/10/2010 – Glued fin together and then to the body tube. filleted both side of fin joints. Model is ready for paint.
Flights
| Date | Location | # | Motor | Comments |
Leave a Reply
You must be logged in to post a comment.