AEROTECH Model #89010

Description
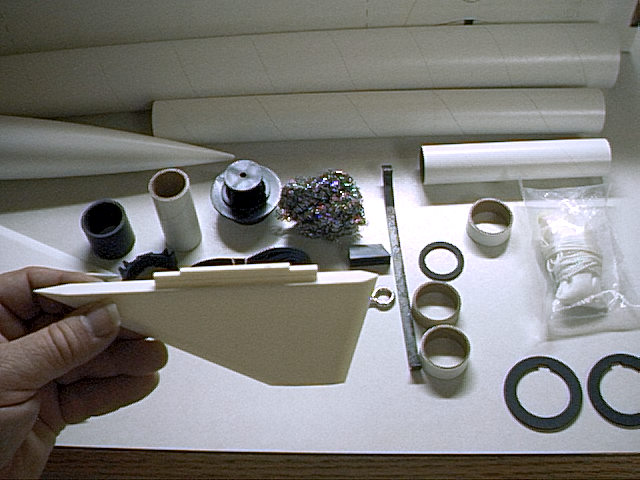
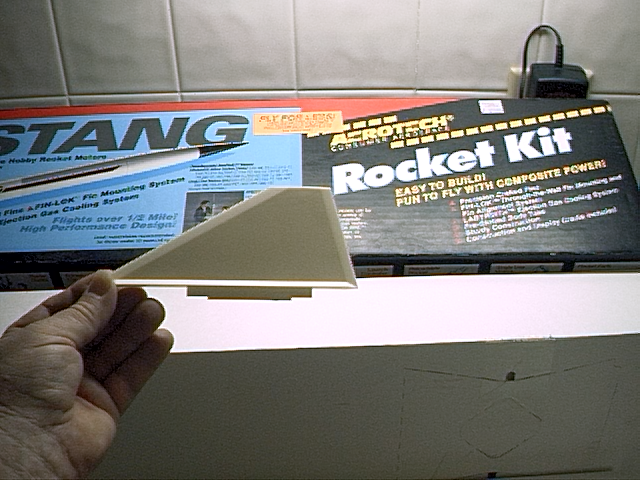
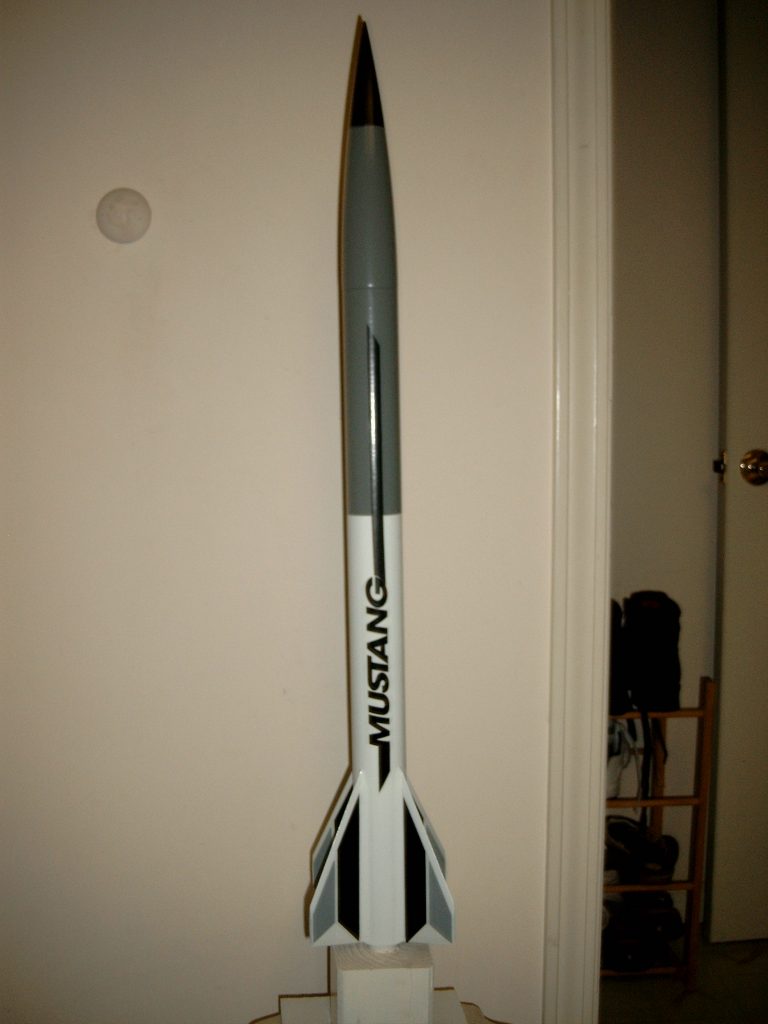
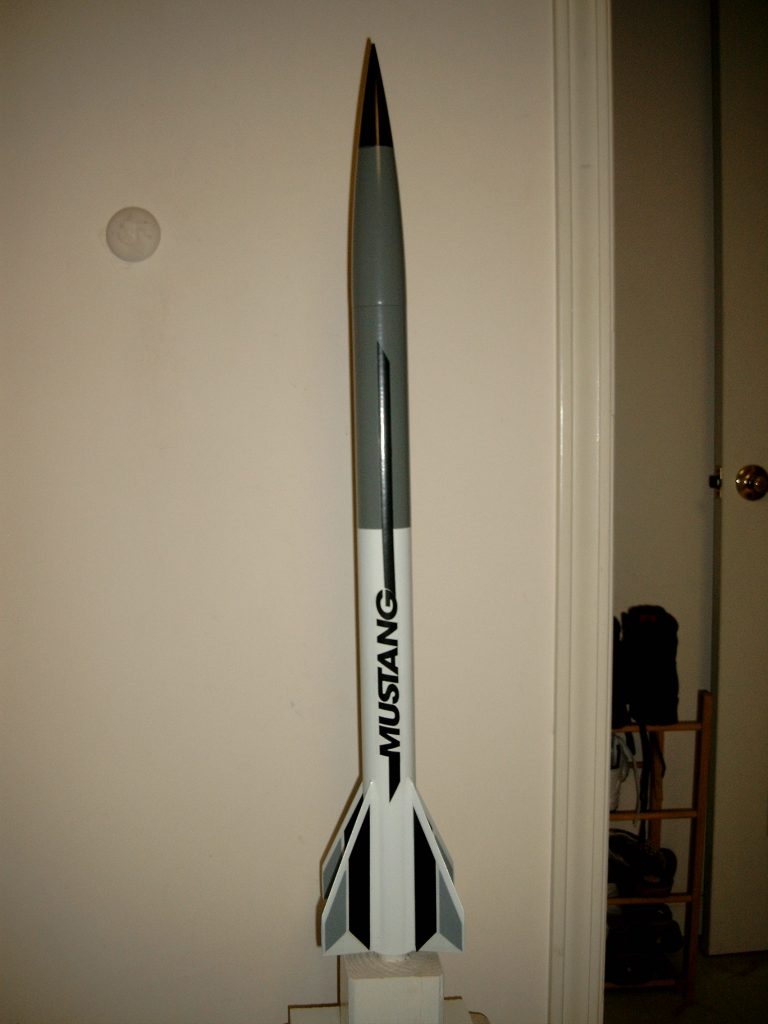
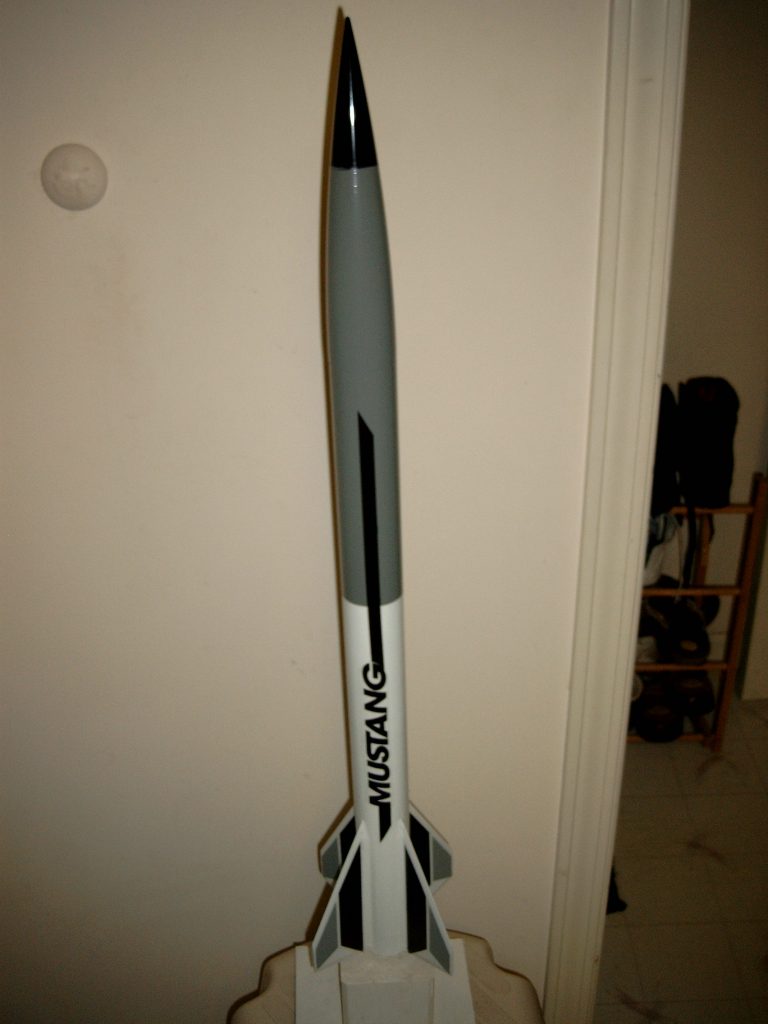
The Mustang’s is sleek, high performance design produces great high speed flights that can go to 3,300 feet (1,010 m). Precision molded airfoils make it easy to obtain a beautiful finish. Sure beats shaping, filing, and sanding wood fins! Flies with ‘E’, ‘F’, and ‘G’ power.
Additional Information
- Length: 32″
- Diameter: 1.9″
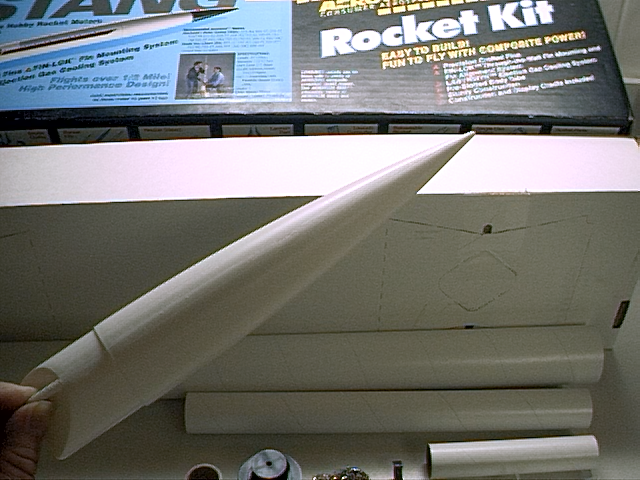
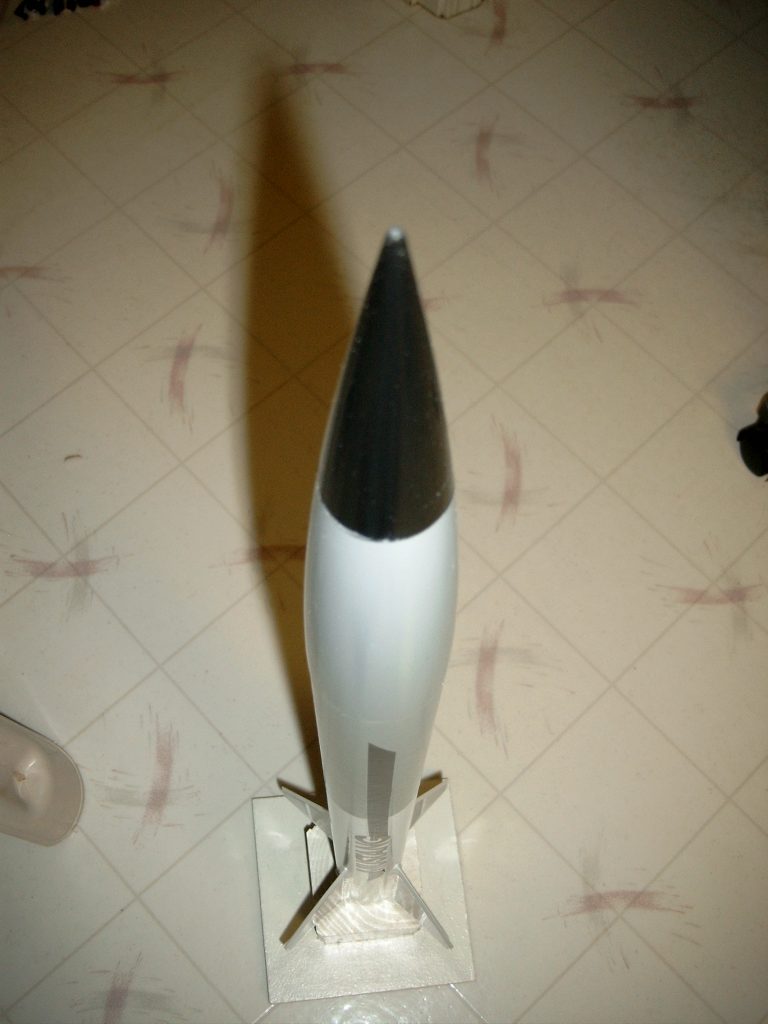
- Nose Cone: 5:1 Ogive
- Weight (without motor): 11oz
- Fins: 4-Trapezoidal with modified double wedge airfoil
- Stages: 1
- Motor Mount: 29mm
- Recovery System: Parachute
- Product No. 89010
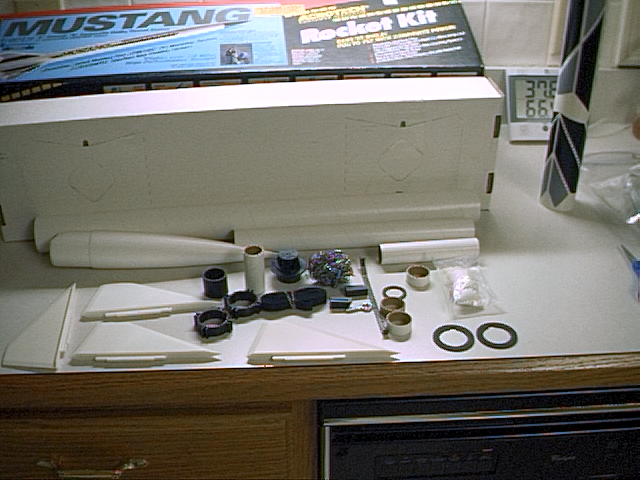
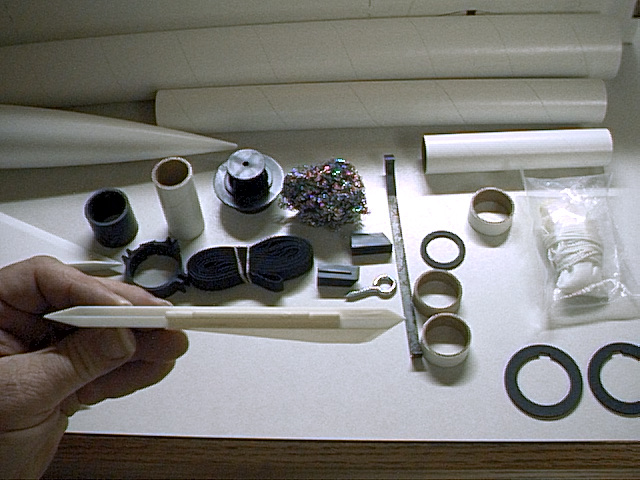
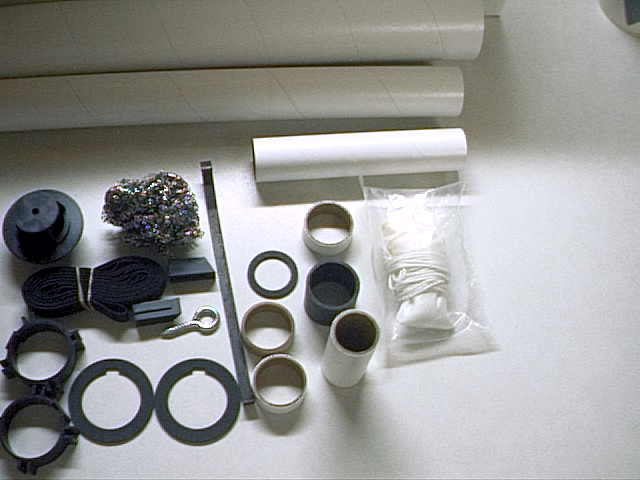
- Parts List
- Motor Adaptor Tube – 4-7/8″
- Adaptor Rings – 1/2″
- “E” Spacer Tube – 2-1/8″
- Thrust Ring – 7/16″
- Thrust Ring Flange – 1/16″
- Motor Tube – 12″
- Motor Hook
- Fin-Lok
- Centering Rings – 1-25/32″
- Fins
- Cooling Mesh
- Ejection Gas Baffle
- Screw Eye
- Shock Cord – 6′
- Body Tube – 22-3/4″
- Launch Lugs
- Nose Cone
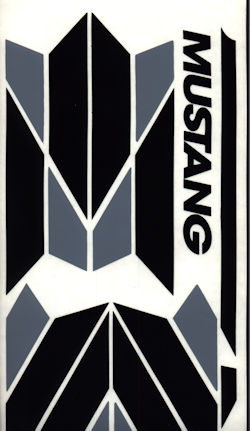
- Self Adhesive Decal Sheet
- Parachute – 16″
- “F” Spacer Tube 1″
Instructions
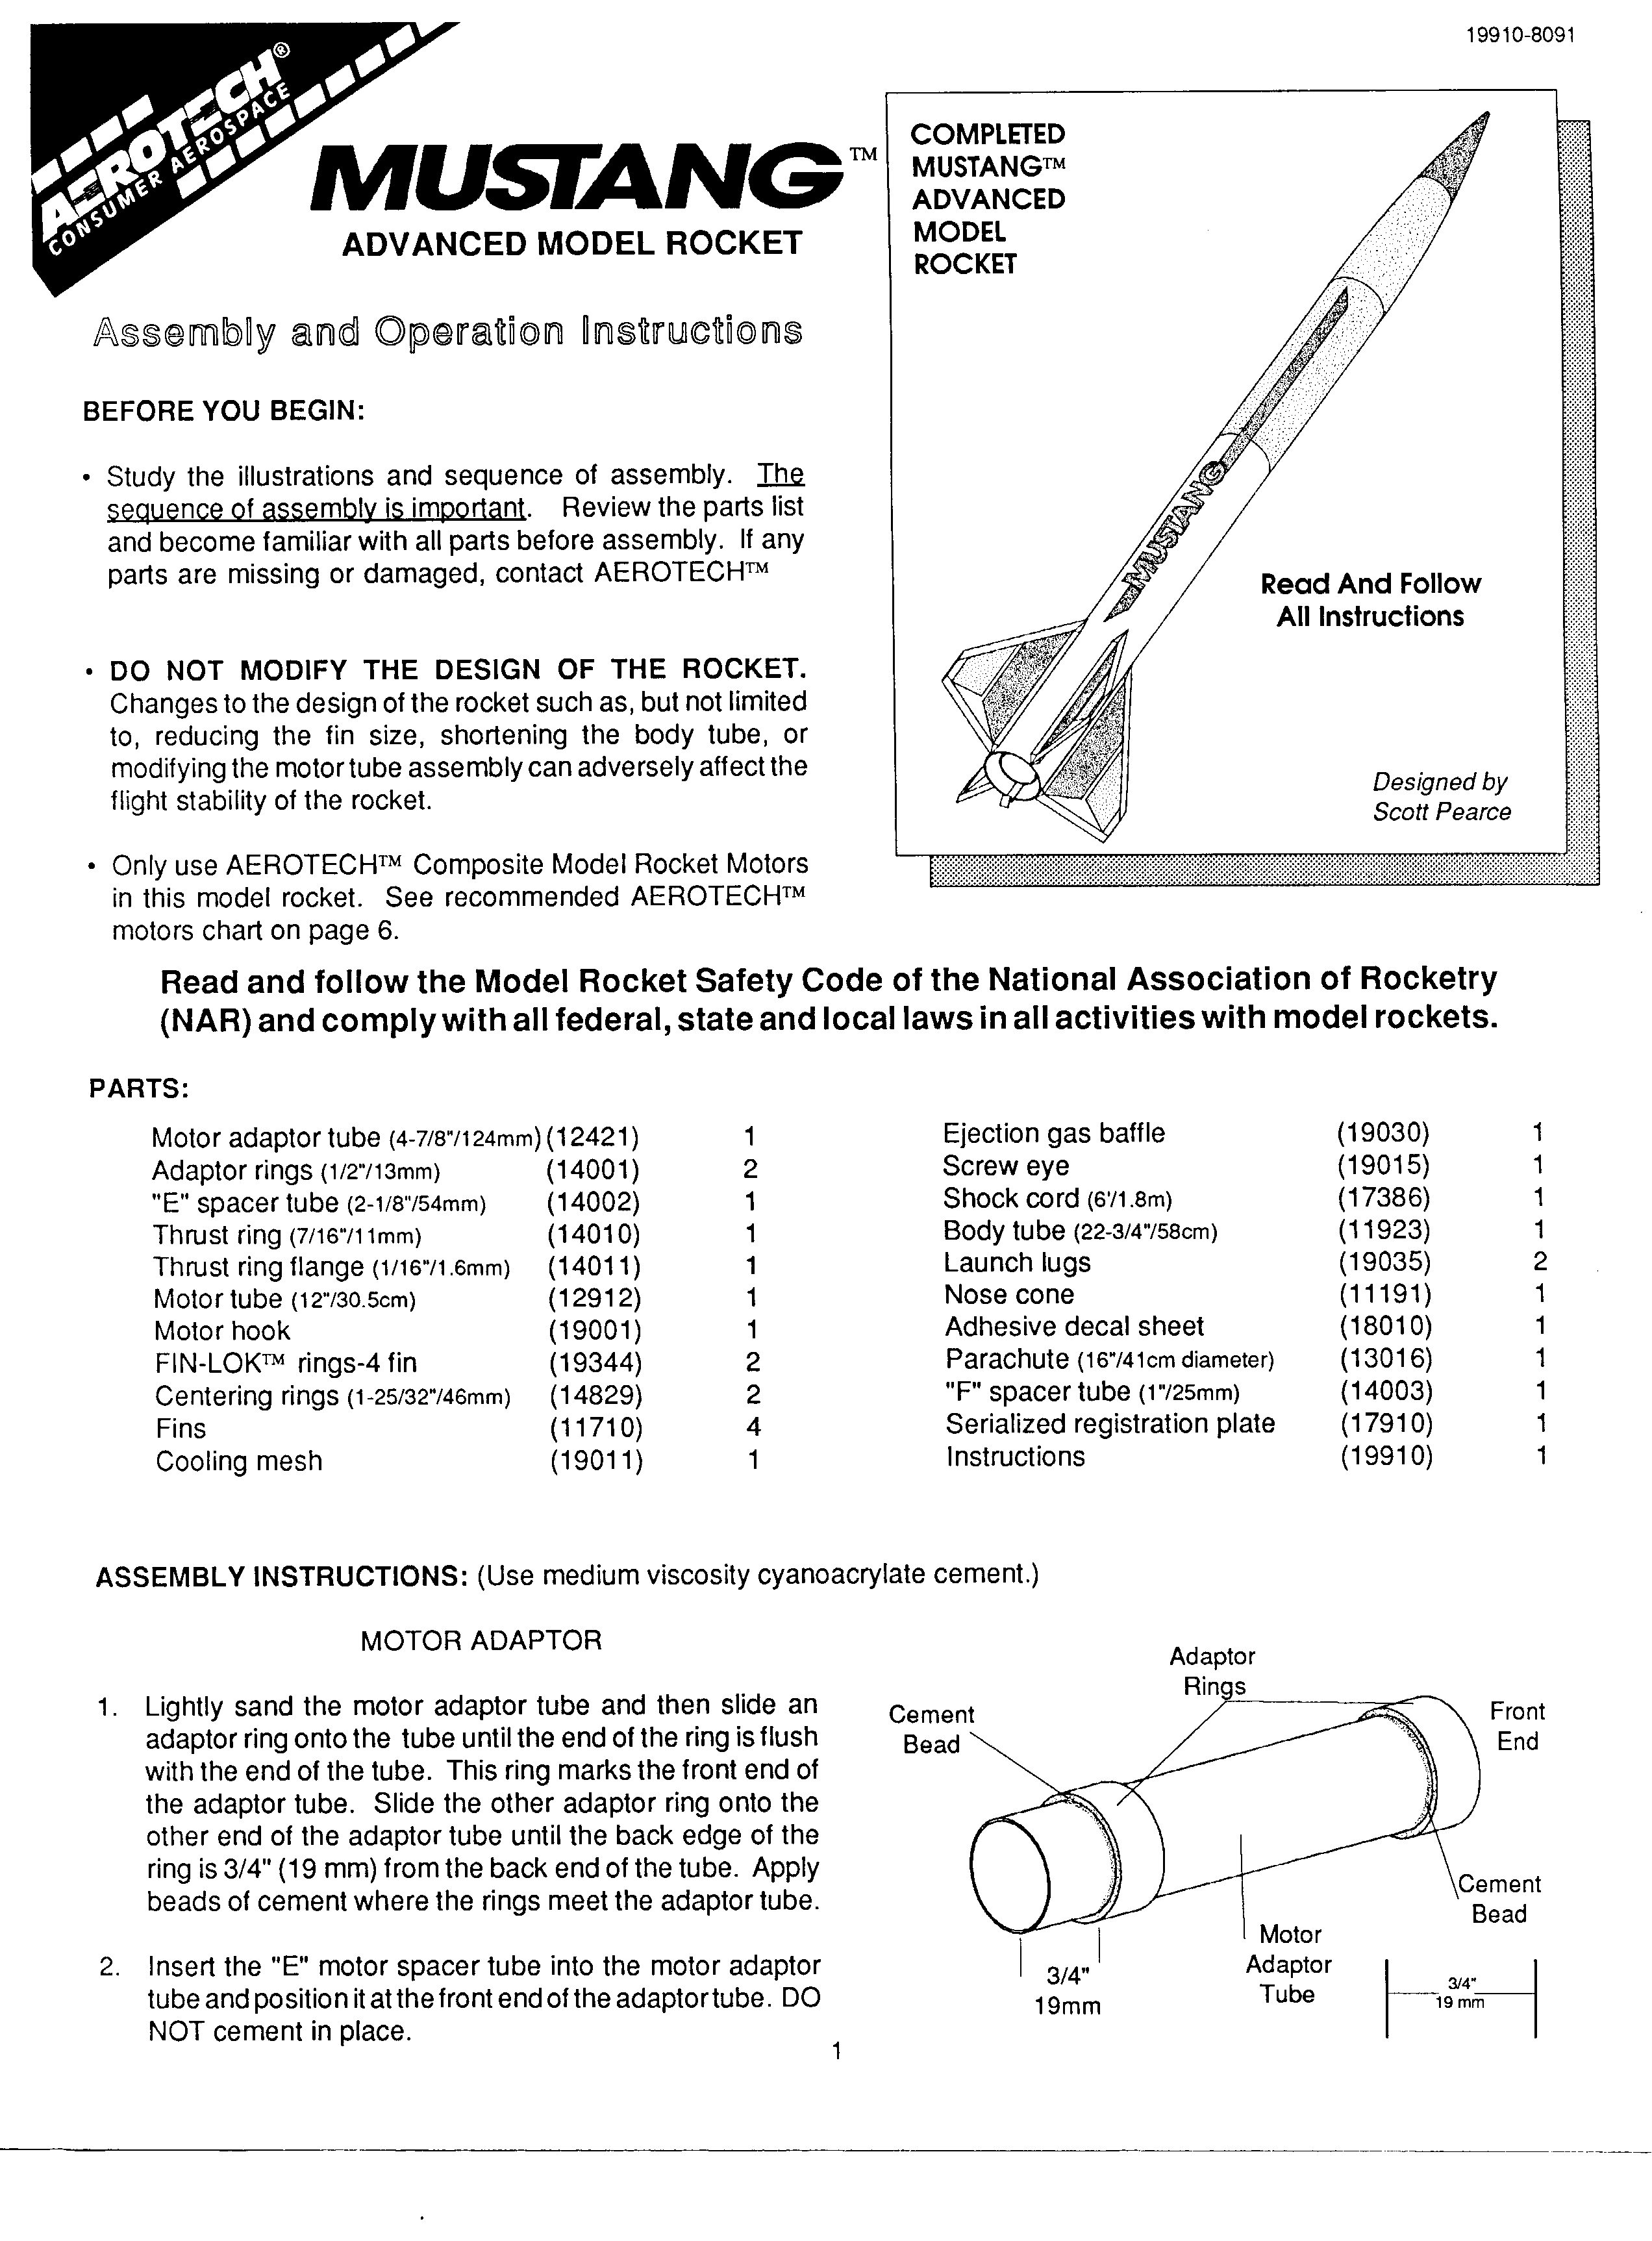
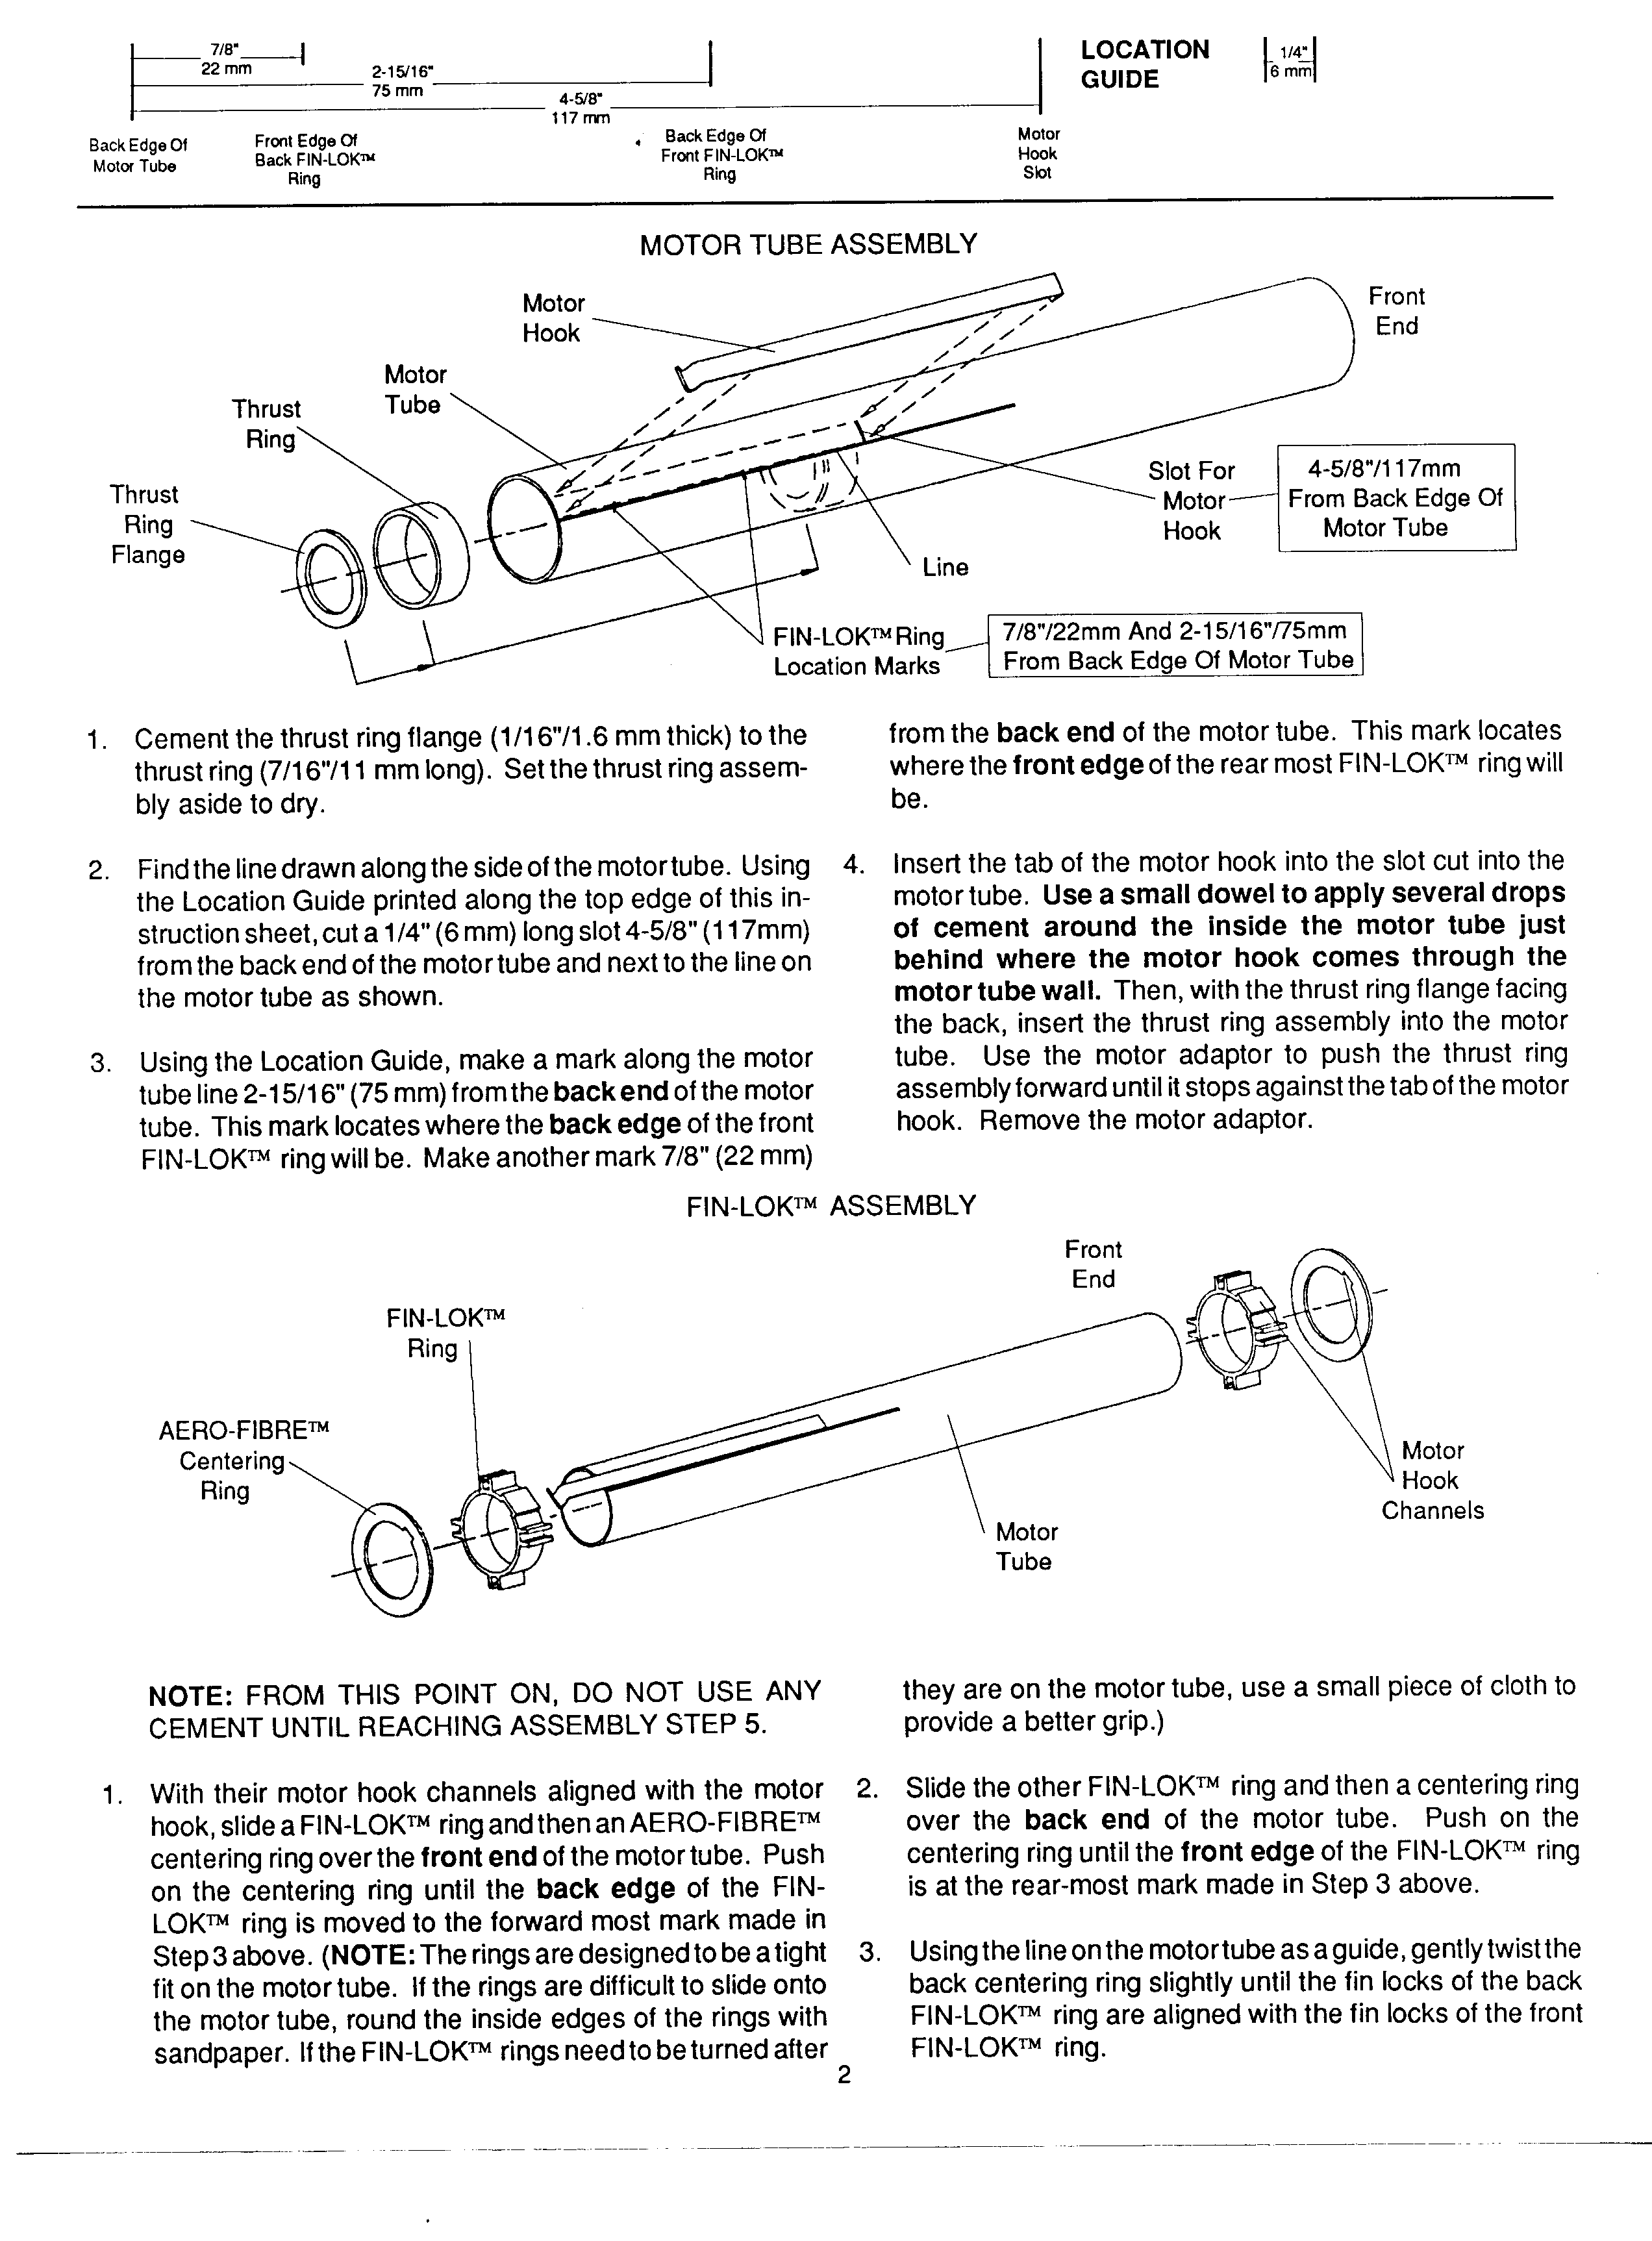
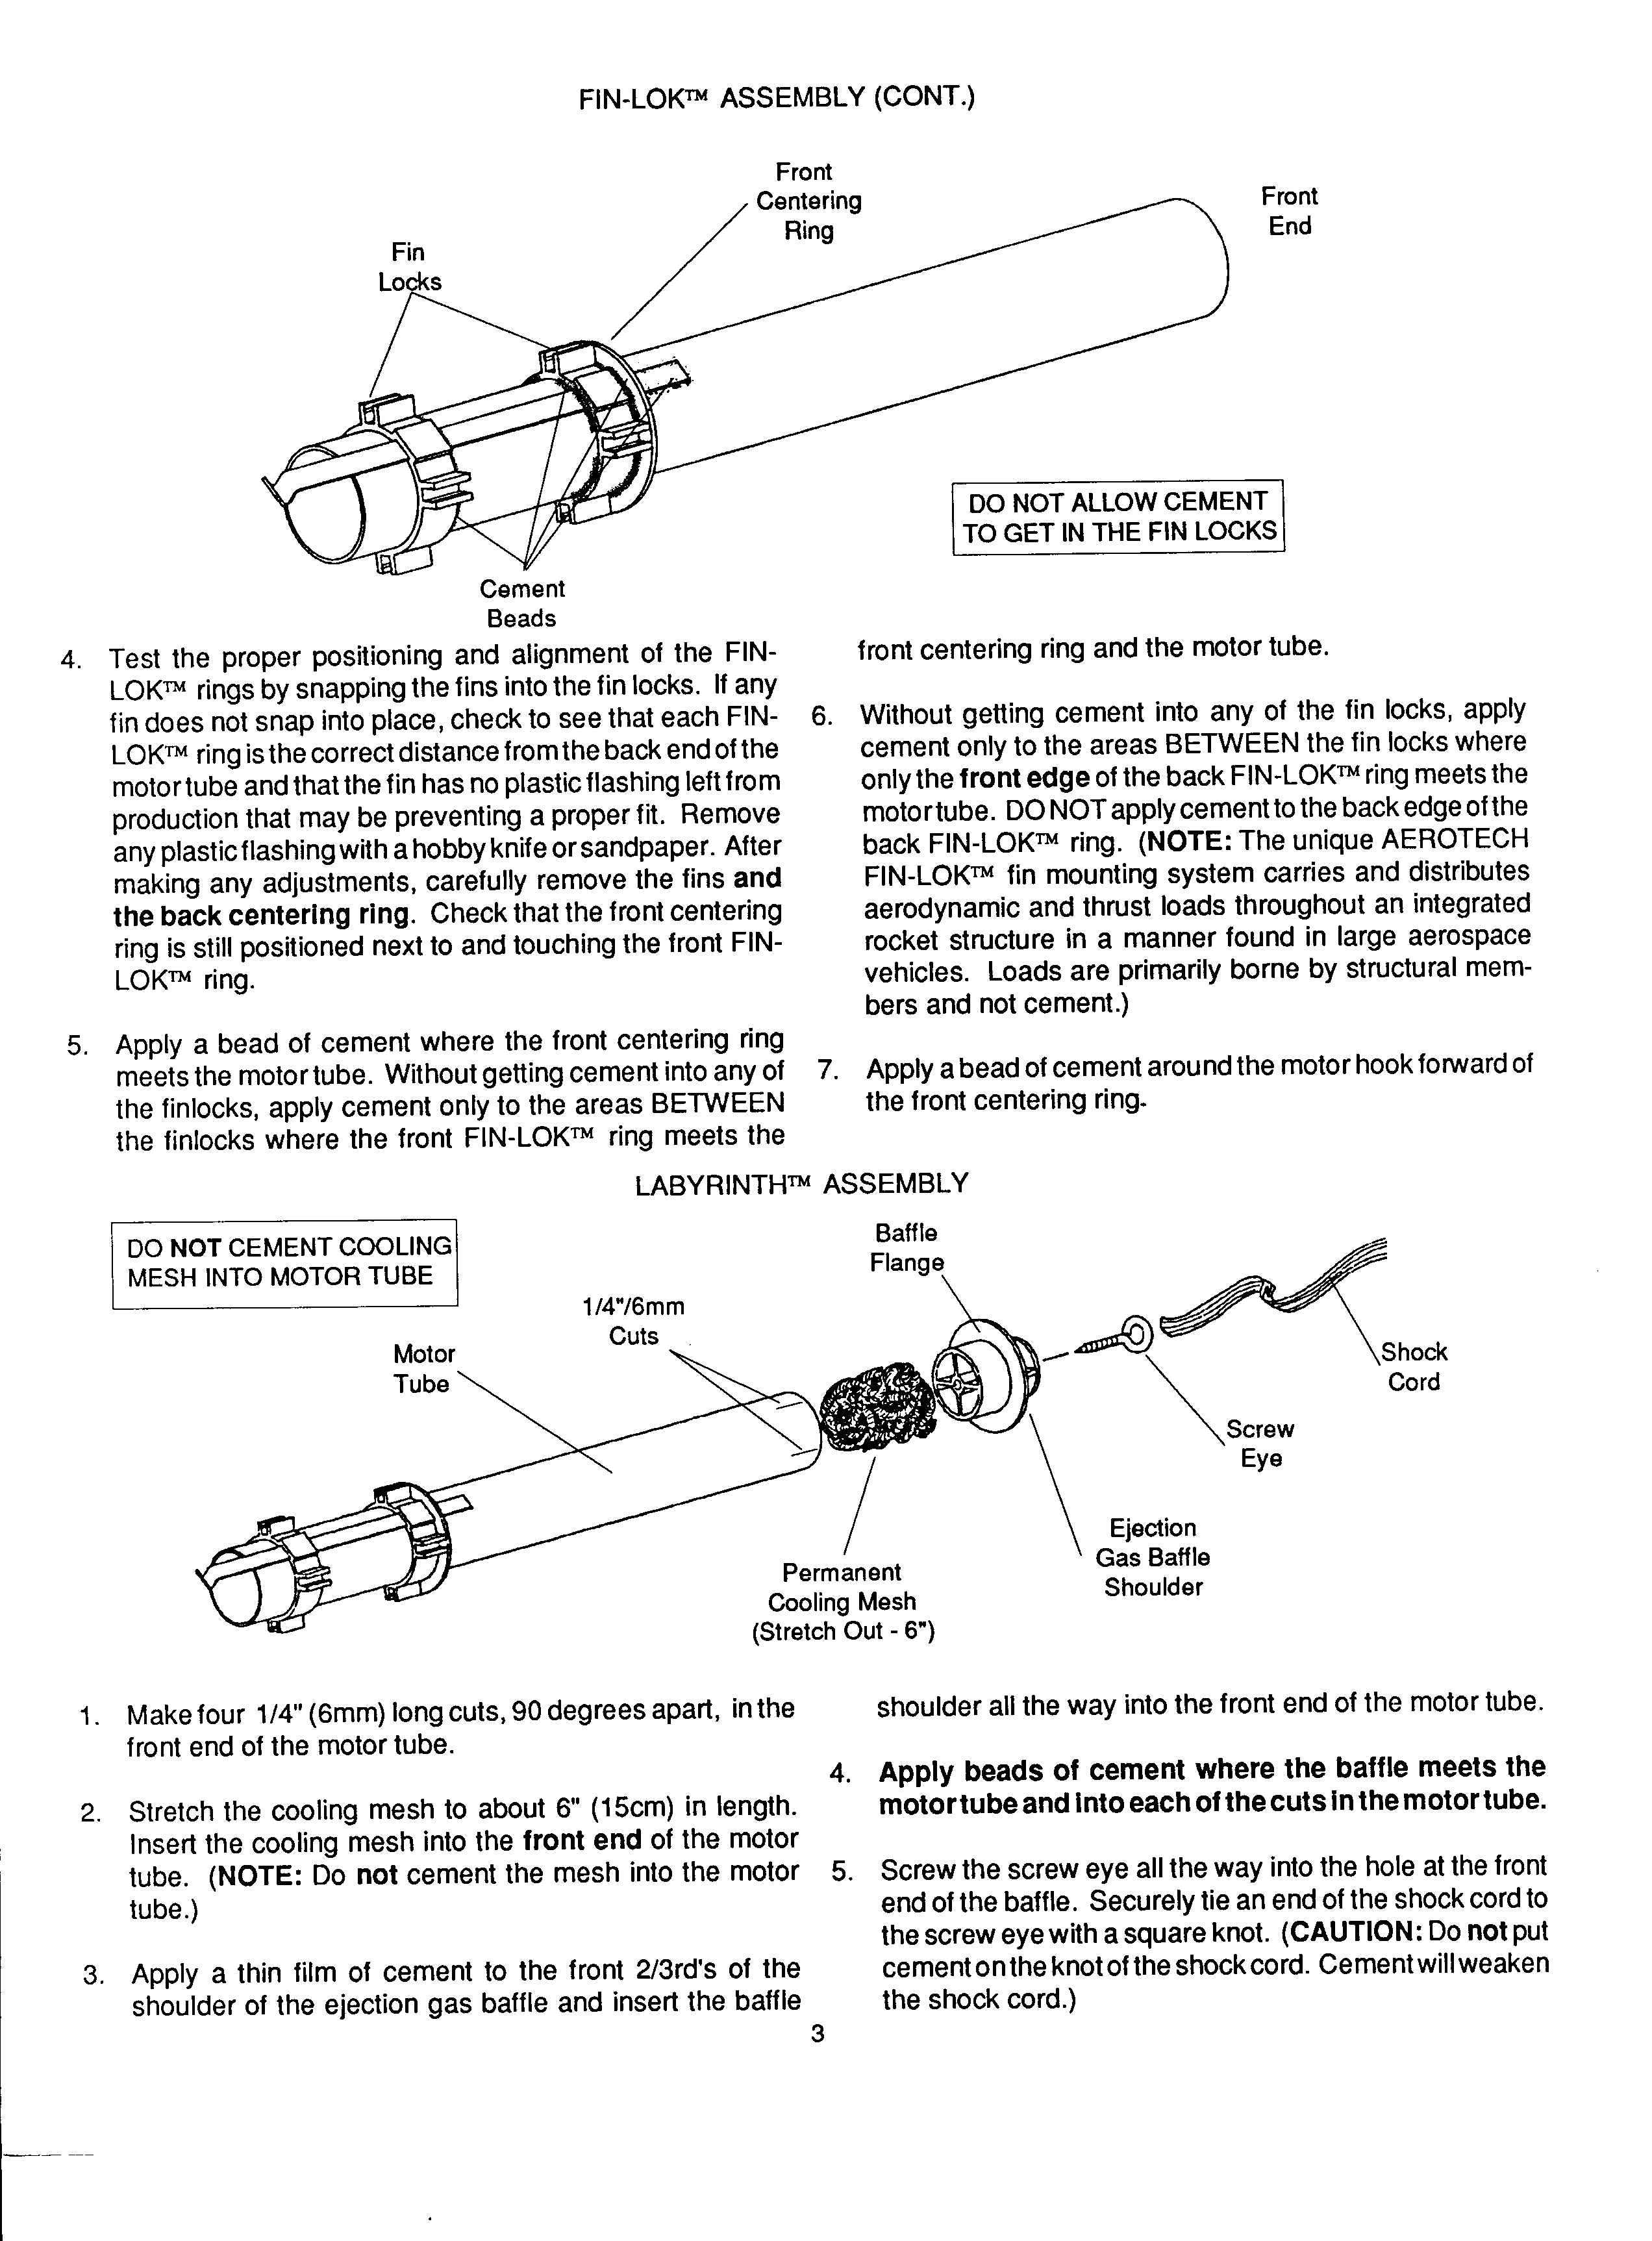
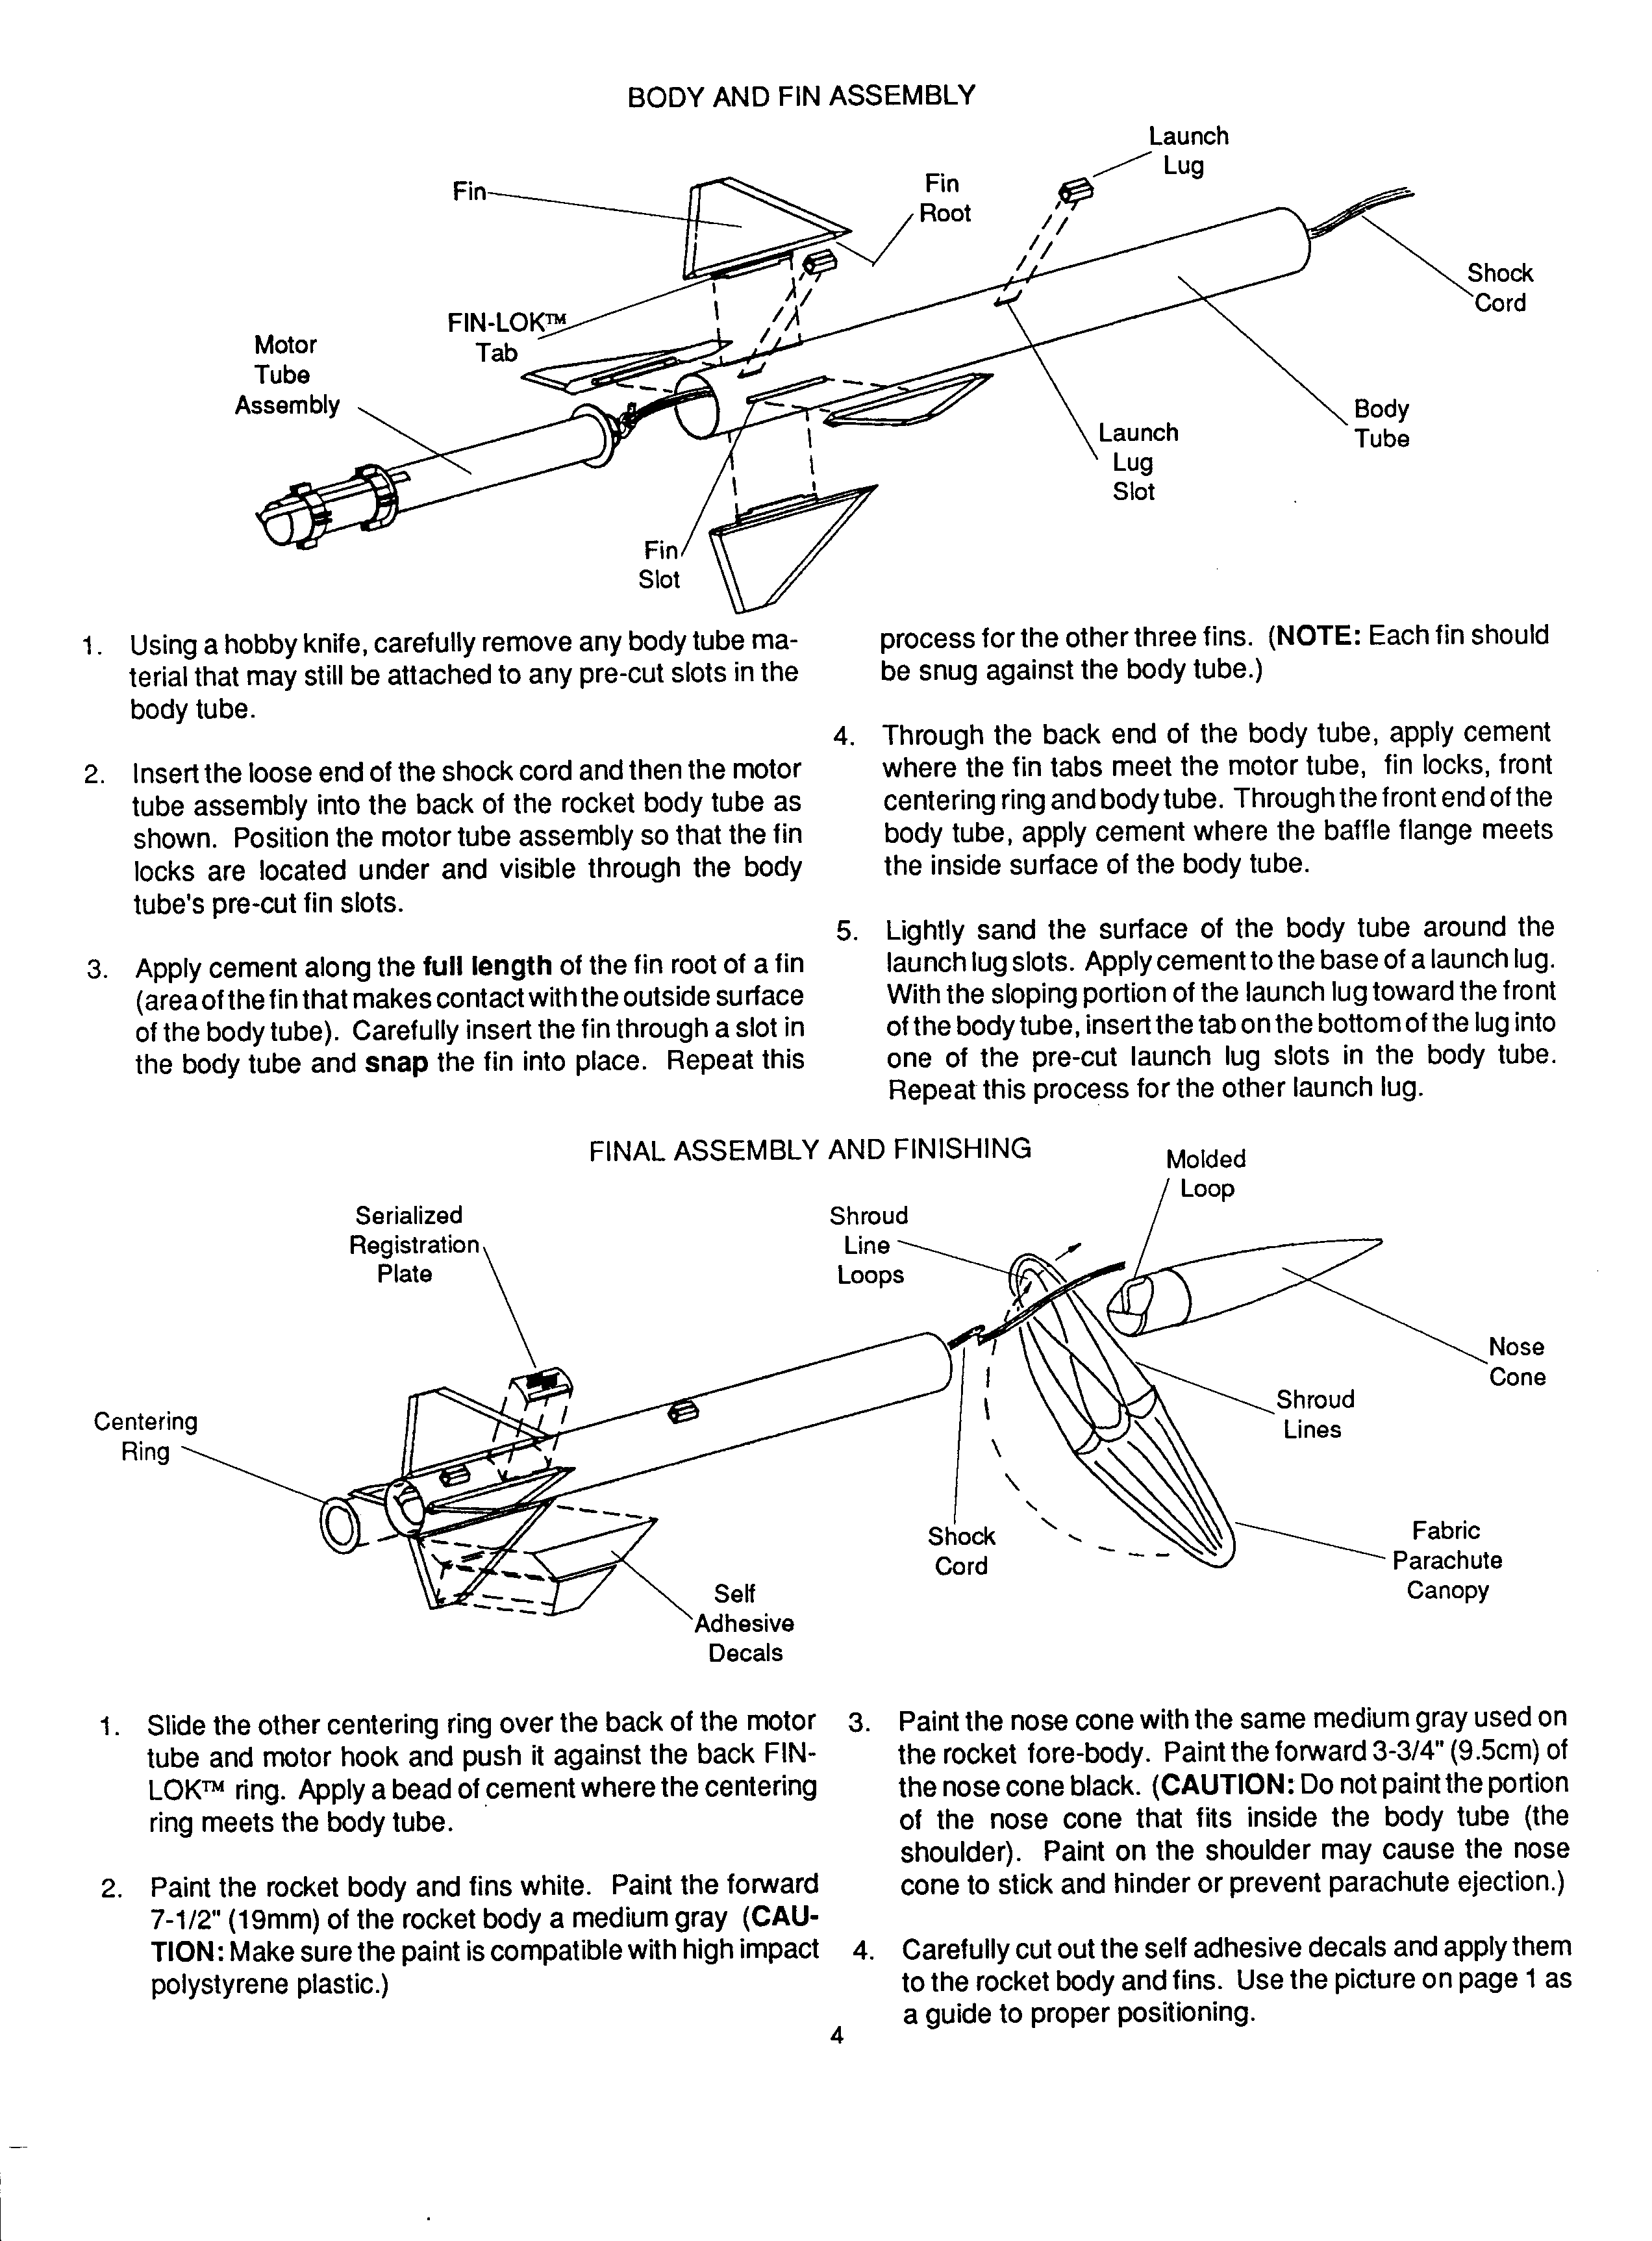
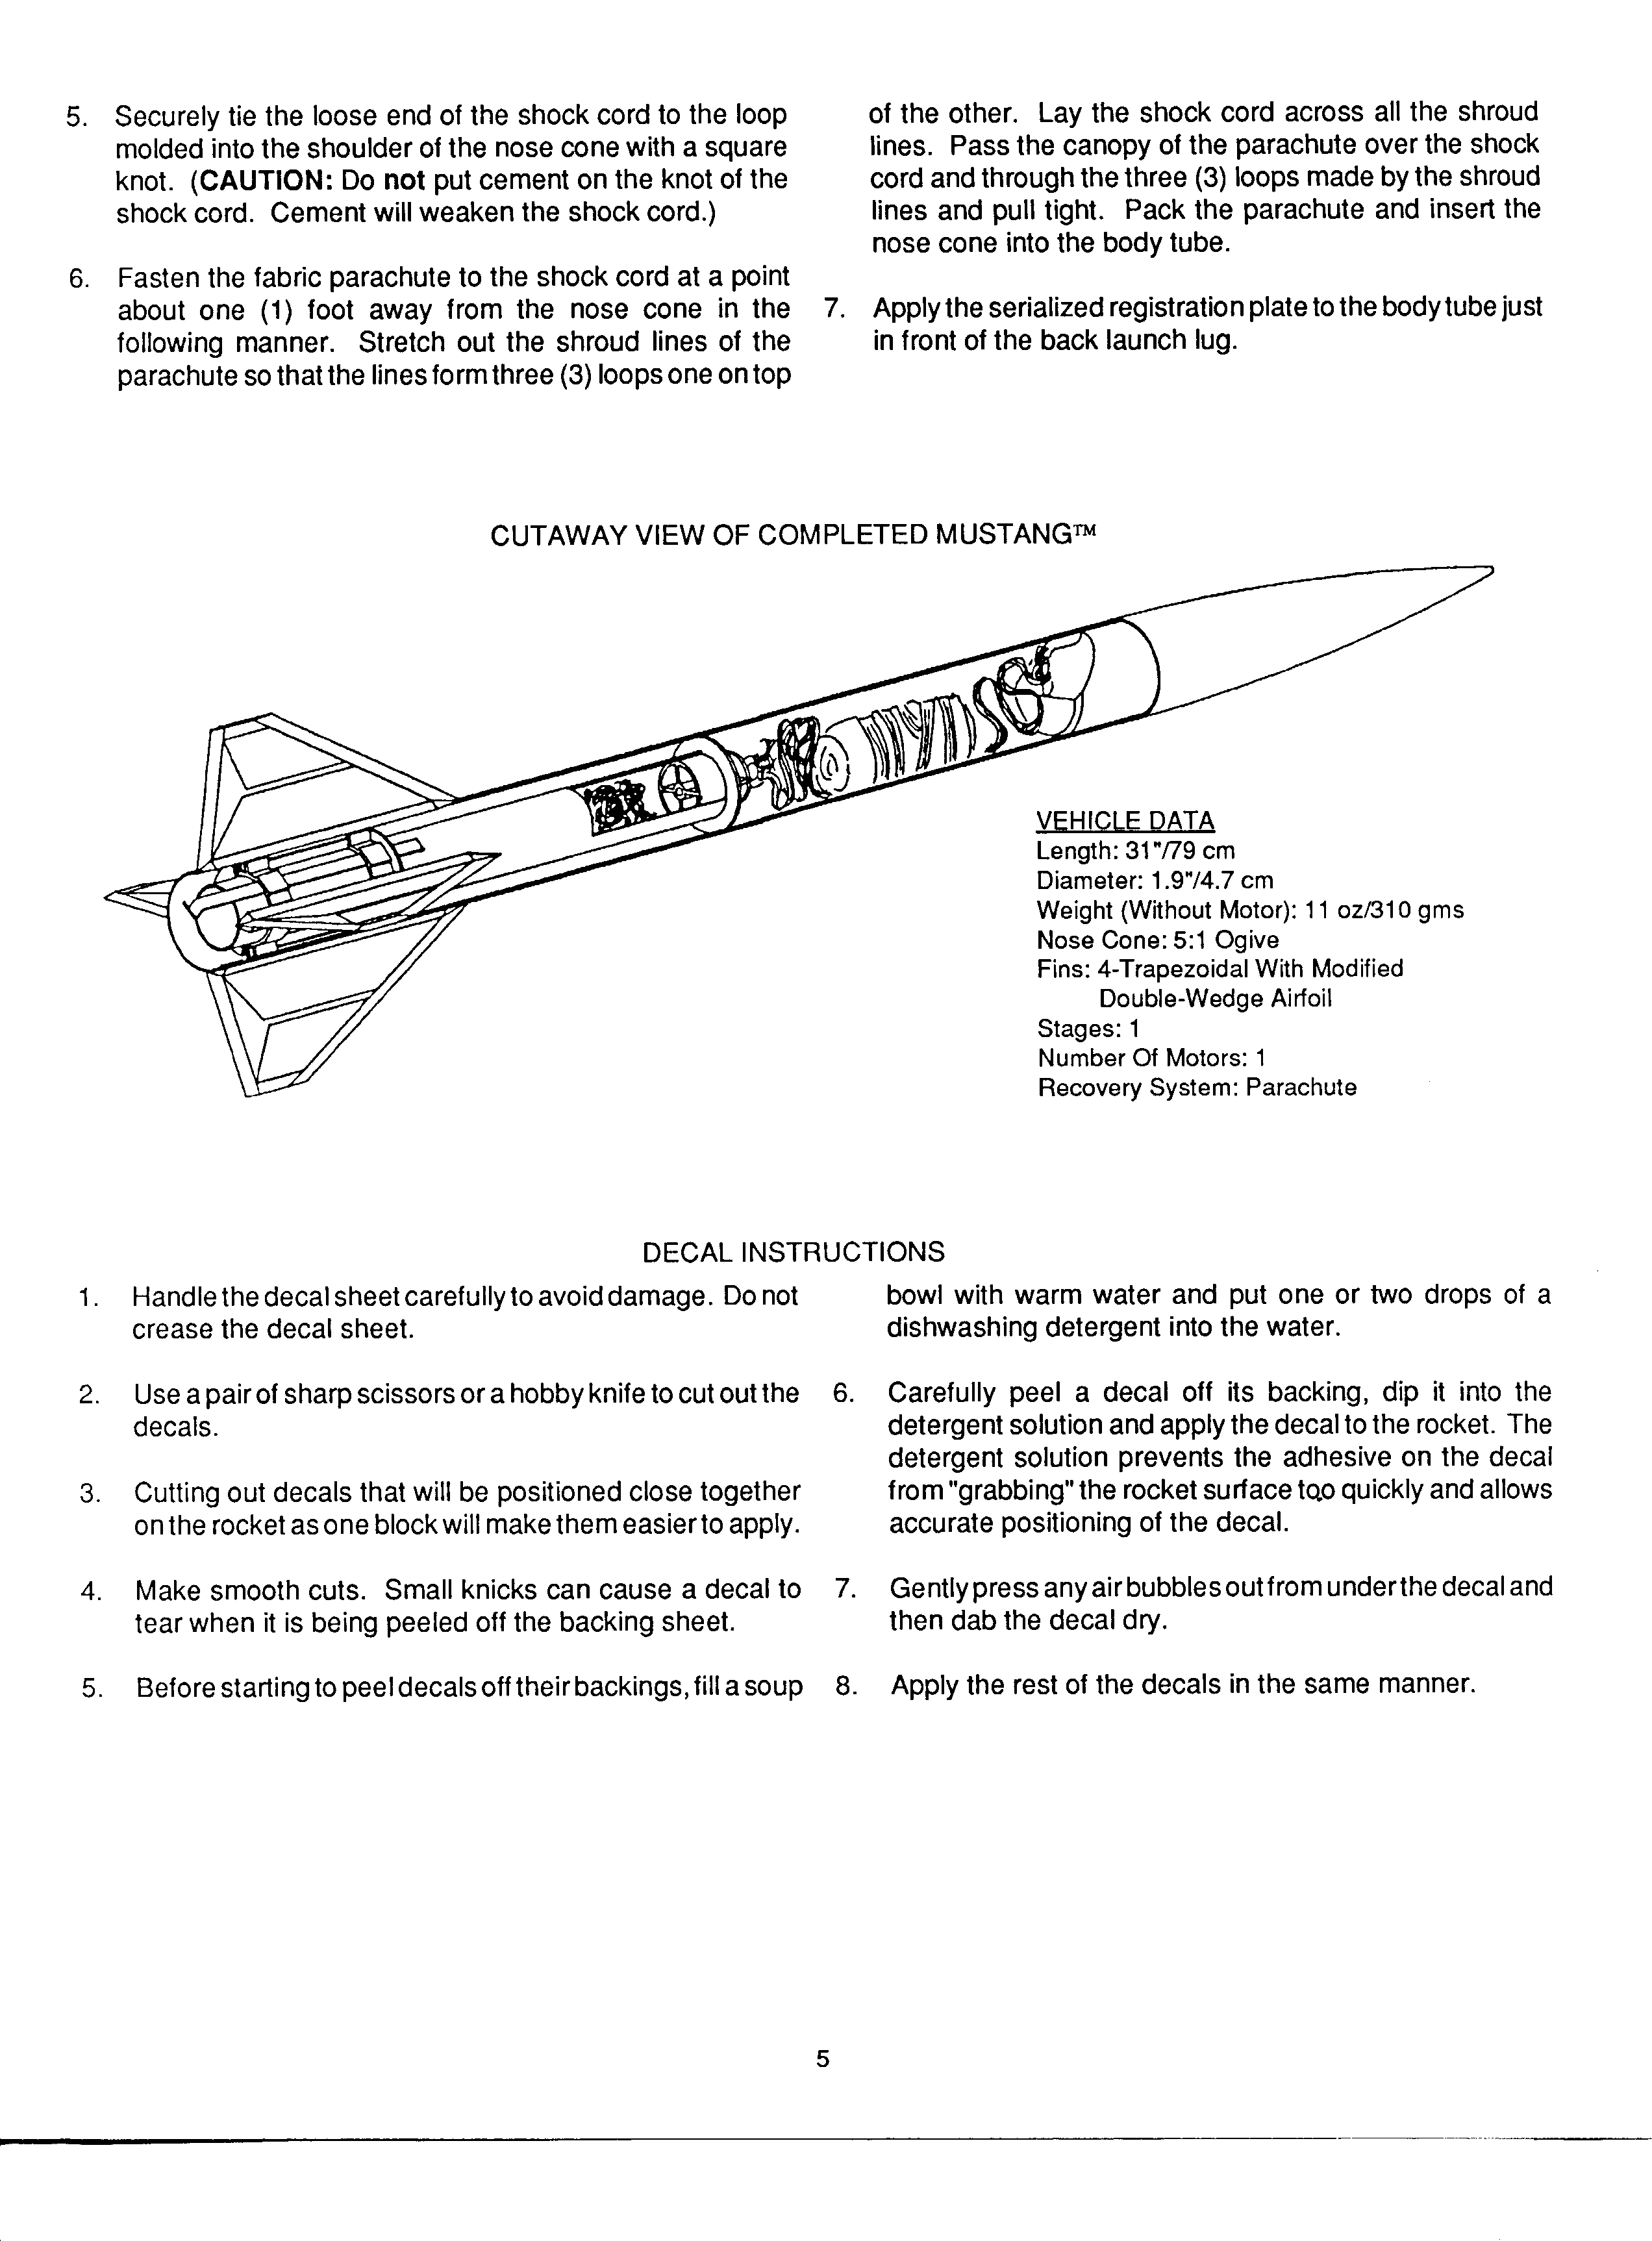
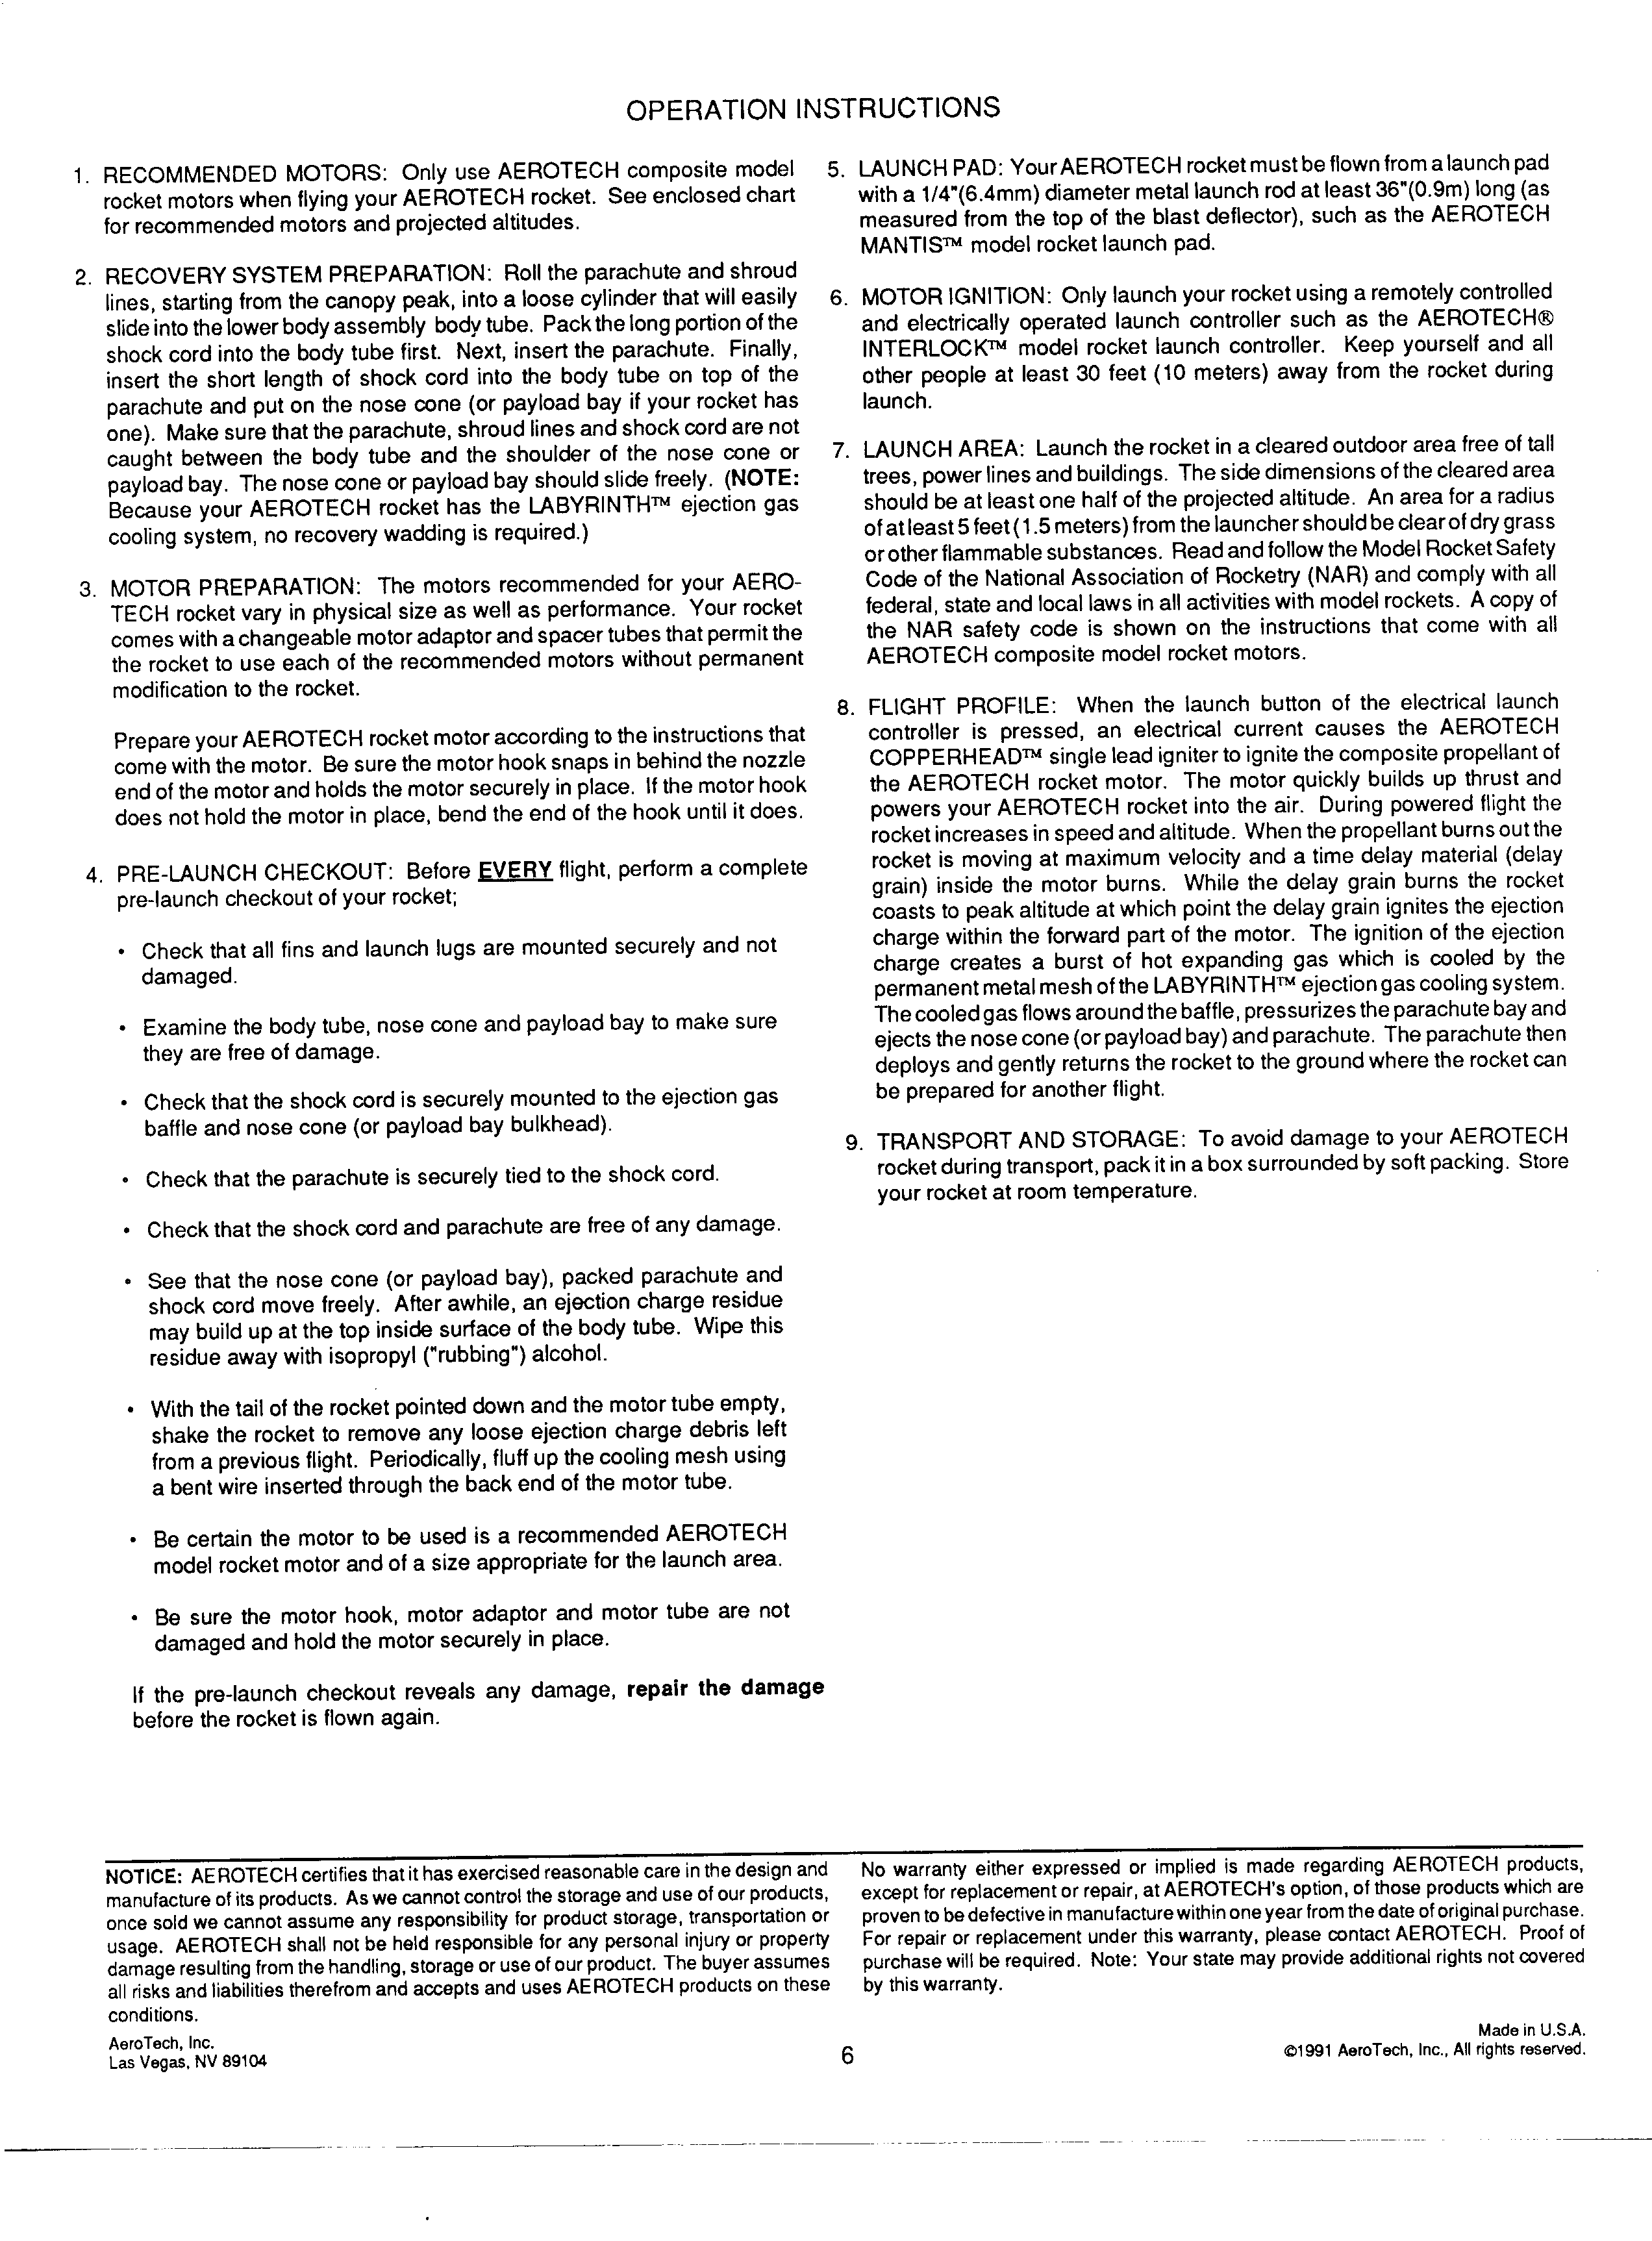
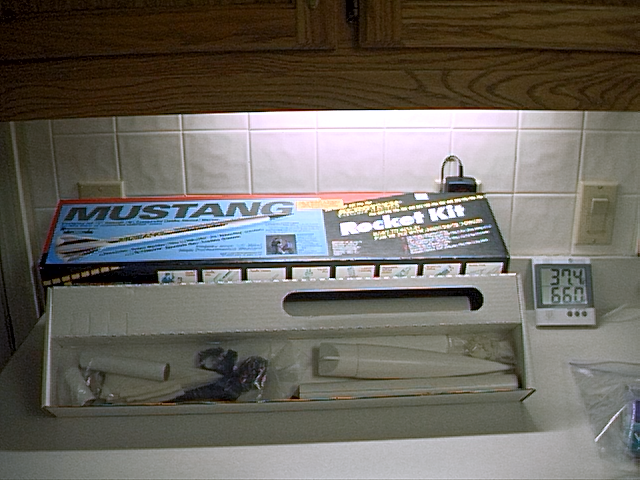
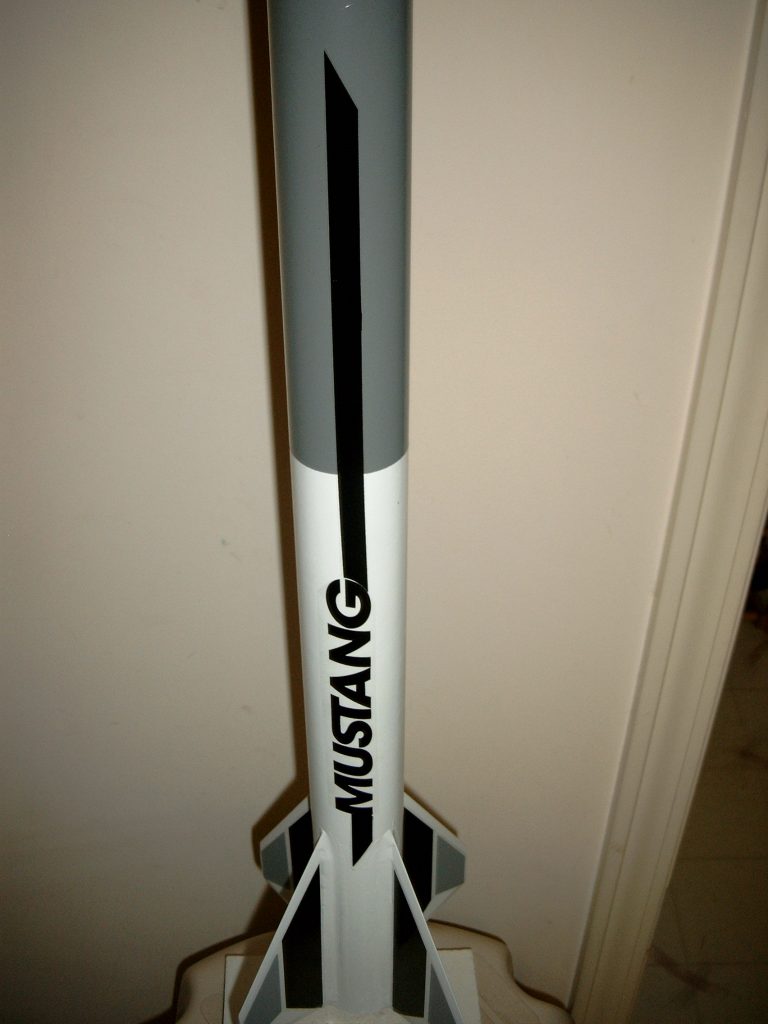
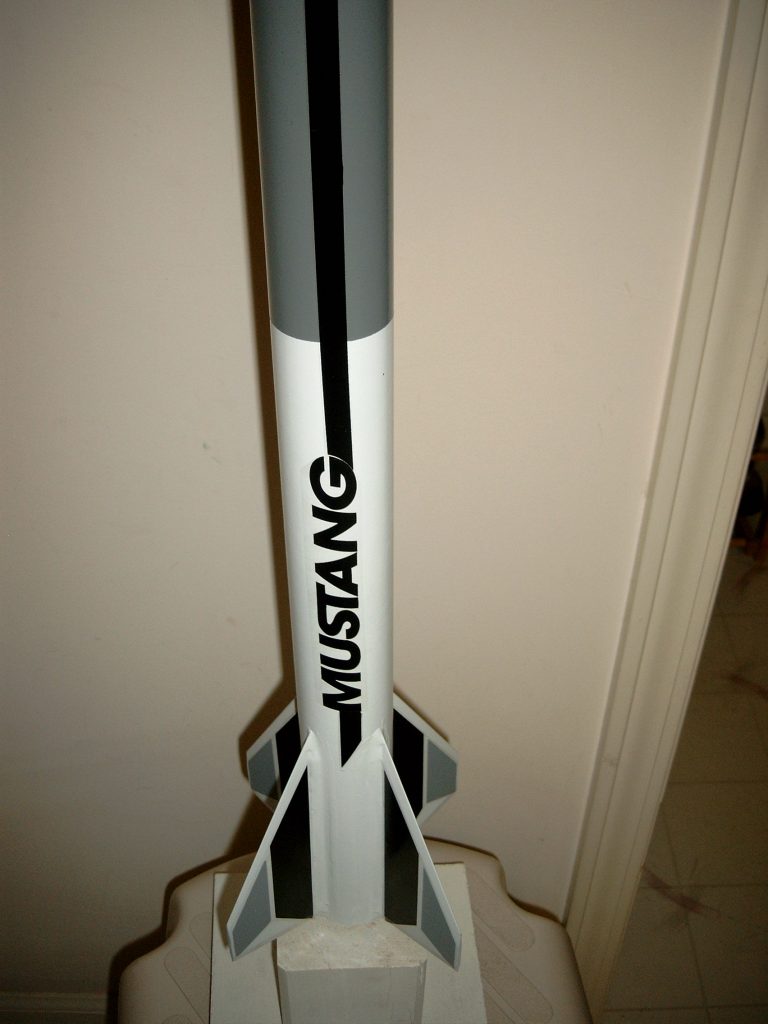
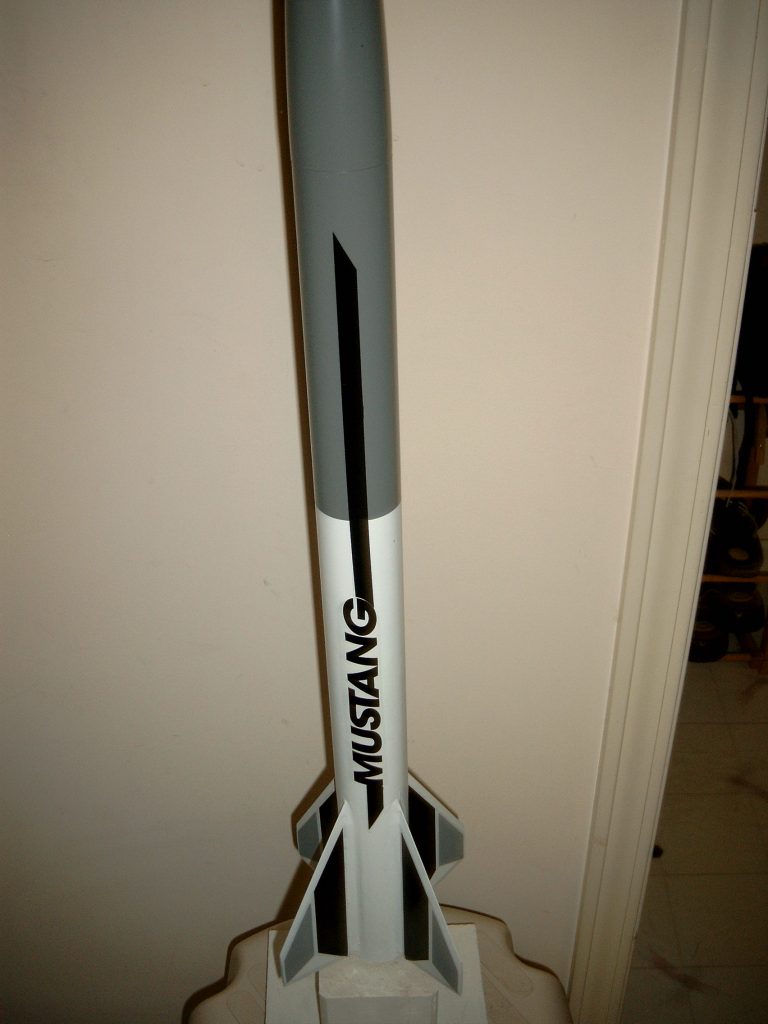
Photo Gallery
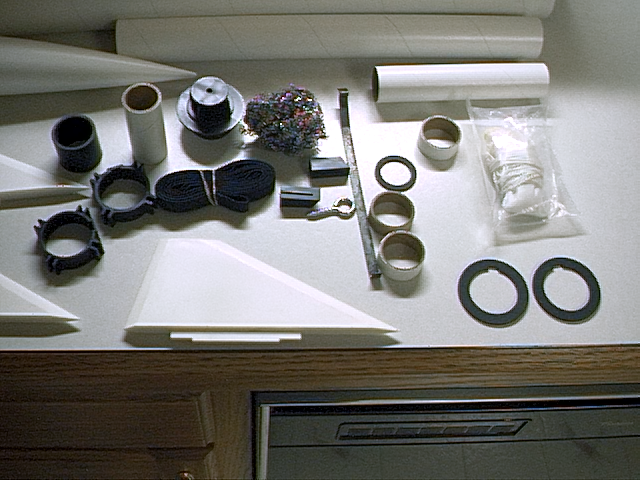
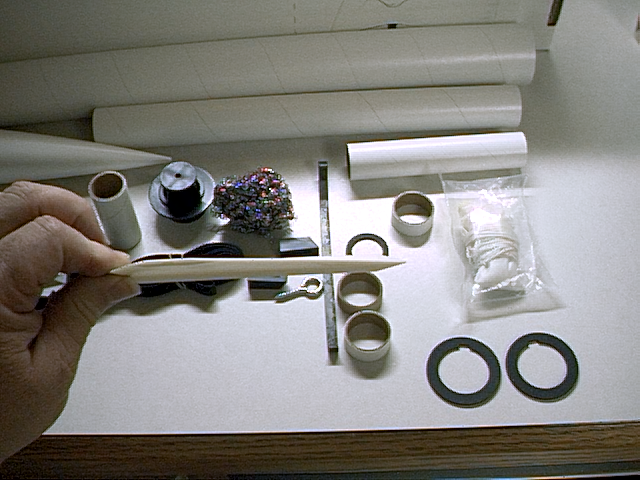
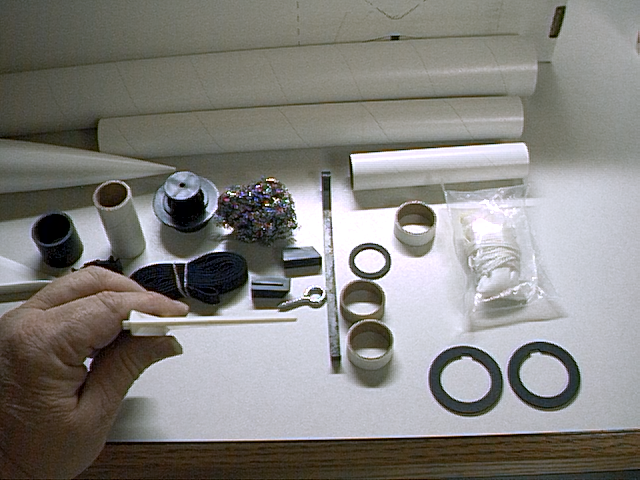
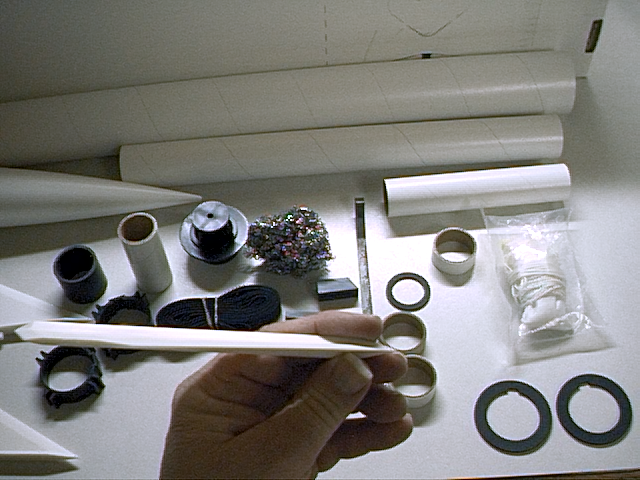
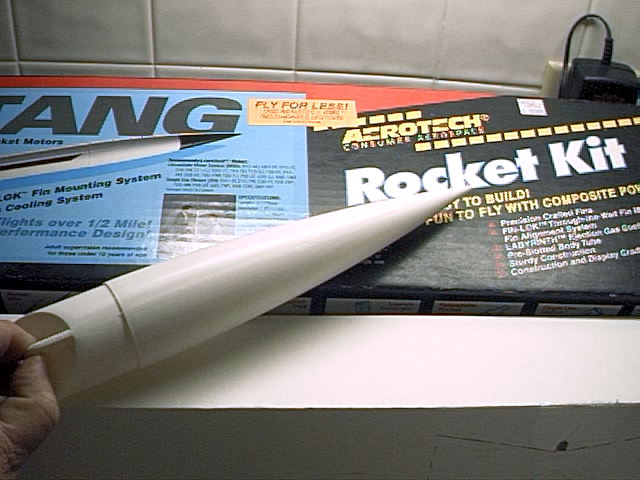
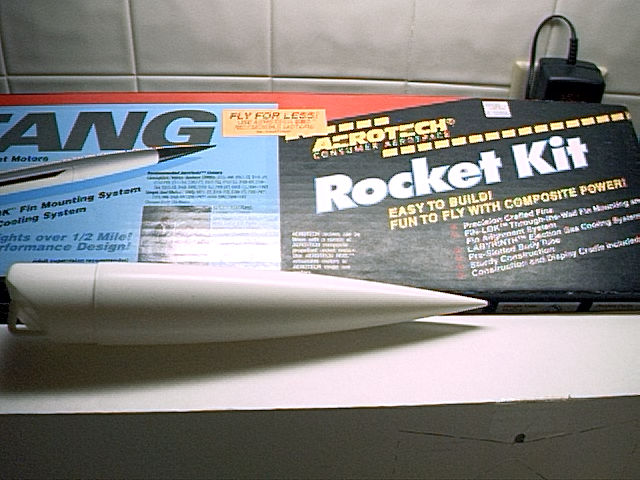
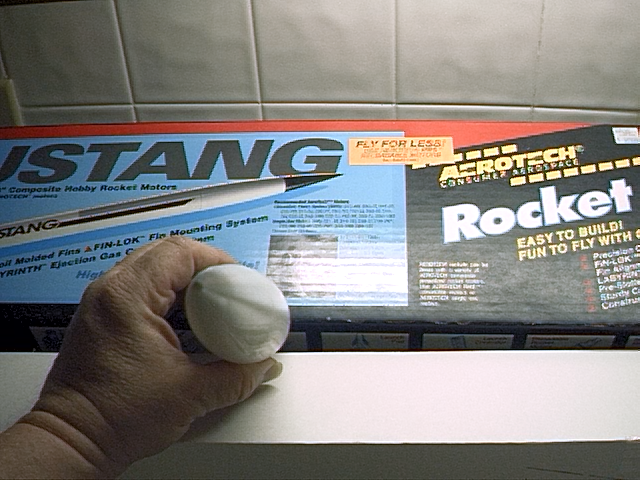
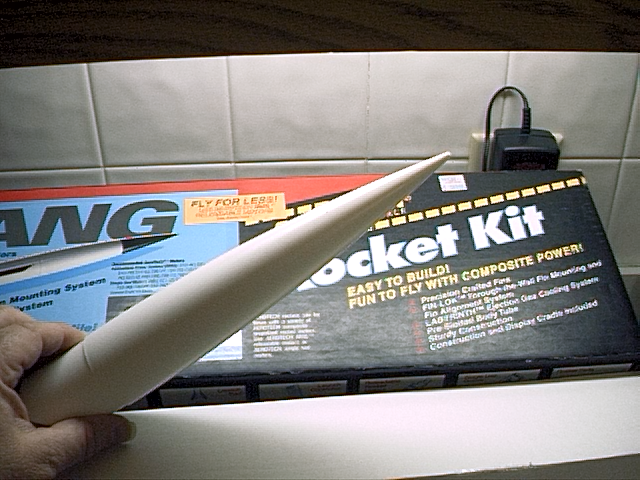

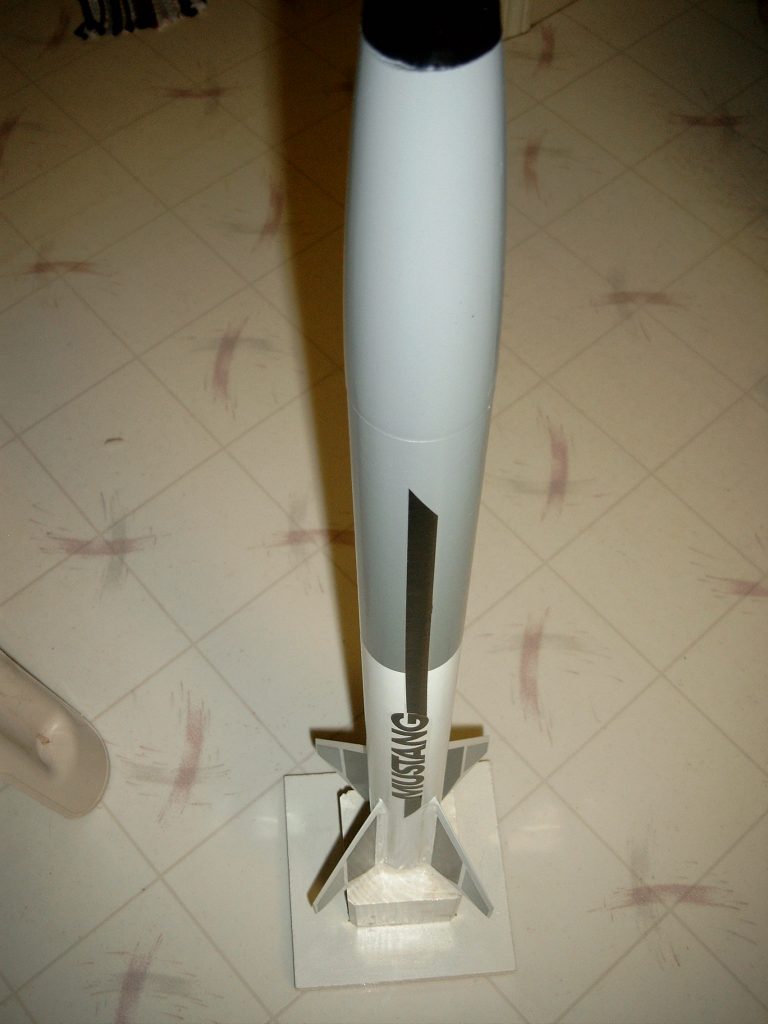
Build History
- 01/30/1999 – Purchased Aeroteck #89010 model from Joe’s Hobby Barn for $35.09 (Retail – $38.99)
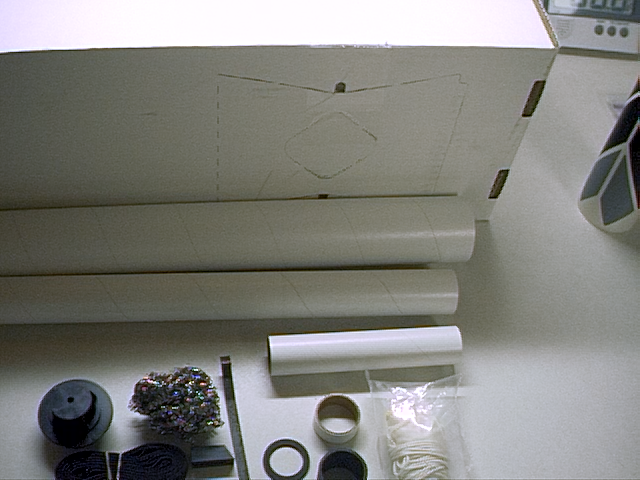
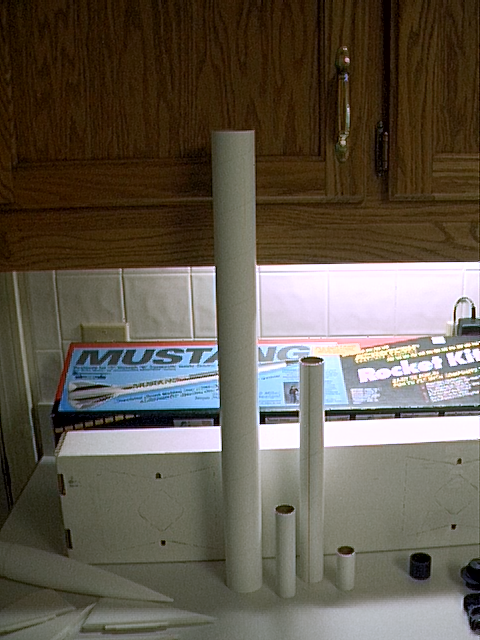
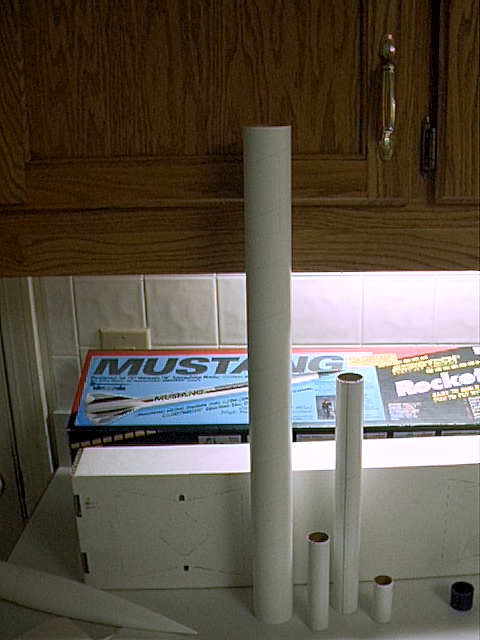
- 03/16/2002 – Opened Kit and found all parts were in kit. Took pictures and loaded into computer. Marded motor tube at 7/8″, 2-15/16″ and 4-5/8″ positions. Cut motor retainer slot 1/4″ long at 4-5/8″ mark on motor tube. Put retainer into slit. Over rear end of motor tube, slid one of the fin lok rings up to the 7/8″ mark even with the forward edge of the fin lok rings. Over the forward edge of the motor tube, slid the other fin lok ring so the read edge is even with the 2-15/16″ mark. Slit the body tube at 90 degrees for 1/4″. Epoxied the baffle shoulder into the forward end and epoxied the fin loks centering ring in place. Screwed the screw eye into the flange and tied one end of shock cord to it.
- 03/17/2002 – Inserted the motor tube assembly into the slotted end of the body tube. Epoxied all fins in place. Epoxied forward and rear centering rings to the body tube. Attached nose cone to other end of shock cord. Tied 22″ parachute about 1 foot from nose cone onto the shock cord. Model is ready for filleting and then painting and decaling.
- 04/04/20002 – Filleted all 4 fin/body tube joints and launch lug/body tube joints. This model is now ready for paint and decals.
- 06/28/2003 – Sprayed entire model with Krylon Gray Primer.
- 10/11/2003 – Sanded the previous coating of gray primer with 400 grit sandpaper, wiped off the dust with a shop rag and sanded with 600 grit sandpaper. Wiped the model with a shop rag and then a damp rag to clean off all dust. Dried model with a towel, allowed it to dryand then spray painted the fins and all but the upper 7-1/2″ with Gloss White Krylon spray paint#1501.
- 10/19/2003 – Measured 7-1/2′ from nose and masked the body tube with card stock. Applied Blue painters tape around body tube at the 7-1/2″ mark. Taped newspaper over painted areas of model. Sanded upper portion with 320 grit sandpaper. Spray painted the upper porting with Krylon Smoke Gray. Removed tape and newspaper.
- 12/10/2003 – Cut out self adhesive decals just inside the dotted lines and applied them to model as per instruction sheet. This completes construction of the Aerotech Mustang model rocket #89010.
- 07/06/2006 – Epoxied fin to body tube as a repair.
Flights
| Date | Location | # | Motor | Comments |
| 08/11/2007 | Hardin Landfill | BS16 | F25-9W | Shedin’ decals. |
| 09/08/2007 | Hardin Landfill | BS17 | F60-10RR | Man them motors come to pressure fast |
| 09/13/2008 | ADC Park | BS24 | F50-4T | Victim of the upper winds |
Leave a Reply
You must be logged in to post a comment.