LOC/PRECISION Model #locpk52
Description
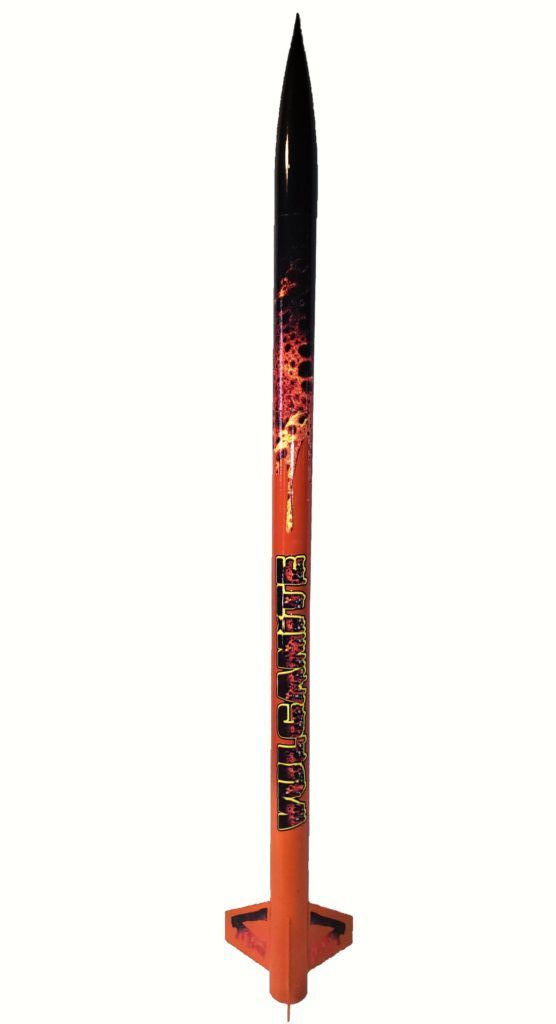
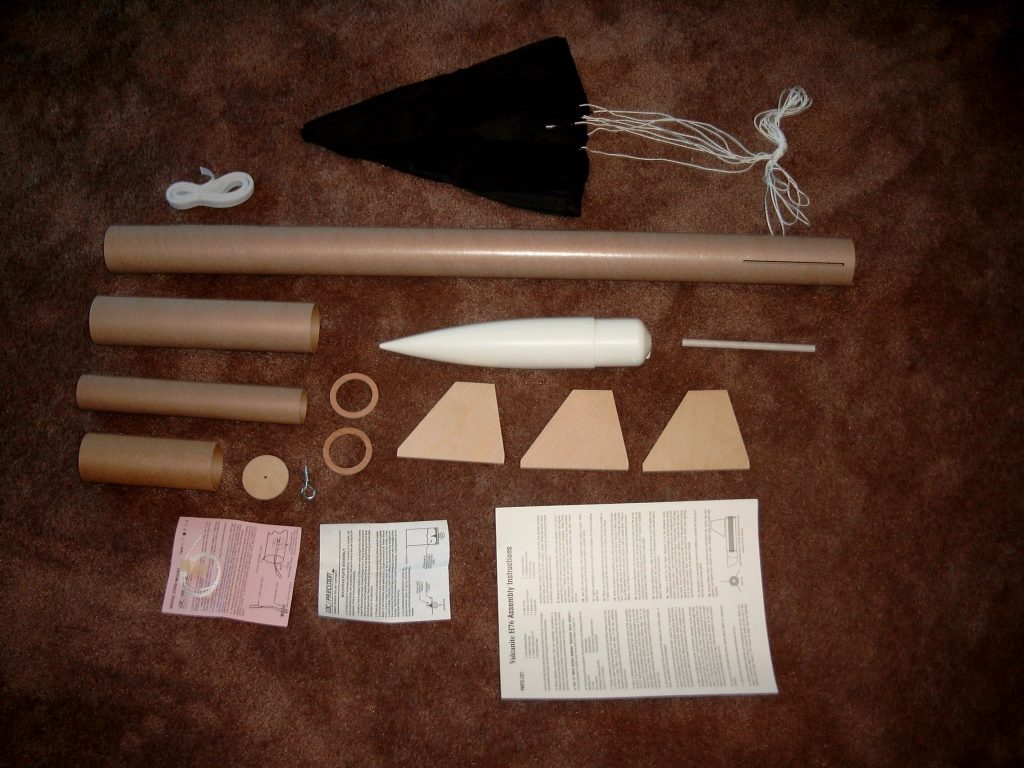
One of the ISP PERFORMANCE SERIES of kits, which feature factory pre-slotted airframe and through-the-wall fin construction and high power motor capabilities, the VULCANITE is a true high power performer. The 38mm motor mount is for Level 1 and Level 2 power if your field can handle it. This kit flies great on a variety of F and G motors using the optional MMA-2 motor mount adapter. Parachute Recovery.
Additional Information
Complexity: Intermediate
Diameter: 2.26″
Length: 53″
Weight: 23oz
Motor Mount: 38M
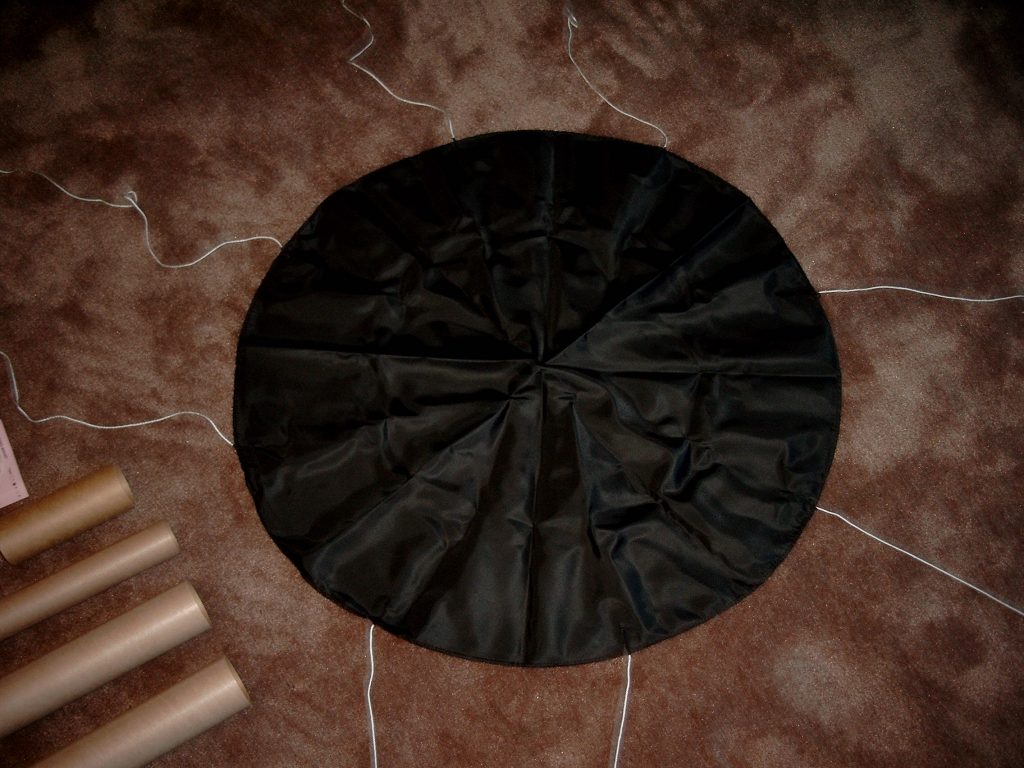
Parachute Size: 28″ Ripstop Nylon
Shock Cord Type: 12′ 3/16″ Tubular Nylon
Shock Cord Mount: Eye Bolt SCM2
Fin Thickness: 1/8″
Ring Thickness: 1/4″
Instructions
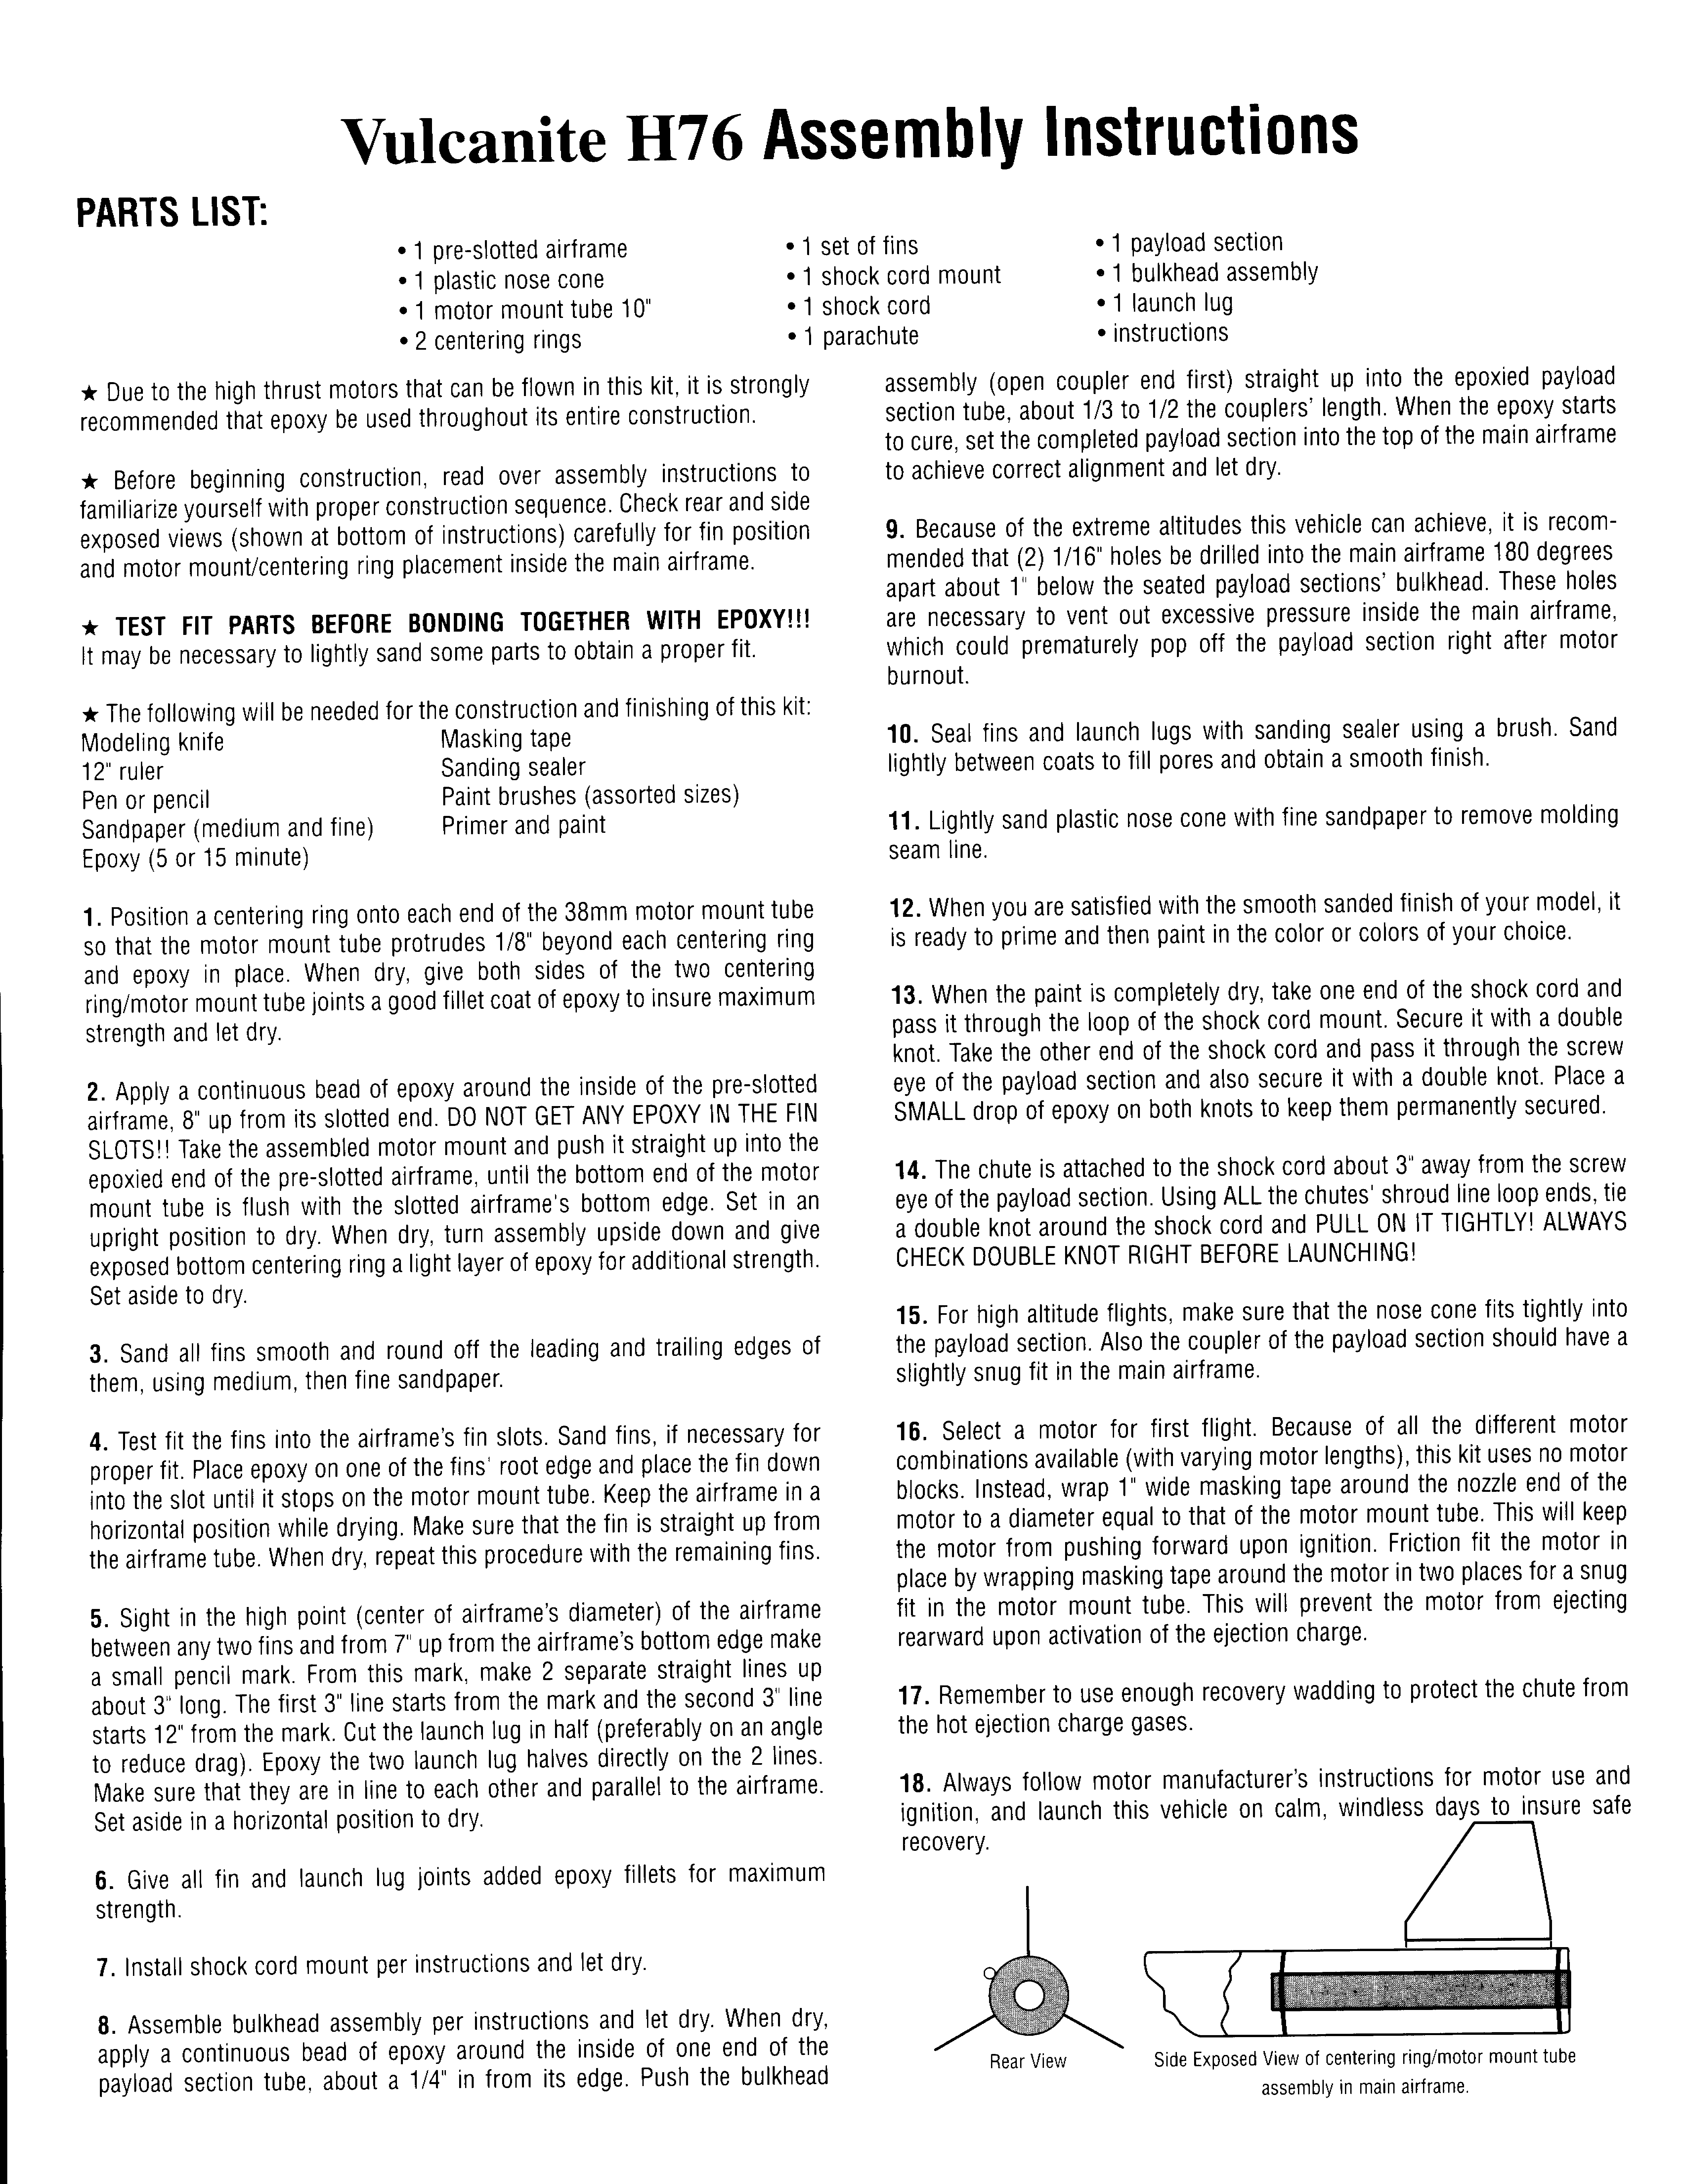
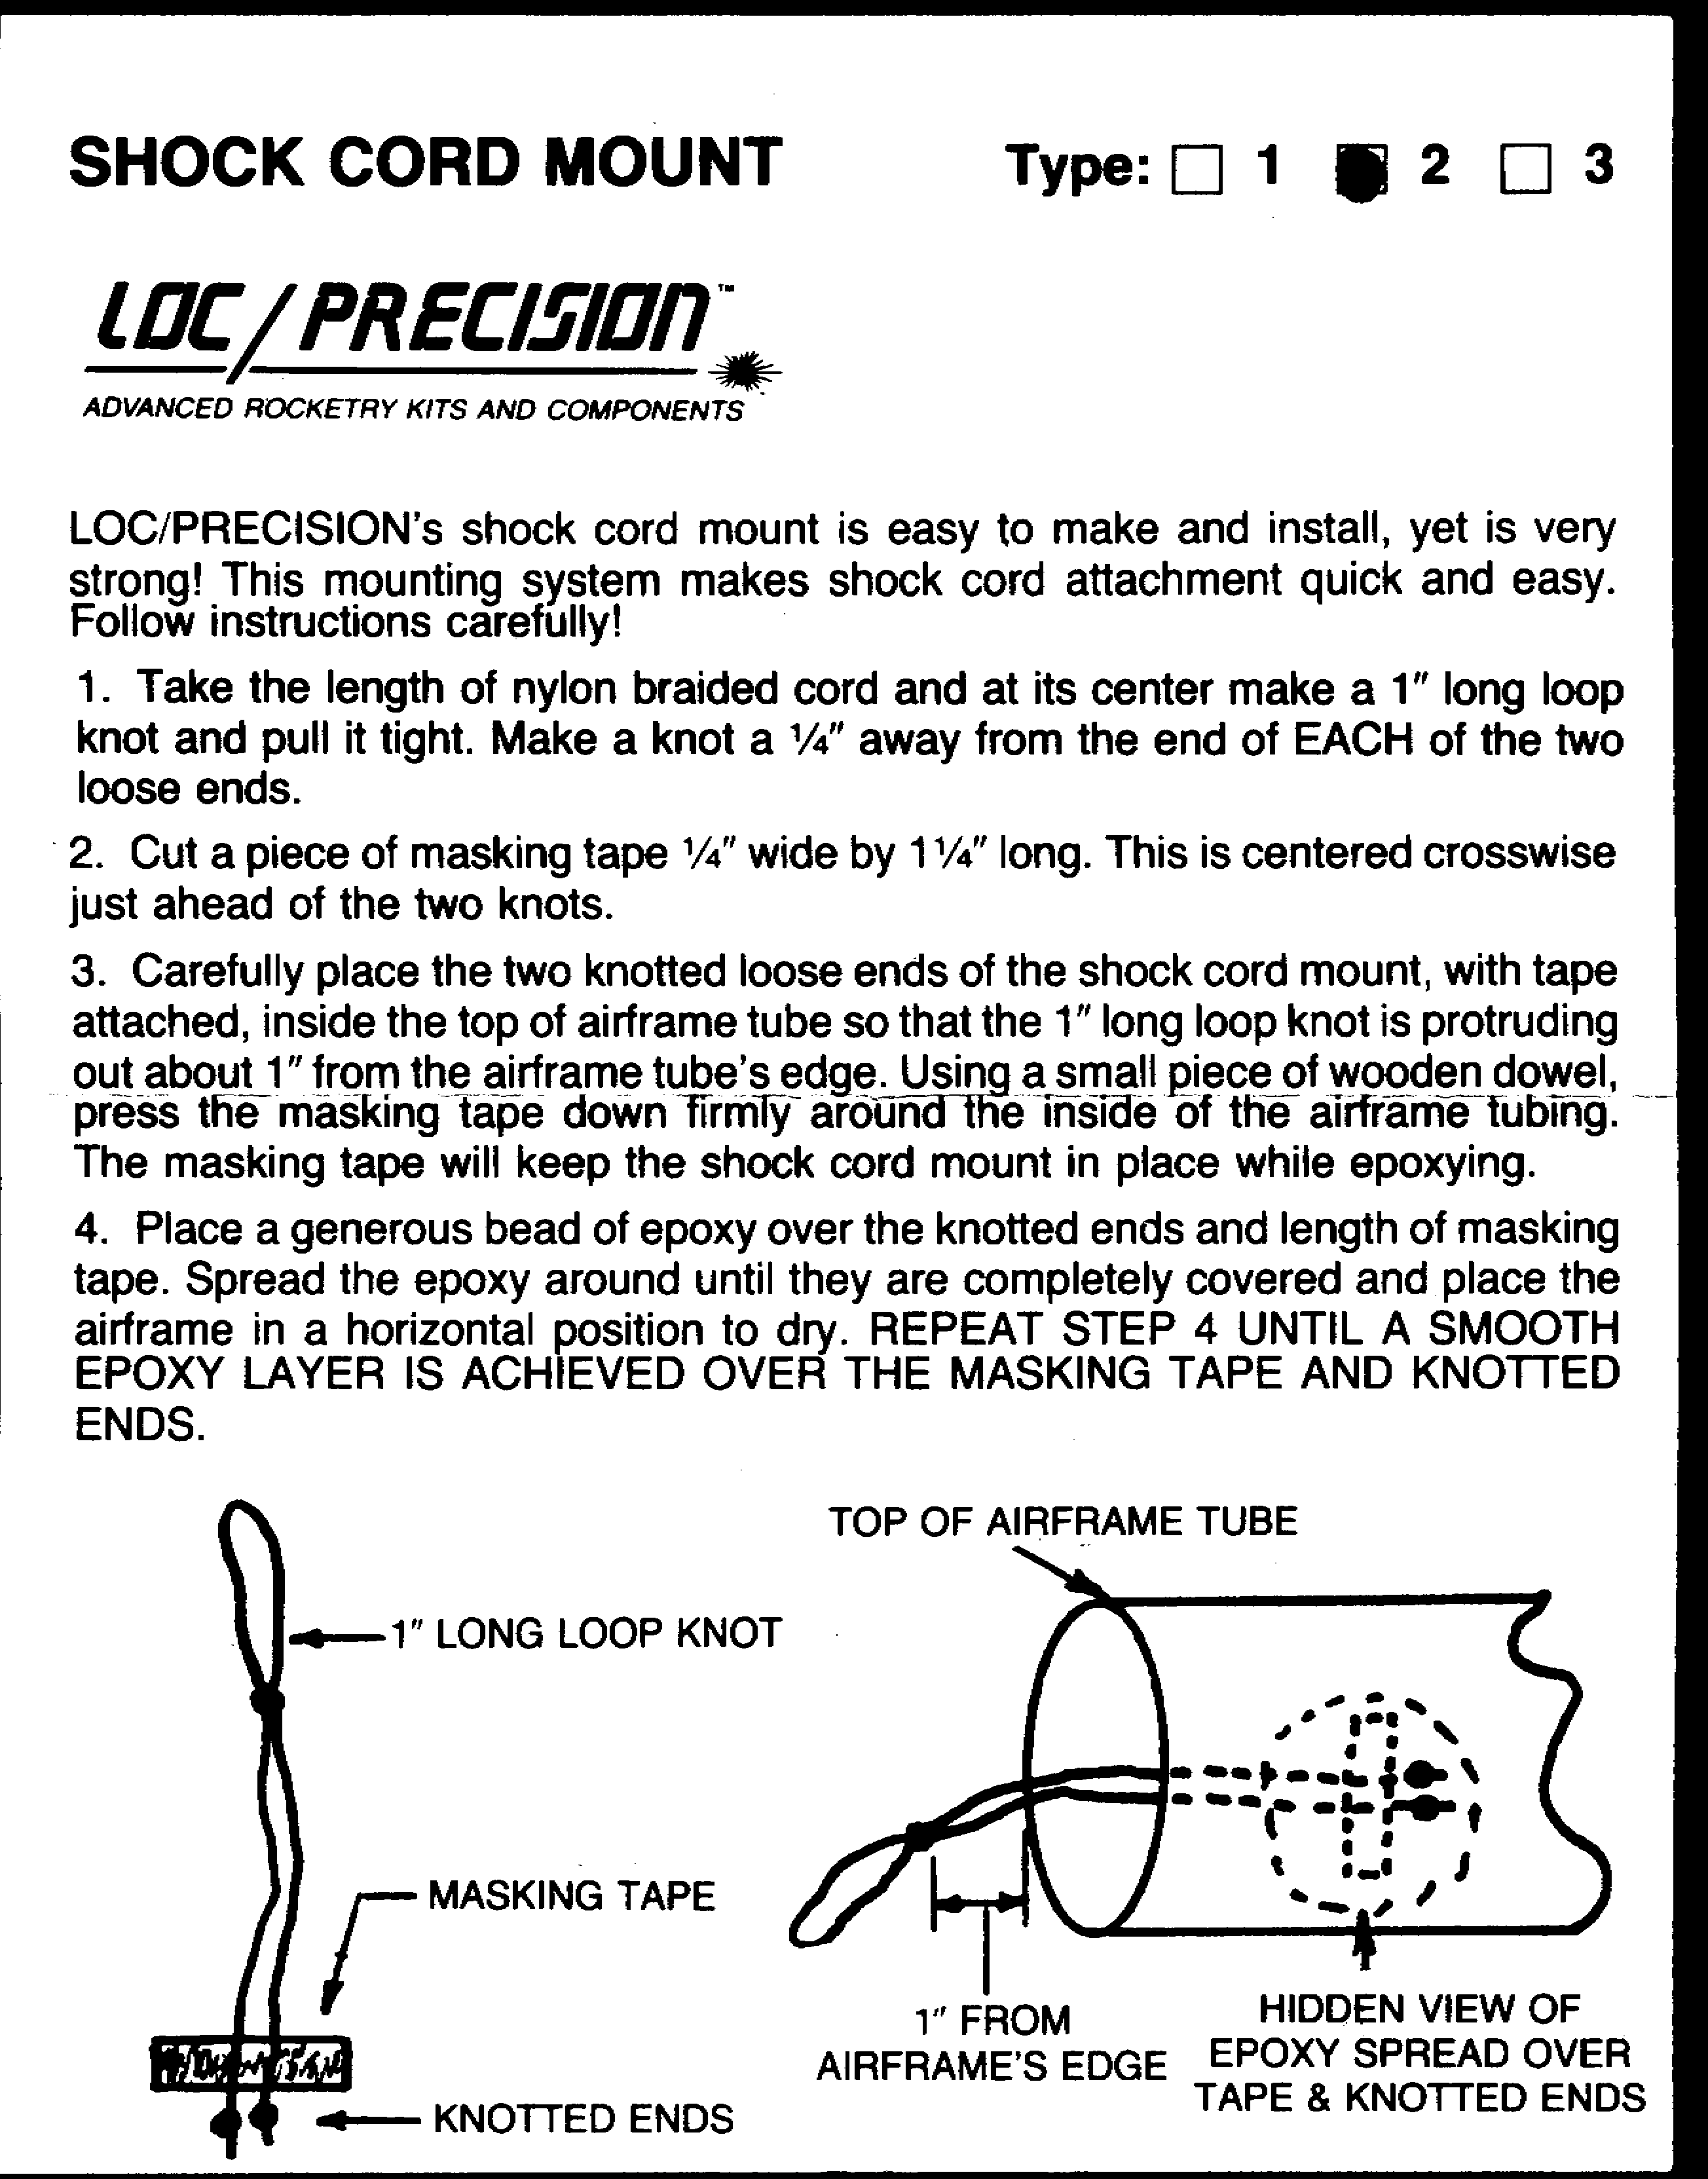
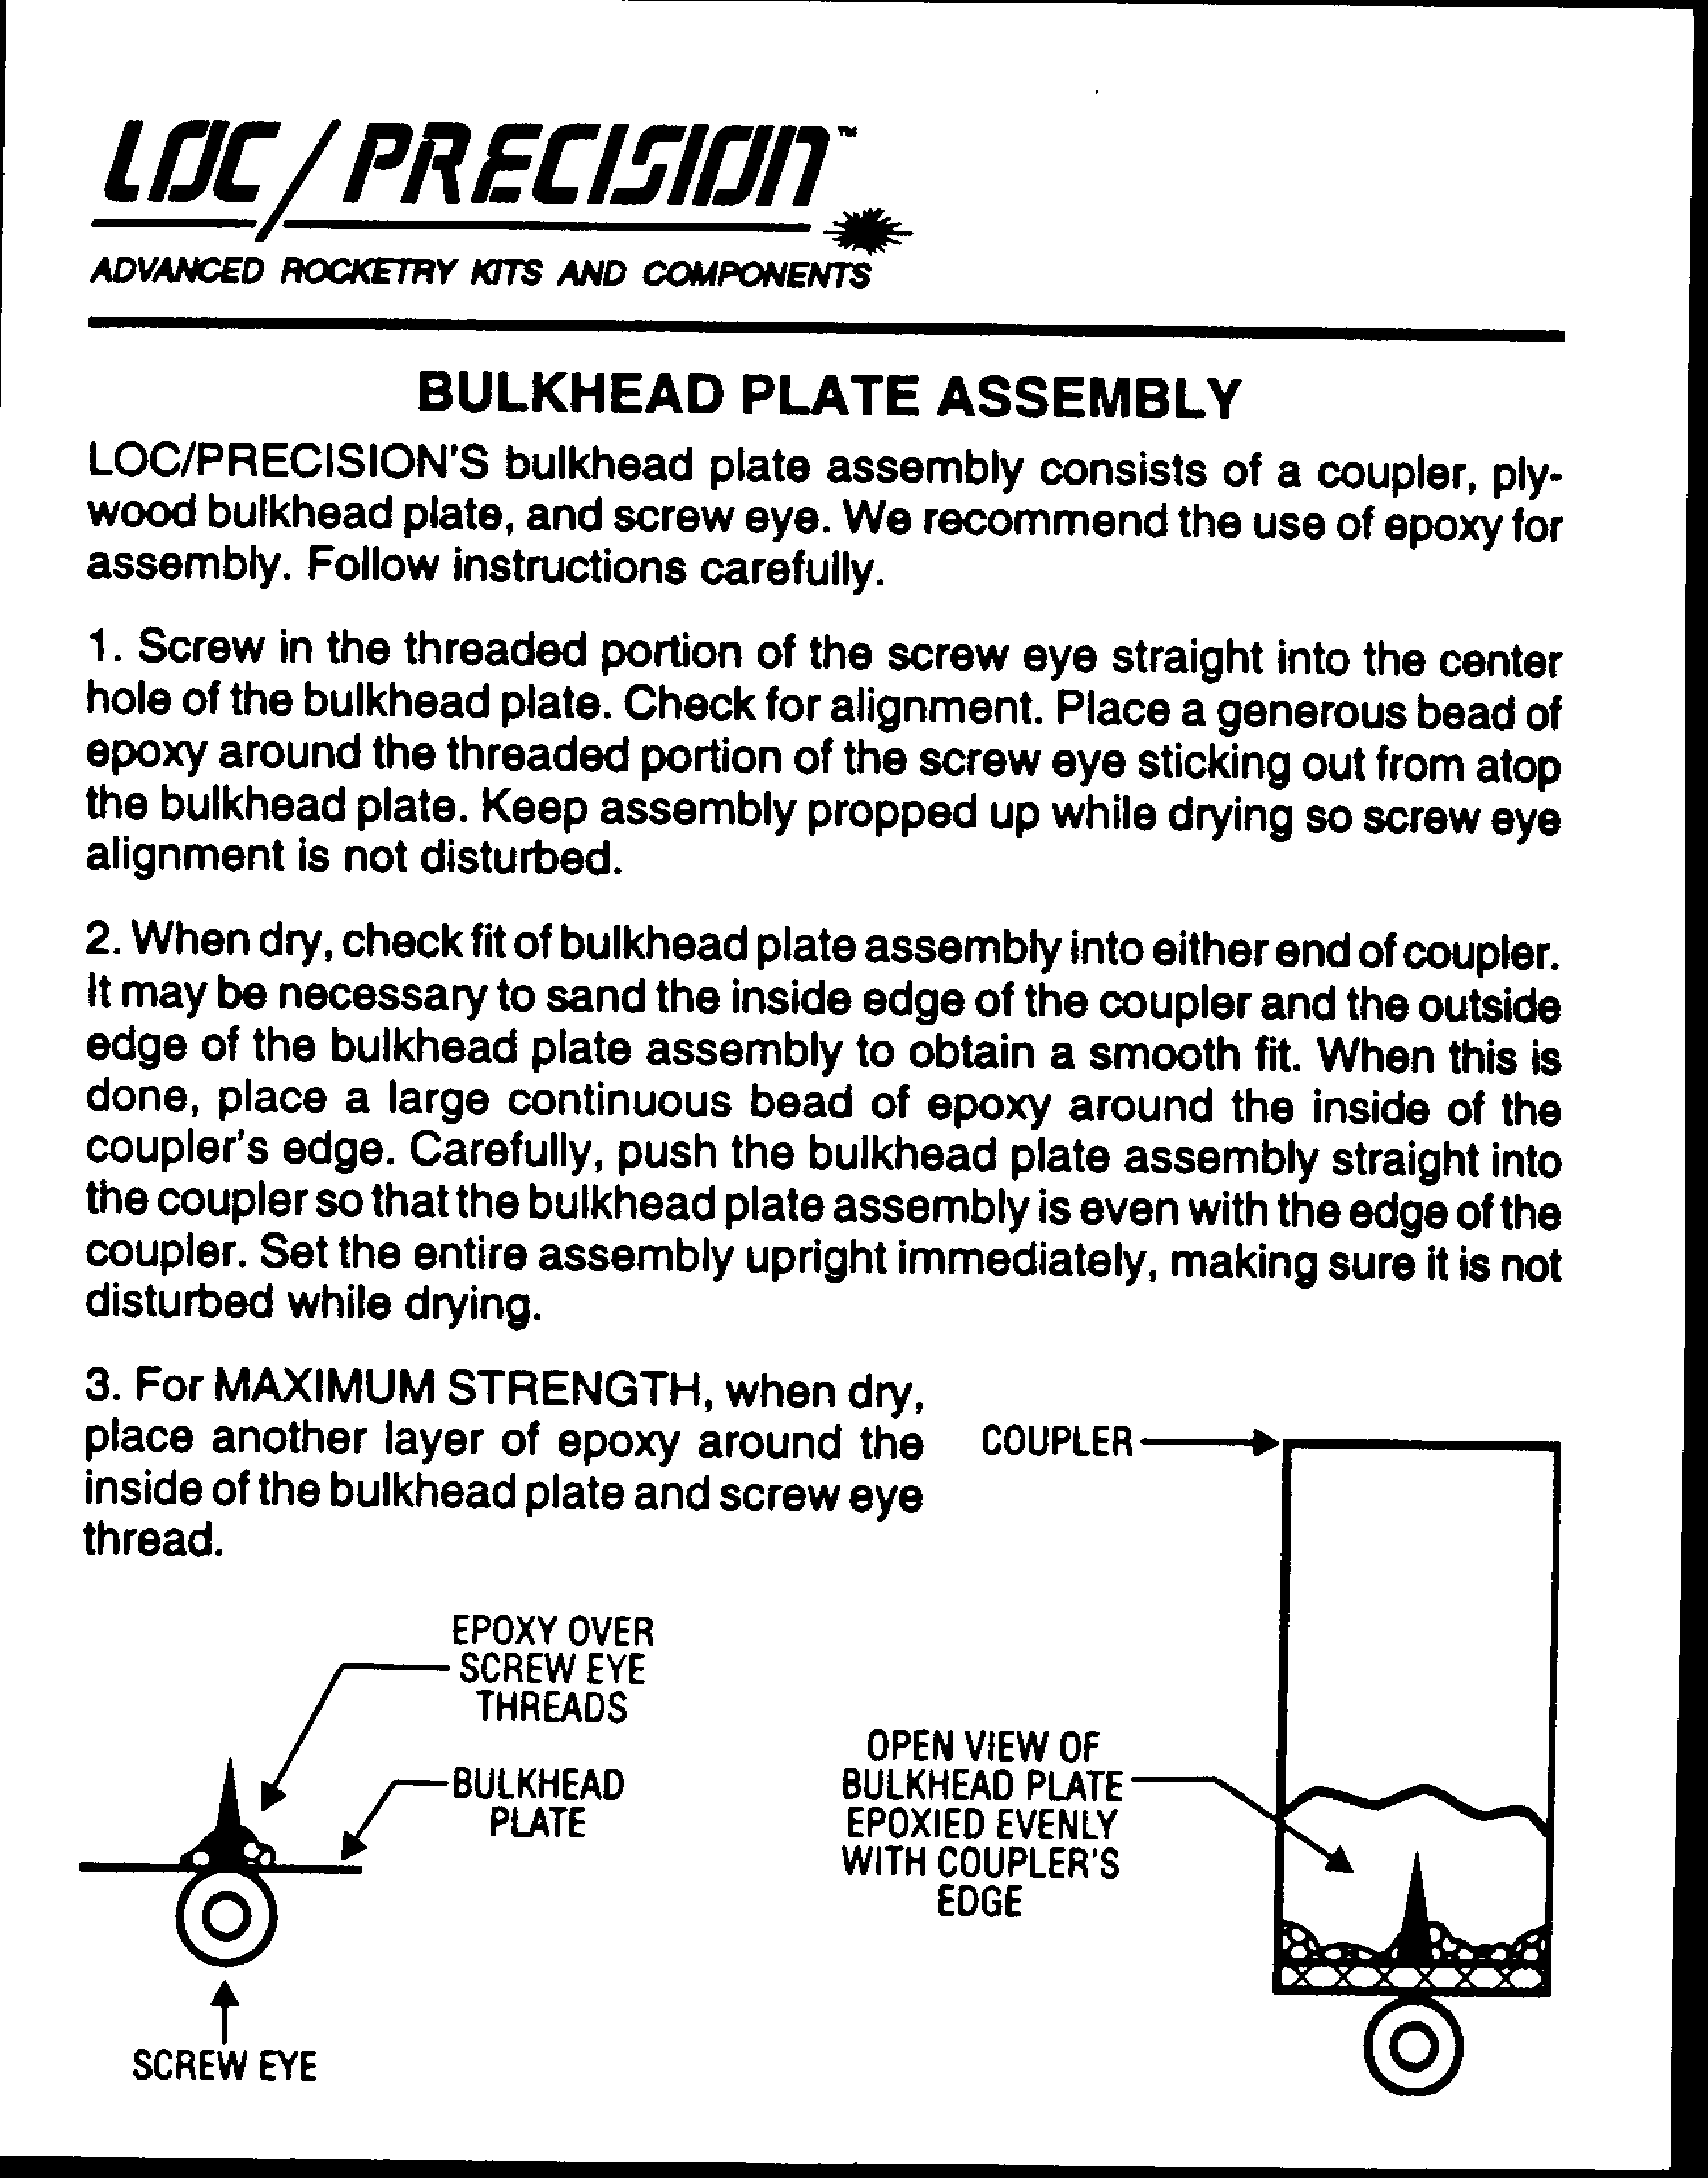
Photo Gallery

Build History
- 02/25/2003 – Purchased LOC/Precision #PK-52 Vulcanite H76 from Hobbylinc for $47.79 (Retail – 58.95).
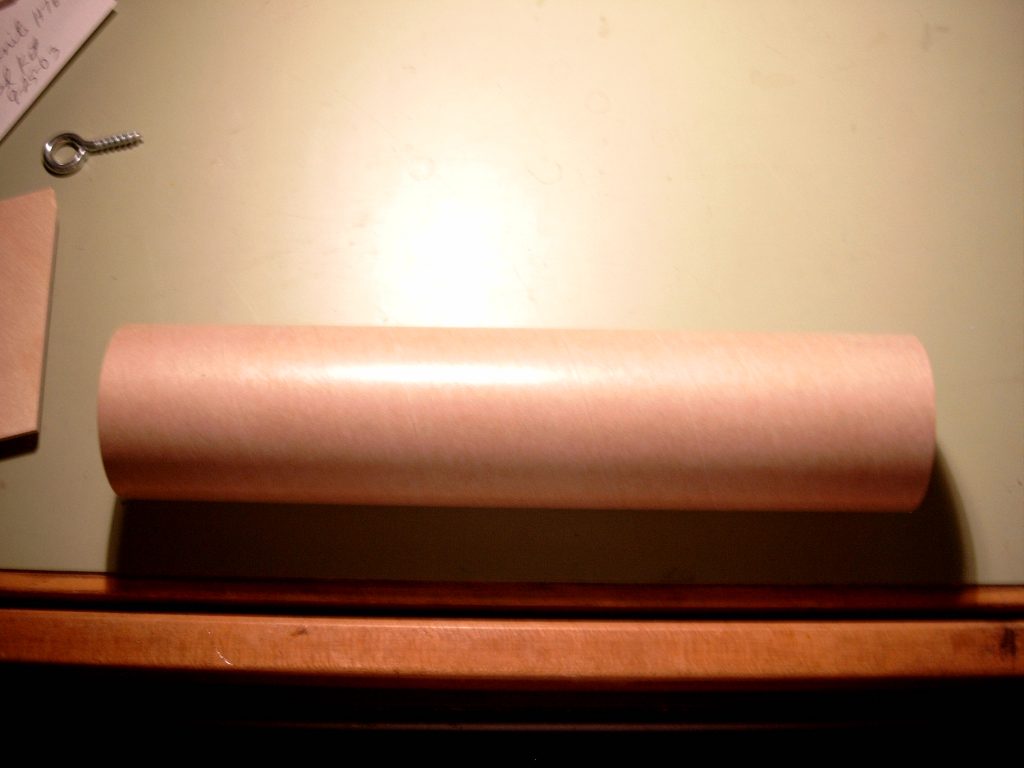
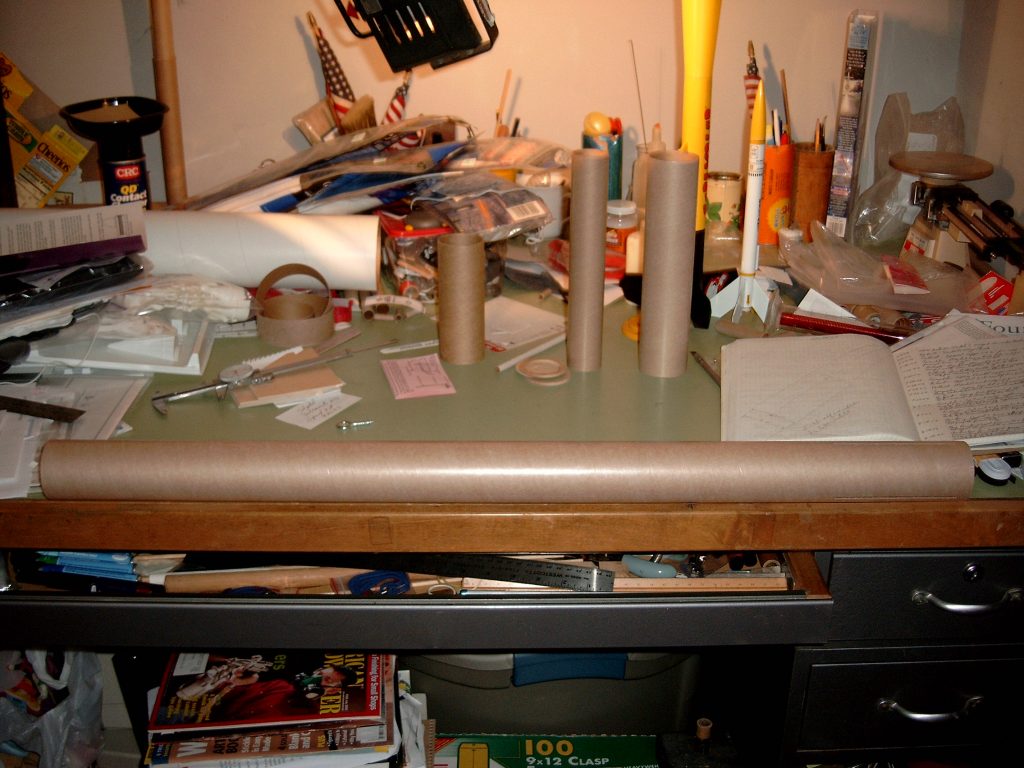
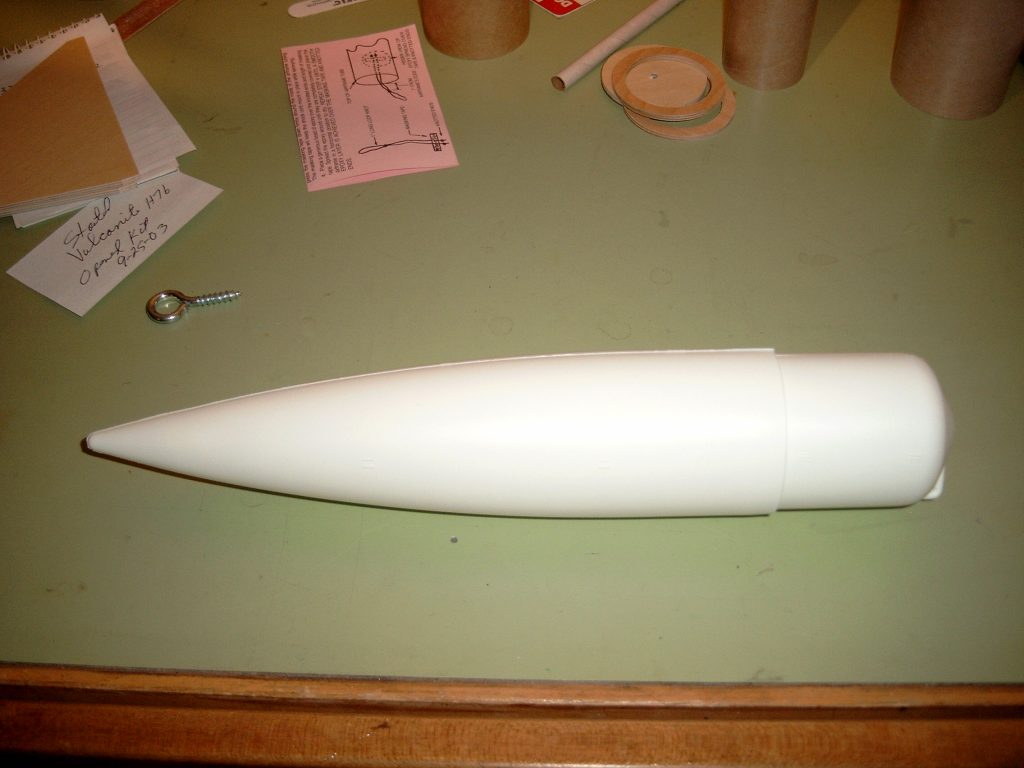
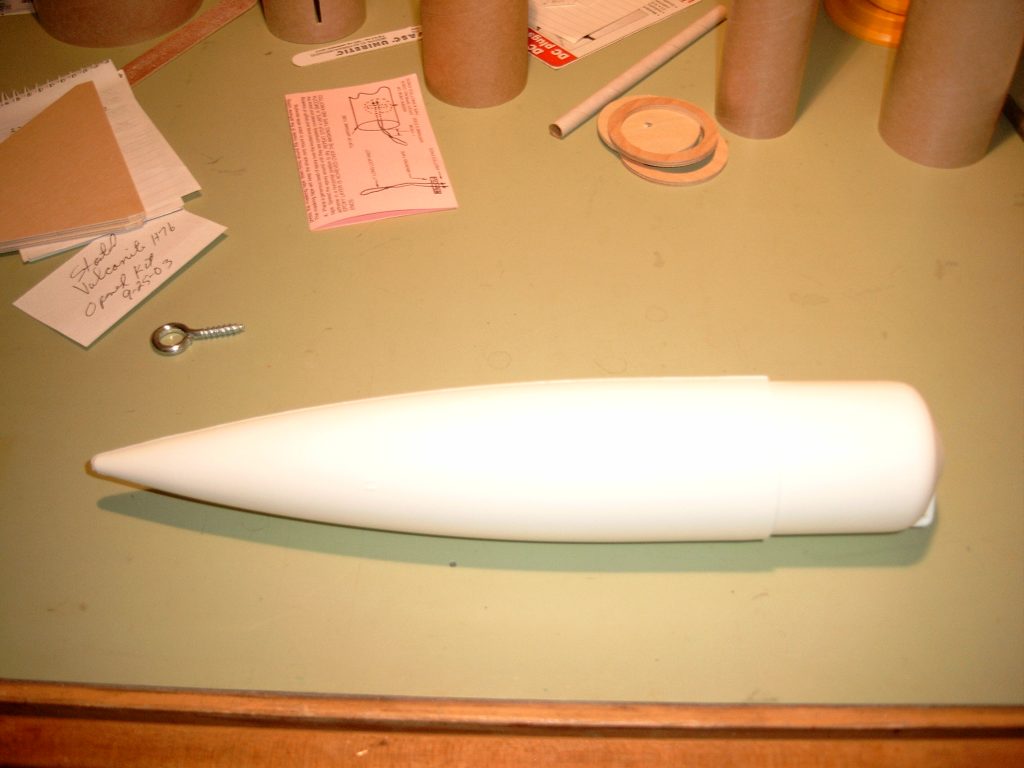
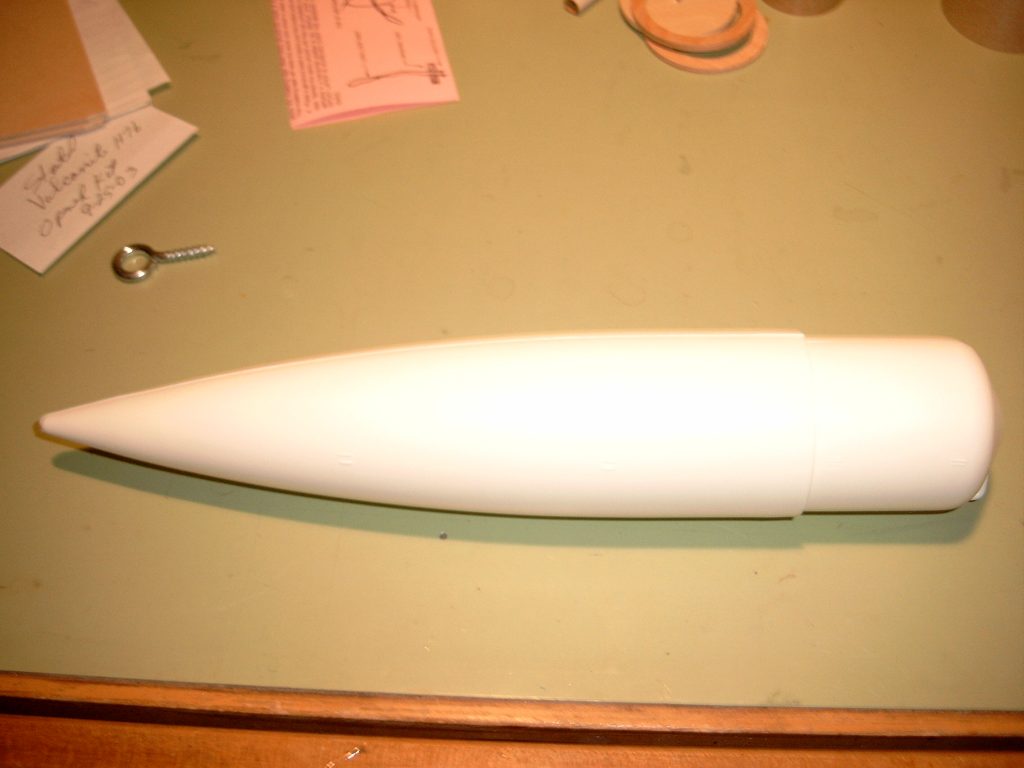
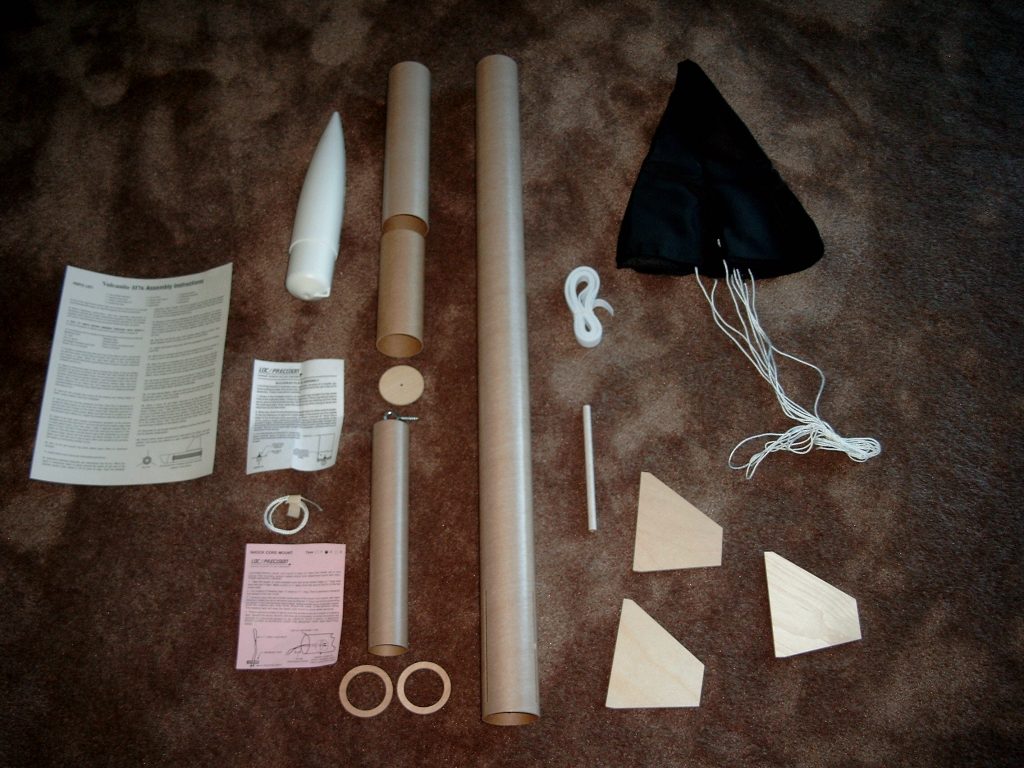
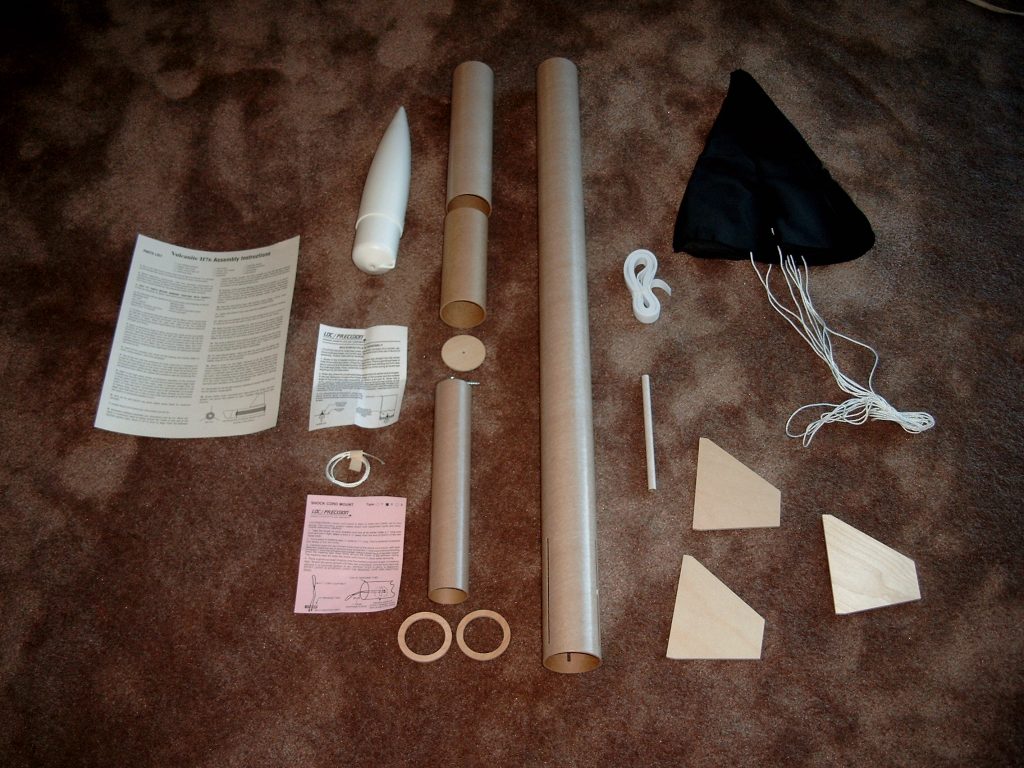
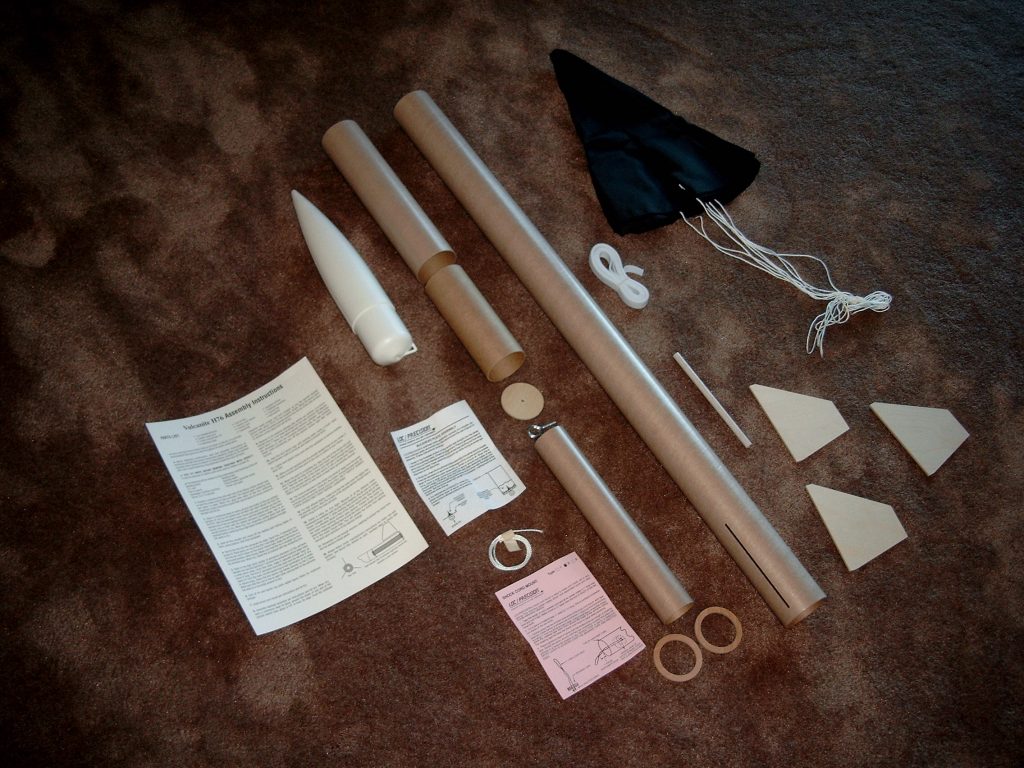
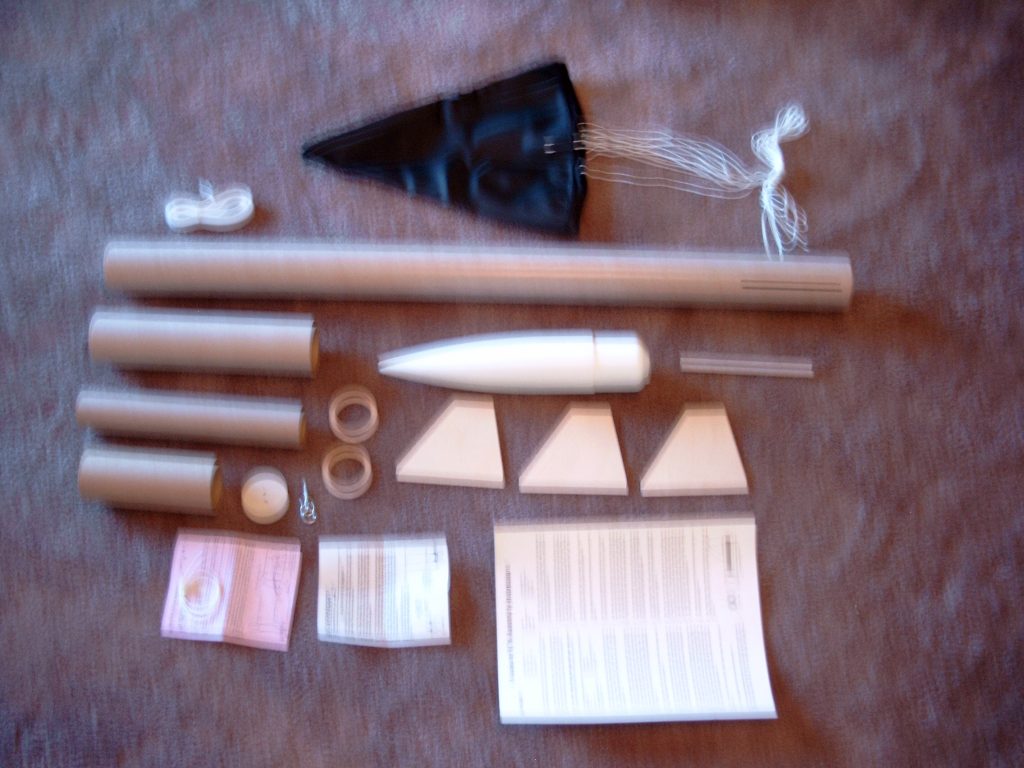
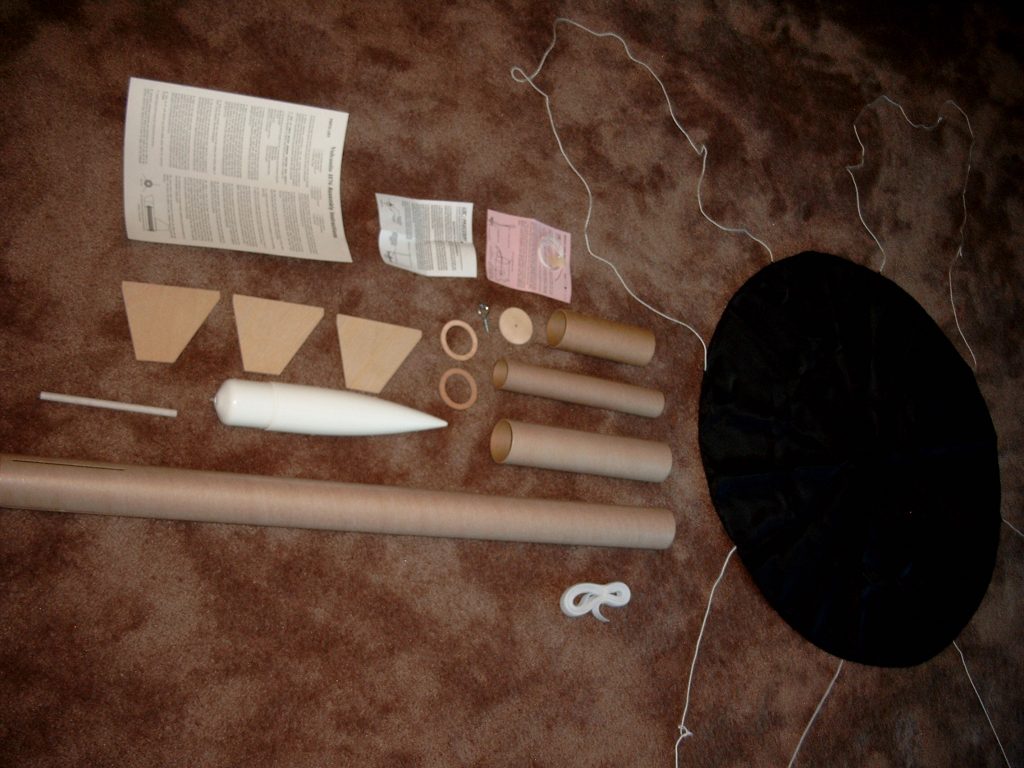
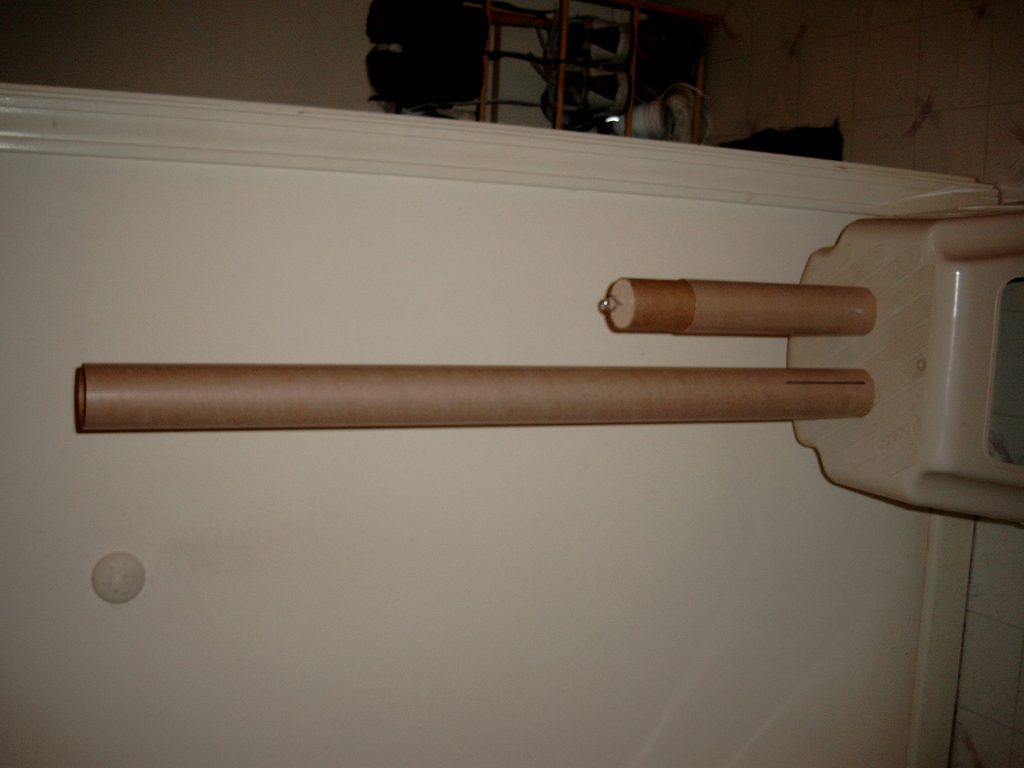
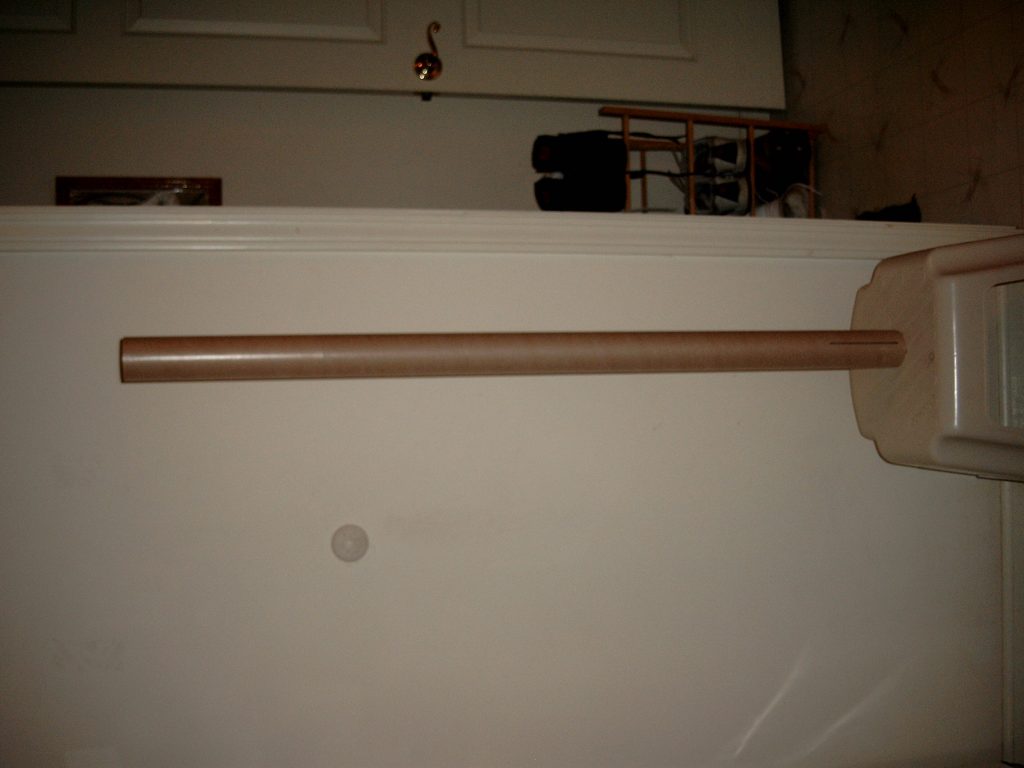
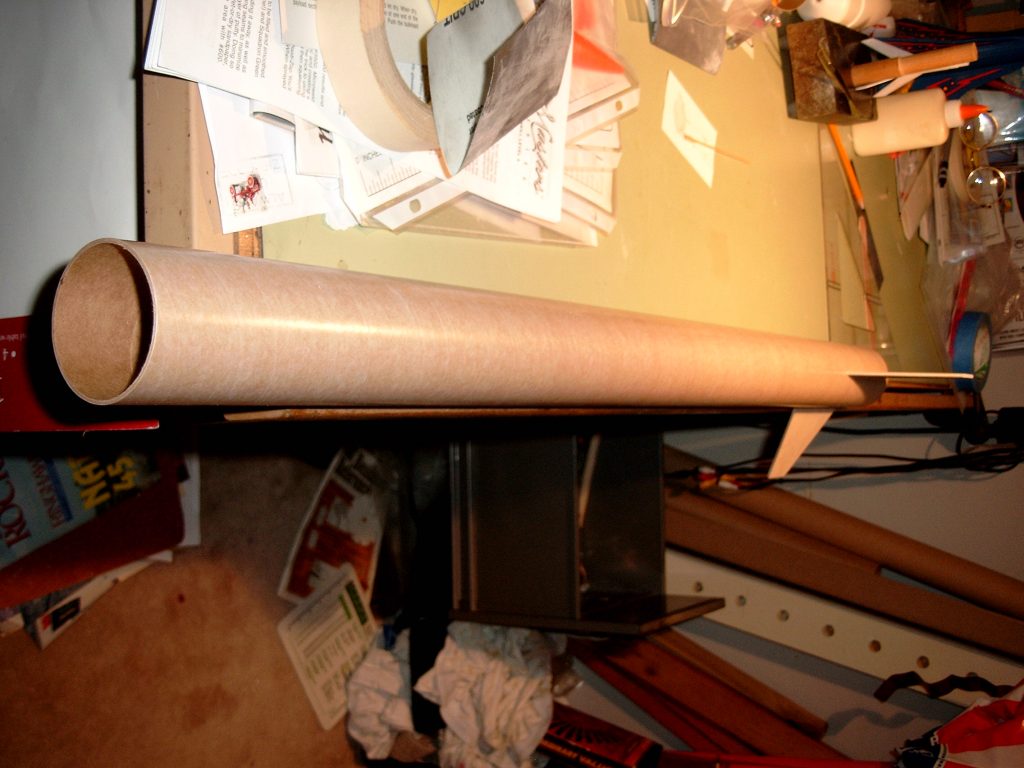
- 09/25/2003 – Opened package and took out components. All components present.
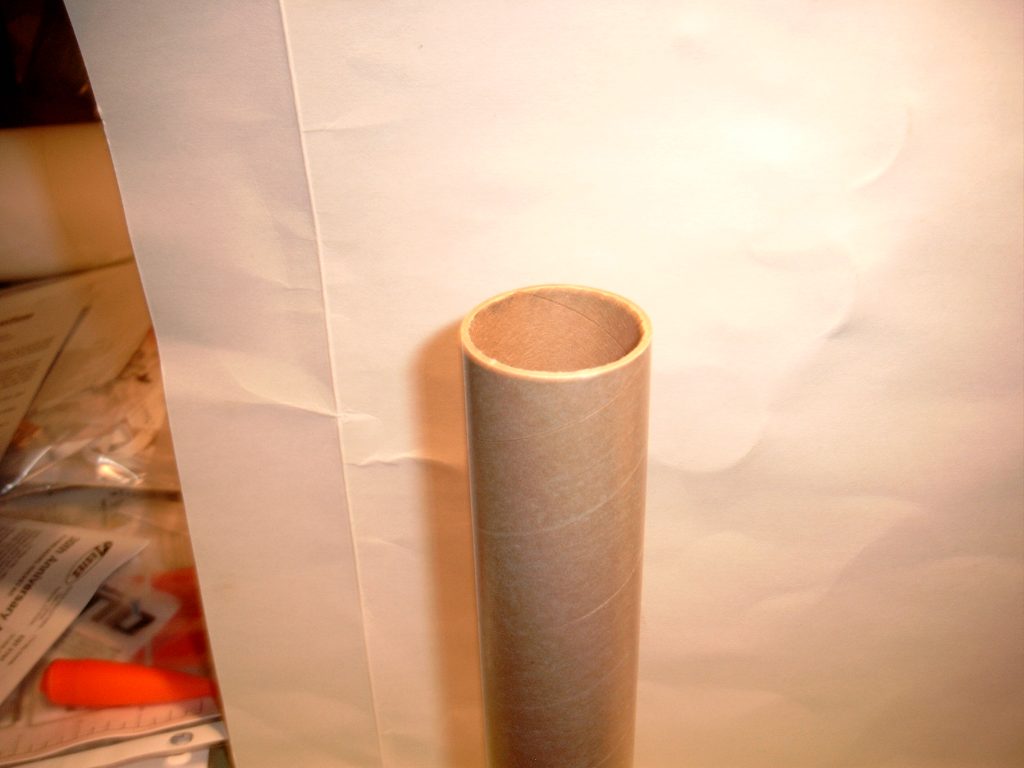
- 9/27/2003 – Measured tubes, launch lugs, centering rings, bulk head and fins. Traced fins, bulkhead, centering rings and nose cone. Scanned fin, centering ring, plans, bulkhead, and nose cone.
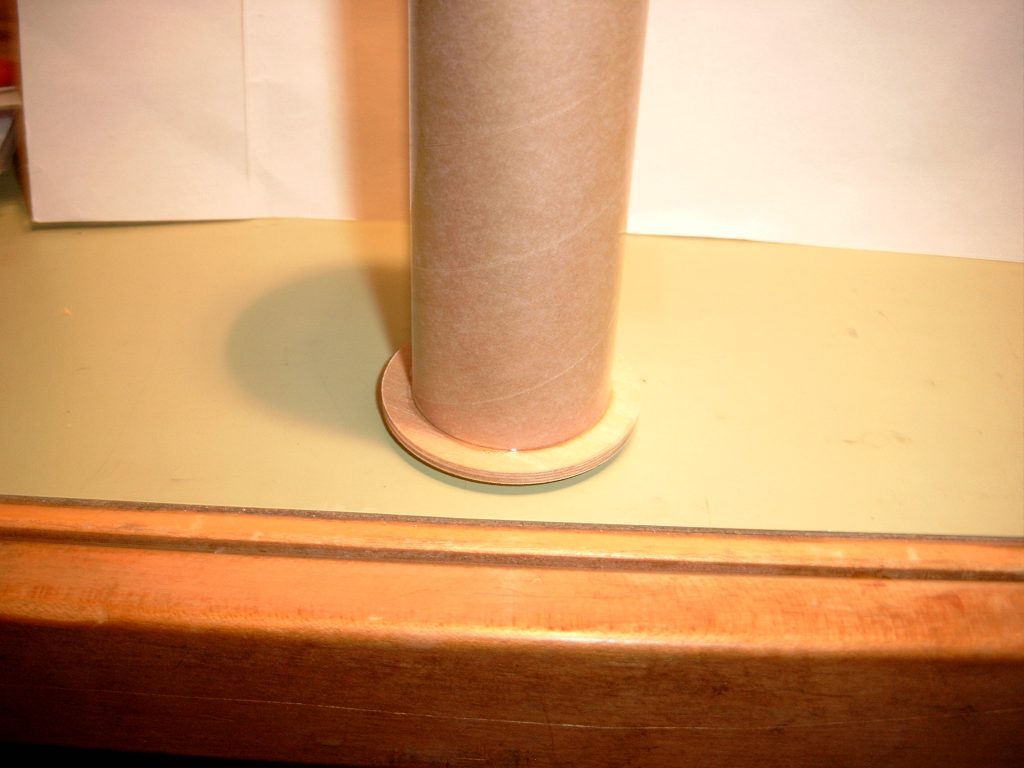
- 02/02/2003 – Drilled two #40 holes into one centering ring. Thread a piece of 300# Kevlar through the holes and secured with a knot. The Kevlar was measured to 32″ length. Epoxied the rear centering ring 1/8″ from the rear edge of the motor mount tube using 2 ton Devon Epoxy. Epoxied the second centering ring 1/8″ from the front of engine mount tube. Kevlar cord is facing outward toward front of rocket.
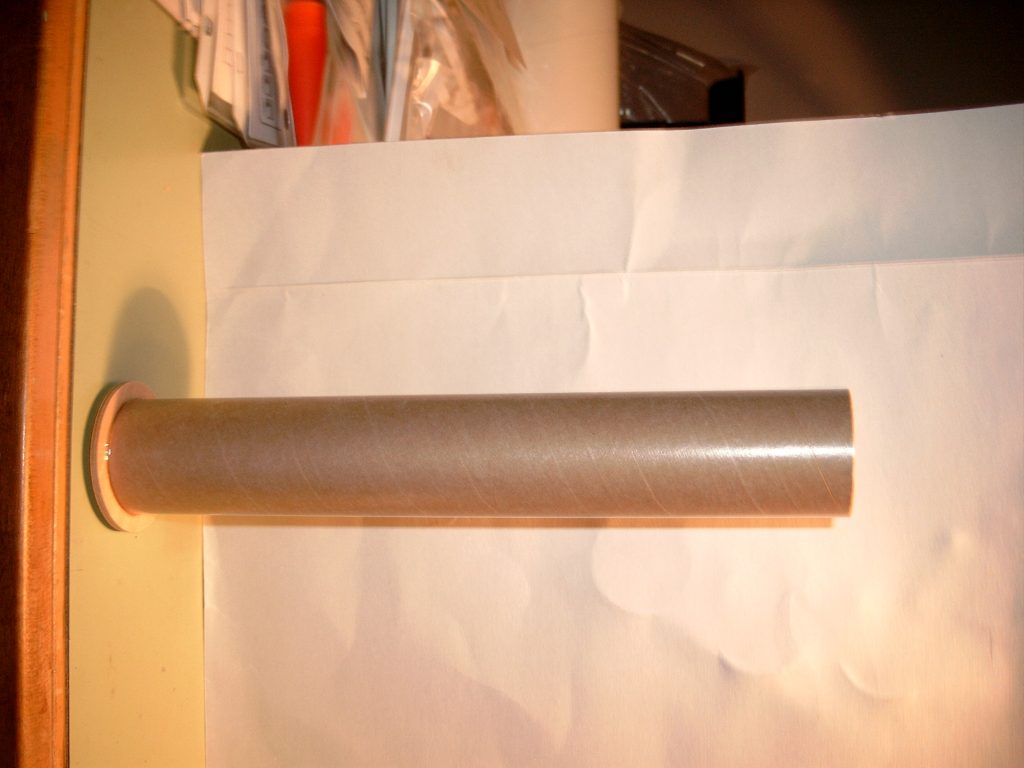
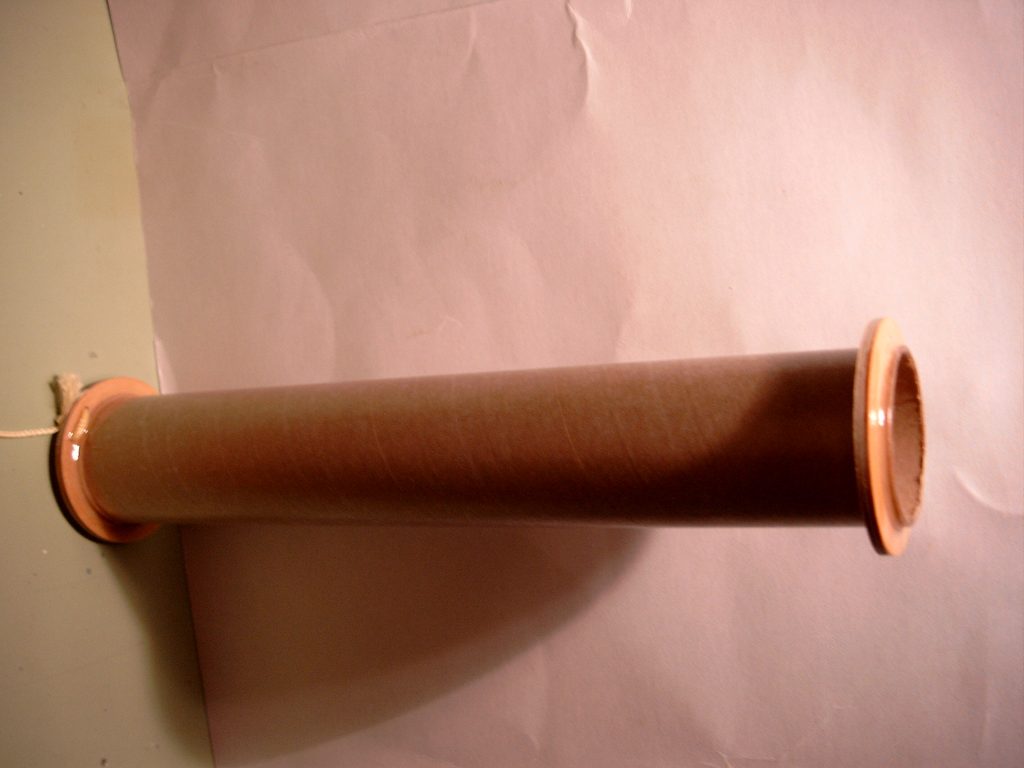
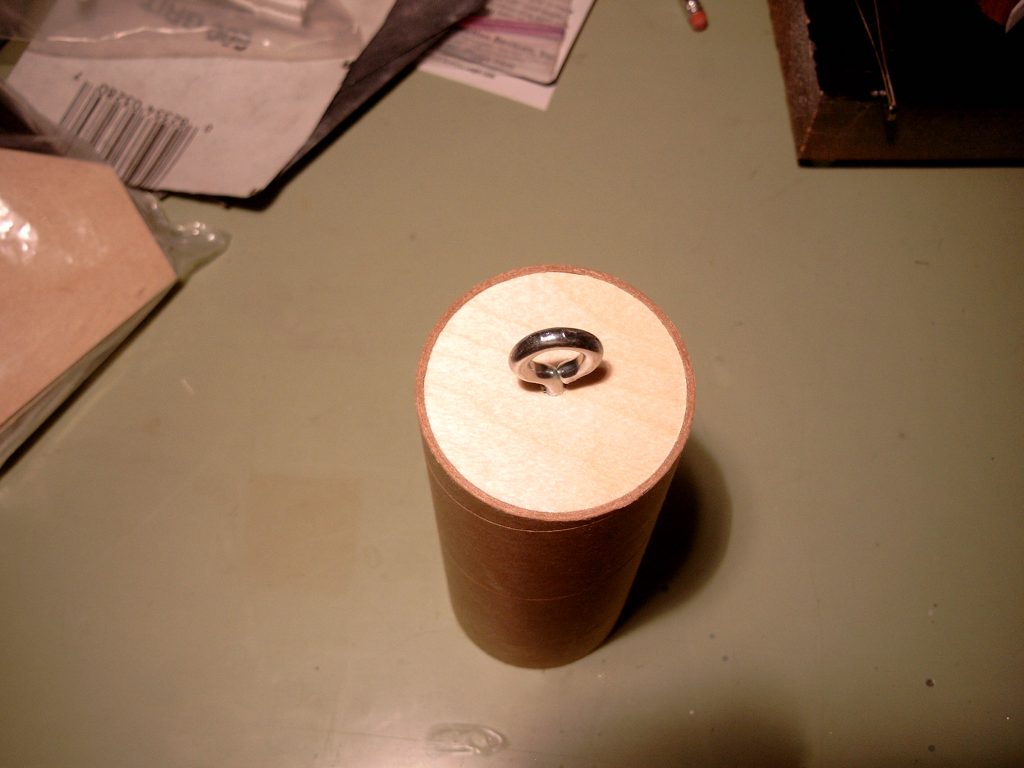
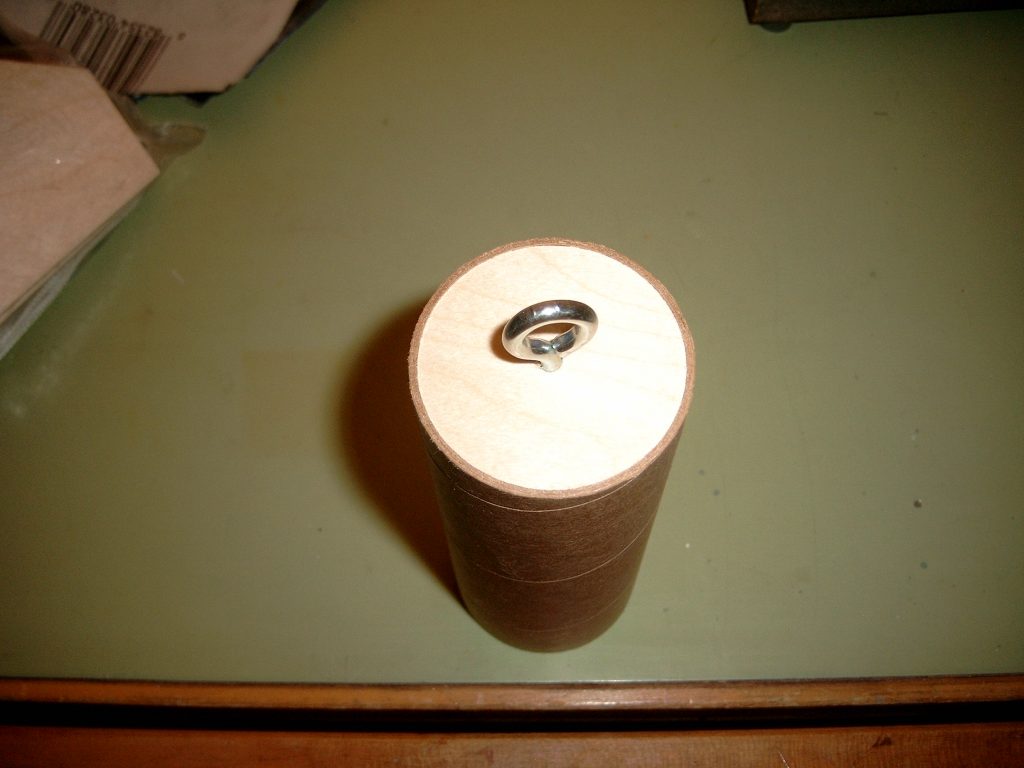
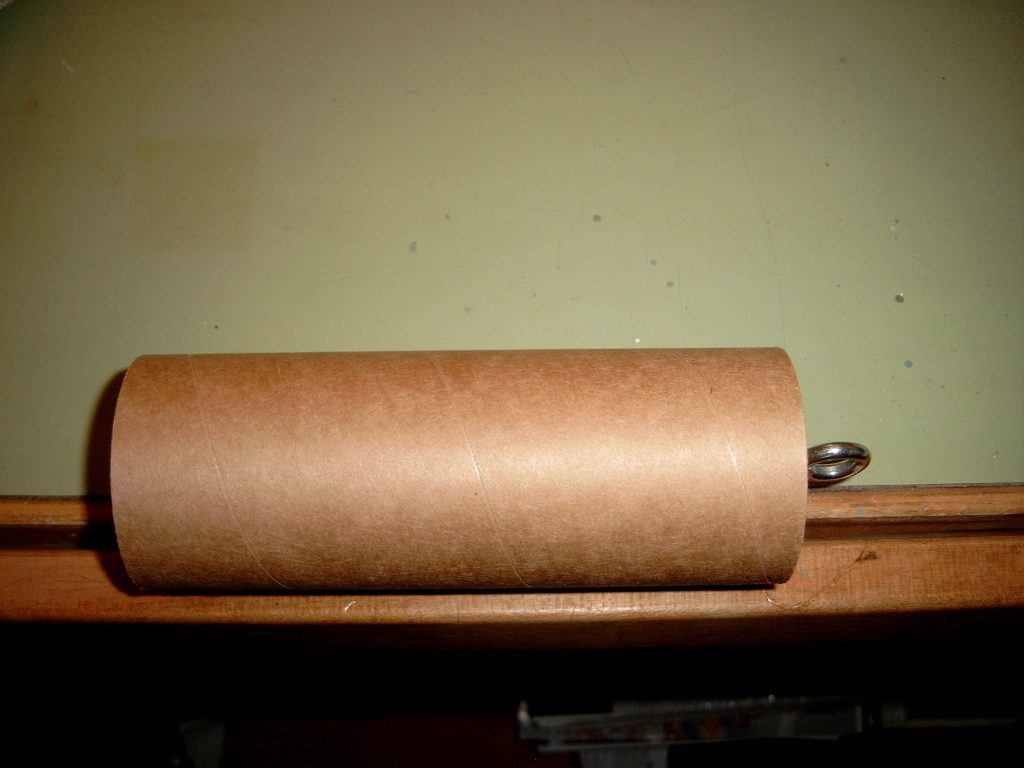
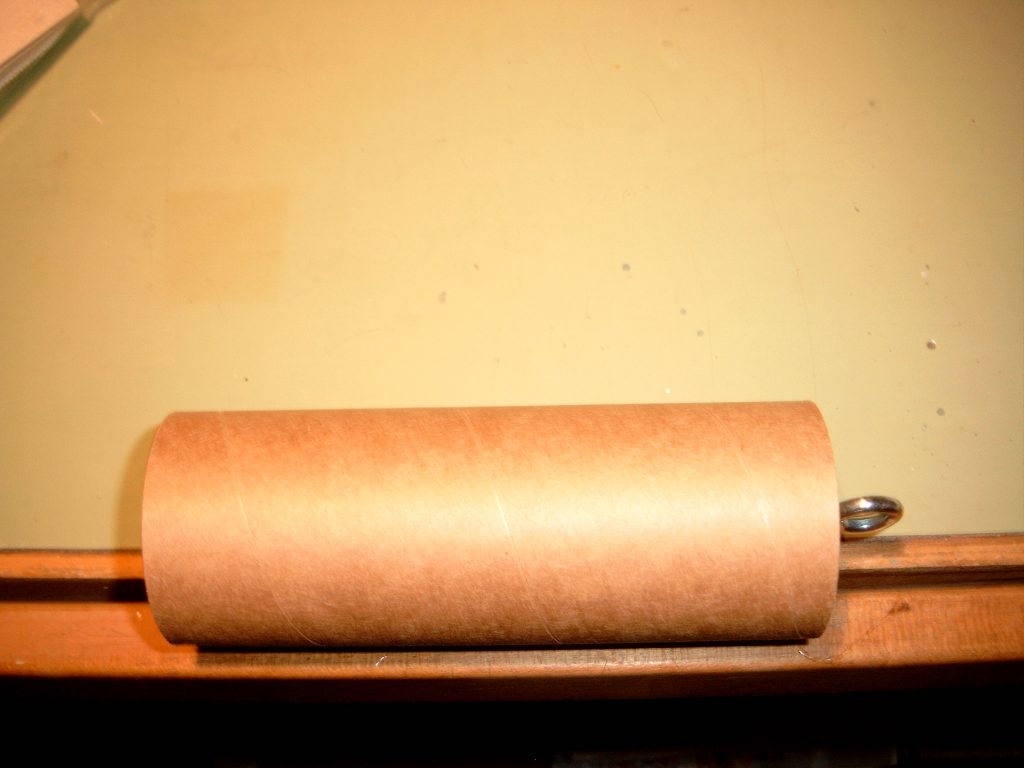
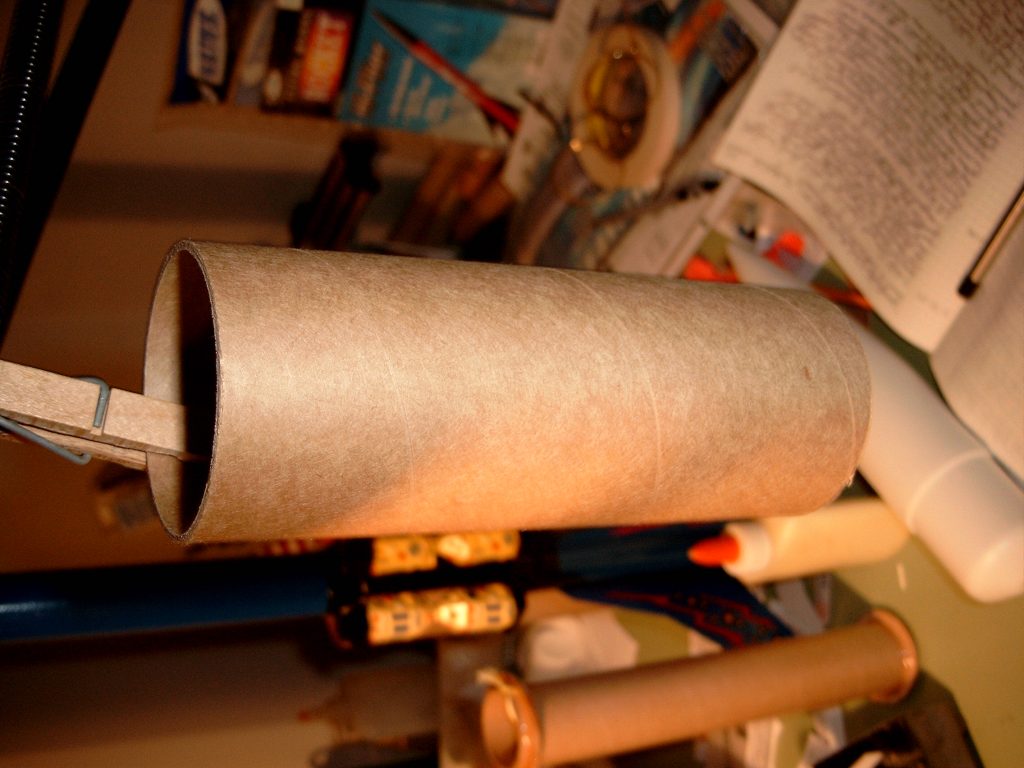
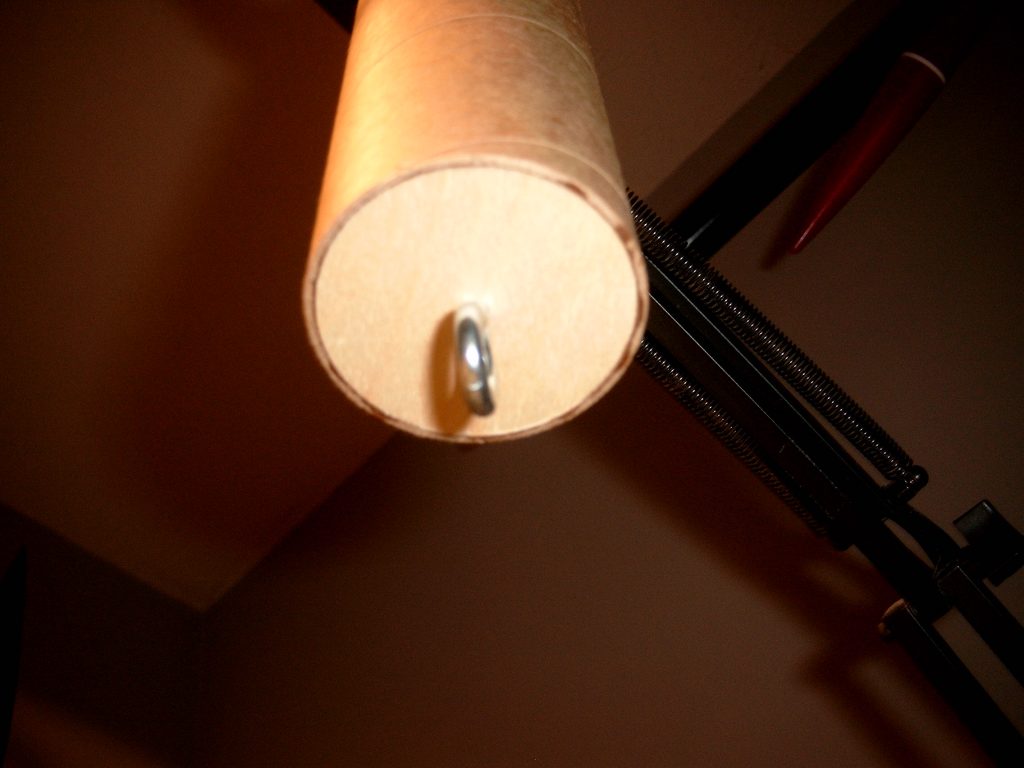
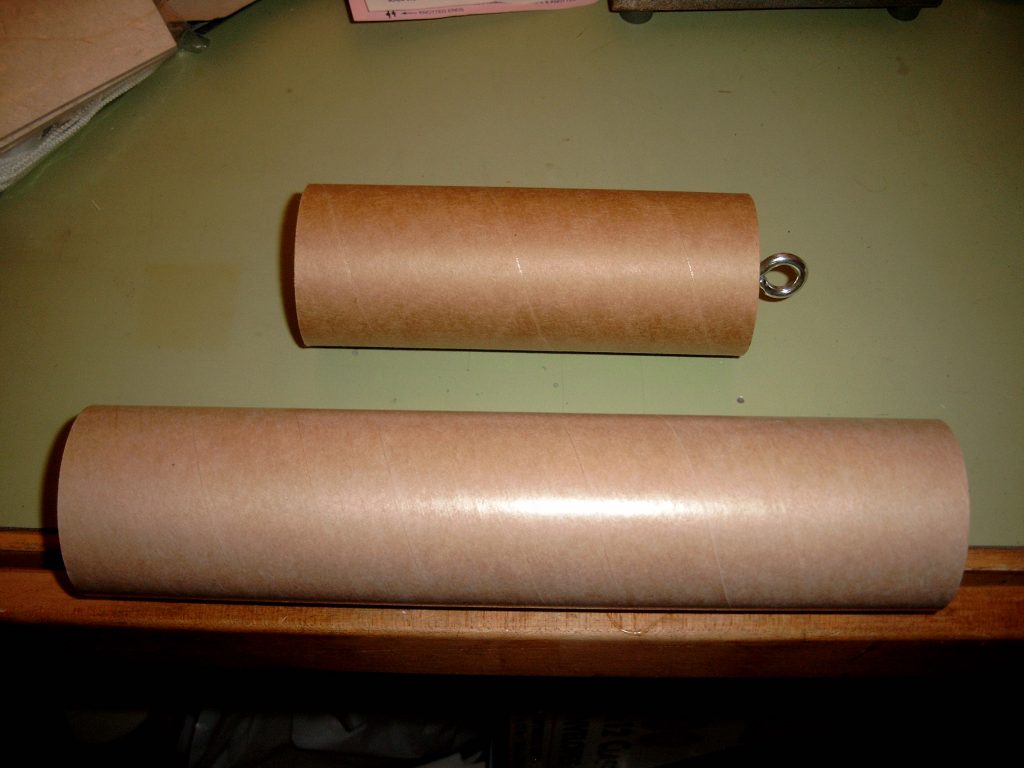
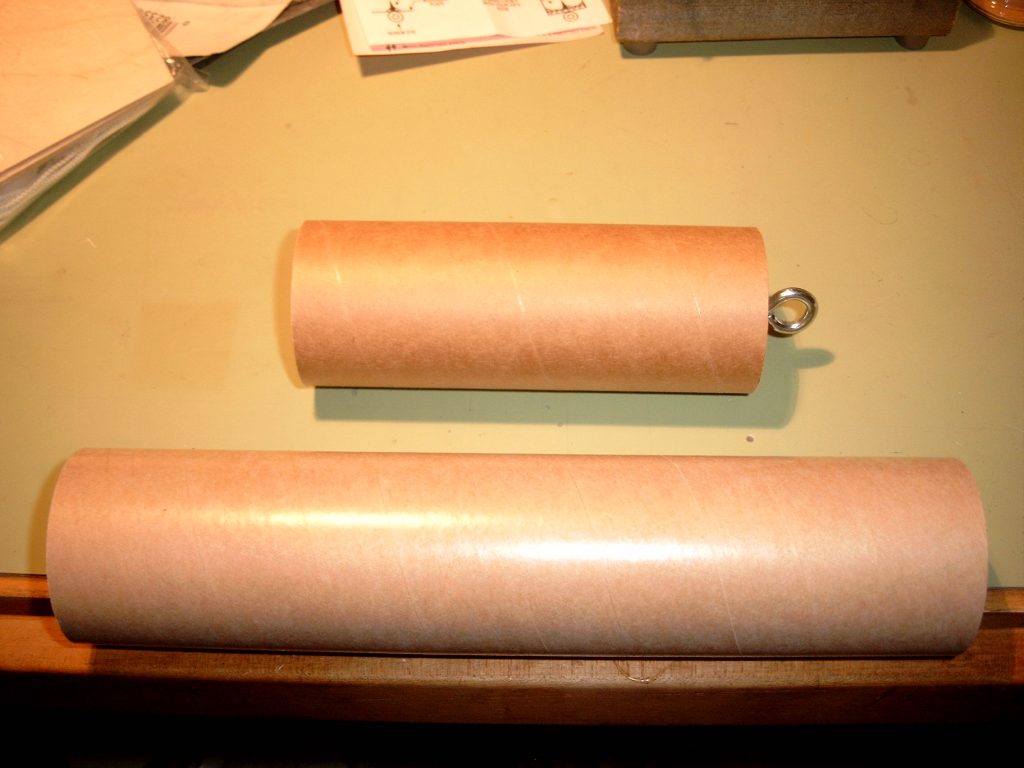
- 02/03/2004 – Epoxy filleted one side of each centering ring joint. Mixed up a second batch of epoxy and filleted the other side. Mixed up a third batch. Epoxied the screw eye into the bottom hole and Through the bulk head into the tube coupler. Mixed up a fourth batch and filleted the tube coupler and bulkhead inside the tube. Mixed up a fifth batch marking the tube coupler in half and epoxied it into the payload section. To keep the coupler aligned, pushed it to the exposed end of the top of the body tube. Mixed a sixth batch and epoxied the motor mount assembly into the slotted end of the main body tube. Allowed to cure overnight.
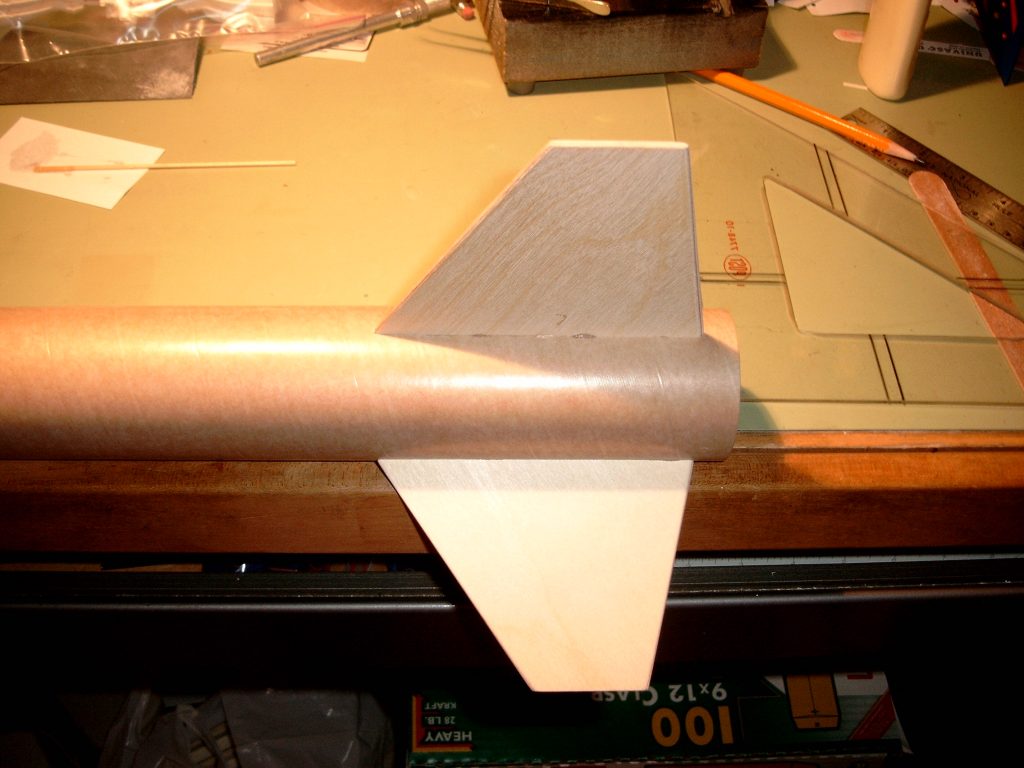
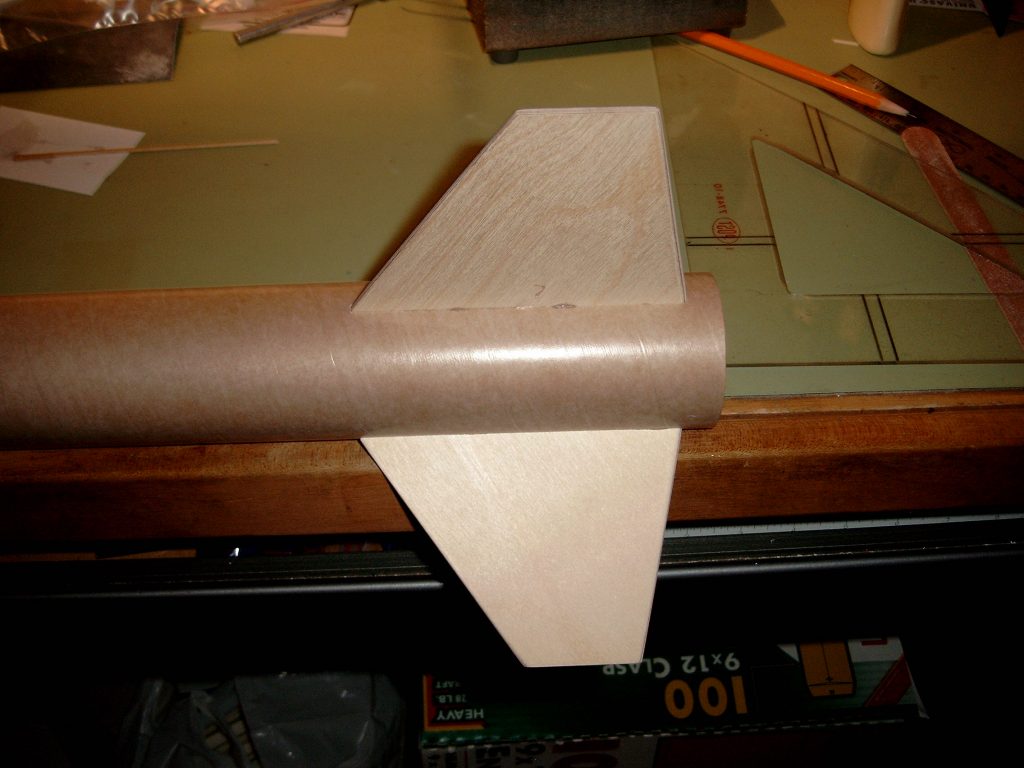
- 02/04/2004 – Mixed up a batch of epoxy and applied it to the rear of the motor mount tube centering ring and body tube edge. Sanded each of the three fins with 320, 400 and 600 grit sandpapers. Used 220 grit and a nail file to round the leading edge and taper the trailing edge of the fins. Wiped the dust off with a dry cloth. Mixed up another batch of epoxy and epoxied the first fin to the engine mount.
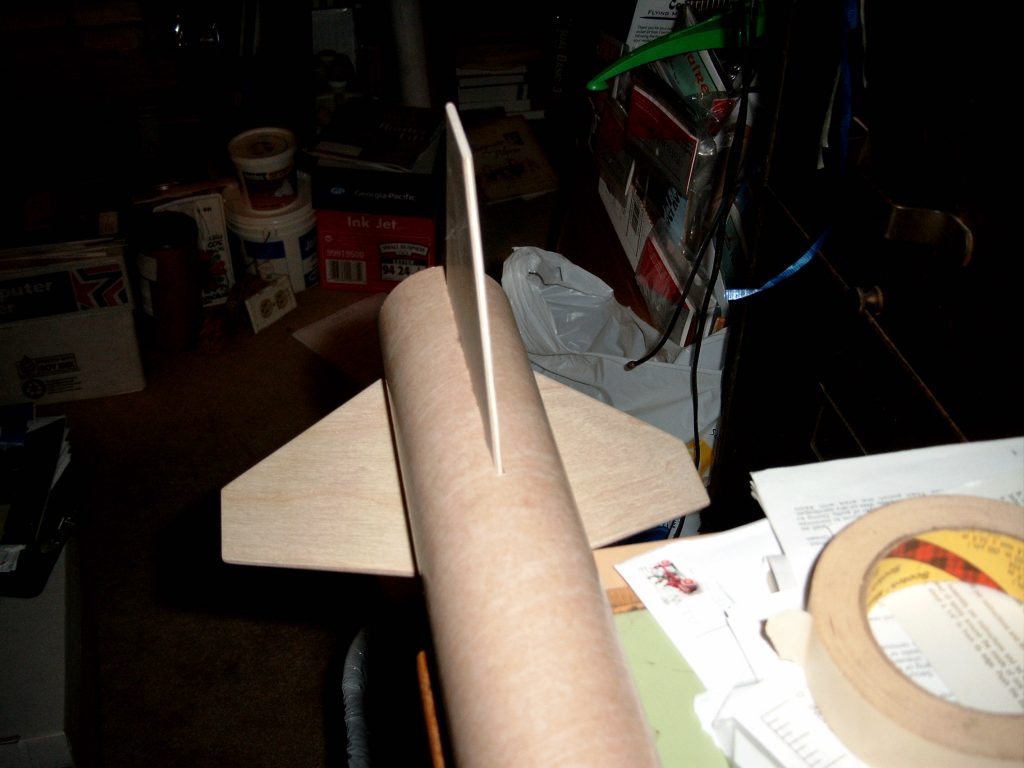
- 02/05/2004 – Mixed another batch of epoxy and applied it to the bottom of the second fin. Installed the second fin into the the motor mount. Checked the fin alignment using a triangle and sight.
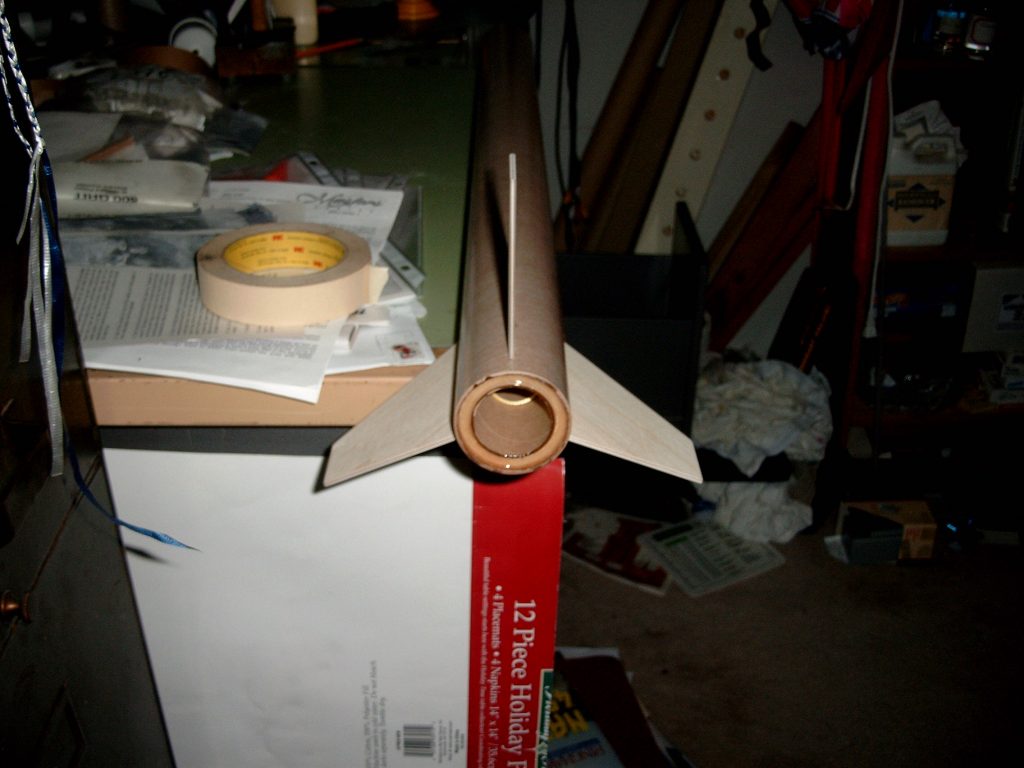
- 02/06/2004 – Mixed up a batch of epoxy and applied it to the bottom of the third fin . Installed the fin through the body tube slot onto the motor mount.
- 02/07/2004 – Mixed up a batch of epoxy and filleted the fin joints. The launch lug position was marked half way between two fins 7″ from the rear and 12″ from the rear. The 6″ launch lug was cut in half and applied to the marks. Mixed up another batch of epoxy and filleted the launch lug joints. The rocket is now ready for primer and paint. The shock cord and 26″ chute will be installed after painting.
- 06/03/2004 – Applied balsa filler to fins.
- 05/04/2008 – Applied Krylon Gray Primer to model.
Flights
| Date | Location | # | Motor | Comments |
Leave a Reply
You must be logged in to post a comment.